Updates are well behind progress..

Even though the ultrasonic did really well to clean the lamp sockets, it was always the plan to replace them. I install the #47 sockets temporarily so I can route the GI wiring loom into correct position. No matter what the condition, I like to replace them. Here's why ;
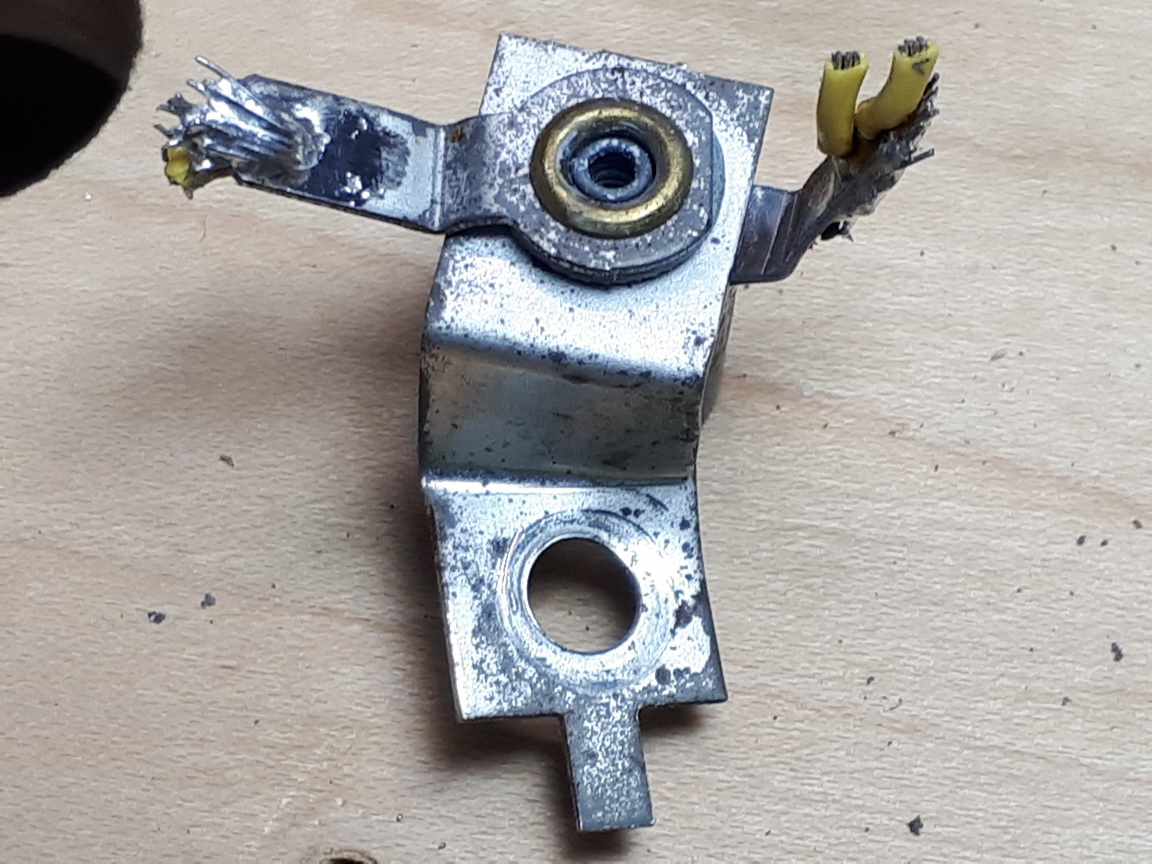
Fair enough - it is a close up photo - but you can see the corrosion is more than superficial, and if you look closely, it is almost a short..
They are CHEAP and will save you hassles in the future !
.. and they look neater !
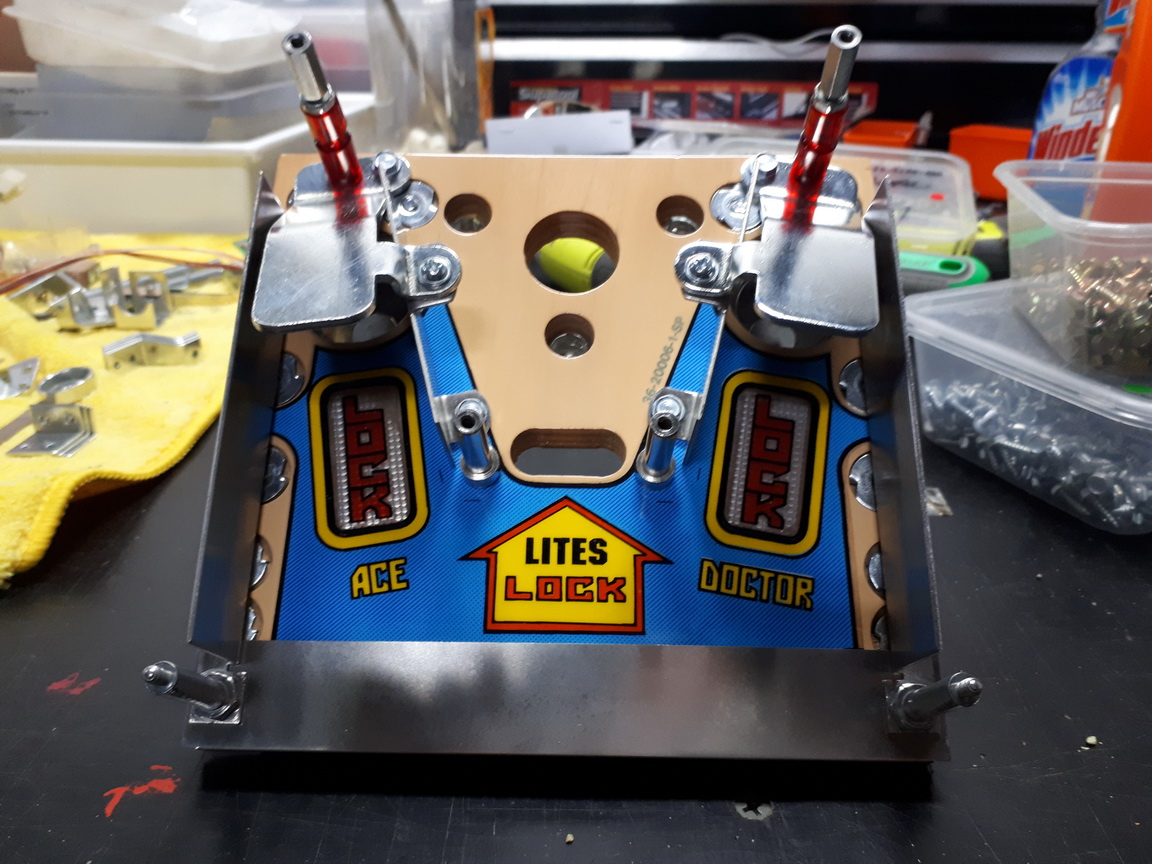
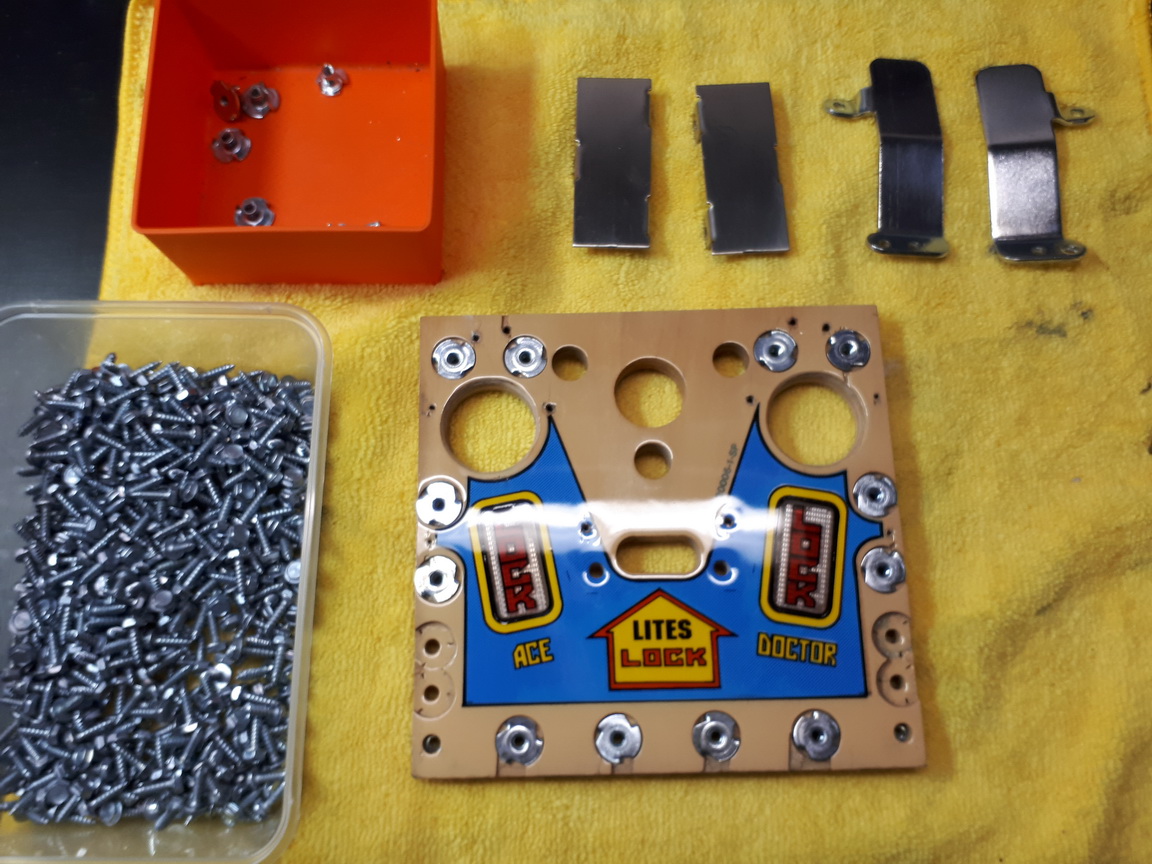
Digressing to the mini playfield - it is time to assemble the top of the Time Expander with the plated, re-grained or replacement parts ;
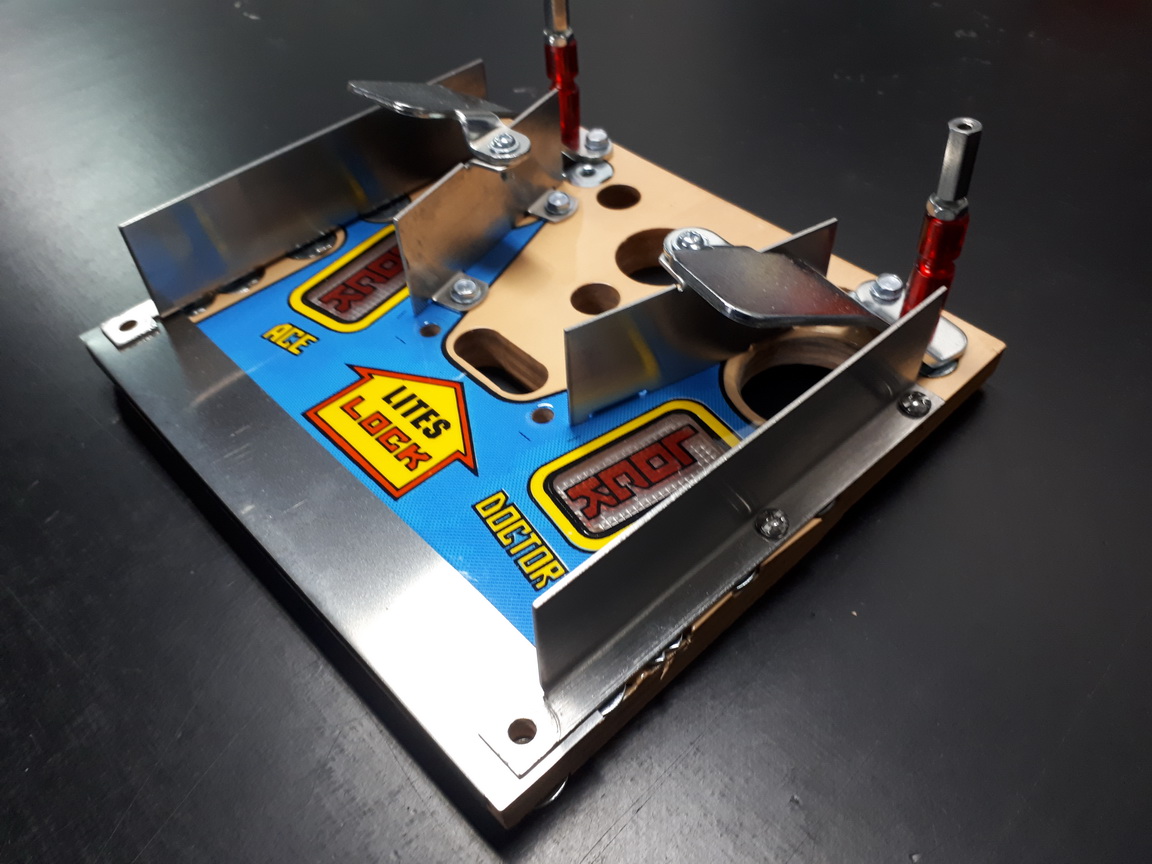
Cliffy's installed - which are MANDATORY for the Time Expander.

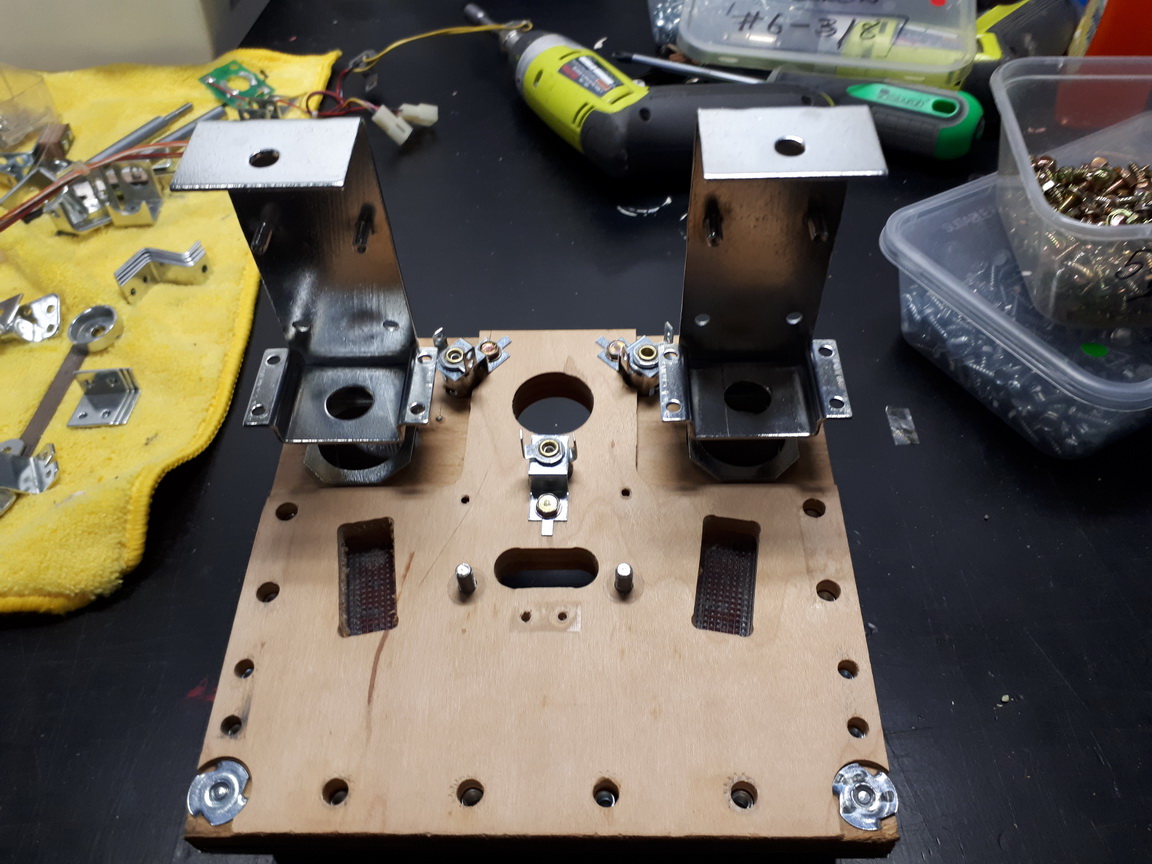
The VUK's are placed into position.
.. and we are done for the moment !