All of the parts have been cleaned in the ultrasonic cleaner, then polished in two tumblers. New parts are added along the way.
Here's some progress pictures of the rebuild under the playfield ;
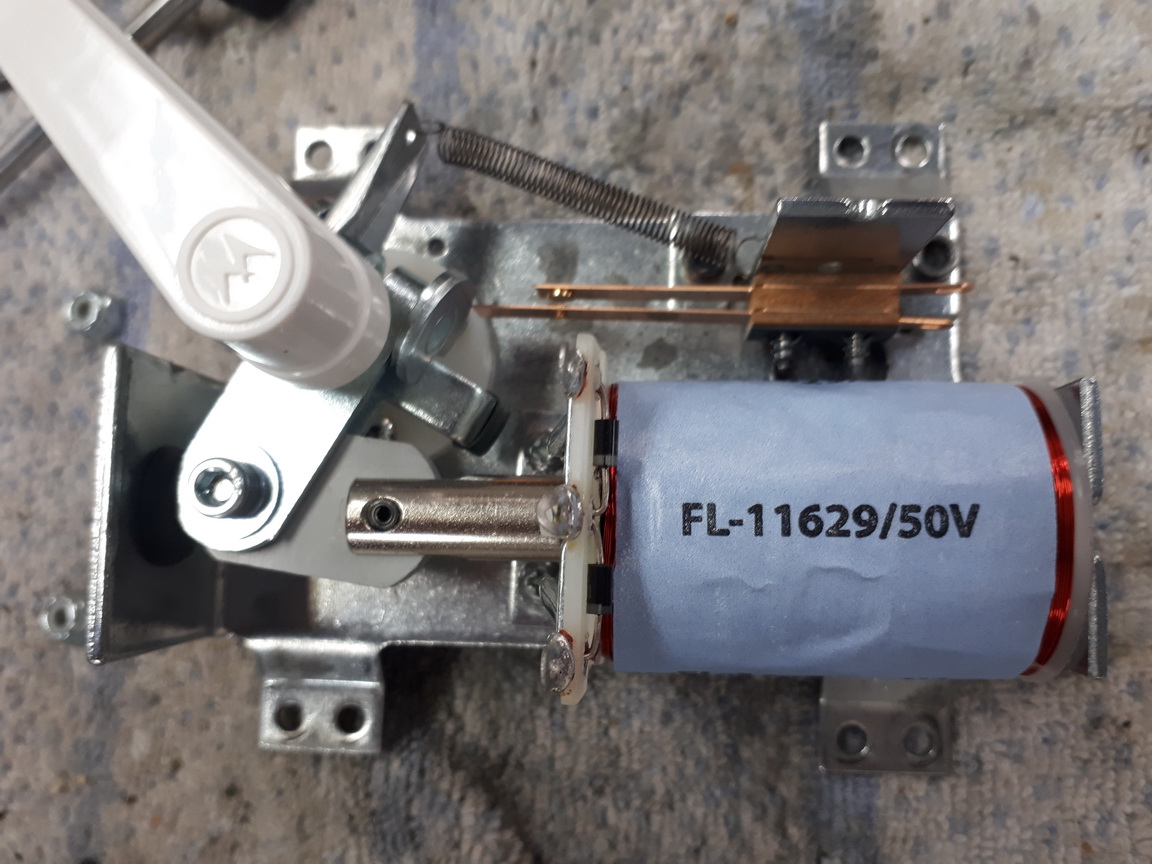
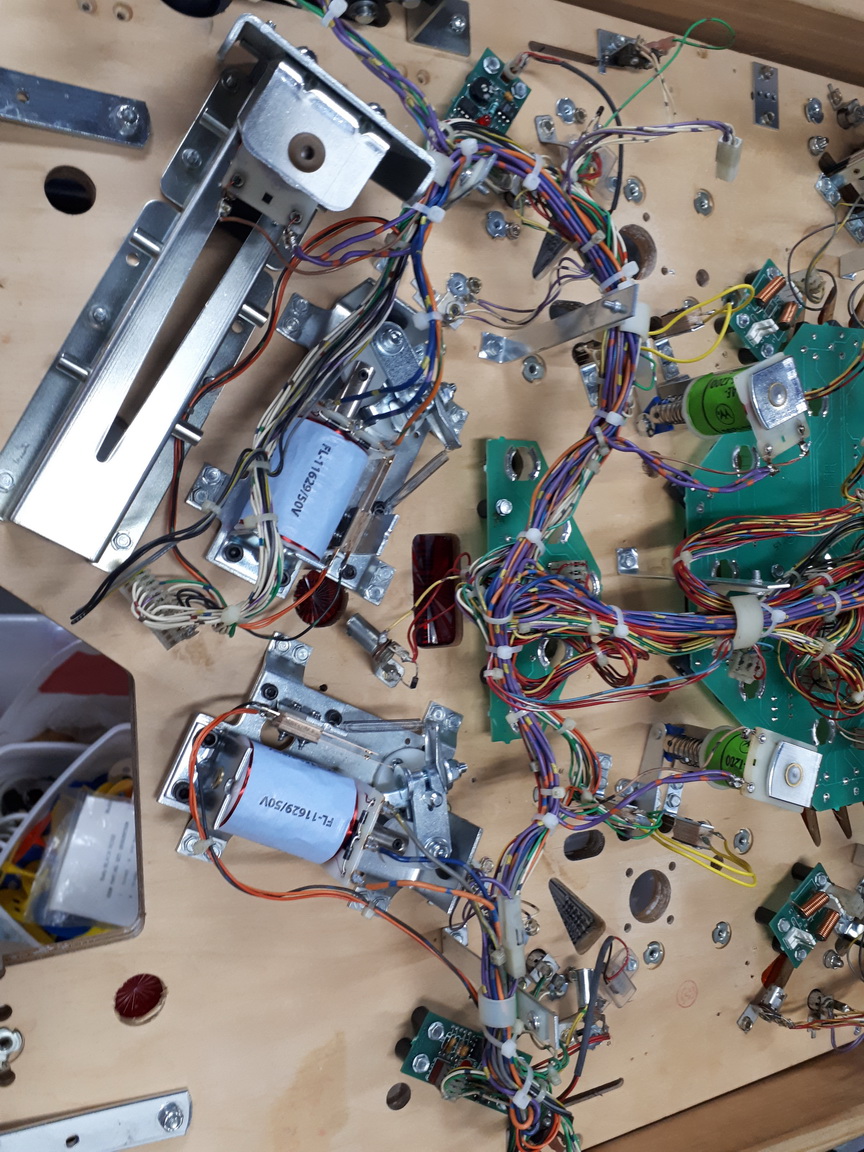
Flippers are rebuilt with new parts ;
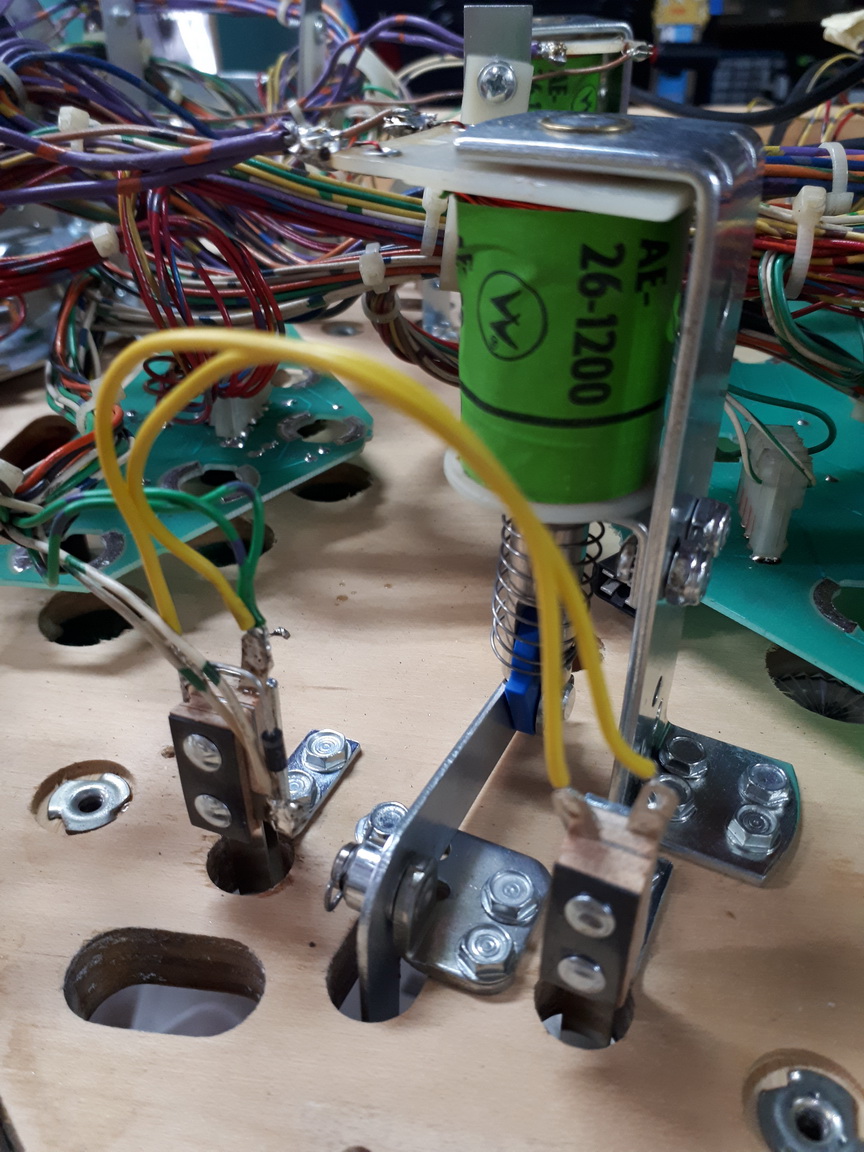
A very poorly soldered original leaf switch..

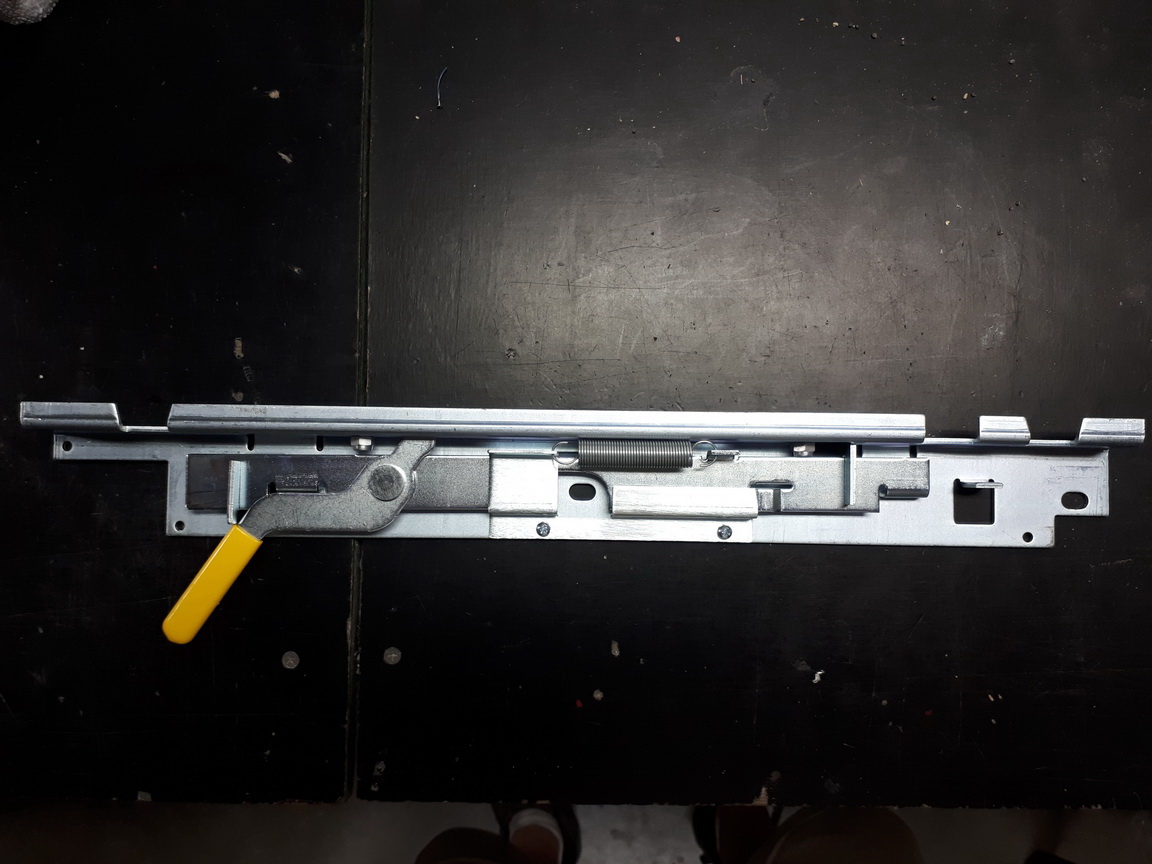
New leaf switches, with the rebuilt sling mechs and coil.
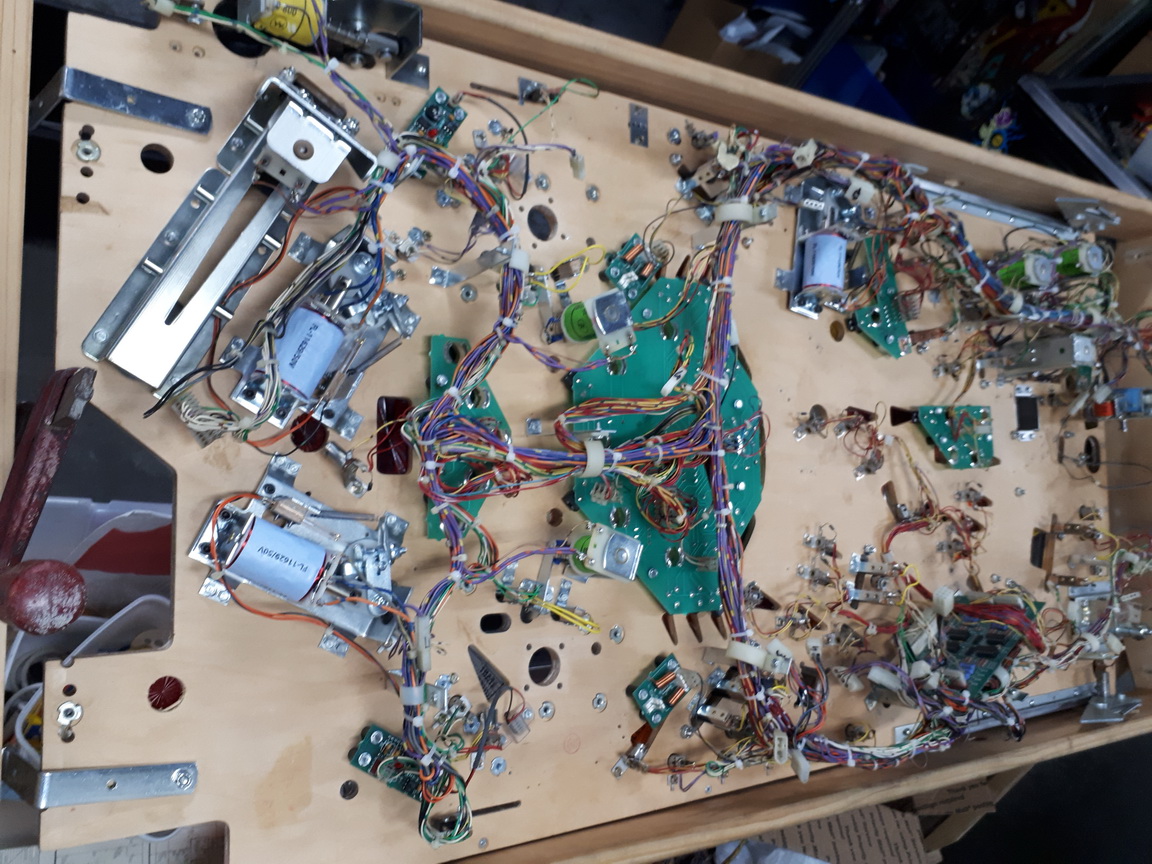
Underside is starting to come together in the rotisserie. I don't add too many parts here except the flippers and components and assemblies towards the rear of the playfield - as it is easier to access this part of the playfield while still in the rotisserie.
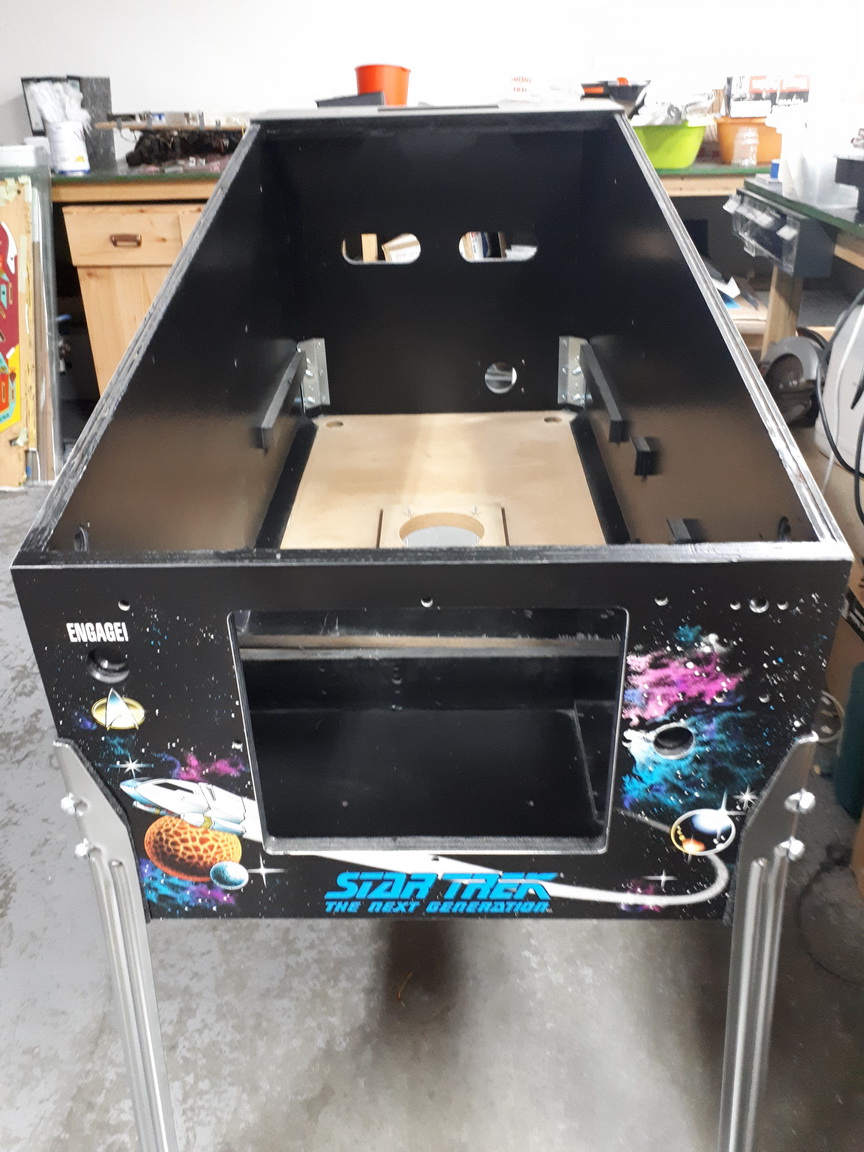
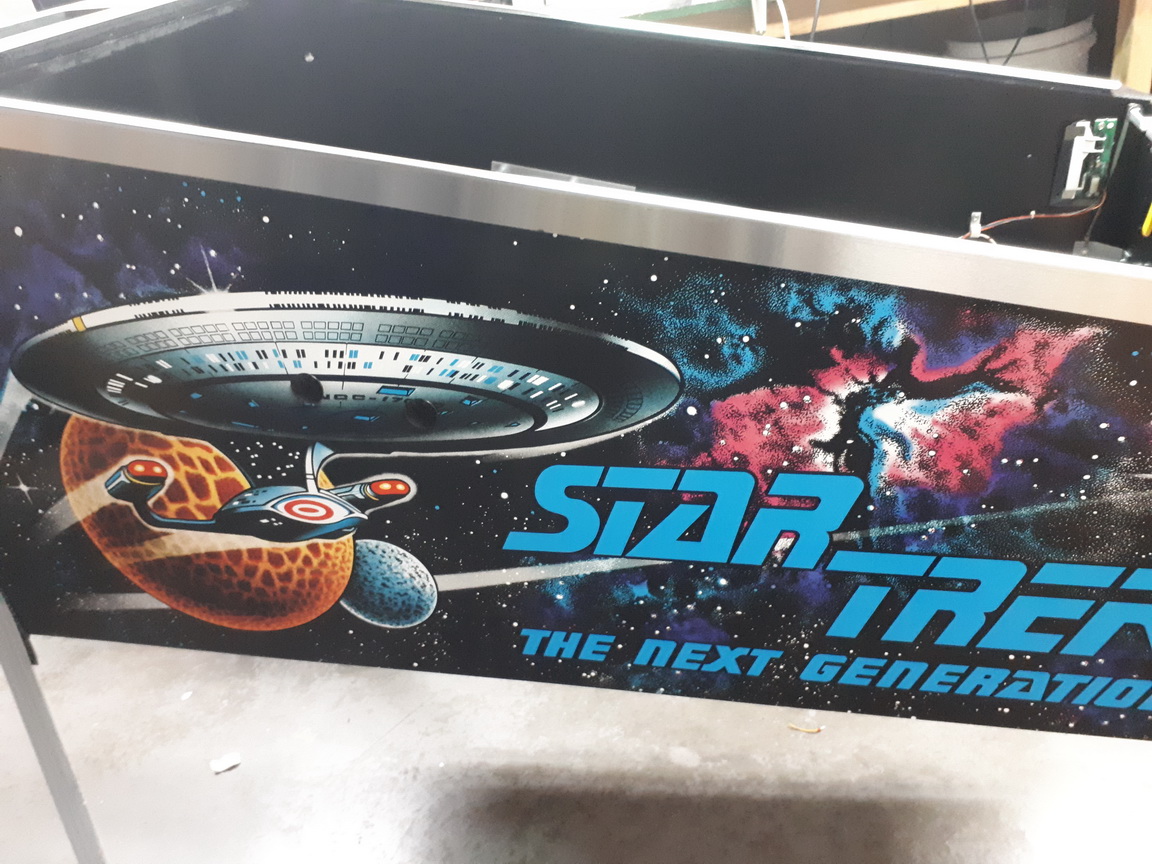
Now I move my attention to the cabinet. This is an original cabinet that Tim and Stu restored for me. As per usual, it is perfect. Reassembly starts !

New Legs, leg brackets etc..
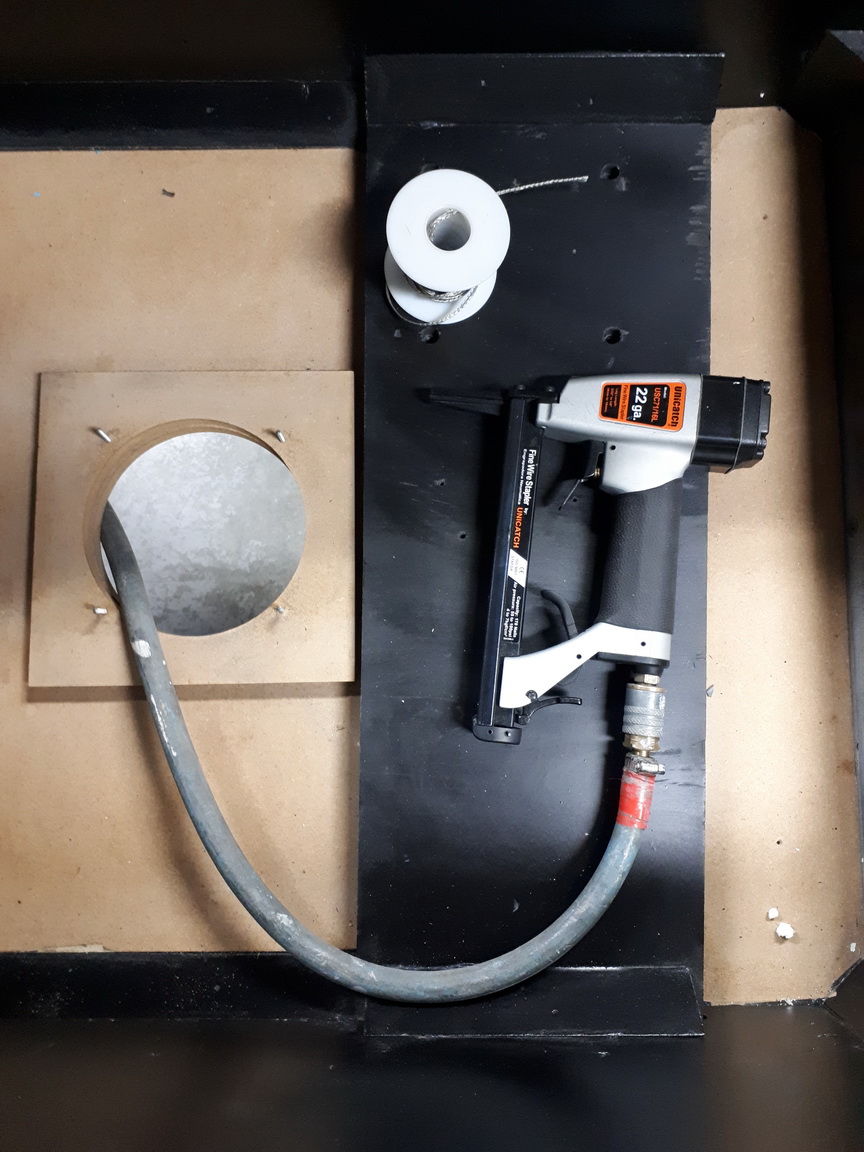
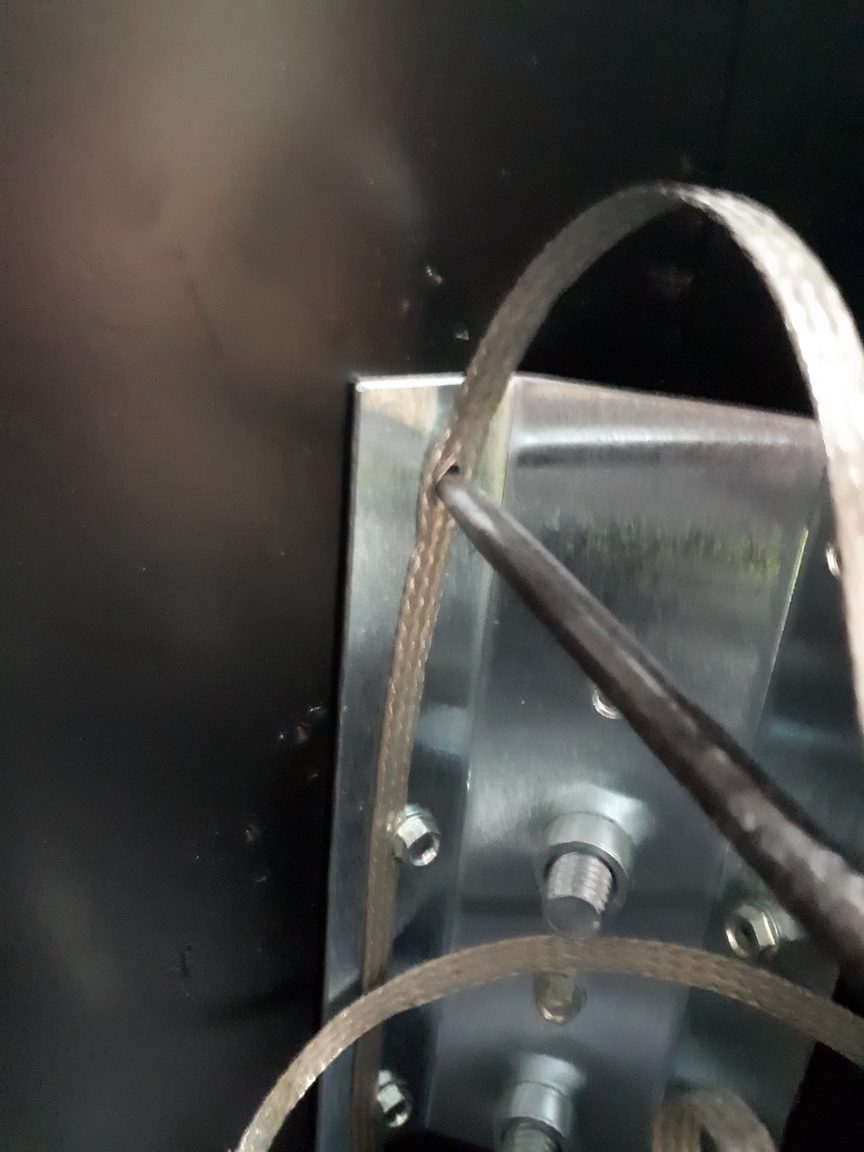
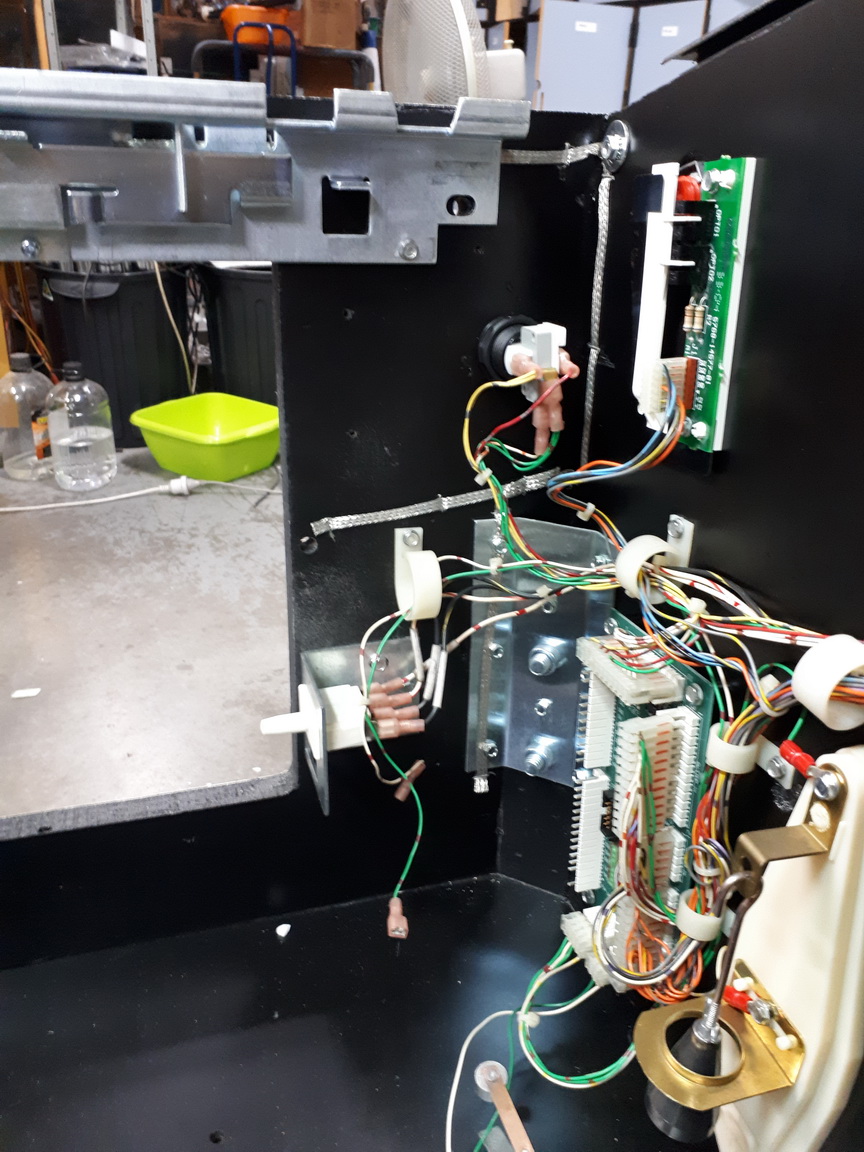
Now it is time to install the Ground Braid. This is the method I use. I have a compressor set at the rating of the staple gun - 100 PSI. The staple gun was purchased from Pinrestore, and I've been using it for 8 years now. The ground braid is also from Pinrestore. notice that I feed the compressor hose from below the speaker cutout. This is so I don't scratch the sides.
This is what my Dad called a "pricker". I use it to prick the ground braid for the screw !
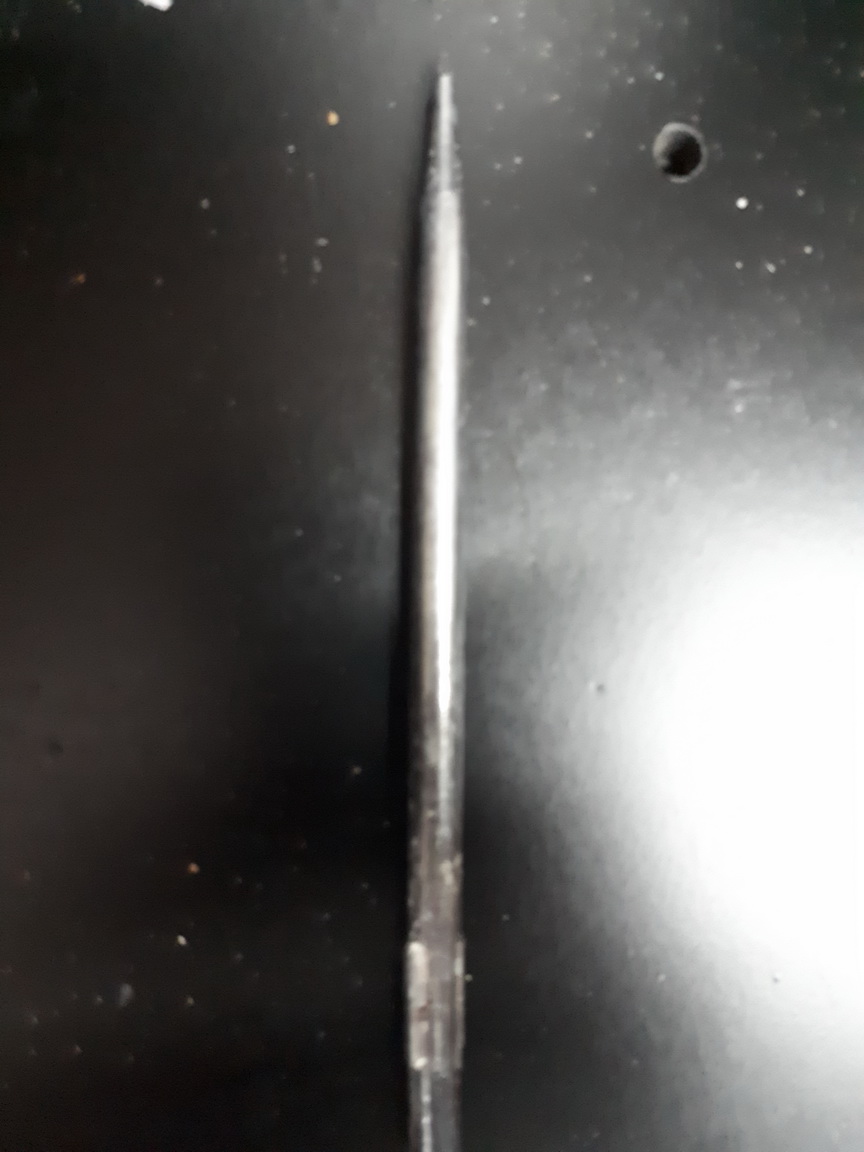
Wherever you choose to mount the ground braid - and there's no "right or wrong", use the pricker to create the hole for the screw, or the braid will rotate and tear.
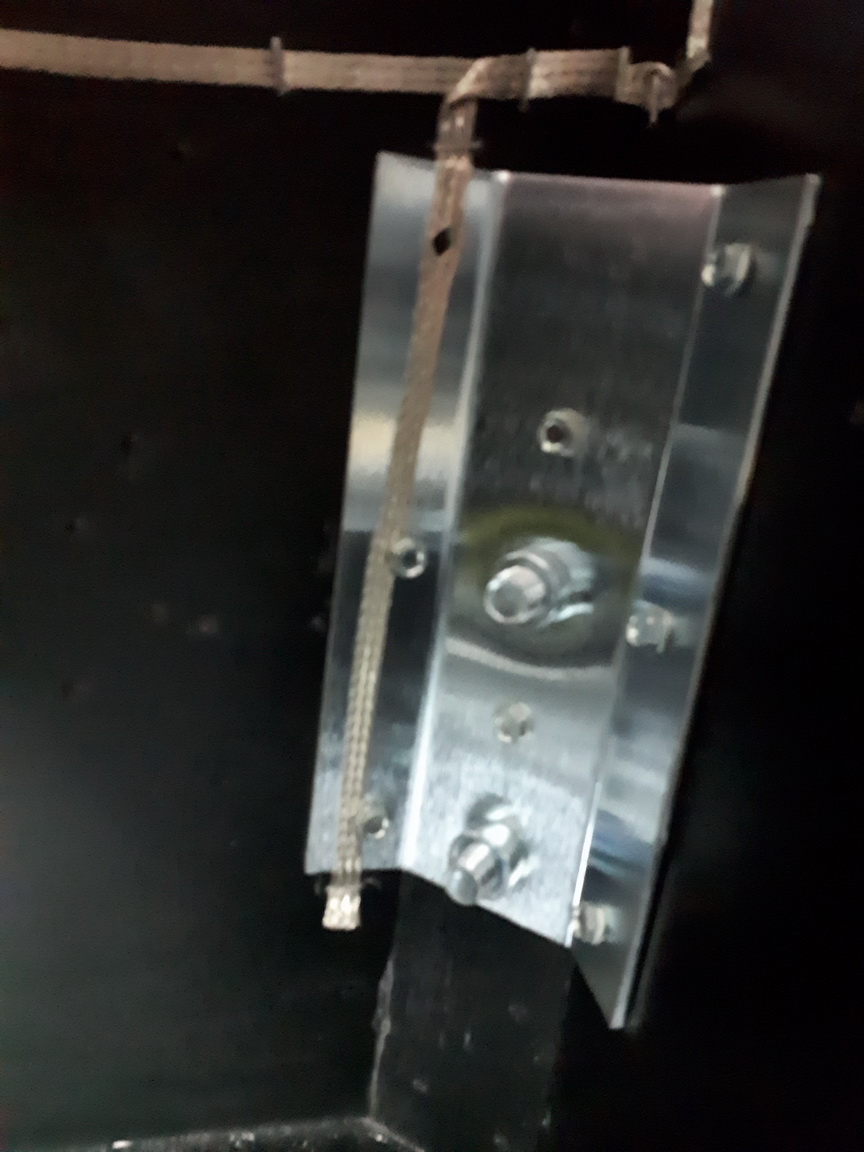
and then install the screw !
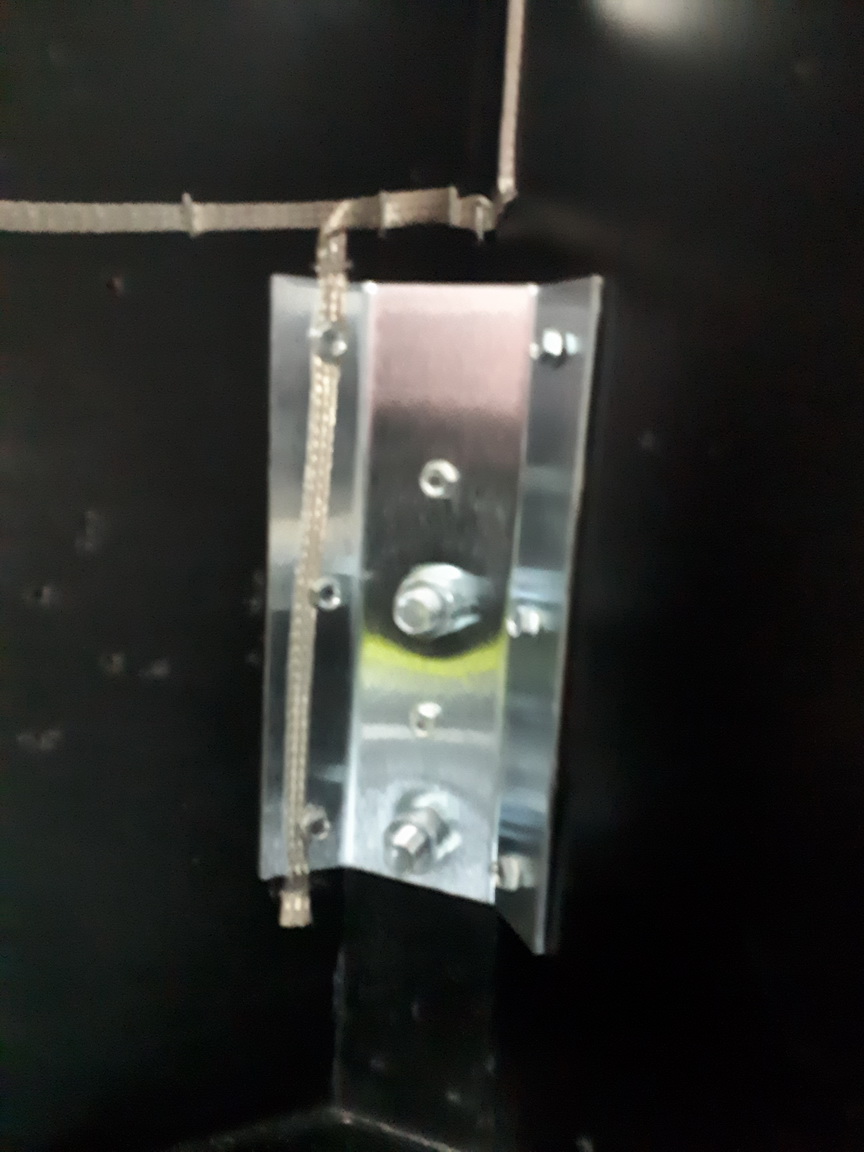
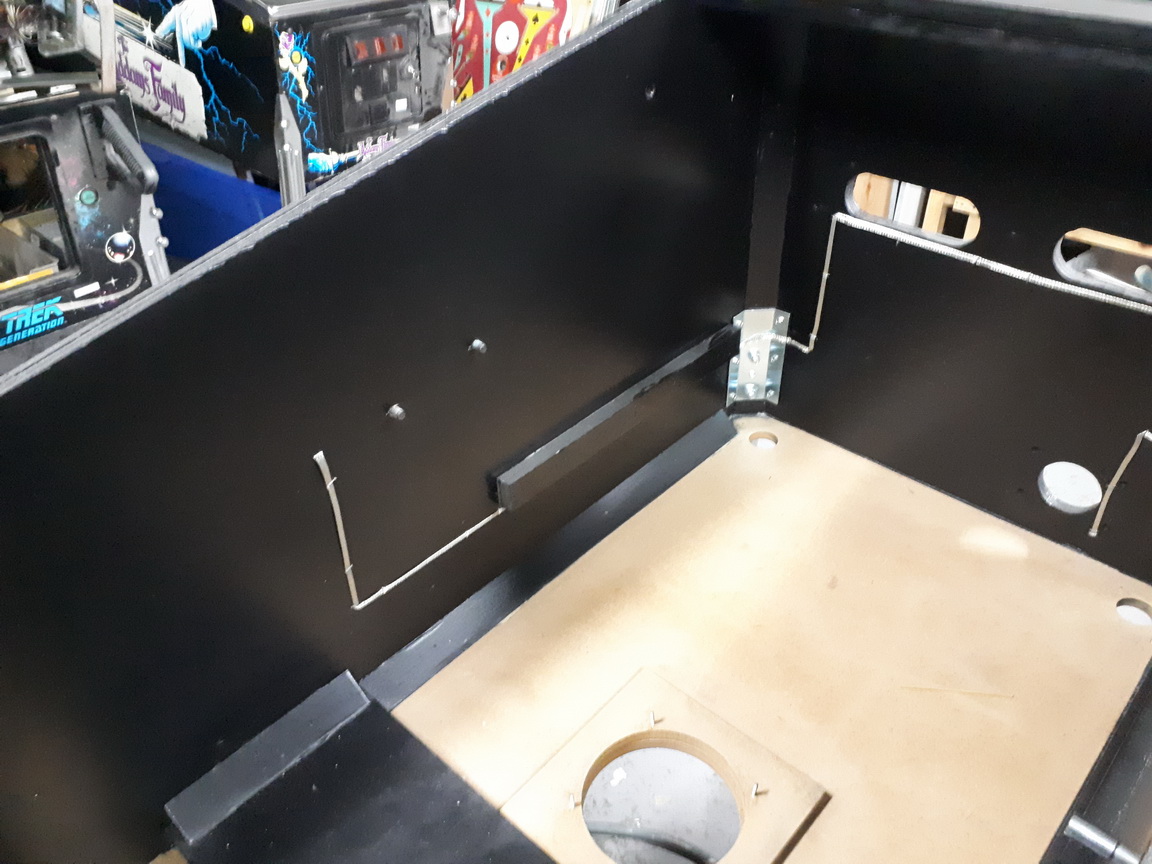
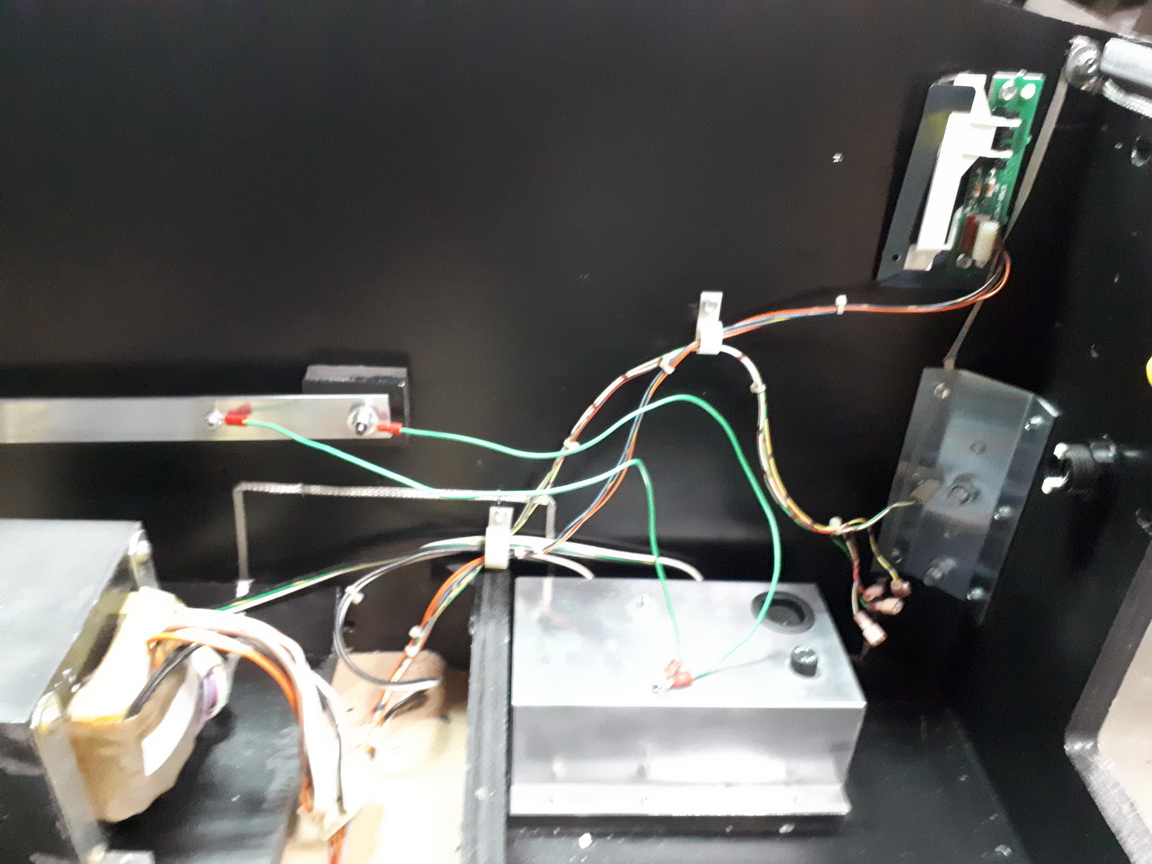
I also feed the ground behind the other two screws - but no holes. Run the ground nice and neat ;
Not mucking around with cleaning up the old lock down bar receiver - so here is the new one !
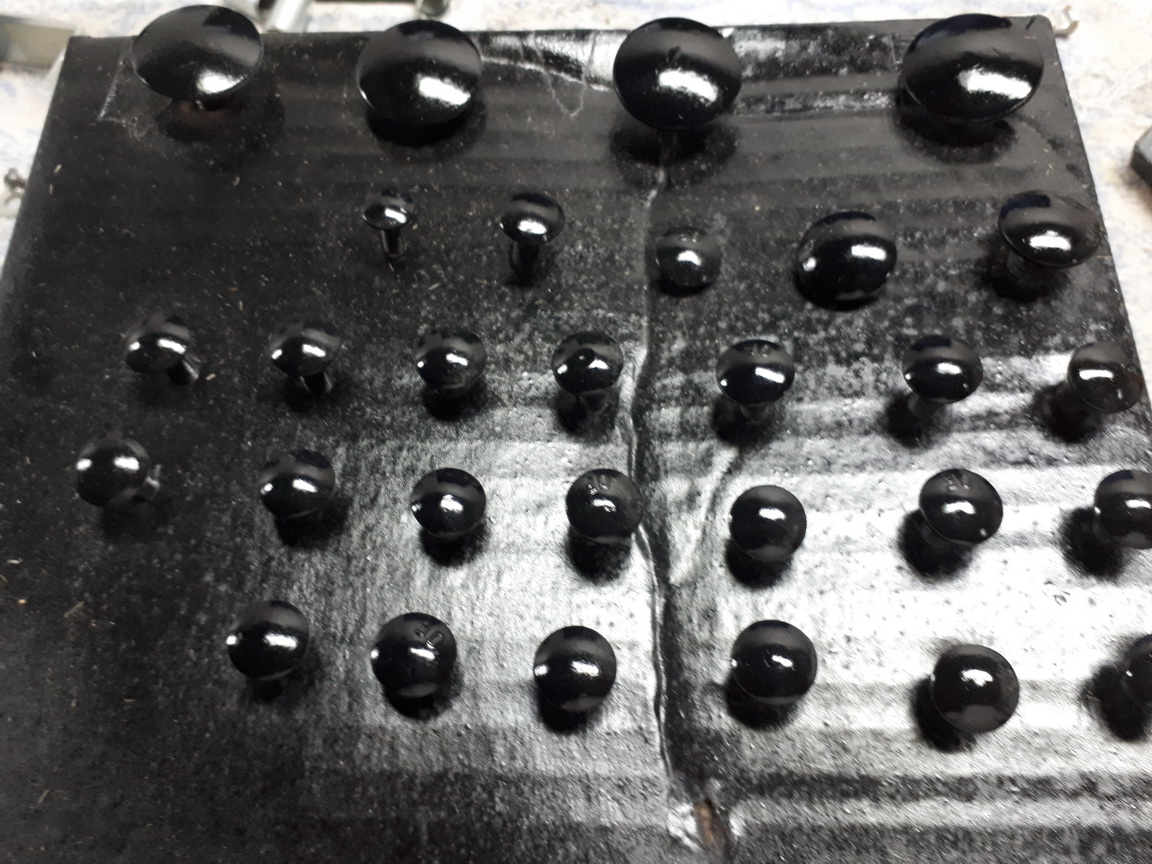
Carriage bolts painted and cleared previously.
Siderails ready to install ;

All other parts, wires and assemblies are installed ;

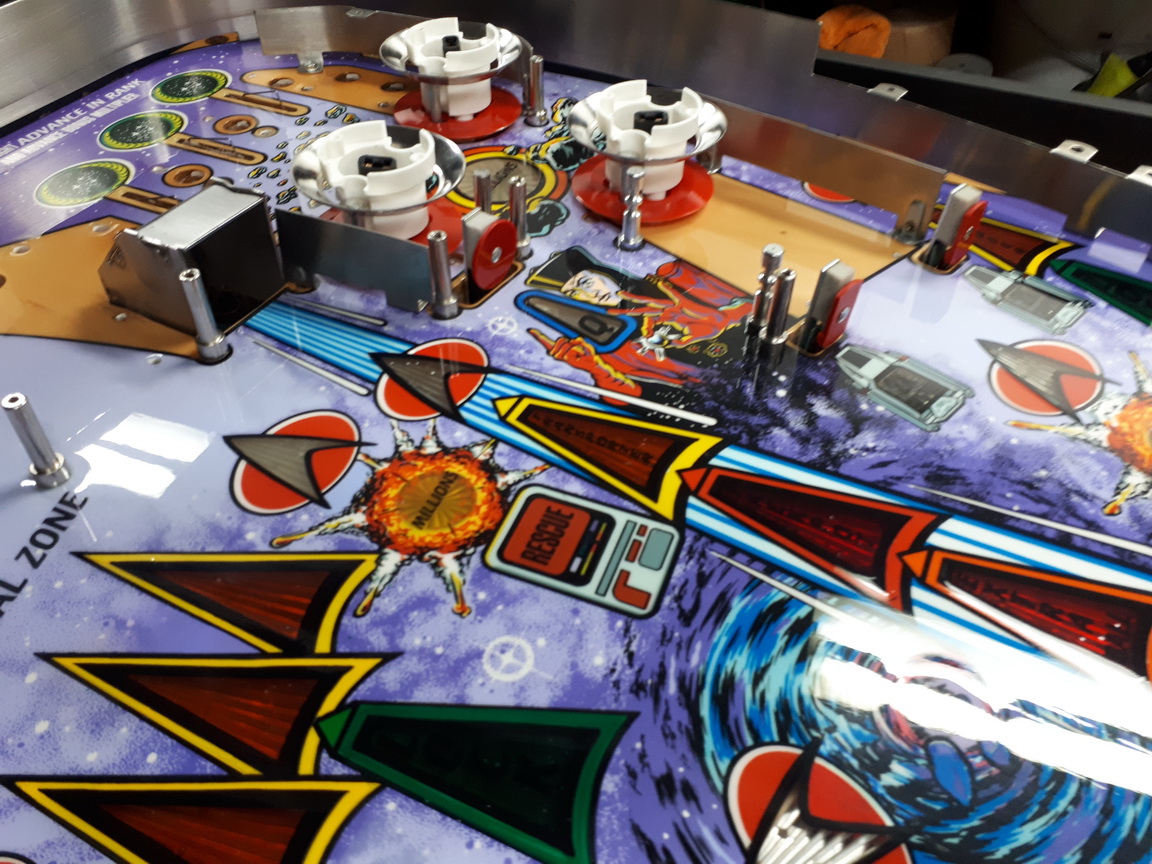
and finally a quick photo of the playfield prior to install !