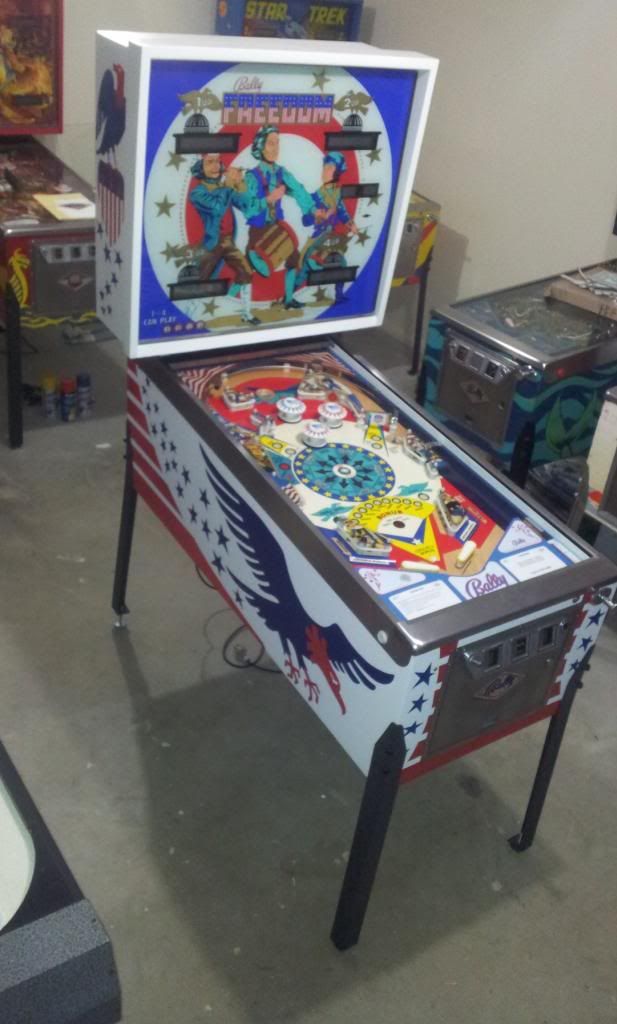
Here’s a title well and truly entrenched from my youth – Bally Freedom. I played the EM version a lot as a teenager around the years 1977 through to the early 80’s. America had celebrated its bicentennial in 1976, and Bally released this to coincide with this anniversary.
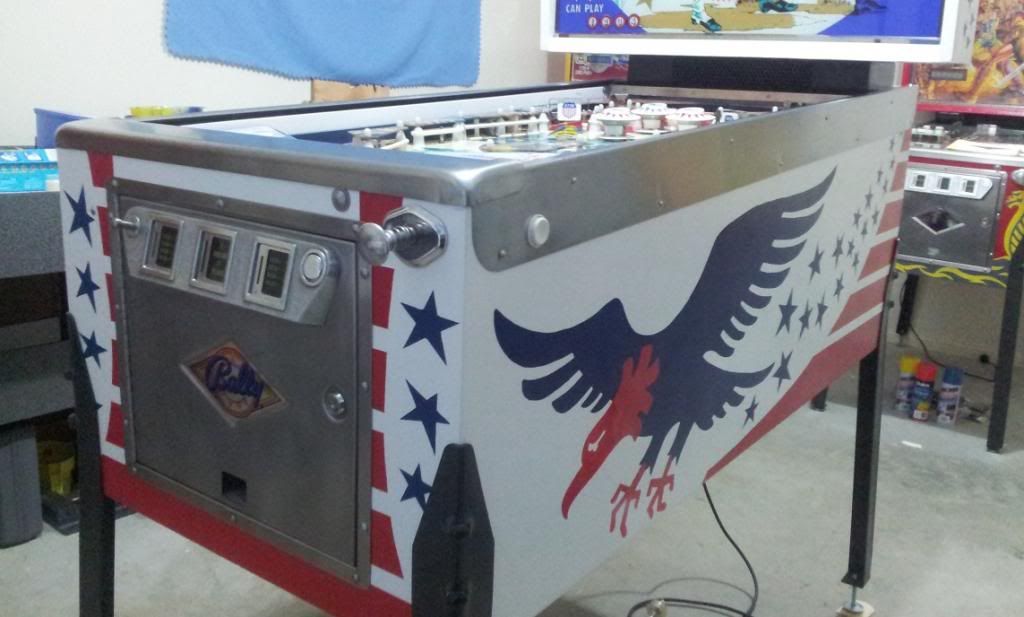
I was very fortunate to pick one up from Michael Shalhoub, as you don’t see many of these here in Australia. This one is the SS version, and Bally’s first real production of their first SS machine. While I was leaning and hoping on getting an EM one, I couldn’t knock back this opportunity.
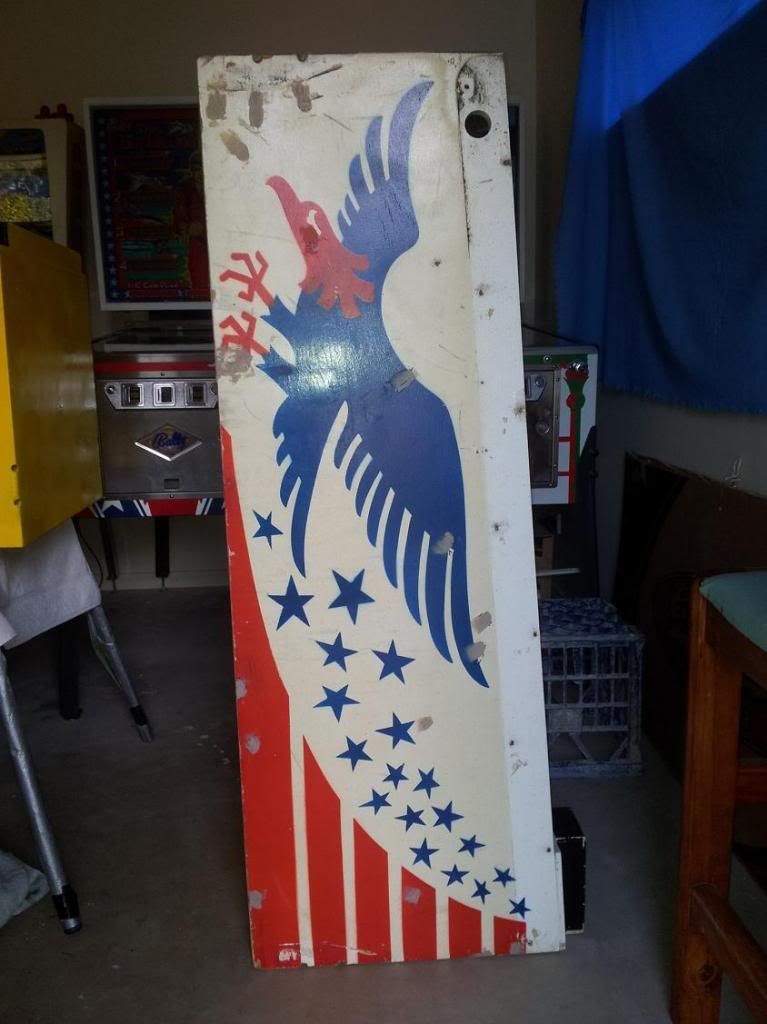
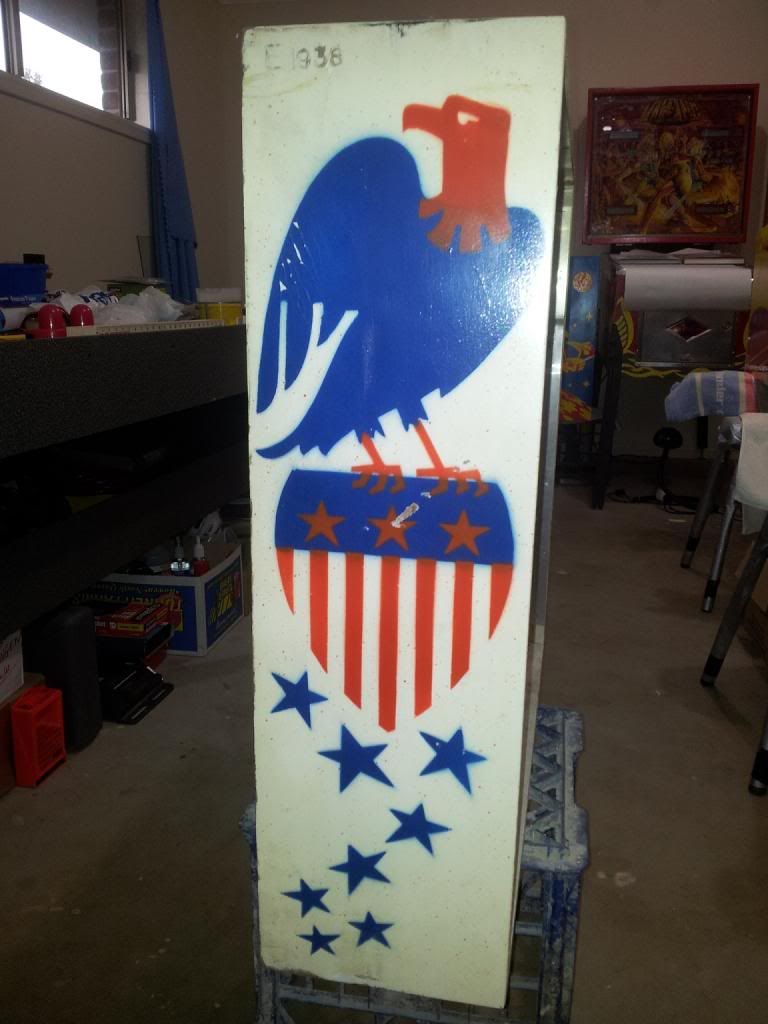
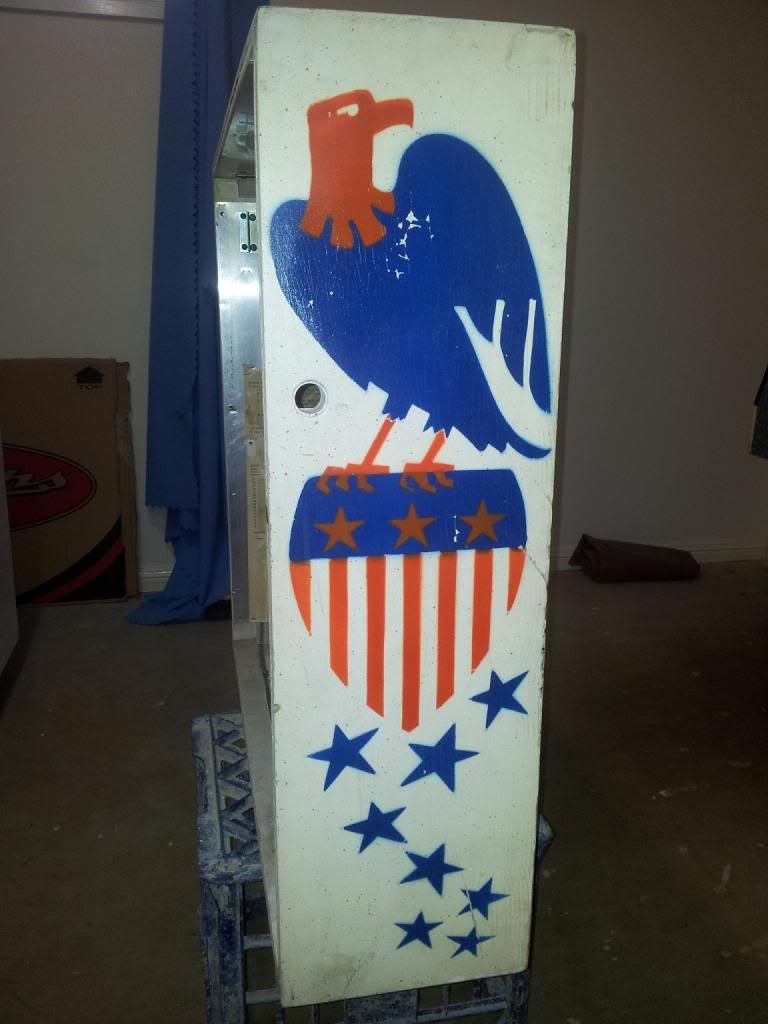
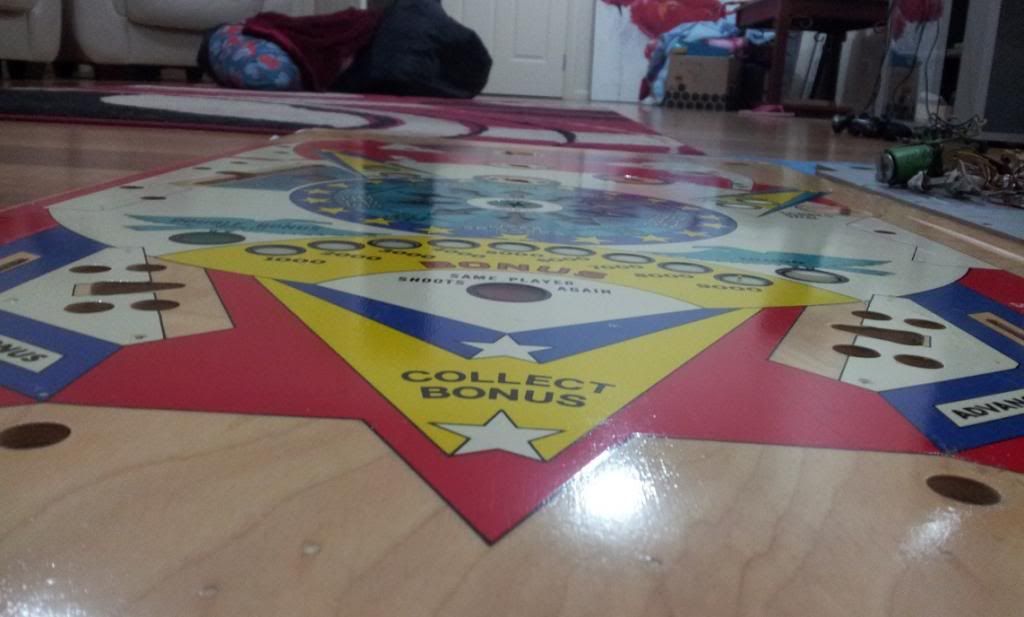
The cabinet had its usual dings, scratches, initials, etc. It was OK, but I decided to create stencils and respray. The playfield was in fairly good condition, but did have a painted pattern applied and few other peculiarities by someone in the past (see image below). The backglass was OK, but had some areas where there was no paint.
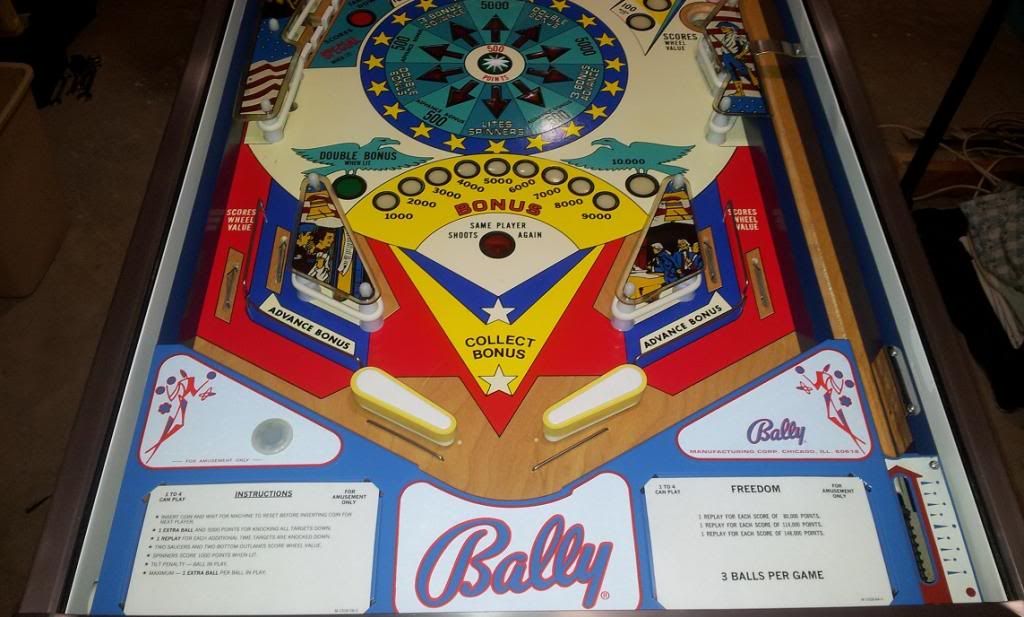
I was fortunate to come across a NOS playfield and NOS backglass. Given that this game had alot of sentimental value, I decided to go ahead with going pretty much the full distance with this one.
Unfortunately I lost a good number of images of the original condition, but did have a few thankfully that survived a hard disk problem. Below are some images of the machine as it was received.
Main cabinet, but at the beginning of filling dents and scratches with wood filler.
Back box
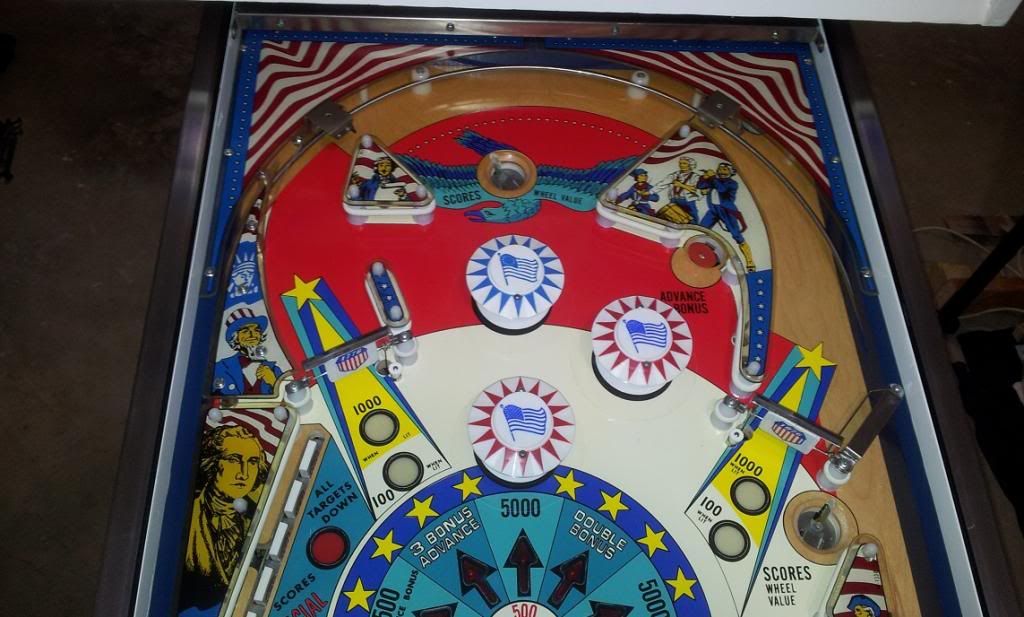
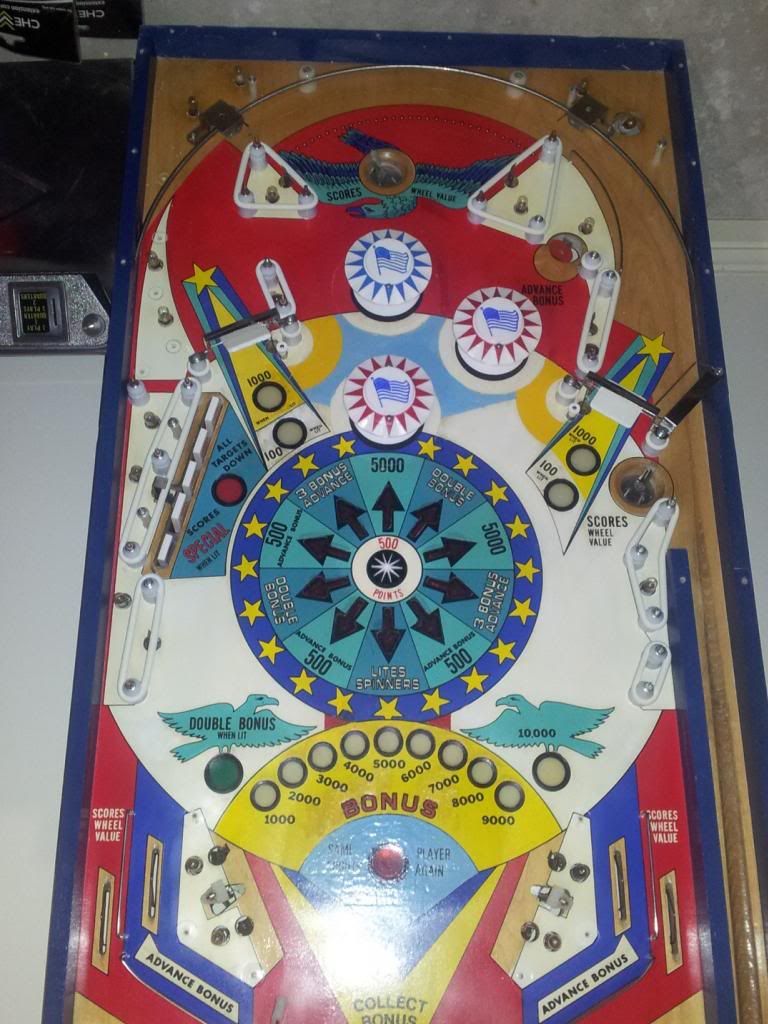
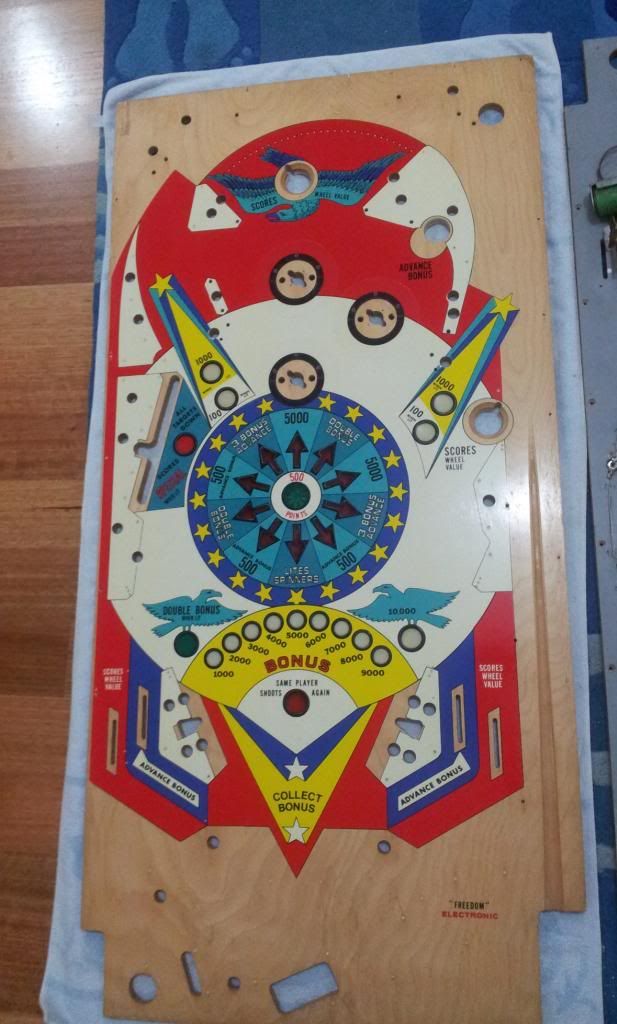
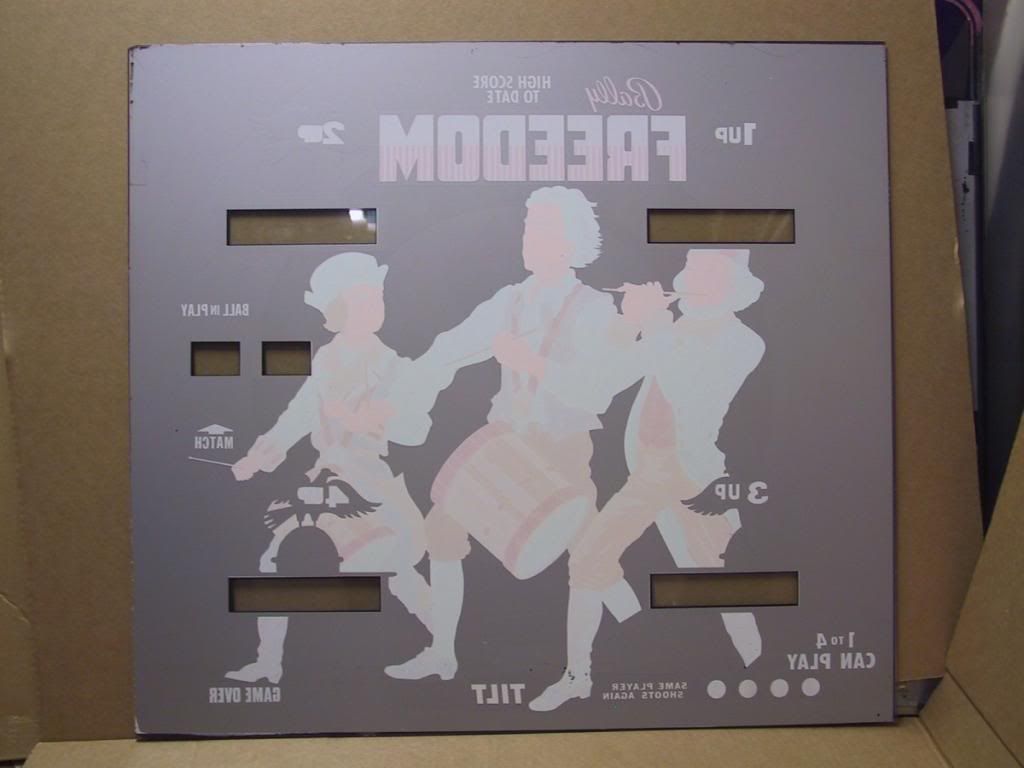
Playfield. I did use magic eraser on this with really good results, but I was annoyed by the alterations done somewhere in the past.
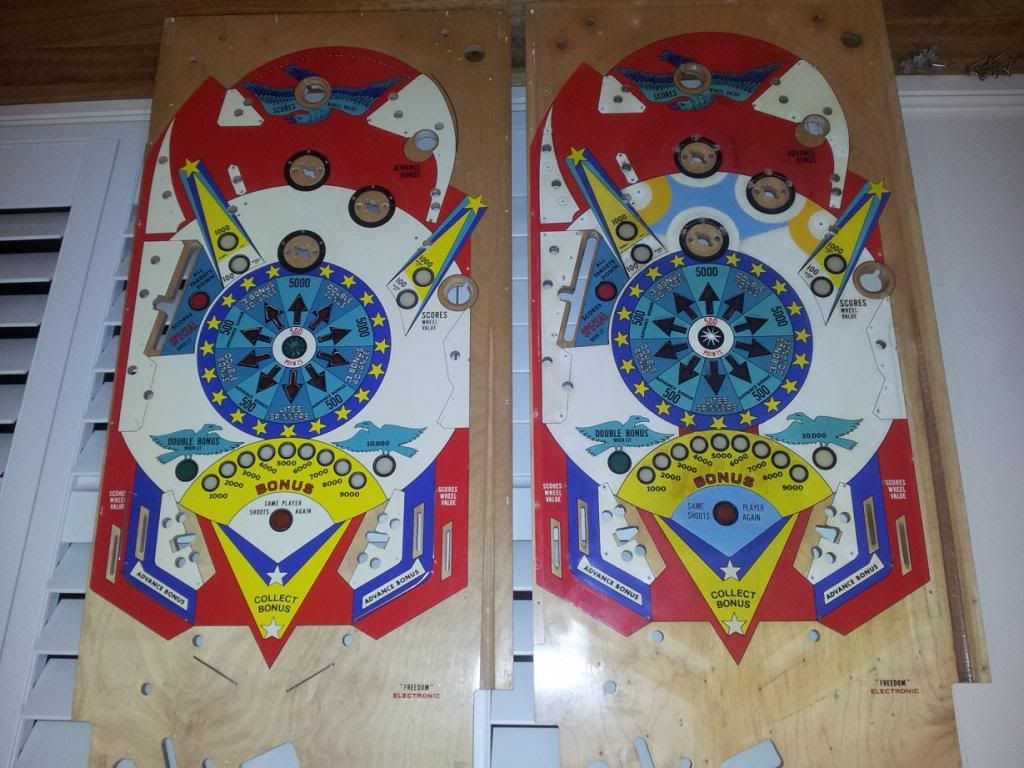
Below is a comparison of the above playfield with the NOS one.
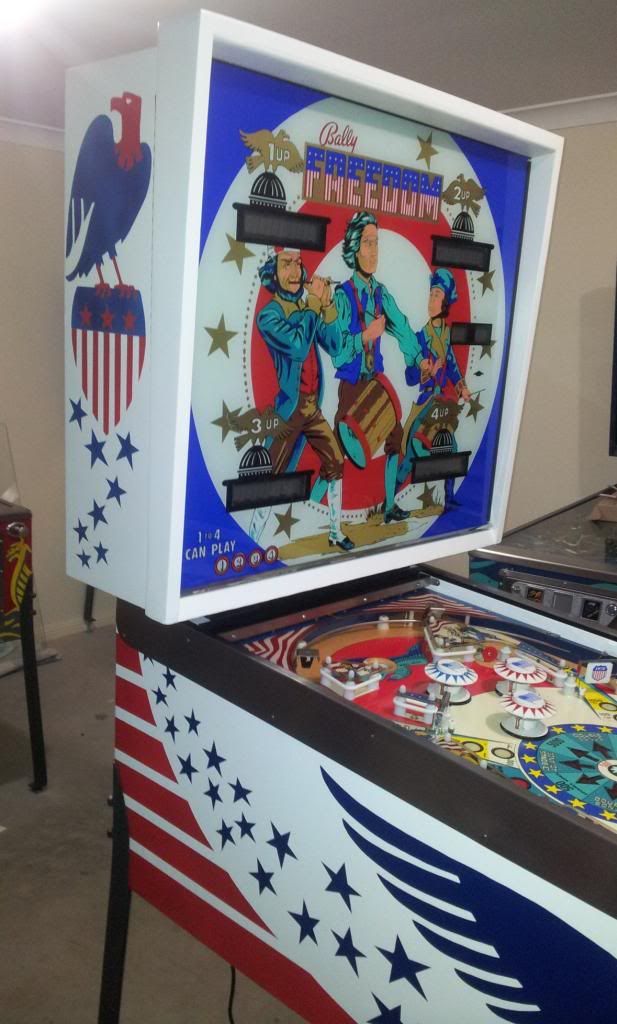
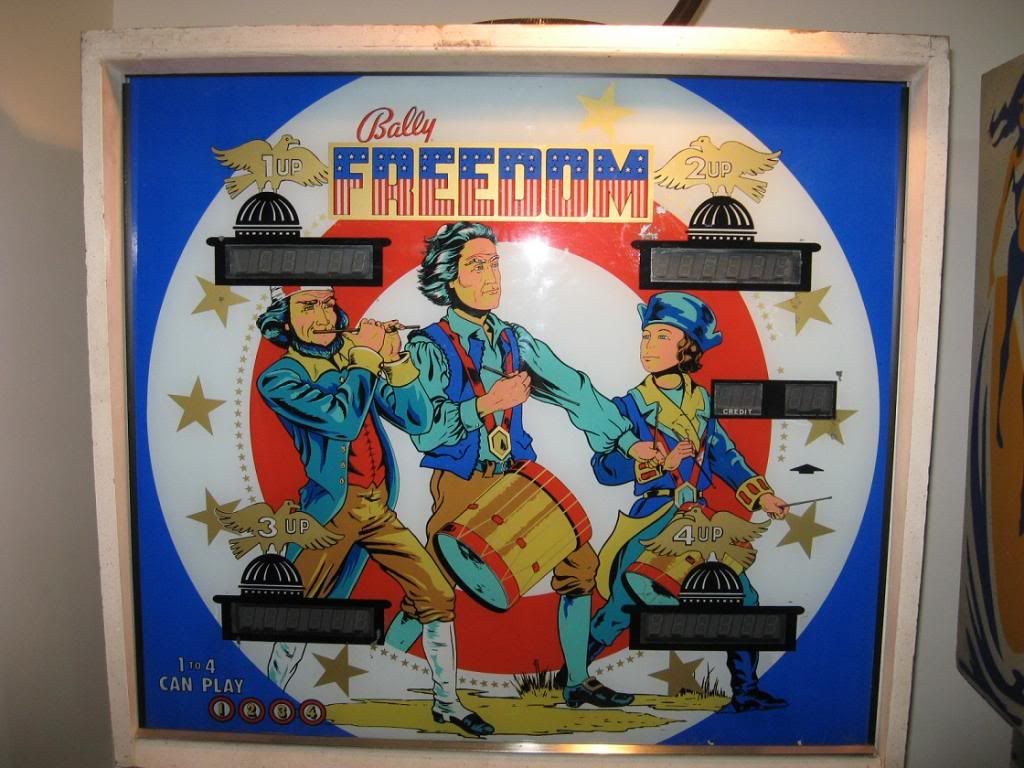
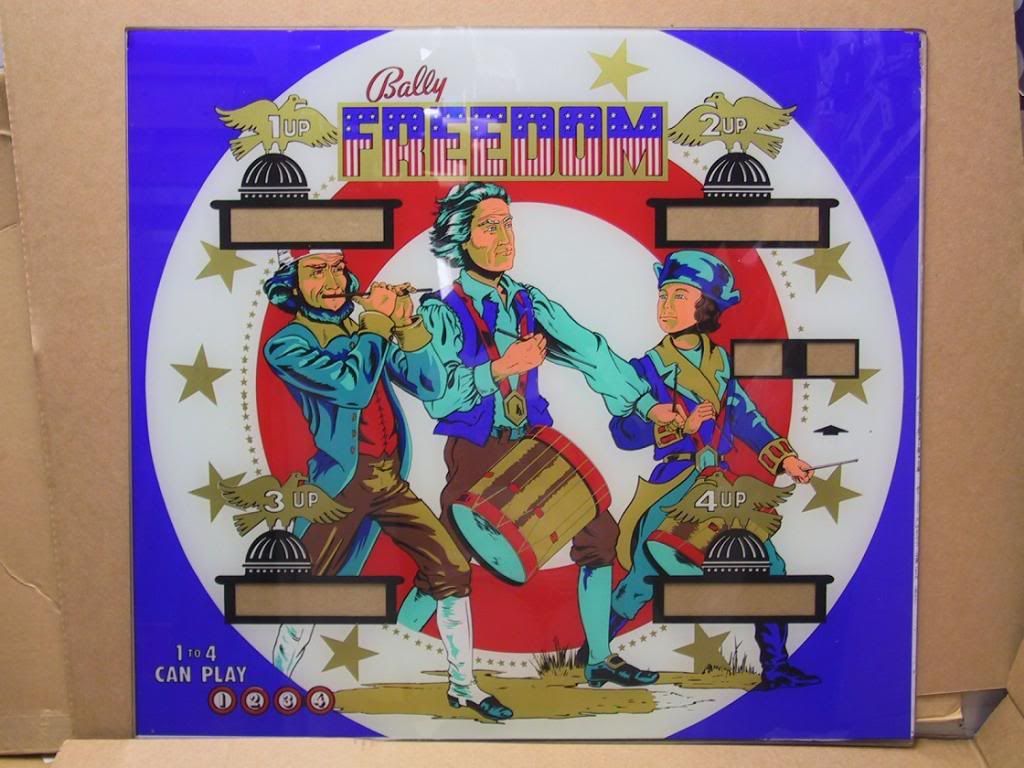
Backglass
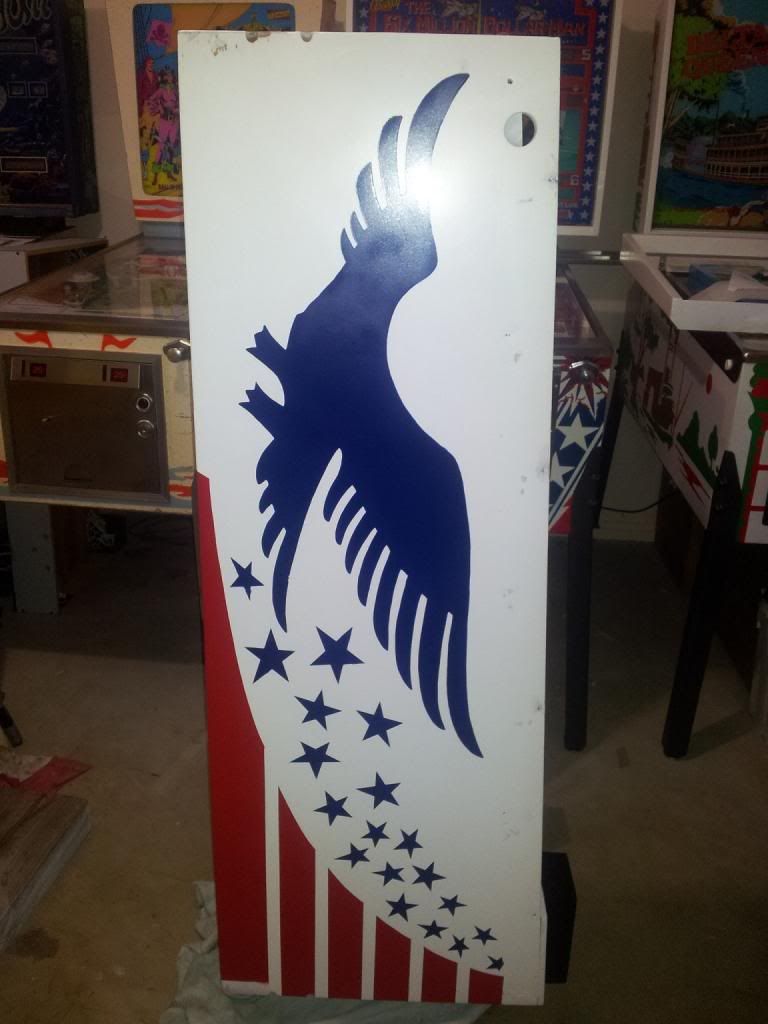
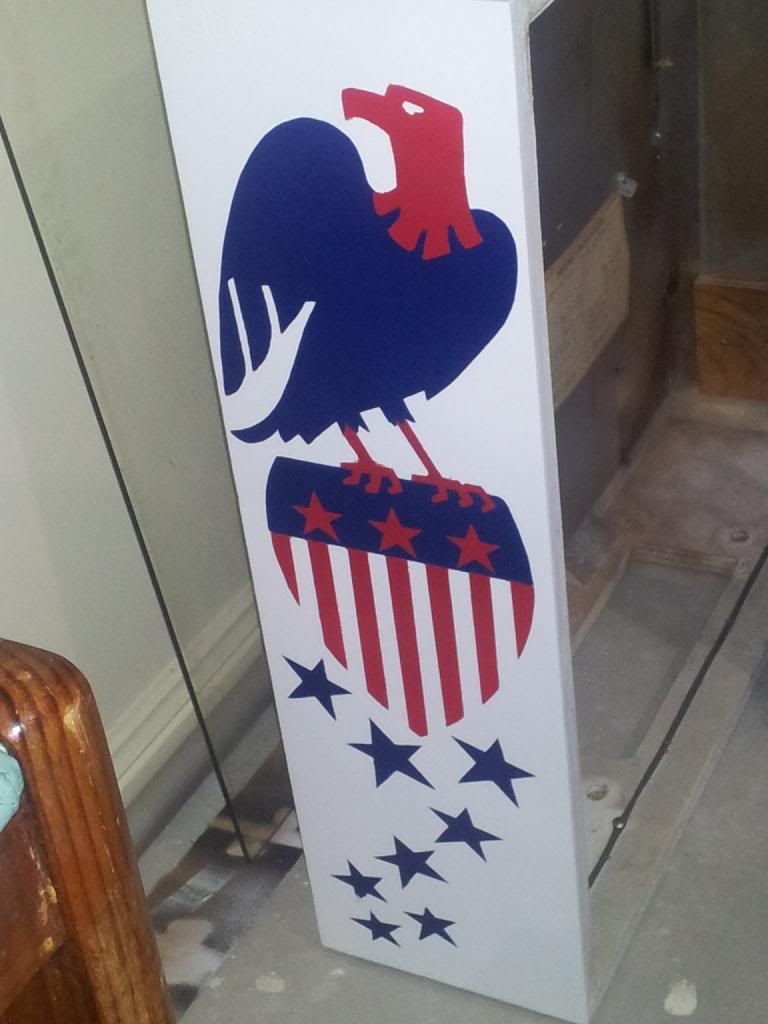
Restoration of the cab followed the same procedure I had used before. First of course was the creation of the stencils, which is covered in detail in my other restoration threads on this forum so I won’t cover it again here. One challenge that was present was that the blue stencil for the side of the main cabinet created a very large hole in the stencil (ie. the eagle). The stencil would have been a nightmare, after spraying with the adhesive, to keep from wrinkling and not laying flat when applying to the cabinet.
I had to create a large cardboard “frame” to hold the stencil flat. I cutout the cardboard (where the blue paint was to be applied), and used double sided tape to press the cardboard frame onto the stencil (the plastic side of it). I could then spray the paper side of the stencil, pick up the whole stencil (now stiffened by the cardboard), and apply it to the cabinet. I use the nail holes on the side of the cabinet as guides to line up the stencil.
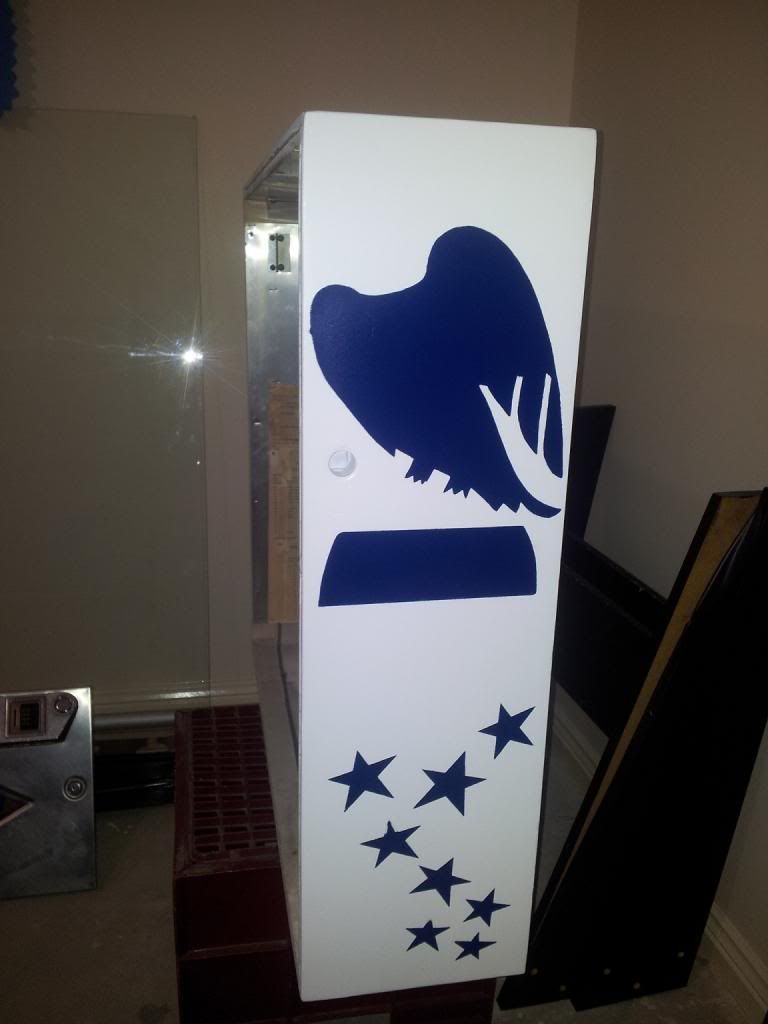
Here is the partial completion of the side of the cabinet – only the eagle’s head and feet left to go.
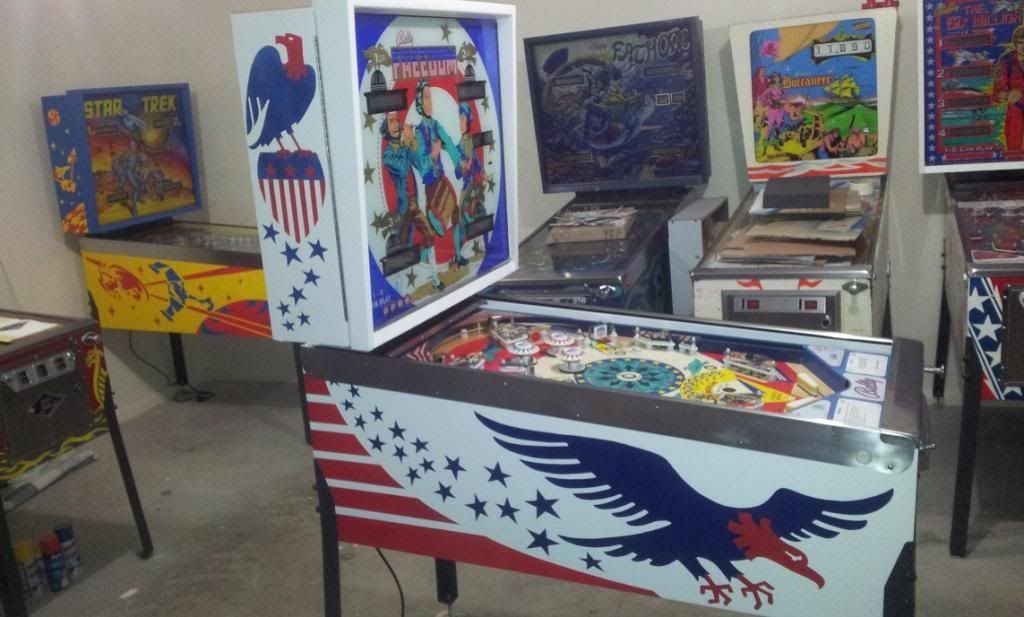
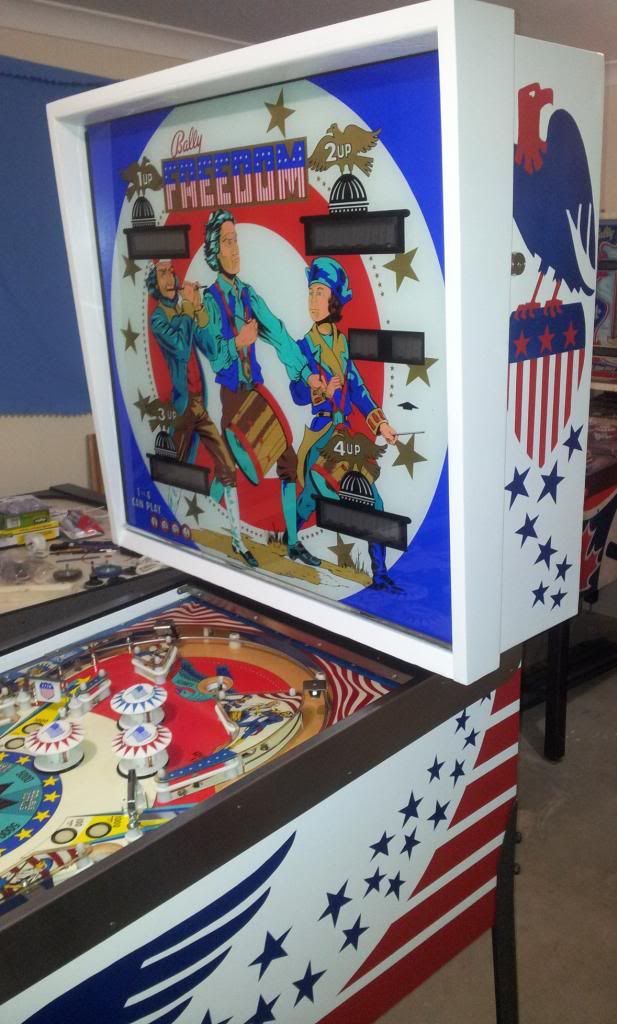
Backbox progress below. Note that in this version from Bally, they used a two part backbox. The part you see here, and the front part (which holds the backglass) was hinged to the rear part. I think this was probably used just once on this title, never to be seen again. When the backbox is unlocked, the entire front part, including backglass and displays, swings away, exposing access to the electronic boards.
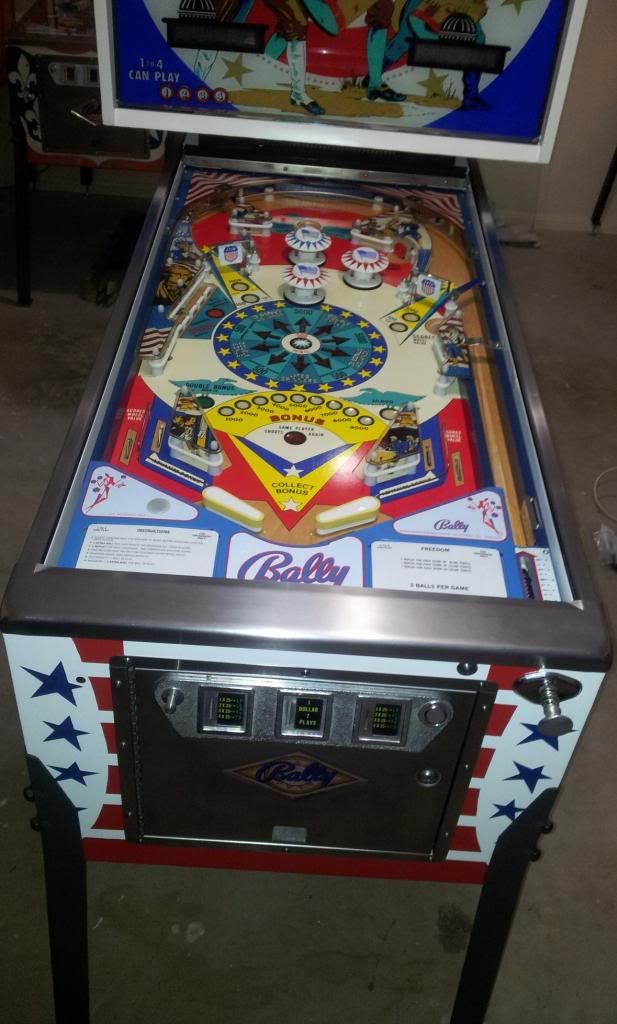
With the cabinet and backbox eventually completed, it was now onto the playfield. I had previously replaced alot of parts of the playfield (drop targets, bumpers, etc), so all that was left to do was the swap. I begin by first applying the thumper bumper mylar rings, followed by two coats of wax.
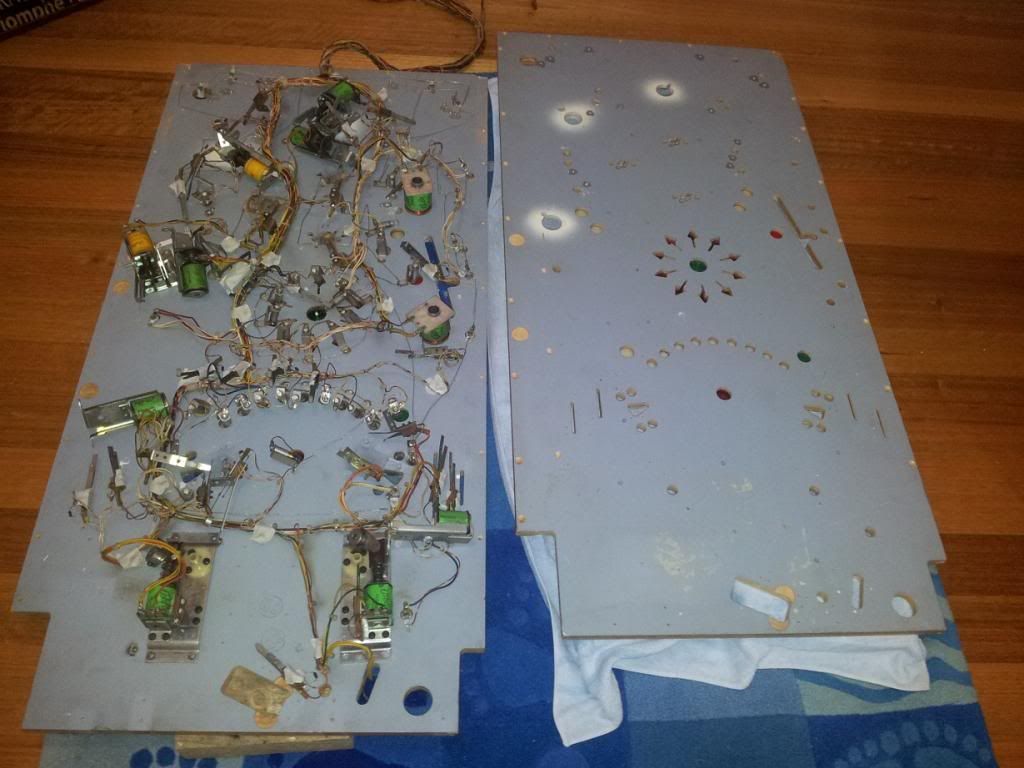
With the original playfield removed from the cabinet, the playfield swap commences. As I have done now on all my playfield swaps, I retain the original illumination wire. All braid staples are removed with a small chisel, and all the screws holding down everything come out. I use masking tape to tape the wire harness clamps and their screws to the wire harness – this maintains the same position of the clamps on the new playfield. Before transferring over to the new playfield, the new playfield has all of its new tee nuts installed. Here are the two playfields just before transfer.
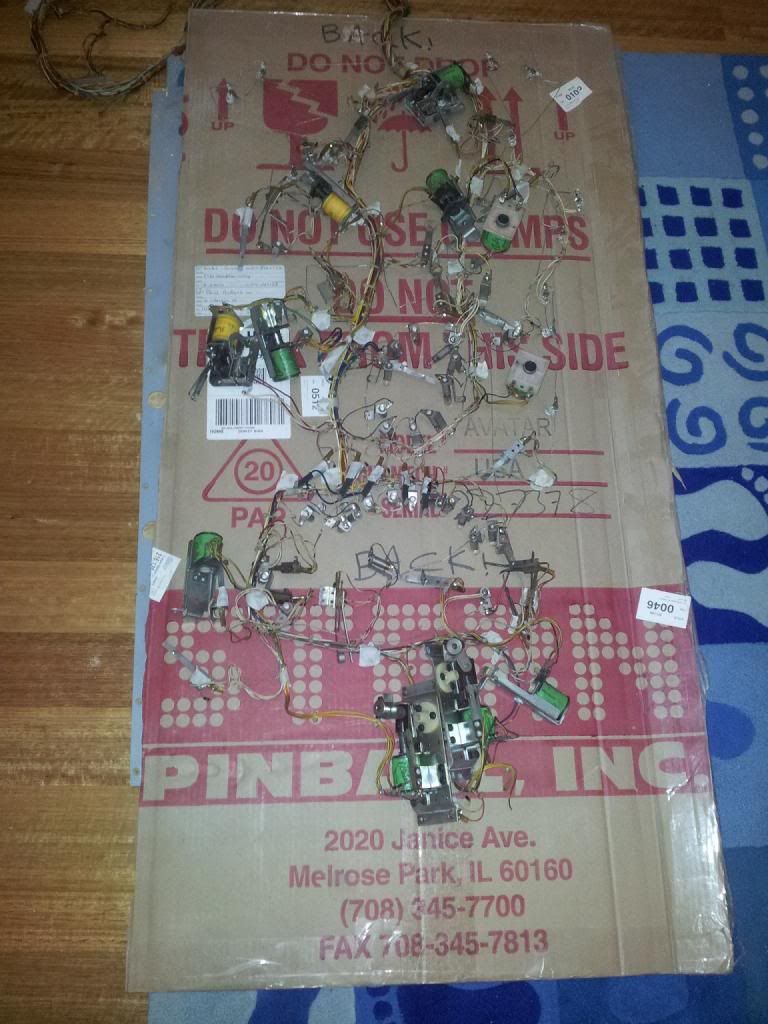
Once everything is free to move on the original playfield, I begin the process of slowly inserting a large, playfield-size piece of cardboard at one side of the playfield. This is pushed slowly across the playfield, and it is an iterative process of pushing a bit, placing some of the under-playfield components on top of the cardboard, pushing it a bit again, place some more components, etc, etc. All until the entire under-playfield components are sitting on the cardboard, as per the following image.
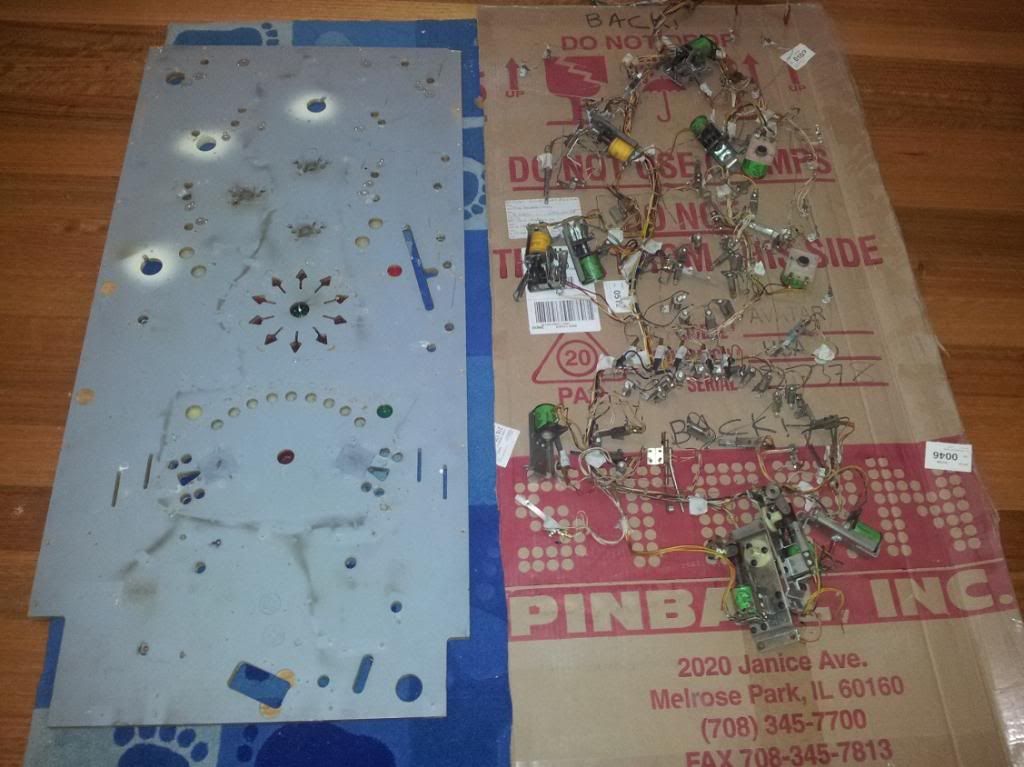
The new playfield is then placed next to the cardboard, and it is quite easy to literally slide all of this onto the top of the underside of the new playfield. Now begins the task of fastening everything down to the new playfield. The wooden playfield rails were resprayed with a fresh coat of paint, and fastened onto the playfield.
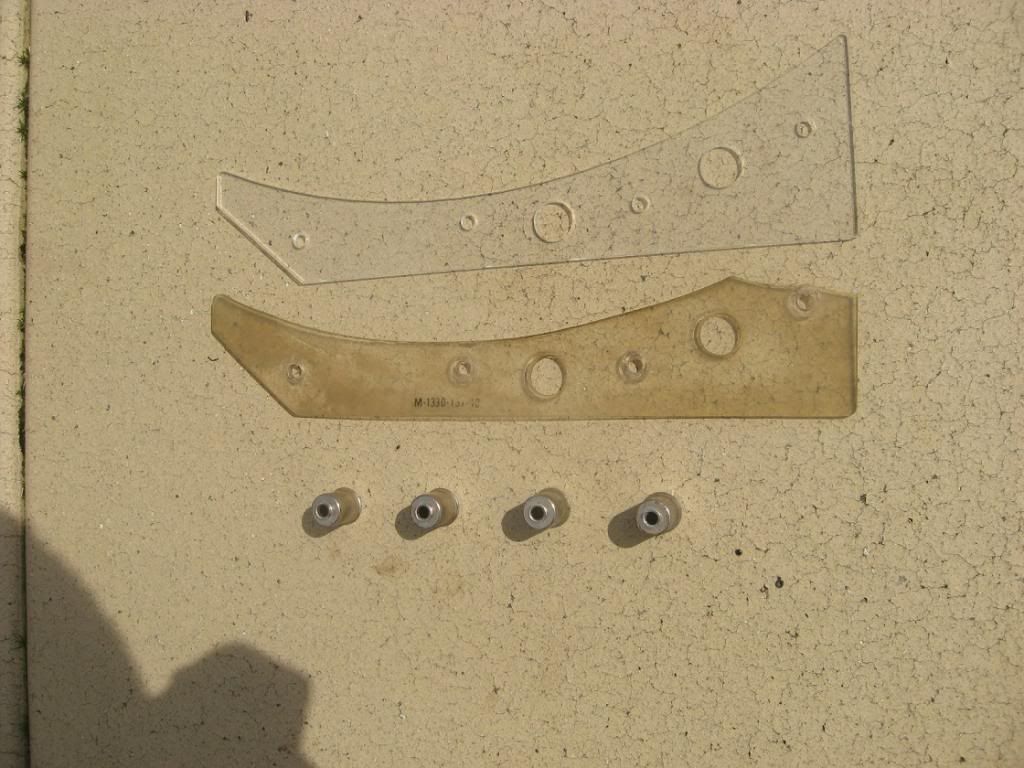
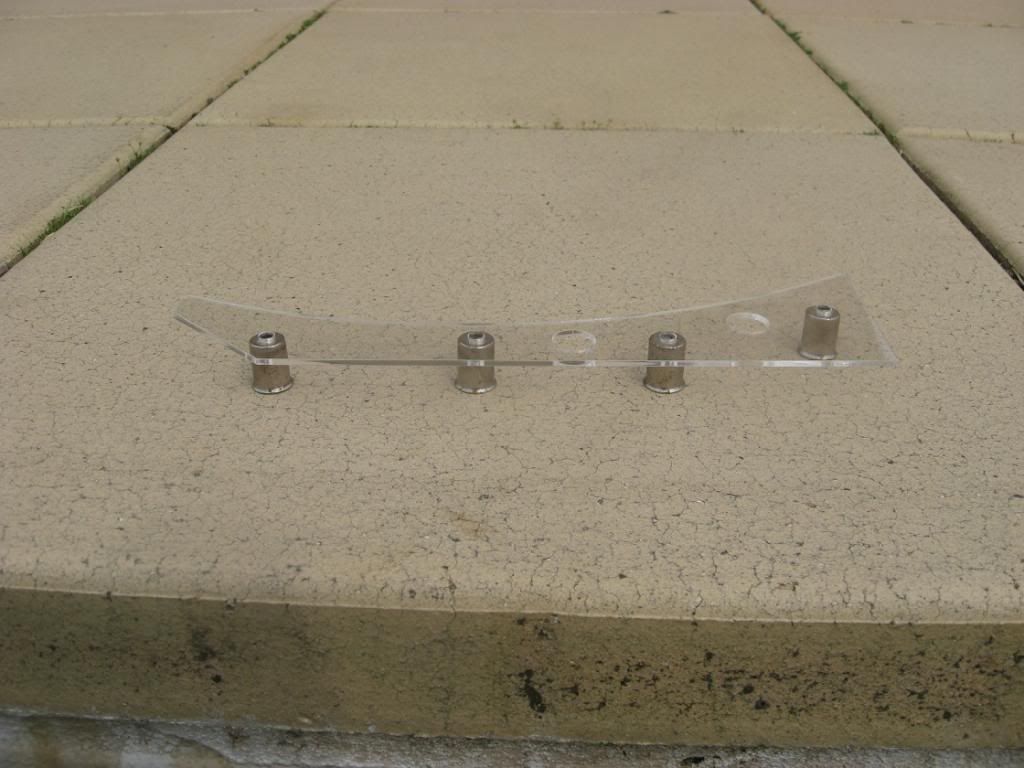
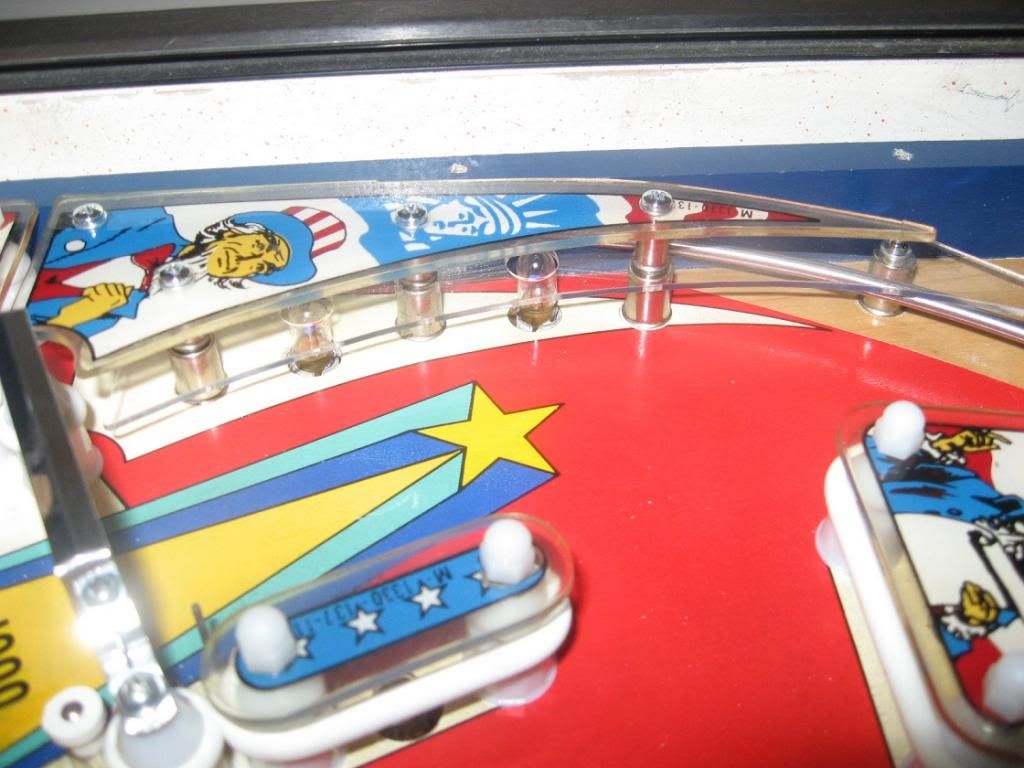
One thing I would like to draw attention to is that the game had a broken plastic. Mike (homepin) was very kind to recreate this clear plastic for me, and the result was a perfect match to the original. It was then just a matter of removing the supports from the old and onto the new.
Here is the NOS backglass. I was fortunate to score this from Mike Pacak in the US. He somehow must have the touch with the PO there, because shipping to Australia was about $100. Can’t beat that.
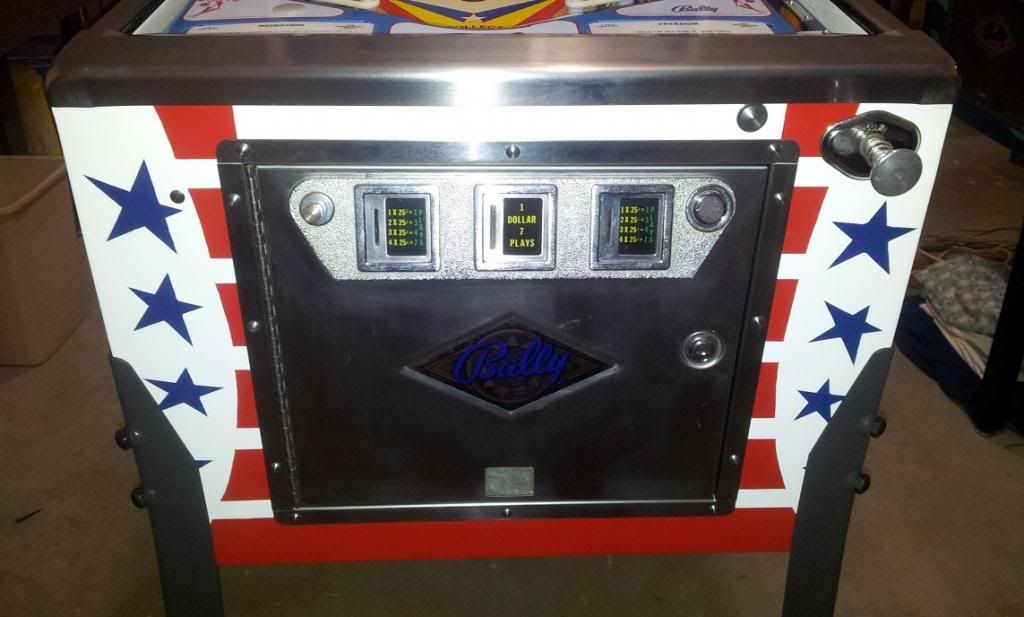
Here is the final set of images. There were lots of new parts – all plastic pop bumper parts, posts, post caps, slingshot kicker heads, flippers (and complete flipper rebuilds), drop targets, standup target, star rollover, flipper buttons, locks, leg bolts, etc. The apron was also resprayed with a new decal.
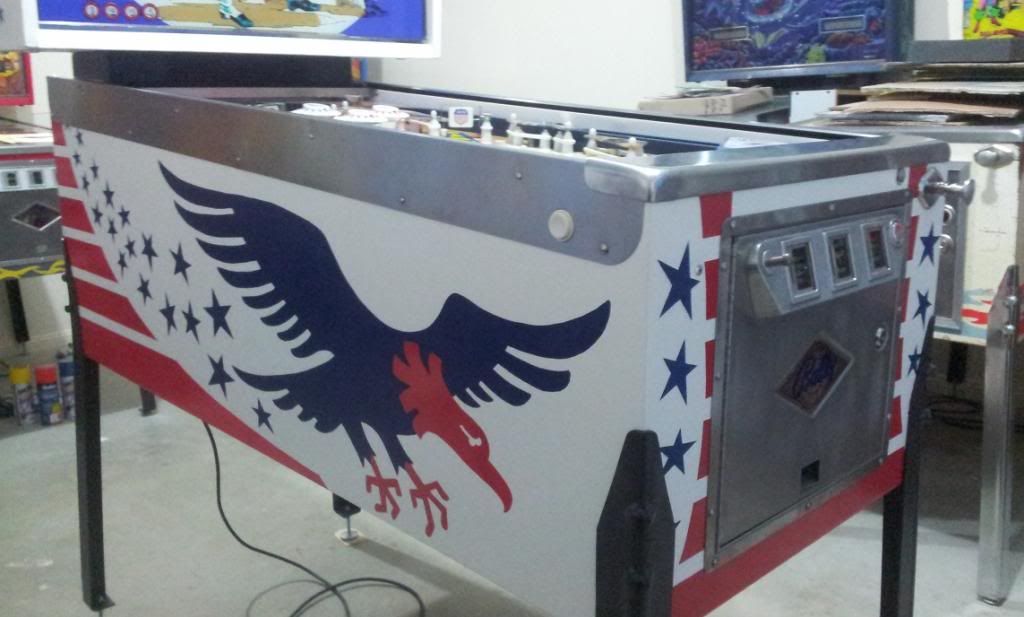
Legs were sanded backed, primed with etch primer, and painted gun metal grey. Siderails of cabinet were regrained using scotchbrite, with new nails installed.
That will do it. Once again, alot of work and hours, but I am very happy with the result. Especially given this is an oldie but one that brings back alot of great memories.