Hey guys,
Well, its been a while since my last update. I've been working hard to get the playfield refinished and ready for its final clear.
In my last post, i detailed how to mask colour sections with the frisket, and provided an example with the light blue sections.
I wont spend too much time talking about the process here, as it is essentially the same each time.
I have tried to keep as much of the playfield hidden up until now, so i can talk about the wear spots and problems i have assessed in one post.
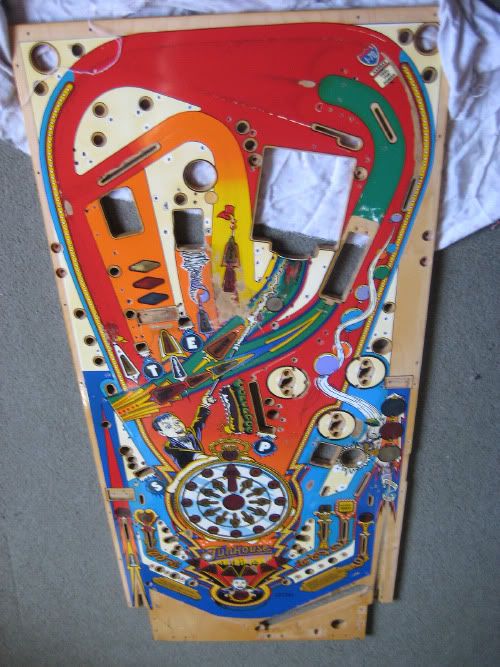
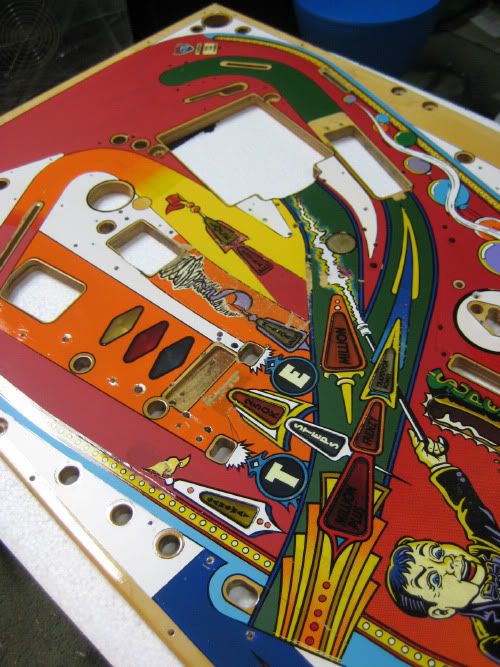
Here is a breakdown of the primary areas that needed refinishing...
Full playfield inspection...
Highlighted areas...
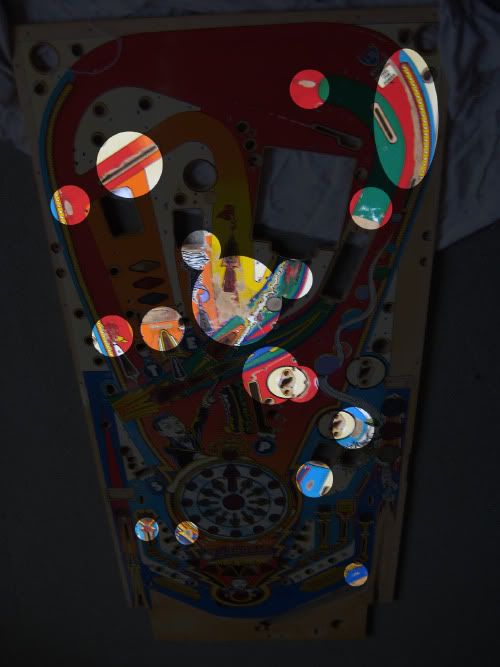
And the lower PF...

These areas have already been 'touched up' by an operator, and they havent done a very good job. Red nail polish, textas and sharpie markers have all been used. Some areas have been worn right down to the wood grain.
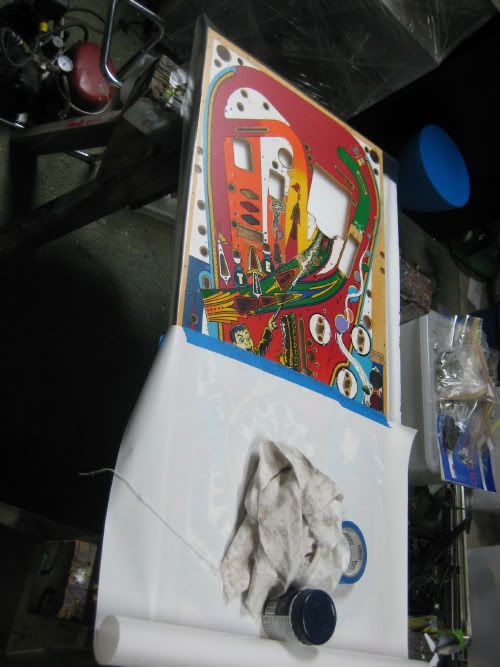
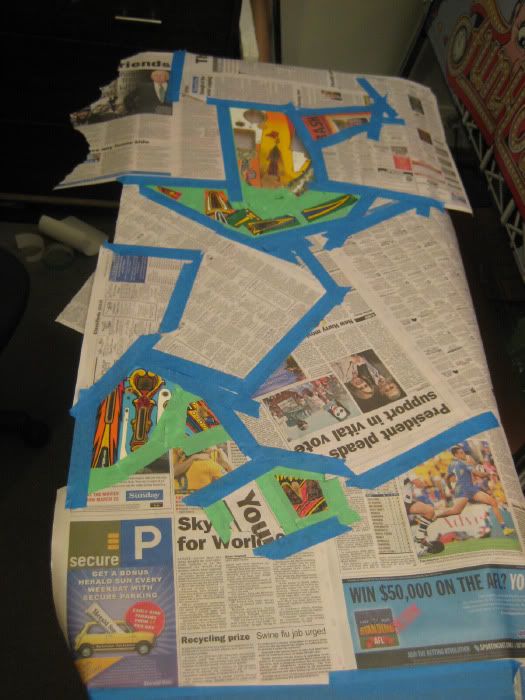
Similar to the light blue, i masked off the green section...
And hit it with a fresh green paint...
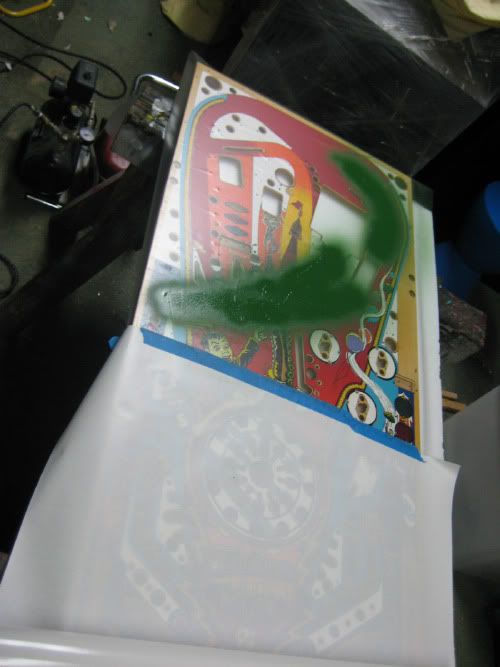
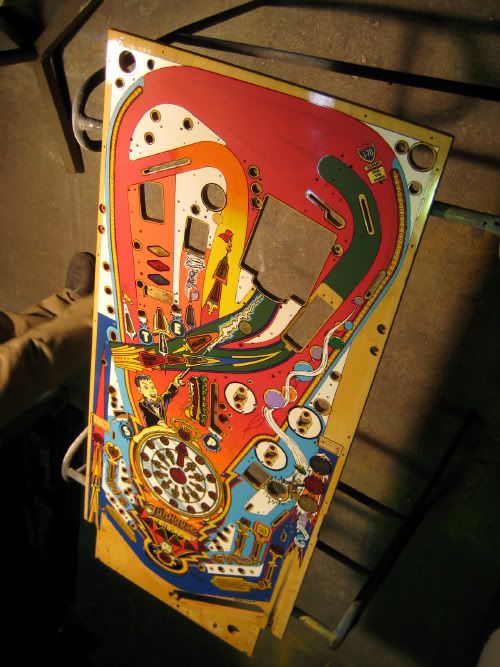
I removed the mask and was left with this result (this photo also shows the red completed too)
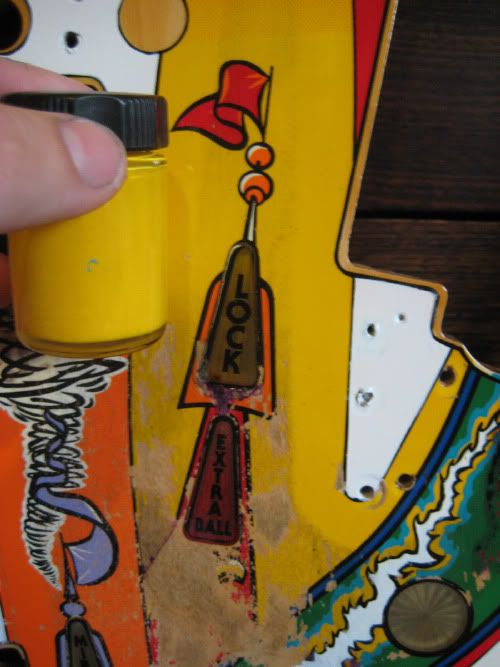
The funhouse yellow was a tough one to match. Studying the colour; its not a bright yellow, nor is it a deep golden colour. The yellow i had was CLOSE, but not perfect by the time it had cured. I mixed some orange and gradually added this to tone up the yellow in my cup.
I mixed it gradually and constantly compared the tone as i added even the slightest tint. I also thinned this in the cup by adding a few drops of the airbrush/flow medium i talked about in a previous post.
This picture shows the match, and also the extent of playfield damage that i had to cover. The red section which has a small crest/arrow is non-existant. This will be painted back in later...
Masked and ready to go...
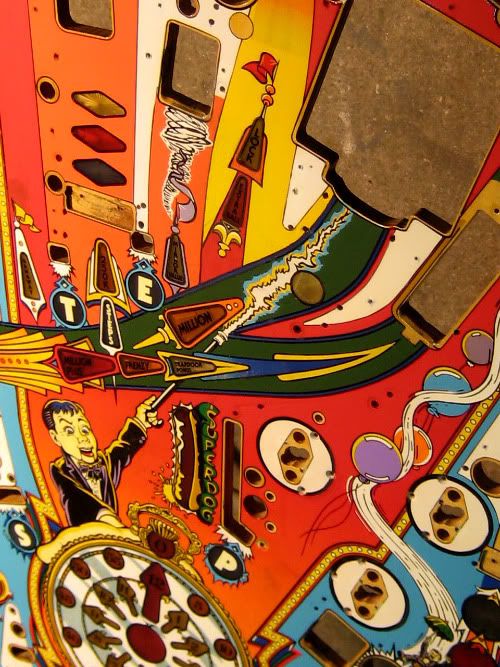
After blocking in all of the primary colour areas, i had to paint in some smaller areas by hand. This was the most time consuming, but the most rewarding. I guess about 60% of the the black lines needed to be refinished on the playfield. I repainted the crest which sat on the red area of the multiball lock section, and gave the lightning bolt leading to Rudy's mouth a new lease on life.
The playfield ready to clear...
Closeup of the most troubled areas (Now refinished)...
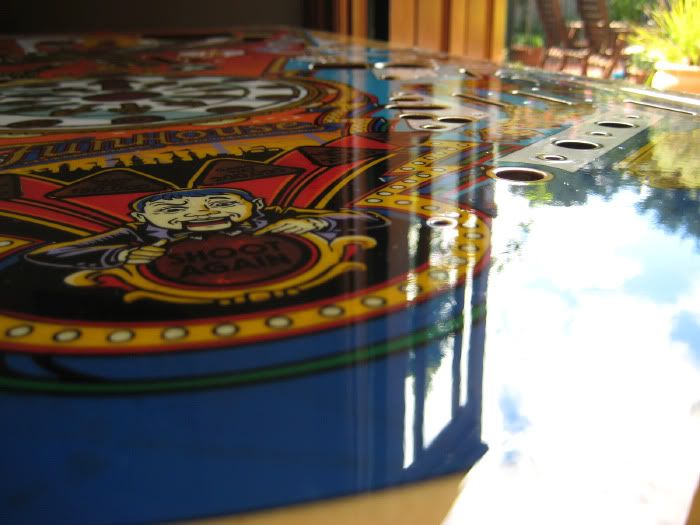
After comparing what i had, to what i had now achieved - i figured it was time to seal up the playfield. The results from the clearcoat are as follows. Please note, It hasnt been cut back, or buffed/waxed etc, this is straight off the gun. Tomorrow, i'll give it a wet sand with 1500 - 2000 grit, and after a couple of days, i'll compound what i have and polish it up with a buffing wheel.
Nice and level...
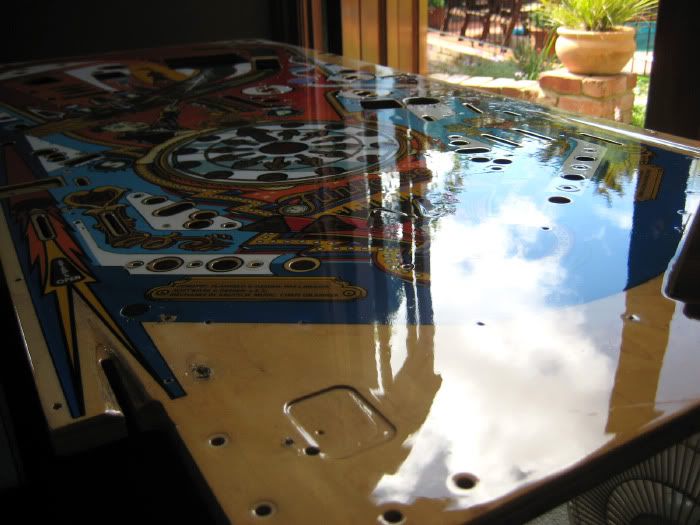
Very happy with the results straight off the gun...
Stay tuned for the next update...
el_timbo


