Author Topic: el_timbo's Terminator 2 Restoration...  (Read 7947 times)

0 Members and 12 Guests are viewing this topic.

Offline bwodie

  • Trade Count: (0)
  • ****
  • Forum Posts:
Re: el_timbo's Terminator 2 Restoration...
« Reply #60 on: August 02, 2010, 05:28:31 PM »
Wow tim, they look really great
there was some really crappy repro side art for t2 floating around a few years back. The biggest issue seemed to be the fluro orangey colour that goes around the body

Offline andnic

  • Trade Count: (0)
  • **
  • Forum Posts:
Re: el_timbo's Terminator 2 Restoration...
« Reply #61 on: August 02, 2010, 07:52:53 PM »
Awsome work Tim, the decals look fantastic.

Can I ask what you used to scan them with and how you go for matching the colours.


Offline pinball god

  • Trade Count: (+1)
  • ******
  • High Score Initials:
  • Forum Posts:
  • Melbourne
  • Metallica is here to stay
Re: el_timbo's Terminator 2 Restoration...
« Reply #62 on: August 02, 2010, 07:55:47 PM »
Amazing, will look at the resto progress of this one.  @@*

Not saying this is the case here, but I purchased decals from Wayne a couple of years ago for my ToM and where I position my fingers near the flipper buttons have worn the print away very quickly. Unsure the method you used but mine are definitley inkjet style. So it may be advantageous to maybe install cabinet protectors around the flippers to avoid this for your customer. I think I've seen clear ones like you put around pop bumpers???

« Last Edit: August 02, 2010, 08:00:21 PM by pinball god »
Still loving my Metallica Premium

Offline el_timbo86

  • Trade Count: (+1)
  • *****
  • High Score Initials:
  • Forum Posts:
  • Geelong, Victoria
    • Hot Rodded Pins
Re: el_timbo's Terminator 2 Restoration...
« Reply #63 on: August 09, 2010, 01:29:33 AM »
Hey guys,

I've been flat out the past few weeks getting things set up regarding Pinball Tales. I have been getting to know some of the new air tooling, and i will be introducing the next stand-alone service later this week as a result. My T2 playfield was the crash test dummy (so to speak), but preparation is key...and it certainly paid off this time  #*#
I will be getting back to all of my clients over the next week who have contacted me regarding playfield work (you know who you are  ^^^)

Thanks again for all the kind words on the T2 restoration guys- its slowly getting there  *!@.

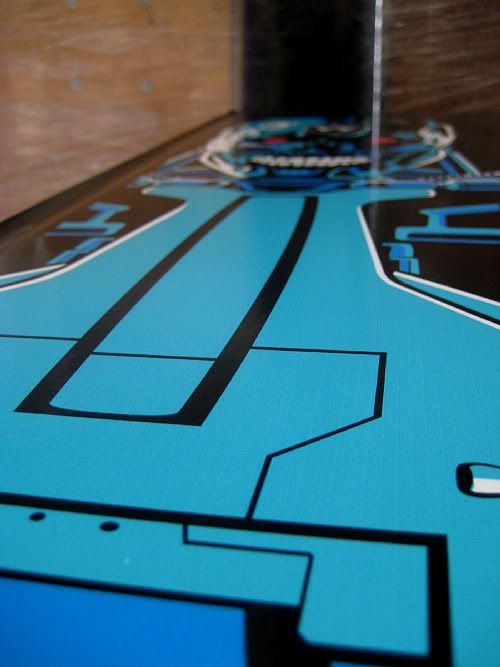
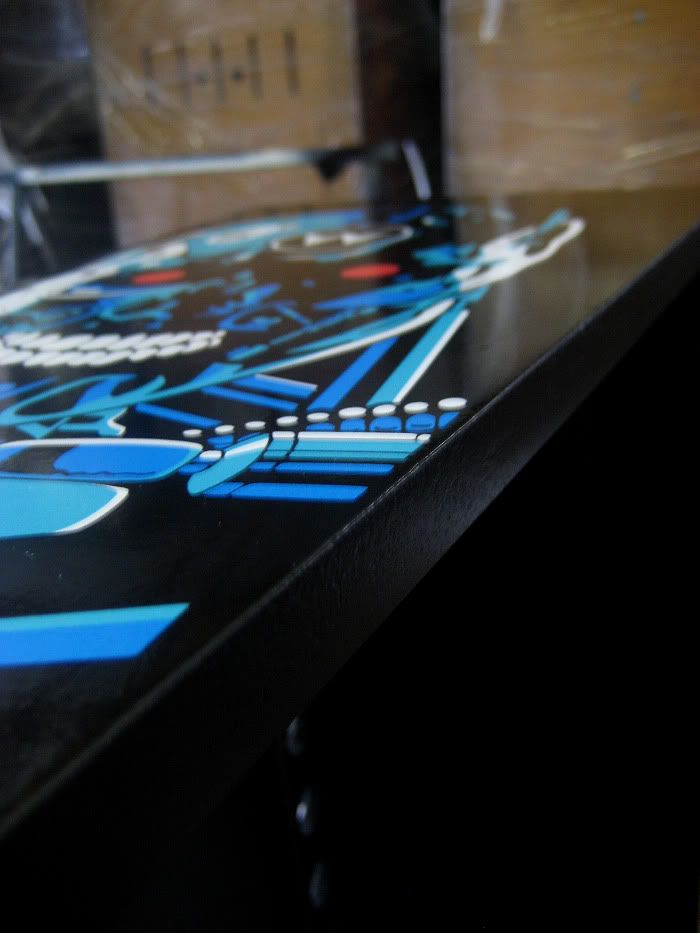
Anyway - here are my latest results. Once i had applied the new insert decals, a VERY thin clear was applied and left to cure over a few days. From here, i blocked back the coat and began to level out the playfield. The clear has now built up really nice. The photos show the result straight off the gun. A cut and polish should really get the playfield looking perfectly level.

Instead of posting lots of different angles, i thought a video clip could be cool as well. At least you can see some shiny movement  :lol

ONE snap...


ONE Video - (the quality will improve once youtube processes it)


Hope you had a good weekend guys -

Timbo

Offline Caveoftreasures

  • Trade Count: (+16)
  • ******
  • Forum Posts:
Re: el_timbo's Terminator 2 Restoration...
« Reply #64 on: August 09, 2010, 02:54:12 AM »
AMAZING WORK.

It doesnt get better than that. Well done Timbo.
I know where i will be sending my T2.

 ^^^ ^^^ ^^^ ^^^ ^^^ ^^^ ^^^ ^^^ ^^^ ^^^
Behind every garage door could be a pinball collectors
"Cave of Treasures" 55 in my collection

Into  Stern -JJP - Cars , Road Bikes- Jet Skis - Star Trek n Sci-Fi & Electronics    
Beware of Stalkers & Walkers when playing The Walking Dead

My 7yr old son Hunter is my best mate in the world !

Offline Strangeways

  • Pinball Restoration is my passion
  • Administrator
  • Trade Count: (+9)
  • *****
  • High Score Initials:
  • Forum Posts:
  • Melbourne
  • ABN 68 283 634 461
    • Ride The Boney Beast
Re: el_timbo's Terminator 2 Restoration...
« Reply #65 on: August 09, 2010, 09:59:39 AM »

Impressive work, Timbo !

Can't get any more professional than that !
Aussie Pinball - Proud to be Australia's Premier Pinball Forum

http://www.australianpinballrestorations.com.au/

http://www.rtbb.com.au/catalog/

We carry the largest range of NEW Ramps in Australia

Offline Mr Pinbologist

  • Trade Count: (+5)
  • ******
  • High Score Initials:
  • Forum Posts:
  • Wauchope NSW
Re: el_timbo's Terminator 2 Restoration...
« Reply #66 on: August 09, 2010, 02:32:48 PM »
two words come to mind... F##KIN' AWESOME  ^^^ ^^^ ^^^ ^^^

Offline ddstoys

  • Trade Count: (+23)
  • ******
  • High Score Initials:
  • Forum Posts:
  • Geelong
Re: el_timbo's Terminator 2 Restoration...
« Reply #67 on: August 09, 2010, 08:10:28 PM »
I'm actually a little disappointed with that effort tim it looks terrible specially with all the cloudy bit but I suppose it's been hard to get a nice day in the reflection specially in Geelong.  Bloody playfields come up well though!   

   But seriously to be able to see the clouds outside shows just how smoothnand shiny that baby is TOP WORK

Offline ktm450

  • Trade Count: (+1)
  • ******
  • High Score Initials:
  • Forum Posts:
  • Geelong, Victoria
Re: el_timbo's Terminator 2 Restoration...
« Reply #68 on: August 09, 2010, 09:44:56 PM »
 $%$ AWESOME  $%$

Offline necroscope

  • Trade Count: (0)
  • *****
  • Forum Posts:
  • Romsey Vic
Re: el_timbo's Terminator 2 Restoration...
« Reply #69 on: August 09, 2010, 10:36:10 PM »
To state the obvious tim awesome work mate ^^^,and just out of curiosity how long would you have to leave your playfield work to cure before installing/playing on,just i have read a lot of varations in time to cure on different sites around the net?

Offline el_timbo86

  • Trade Count: (+1)
  • *****
  • High Score Initials:
  • Forum Posts:
  • Geelong, Victoria
    • Hot Rodded Pins
Re: el_timbo's Terminator 2 Restoration...
« Reply #70 on: August 10, 2010, 01:14:10 AM »
To state the obvious tim awesome work mate ^^^,and just out of curiosity how long would you have to leave your playfield work to cure before installing/playing on,just i have read a lot of varations in time to cure on different sites around the net?

Thanks Necroscope  ^^^

Generally, after the last clear coat - i leave the playfield to sit for two weeks. At the two week mark, i cut and polish the playfield. Then i leave that for another two weeks. That takes me up to around a month before i would start repopulating the playfield. Some people may say its more than necessary, some say it would need even longer. I have personally had great results adhering to this guideline...

I try to time it so that i can be busy getting EVERYTHING else done in between - eg, rebuilding assemblies etc...

Timbo


Offline el_timbo86

  • Trade Count: (+1)
  • *****
  • High Score Initials:
  • Forum Posts:
  • Geelong, Victoria
    • Hot Rodded Pins
Re: el_timbo's Terminator 2 Restoration...
« Reply #71 on: August 15, 2010, 10:56:54 PM »
Hi guys,

Just a small update - i've had a couple of hours to myself this weekend, so i thought i'd make the most it and get my cabinet decalled.

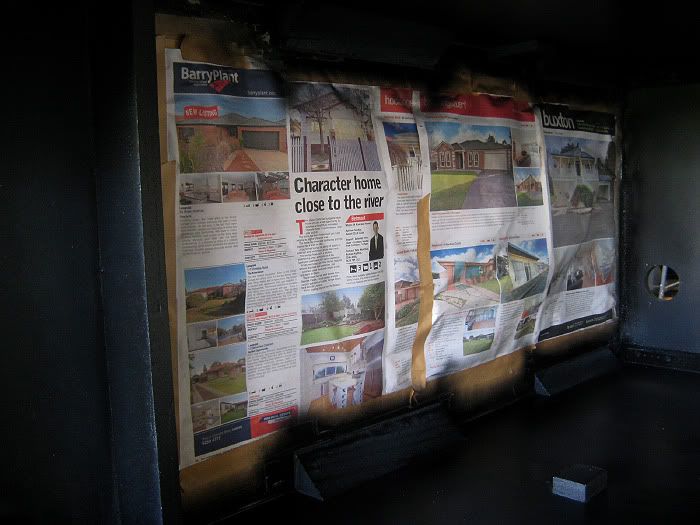
Before i got to this stage, i decided to run the new ground braid for the headbox. I figured its best to do this before the decals go on as i will be laying the cabinet on its sides. I really dont want to risk catching a nice new corner on the carpet etc   !!! ...

I use an air stapler for all grounding work, as i have found the hand-powered 'squeeze' type just dont have the force required to secure the braid tightly...
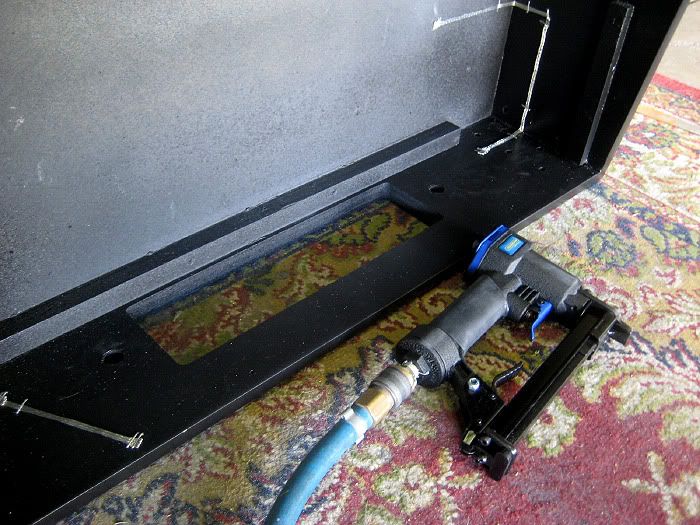

I also masked off the floor, and made sure i had a nice clean line where the cabinet floor met the black paint...

First up was the backbox. I always use the dry method to apply my decals. The main reason being its the way i started doing it... i say go with it till it stops workin'  *!@


And finished up the corners...


And the finished product...I will be sure to grab a snap of the warning decal installed in my next post...


To be honest, i couldnt be happier with the decals i made. It was alot of work, but it really was the only answer to my problem. I'm also glad i kept the original cabinet and restored it to its current state, as i learnt a few new tricks along the way...
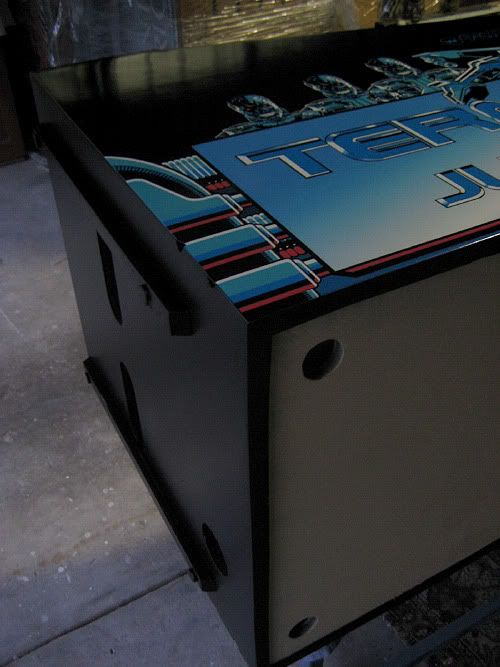

With the side art applied, as always - measure twice and all that...i got the coin door decal applied too...
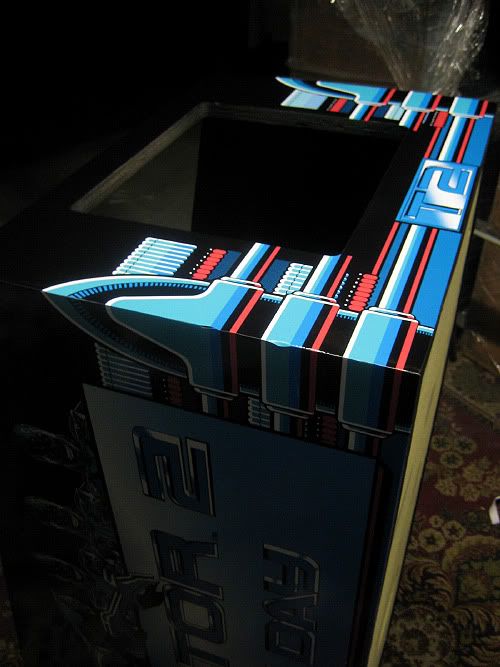

Its now looking the way i wanted it to...
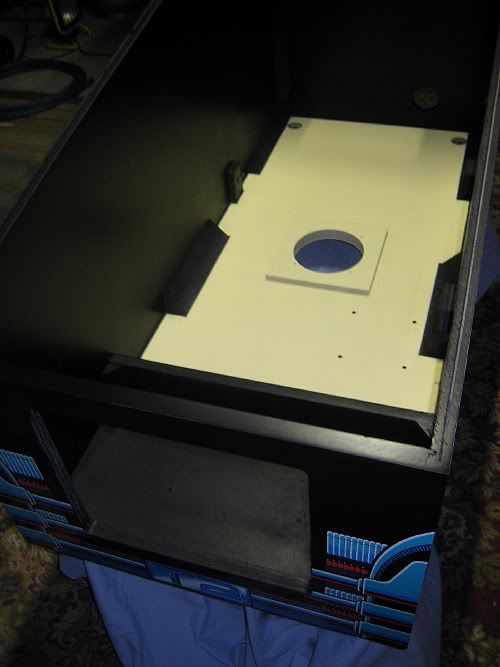

And just a shot front on...
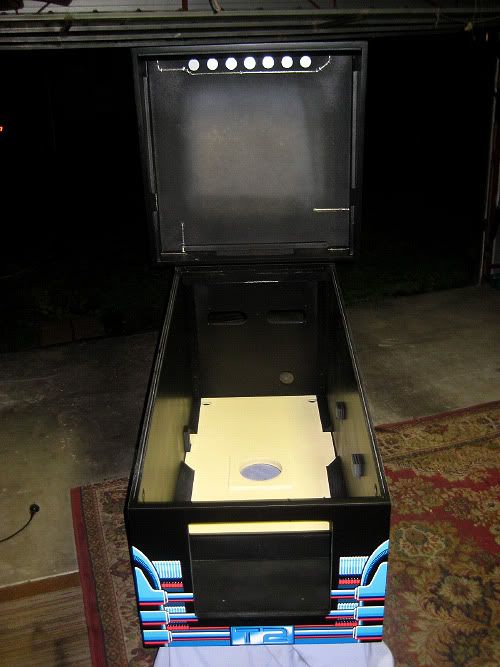

Hopefully i will get a bit done tomorrow. I have a heap of parts that need sandblasting, and a coin door that needs to be refinished - so an update shouldnt be too far away.

As for the flipper area protectors...they will be required...stay tuned

Hope you had a good weekend guys  ^^^

el_timbo

Offline pinballheaven

  • Trade Count: (+3)
  • *****
  • Forum Posts:
  • Melbourne
Re: el_timbo's Terminator 2 Restoration...
« Reply #72 on: August 15, 2010, 11:20:13 PM »
Looks simply MAGNIFICENT!

Offline Creech

  • Forum Founder
  • Trade Count: (0)
  • *****
  • Forum Posts:
  • Adelaide
Re: el_timbo's Terminator 2 Restoration...
« Reply #73 on: August 15, 2010, 11:21:50 PM »
One word - WOW!

Offline Mr Pinbologist

  • Trade Count: (+5)
  • ******
  • High Score Initials:
  • Forum Posts:
  • Wauchope NSW
Re: el_timbo's Terminator 2 Restoration...
« Reply #74 on: August 15, 2010, 11:25:49 PM »
Looks freakin AWESOME man!! i love it!!

Cant wait to see the finished product