Part 2Back on to the cabinet I restored this game before I bought a tumbler. So every metal part, from assemblies to screws were hand polished and buffed where possible. Putting it back together meant checking 100's of photos I'd taken, and constant reference to other EM's I had access to at home. The lock down bar assembly was washed, scrubbed and buffed. It took almost a day to get it to shine - and it's a part that should never bee seen ! Chimes DO sound different when they are buffed and the rubber grommets are replaced.

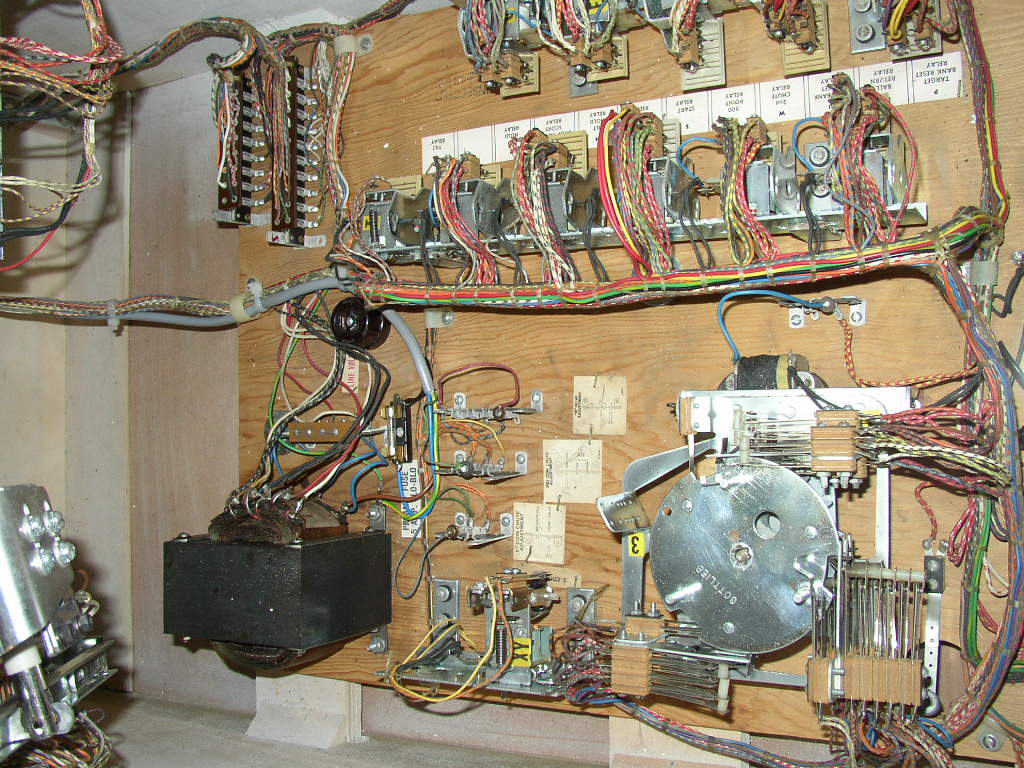
The score motor is even polished

! All relays and switches were cleaned. A new power cable was installed. Every connector was painstakingly cleaned with 320 grit and a wire brush. All these little things ensured that when I switched the game on - it would work and be reliable.
 Chimes and inside of the cabinet
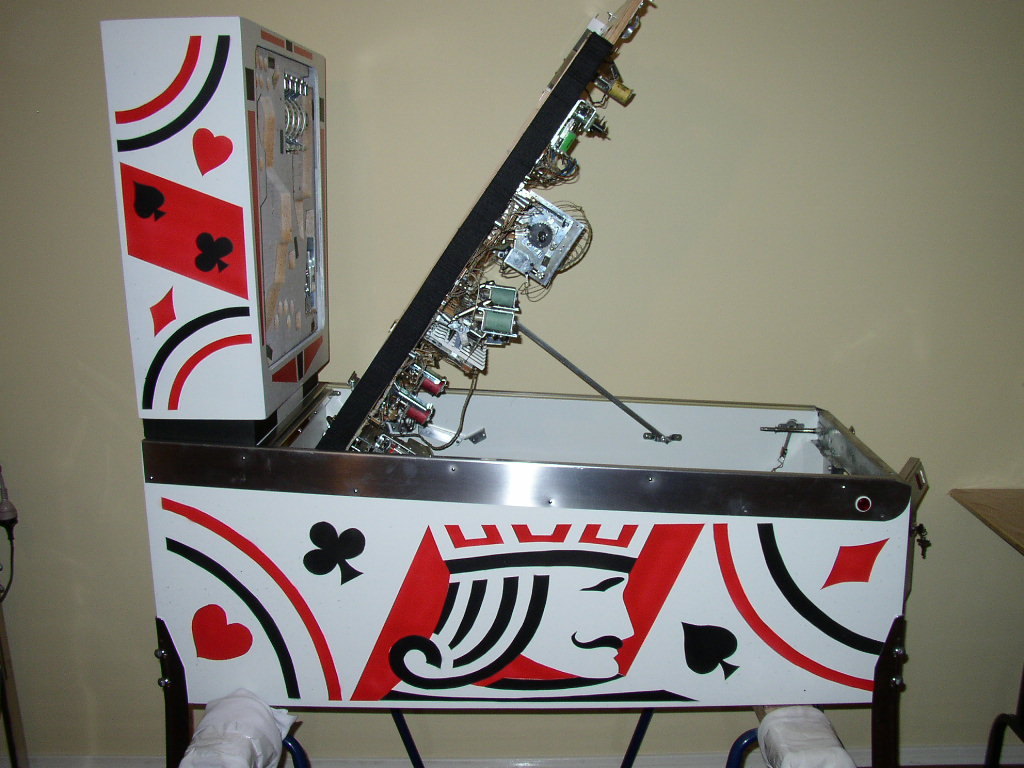
 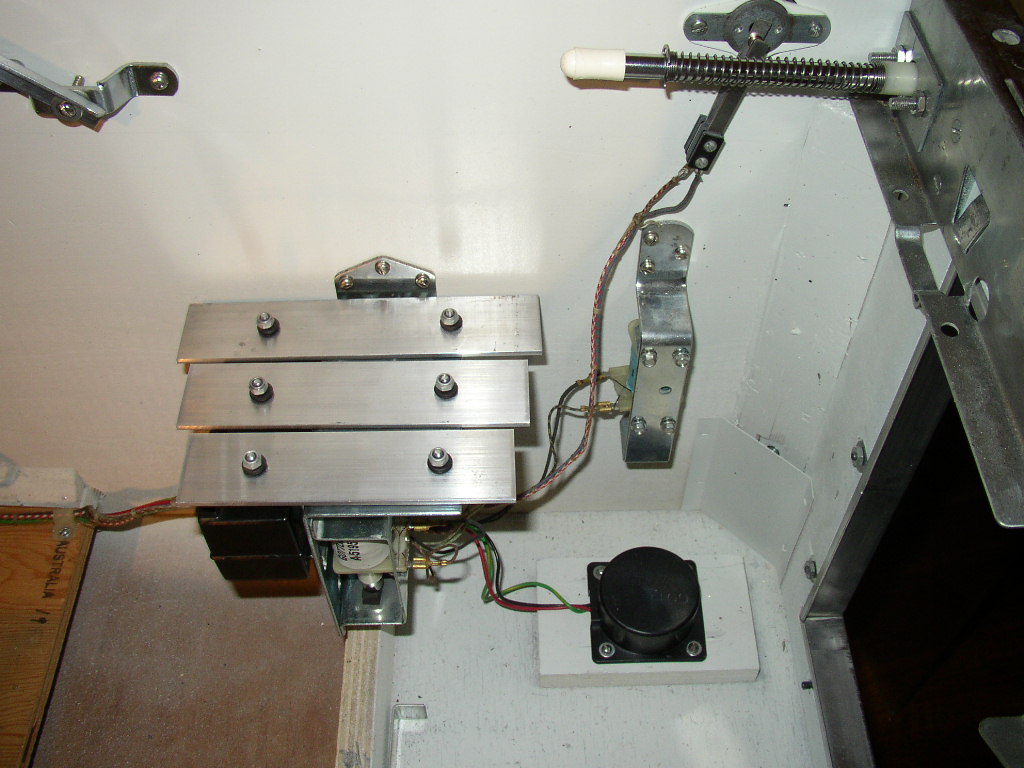 Under the bonnet... EVERYTHING rebuilt
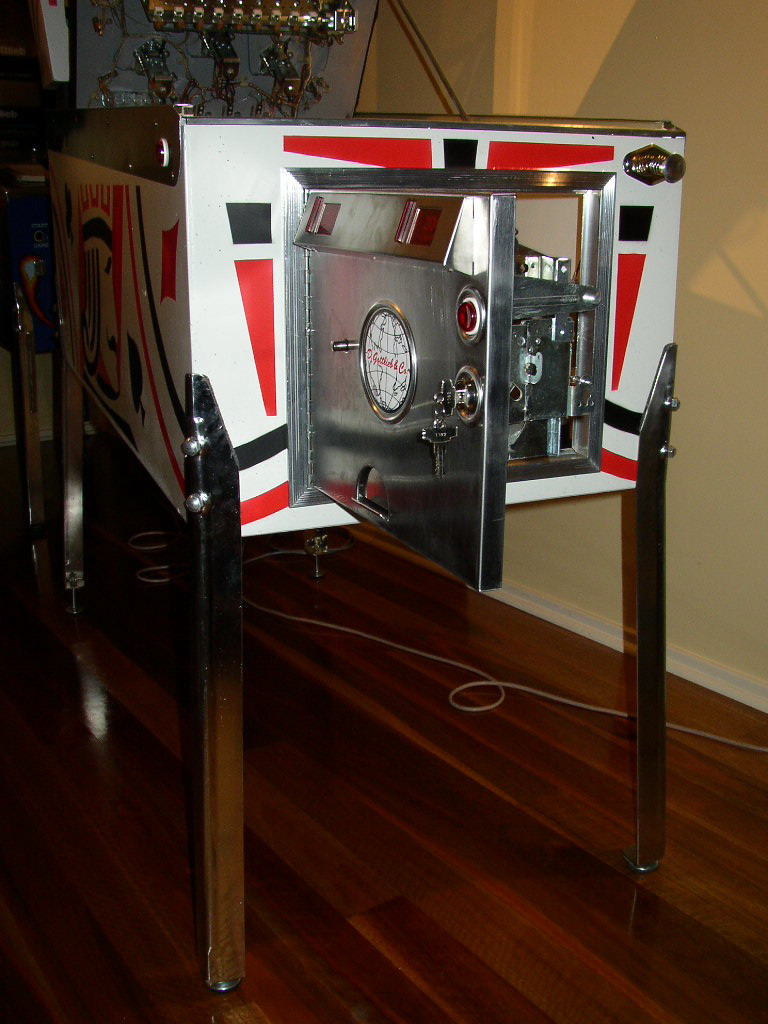
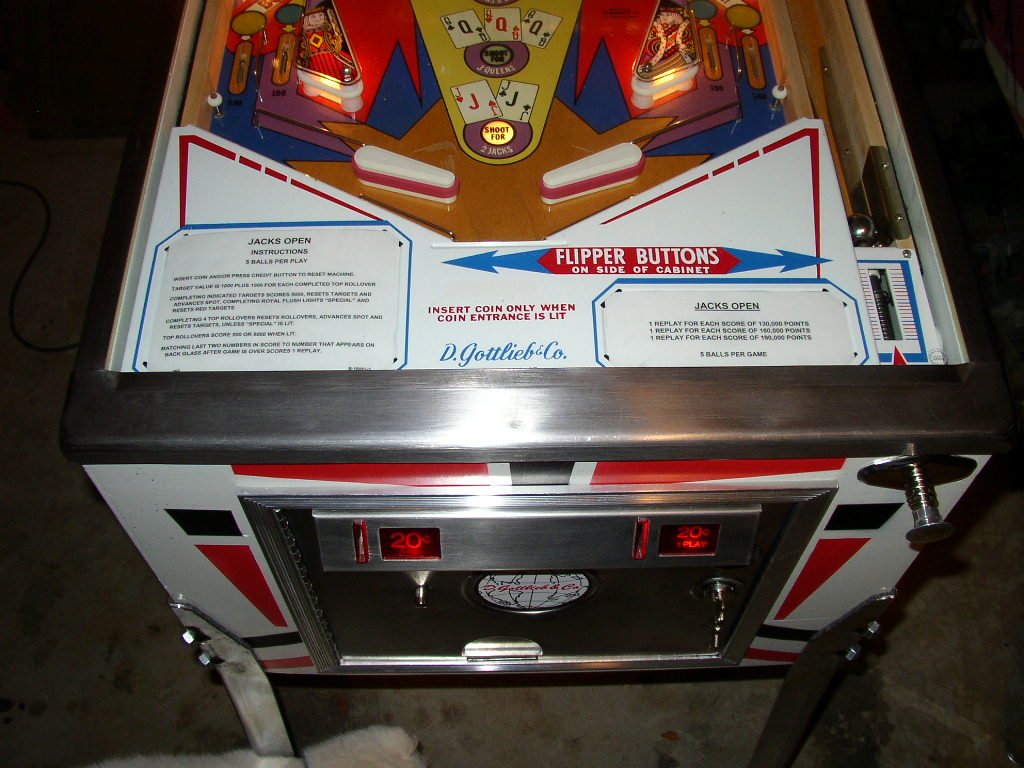
 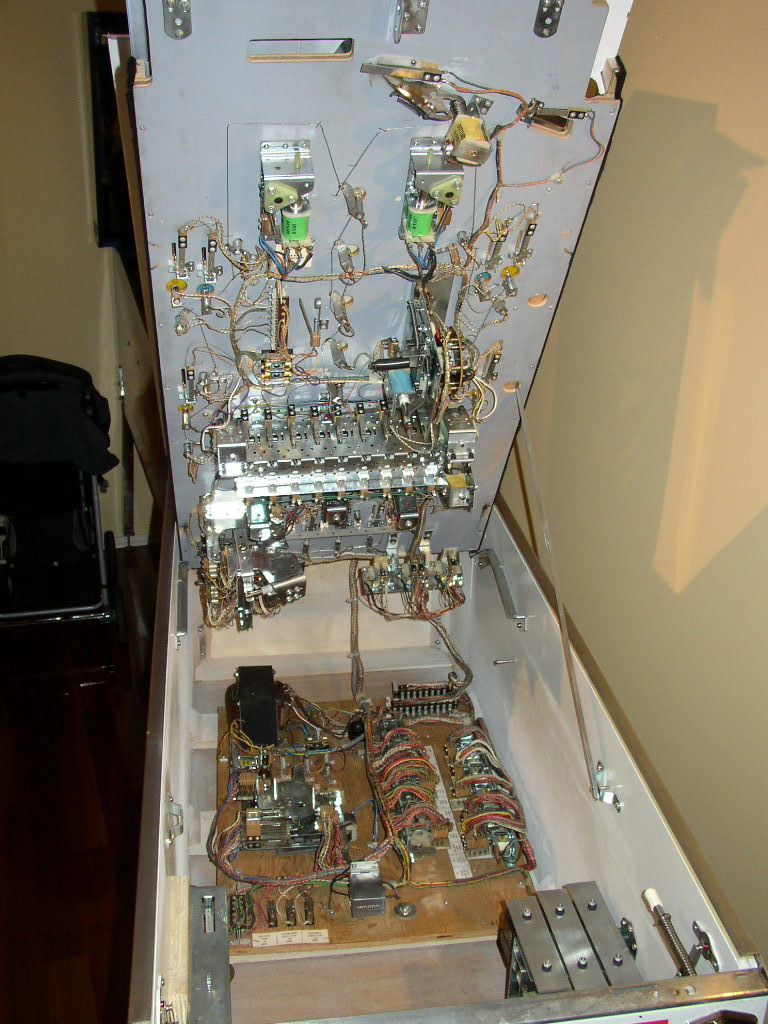 Early shot of the insides of the front door;
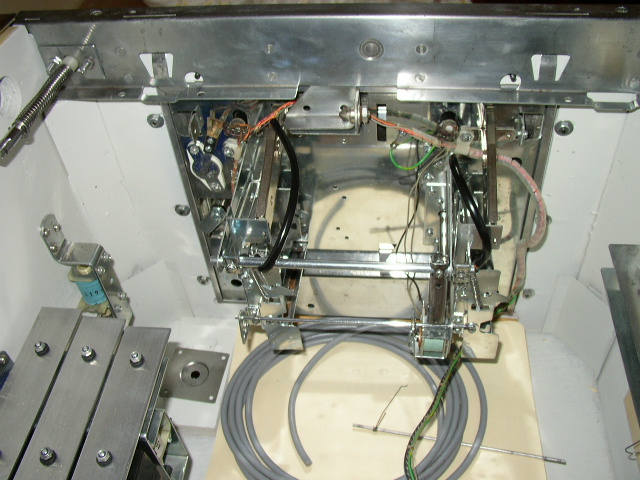
Legs are NOS and polished along with leg bolts etc... Front door is regrained with windex and 320 wet/dry. Siderails are also regrained using a straight edge, sanding block and 320 wet / dry with windex. New siderail nails were used as well.
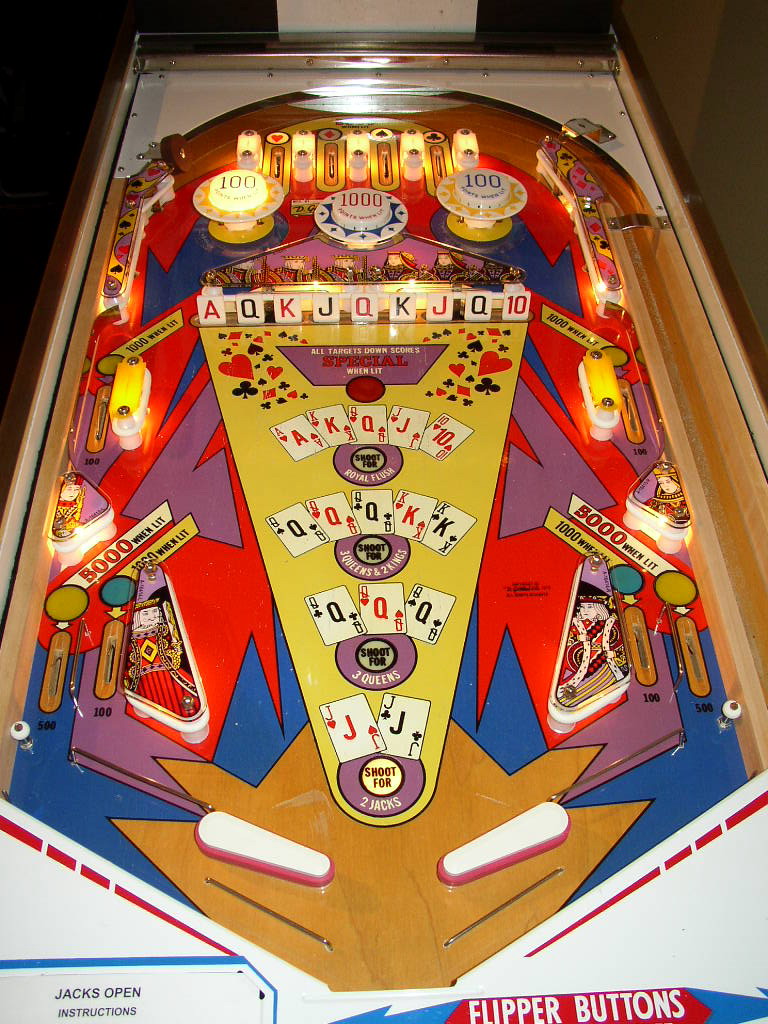
Playfield is completely re assembled. New post, plastics set, rubbers, globes, acorn nuts, nails, flipper bats, lanes guides, targets, bumper skirts / bodies / caps. No stone unturned.
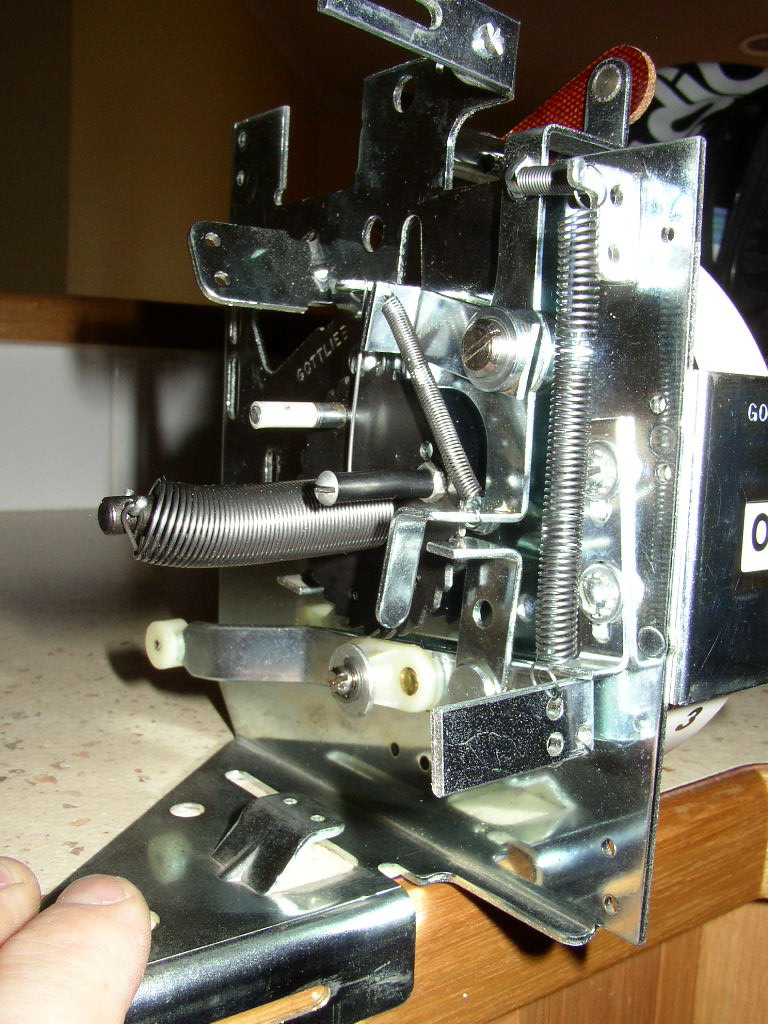
 Stepper Units
A vital part of any restoration is to make sure the game works ! Rebuilding stepper units, target banks and any moving part is important is having a trouble free game. Steppers are important and are nearly always over looked. Ball count, bonus, player select etc.. all work together and you only need one small problem to throw out the whole game.
The process is simple. Remove the coil(s), take plenty of "before" pictures and check the tension on any winding springs. Count the number of turns, so that the same tension is returned when you re assemble. I strip every part off a stepper unit. Soak in alcohol, clean with a toothbrush and allow to dry. A drop of machine oil on the shaft, and then reassemble. Test the unit before placing back into the machine. Make sure it is behaving as it should. Then install the coil(s) and you're done. It takes about 1 hour per stepper unit - depending on whether it is full of grease and old oil !
Here's a picture of the credit unit - nice and clean.. and a bit polished
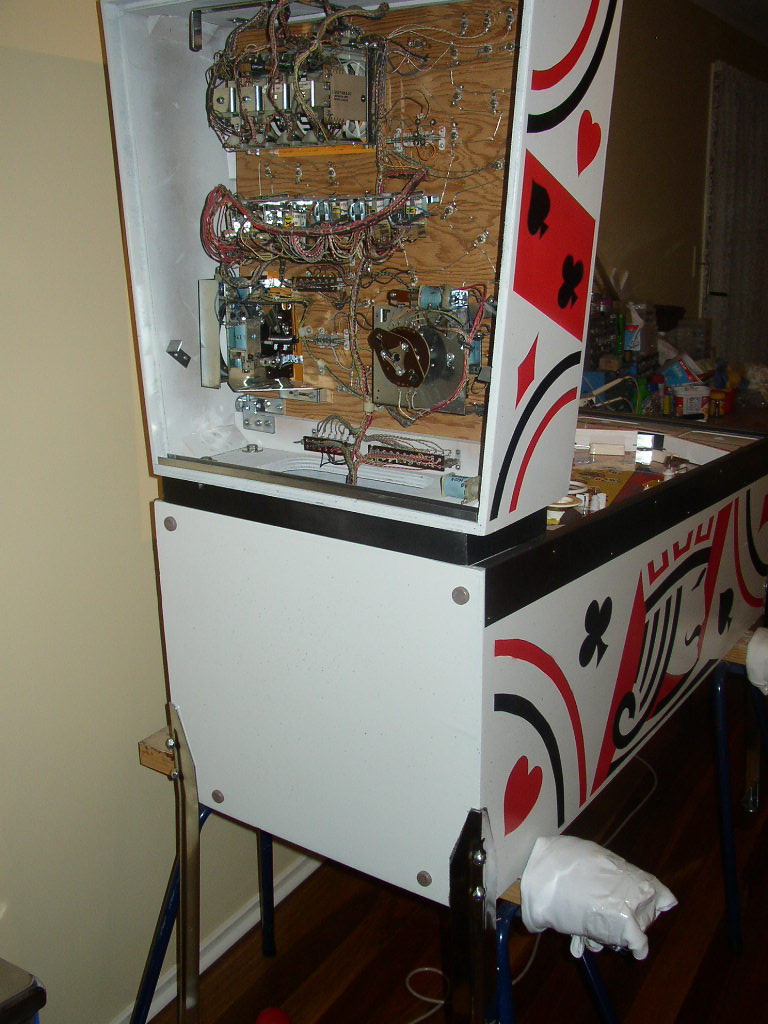
 Head / Rear of the machine
Credit unit is installed back in the game, as well as the ball count unit. both cleaned and ready to work without problems for the next 30 years.. Notice the 4 Gliders on the rear of the machine - just a small item that can make the machine look great - but who looks at the back of the game anyway ? Shocked
Leg protectors are a must on a repainted cabinet. I had the old instruction and localization cards relaminated and stapled to the inside of the head. Pity I forgot to take a picture..
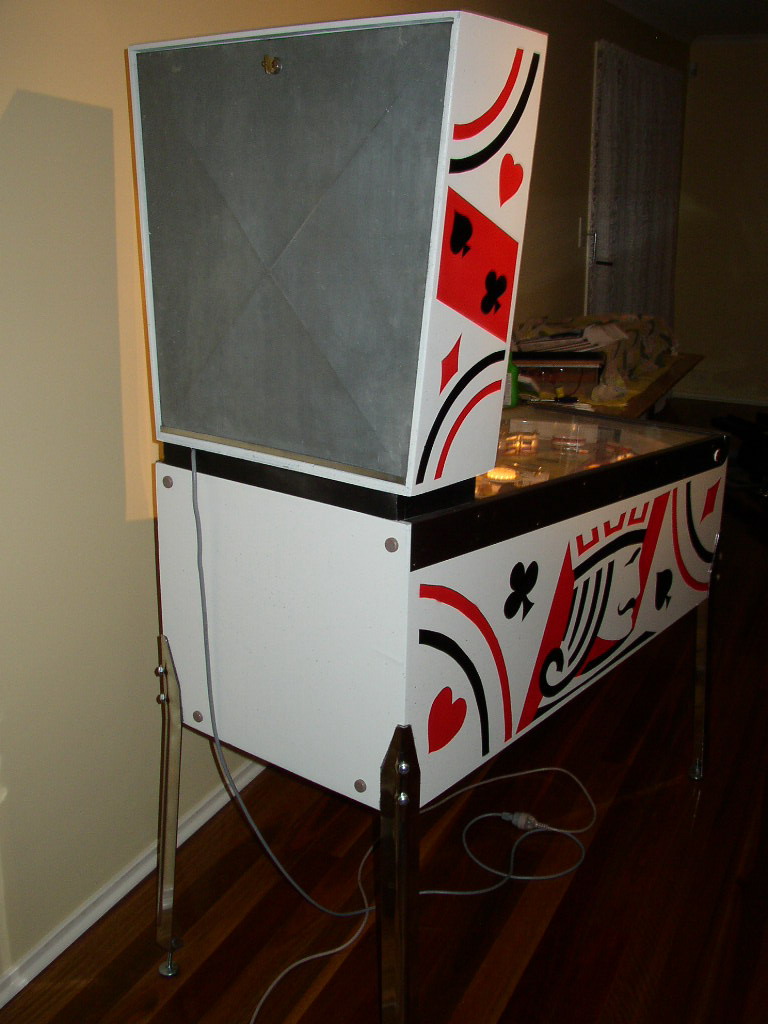
 Playfield protectors / noise reduction strips
 Because I painted the inside of the cabinet, I didnt want the paint to be scratched every time the playfield was raised. So I went to bunnings and found a roll of felt strip with adhesive backing. I placed it on both sides of the playfield. This serves two purposes - The inside of the pin does not have the paint scratched AND the noise of the score motor and chimes are a little lower in volume ! Small touch - but it cost a couple of dollars.
I just wrapped it around the top corners, and it made life easier while I was still working on the game;

I lost track of the hours and the expenses on this game. It just had to meet my objective, and I'm pleased that I think I achieved that. This is my first attempt at a "Nearly In Box" restore at this level. I plan on replicating a similar process on a Pro Football, Volley and Spirit of 76.
Final pictures ;
The Rear of the GameOften neglected.. The back door is polished, even though its still dull, that's the way it should look. New Gliders - for such a cheap part, they offer protection in case the game has to be stored.
 Lock Down Bar
Why take a picture of a lock down bar - This is my favorite picture ( I have 400 ).. The lock down bar took HOURS to clean and regrain - but it makes all the difference. A rewarding picture, and a reminder of the level of attention you can give to have an original look;
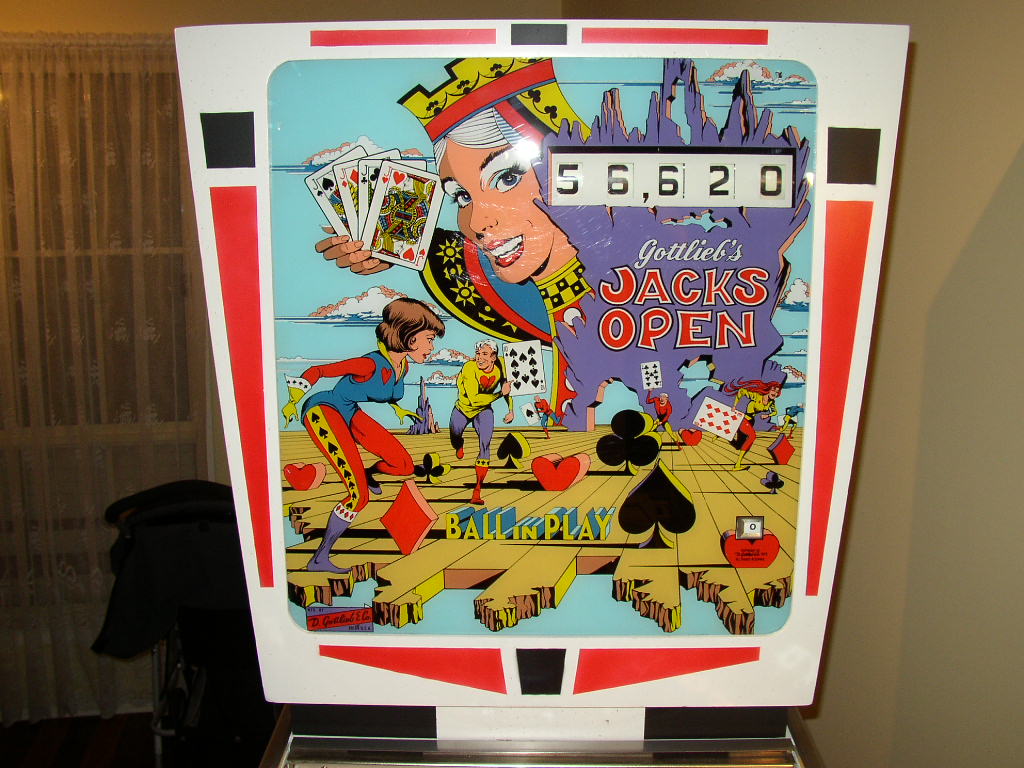
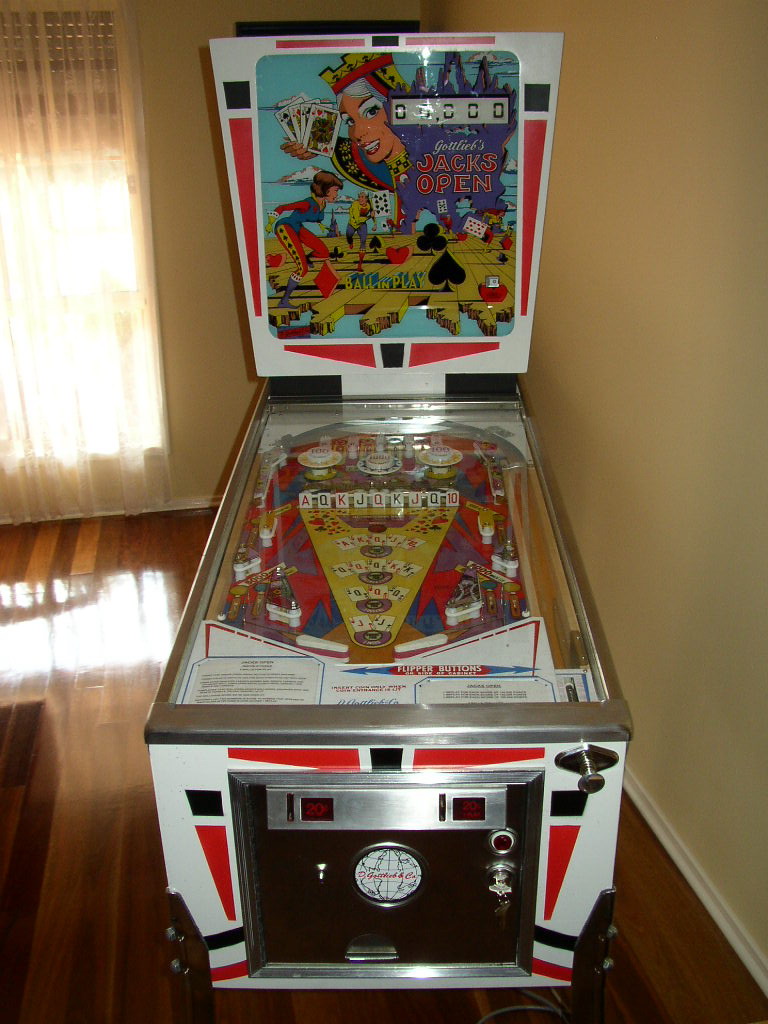
 The Head
The biggest problem other than the flipper drag - was the swirl marks on the outside of the backglass.. That just could not be fixed... The backglass was fine other than that...
 Finale
Game finished. All done - Very pleased. It was purchased by one of the first pinheads that played it. It's had one problem in 3 years, that took 5 minutes to fix. The owner is very happy, and I get to start the next big project
Cheers and thanks for looking !! Glad to answer any questions


