The weather in Melbourne was too good to pass up. I was in the mood to paint. Not too much work, just some stencil work, as Gavin had sent me the stencils a couple of weeks ago. I decided to paint the BLUE on the headbox, but I ended up doing the stenciling on the lower cabinet as well. I thought I'd document the process, as I've not used this method previously. I used to spend HOURS tracing and cutting acetate sheets, and then spraying the cabinets. A VERY time consuming effort.
So I unroll the stencils and hang them so they are straight when I apply them.


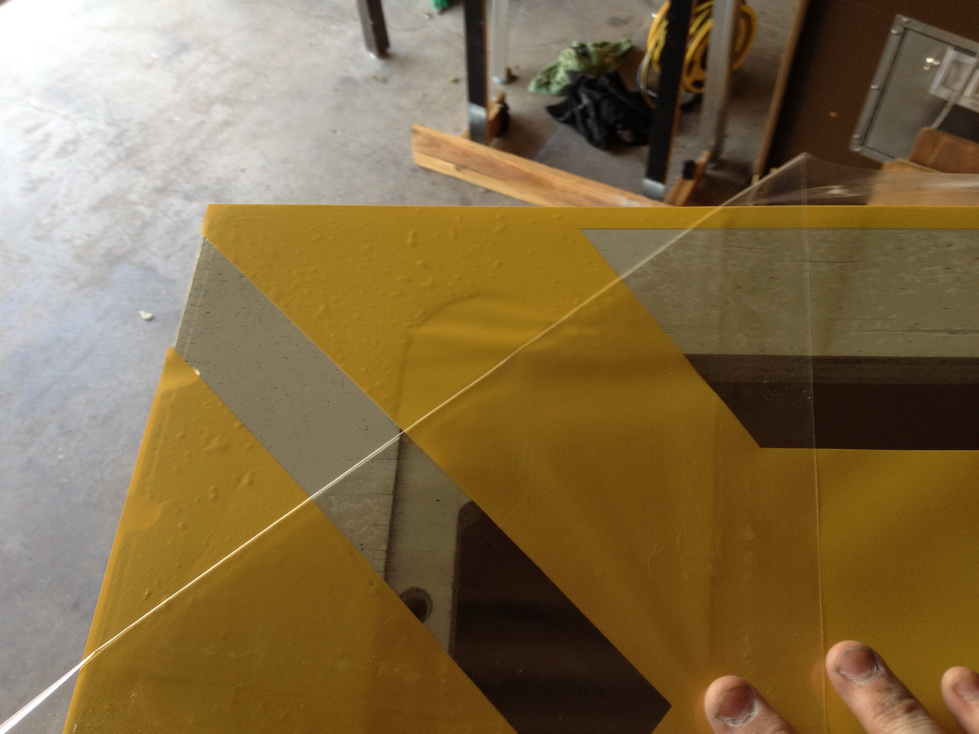
Now I'm applying the vinyl directly on to the base coat by removing the backing and fitting them - much like sideart decals, but we are working with low tack adhesive which has the advantage of being easily repositioned.
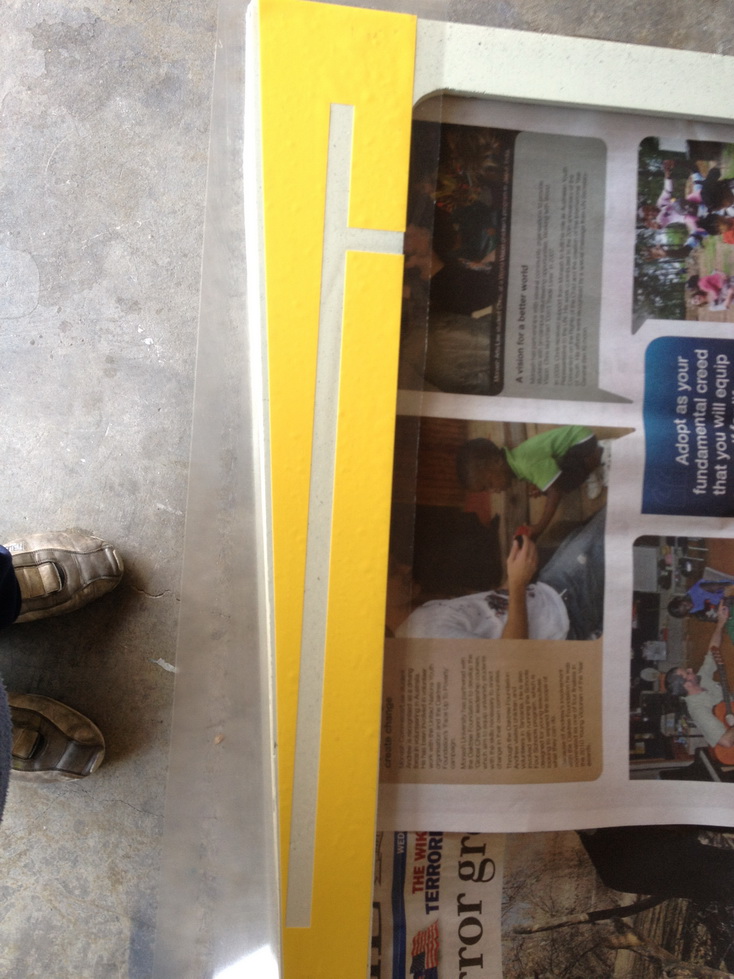
I then remove the transparent layer to reveal the mask. I do this for all the BLUE areas I want to paint. I then apply mist coats to begin with, and finish off with just enough paint to have consistent color. No need to go overboard.
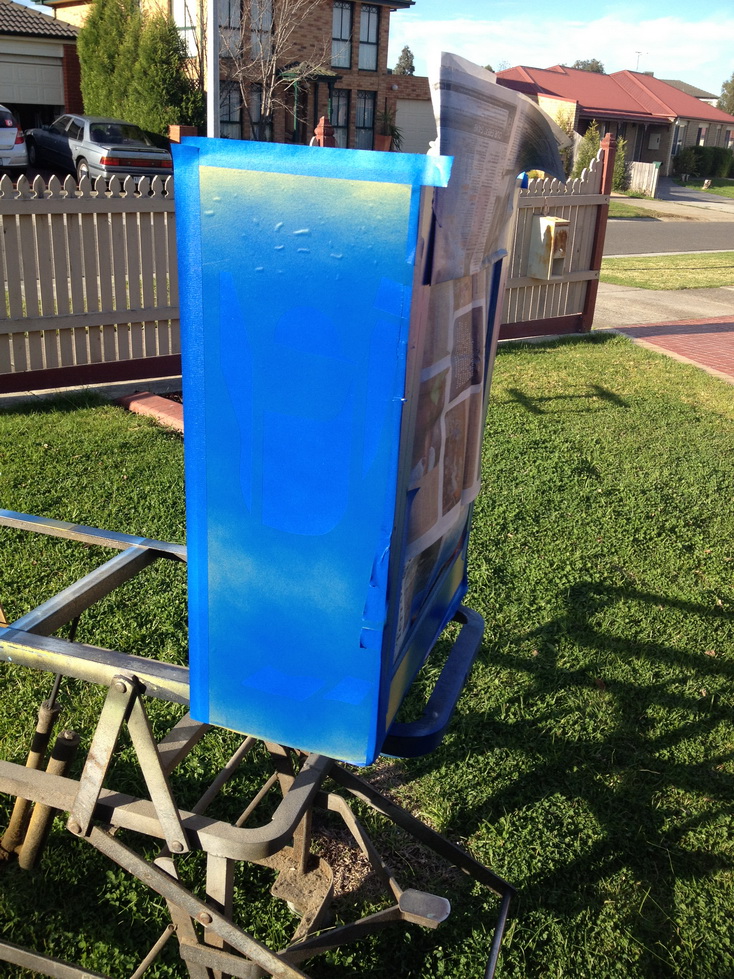
I then remove the mask off the areas I have painted and viola !

The area in the top left hand corner is where the mask didn't lift off the transparent layer. I should have checked that before proceeding. It is simply a square, so I'll fix that later.
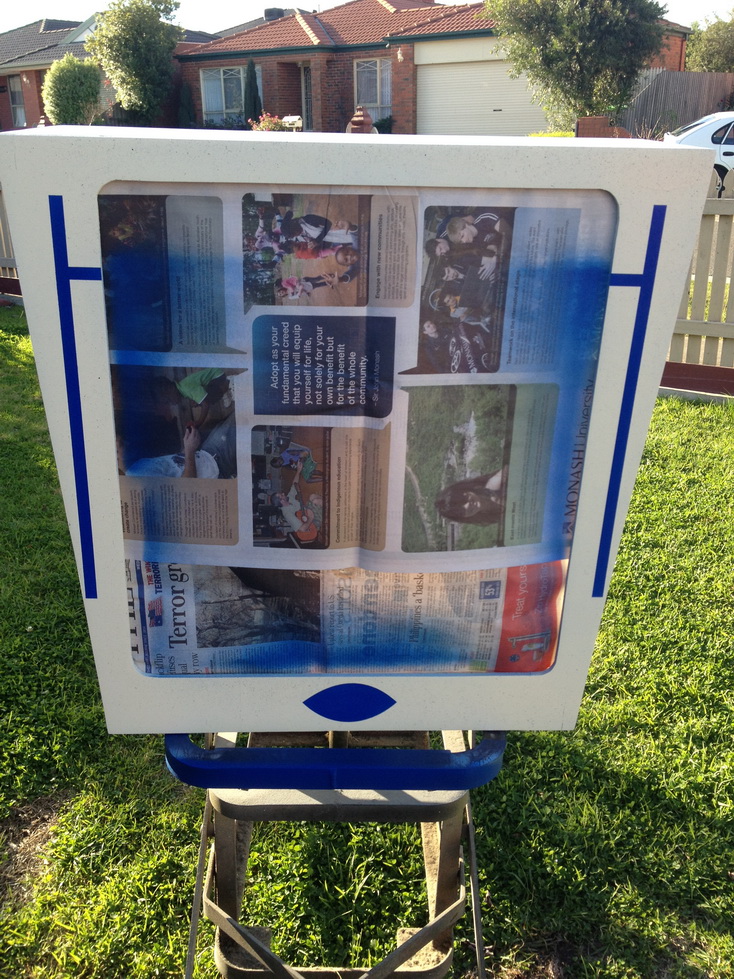

Moving on to the front of the cabinet. Remove the backing and position the low tack mask. Apply pressure to the masked areas, and then peel back the transparent layer, leaving the mask in position. Peel it back with the run of the lines on the mask.
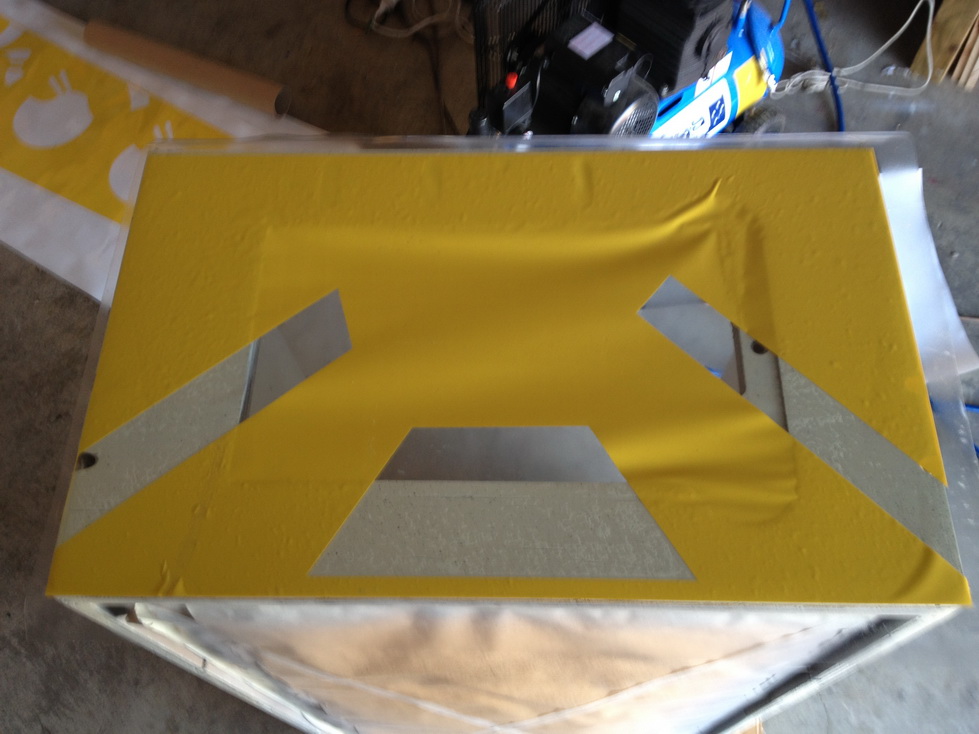
This is how to remove the transparent layer - I turn it 180 degrees and it comes off without removing the mask.
Sides are in position

Paint applied at 35 PSI through a touch-up gun
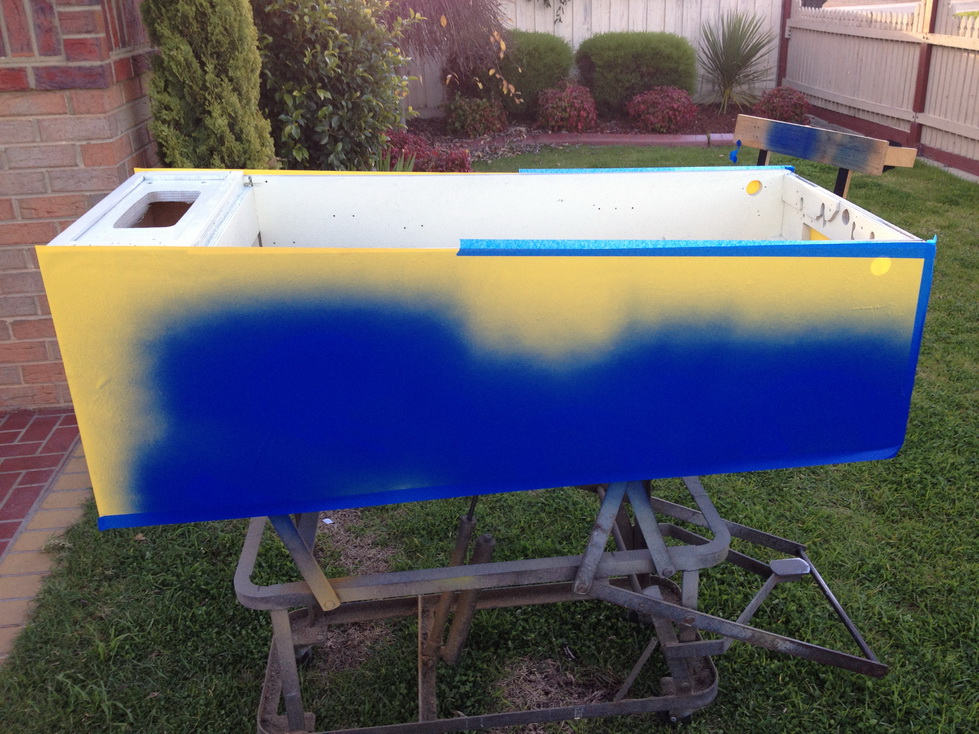
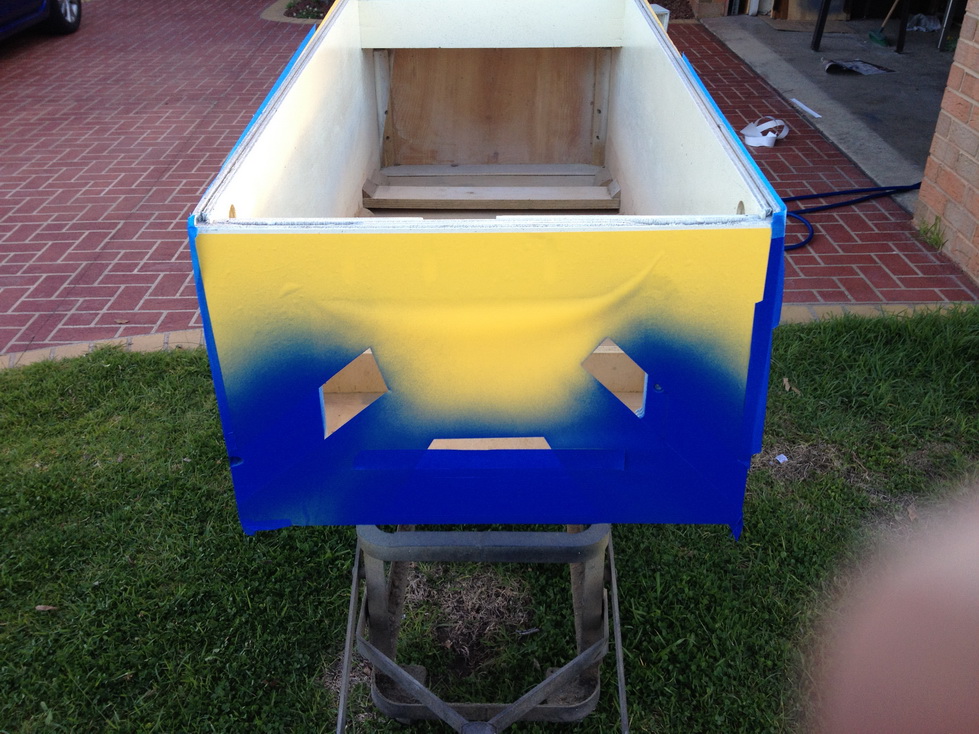
Peel off the mask

Notice a difference ? That was a factory "mistake" - no two cabinets will be exactly the same..
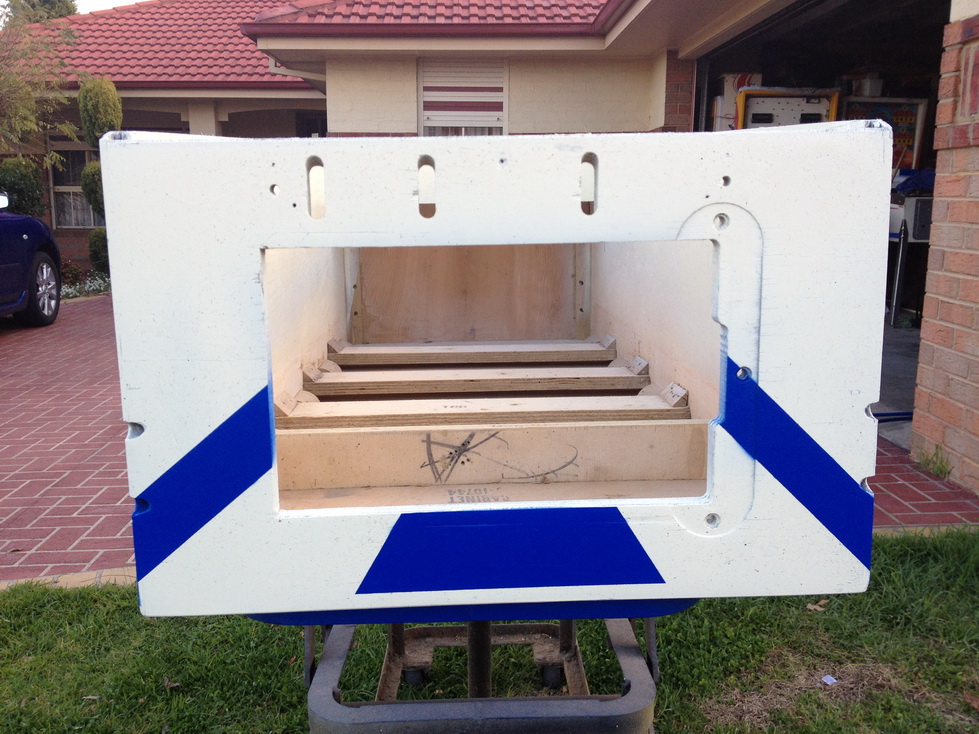
Problem with the left hand side of the headbox is fixed !
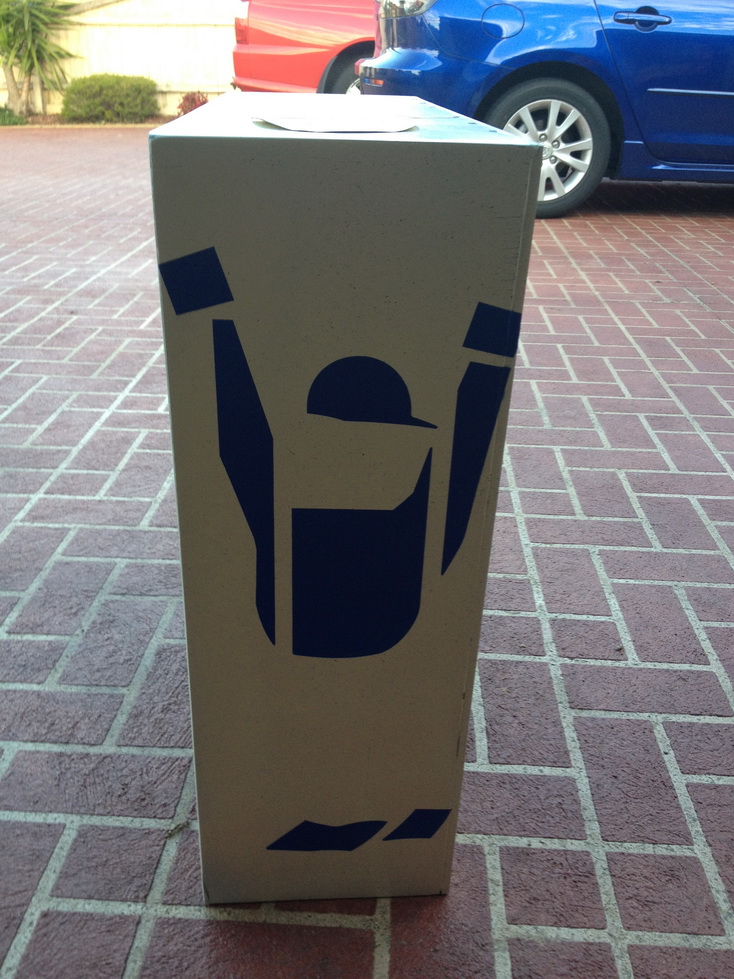
Tomorrow - if the day is favorable, I'll be painting the reds.
SPECIAL mention to Gavin - These stencils were perfect and a dream to work with. Note I only use high quality paints, which make the finish look unbelievably good !