Ok. Been working on the Playfield over the holiday break. Not making as much progress as I'd like... but here's some.
First; I needed to tackle the Special insert.... basically; something went wrong at the printer and it didn't come out right:
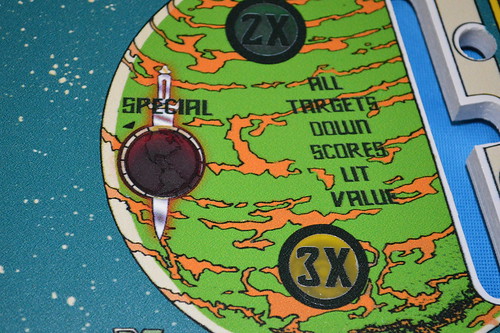
I took the graphic file back into Photoshop and trimmed a new copy up for printing on some white water slide decal paper. Some patience and water yields this corrected implementation:
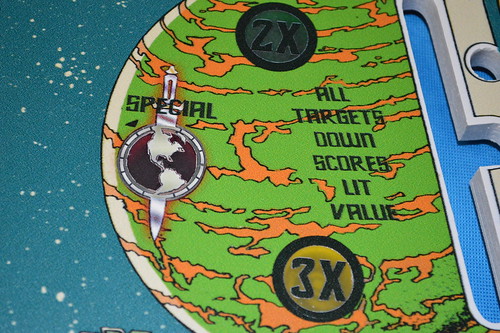
Much better.
Some black sharpie on the trimmed edges and a couple coats of acylic clear and that area is ready for the 2part automotive clear coat.
While I waited for some clear; warmer days for the clearcoat... A friend (Ken) and I went to Techshop to work on the PF rails. I didn't want to put yellow painted wood back on the PF... I wanted something which would tie the machine together. I measured the wood and created a CAD file with the exact measurements. The plan was to cut these parts out of 1/2inch 6061 aluminum. I sourced the Aluminum from a local supplier in 4ftx4inx0.5in dimensions. This DXF file was then sent to the waterjet machine at techshop which results in the following parts:
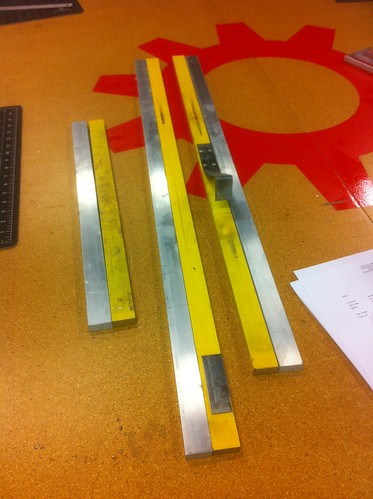
If you want to watch the Waterjet in action cutting this piece; see Youtube:
I wanted the tops of the rails to look like knife edges; but no so much that they would be a danger to anyone working on the machine (Read: Me). Ken helped me put the 45 degree angles on the aluminum using the Jet#1 manual milling machine. Once the rails were milled; I proceeded to drill and tap the appropriate holes in the bottom side of the rails. For the purposes of this test fit; I used #6-32 x 5/8" machine screws. The result:
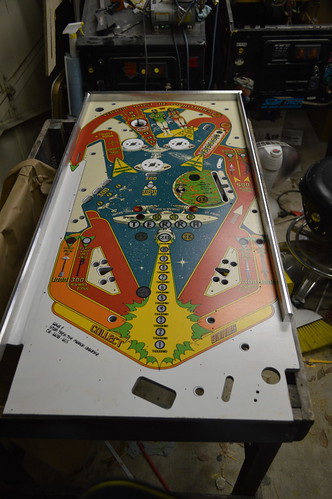
While I had the rails attached; time to test fit the apron and shooter gauge:
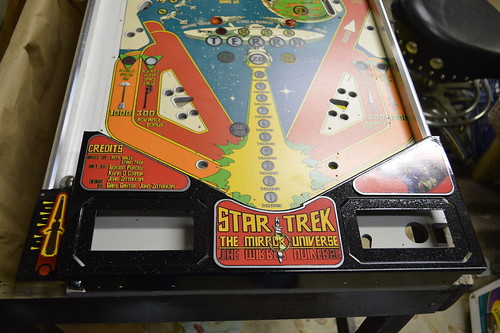
No obvious issues during the test fit. Tomorrow I hope to put 4-6coats of clearcoat on the PF... if the weather holds.
More later...