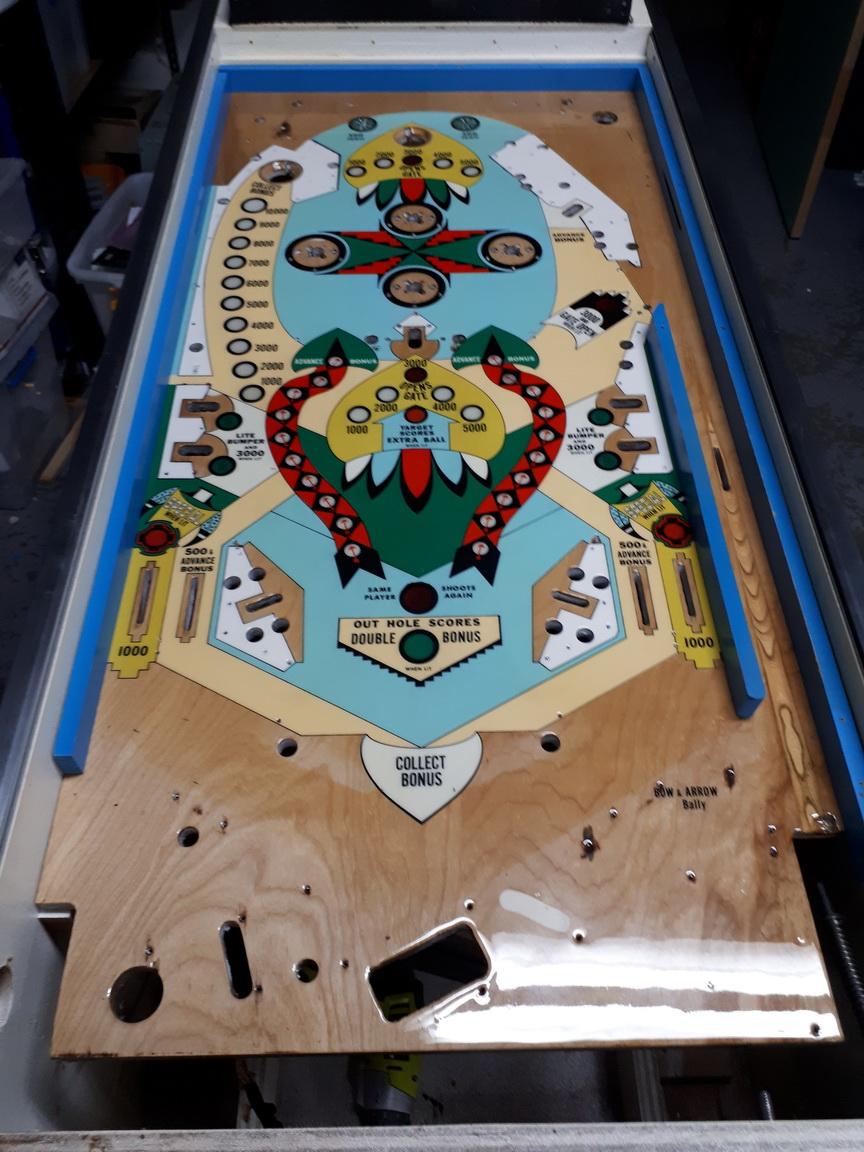
I plan on whiting a "tech tip" thread of it's own on aspects of replacing a playfield, similar to below. The rollovers are always a problem on a cleared playfield. Through trial an error, I've used a system which is efficient and also reduces the risk of lifting the clear from the edge. A common method is a fine pick and a thin file.
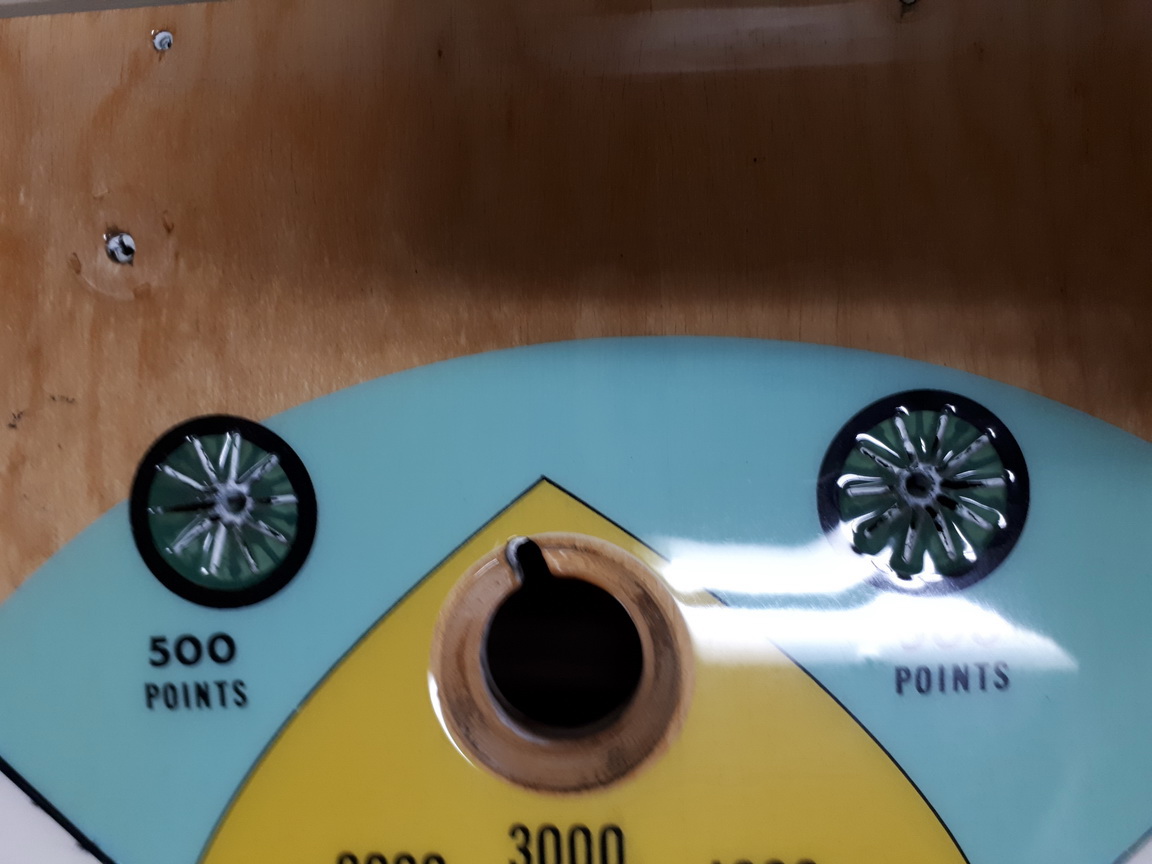
Below is a picture of the cleared playfield before the residue removal from the rollovers ;
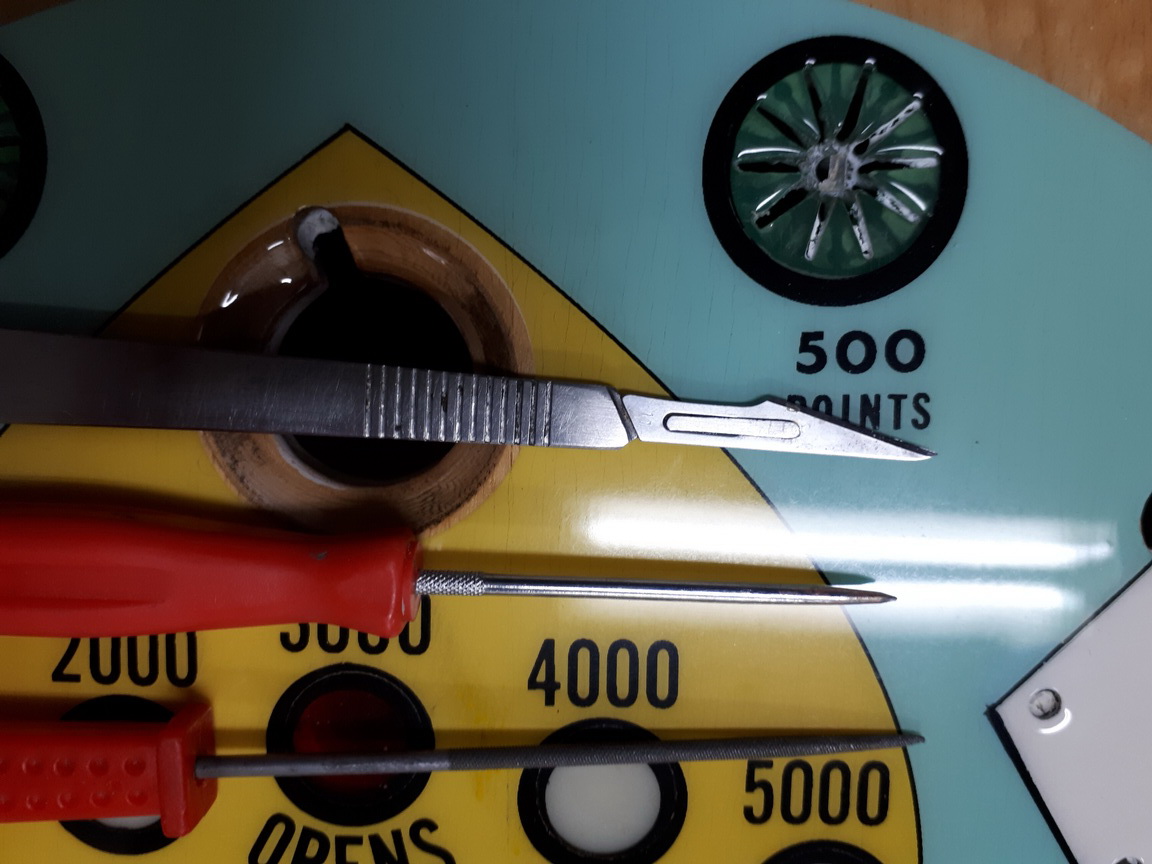
The tools ;
A scalpel - A simple but sharp tool
A round file - tapered round needle file
A straight pick
Start off with the scalpel, cut all the straight lines - effectively "carving" the clear from the side walls. Cut DOWNWARDS - never upwards.
Then use the pick to remove sections from the centre.
Then use the needle file, and file in a DOWNWARDS motion.
Rinse and repeat if needed. Then use a test button, upside down, and check you have trimmed enough.
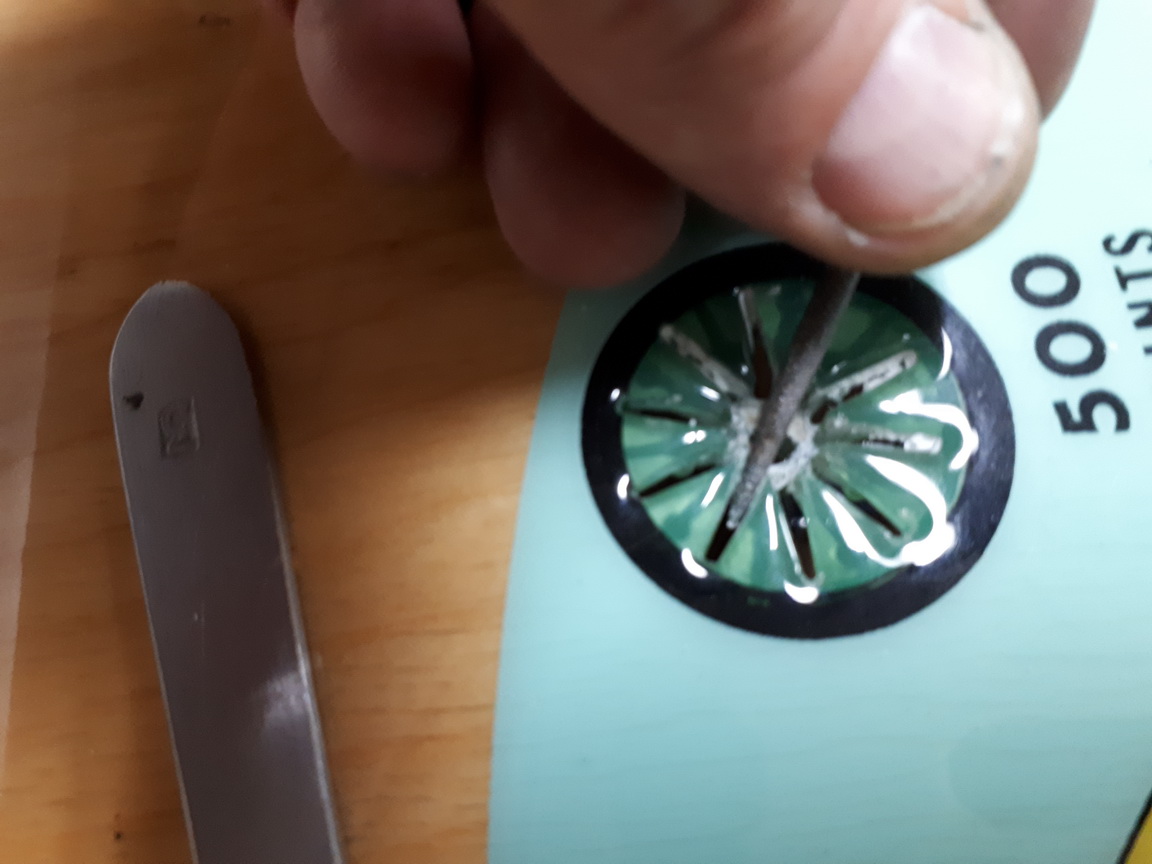
At the end of the process, it should look like this ;
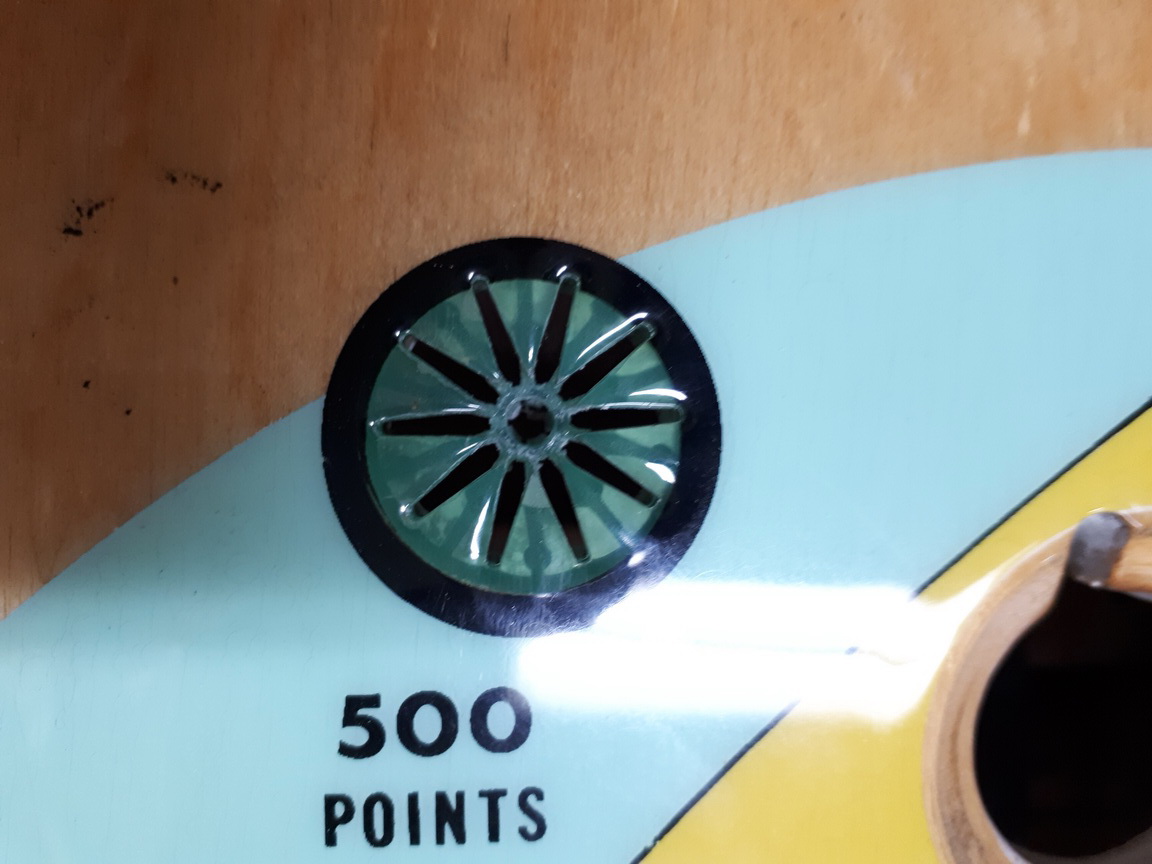
I do this with the playfield installed in the cabinet, but before any other work commences.
