One step forward, and two steps back.
I replaced the fuse holders and installed new fuses. Recabled the game and checked that the transformer was wired for 240V (more on that later)..
The aim was to test the score motor with the baseboard plugged in on my bench. All I need is 50VAC and one switch on the score motor to be closed and it should turn..
But it was SLUGGISH and CRAP


Looks like the motor just does not have the grunt anymore. But it measures 6 ohms, so it should be OK ? I jumpered straight off the transformer - still no good. I ended up speaking to Gavin, who suggested I send it off to his Dad in the UK for a rebuild. That was good news - at least I know I CAN get it going.
But I kept thinking that the word "friction" may be playing a part in this. To prove that it was a problem due to excessive friction (even though I had degreased and cleaned the unit), I decided that I HAD to dismantle the gearbox. But to do that, I needed to remove the Cam. It took me a while - But I DID remove it !
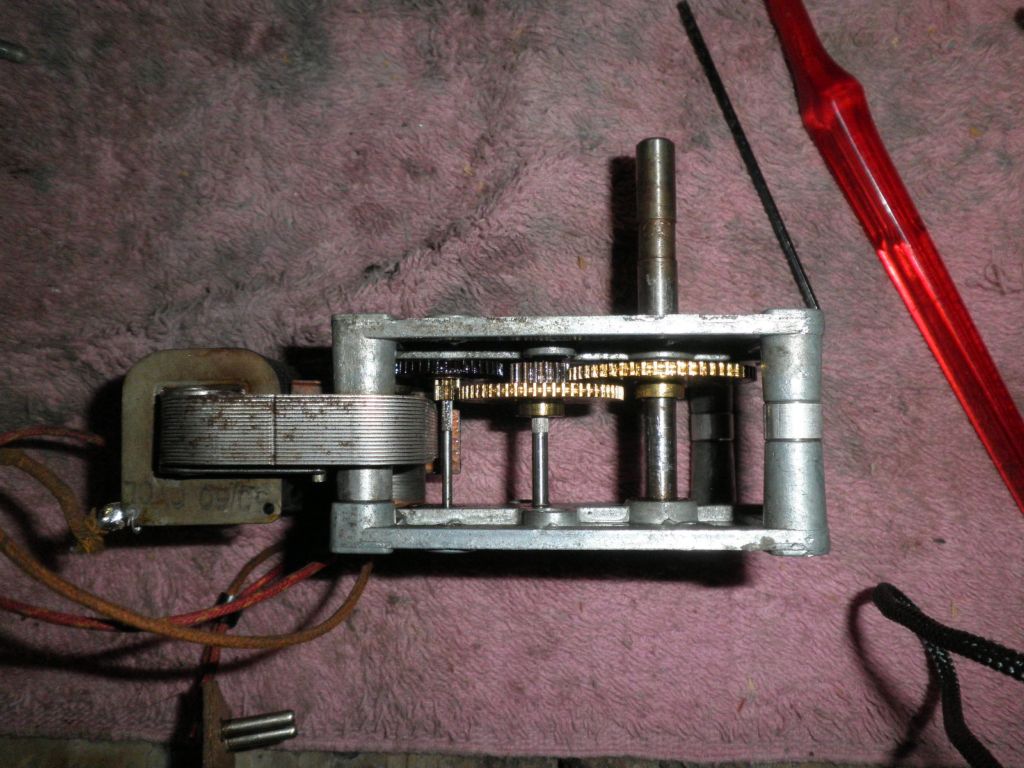
Now I'm looking at the shaft which would be attached to the cam and it has some rust. Considering it was siezed to the cam, there could be a chance that the main shaft was also rusted and causing friction.. The only way to find out - was to remove the rivets holding the gearbox together. The drill press made light work of that !
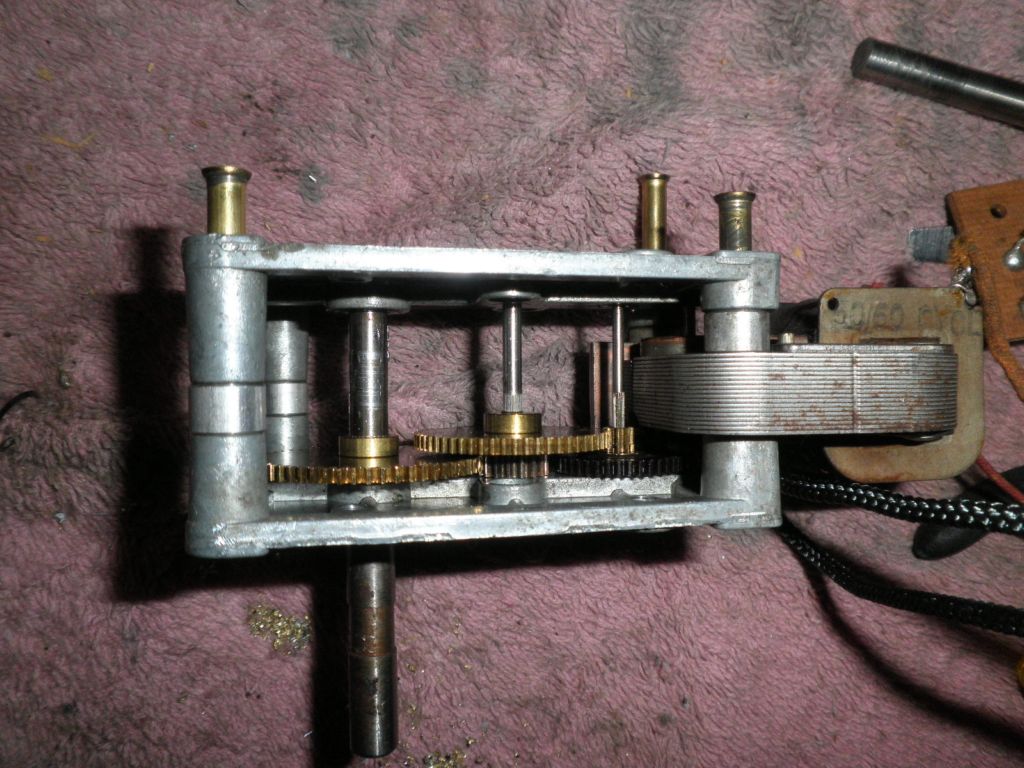
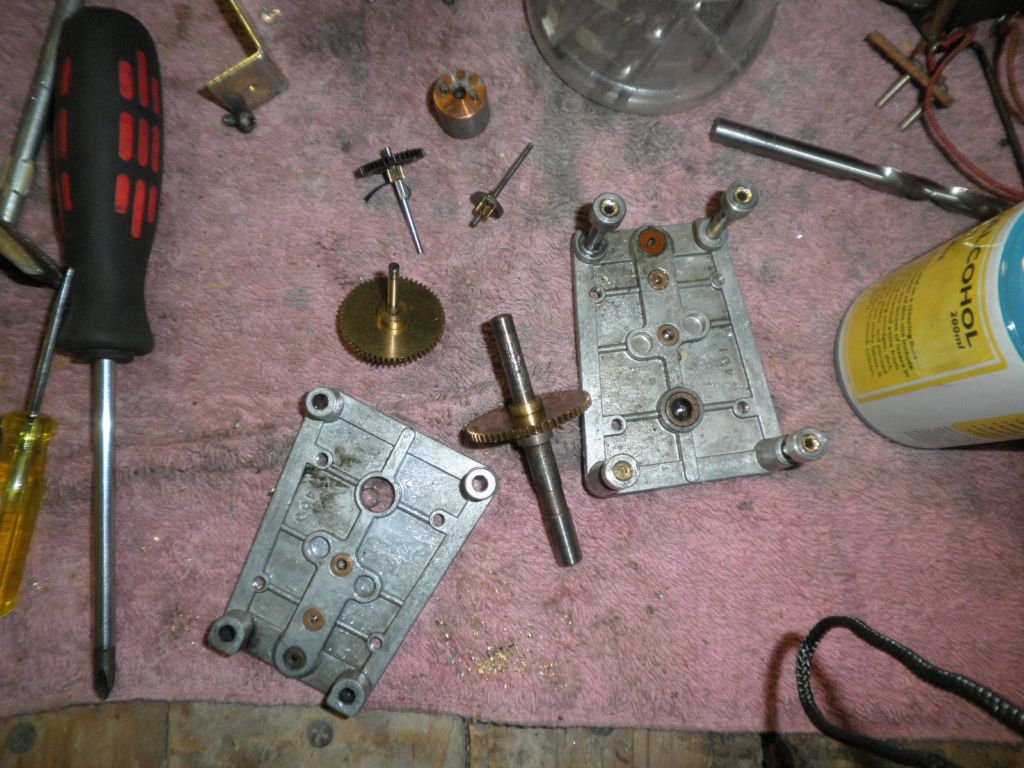
Here's a picture of the gearbox disassembled. Note the casing on the left and the hole where the main shaft (to the cam) is located. There is meant to be a brass collar fitted. Look at the main shaft (center of the picture) - There's THE brass collar ! The collar has effectively siezed tightly on the shaft. It is supposed to allow the rotation of the main shaft - and be FIXED to the casing ! But this gearbox was so badly maintained that the brass collar was not doing it's job. The fact the main shaft WAS rotating, was because the MOVEMENT was the shaft/brass collar against the casing !
Here is a close up of the main shaft and the brass collar after I spent 20 minutes removing it. On the LEFT of the gear, you can see the collar (removed). But look on the shaft - the left side of the gear has signs of rust and pitting.
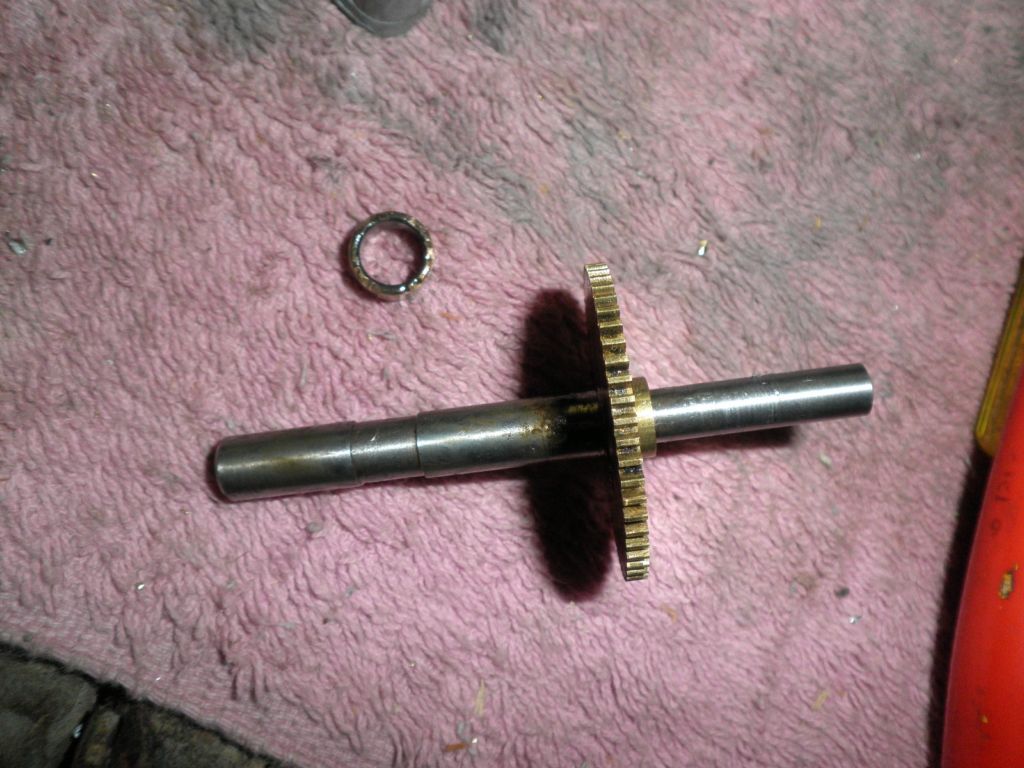
I cleaned the collar and shaft with degreaser and then alcohol. A green scotchbrite was required to remove the rust and gunk that had built up. I finished with 600 Grit wet/dry on the shaft and also within the collar. I placed the collar over the shaft and it moves perfectly. It is then installed into the reassembled gearbox as a test, and now the motor gearbox works just as it did when it was first built. I've replaced the rivets with longer bolts and screw just as a test, to ensure everything works - so it is only temporary.
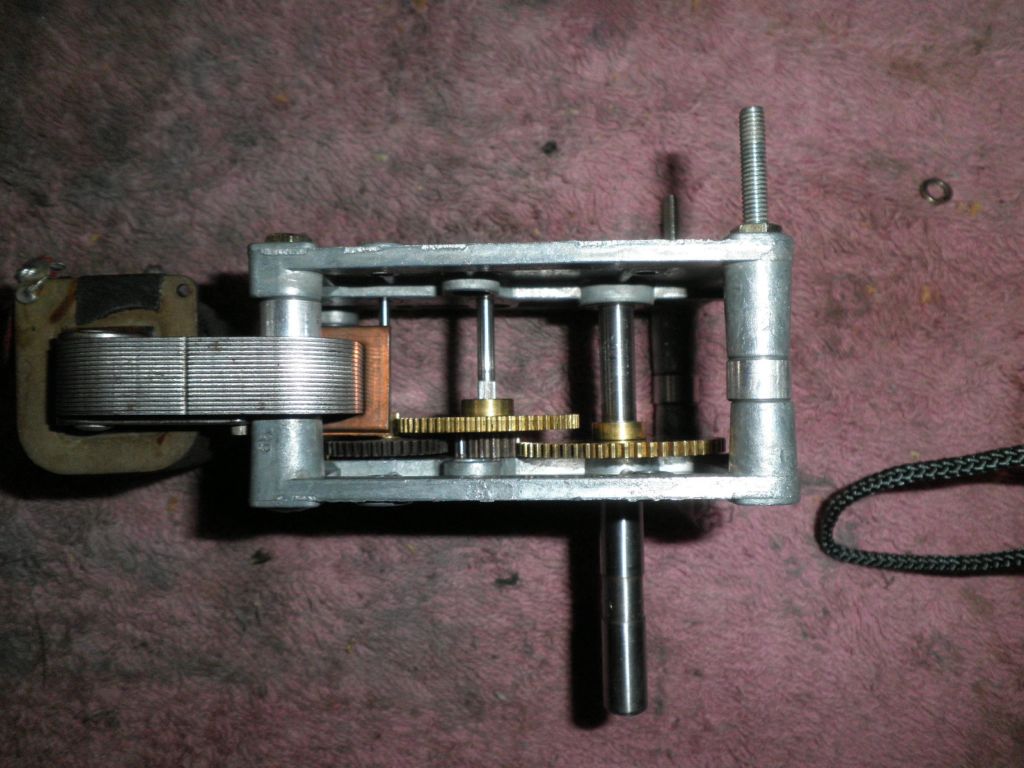
Here's the cam installed. I can move the cam with my pinky, and it is very smooth in its operation !
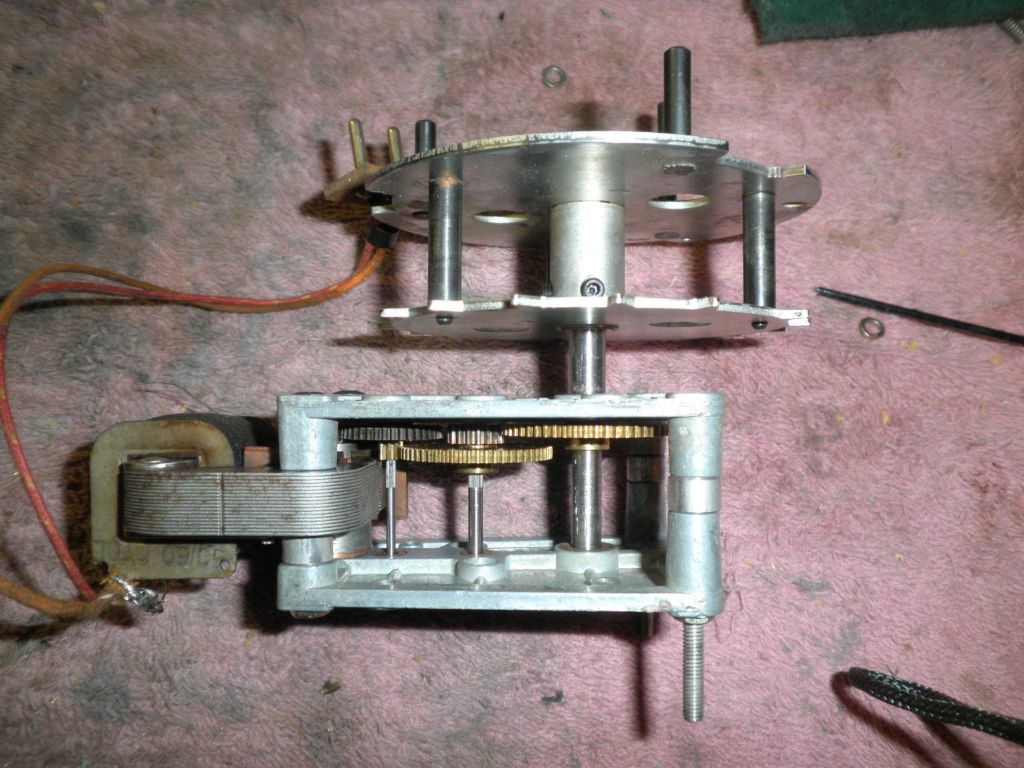
I just need to replace the bolts and refit to the machine.
So there ya go - a full score motor and gearbox rebuild !
