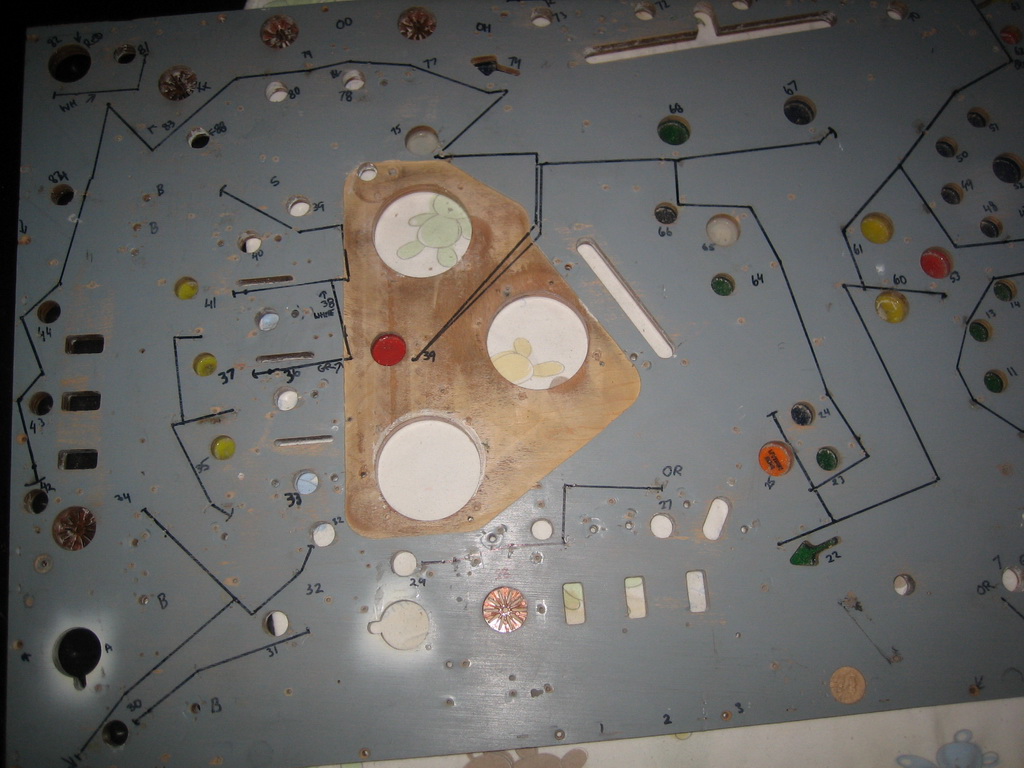
After 2 weeks of curing time, I started reassembly of the playfield. The first thing to do is to install the ground braid. I bought the ground braid and the staple gun from Pinrestore.com, and it makes playfield swaps so easy ! The first thing to do is mark all the "lines" as I have when I disassembled the playfield. All the numbers correspod to each individual globe holder.
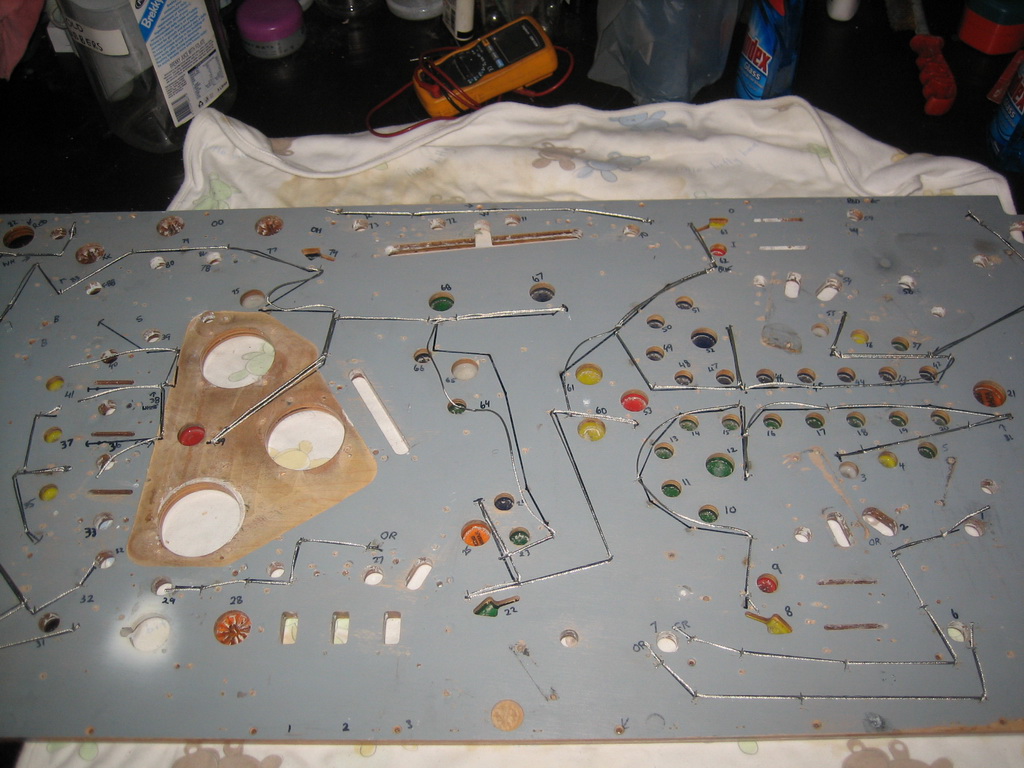
Here's the ground braid installed, by simply following the original path
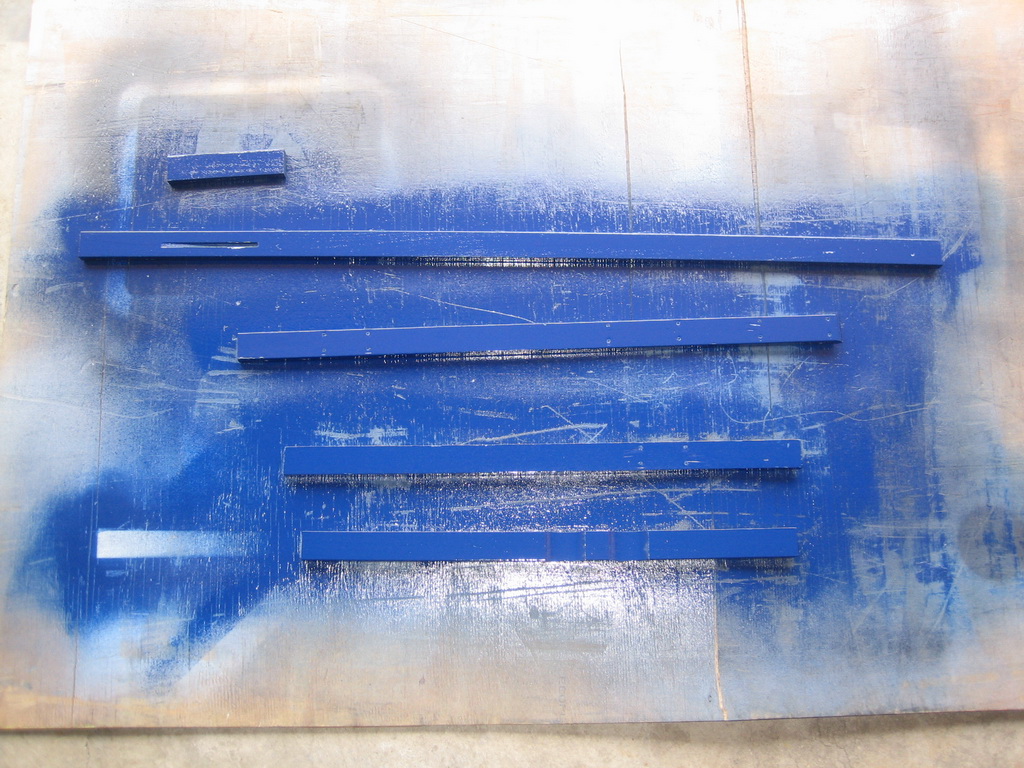
I found an EXACT match of Blue at Bunnings, so I repainted the playfield guides. This is a picture straight after one coat. The quality of paint is the best I've used out of a can.
All the parts are tumbled, cleaned or replaced. So all I have to do is start the slow process of installing all the globe holders and hardware. This takes time and patience.
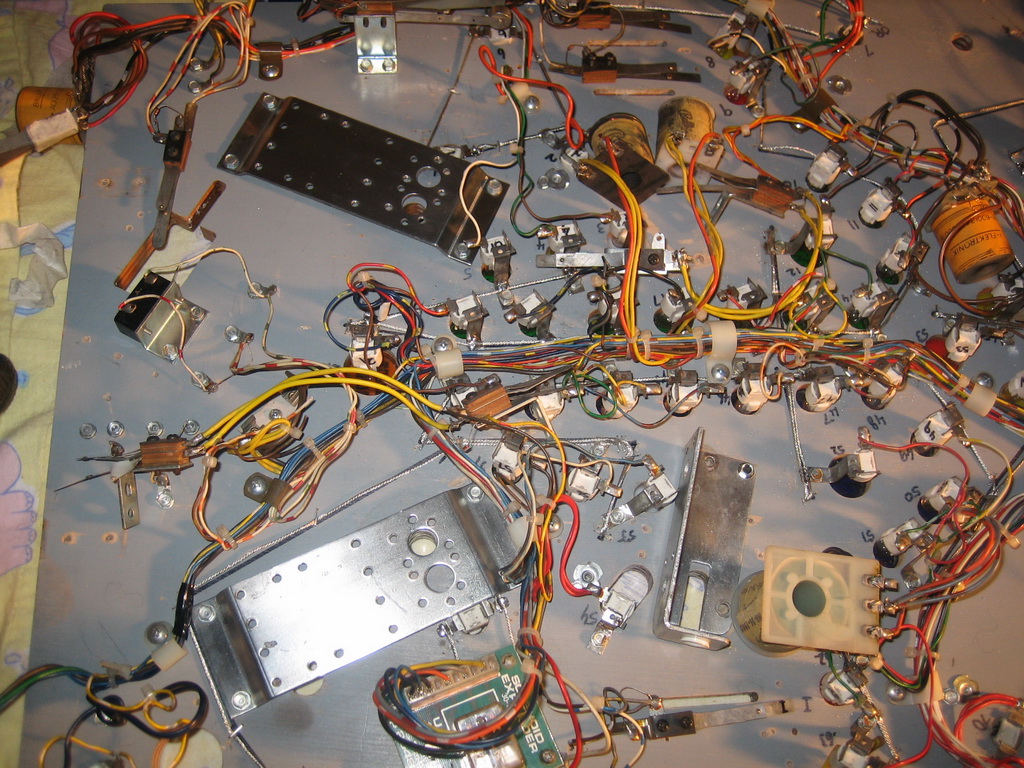
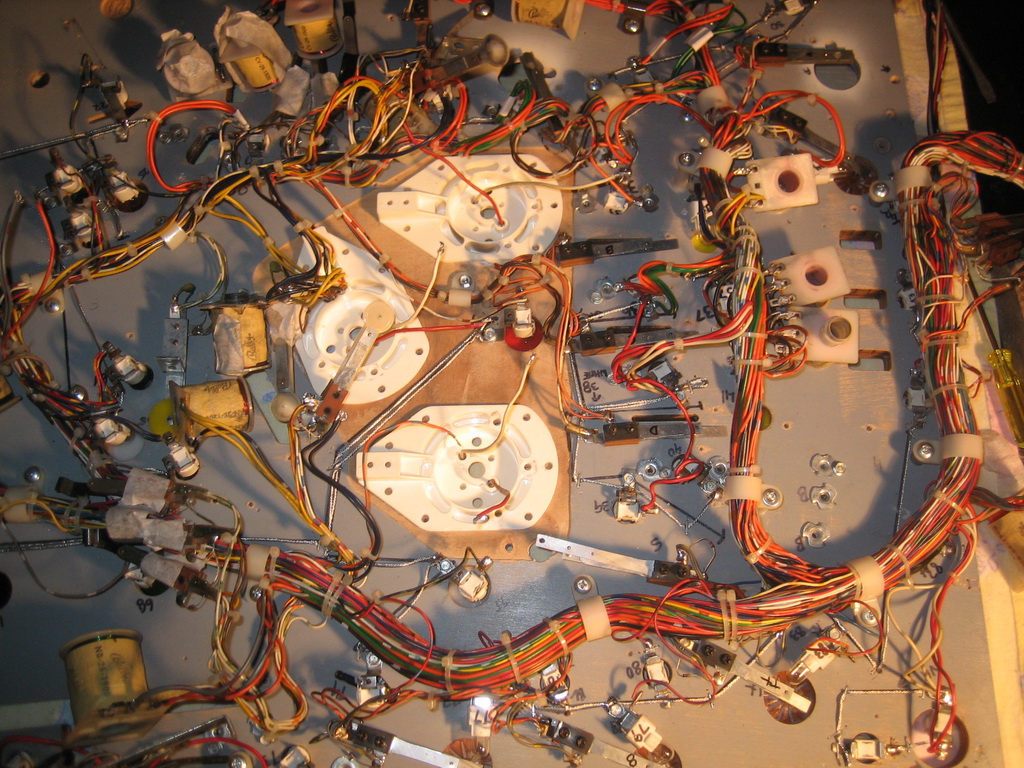
Only one "glamour shot" after 20 hours of work !

