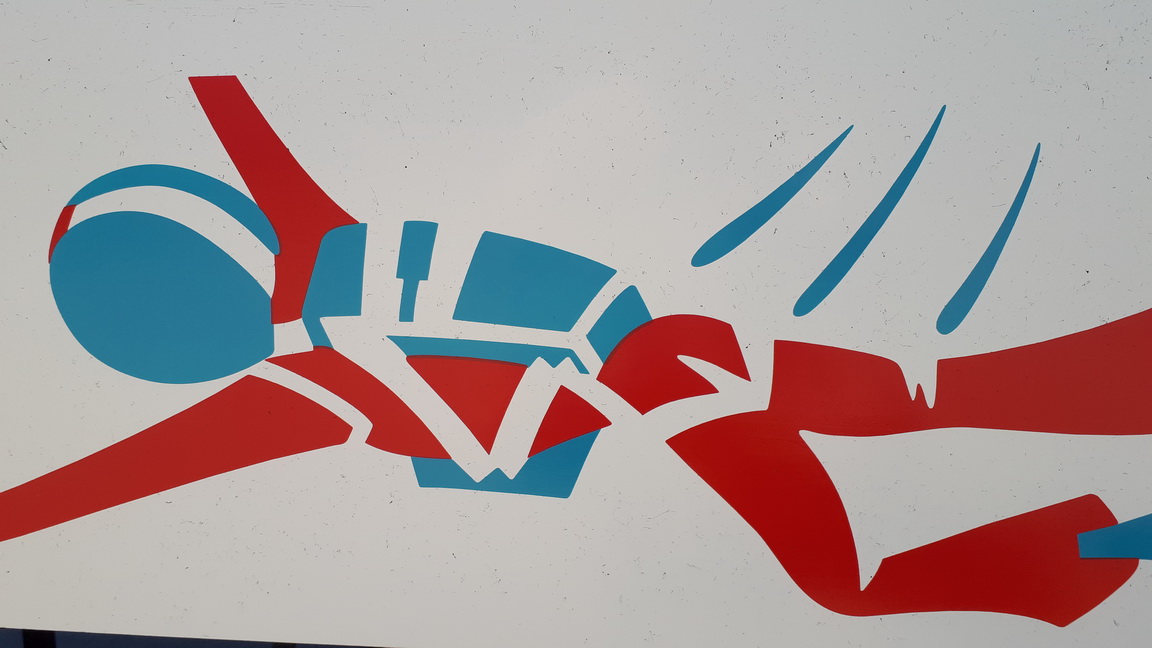
This game has been waiting for quite some time in the queue (haven't they all ?), and it is part of a pair of games that will be done roughly at the same time - The replay Version here - "Sky Jump" and the super rare add-a-ball Version "Free Fall". "Free Fall" will have it's own thread, but the two will have differences, one will be an amazing idea that once implemented, we will have two restored machines that will be almost identical in the standard of restoration.
Background
As above - part of a "Sky Diving" collection based in W.A. This particular game is typical of the state of EMs operated, but kept in really good condition.
Many repro parts already purchased and were sent with the games.
The Wade Kraus repro playfield will be purchased and used in the this machine.
ConditionCabinet - 5/10 - Has been painted over with different colours. Not an awful job, but it will be repainted anyway
Backglass - N/A - Owner has a repro.
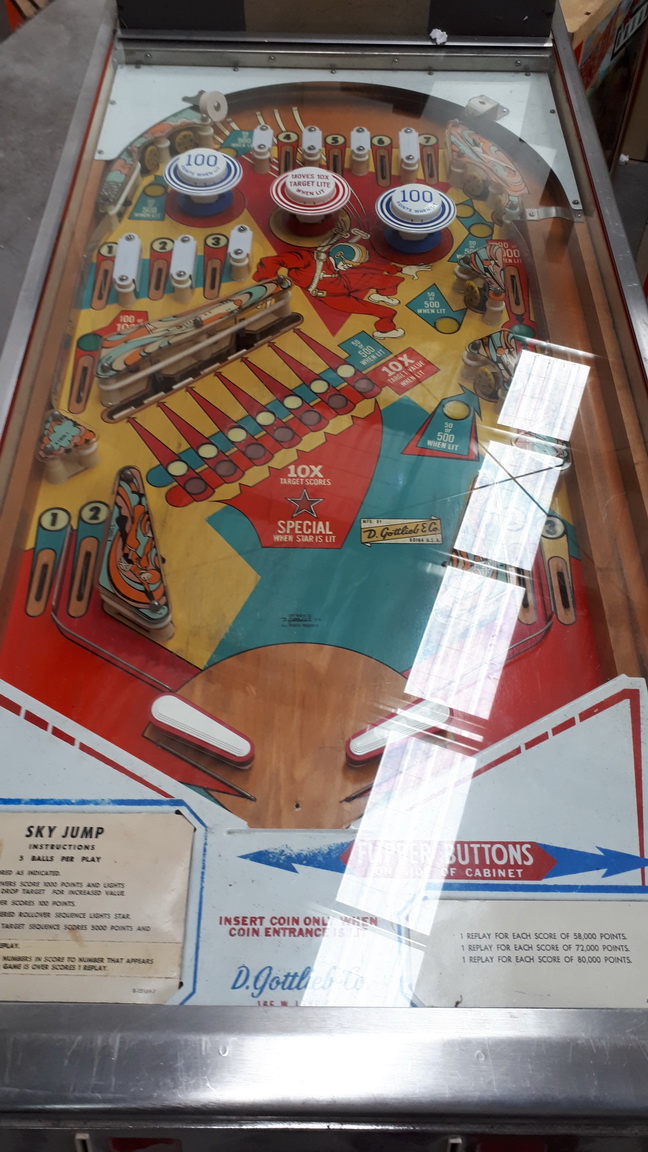
Playfield - 7/10 - Not too bad. Planking and wear.
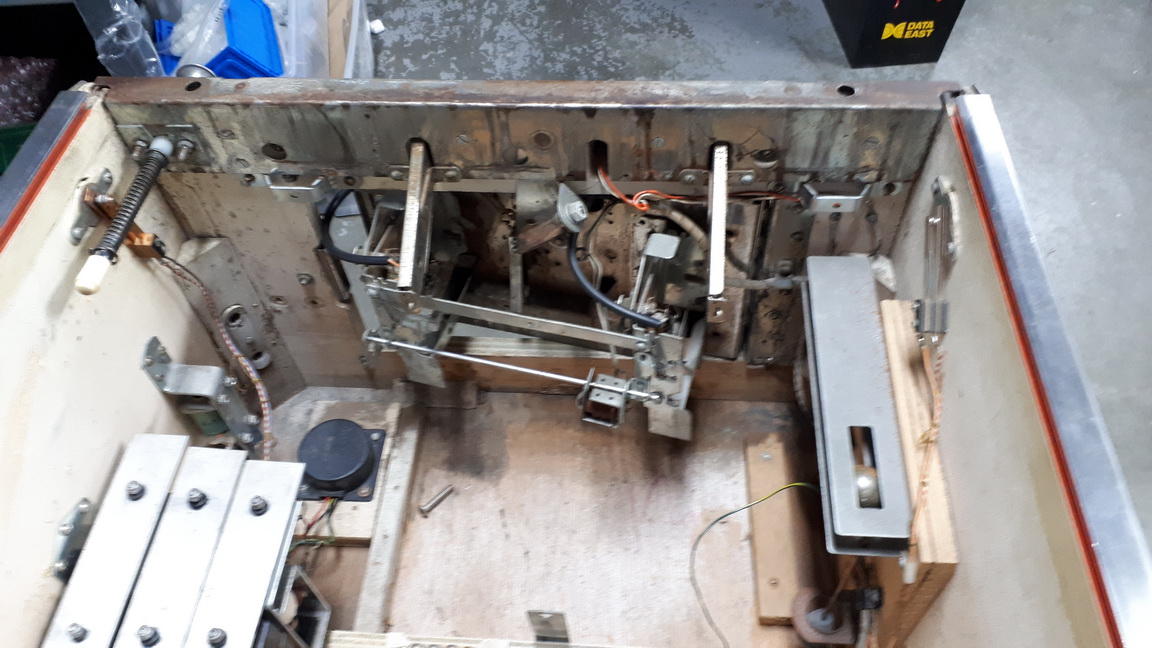
Electrical - 8/10 - Great for it's age.
Starting point Here is the pair together.
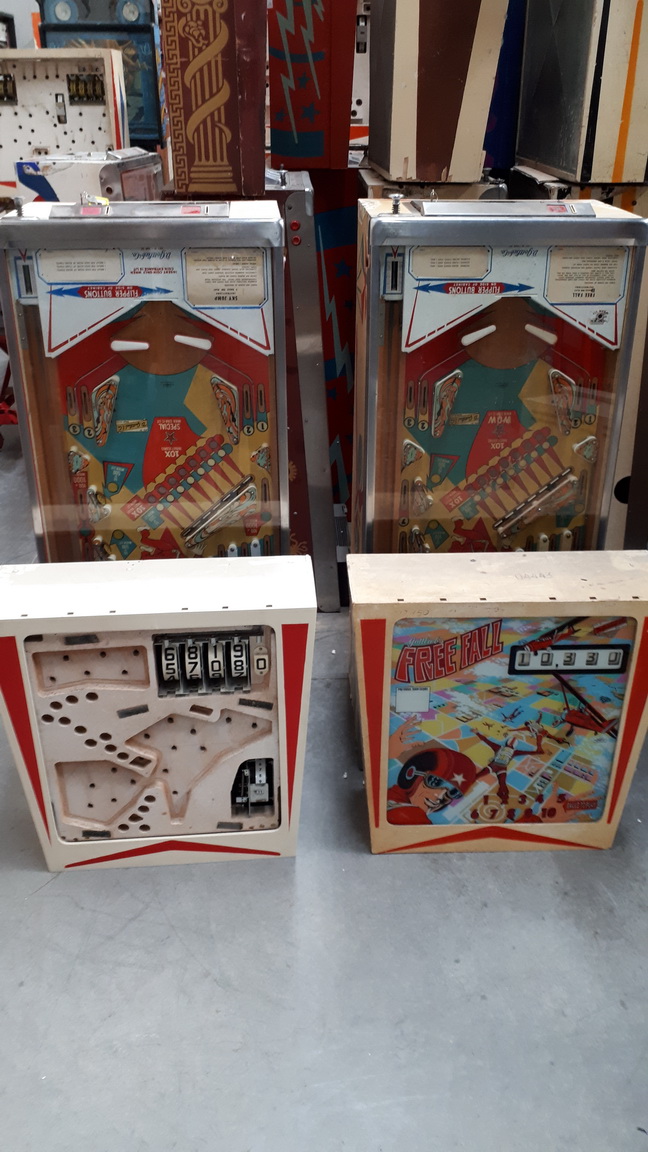
The Sky Jump is what I'm starting first. But I will need the paint matched to the Free Fall.
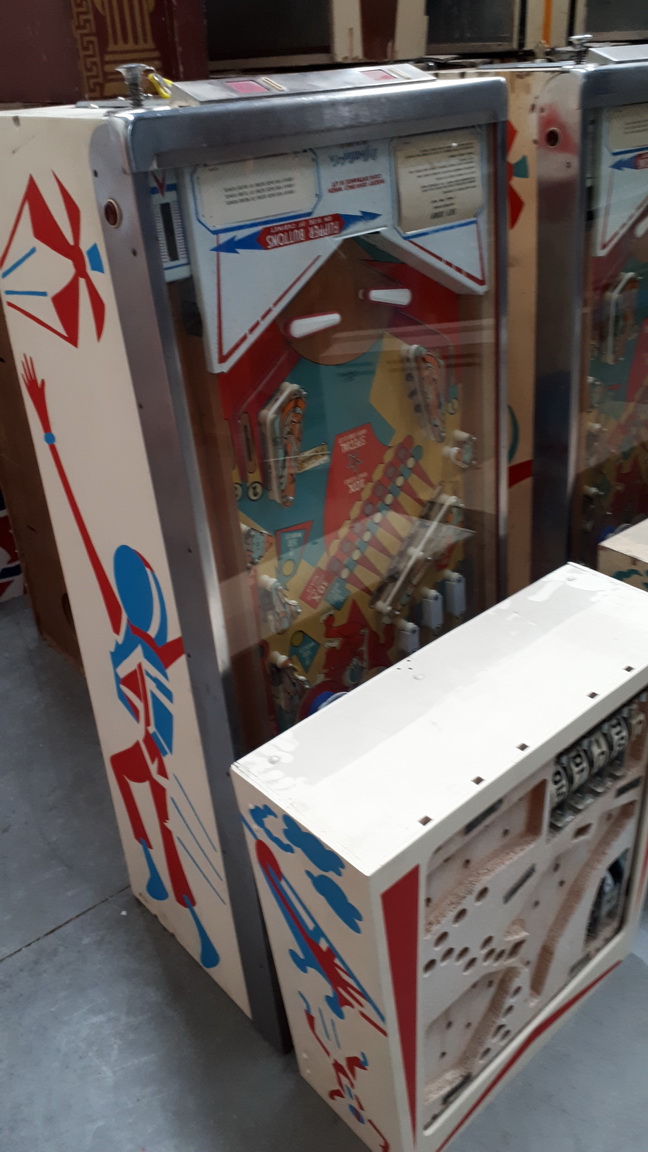
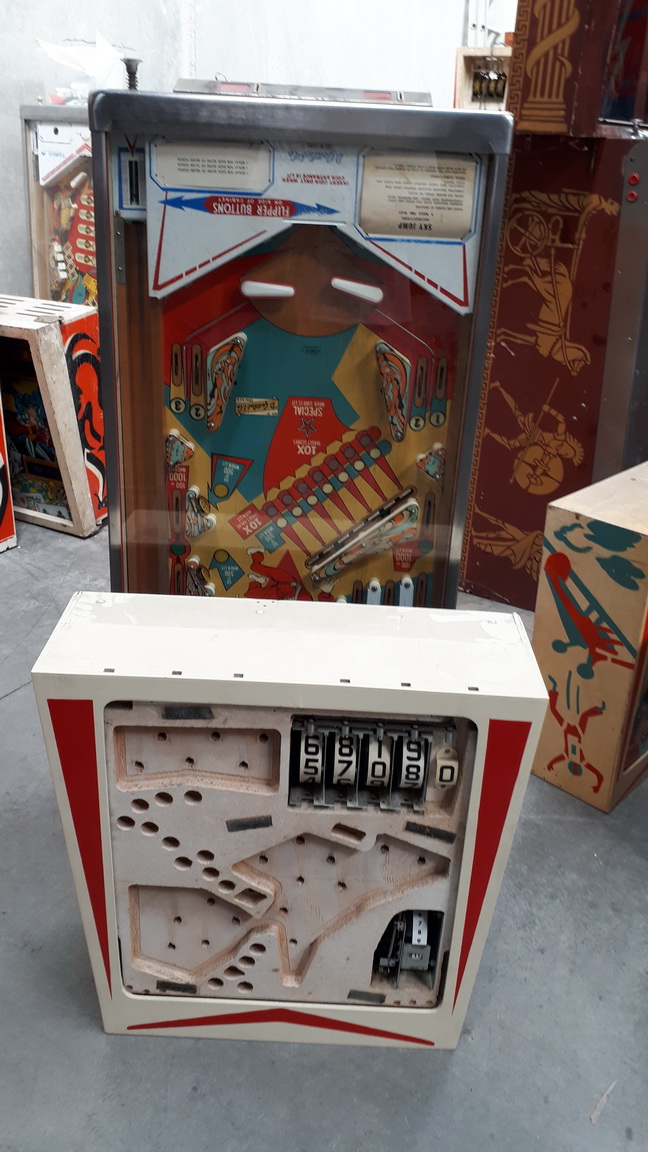
Repainting done previously ;
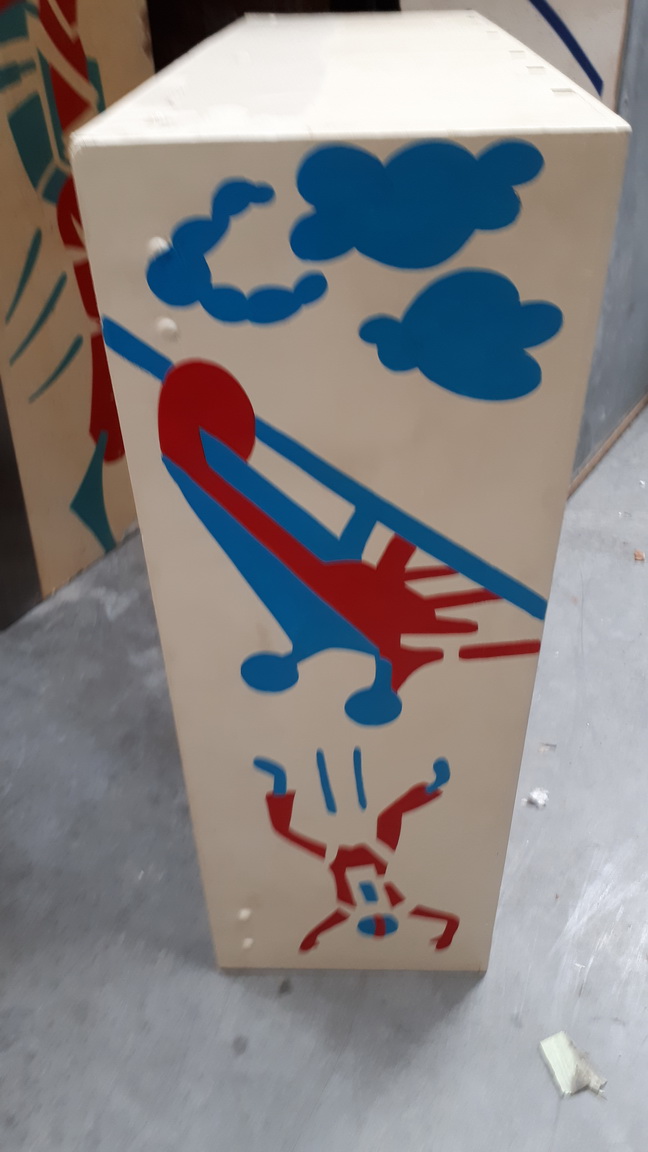
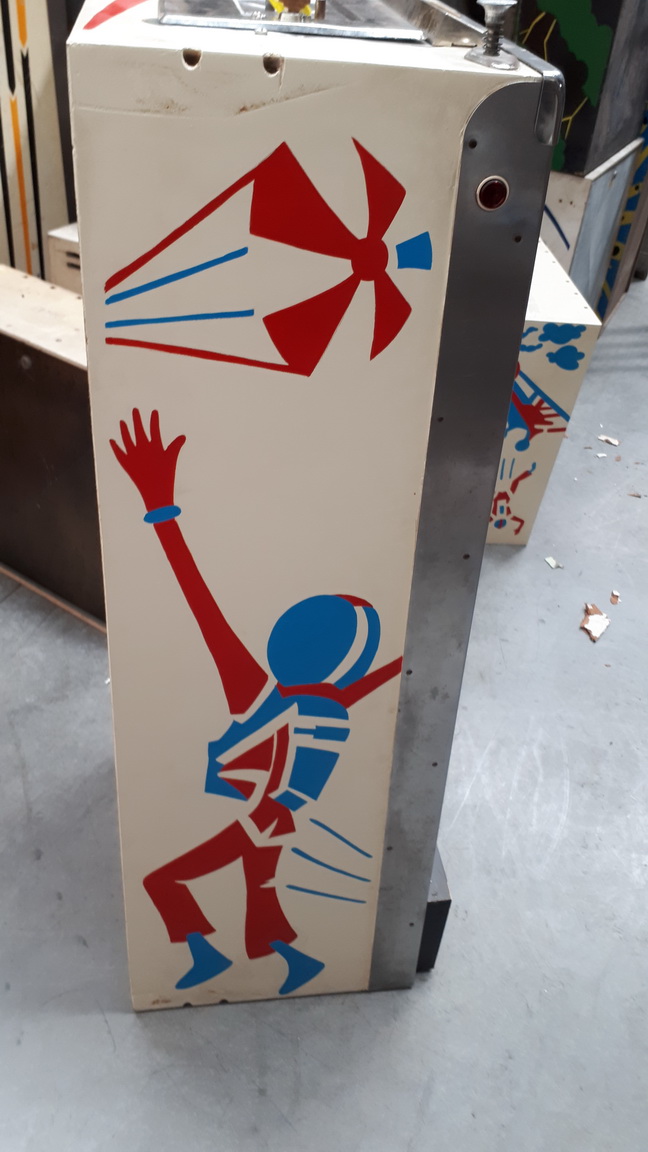
Playfield
Inside the machine ;
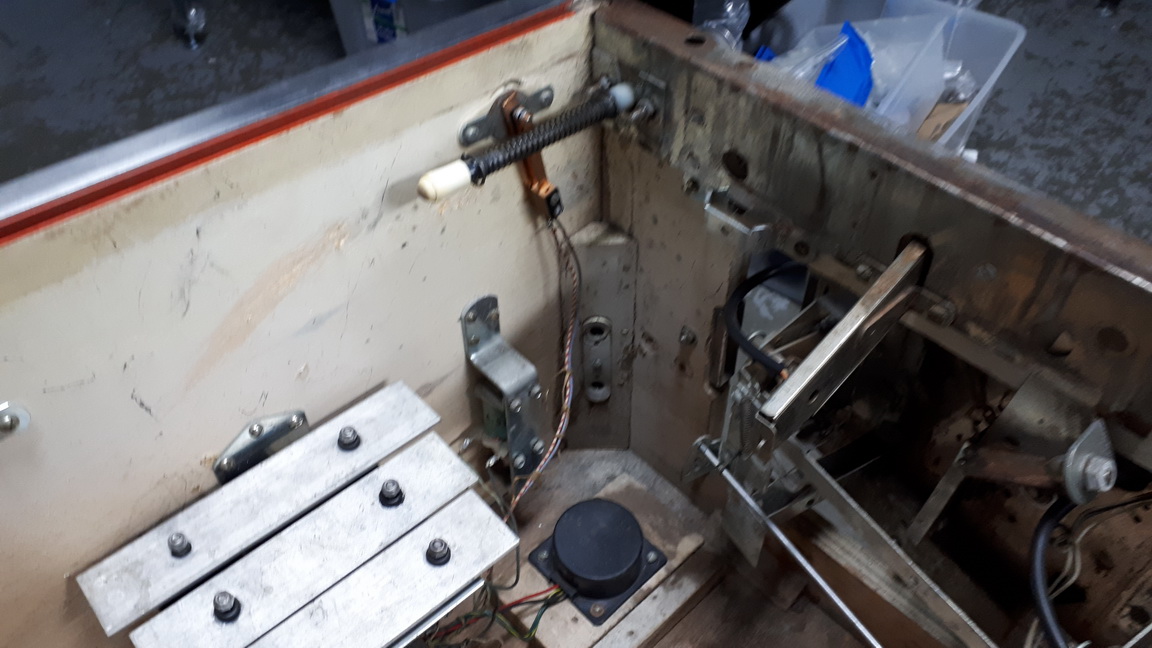
Here is where the base colour will be matched. I have a sample of the High Hand / Pro Football, which were the cream colour - and the original colour of this game is the same - as confirmed behind the striker plate.
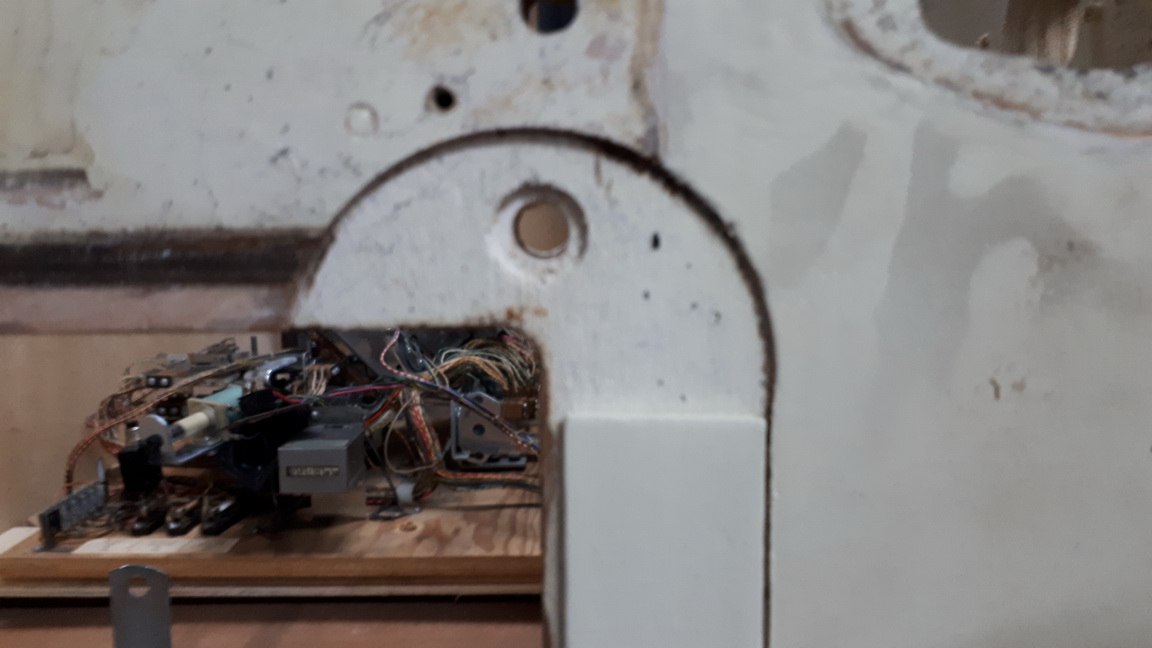
Cabinet was loose around the headbox mounting area, so I prized it loose completely so I can re-glue and staple back together.
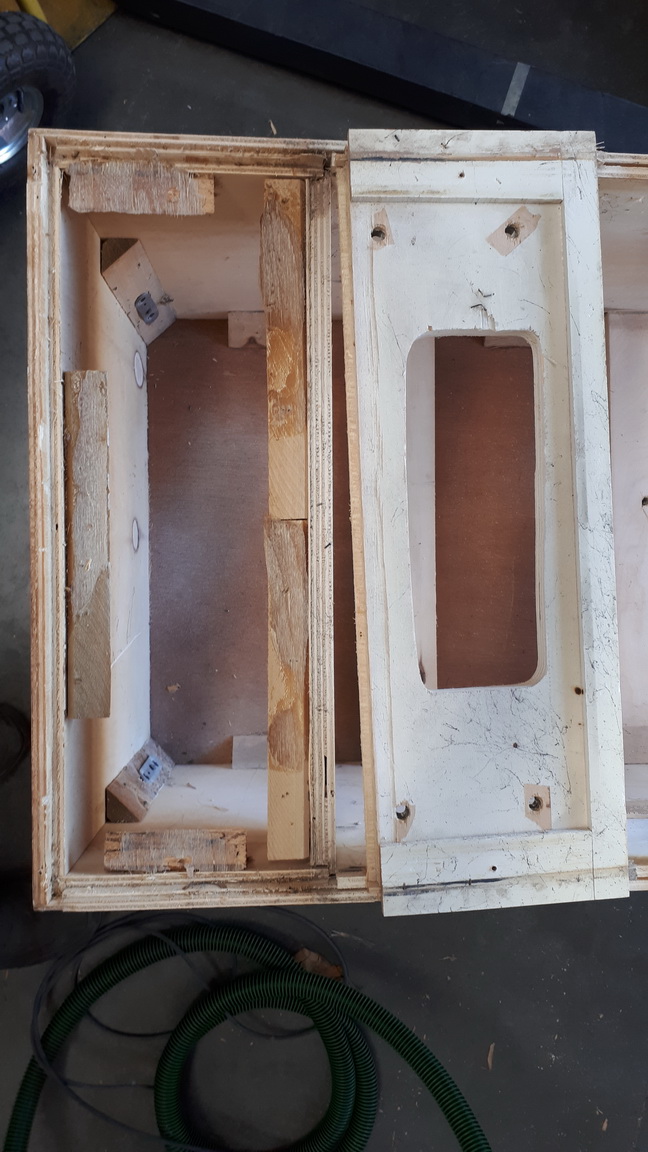
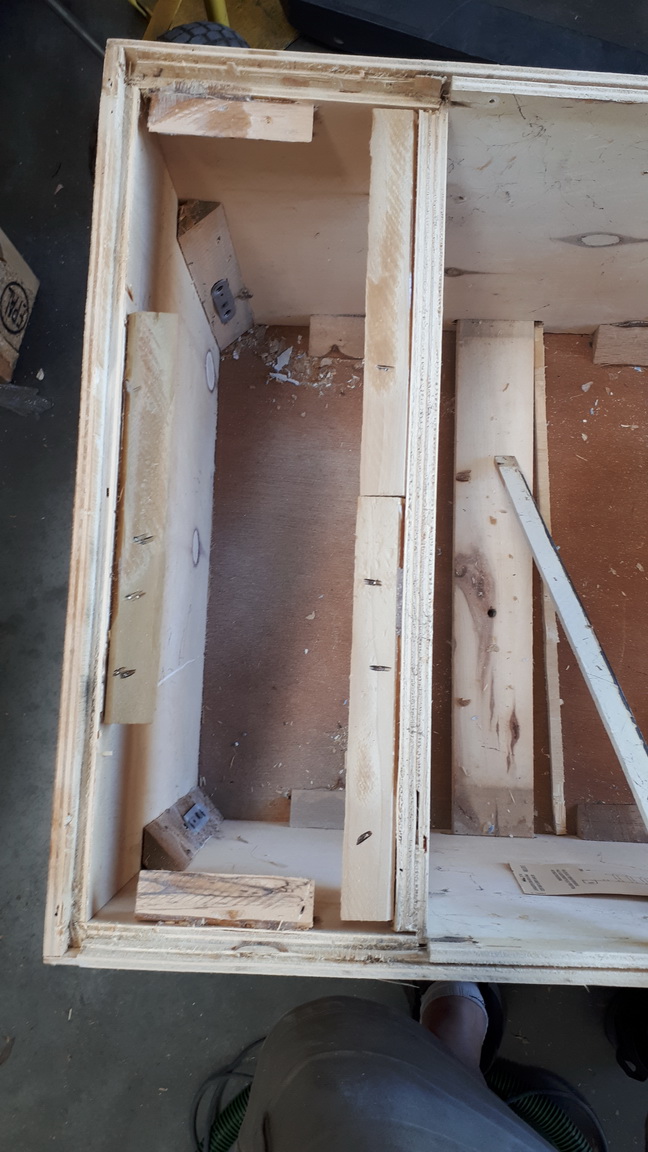
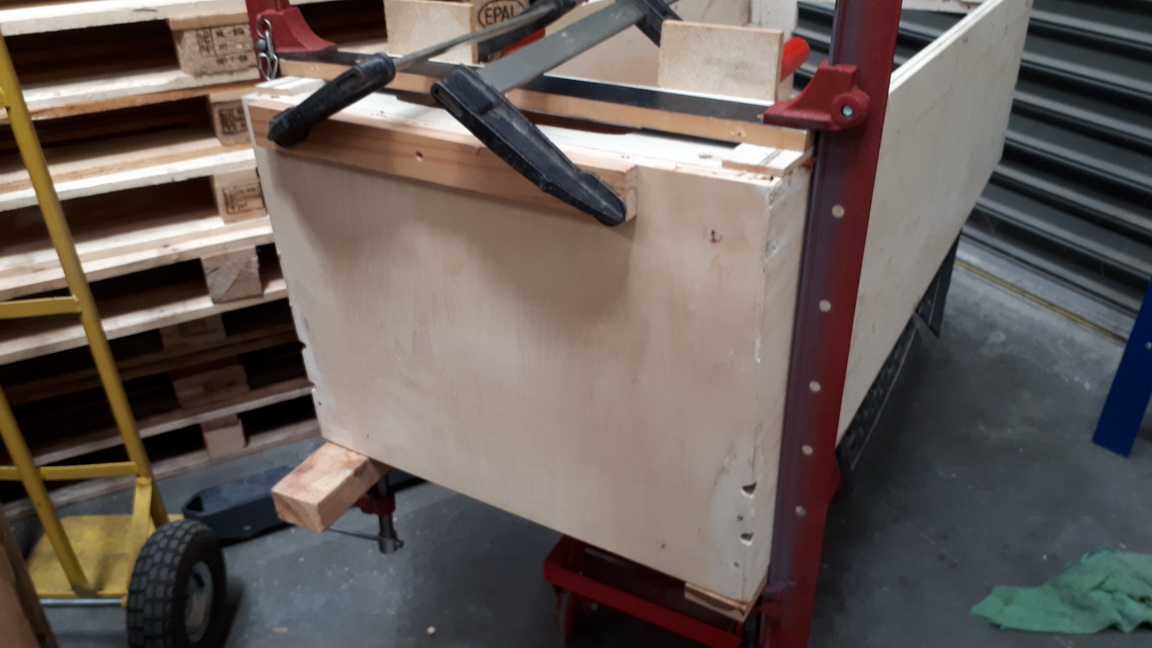
Strip and prep the cabinet for the primer / filler.
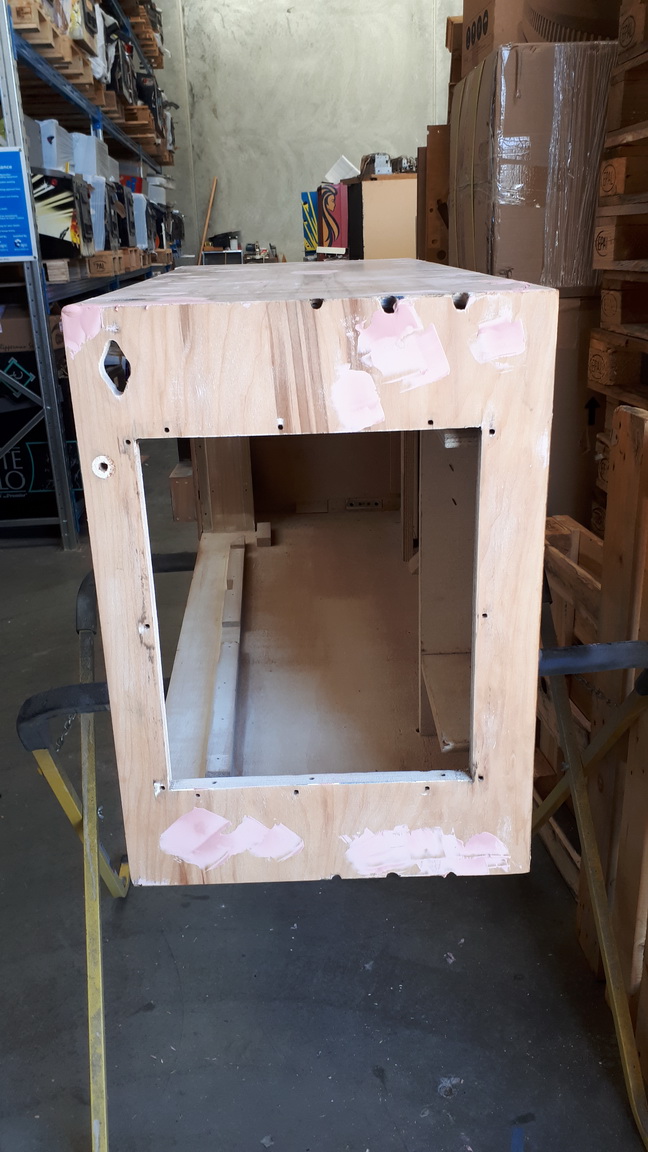
Headbox had some unusual reinforcement.
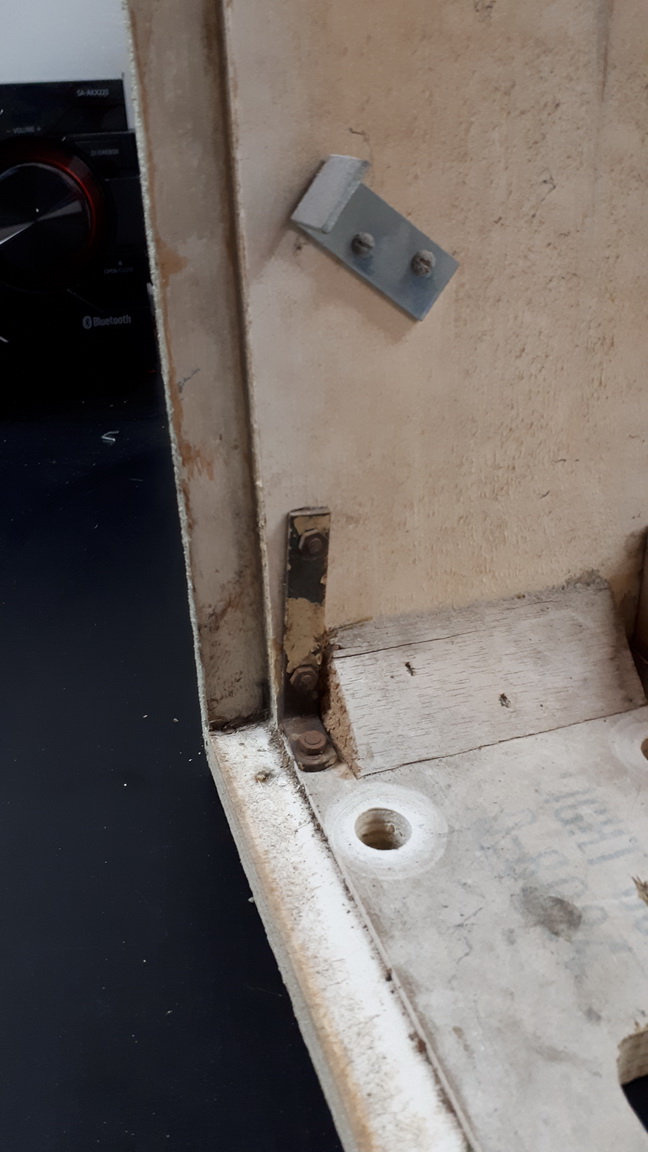
Repairs to the base done. Masked off for paint preparation.
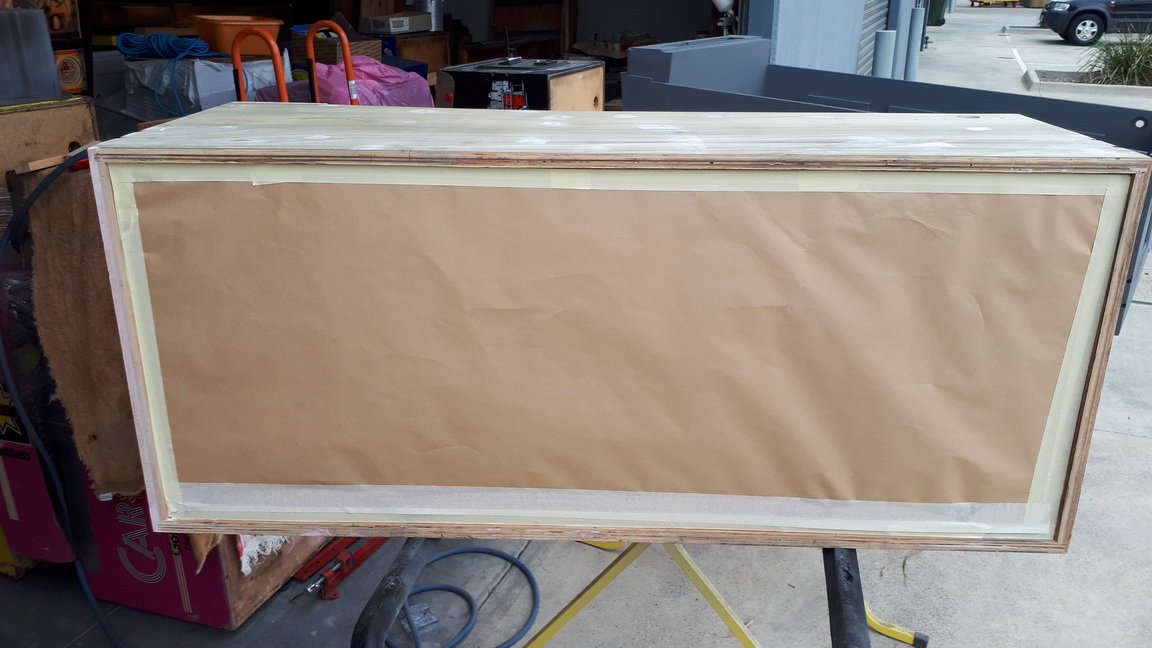
Inside is masked off as well.
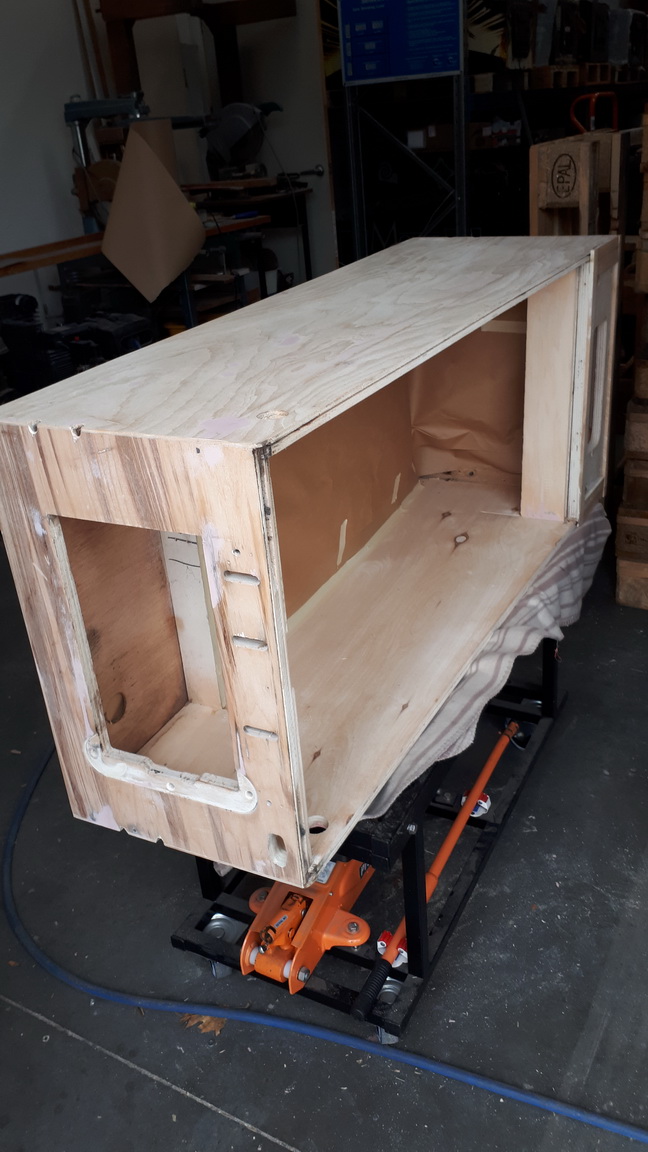
Headbox has 2 initial coats of printer / filler - just light coats to check for the finish and to see if there are any imperfections or "rejection" of the paint. I then fill any areas and then 2 more coats applied.
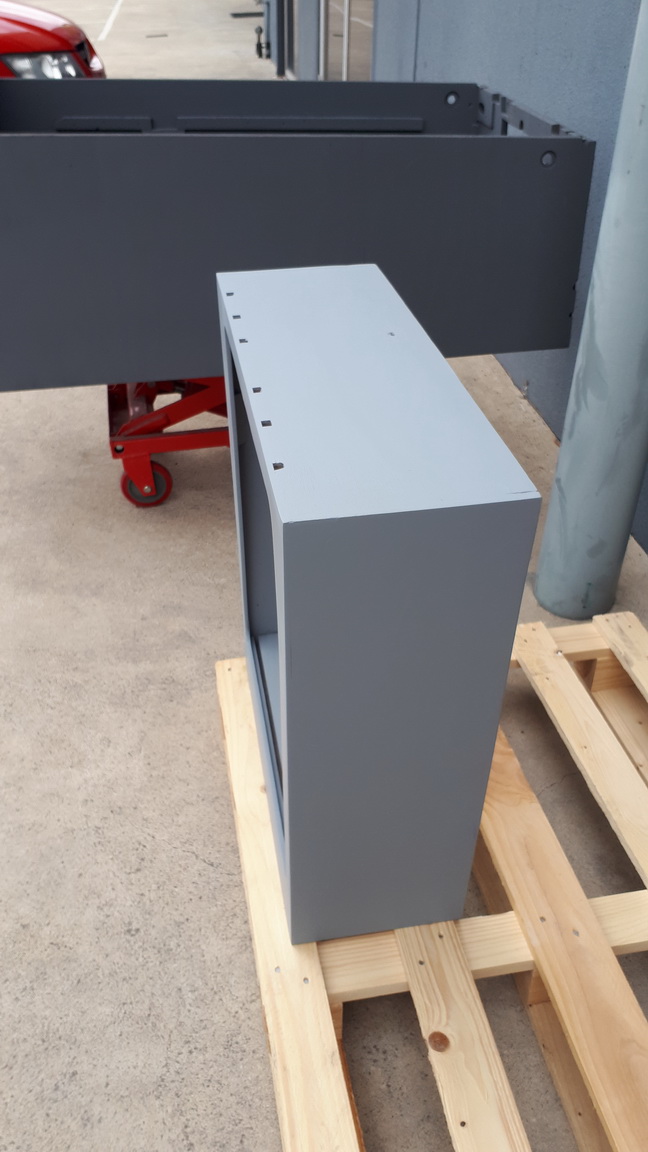
I use 800 Grit and sand by hand, as I trust my experience rather than use an electric sander. Once I'm happy, 4 coats of topcoat - wait 10 minutes between coats to check the sheen / finish.
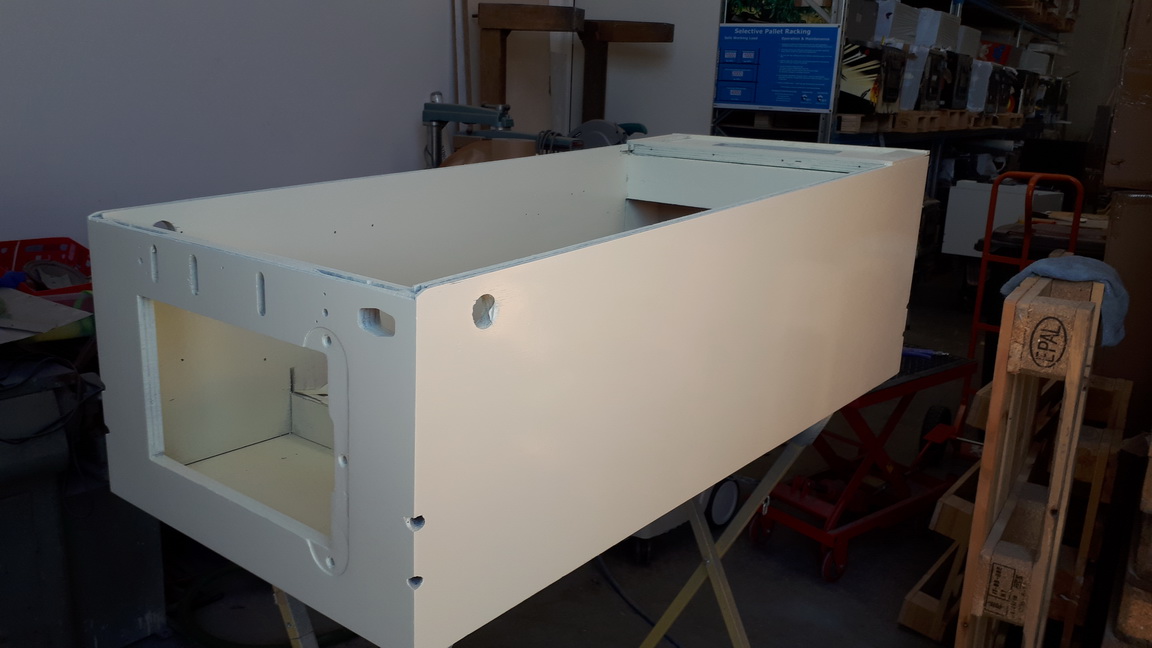
Very pleased with the result !
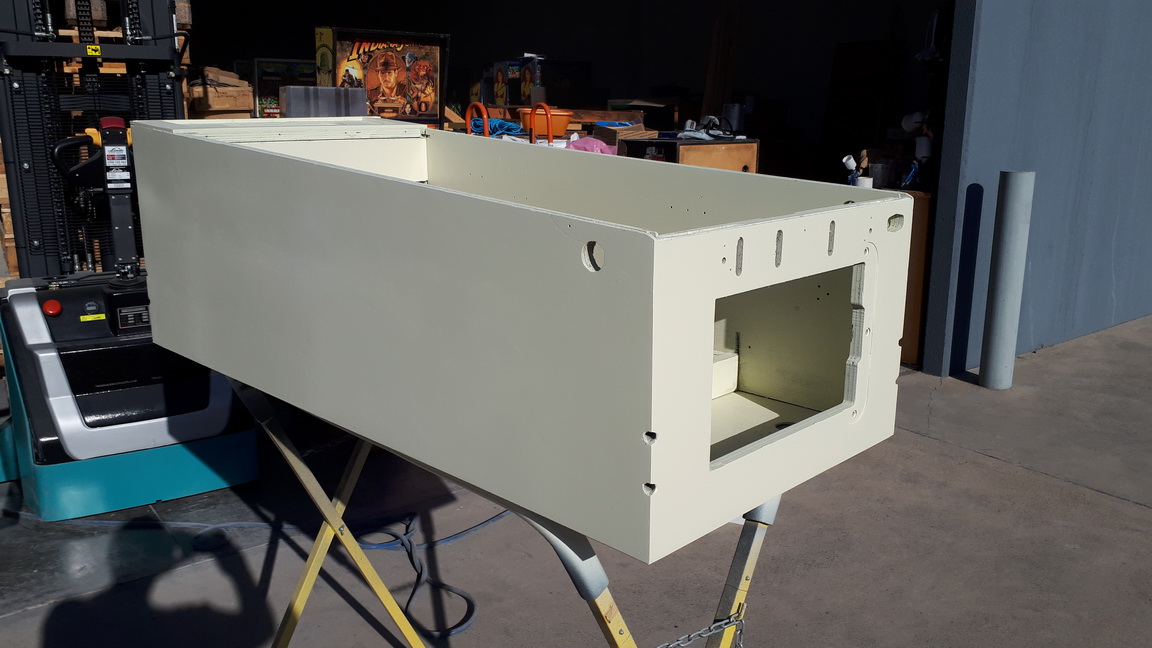
Let it bake in the sun for 4-6 hours, then bring it inside to check the completed basecoat.
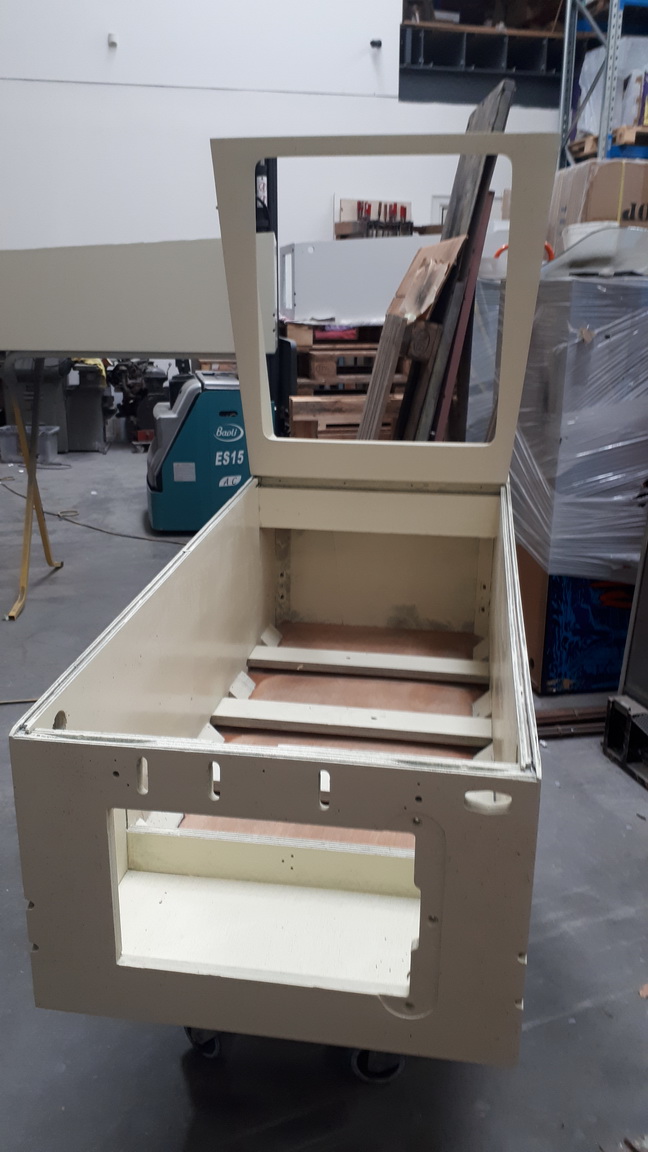
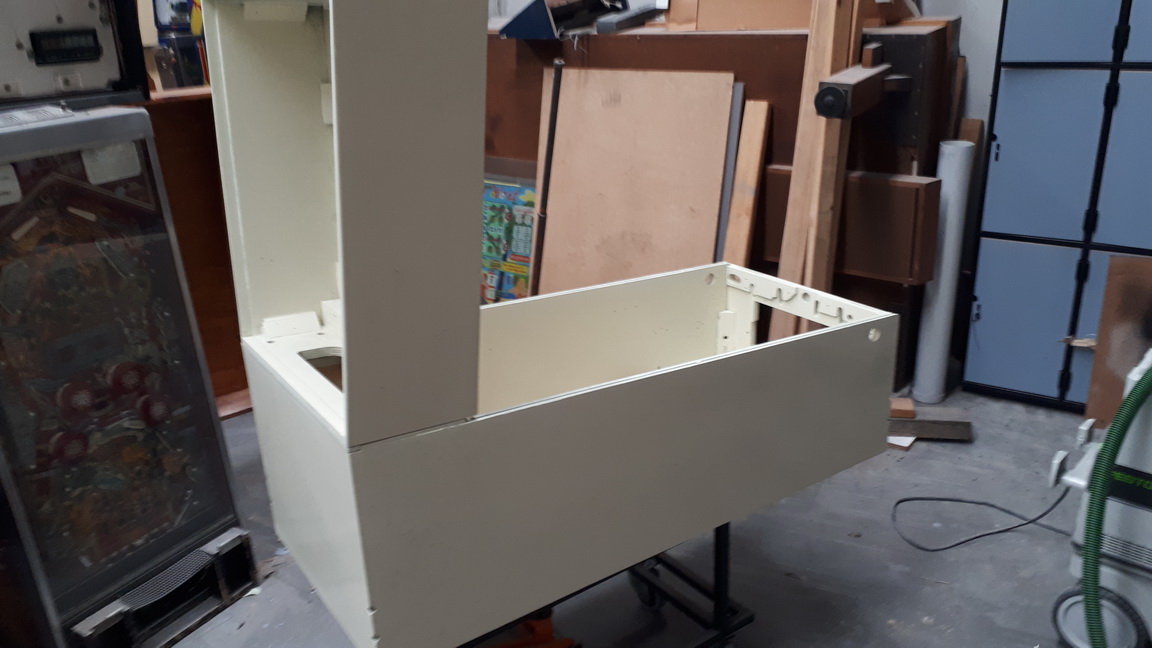
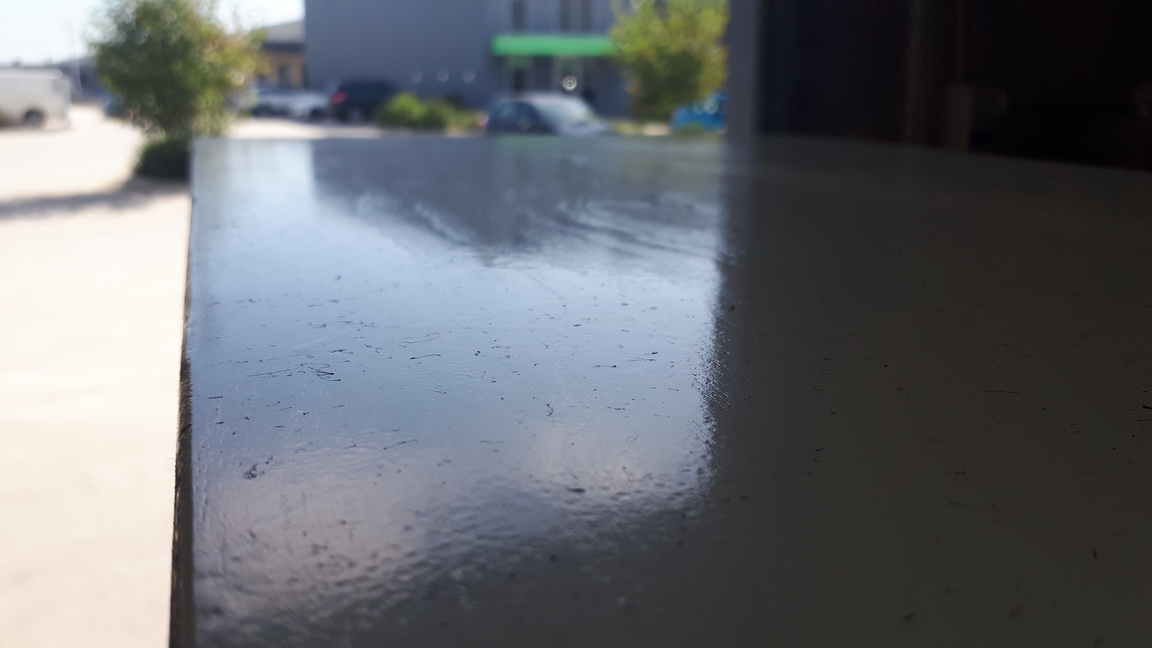
I digress for a moment. When restoring EMs, I like the finished game to be within the "spirit of restoration". No fancy paintwork, I don't want it perfect, as the cabinet is made of wood, not plastic. Keeping this in mind, there will be knots, and changes in the wood that were created by nature - I leave these as the character of this unique game is retained. There might be, what appears to be "planking", but it is not. Timber is fibrous and it will change as time goes on. So there's no "mirror smooth" panels - Once you start "bulk-filling" - you will see unnatural sections of the wood that will stand out like a sore thumb.
I hope the photo below highlights the unique characteristics of the timber. The finish is exactly as factory, and the webbing has just been applied ;
I'm using the
@Pinball Pimp Stencils, with Acrylic Lacquers - with amazing results. Starting the headbox ;
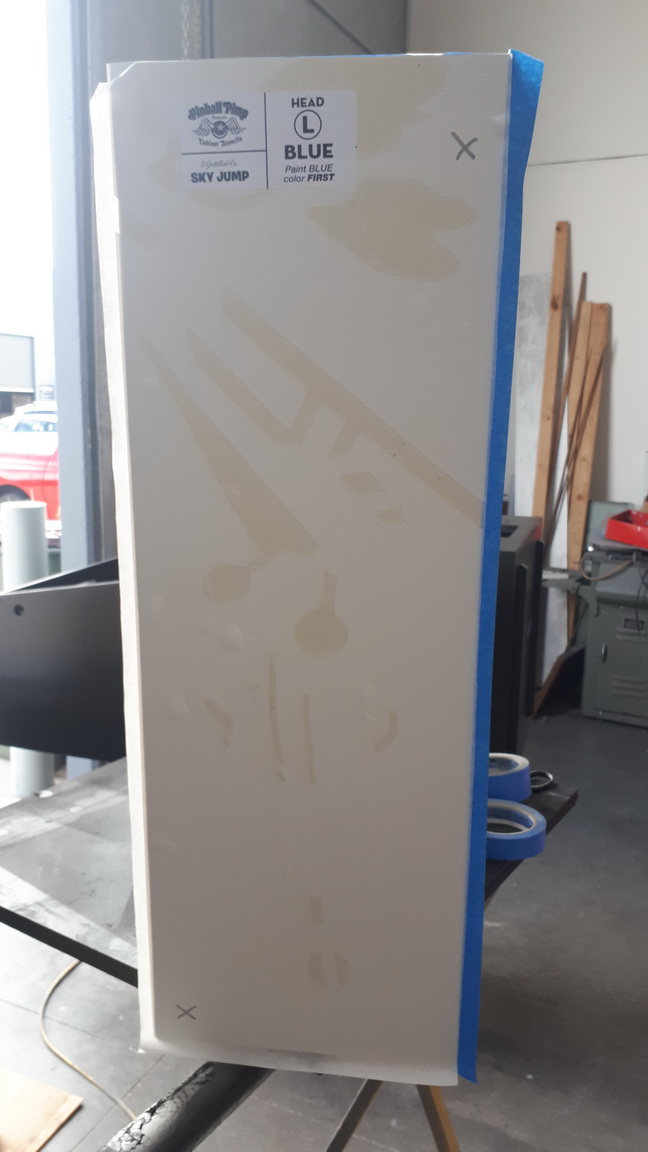
There's a lot of coverage - but there is a mist coat and a VERY thin, but consistent top coat. I can't go crazy as the material is not compatible with Solvent based paints. I remove the stencil almost immediately.
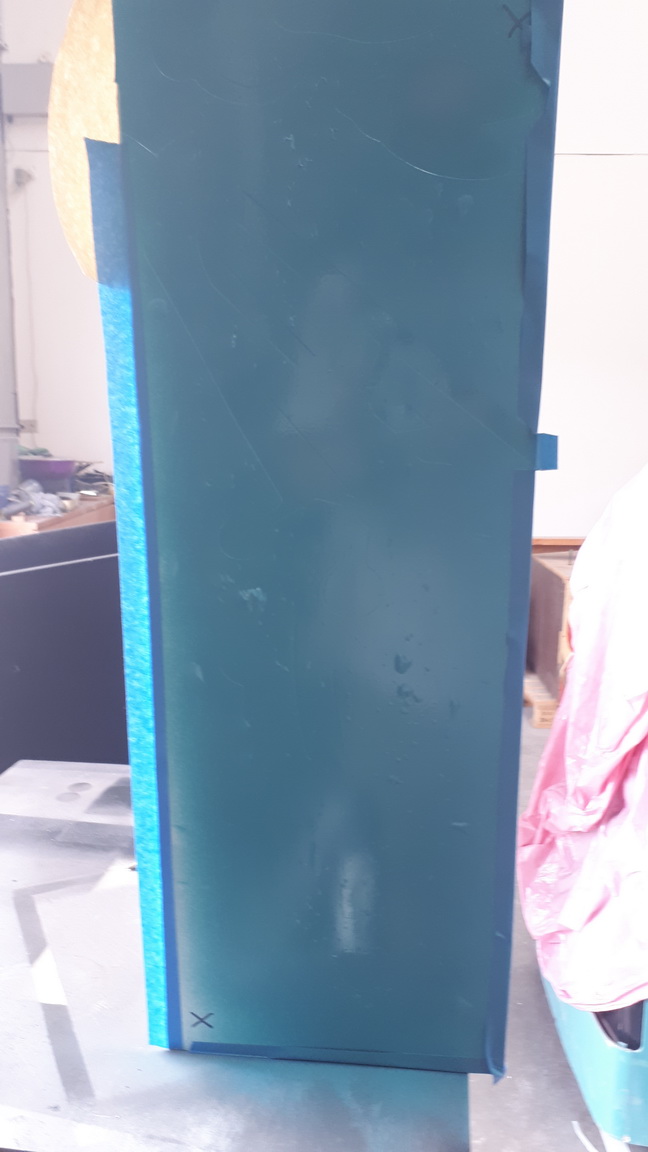
Cabinet ;
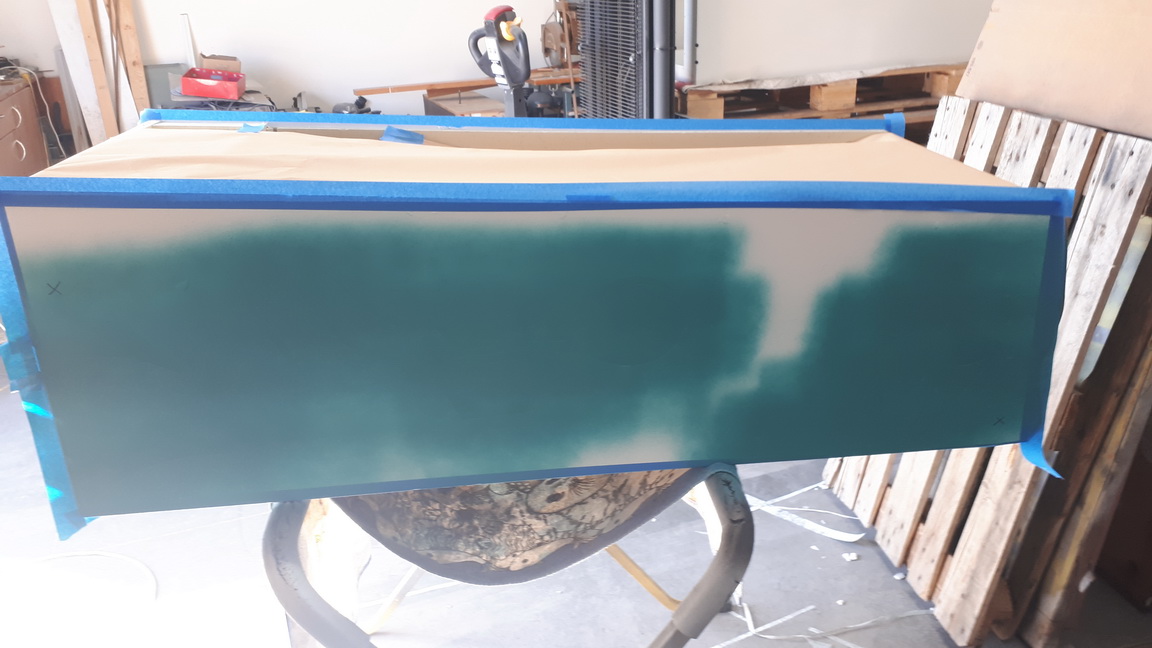
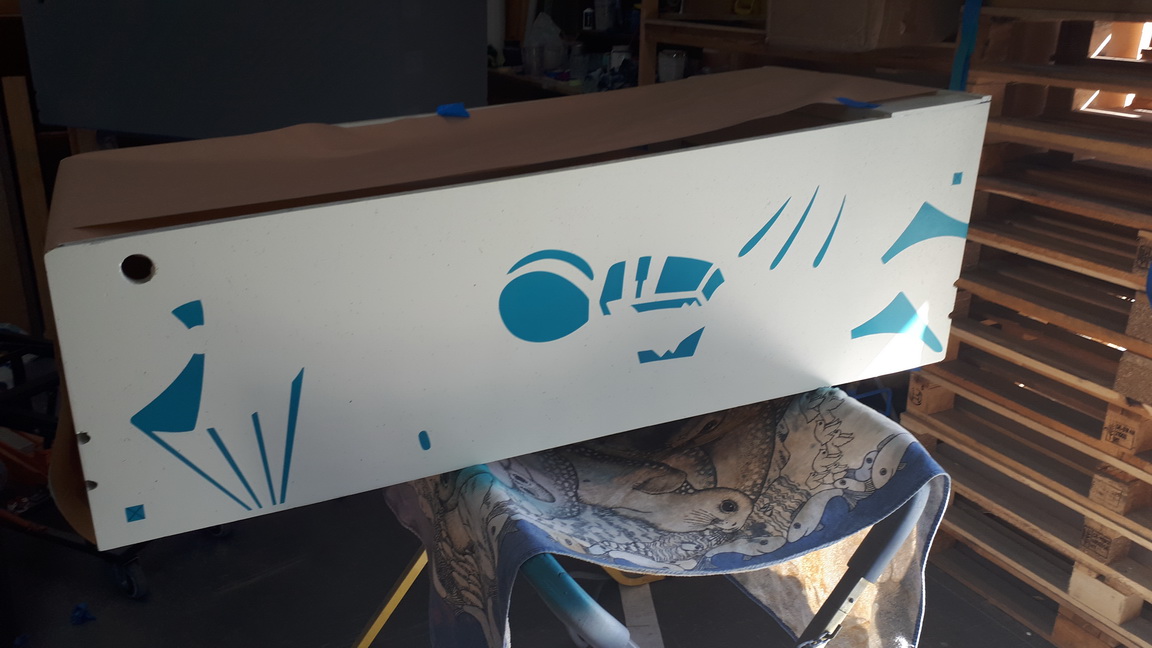
After a lot of work - I'm stoked !
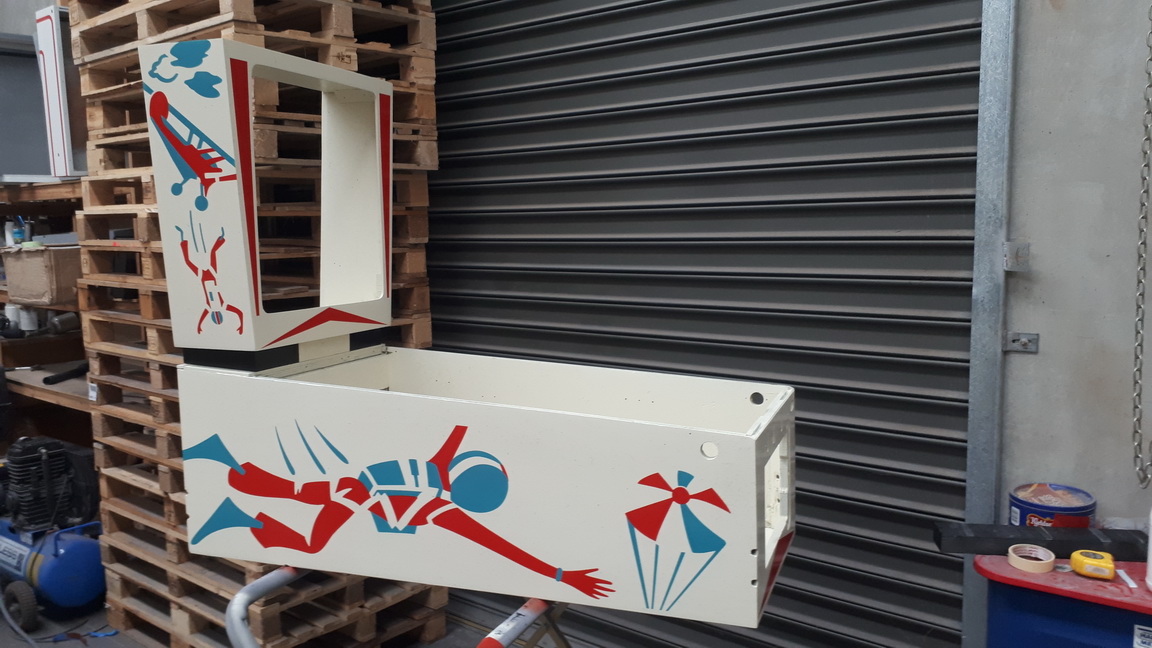
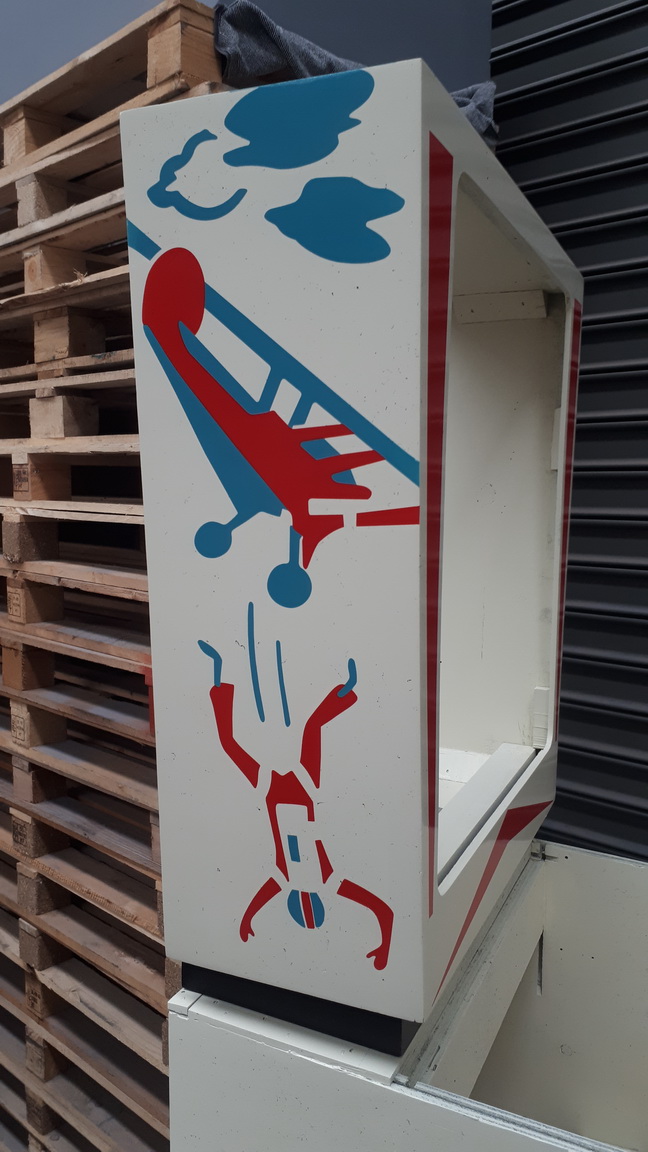
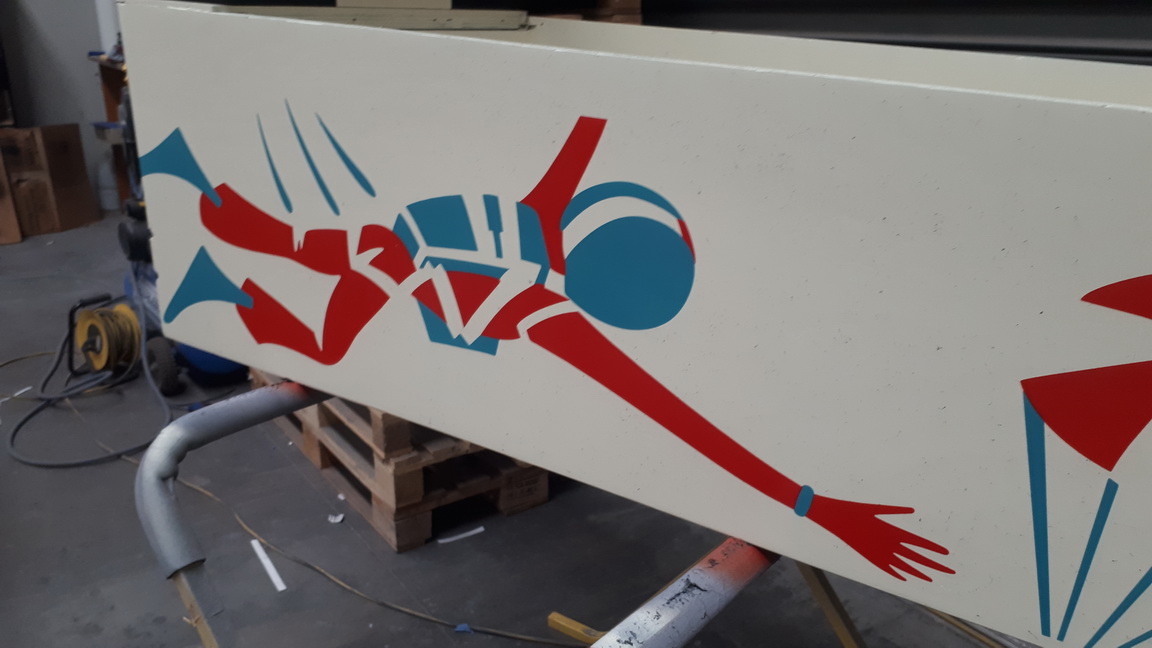
Completed and repainted cabinet ;
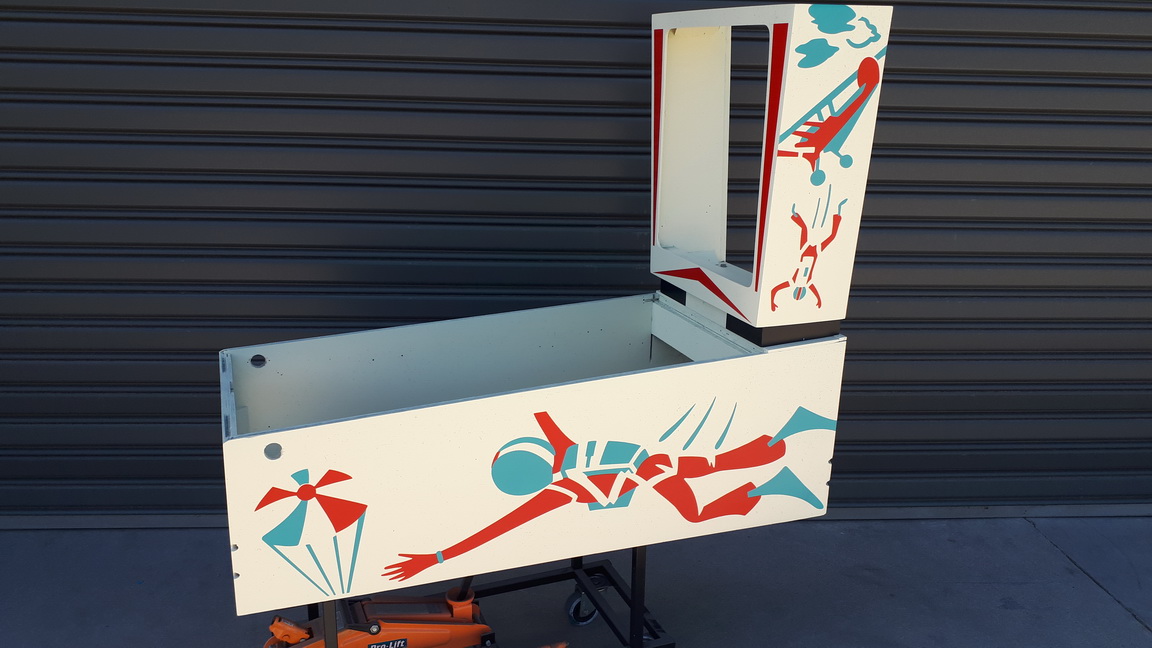
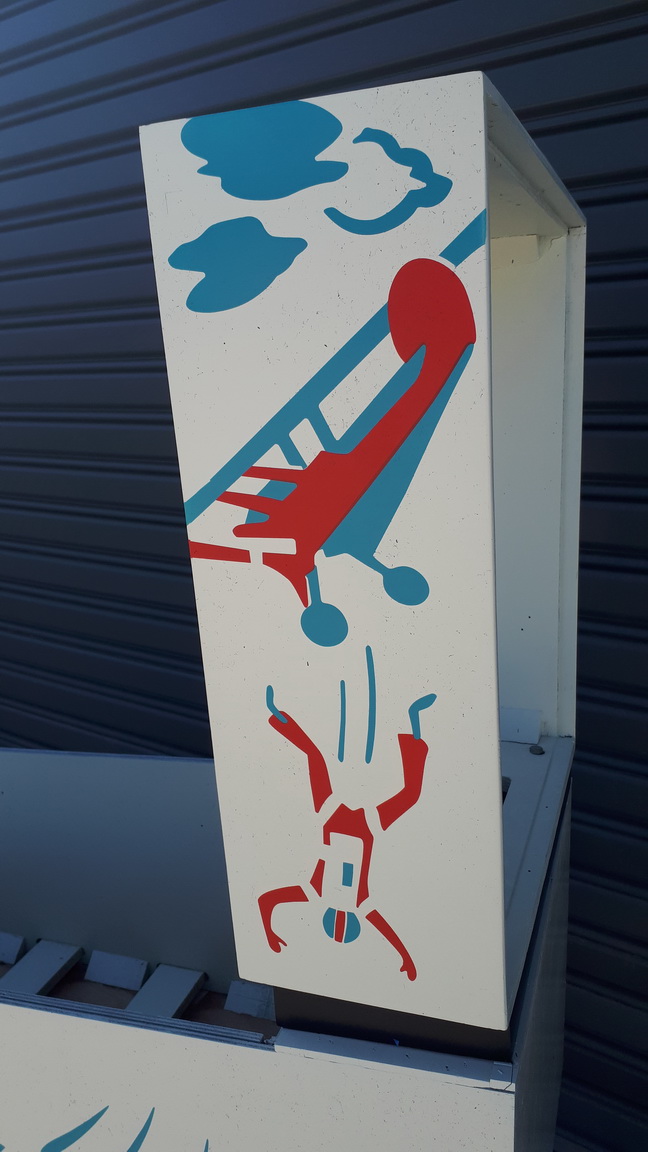
The AMAZING detail..
