Big UpdateThe metal ramps and rails have been picked up from MartyJ - I'll post pics on that tomorrow, but as usual, he did a great job. In the meantime, I've been busy under the hood and there was a lot that needed to be done.
all the mechs are removed and rebuilt, leaving the inserts etc to be cleaned as well as the wiring hardness. Each switch is removed, cleaned and checked. I replaced two of the slingshot switches as they were the wrong type.
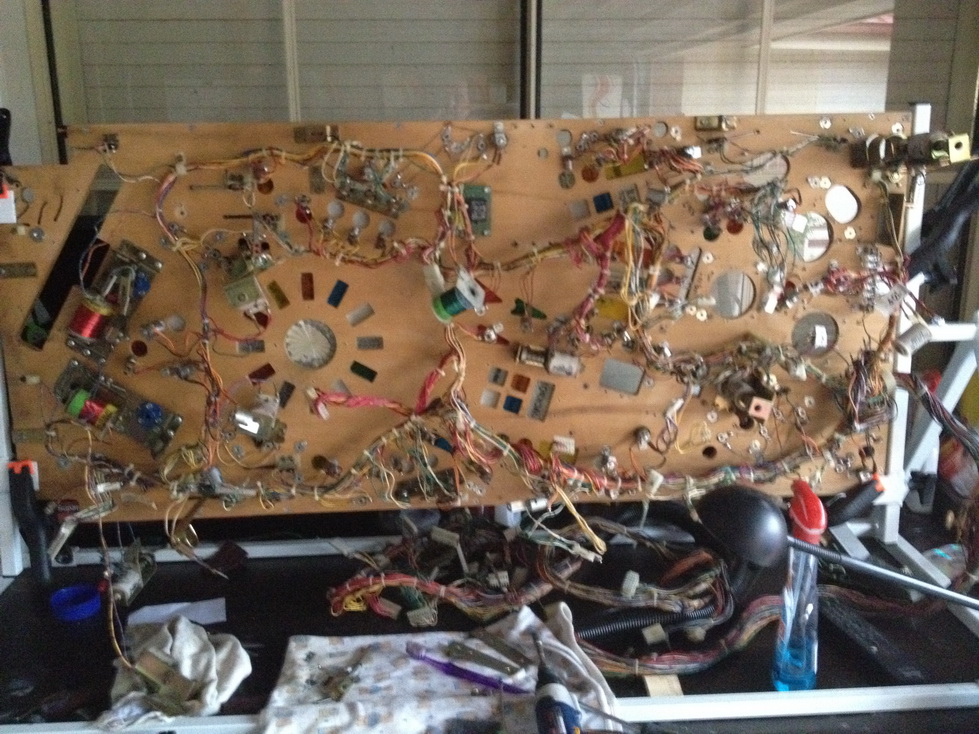
Pop bumpers rebuilt ;
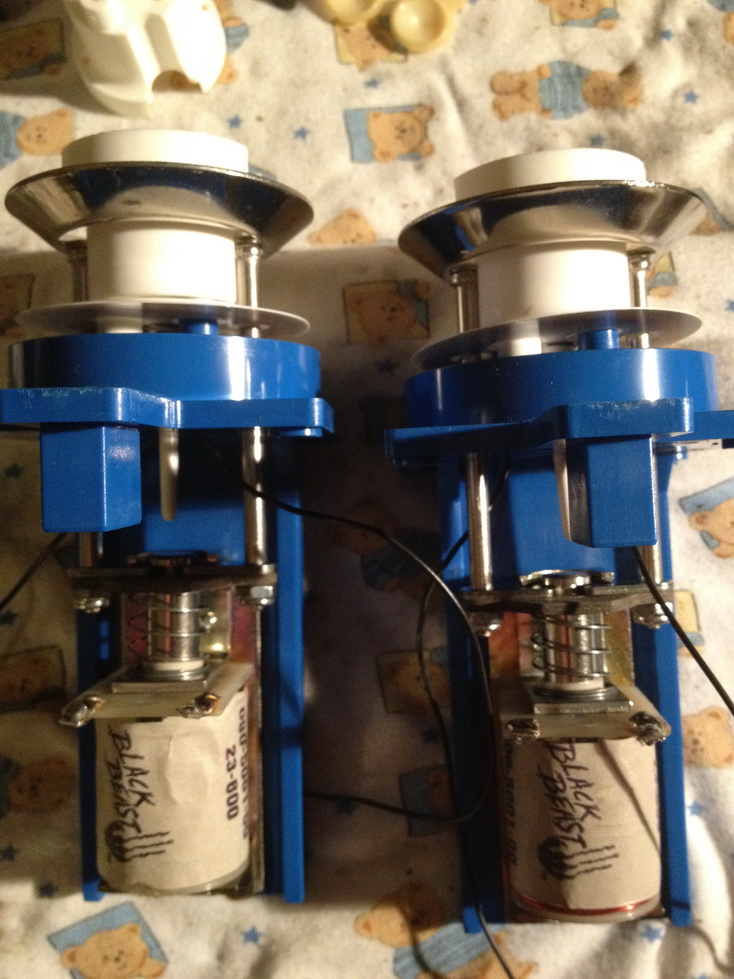
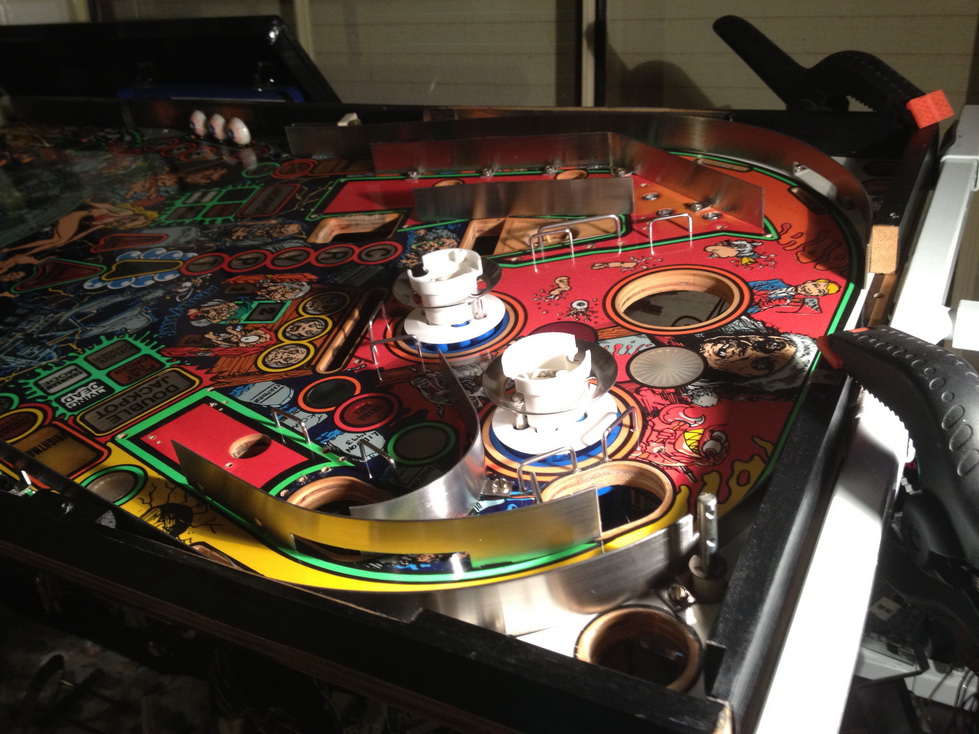
Pop Bumpers installed and some of the regrained metal guides are also installed.
Often, mechs are overlooked on DMDs, and this game has a particularly nasty one right at the back of the playfield. It is HIGHLY used in the game, as there are three ways the ball can enter the assembly to be kicked up. There's NO WAY you can access this without removing the playfield.
Here it is ;
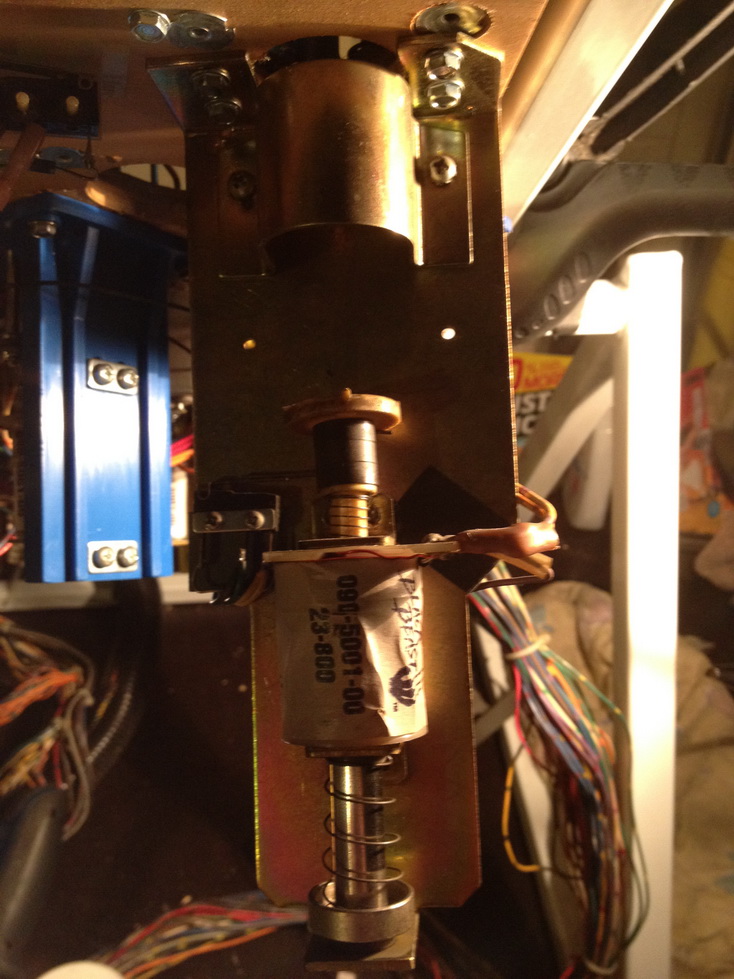
.. and this is why I had to have the metal habit trail repaired by Marty ;
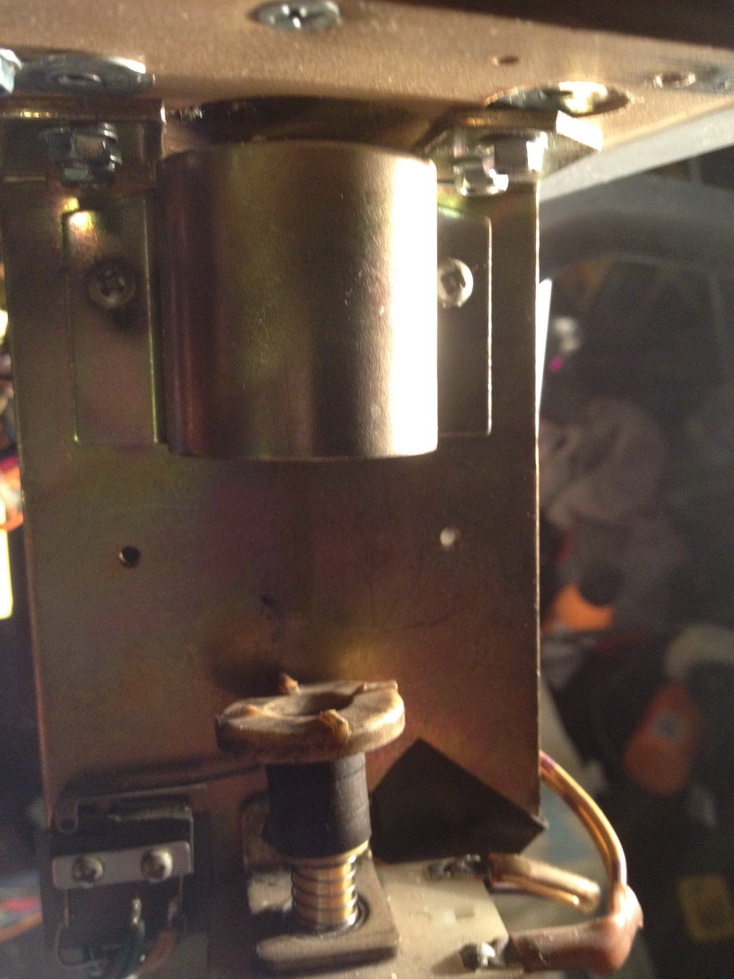
The plastic is broken - the tabs are missing. This throws the ball up on all sorts of angles.
Greg at RTBB sells the kit, which are a GREAT IDEA and replace the commonly worn parts.
http://www.rtbb.com.au/catalog/product_info.php?products_id=2631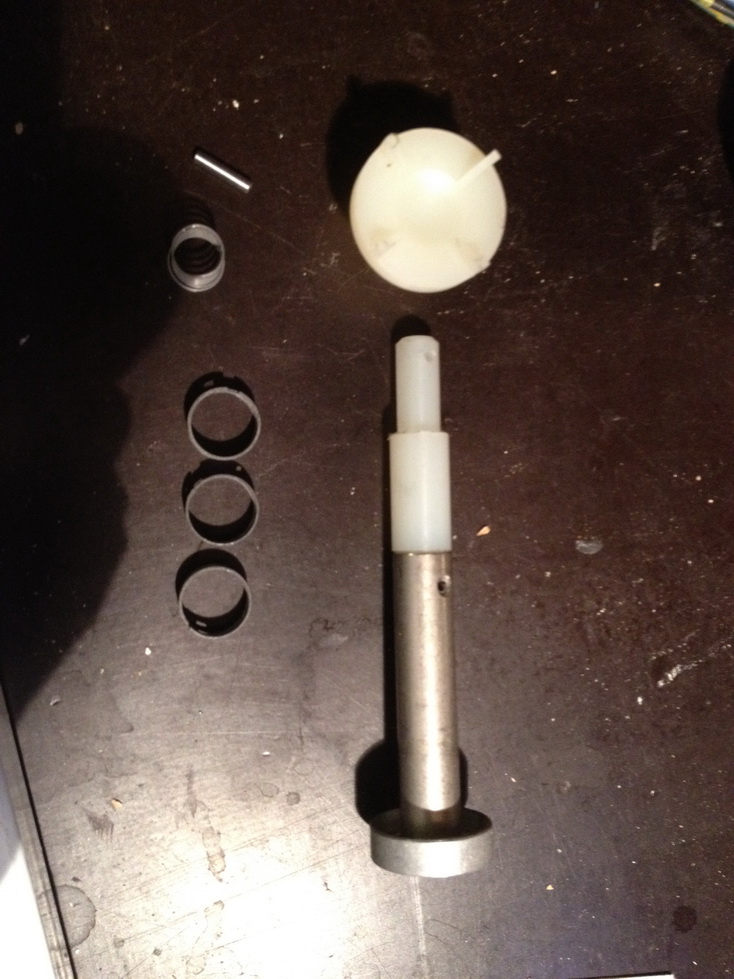
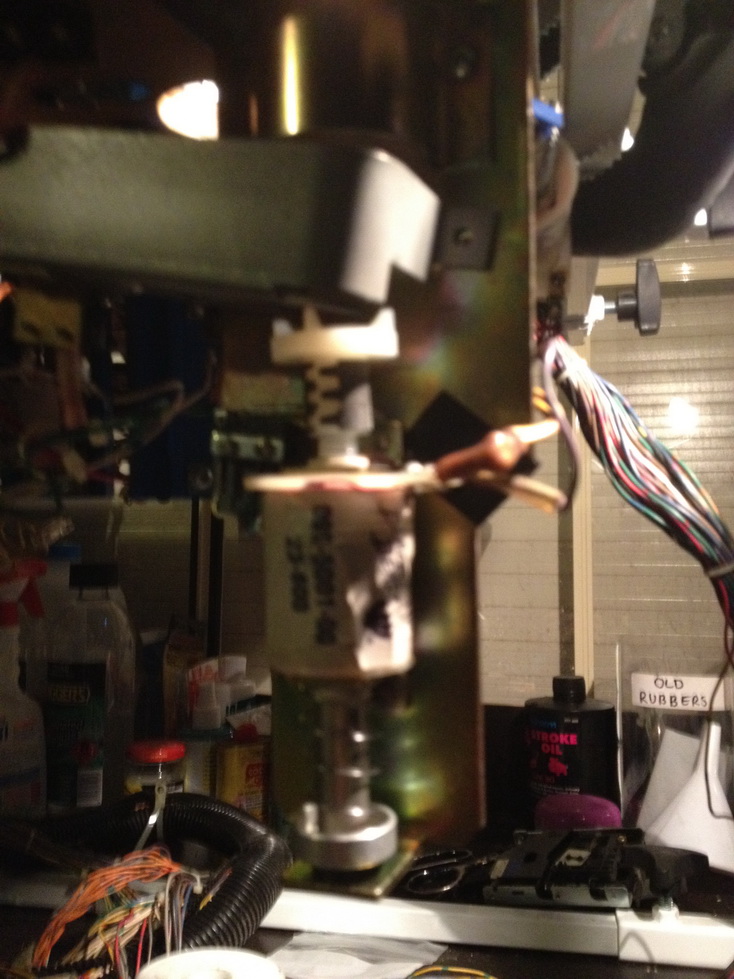
Sorry about the focus - But here is the finished result ;
Back to the top of the playfield. Even though I am installing a cliffy, the area around the cliffy needs to be built up, otherwise it defeats the purpose of installing it. The cliffy will dint and then form around the area. Easily addressed !
Again - RTBB - Quickwood -
http://www.rtbb.com.au/catalog/product_info.php?products_id=1799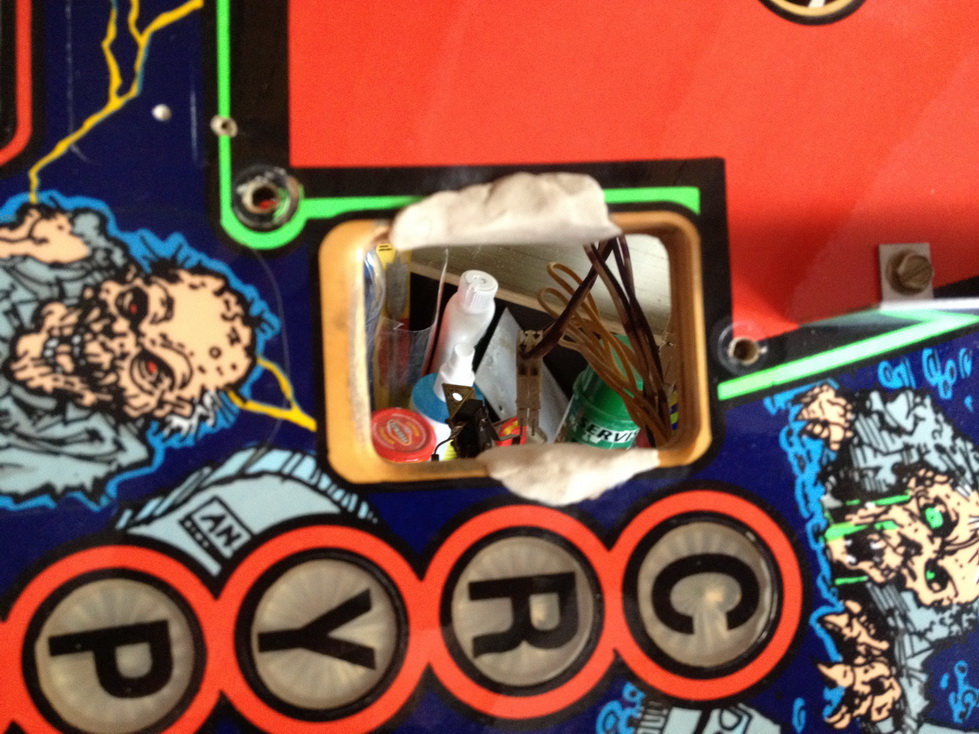
Let it dry and then block out the area ;
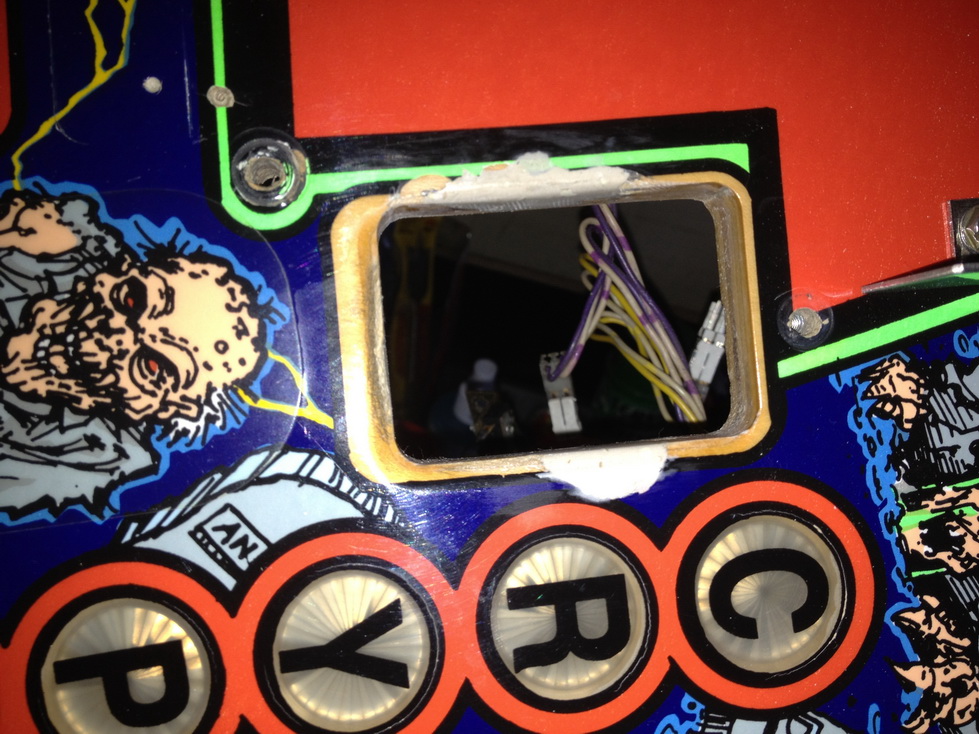
Install the Cliffy !
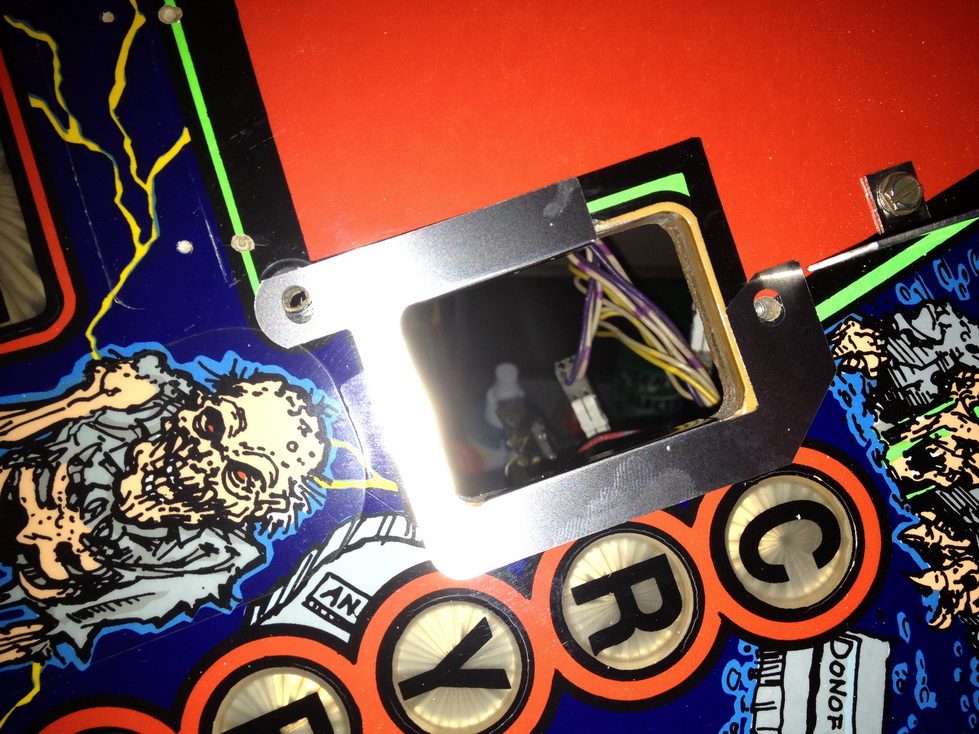
A couple of colored cliffy posts really look great !
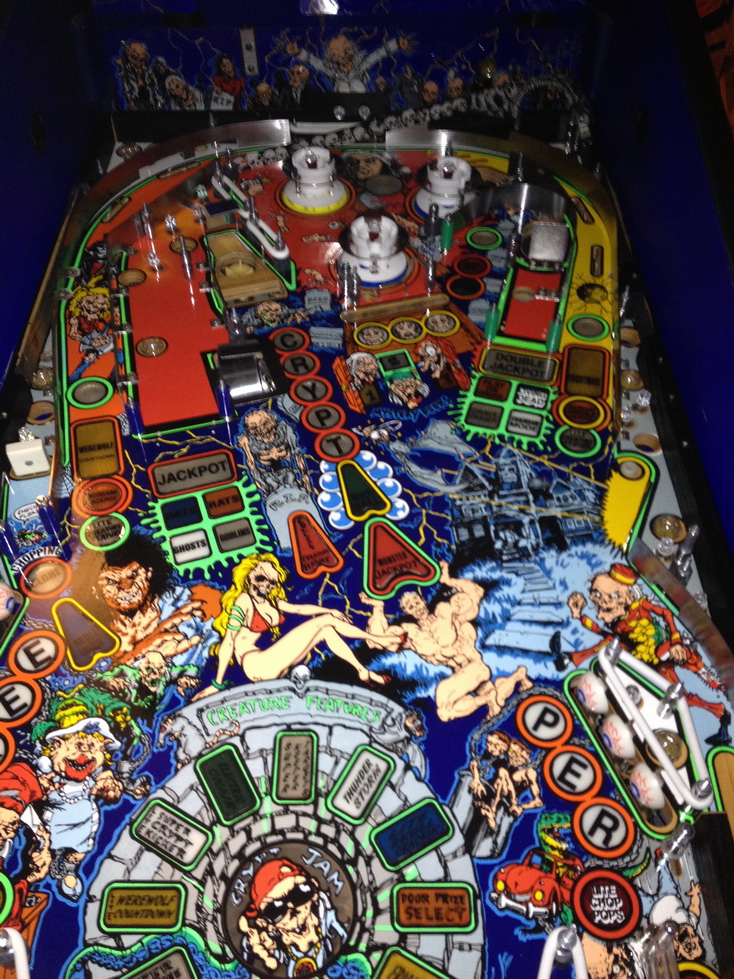
Don't forget to ensure the ball trough is COMPLETELY REBUILT, as these guys take a hammering, and the game goes NUTS if it is not functioning correctly.
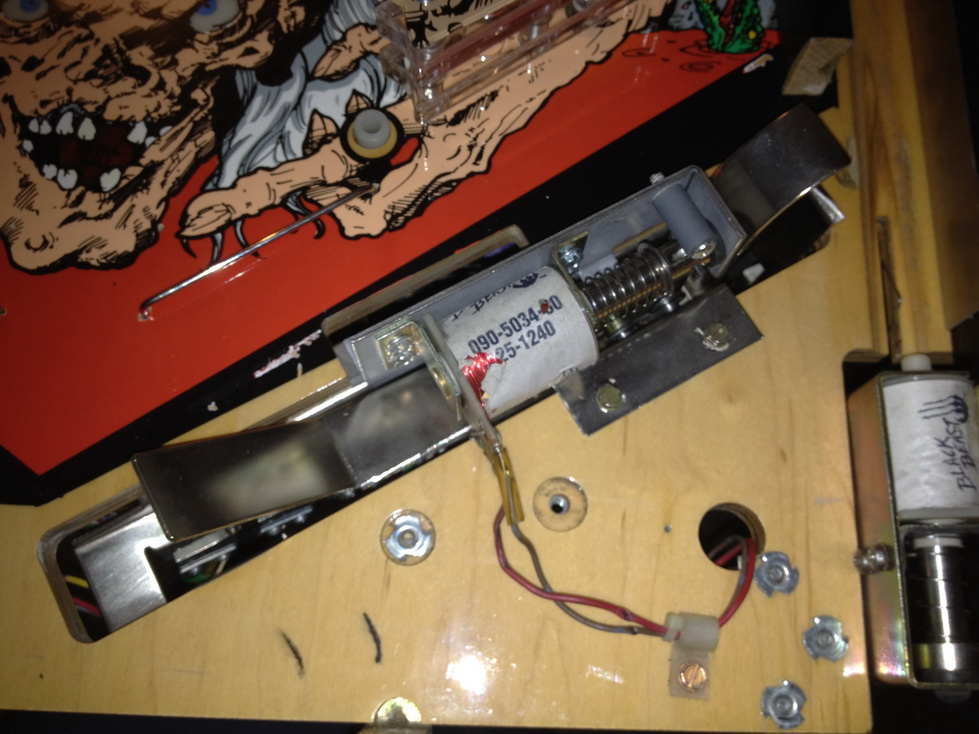
Next update - a BOX arrives
