**56K DIAL UP USERS SHOULD NOT LOAD THIS POST - IMAGE INTENSIVE**
Hi guys,
I figured it would be interesting to show a little more of the process involved in restoring a clients game at work.
I picked the Funhouse project because it demonstrates the flexibility of my business, and the finish that can be achieved from what i would consider a
rough base game.
While the finish of the game is not original in presentation (chrome etc) the process of restoration was still employed on this project - saving the
playfield and cabinet was important to the client.
Pictures will give more detail, so here we go...
base game received...

photos here just provide a good before and after comparisson...


full mylar and sys11 still makes me nervous...

Pretty ugly interior. Floor sagged and generally filthy...

Better look at it here...

Game moved out to begin teardown...

Underside stripped...

Breaking down sub assemblies early as i try to get all metal out for plating while i restore the important parts :)

Cabinet gutted and broken down...

Playfield stripped top and bottom. At this point i was contemplating a repro as i was unsure i could get the finish required for a game like this...

sys11 ERA mylar removal process worked well. I expected some borders to be lost but there was very little...

results...

lots of work to do...

Shooter lane was split out so i got this right first up...

both shooter lanes were reshaped after the adhesive had cured...


Unfortunately it gets worse before it gets better with sys11 era playfields...sanded down somewhat


Playfield had the wrong pop bumper nails/screws installed and were terribly oversized. Carbon fiber filler used to recreate this area...

Same is various other areas...


sanded down, ready to finish out...

Stage two...

much better...

Ready for first clears. Throughout all of my restores, i will clear the playfield at various stages and cut each application right down. I do this to
ensure that all of my fixes adhere well to the previous substrate layer and so i dont get a 'layered' touchup look (where the fix appears to float on top
of the clear)...

While the playfield is on the go, so is the cabinet...

Getting somewhere...i think?!

Backbox is getting squared up here...

smooth...

Field in the booth for first round of clearcoat...


The following may be overkill in regards to the photos but i thought it would be pretty interesting to highlight the work involved with this...
Playfield back at the main shop and ready to sand down...

At the very least it is flat now...

masking the wood tones here...i couldnt save the original timber so this is the only way...

colour sprayed out...

results...

shooter lane looks nicer...

white is up next...

nearly masked up...

ready...

colour down...

looks cleaner...

any really low spots or areas of concern are also addressed and sanded down...


Red sections...


red doesnt cover that well so i base white first so as to eliminate all of the dirt in the ball track...

applied...may look a little strange here as its still wet. it will darken up though...

Orange next...


Yellow...

with gradient (ball swirl area)...

green next...

sprayed...

Light blue areas...

masked and ready to go...

The playfield at this point has had most of its colour replaced with my work. These photos show how many black lines need to be addressed. It still
doesnt look very good at all...


I need to catch the rest of the project up with the playfield...
Cabinet is ready to go now. Next gen Funhouse decals have been used for this project...

All of the switches are cleaned/new diodes etc etc...

parts tumbled...

bolt heads refinished...

more tumbled parts...

Cabinet is decalled and metal hardware is back. Parts had been ordered shortly after the game was stripped down...

Main cabinet is decalled and grounding braid is stapled/run...

optioned parts are arriving. I try to put these together as i go so as to keep things moving as best i can...

Cabinet is nearly built, just a few minor things...

Back to the playfield. I keep a notebook for all of the projects as i will occasionally pick up little things when i walk past a playfield, cabinet etc.
Even if i am not working on that particular project - i write them all down so i get as many little details as i can. If i stare at one playfield all day
it starts to look blurry and i start to 'miss the details' - which is NOT acceptable...

All blacklines are put down and ready for final clears and finish...

rebuilding all the mechs while the playfield cures...

ready to go...

underside will be addressed...


Cabinet is finished, and the playfield is being built...


Underside being populated now, i wont go into too much detail here as i have covered that in the other posts...


playfield back in the cabinet...i just need to populate the topside. probably a few days left in the project...

Topside built and new glass installed...

So at this point the game will go through its tests, switches, mechs and i will actually play the game. The machine is also tested and tagged.
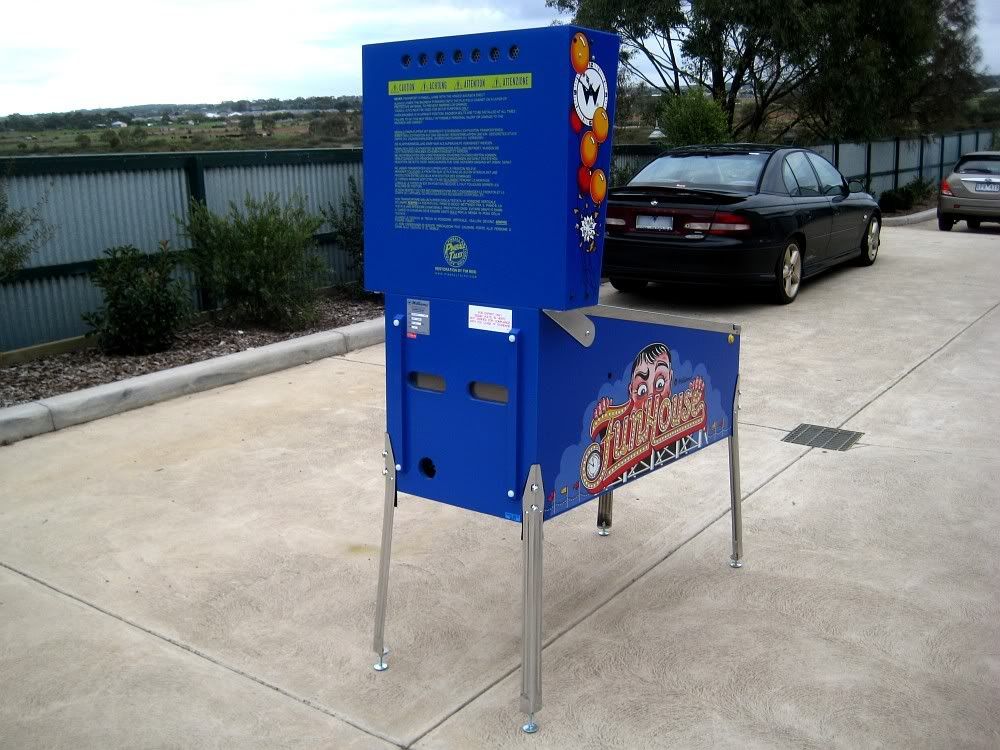
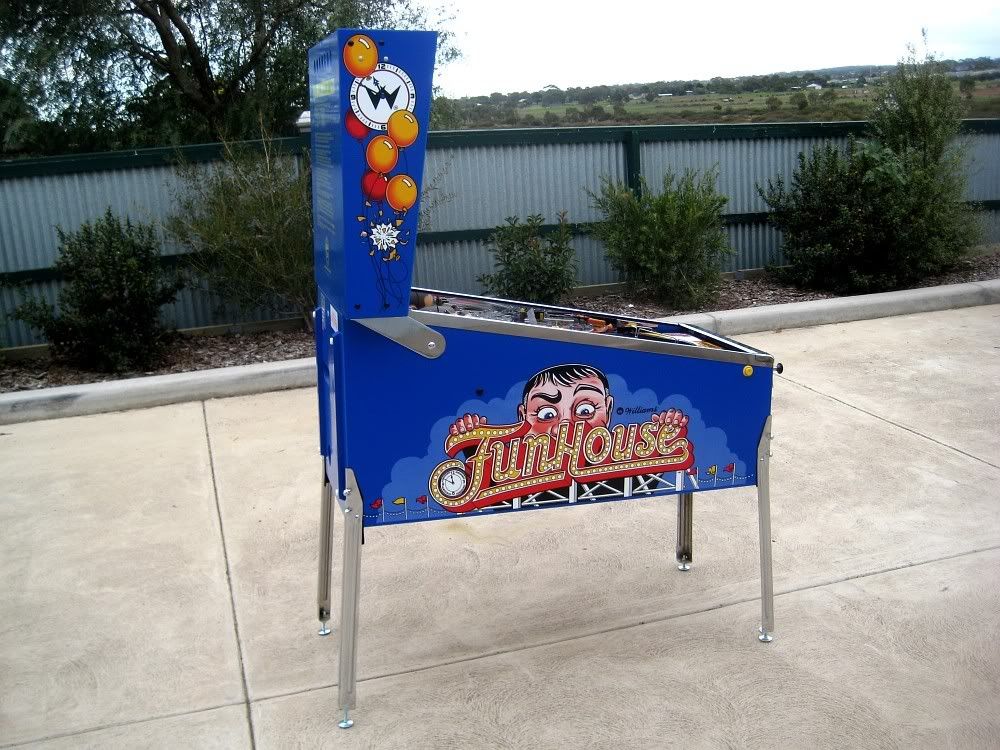
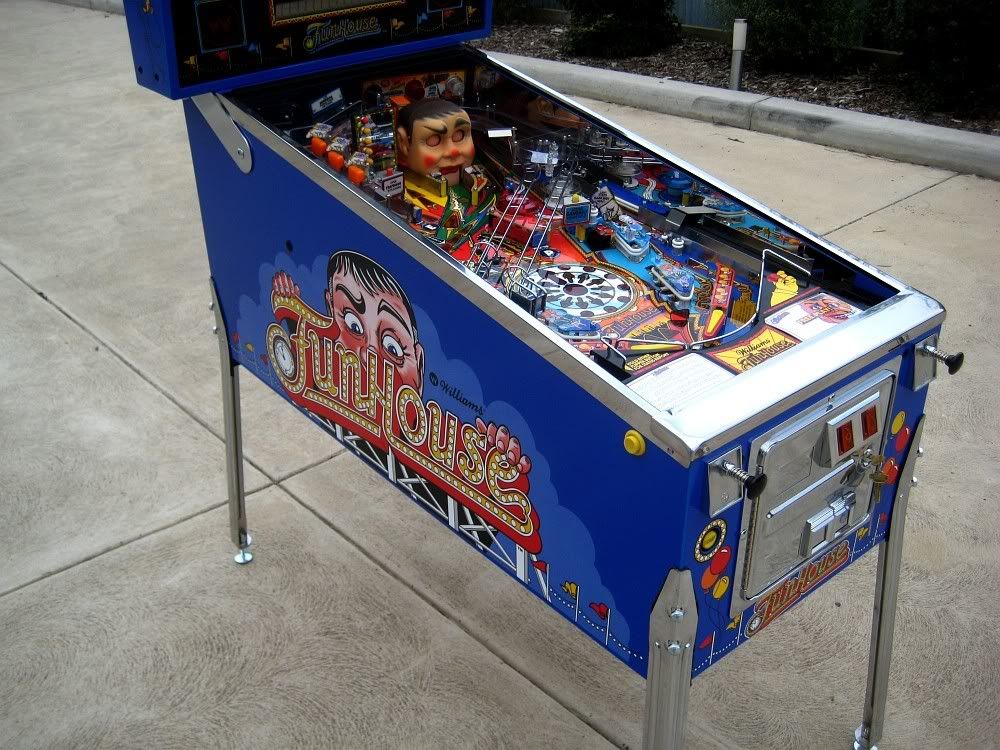
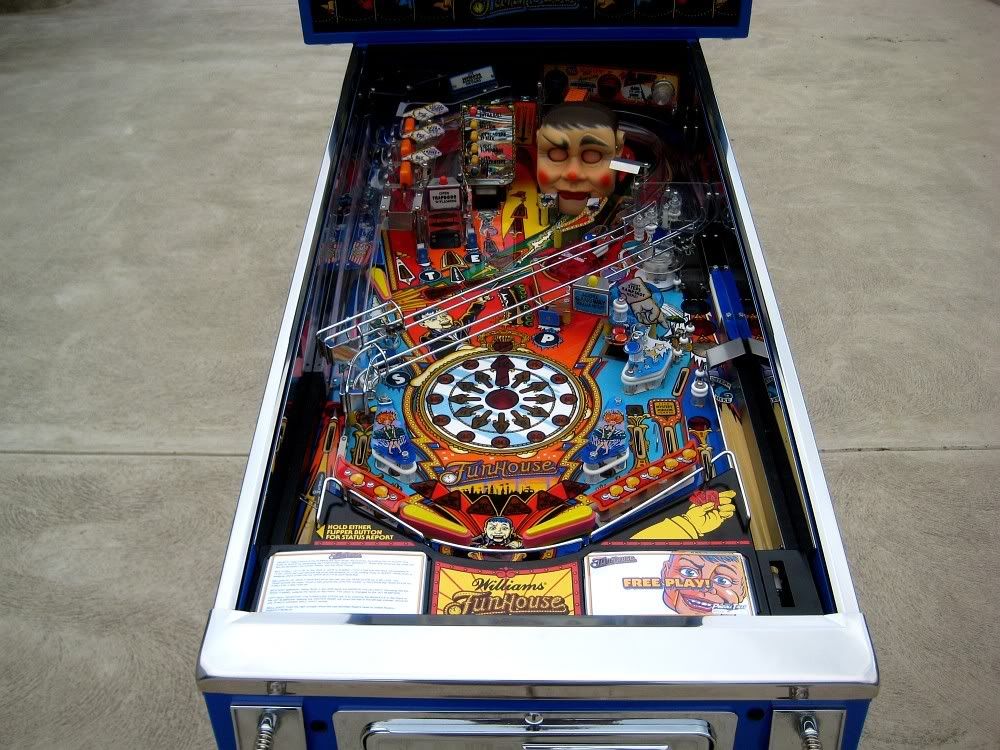
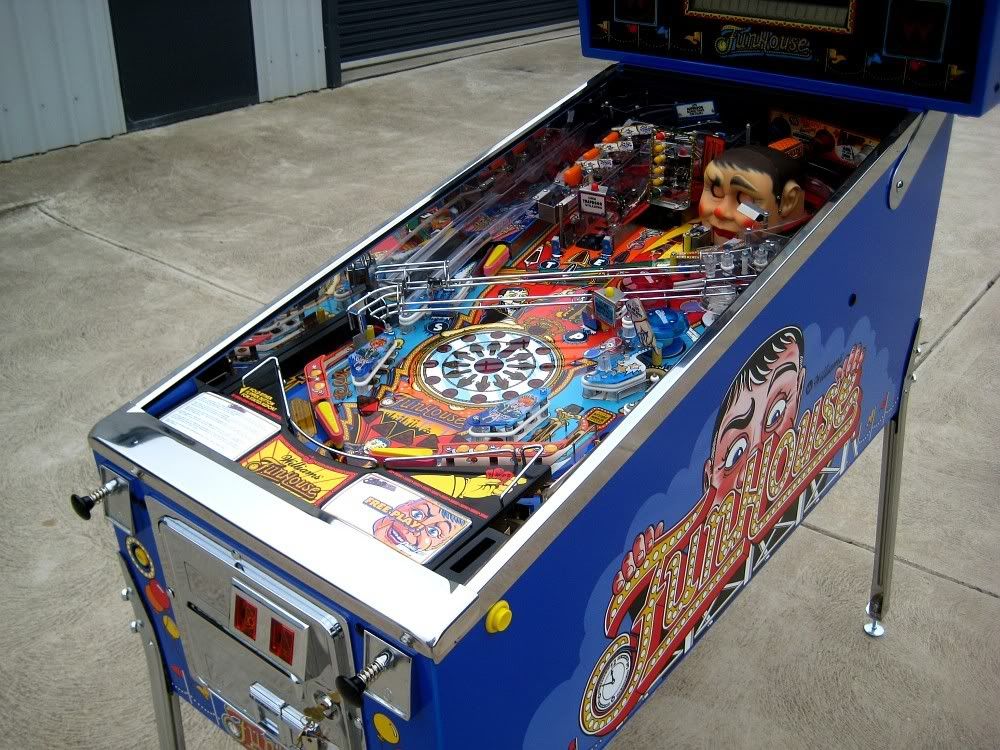
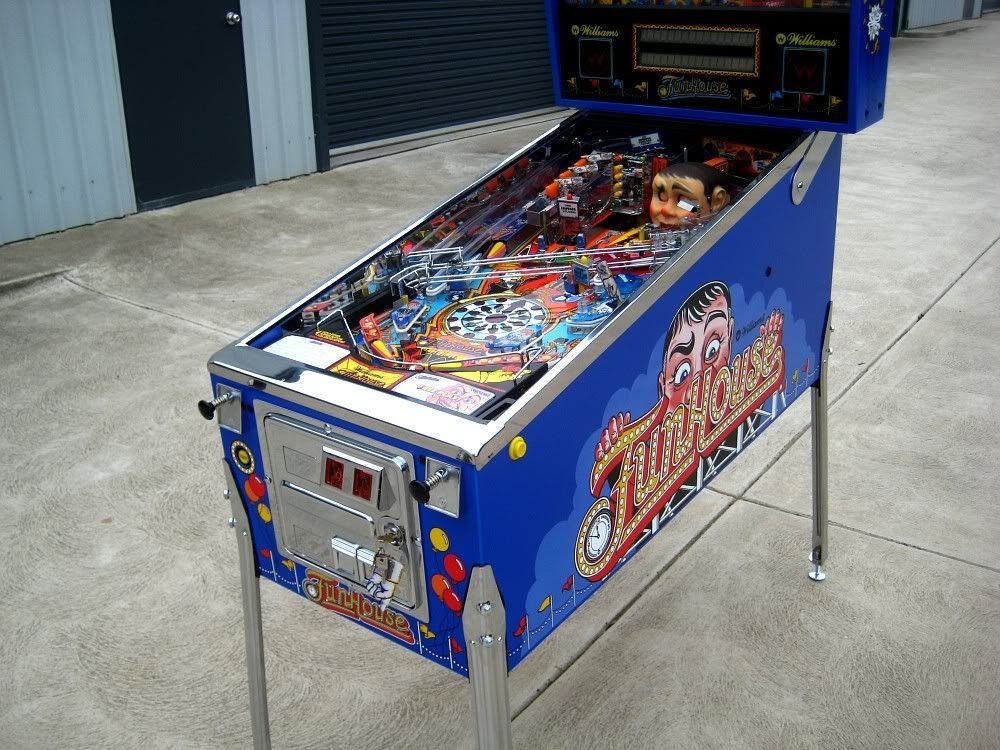
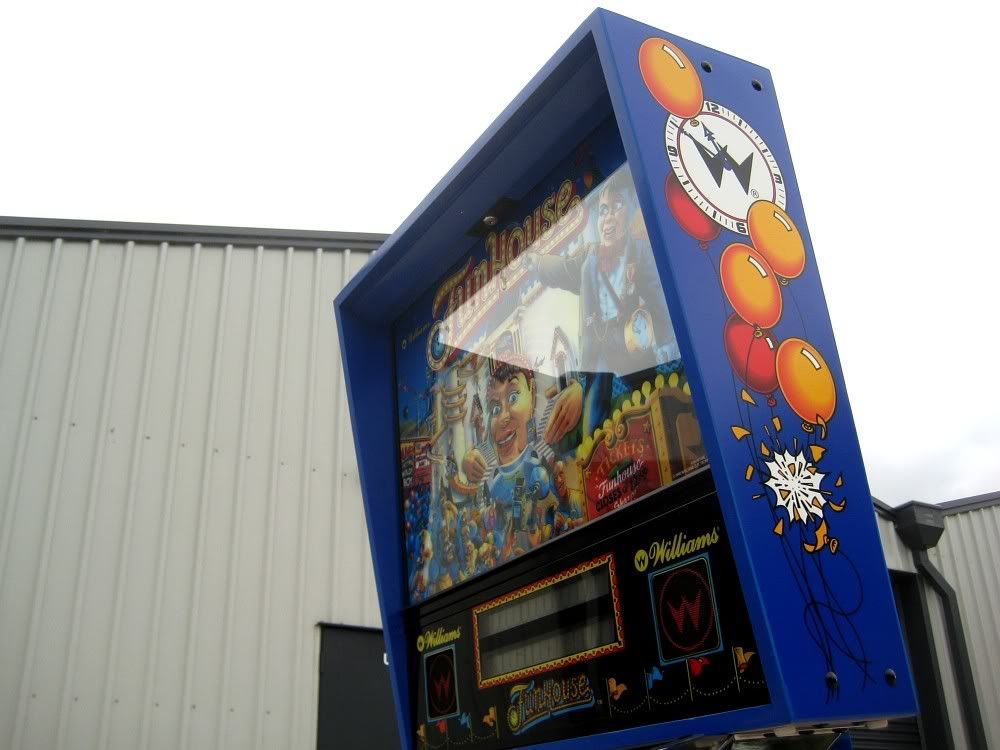
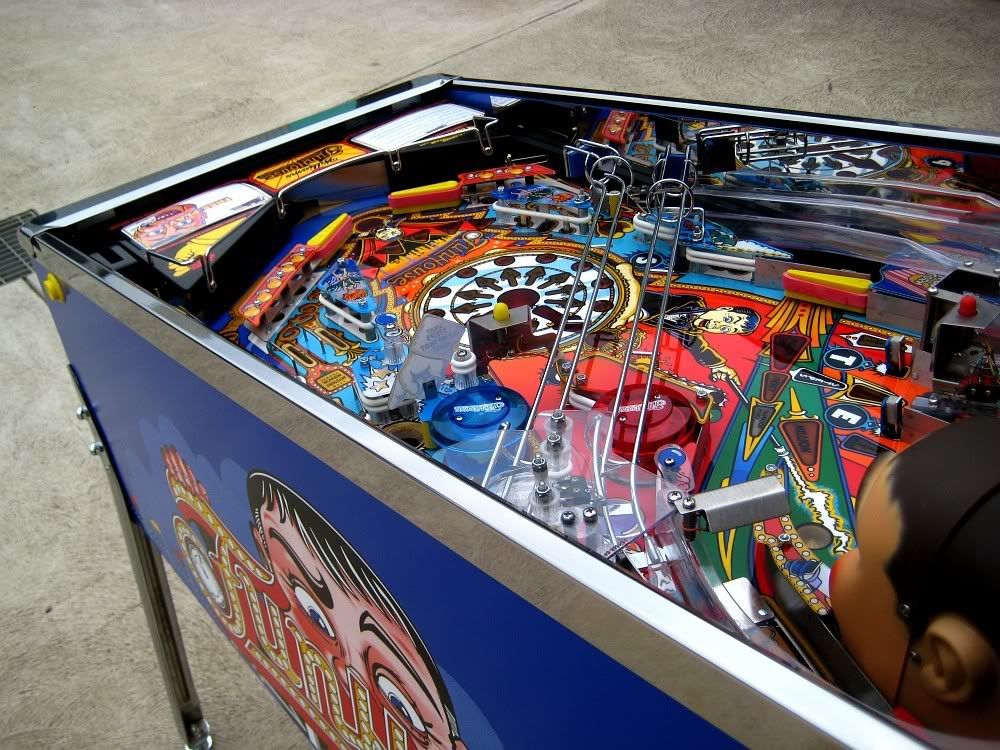
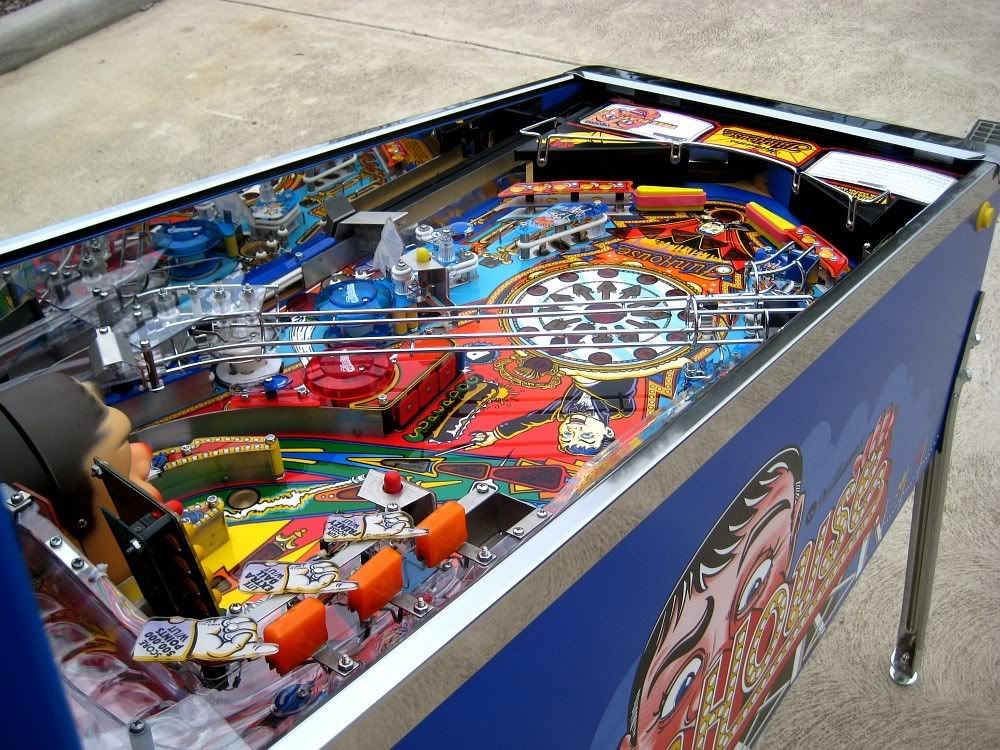
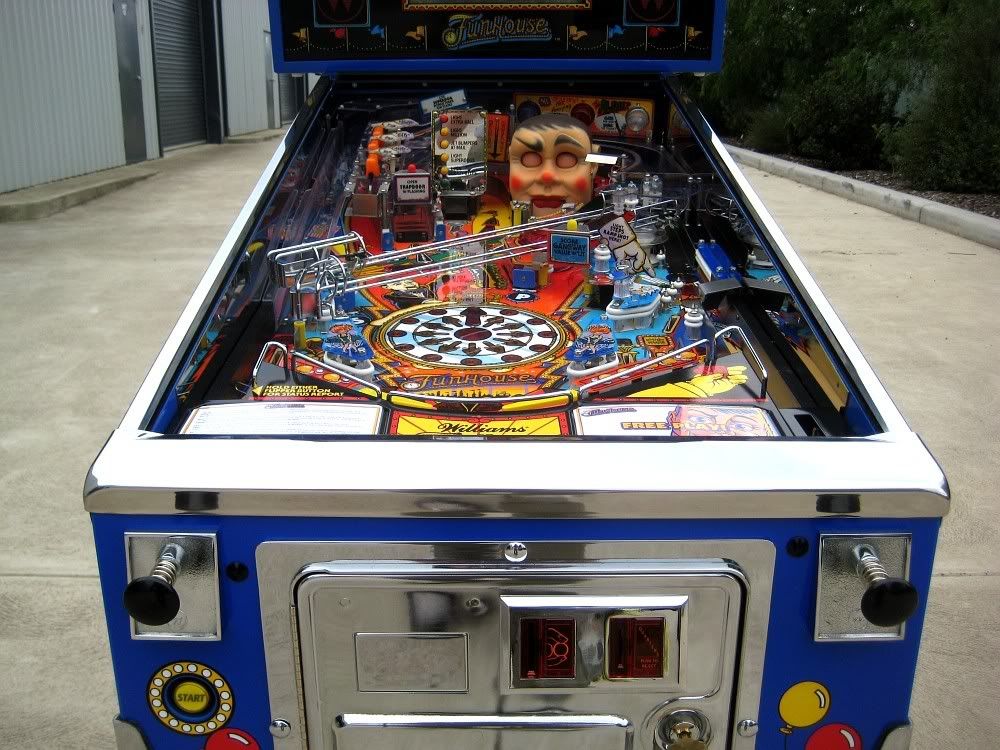
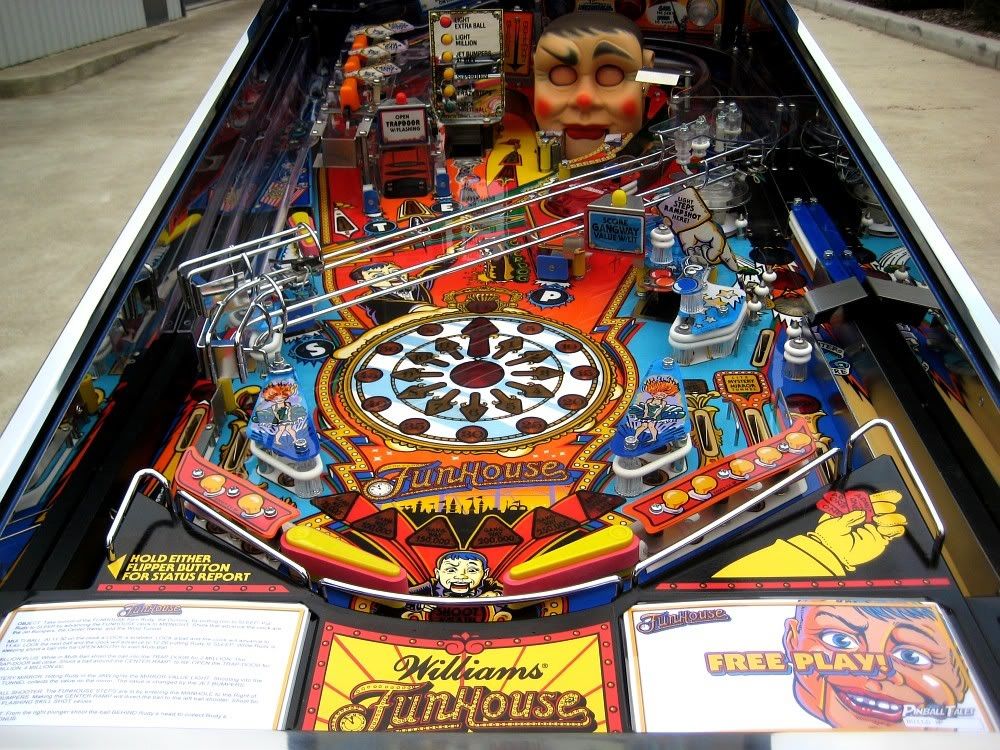
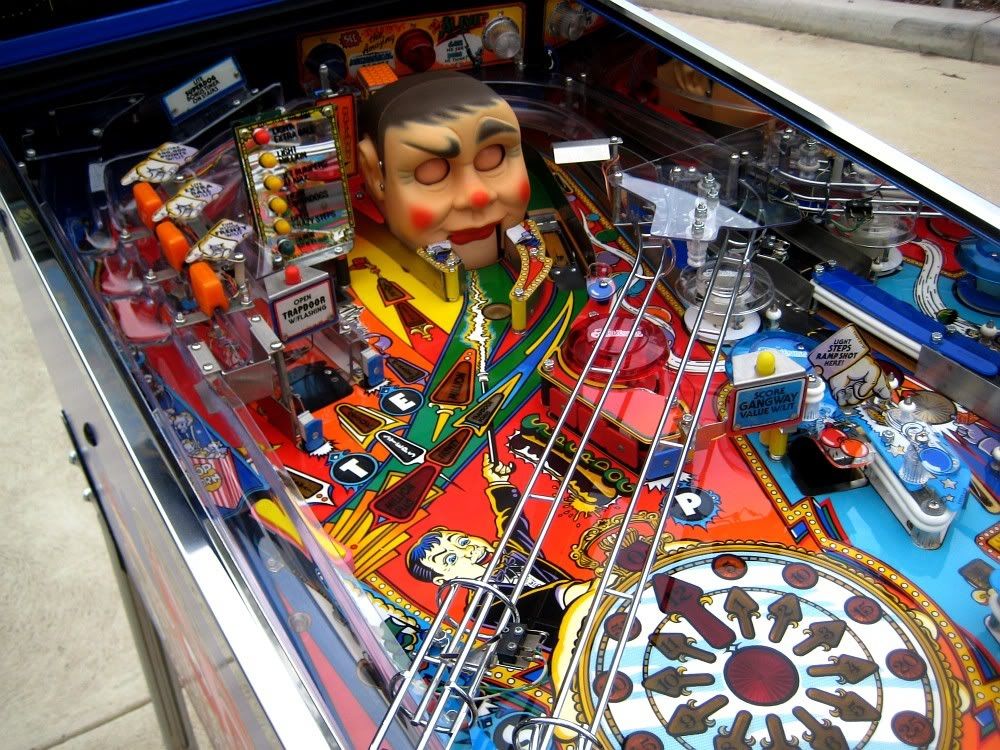
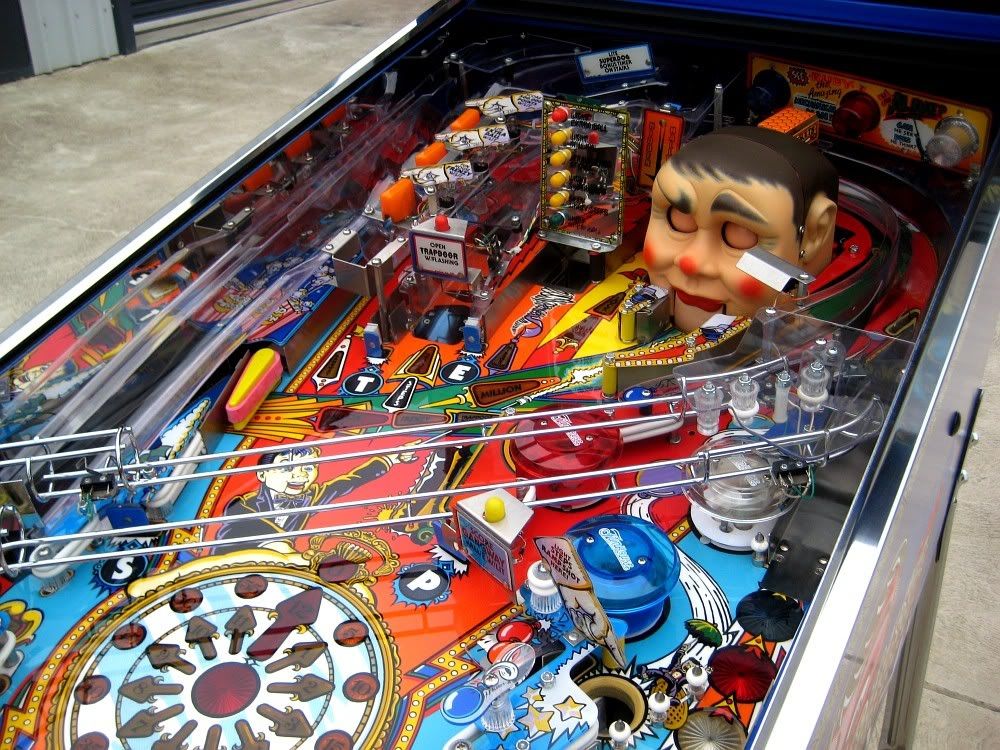
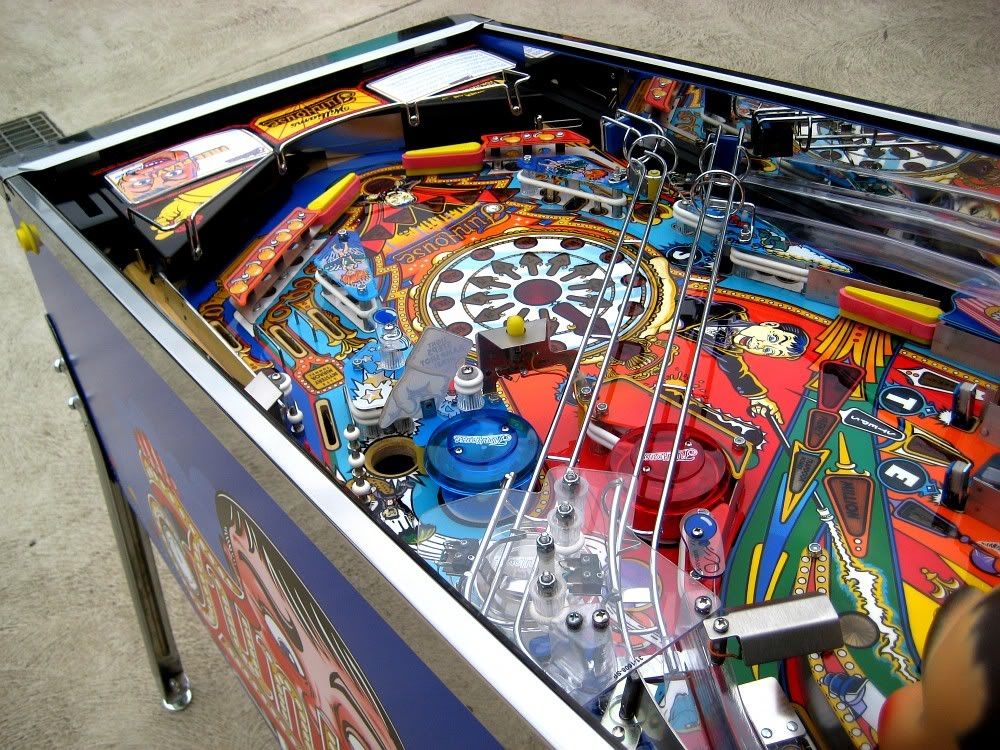
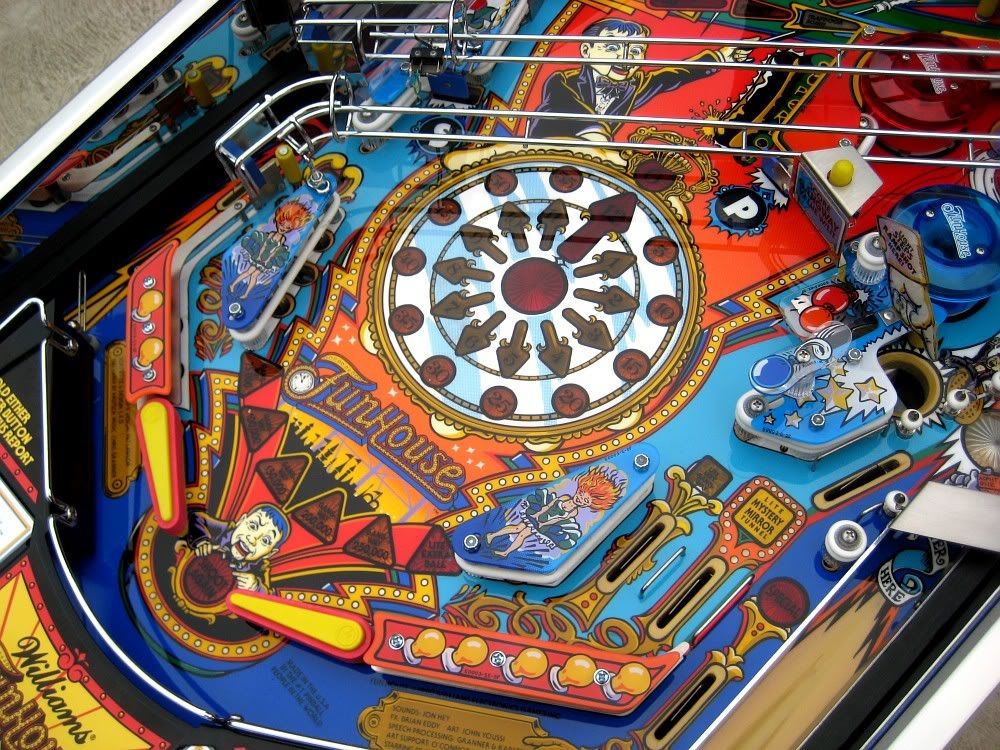
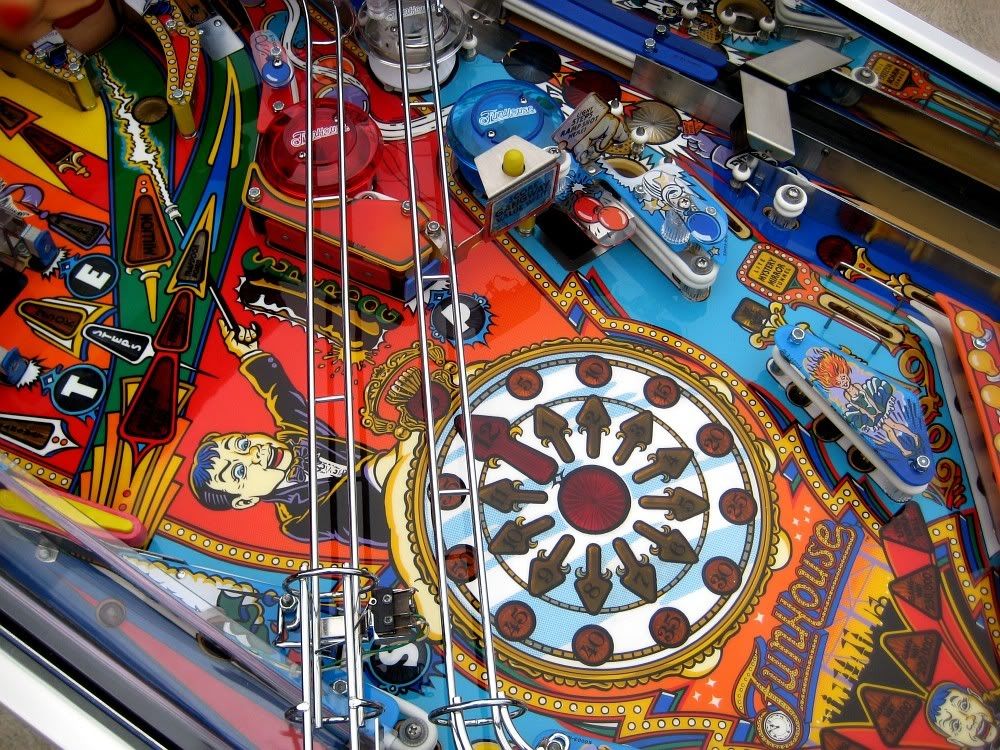
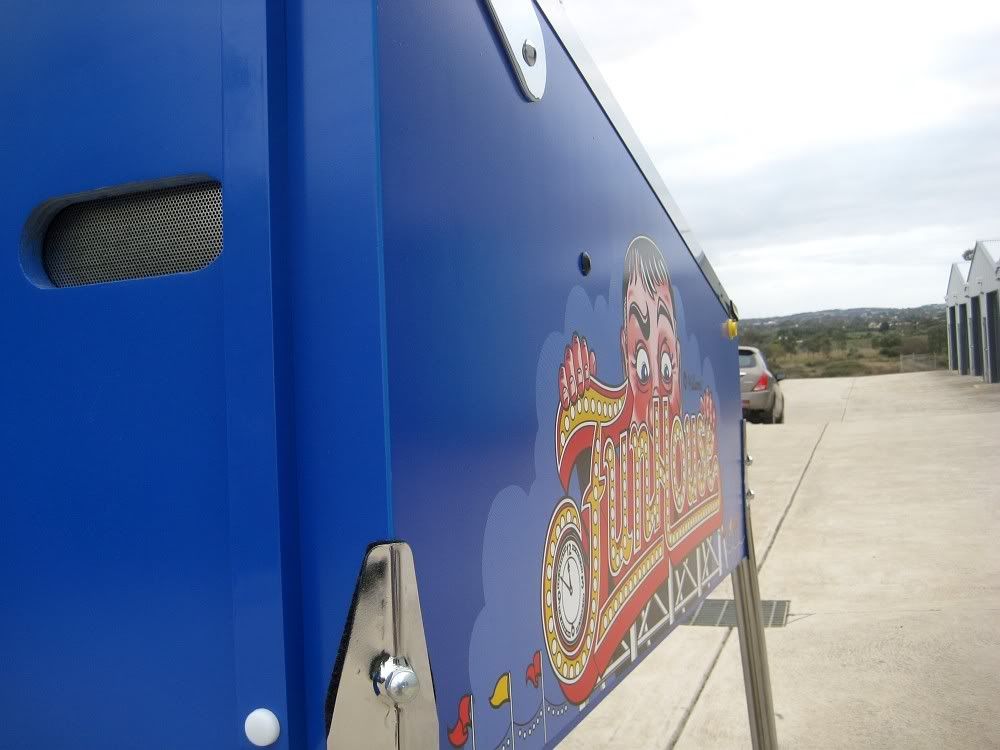
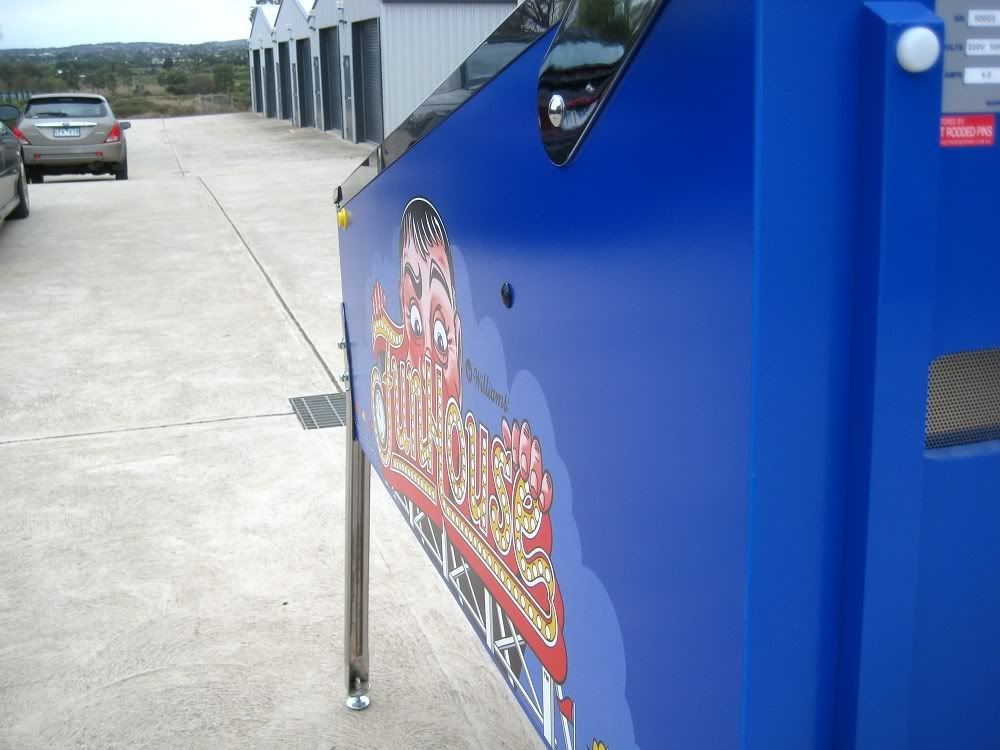
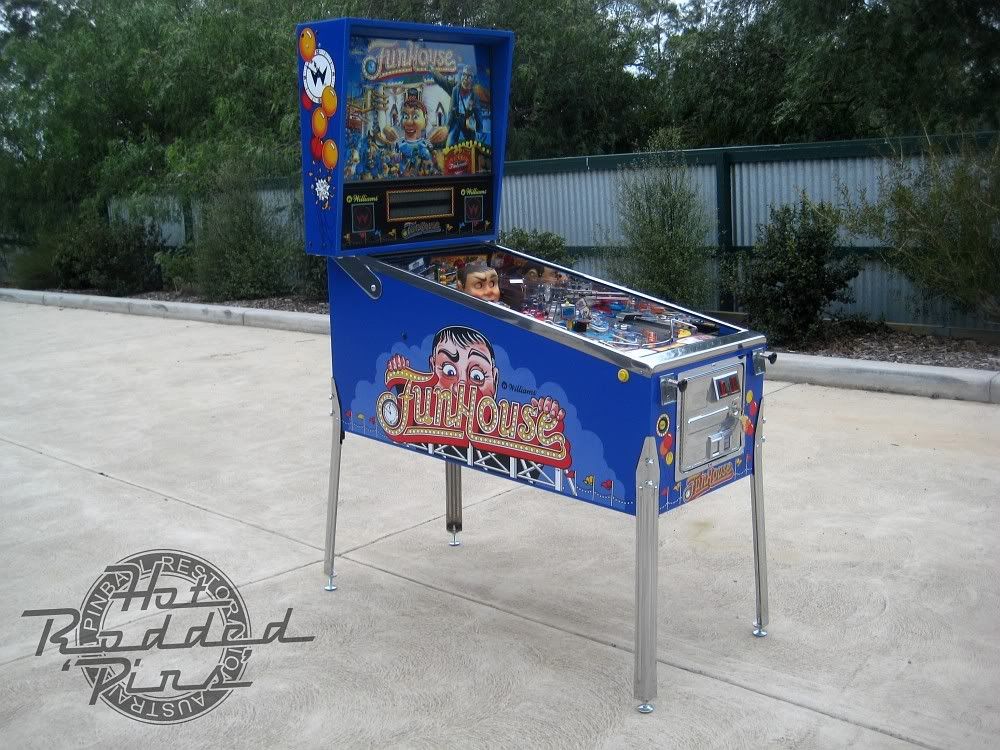
The following photos are simply glamour shots to help highlight the finish achieved from the process detailed above.
The sky was grey when the photos were taken so i hope they are clear enough...
Here they are :)


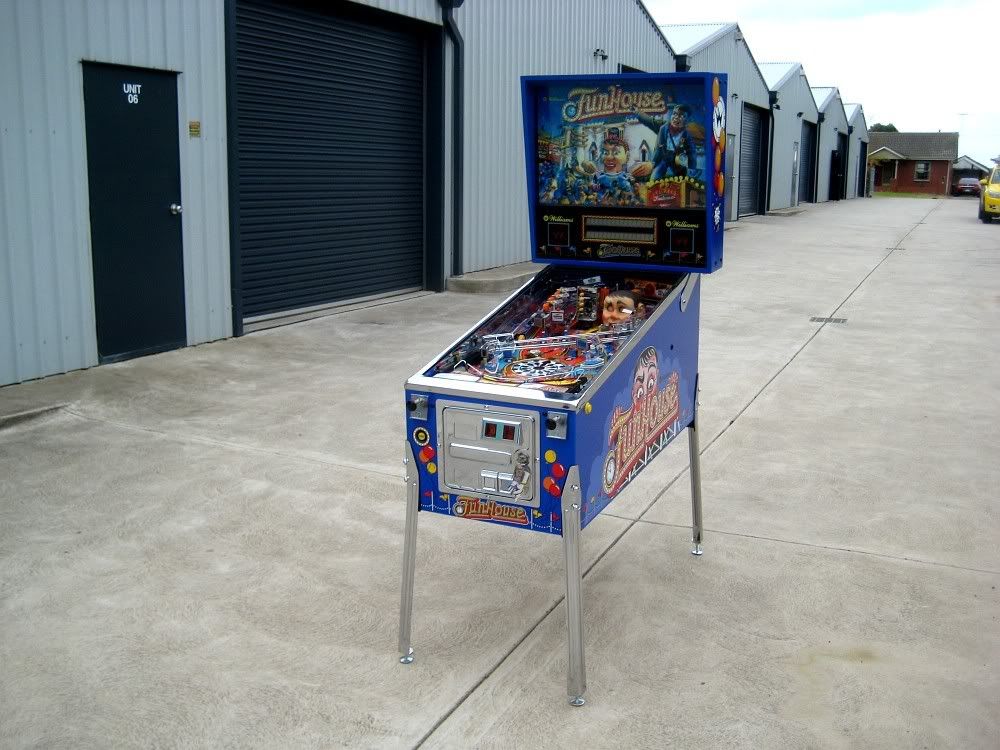

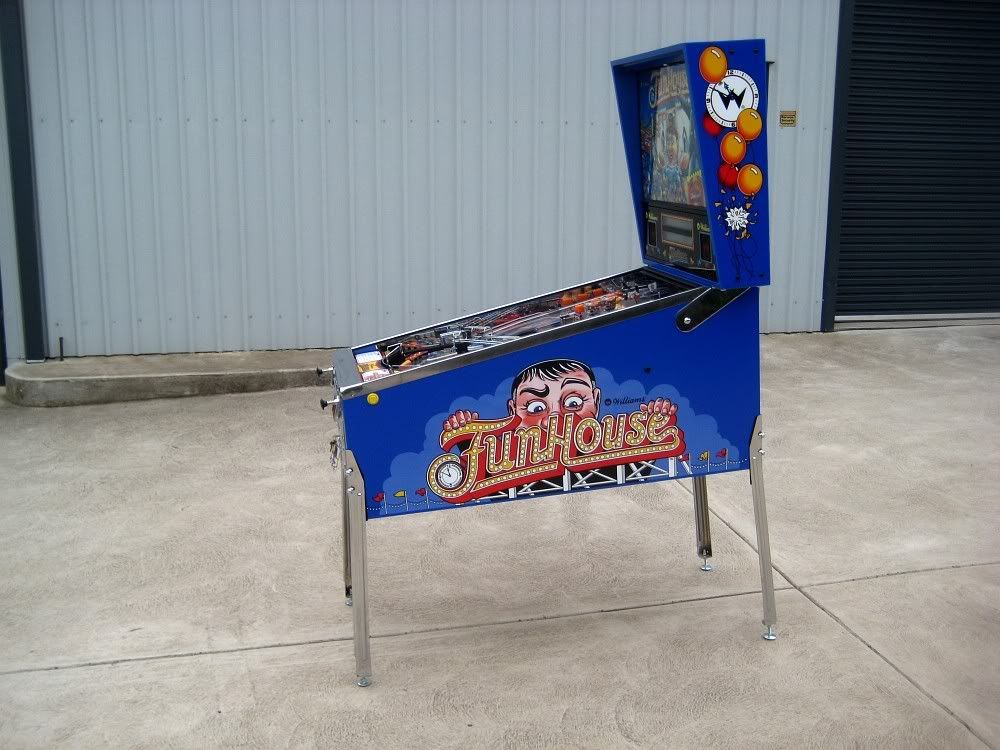
Supportive girlfriend in the background


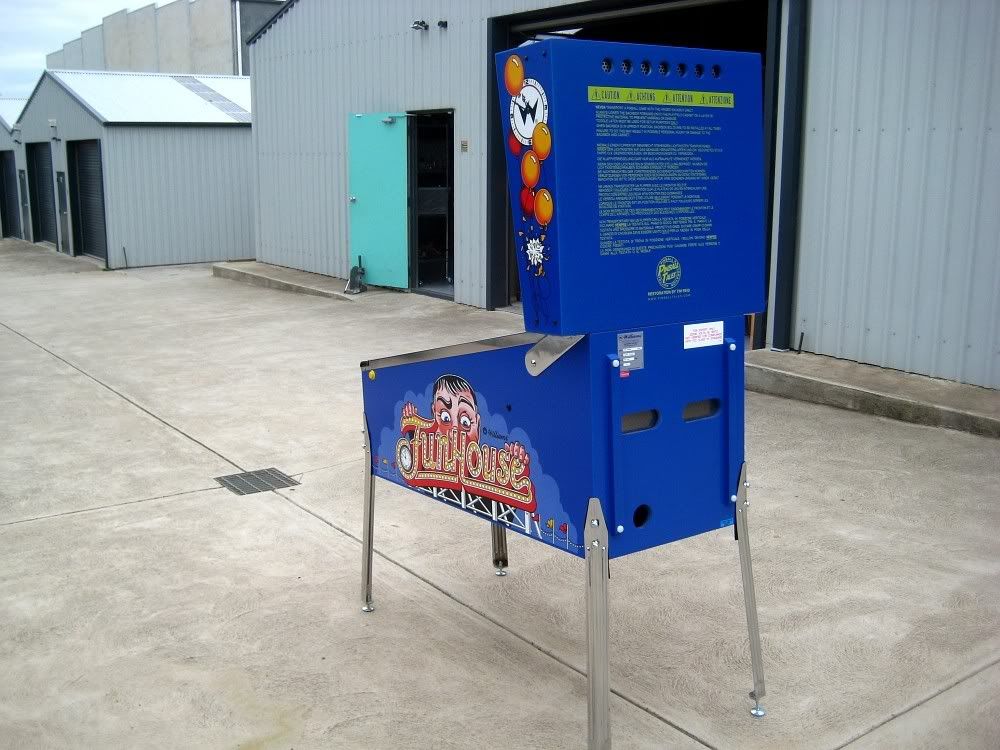
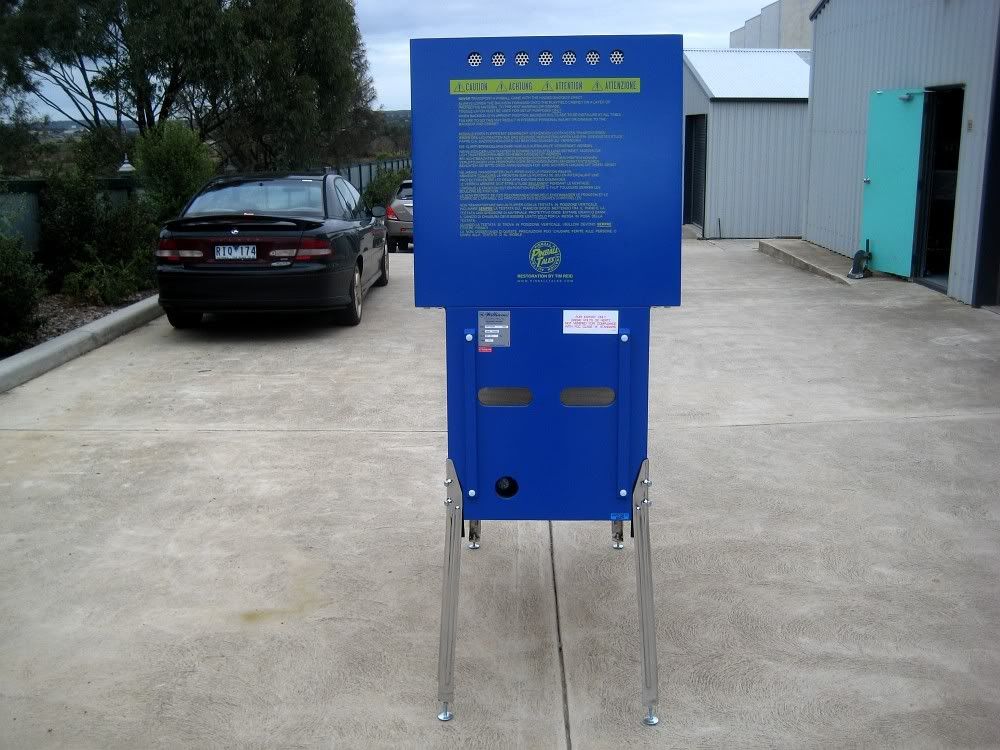
Thanks for reading guys, hope you enjoyed the post.
el_timbo