The weather has improved and the stencils have arrived from Gavin

The first color is orange, which was professionally matched. Again, I'm using automotive acrylics that are a touch less than semi gloss in finish. This is exactly the finish used in the factory. I mask the cabinet and leave only the paint areas exposed. That way, I only have to replace the stencils, and cover up any areas as I need to. This is an important step, as the paint is airbourne, and finds its way into areas you don't want it to go !
Here's the head orange stencil applied.
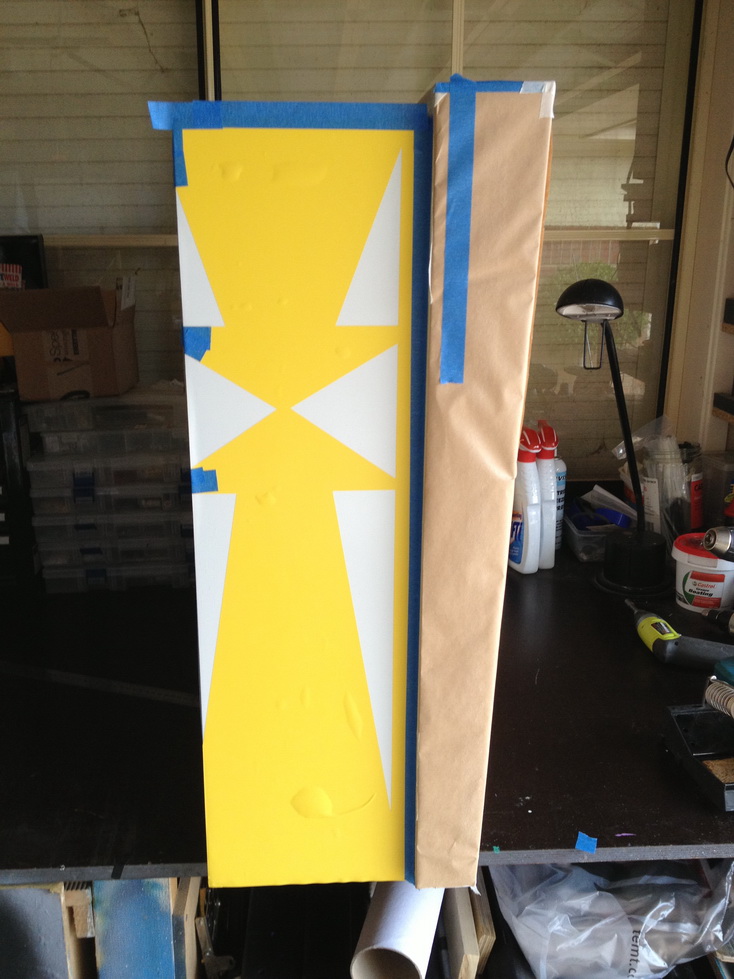
The left side of the cab. The backing was removed from top to bottom. Tricky part is that the front of the cabinet has two horizontal sections that have to match up the sides. This step is CRUCIAL. I've left the transfer tape over the stencil in case I make any mistakes as I go along.
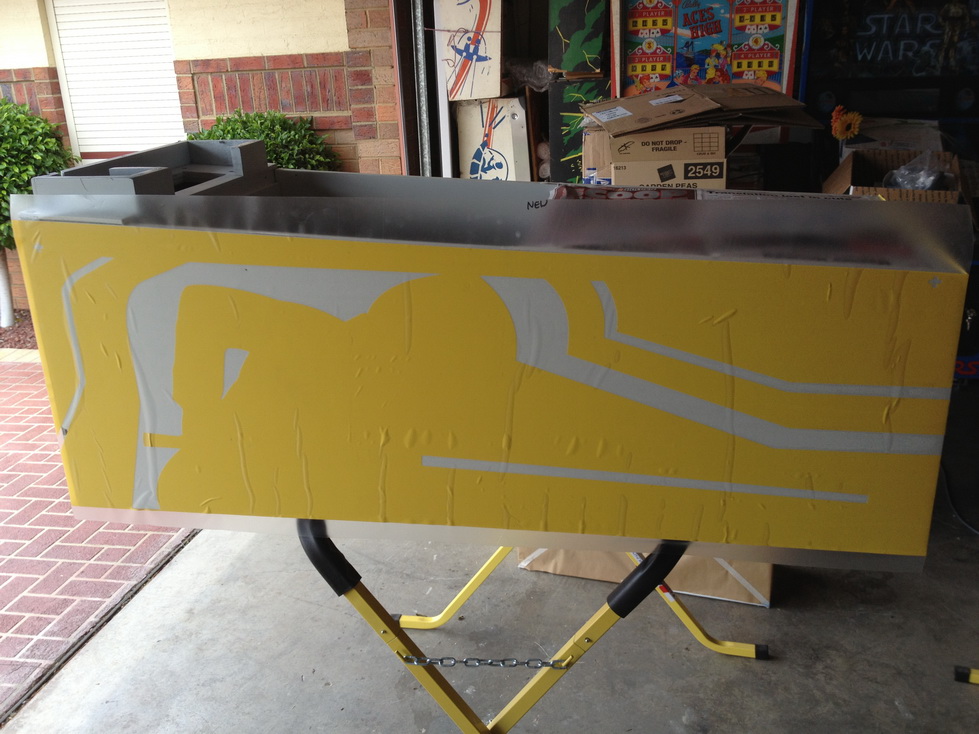
The right side - note the lines all match up. The registration "+" marks are there as a reference point for the next color. Gav once told me that some people "complained" that they were unnecessary - I think they should be mandatory !
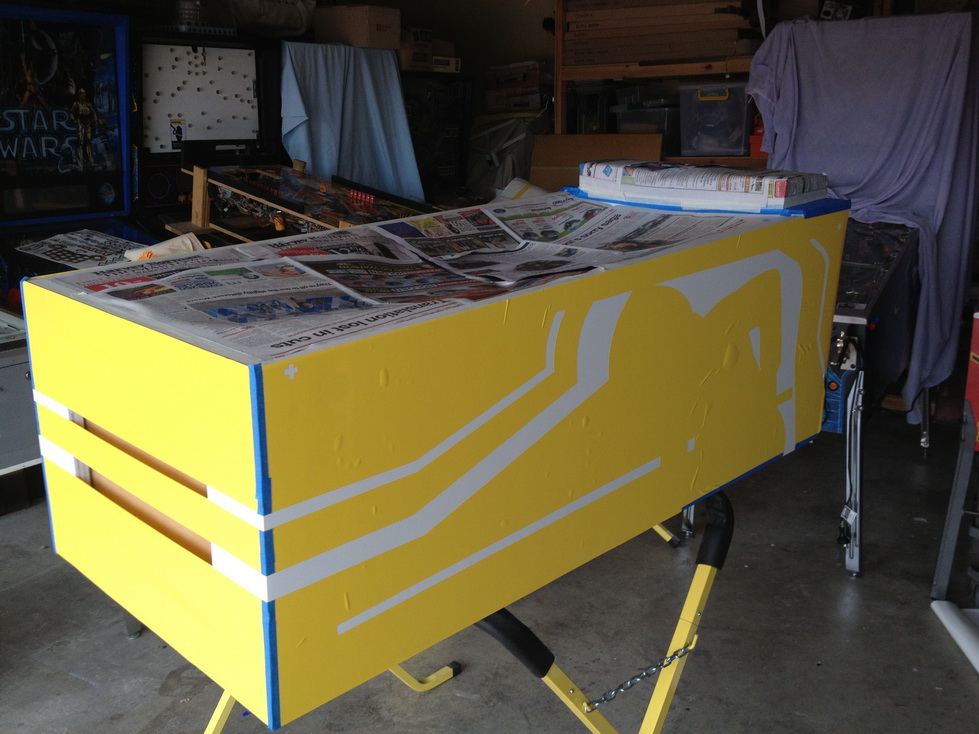
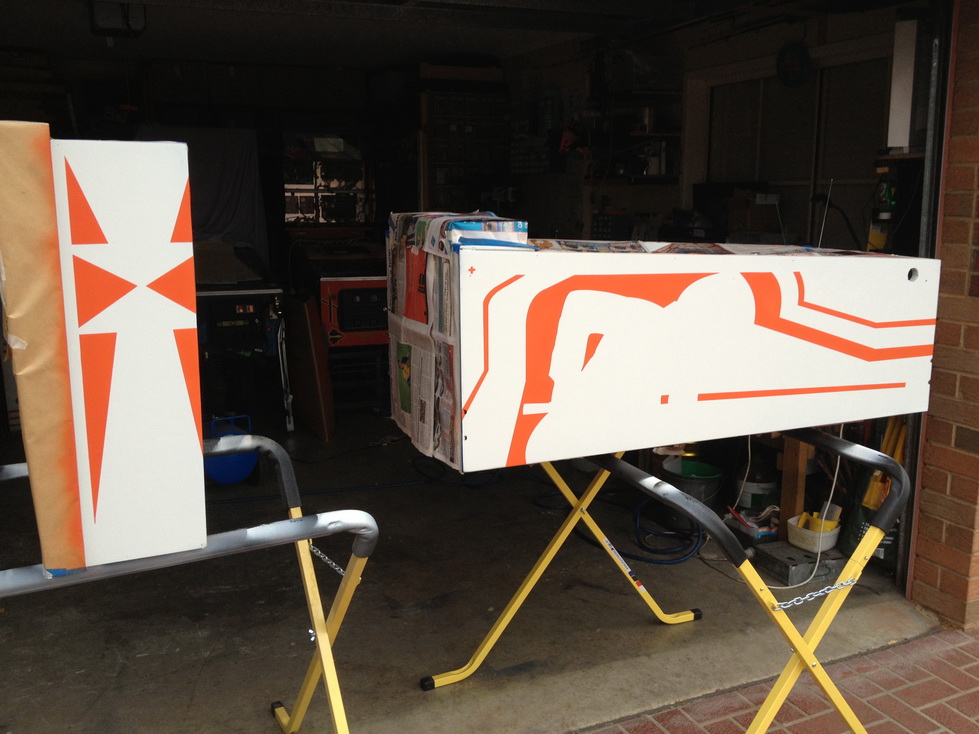
The left side - Blue low tack tape is used to cover up edges etc. Paint WILL find a way into the smallest exposed area. One less thing to worry about !
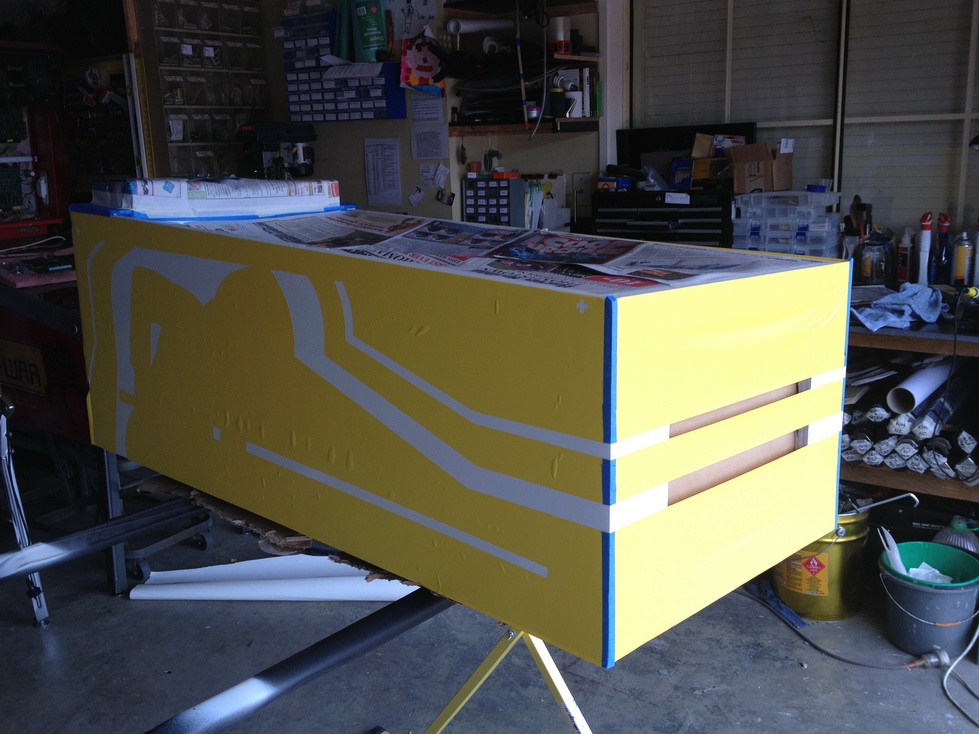
One light mist coat, then two or three fine coats. Nothing too heavy. Stencil removed and the finish is perfect. My only gripe is I like overspray and underspray. But these stencils are absolutely dead accurate and finely cut.
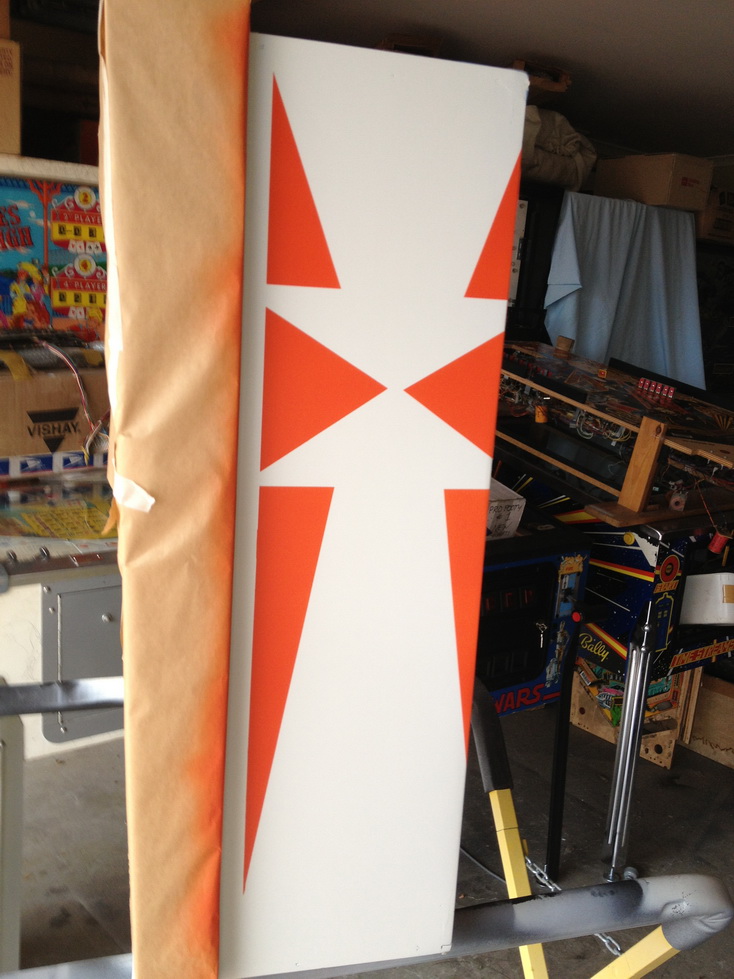
Lines meet perfectly
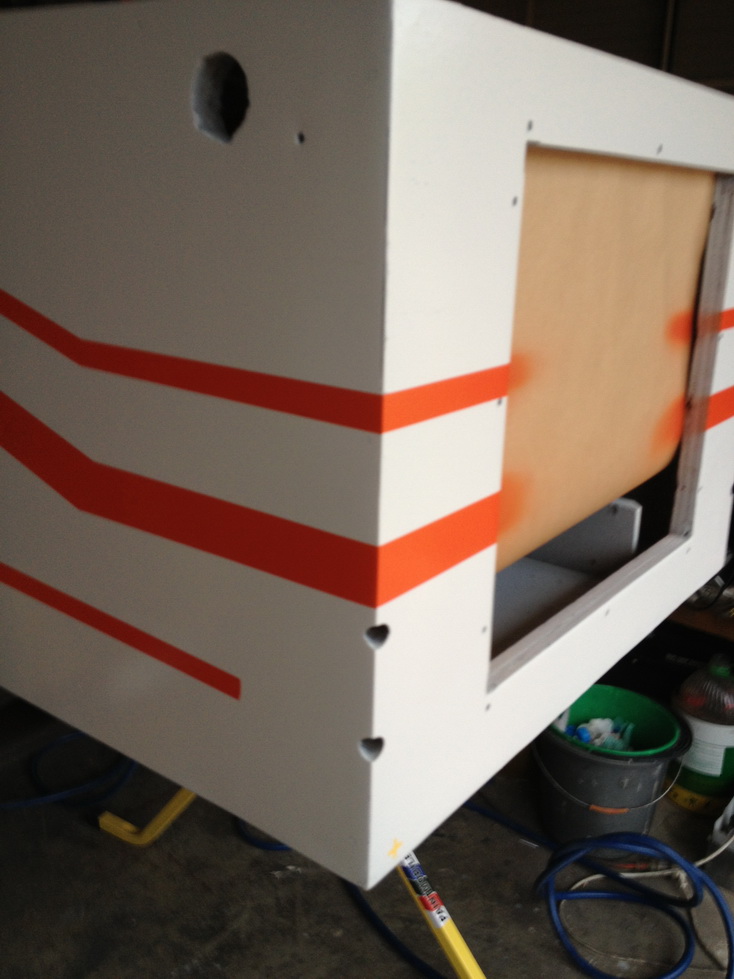
Note registration mark in the top left hand corner. I sprayed the cross as it is not seen anyway, and it is permanent.
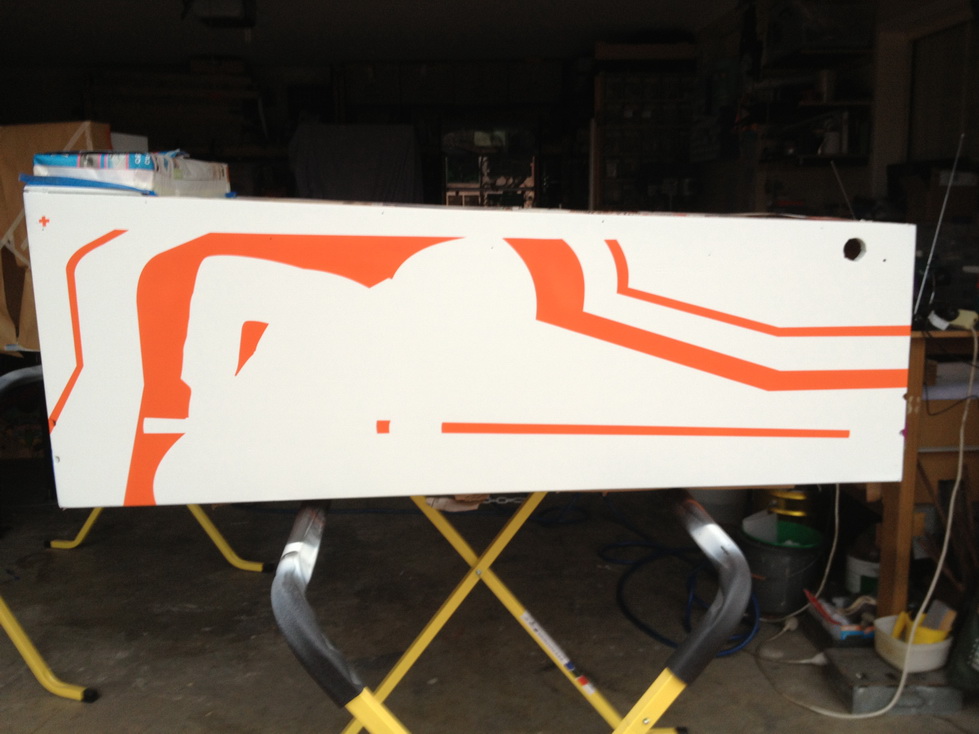
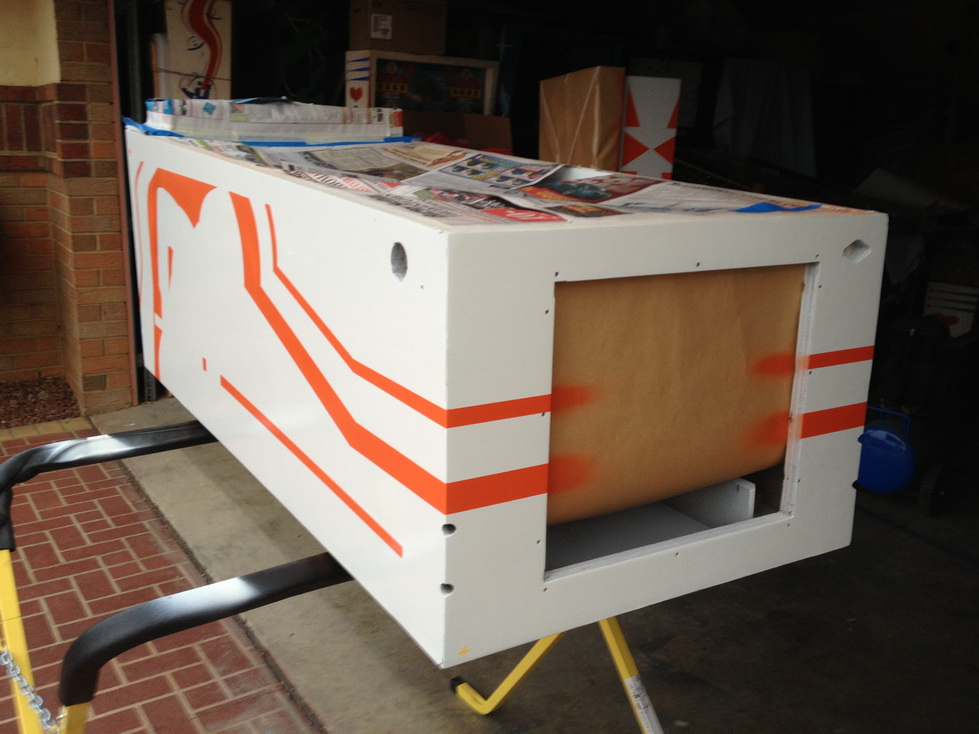
Black stencil will most likely be done on Monday !
Special thanks to Gav for his help on this stencil - Really worked out well in the end
