Thanks for the offer Marty, but I've done the best I think that can be done for that area - read below !
Previously, I removed just about everything from the bottom of the playfield. Now the corrosion was not bad, but there was the presence of the white powder deposited on all metal parts - so here's what I did for both sides of the playfield parts ;
Plastics - I used hot water and nifty. All the plastic parts (except the actual plastics set), were immersed in hot water and nifti and left overnight.
Plastics Set - Warm water and Nifti - Let them soak for a couple of minutes, wash and then rinse
All small metal parts - First immerse in boiling water and windex, soak overnight
The following day - wash all plastic parts, metal parts and small metal parts and then rinse and finally leave out in the sun to dry !
The screws etc still had some corrosion on them, so I let them soak in ranex for an hour. Then wash with windex. They had a dull look, but not a trace of corrosion. I then placed everything metal in the tumbler for 8 hours. Each individual screw (playfield parts side) was buffed.
I used the wire wheel to clean the metal assemblies.
Finally - Time to reinstall everything ! The playfield switches were gently buffed and installed, as well as most other parts. I need to order some coil sleeves etc - they will be done later on.
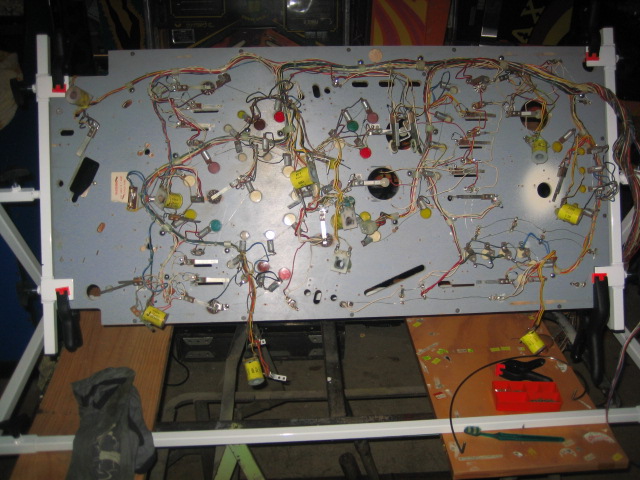
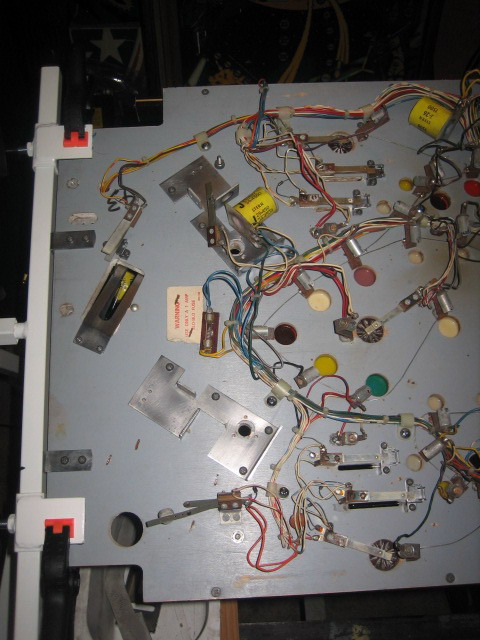
The underside was cleaned with Nifti and the wire loom as well. Looks like the light sockets may need replacement. Here's a picture of the underside as of last night ;


Slowly does it - but its coming along great.
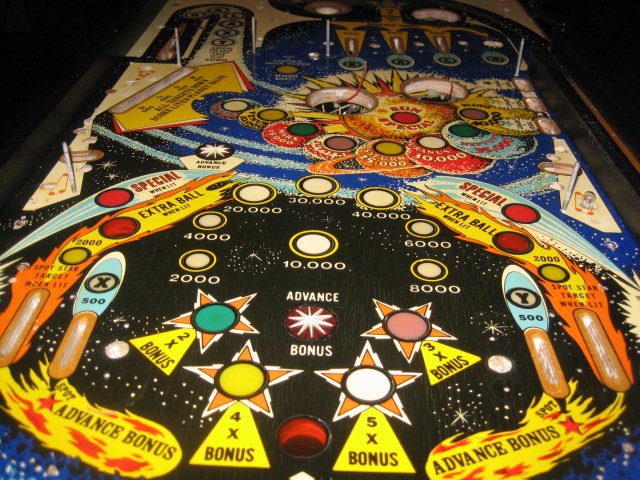
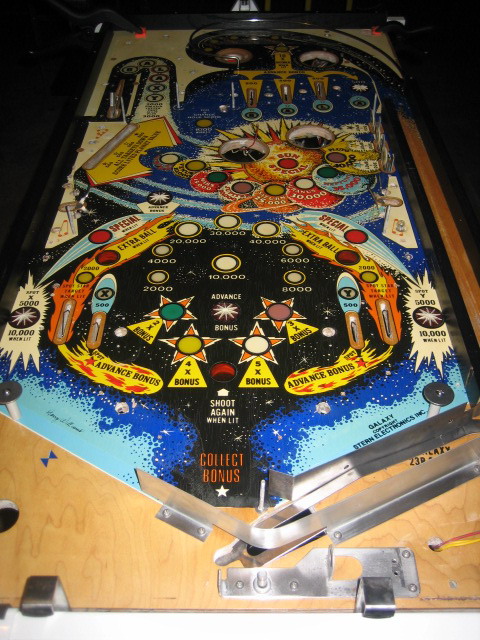
I spend a few more hours on the topside of the playfield. I tried to remove as much ball swirl as possible in the black areas, but I'm not going to do anymore work there as I may breach the original clearcoat. Once I was happy, I used Meguiars Paste wax and gave it 3 coats. It looks MUCH better in the flesh ! I will take the next set of picture during the day !


One of the metal guides on the ball trough had a broken tab, but luckily, I had a spare and I used that instead.
