Next...
With the paint now on the cabinet, i left it to cure for a few days.
After the paint had cured, i installed new grounding braid.
Grounded AND cured...
Next up was the cabinet decals. The prep work in filling the grain, priming and paint really paid off, as i was left with a smooth surface for the new artwork. I used the dry method of application - and
dragged the artwork onto the cabinet.
DEstressing at this point!
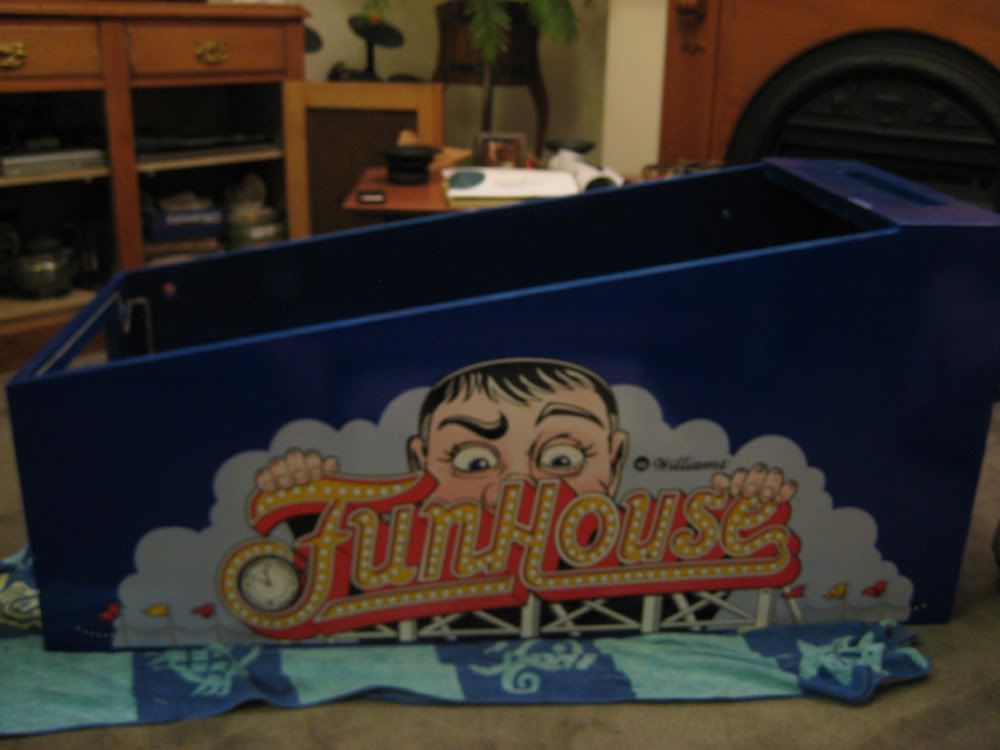
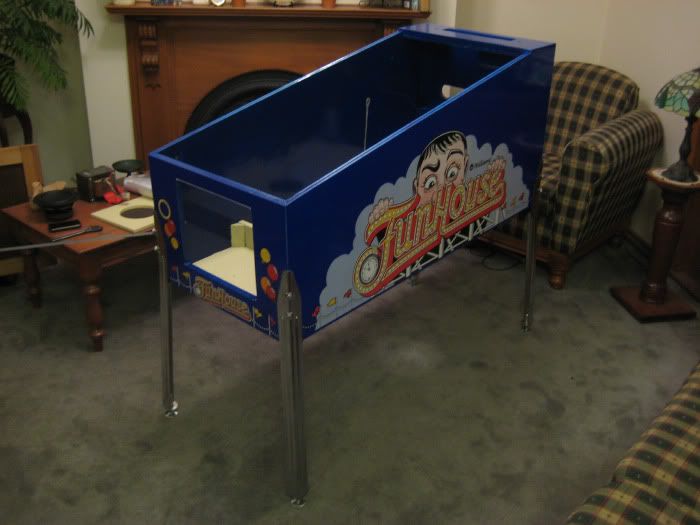
With the artwork on, i went around and trimmed the overhang. This step really took the project the the next level, as i realised things were starting to come together. I had a new set of legs on hand, along
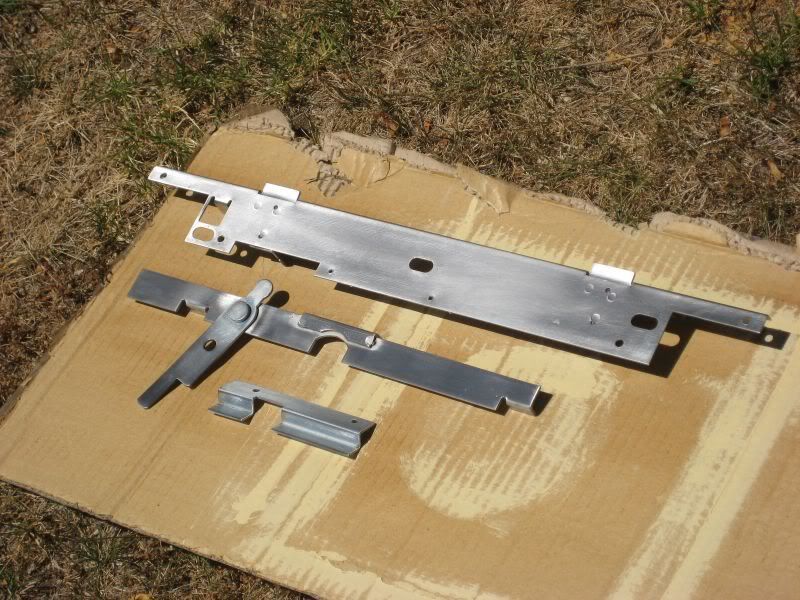
with protectors; but before installing them i decided to upgrade the cabinet leg brackets to the later Williams style. They have a much bigger 'face' which meant legs wouldnt eat away at the cabinet anymore.
After these were installed - on went the legs.
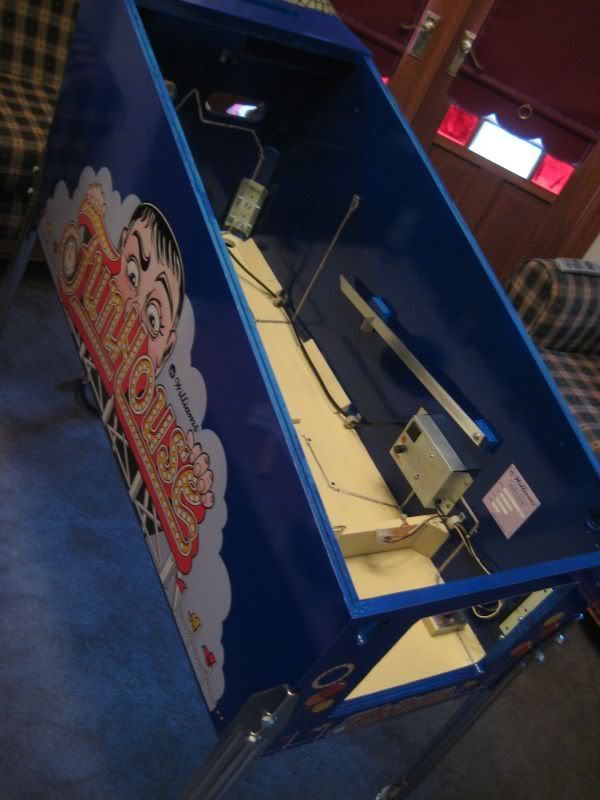
Seeing the cabinet up on its feet was a great feeling - I reflected on what i had started with, compared to what i was looking at now. Personally, i was really proud of my efforts so far.
Taking her first steps...
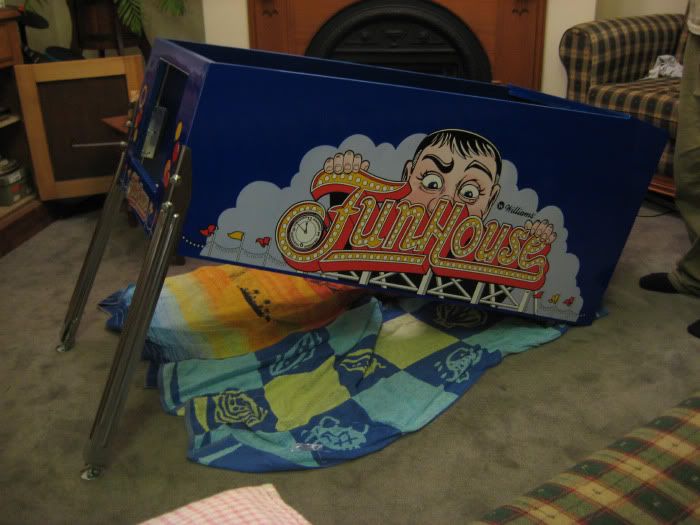
Standing tall...
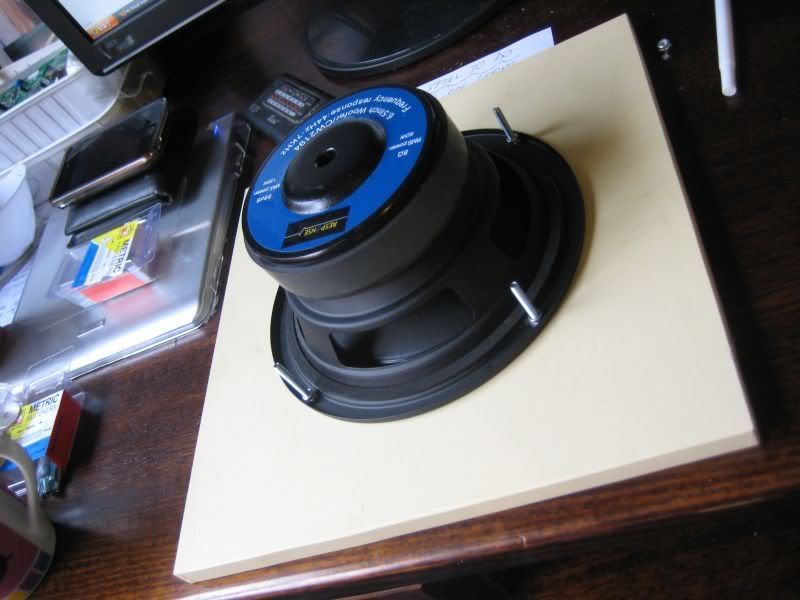
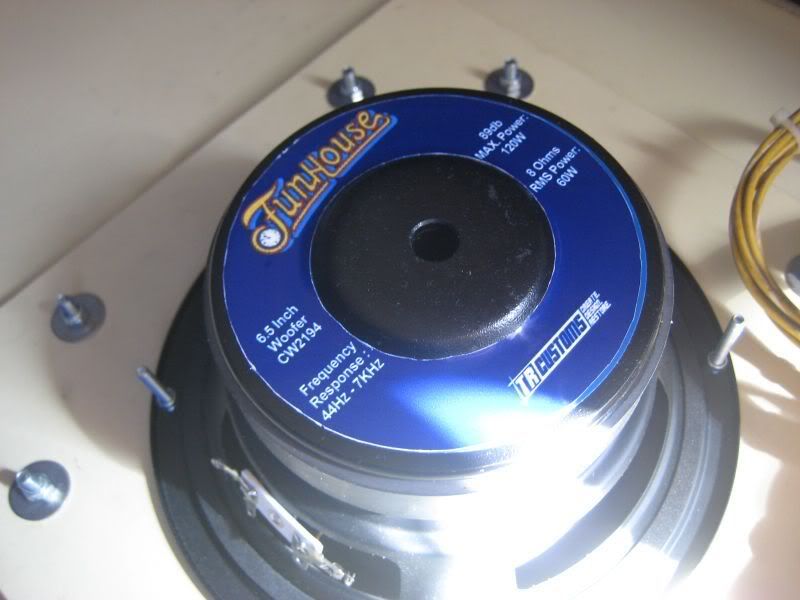
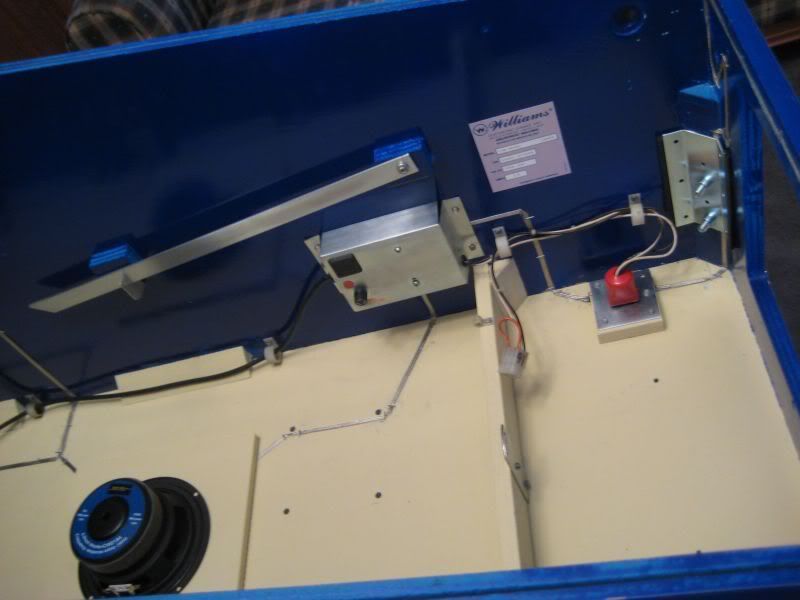
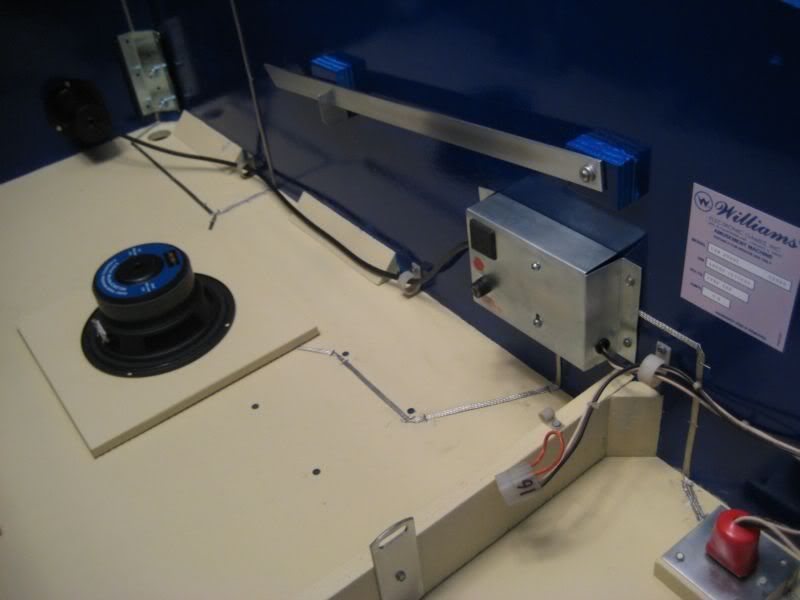
The standard speakers were completely shot, and are produce pretty tinny sound at the best of times. I replaced the speakers with Jaycar Response speakers of the same ohmage. What an improvement! As i was
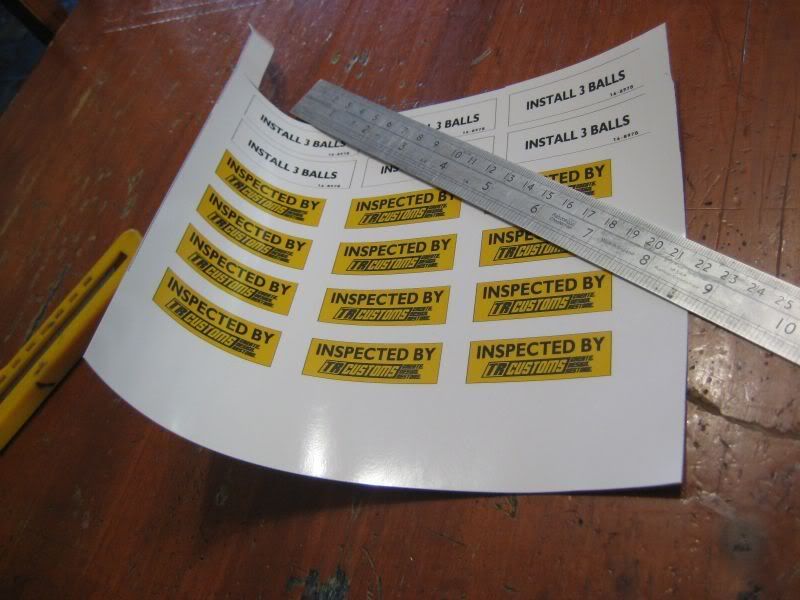
getting a heap of my own shop-out stickers printed, i thought i would replace the speaker rings with something a little more customised - Some funhouse speaker rings... I really didnt need to do it, but it
kinda adds to the whole restoration/refinishing thing.
I made up a mounting plate for the bigger speaker, and replaced the cabinet speaker grill with the same material, just bigger (matching the mount size).
Decal Installed and bolted down to the cabinet...
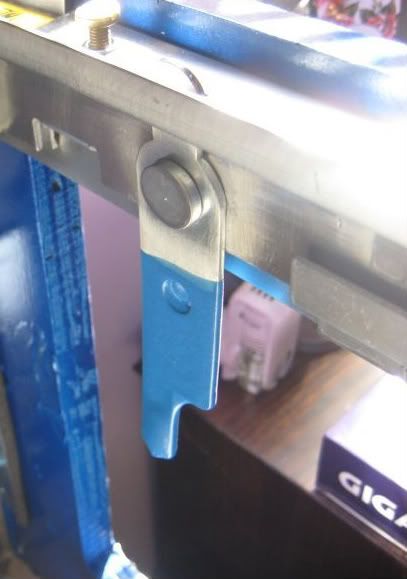
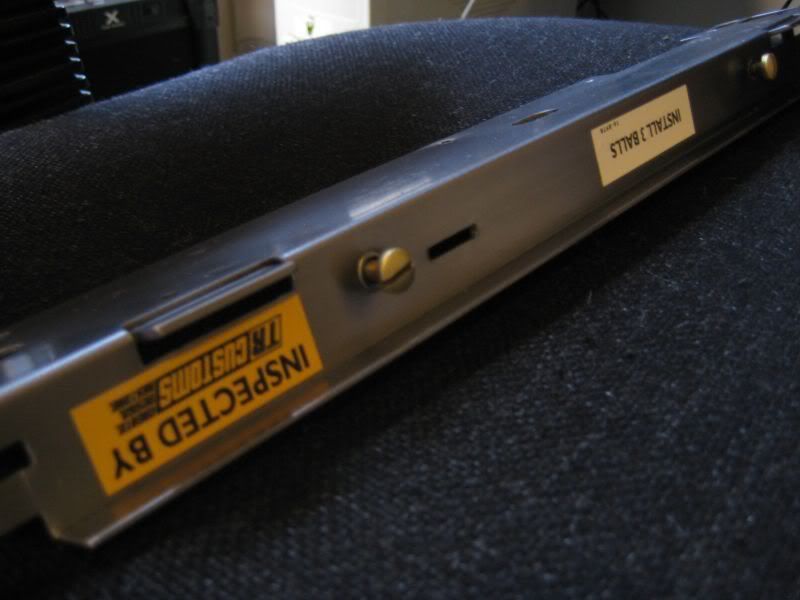
After this, i dismantled the lockdown bar, cleaned it up - and added my own shop-out decals. I used a product called 'Plasti-Dip to give the lever some grip. Funhouse also has a problem with a shorting fuse
when the lever touches another contact, so i dipped it a little further than normal. At this point, i also sent off a few parts to be re-chromed, and ordered a set of system 11 siderails from the
BestOfPinball team in Denmark - as turn around time for these kinda things is slowish...
My own shop-out decals...
Cleaned up the lockdown bar...
Plasti-DIPPED...
Reassembled and looking much cleaner...
I used the remainder of the week to clean up and reinstall the cabinet parts. It started looking like a pinball machine again.
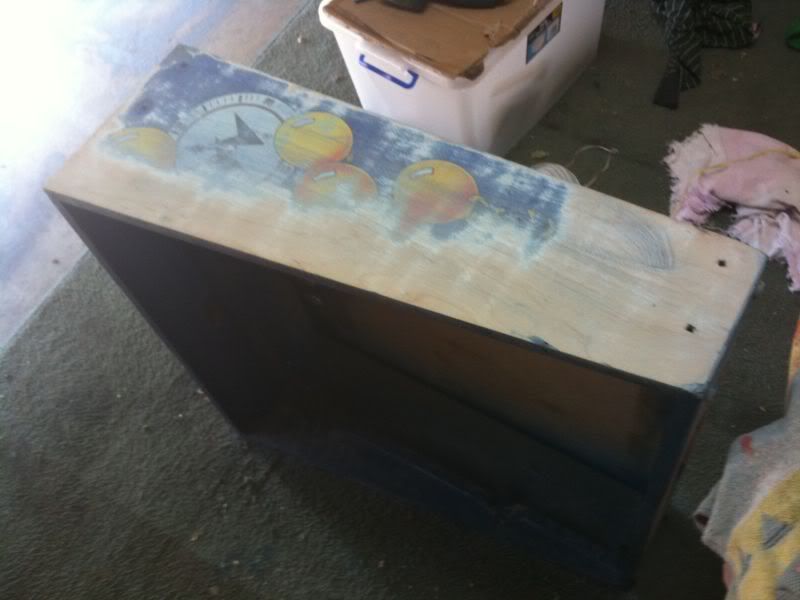
After a week of procrastinating, i stripped down the backbox, photographing, bagging and labelling as i went. I used the same method as i did with the cabinet body - and again i was very pleased with the
results.
The backbox deals didnt respond that well to the heat, so i used up a couple of sanding disks...
On to the next post...


