Hey guys,
Well here goes my first attempt at restoring a Funhouse pinball machine. After seeing all of the great restorations here, and after trawling through endless helpful posts trying to gain as much info as
possible - i decided it was time to try it out for myself.
Funhouse has always been one of those machines that really stood out to me as a one-of-a-kind type game that truly embodies everything that i personally look for in a pinball game. When you walk up to this
machine, you are instantly drawn to Rudy's head, and you find yourself wondering, what does he do...? The game has some really nice flowing shots, and some difficult ones too; coupled with an interesting
ruleset makes for a really addictive machine.
Gameplay aside, i love the art package that has been put together for this game. John Youssi is my all time favorite pinball artist, and the way he captured that errie Funhouse feel (both on the playfield
and the cabinet) - is truly a work of art.
ANYWAYS, enough of the rambling - time to get on with the project. I will be documenting the build in parts, as i think this will help keep the information flowing rather than showing simply my progress. If
i break the project up into parts, i can give some insight into what i did, and what i wouldnt do again etc. I'll start first with refinishing the cabinet.
=PART 1=
-THE CABINET-
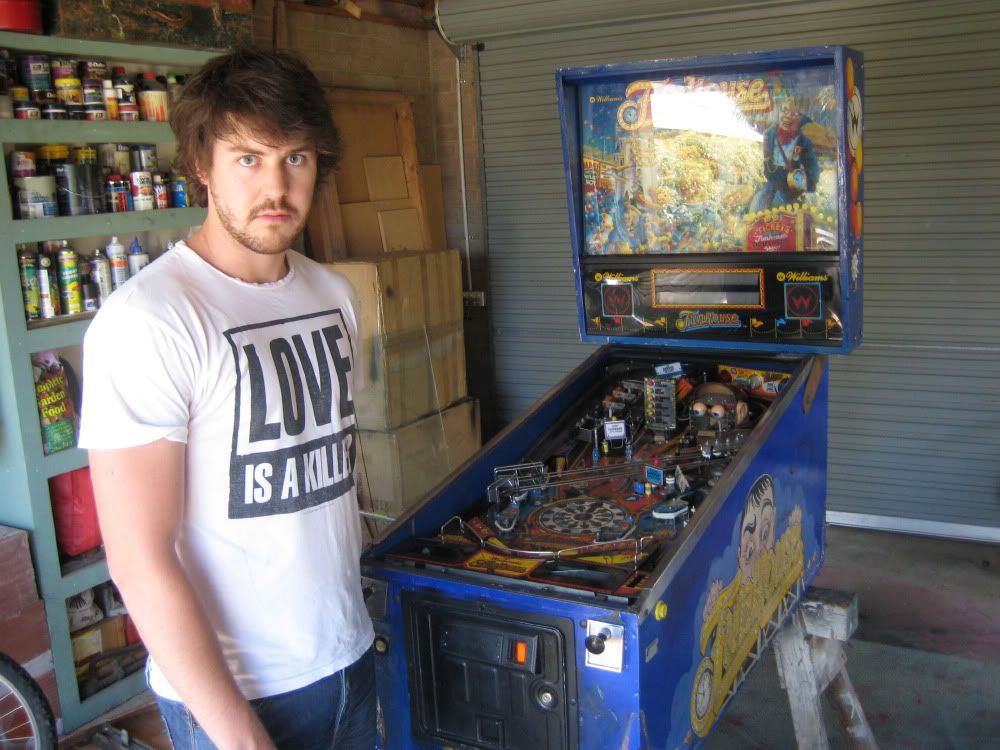
When i got the game, it was looking pretty tired. The machine was filthy to say the least, and had numerous cabinet repairs due to people vandalising it out on location.
The floor of the cabinet was black with soot and grime, and even had boot prints in it (is this common!?). The legs had eaten away the cabinet corner edges, and the early Williams leg brackets had chewed up
the braces inside.
Picked the game up...
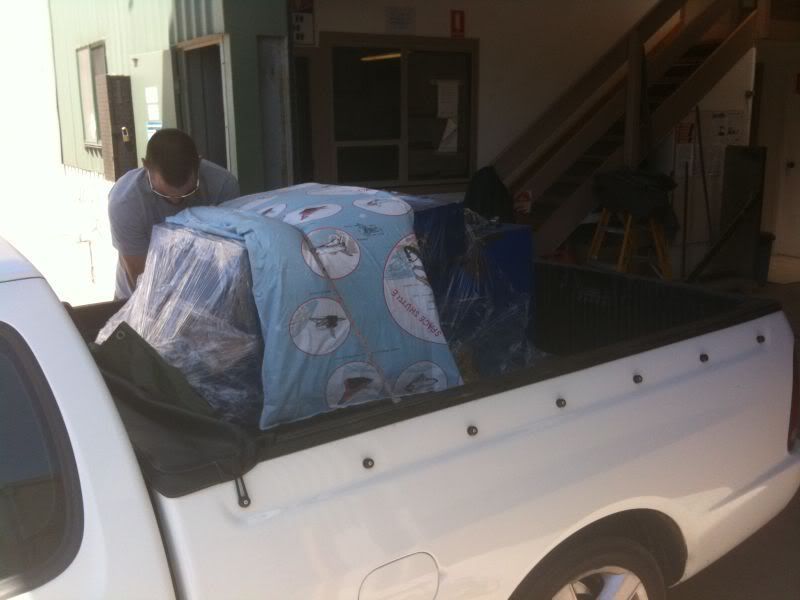
Boys and their new toys...
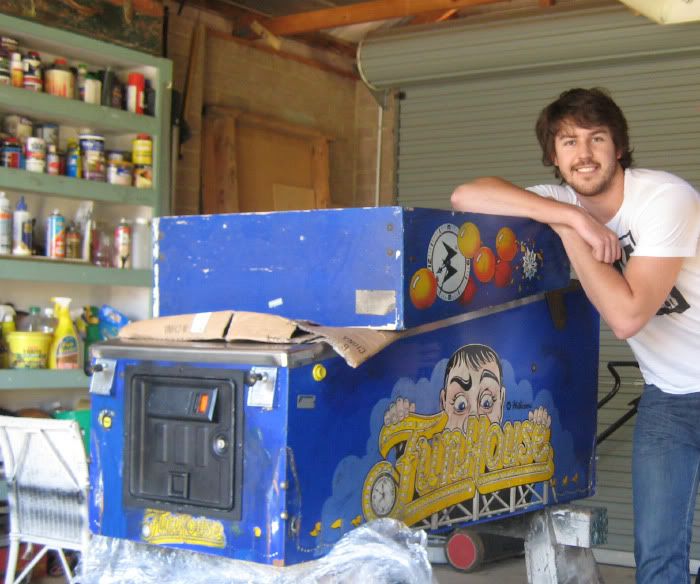
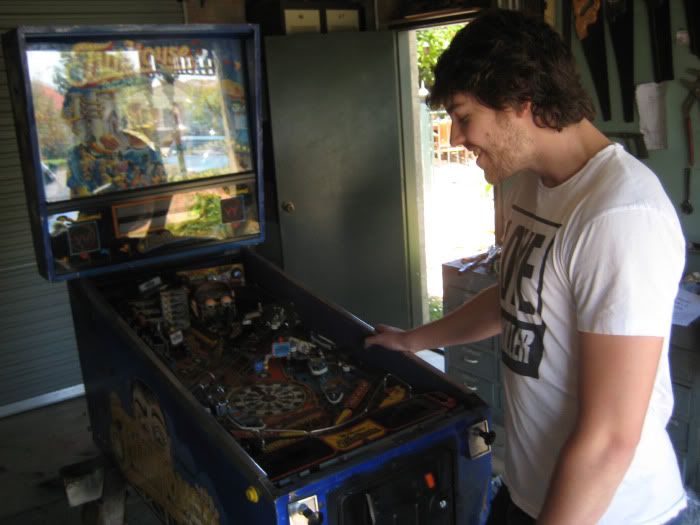
Upon closer inspection...
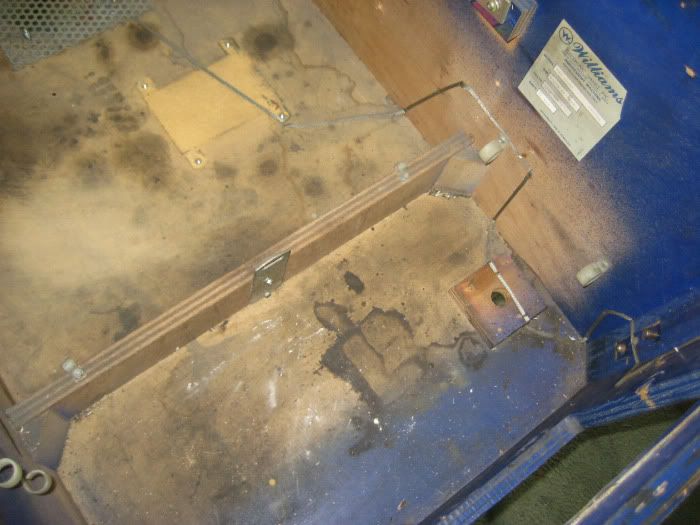
The realisation that i have a TONNE of work ahead of me...
We continue on...
The backbox was the same deal - chewed up and mangled corners, vandalised with peoples initial carvings, and touched up with brushed on navy blue paint...
Once i had the machine playfield free (including all looms, transformers, buttons, p-clips etc) i could have a really good look at what i needed to do...
After assessing the machine, i made a checklist of what i needed to repair, and replace. I bagged up everything as i removed it, labelled and photographed where the part belonged. I also kept a log book,
which i used basically to document the steps taken; with the intention of simply reversing the process during reassembly.
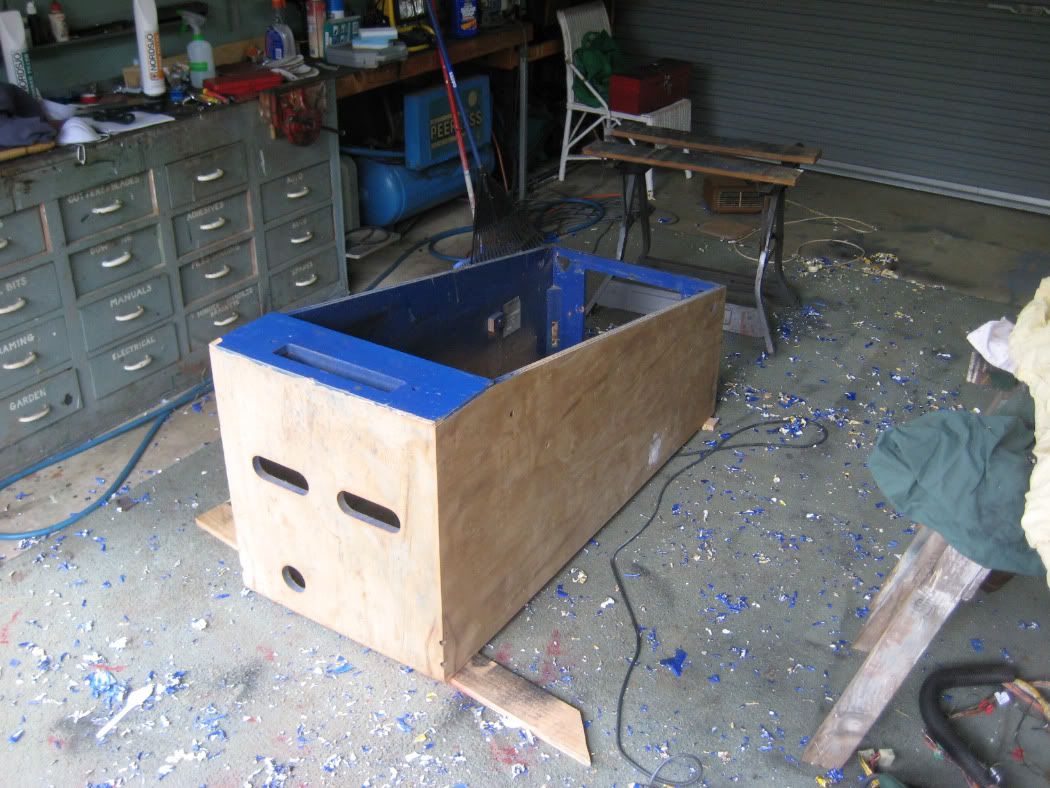
The first thing i did was strip the cabinet decals. These came off with the help of a heat source and scraper. Once removed, repaired areas were much more visible, and i found that patched areas were 'fixed'
with a weak timber filler (not a 2 part hardener). At this point i also ripped out the worn out old grounding braid.
Stripping the decals...
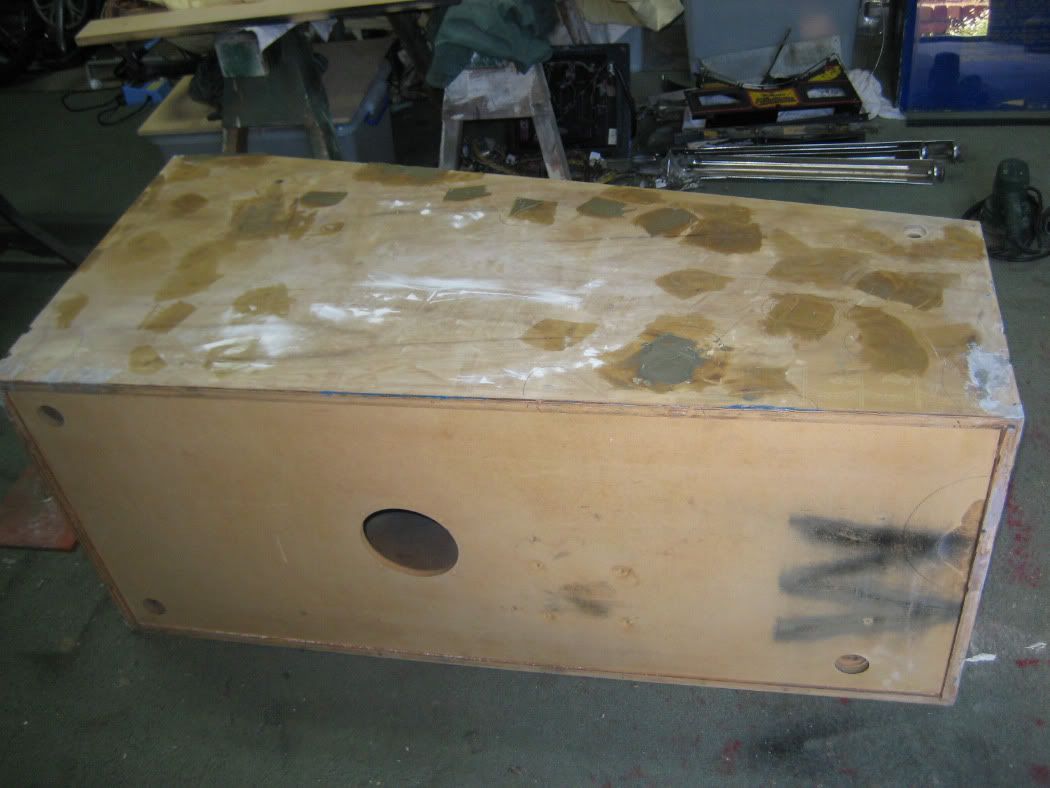
I removed the timber filler, and re-patched damaged areas with Sellys Plasti-Bond. I also filled the grain of the cabinet with this too. It is quite good to work with - given you add the right amount of
hardener. It took me a couple of shots to get a balance between time to work/time to cure.
Plasti-BONDED
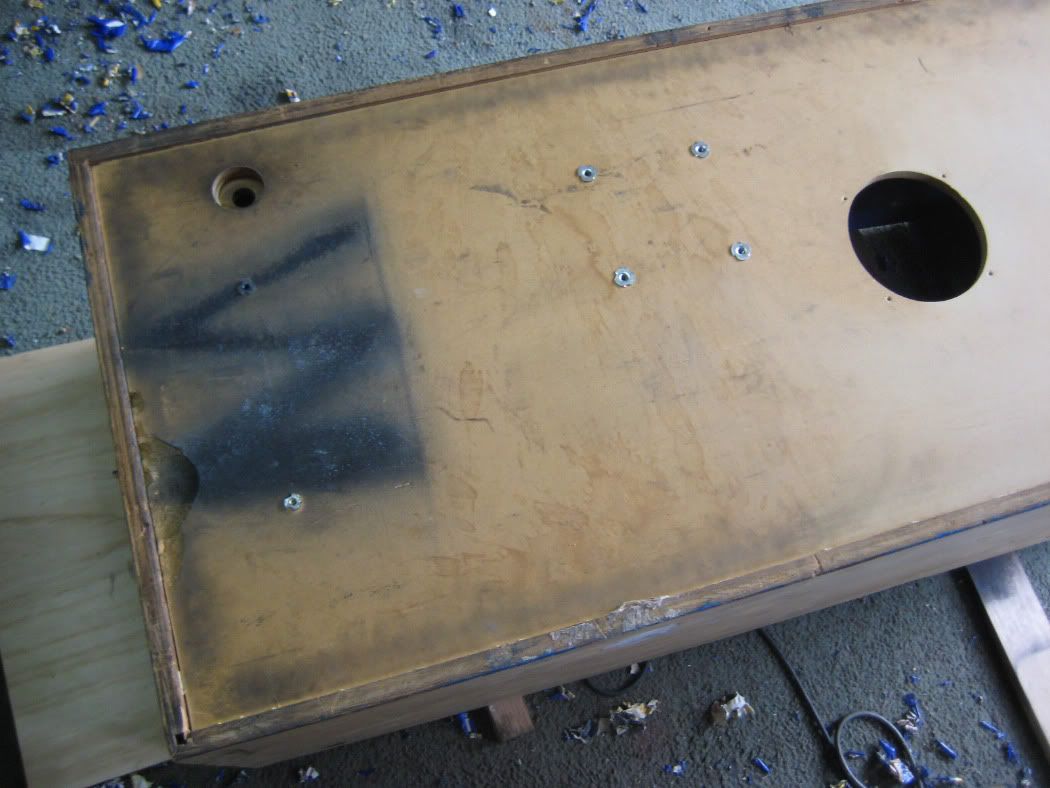
With the cabinet filled and sanded back - it was time to prime the cabinet for paint. I used a spray gun for all the paint work, which i was really happy with. It took a few light, even coats - but left me
with a really nice even finish. Although i sanded back the floor of the machine, i just couldnt get rid of all the imperfections; and the underside of the cabinet had been marked at some stage with a spray
can (which was absorbed deep into the timber).
The marked cabinet...
Cabinet ready for its first prime...
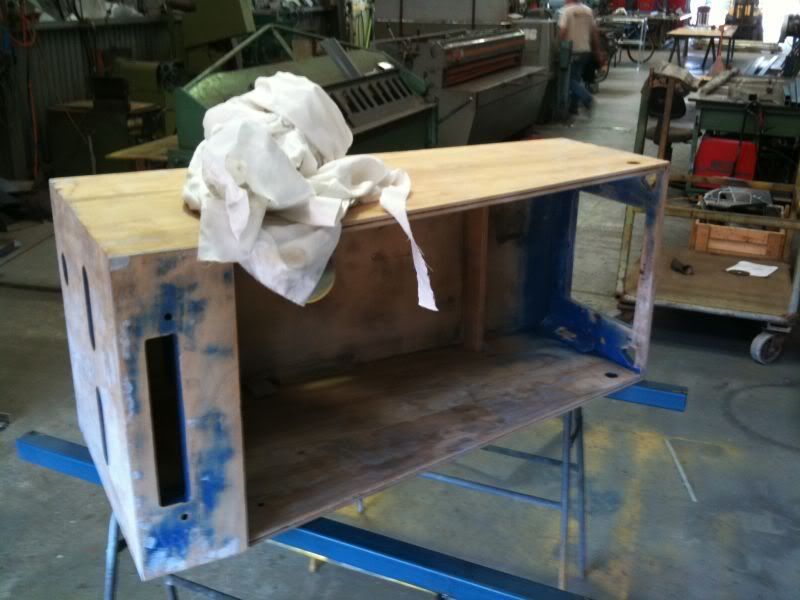
First coat...
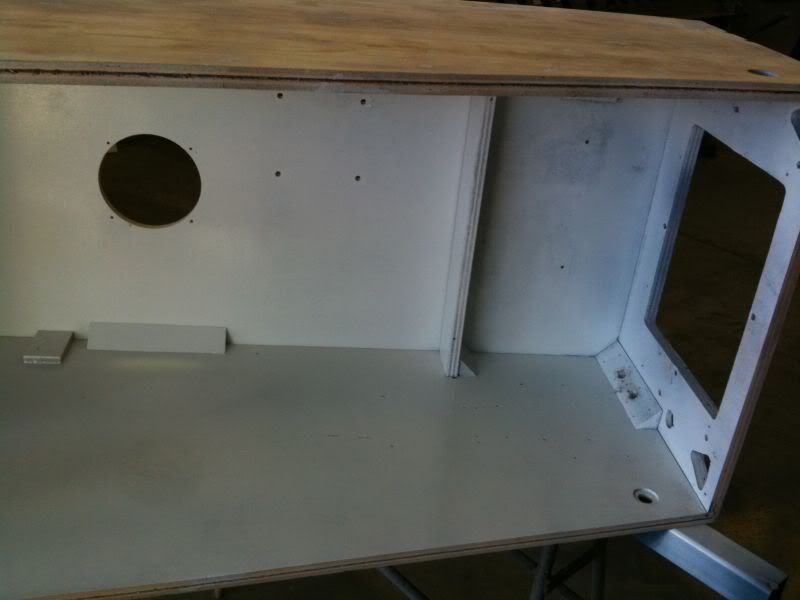
Second coat, i also did repeated this for the outside (no photos)
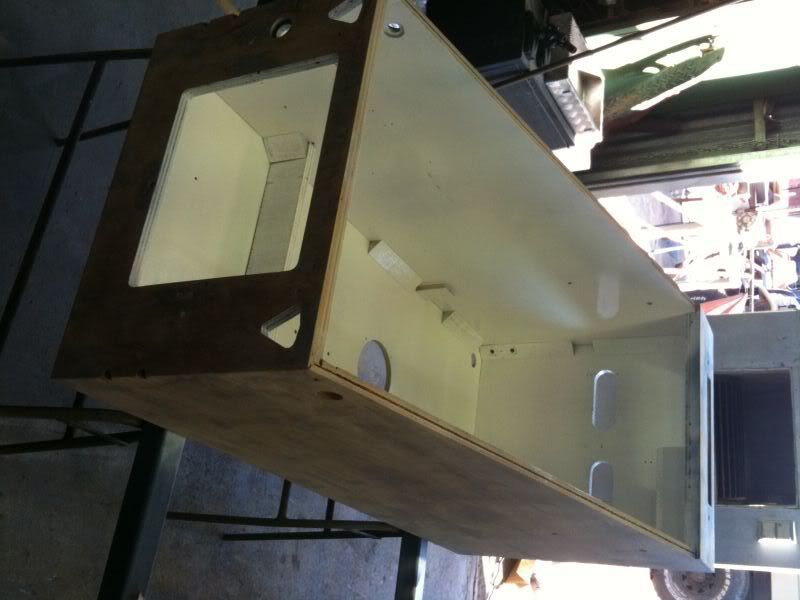
Cabinet getting some Funhouse blue treatment...
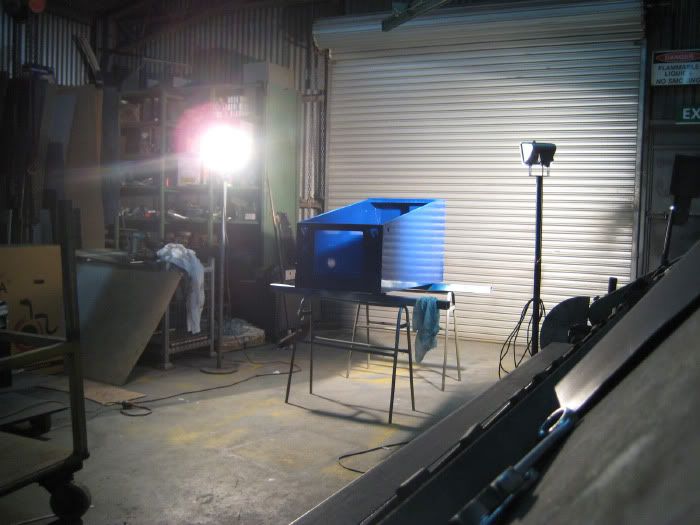
I used an acrylic paint with a similar colour tone to the timber, and painted the floor. I think this was one of the best things i did, as it really gave the blue paint a nice sharp edge to meet at the
floor.
First coat of acrylic...
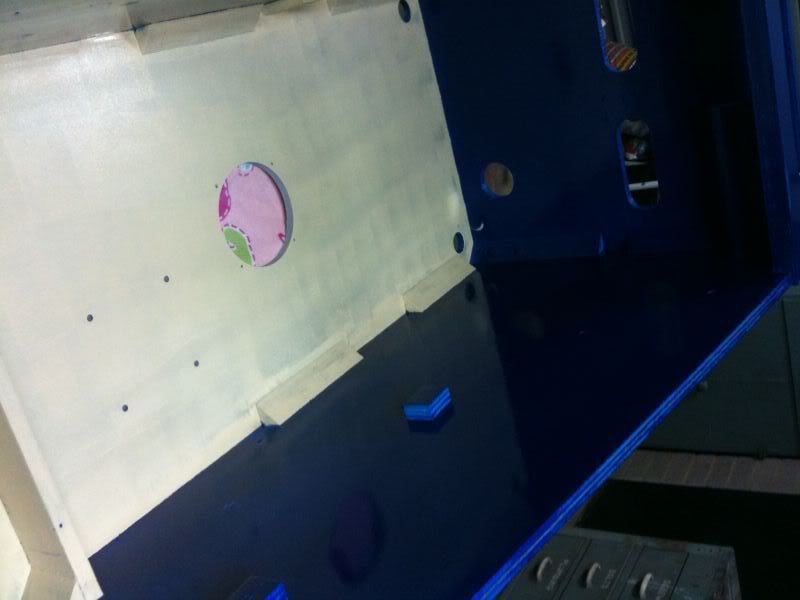
Finished...
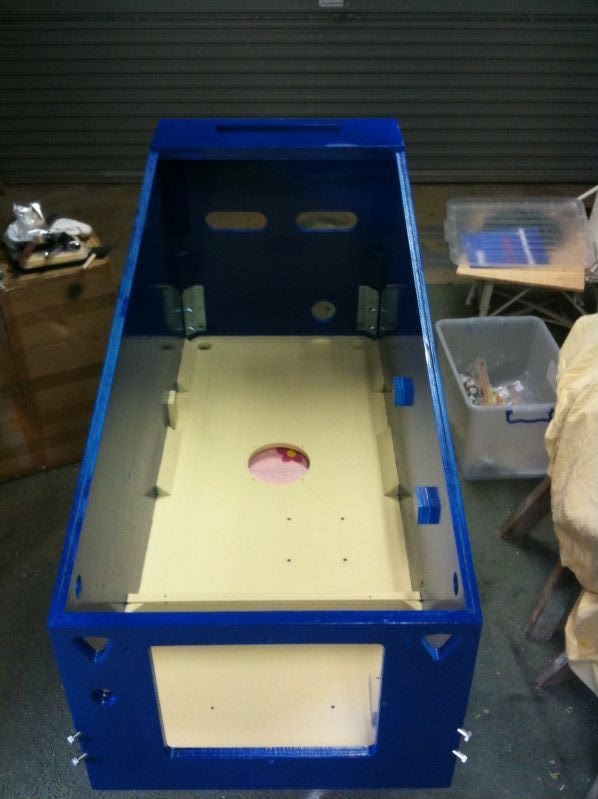
I did the bottom too...
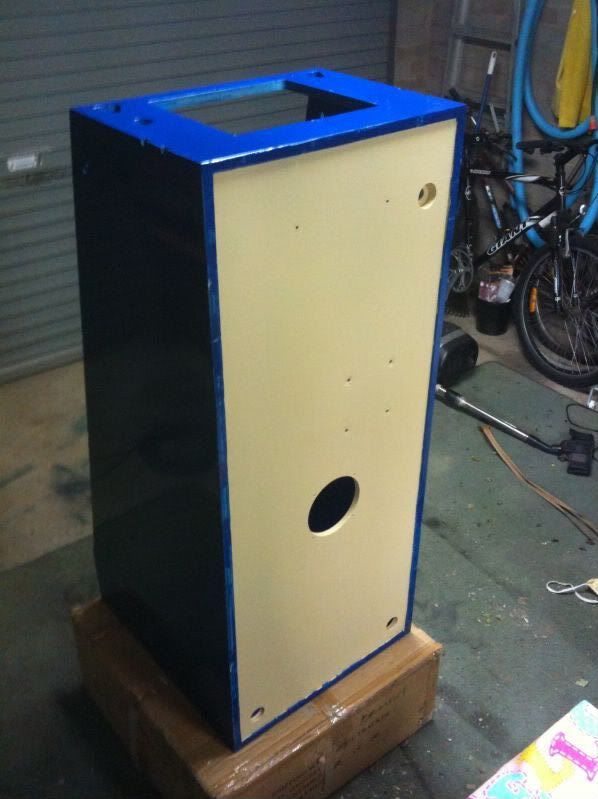
On to the next post...