Had a bit of a setback with the updates - my NEW camera "somehow" became submerged in water

so I've reverted back to my old one. Thankfully, I didn't have too many pictures lost - just the lockdown bar assembly repair.
I've also been experimenting with the Zinc plating kit - I'll get to that a bit later. There's heaps to update on this restoration
 The Head !
Very heavy head (4 player - so more scorewheels and a couple extra steppers). I've removed the mechanical board and the instruction cards. There's quite a few in this machine and all are intact. I scan them and then either laminate the originals, or reproduce them. I prefer to keep the originals IF they are in good condition.
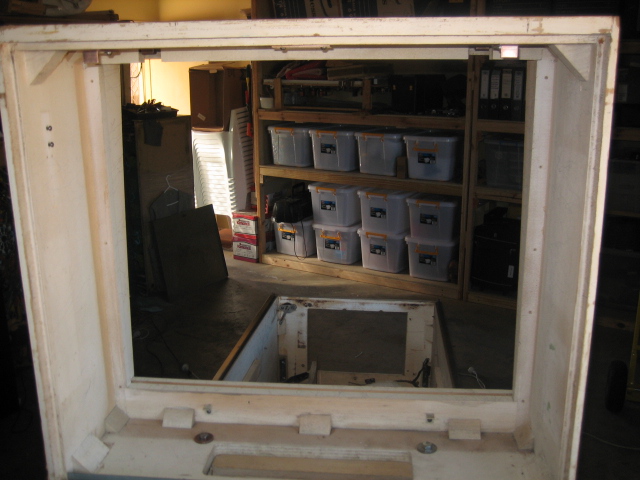
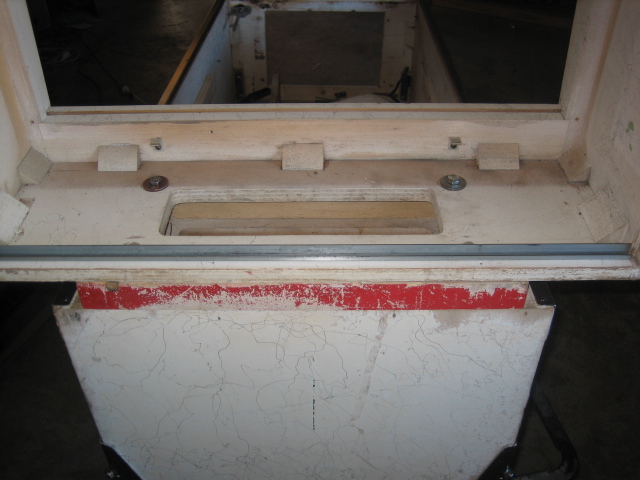
The channel is removed, cleaned and returned to the machine
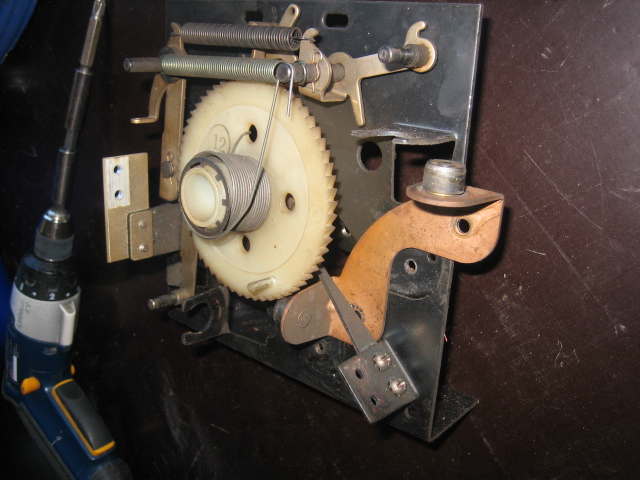
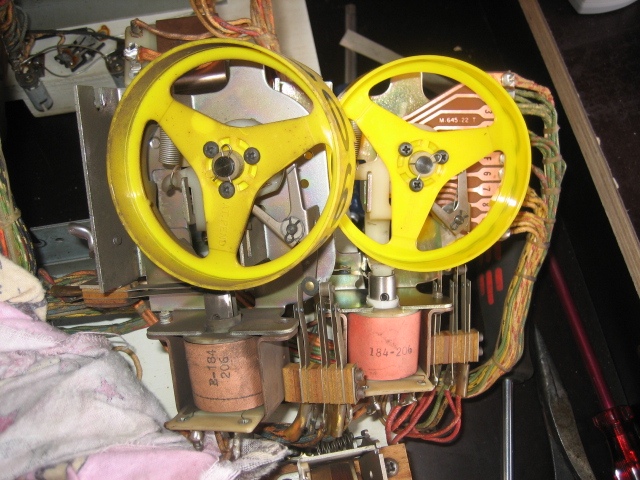
Here is the "before" shot of the mechanicals. I will be strippng EVERY single moving part. There are 16 scorereels to clean and replace the coil sleeves. Scorereel coil sleeves are plastic. All other coils have the brass sleeves and as long as they are not worn, they will be re used. The coils on these older machine have their sleeves as part of the coil - they cannot be replaced. If you attempt to remove the sleeve, the coil will fall apart. This is also the same deal on Bally Bingos.
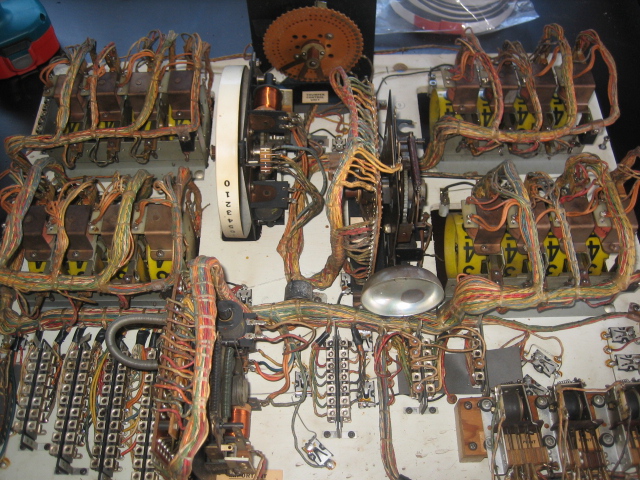

Even though the game was almost playable, it rarely advanced to player 3 or 4. That is a direct result of this unit being sluggish. As will all units, it needs to be rebuilt. It is important to take photos of the unit in the "home" position on these style steppers as it simply won't work properly after re assembly.
Notice I've marked the bakerlite where the wiper blades are positioned in the "home" position. It is deliberately "offset" slightly. But this appears to be correct.
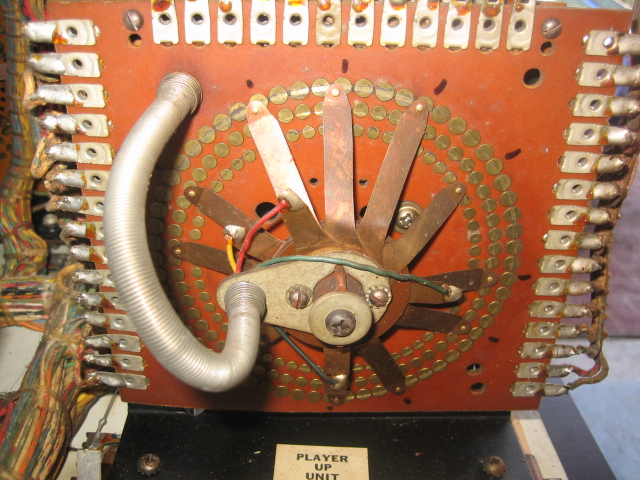
Another important thing to remember - count the number of turns on the spring when the unit is in the "home" position. It is usually 2 - 3 turns.

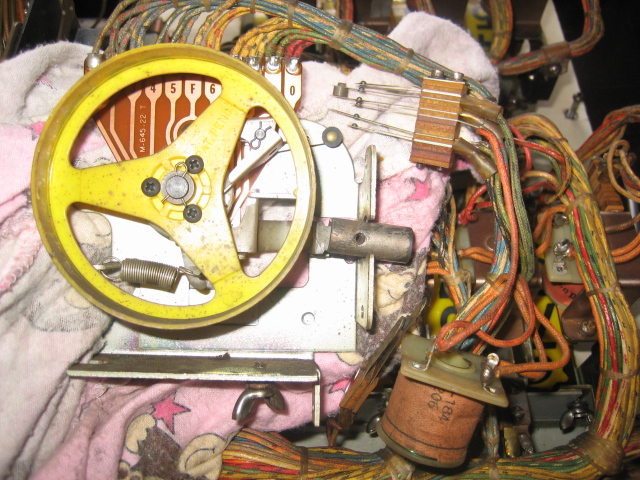
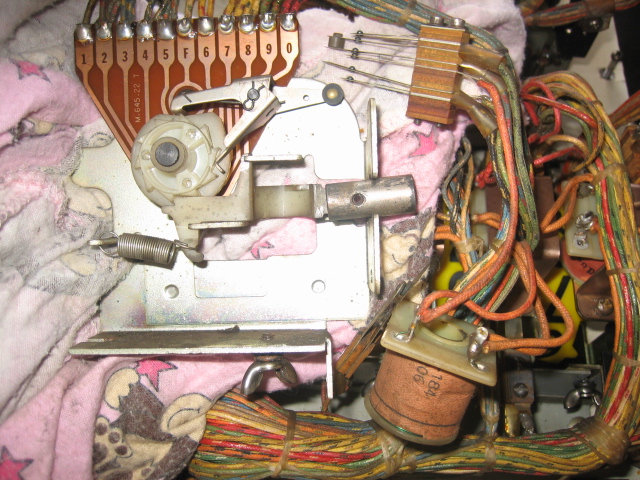
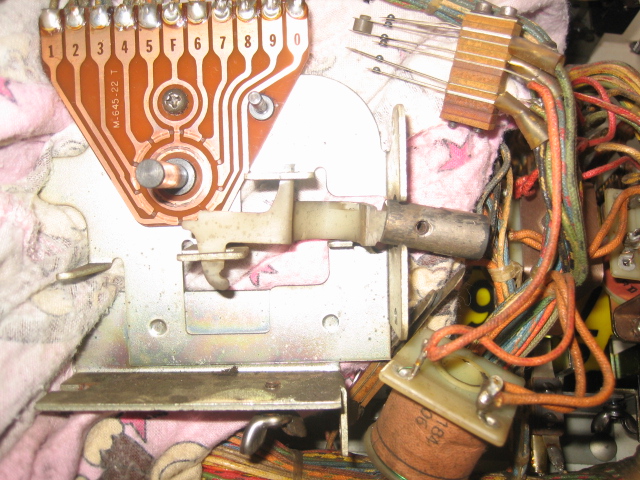
Unit coils and switch stacks removed and it is on the bench for further disassembly;
Here's the unit rebuilt and re installed into the machine. Works very well !
 Scorereel rebuild
This is fairly repetitive work, but is easily done if you take your time and don't try to rush things ! These are the steps required to rebuild a Bally Scorereel assembly ;
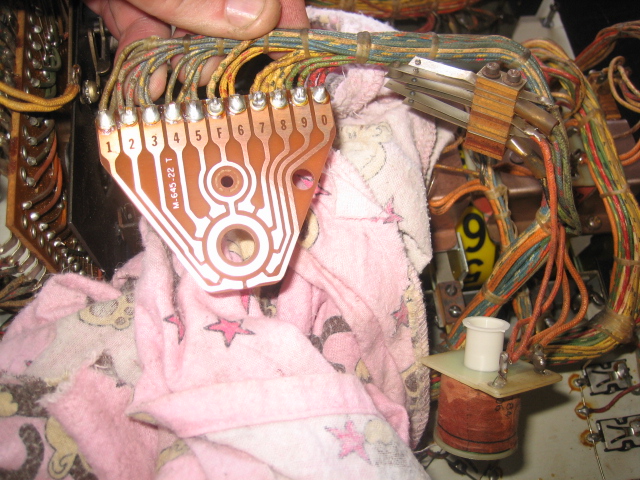
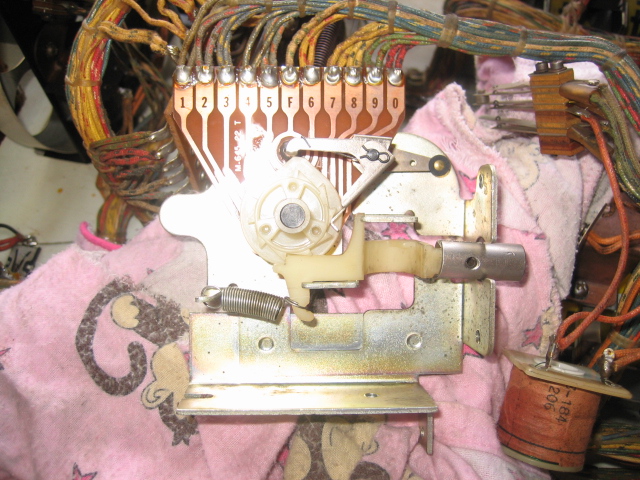
Here is a scorereel removed from it's "cage"

Notice is it a very simple design, and I think it is a more serviceable and reliable unit than most scorereel assemblies from Williams and Gottlieb. I much prefer working on these. The assembly consists of the score "reel" with the numbers on it, a plunger / link, spring, coil, cog and the bakerlite board. The contacts have three sets of switches. The middle set are normally closed from "1"-"8". The top set are closed at "0", and the bottom set are closed at "9". The coil pulls the plunger which advances the unit. There's a set of wiper blades on the cog which follows the scorereel position so the machine knows how many times it needs to advance.
This score reel is set to "0"

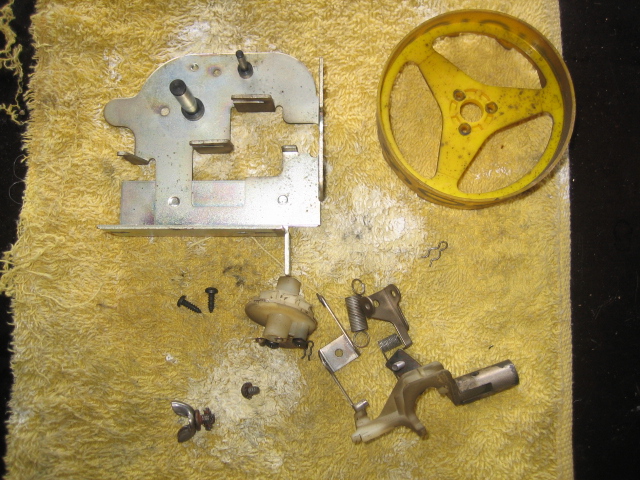
Step 1 - Remove the switch stack and the coil stop
Step 2 - Remove the clip and the three screws that hold the scorereel in place. Notice a registration "nib" that ensures the score reel itself is returned in the correct position. Remove the spring ;
Step 3 - Remove the small clip, spring and two actuator arms. Remove the cog, which is done by moving the plunger back
Step 4 - All the parts are ready to be cleaned. I use Nifti for the plastic parts, windex for the metal. Toothbrush is handy ! Use a scotchbrite to clean the bakerlite. I use compressed air to dry everything out. For FILTHY and gummed parts - drop the moving parts into a small tub of degreaser.
Parts cleaned - Don't use Novus 2 on the yellow scorewheel - it WILL remove the black ink
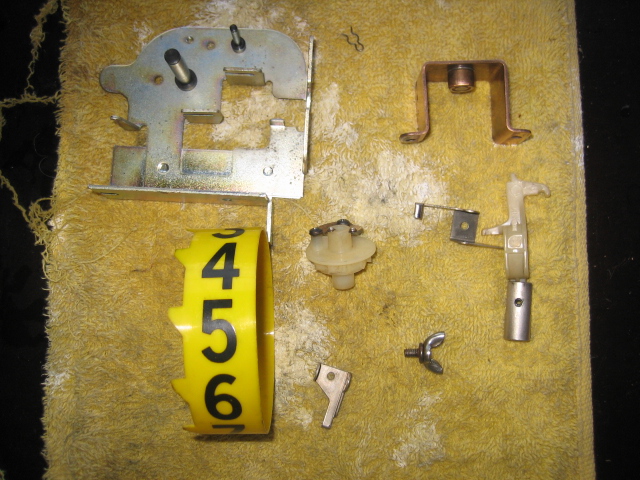
Bakerlite is cleaned with alcohol and a scotchbrite pad
Reassemble in the reverse order that we used to disassemble. Note the two actuator arms are a bit hard to install, just make sure that they are oriented the correct way ;
Replace the coil sleeve, clean the coil, refit the coil stop and switch stack. Test that the switches are cleaned and gapped. Should be ready to go !

Here's a comparison between a rebuilt and dirty scorereel assembly
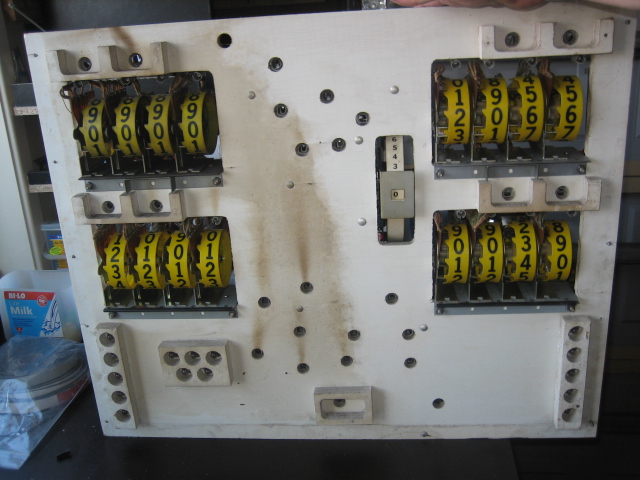
Here's the progress - 12 down and 4 to go !
More coming later today !


