Been a while !
I've been spending my time hassling Gavin and Timbo about the finer points of airbrushing. I've watched just about every Youtube vid on airbrushing and I've been practicing. My "stick figures" look better than ever. Rather than post my varied degrees of progress, I thought I'd post "the good, the bad and the ugly". It has been a steep learning curve, and I'm getting there. BIG thanks to Gav and timbo for helping out

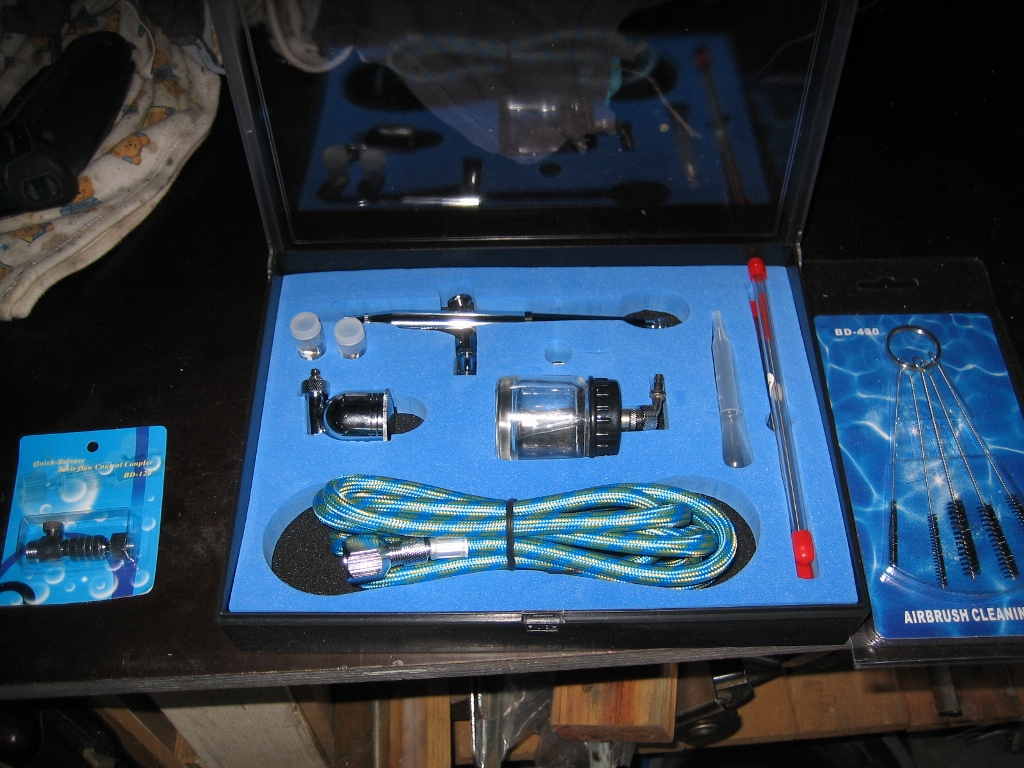
First step is to buy a dual action Airbrush with a quick-connect. I bought this on eBay and I've pulled it apart 100 times, cleaned it and learned it's secrets ! It set me back $86 inc postage ;
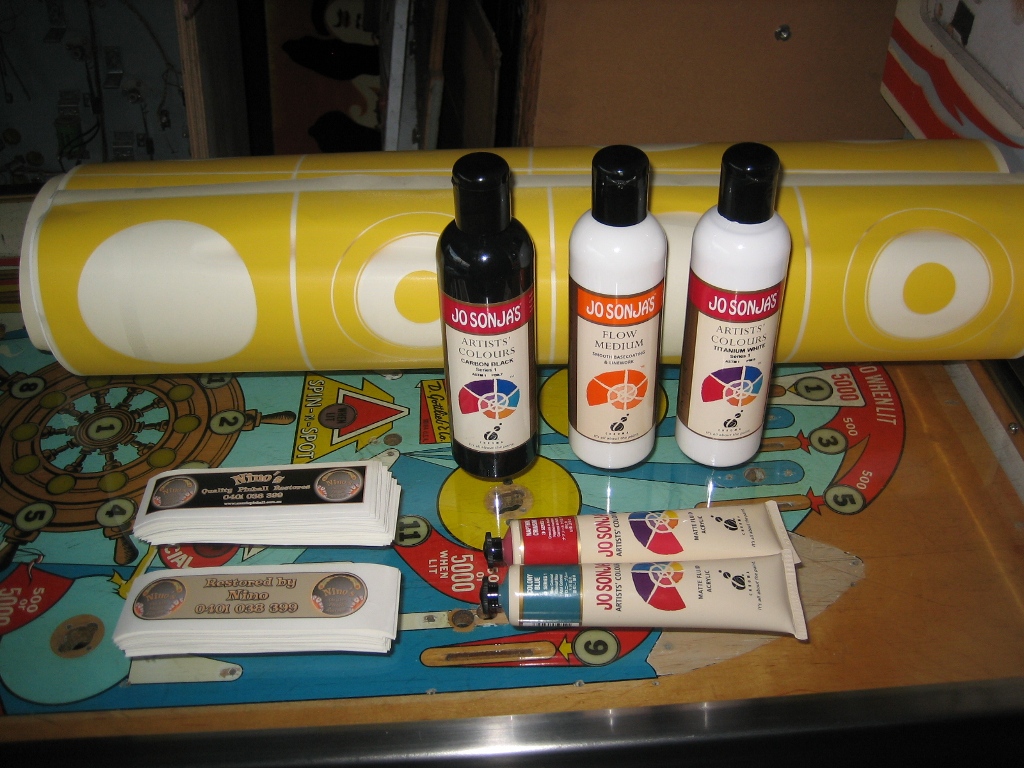
Next - the paints. General opinion was acrylic water based Jo Sonja paints and flow medium. I ordered frisket, but that has been on "back order" for 2 weeks

. I bought it all online from artstore.com.au. In the background are the masks Gavin cut for me. I will use this to lay the primer, white, black and clearcoat. I'll cover the clearcoat later - it will only be a touchup. Gavin also sent me some neat vinyl stickers for the games I restore !
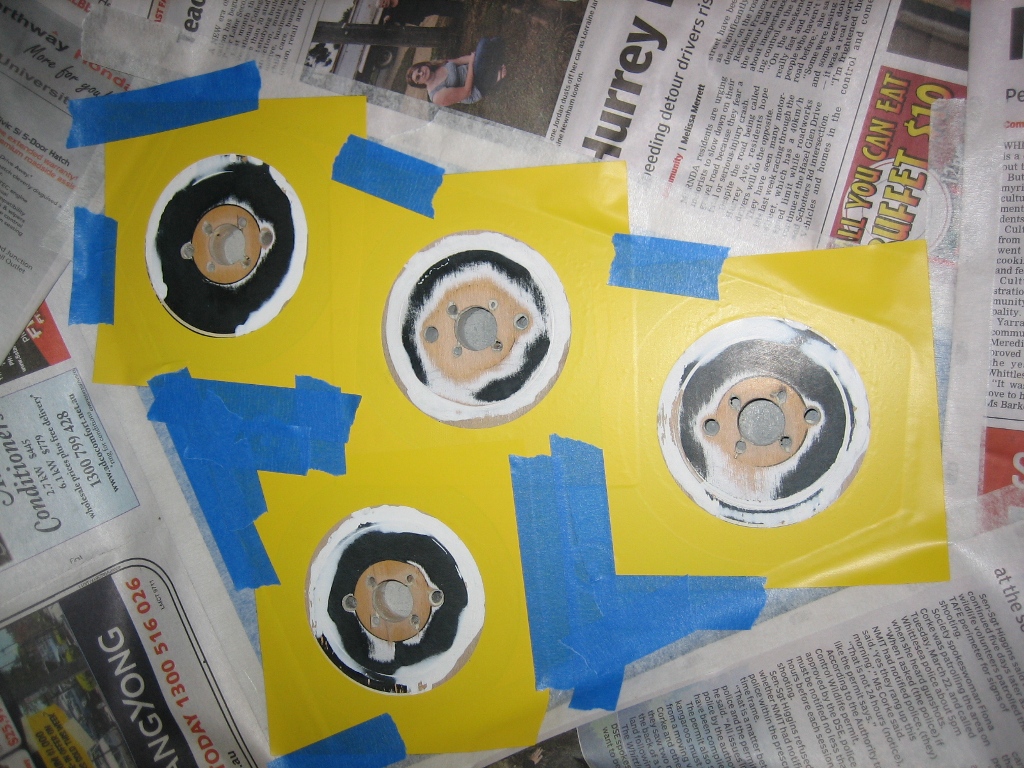
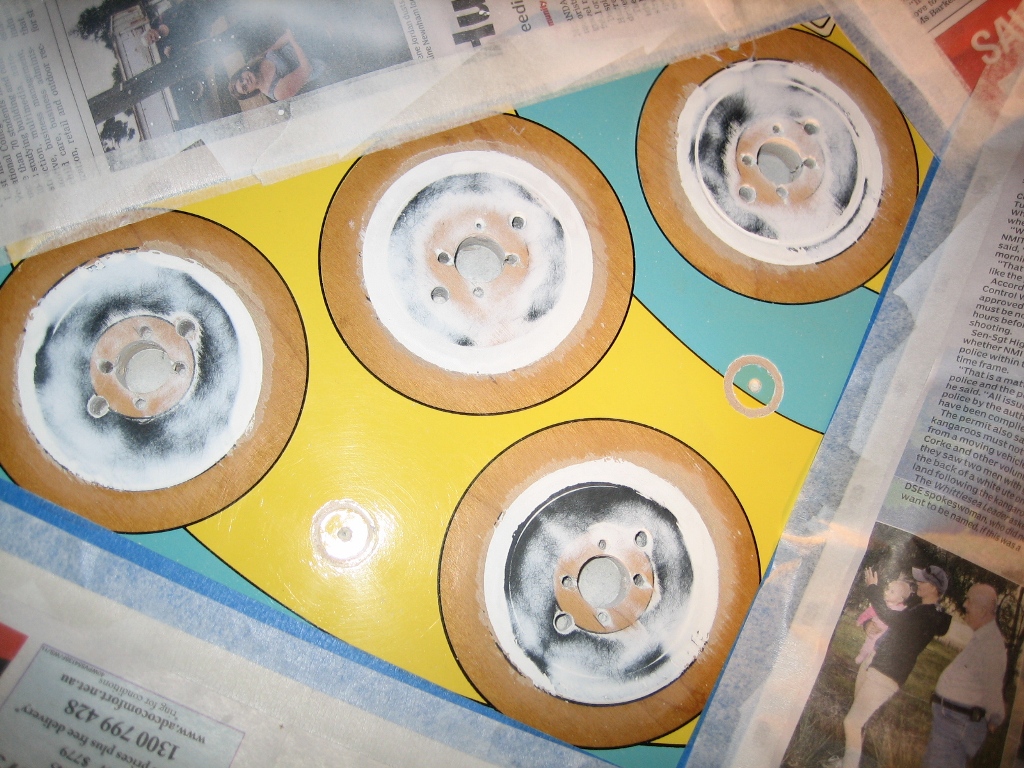
Masks installed ready for primer. Now I had divots in the area - The pop bumper skirts are metal, and they have cut right through the paint and into the wood. They are shaped like "half moons". I filled them with primer and sanded them back. There's so much wood exposed and worn. A light coat with a brush first, then the primer is sprayed on. This is just before the primer is airbrushed.
Straight after going a bit "overboard" with primer. Now this was a mistake, and part of the learning cycle for me. It only needs to be a little primer, not a heavy coat. I just "ran away" with the idea that I HAD to use primer to fill the divots. So here is the primer coat and the mask removed ;
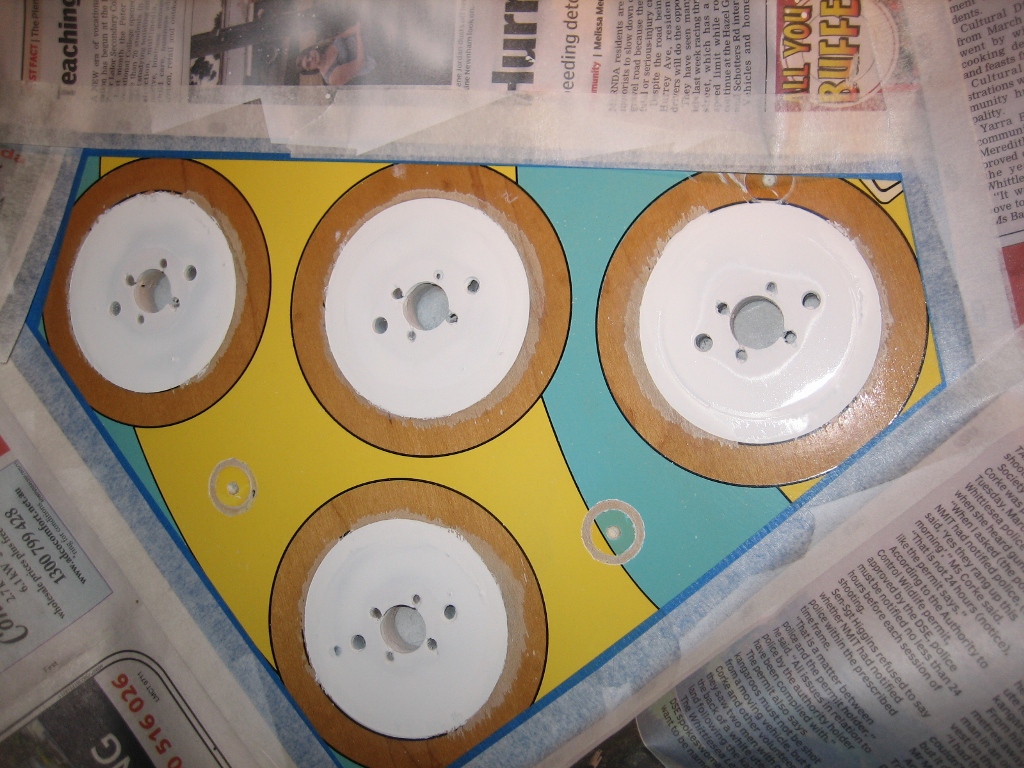
It is no "big deal". I simply sanded back the primer, and it made a good "bond" to the exposed wood. This is just before re installing the masks, and I'm ready to airbrush the white background tomorrow.
A steep learning curve, but I'm enjoying it heaps !