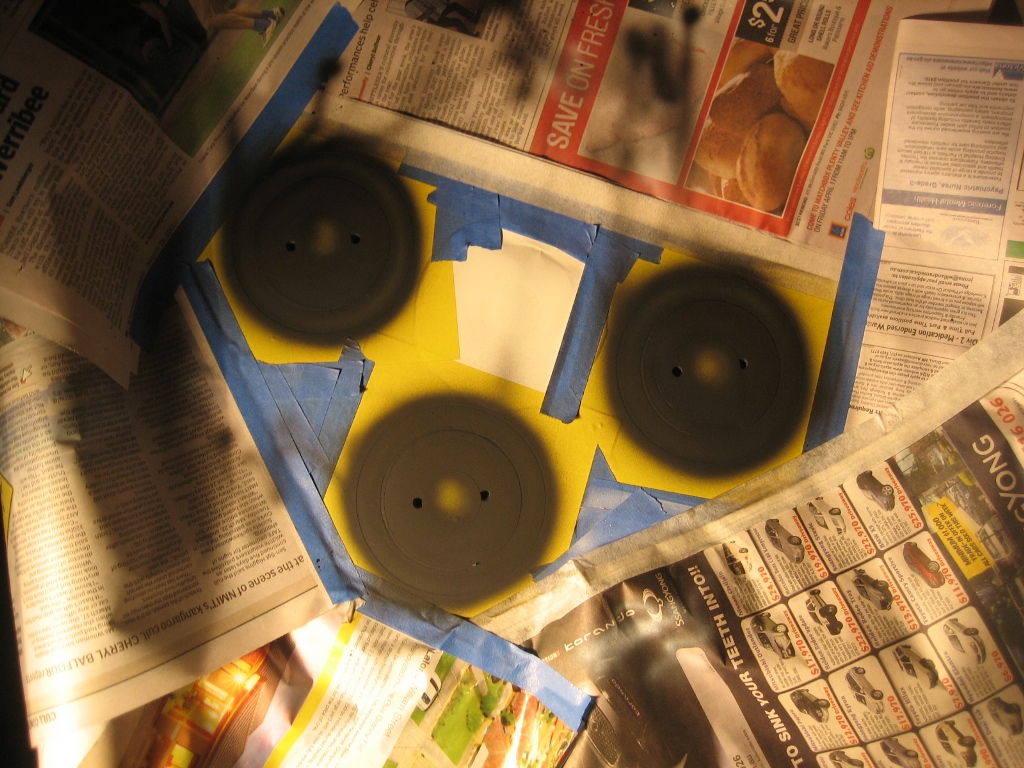
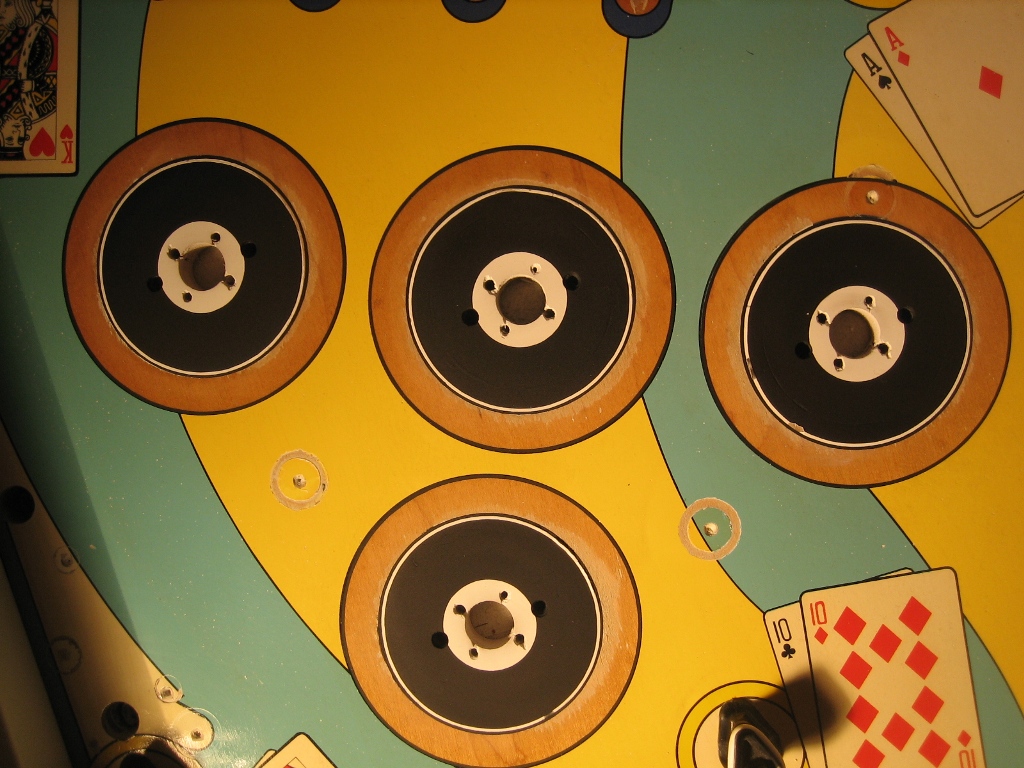
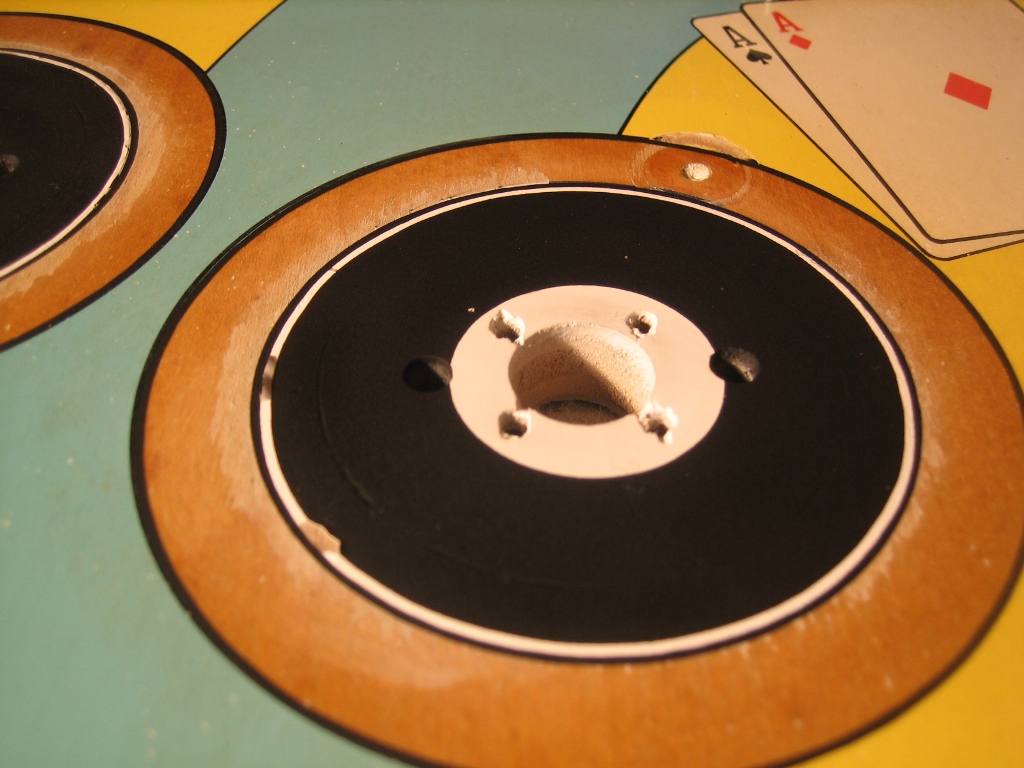
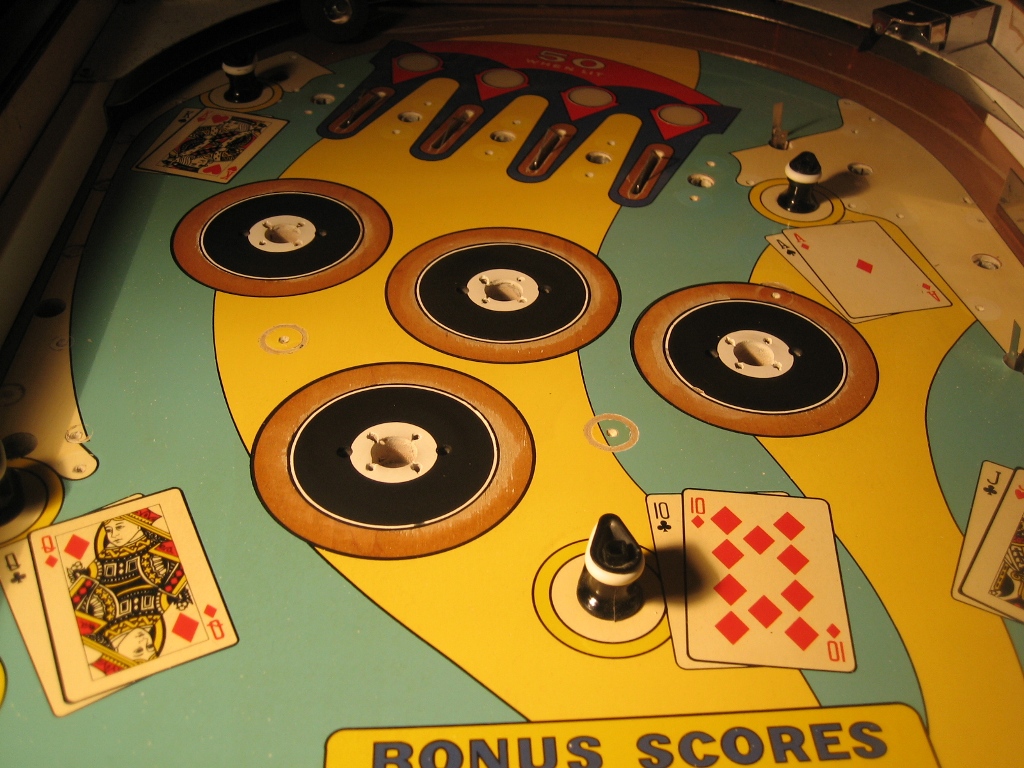
I sanded the areas that were lifting. In hindsight, I should have sanded it all back to wood, but I kept going with the areas that lifted. I did a thin primer application to wood and used a brush to add the paint. I sanded the white areas as flat as I could. I reapplied the stencils and painted a thin coat of black, then worked in a couple of thicker coats. I left the paint dry for 5 minutes and then pulled up the stencils. Much better results except on area on one bumper - the far right.


The problem is on this bumper - but I'm not too concerned. I'll remove the white area with a scalpul and refill with white paint with a brush ( I think ! )

Looks HEAPS better. When it is dry, I will clearcoat the bumpers (Gav made masks for that as well) and finally apply mylar. Not only will it look good, but it will stay that way !

Next update will be the application of the clearcoat.