Hey guys,
I wanted to share the start to finish process of a Bally KISS restoration we have recently completed at the shop.
Similar to my last posts, i wont go into extreme detail to keep the post as neat and organised as possible.
So, with that in mind...here we go :-)
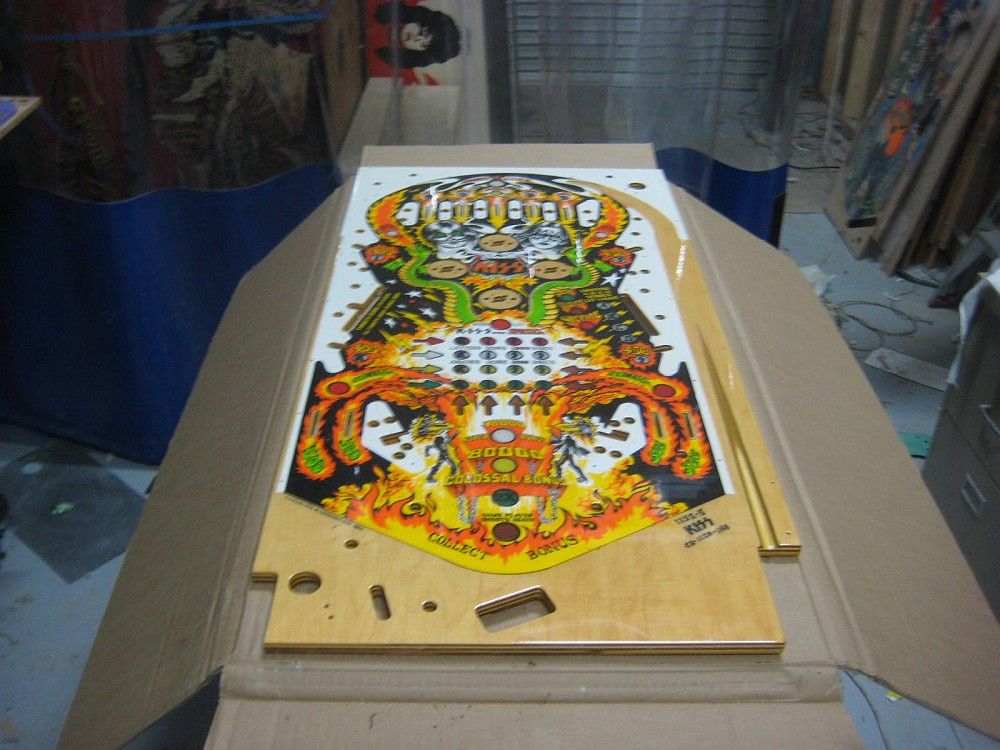
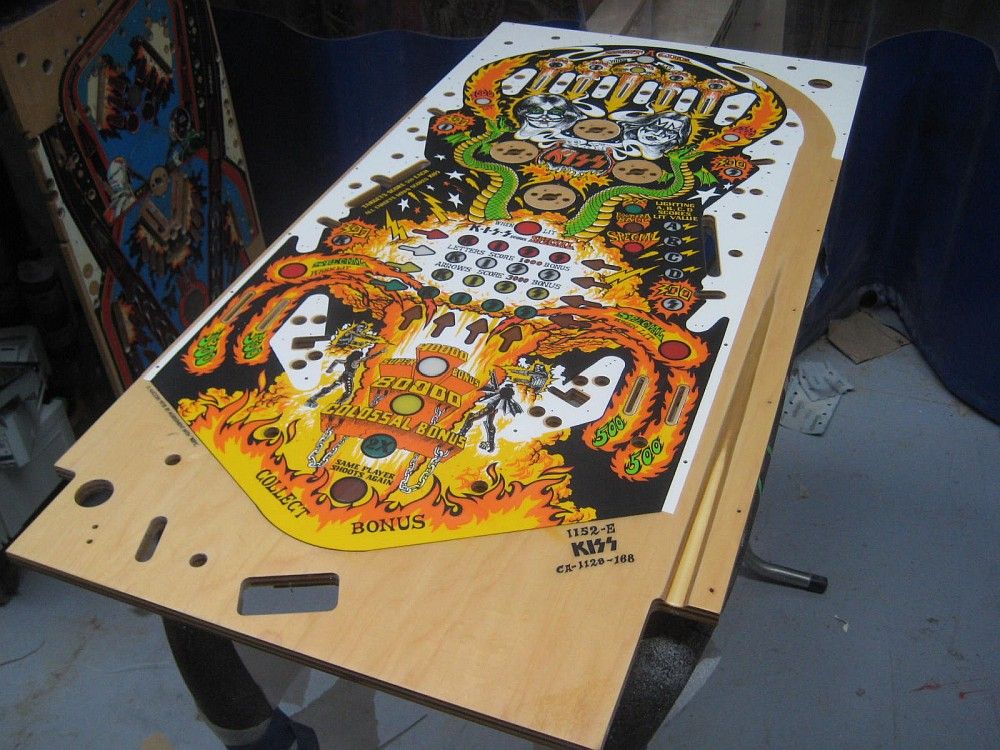
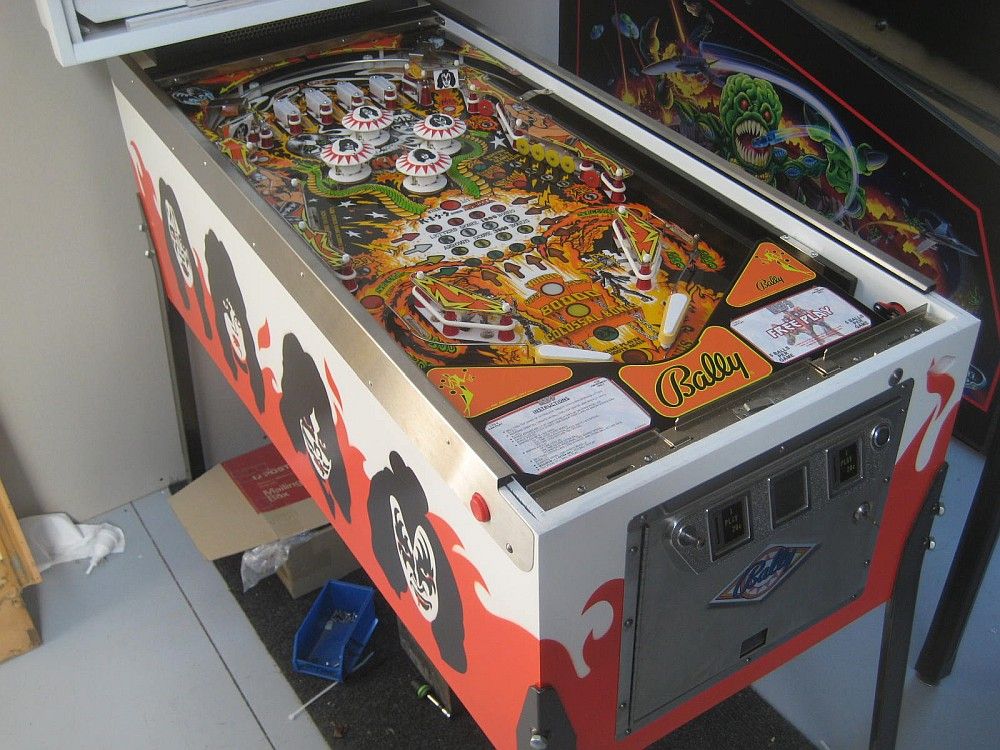
The project came to the shop supplied with a reproduction playfield. I would say that this is pretty much a
prerequisite when tackling a game like this. The hours involved to truly get the original playfield to
present/hold up in a similar way to the repro would just not be a viable option for the client.
As received...
As with many products that are produced on a large scale, where the pricing/affordability is a key factor
- there are usually minor flaws evident if you look closely enough.
With this playfield, the flaw was that there was just so much clear applied that the artwork looked like it
was 'deep' under the surface of the paint. I really dont like that look for any of the restorations we
complete, and i certainly didn't like the look of it when i considered the era of the game it was being used
for.
The following photos try to highlight just how much clear was built up on the playfield and the sink back
that results in the vertical lines appearing all over the playfield...
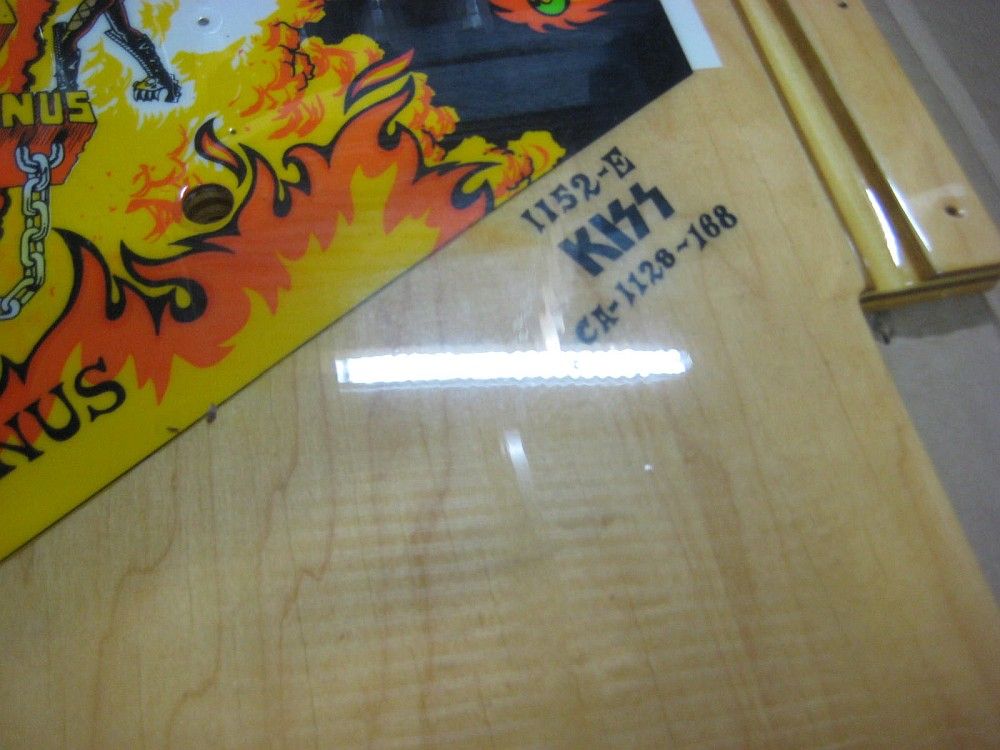
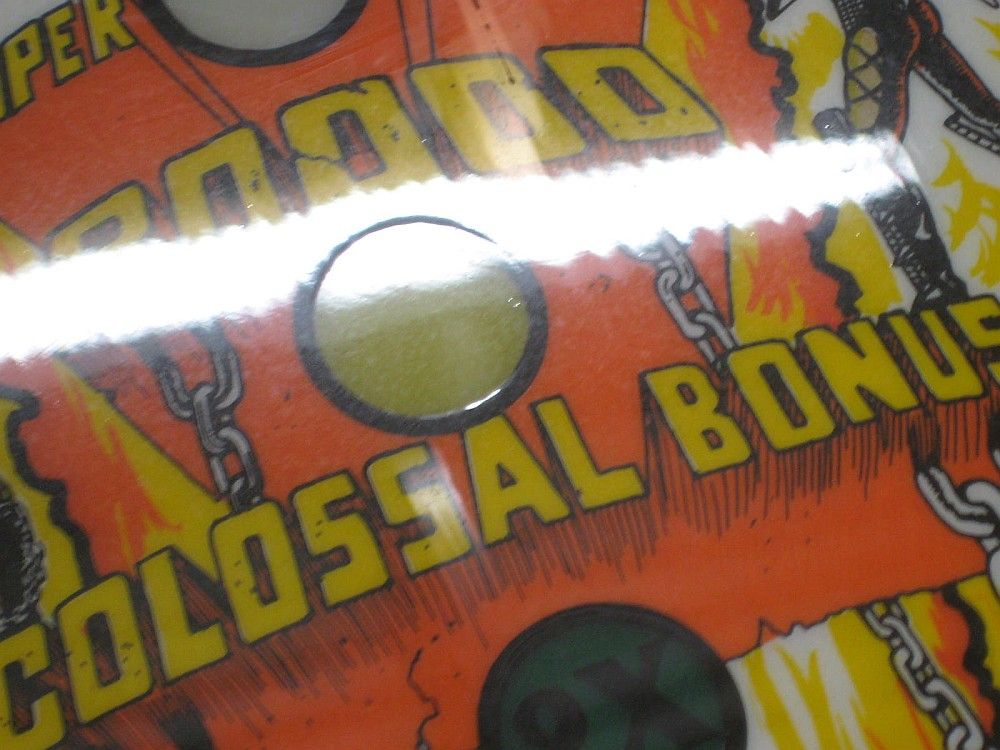
very noticeable toward the middle of the playfield...
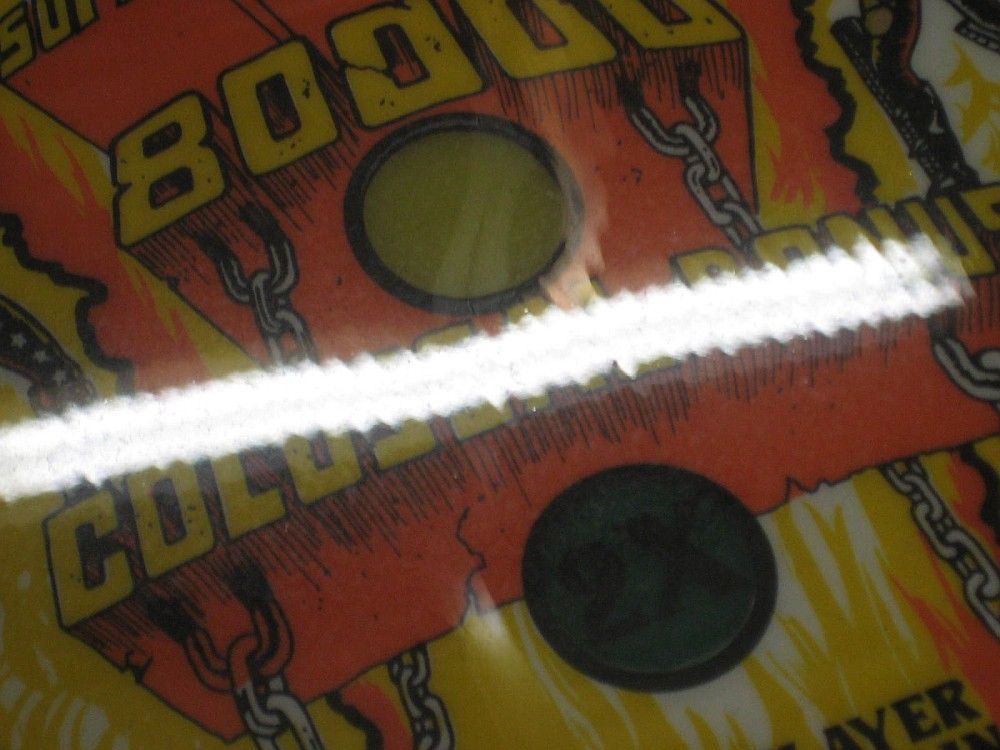
and around the inserts...
First thing to do was to remove a large majority of the factory finish and clean out/open up the pilot
holes as they were gummed up with the factory clear...
There were also some very minor errors with the art. Many that would rarely be noticed. The
most obvious was the white covering the top in lane switch cutouts. These should be timber in appearance
like the others, so care was taken to refinish this correctly...
blurry photo sorry...
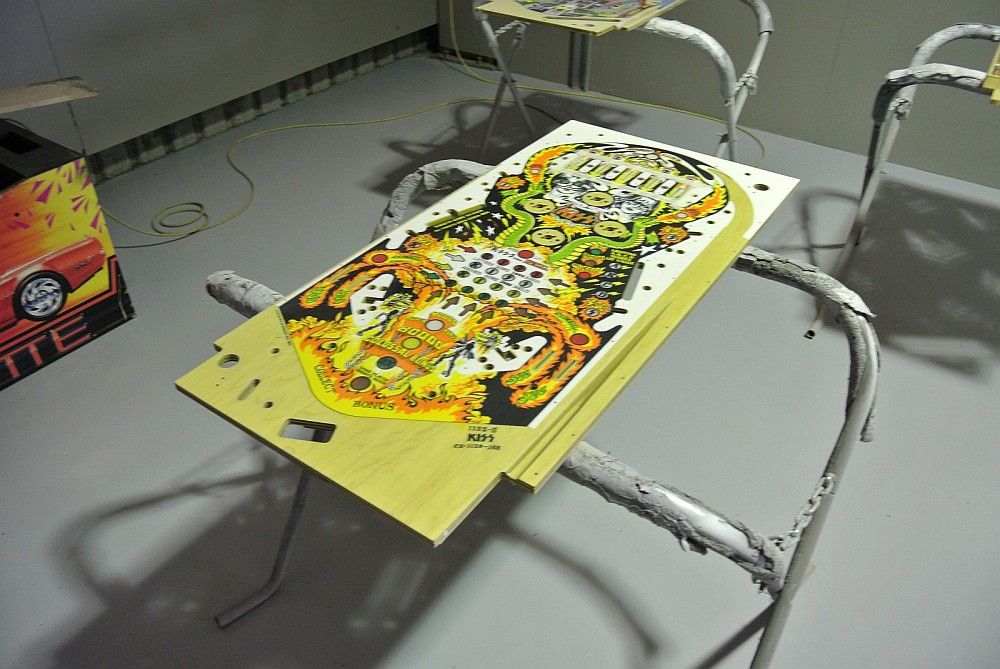
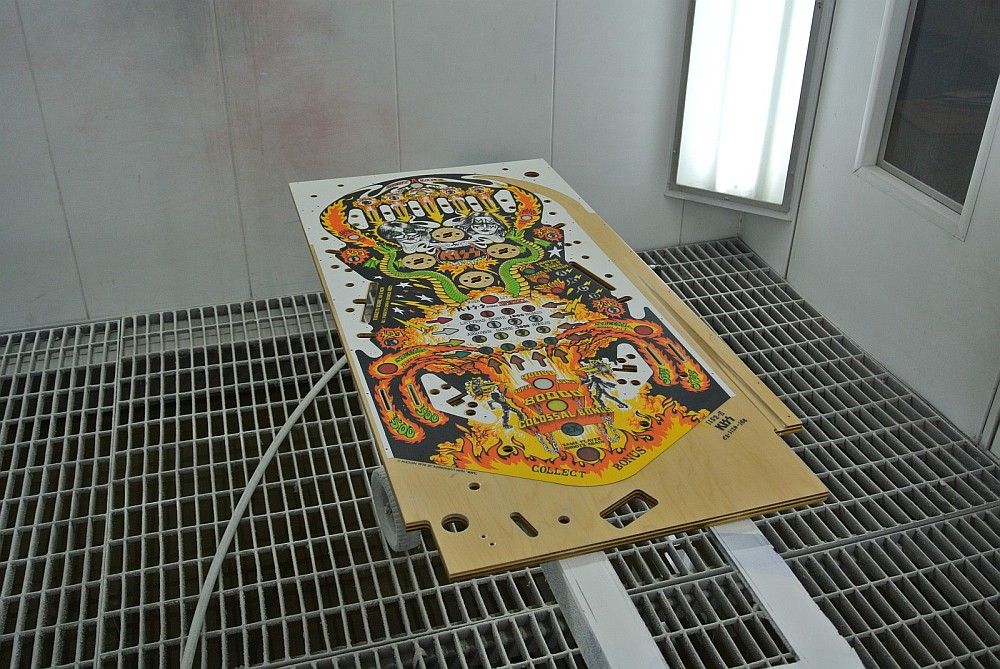
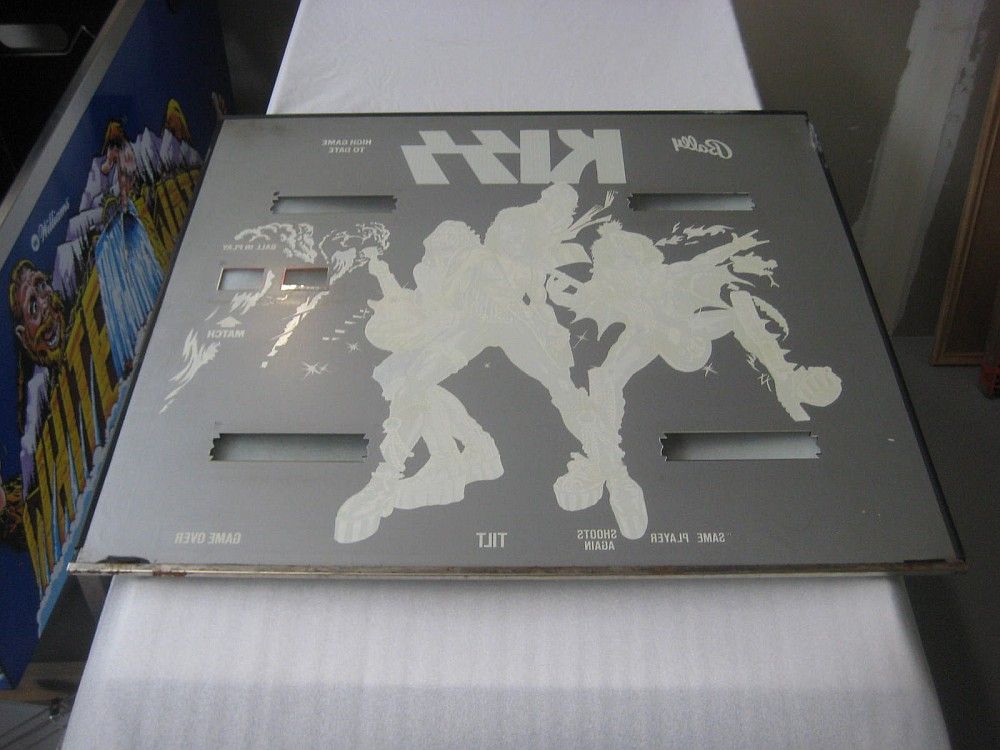
With the corrections made it was time to refinish the playfield with a more suitable application of
clear...
The underside was also finished in grey so as to present the same way the original did...

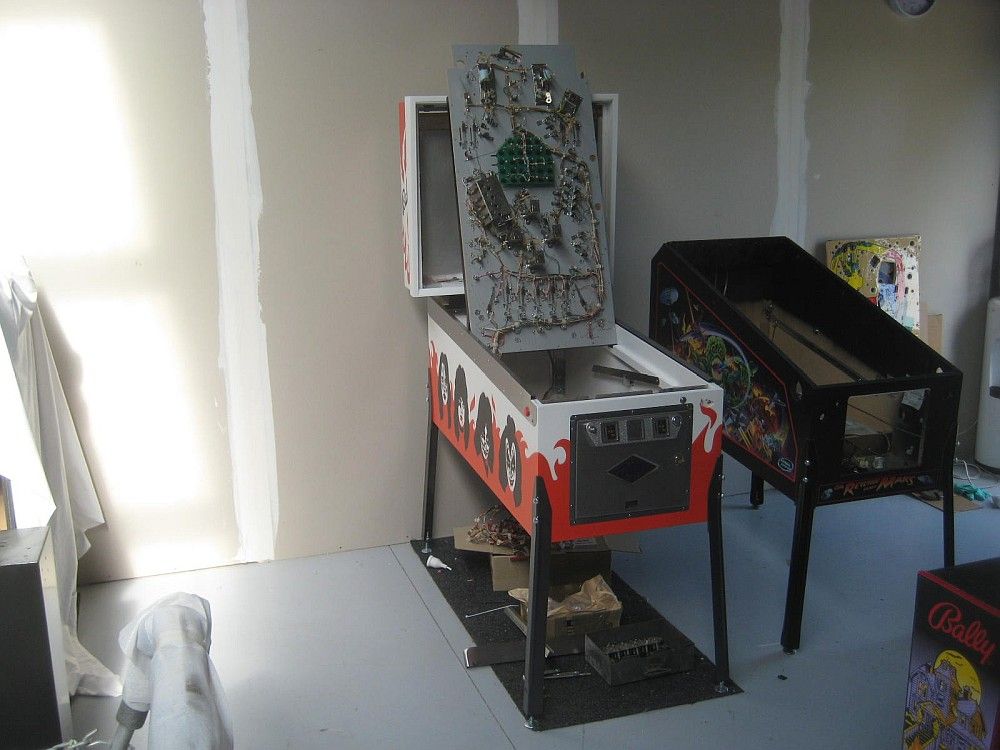
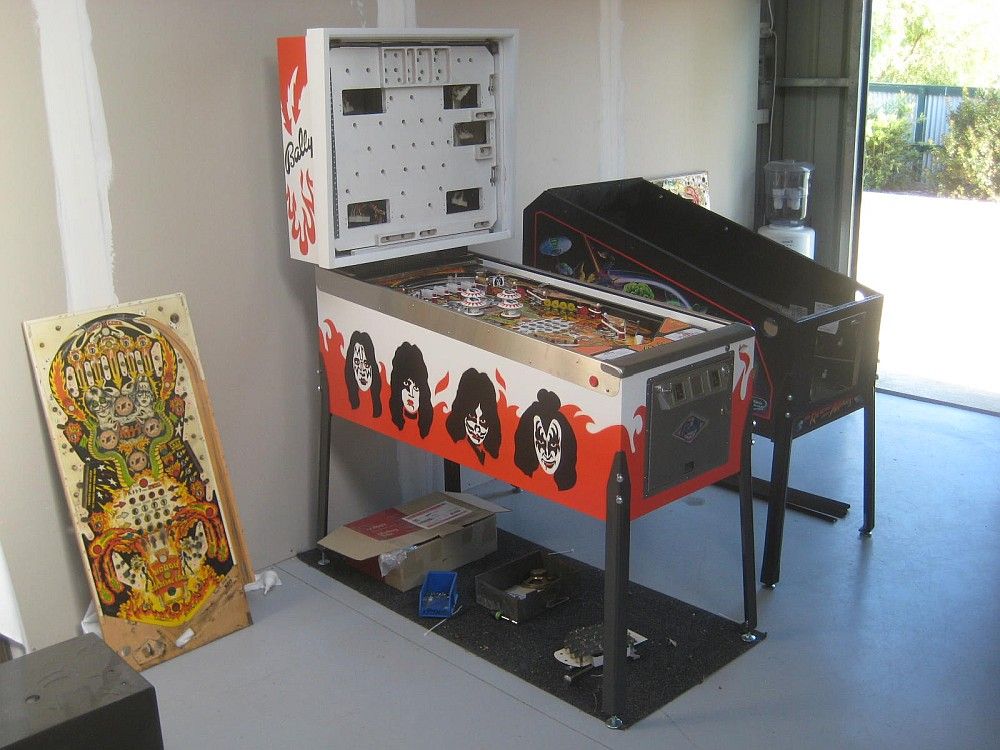
With the reproduction playfield now somewhat ready, the base KISS unit was moved out and setup for
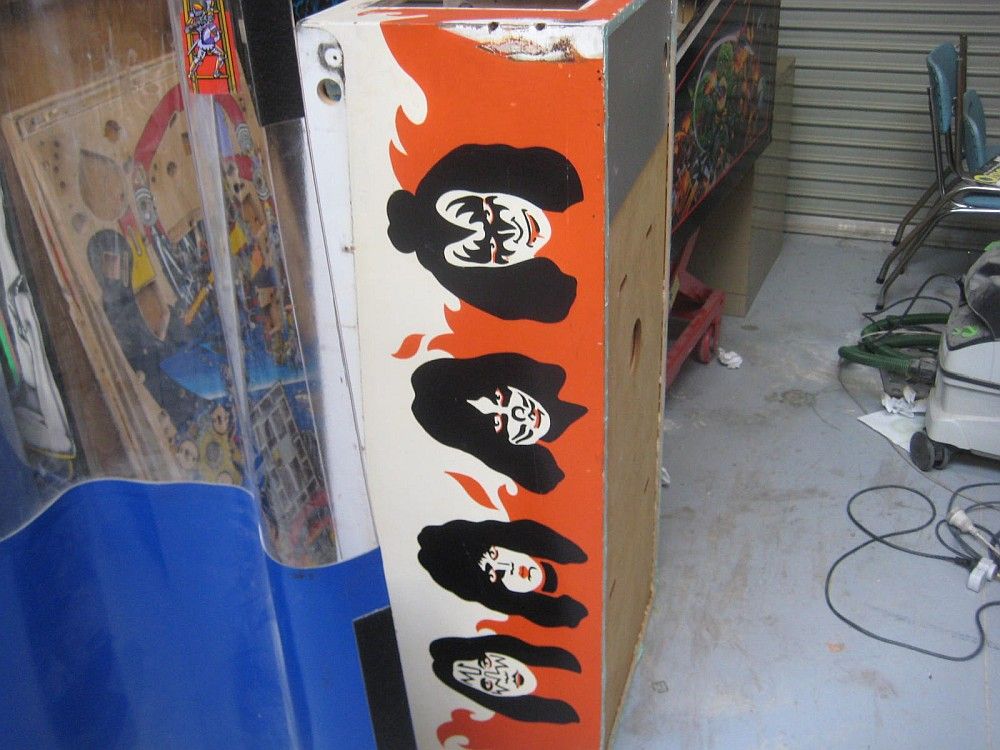
evaluation. As received...
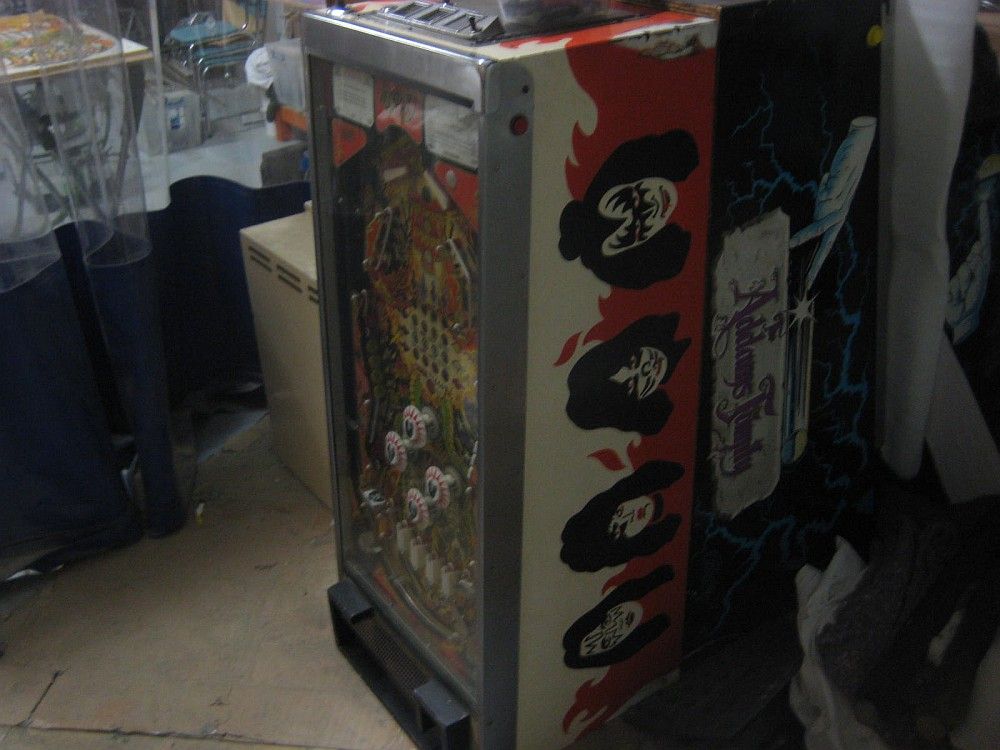
Up on legs...
As you can see it has been repainted at some point in its life and was generally very tired...
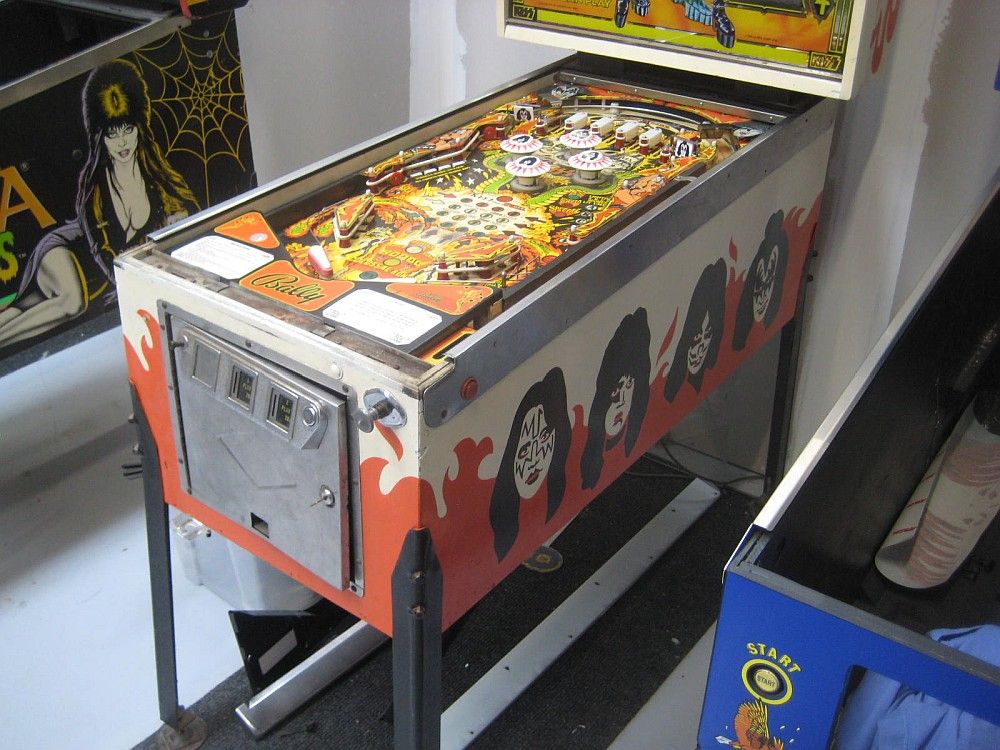
Backbox overview...
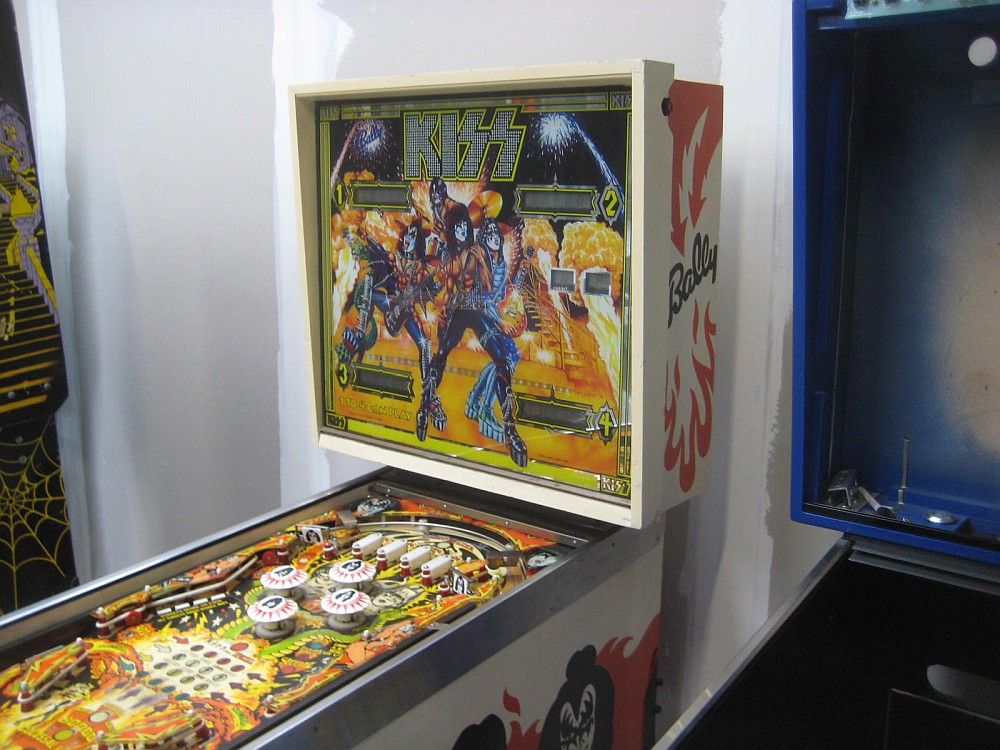
Backglass was quite good considering the rest of the game...
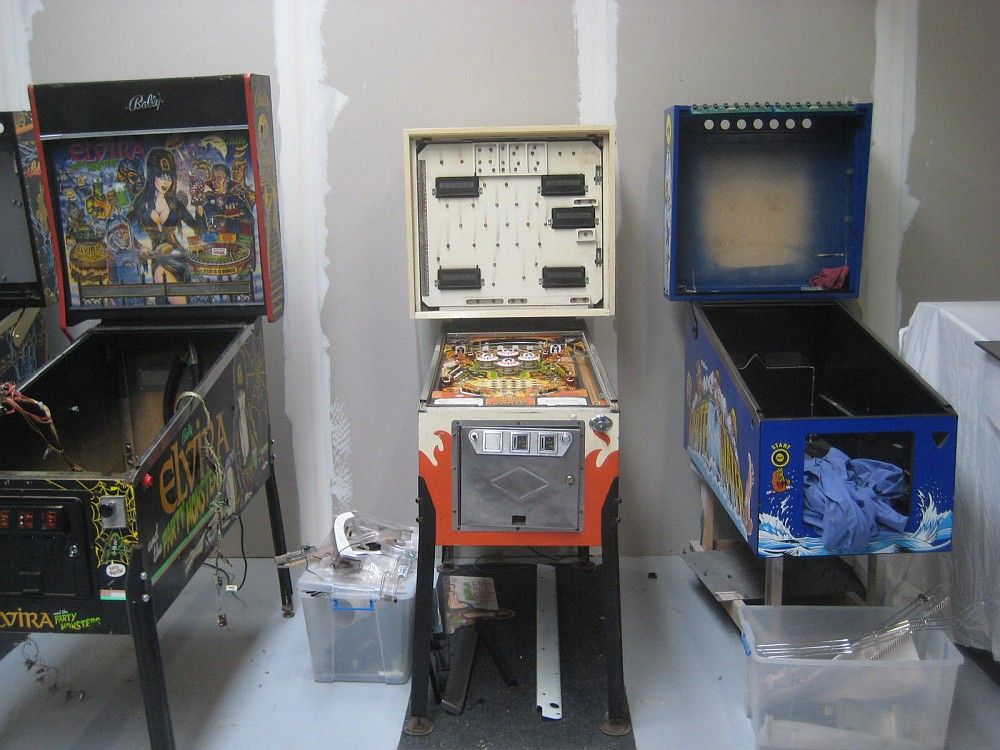
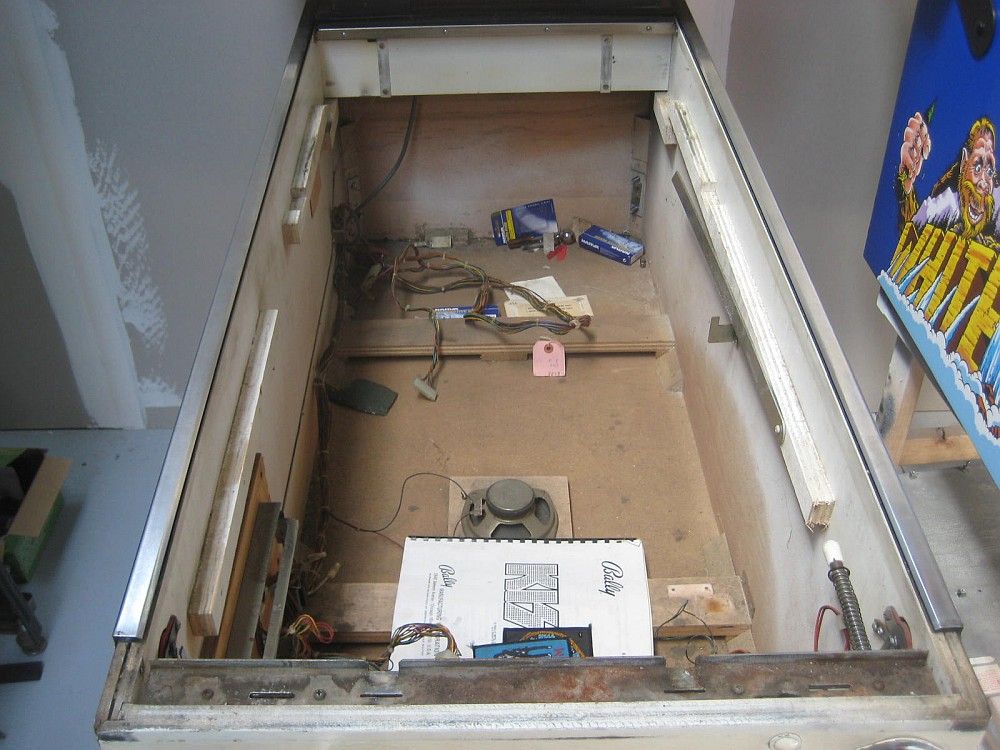
With the game documented, it was torn down to various stages and moved into the next stage of the process.
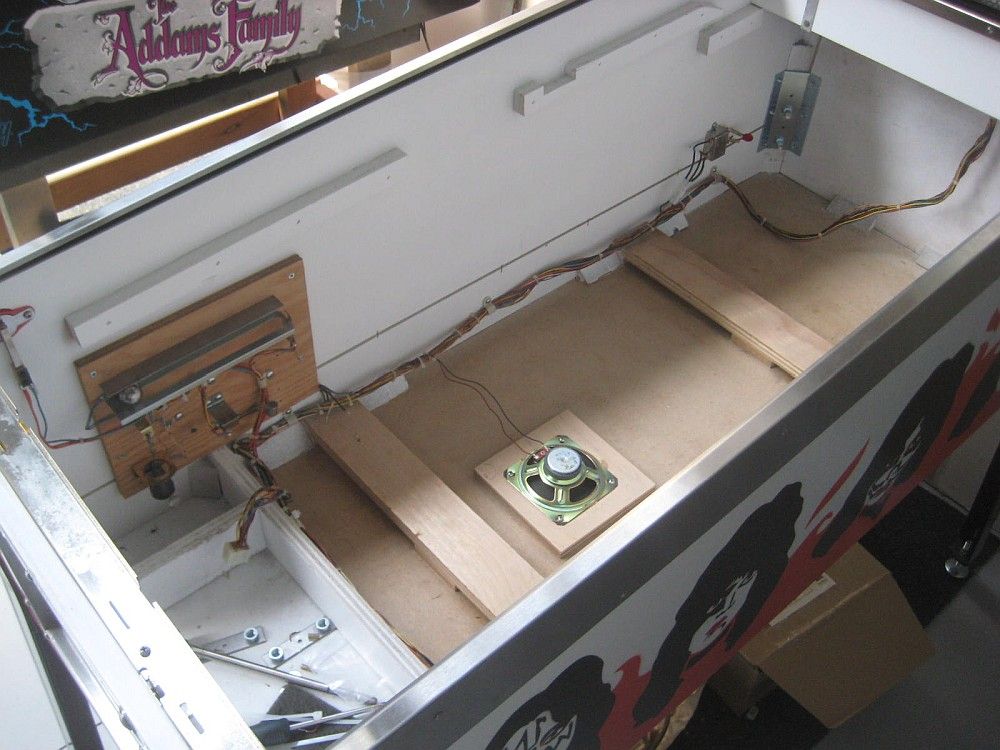
Playfield out, inside the cabinet. It was cool finding some old KISS patches and other goodies hiding right
up the back of the game...
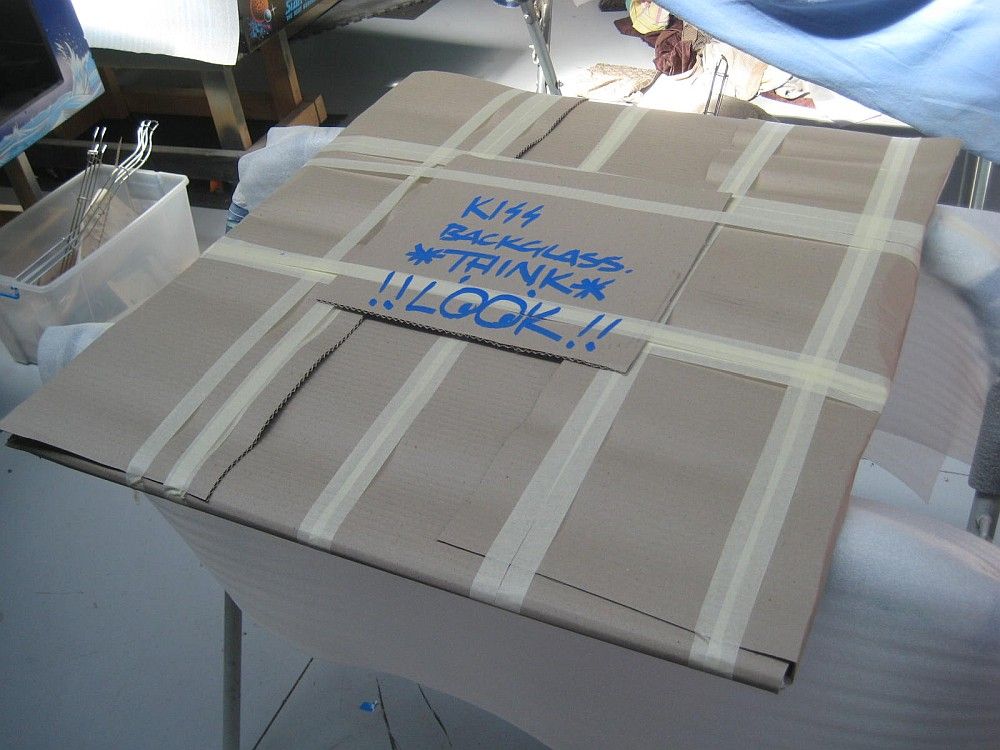
Backglass was well wrapped and set aside, labelled too...
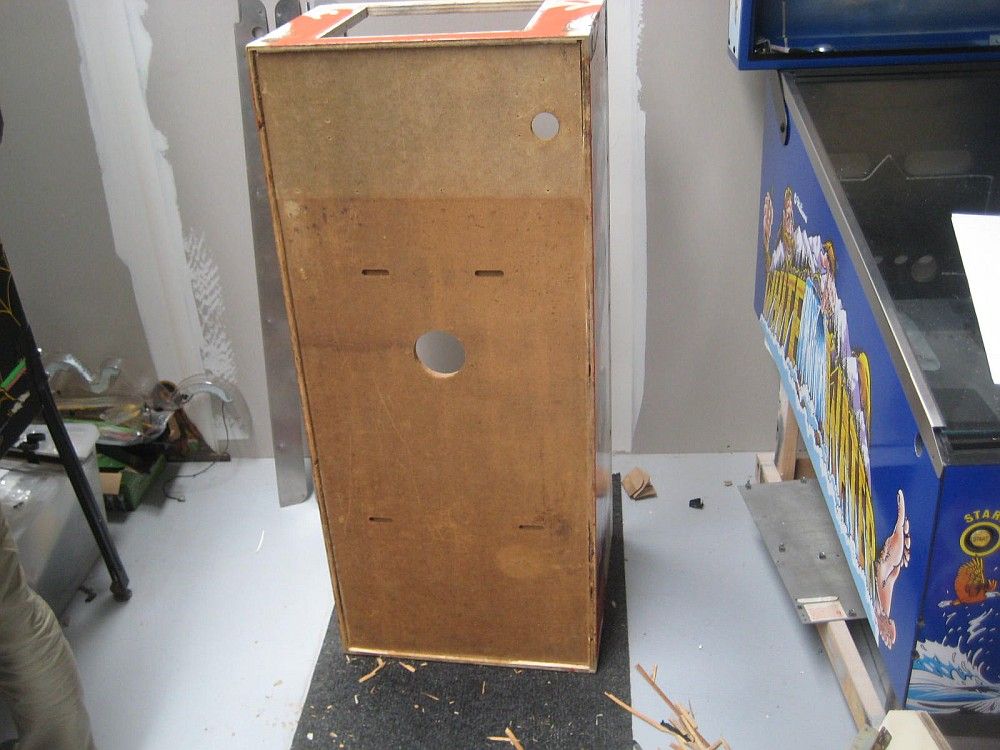
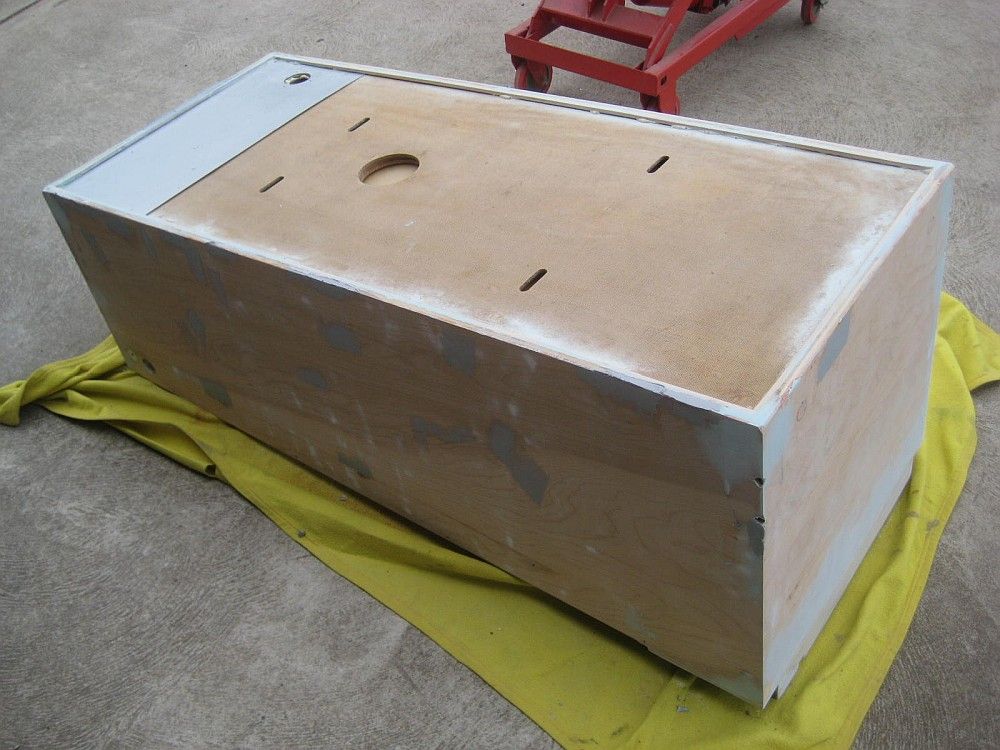
Fast forward a little here is the game ready to be broken up into various pieces...
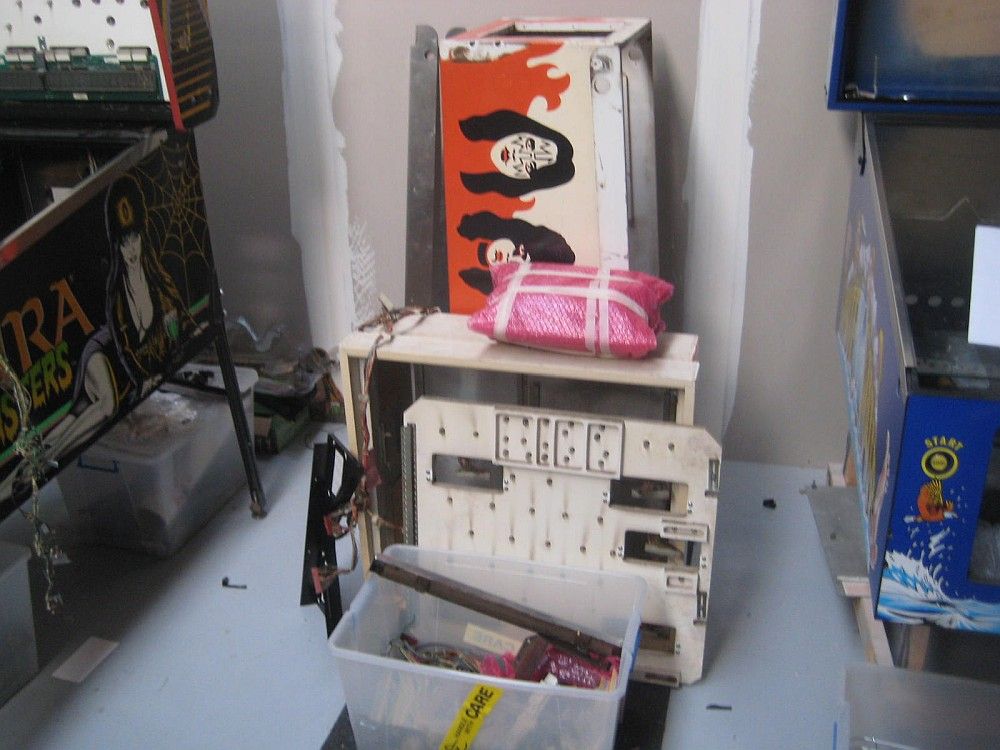
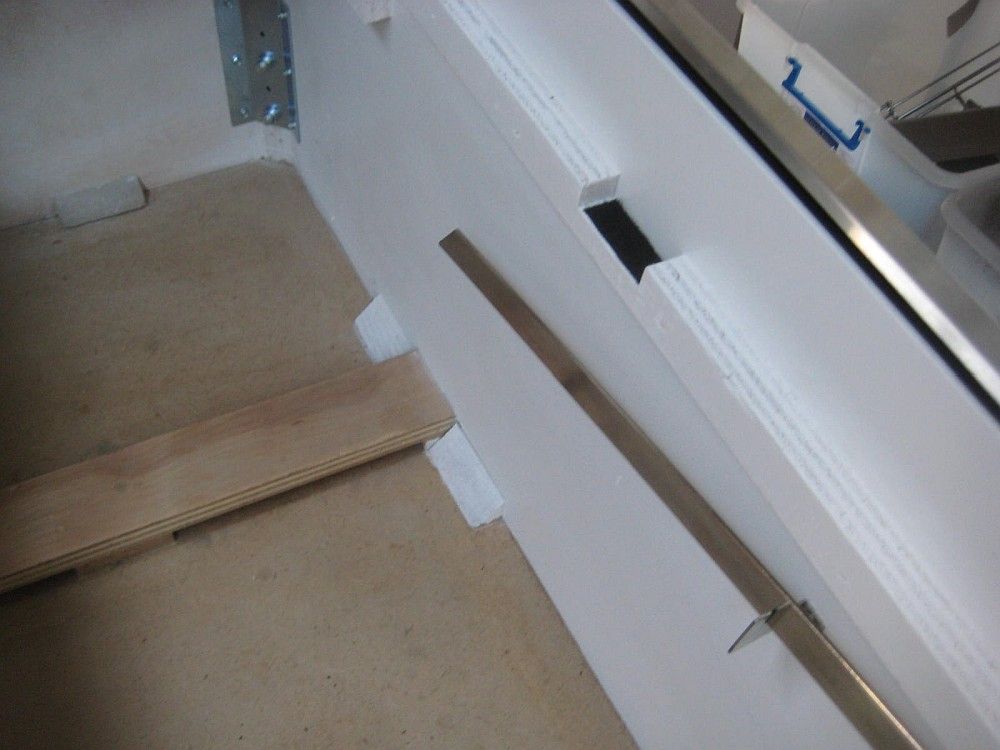
The floor was nailed and screwed in place, i reversed all of this and re-beaded the ply edge. While this
works, and is much stronger than what was there, a new cabinet; particularly the lower cabinet would've
been a nicer option for my client...next time ;-)
Getting the cabinet moved along here, i also made a new steel base to protect the coin box? - the old was
trashed...
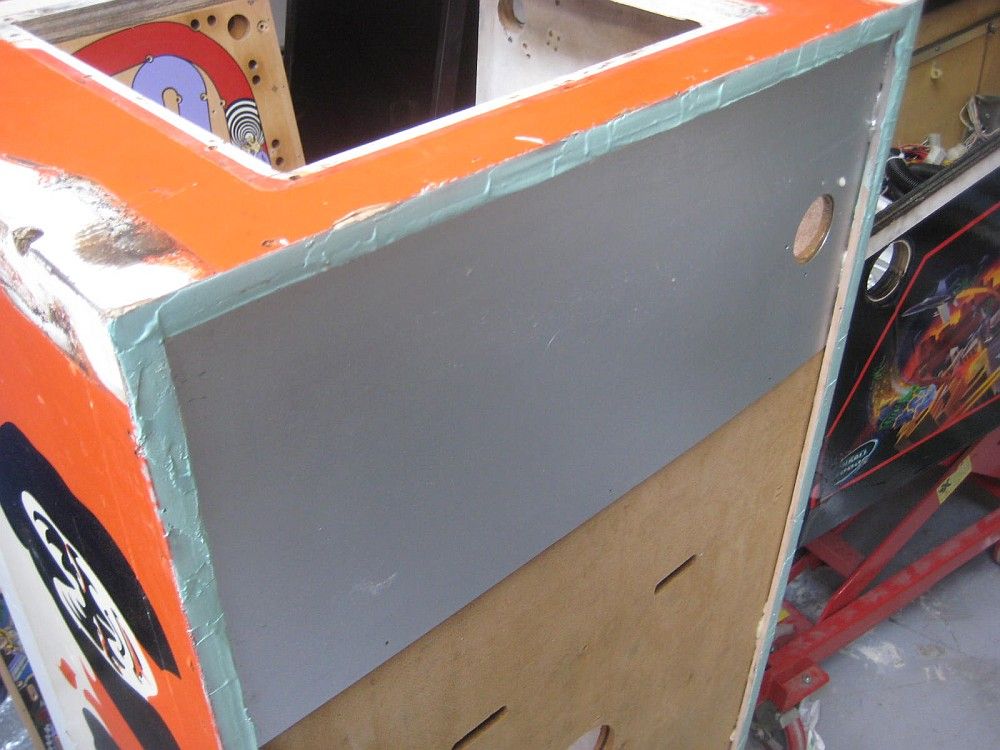
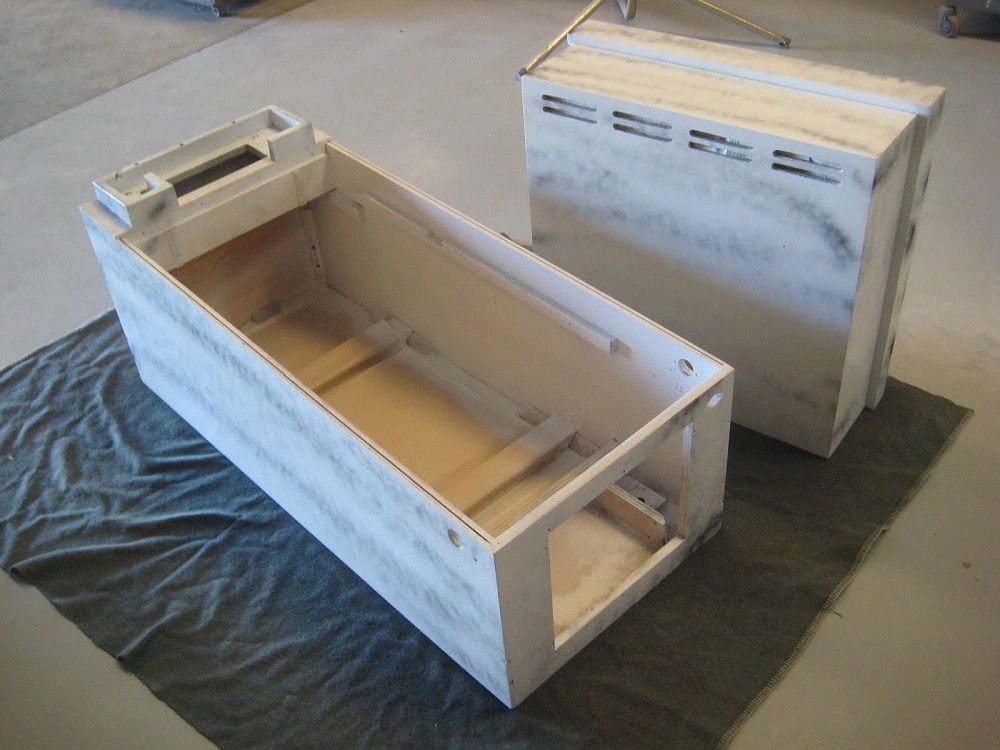
Getting ready to strip the old finish and see whats lurking under there...
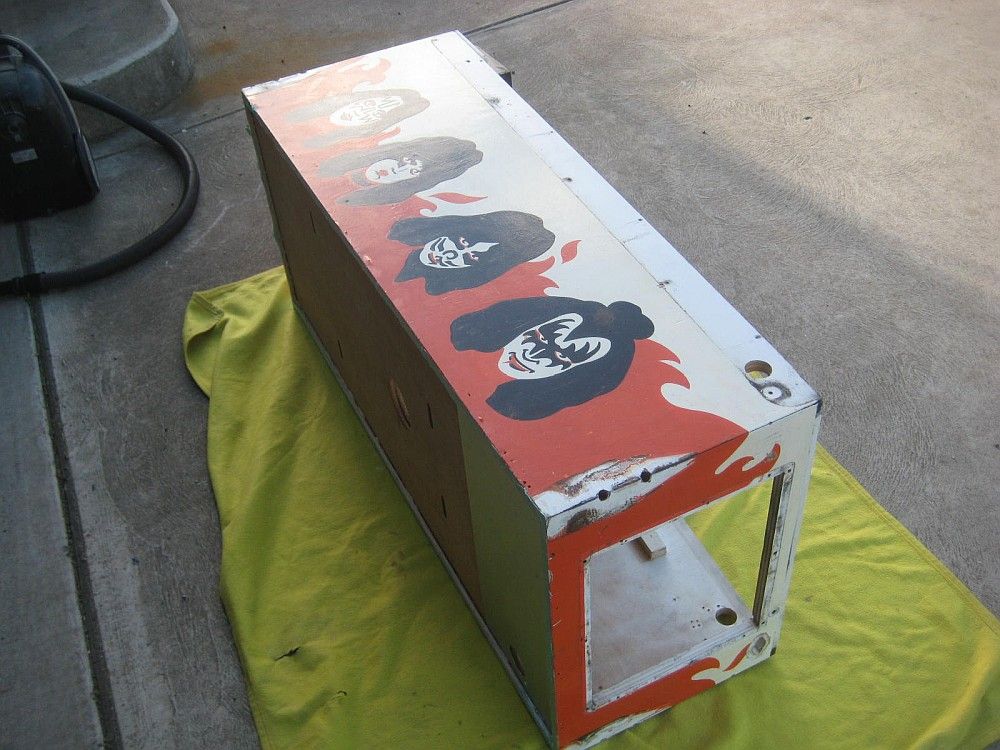
Catching the major damage before getting the corners etc...
Getting closer to completion now. The backbox received the same treatment of course...
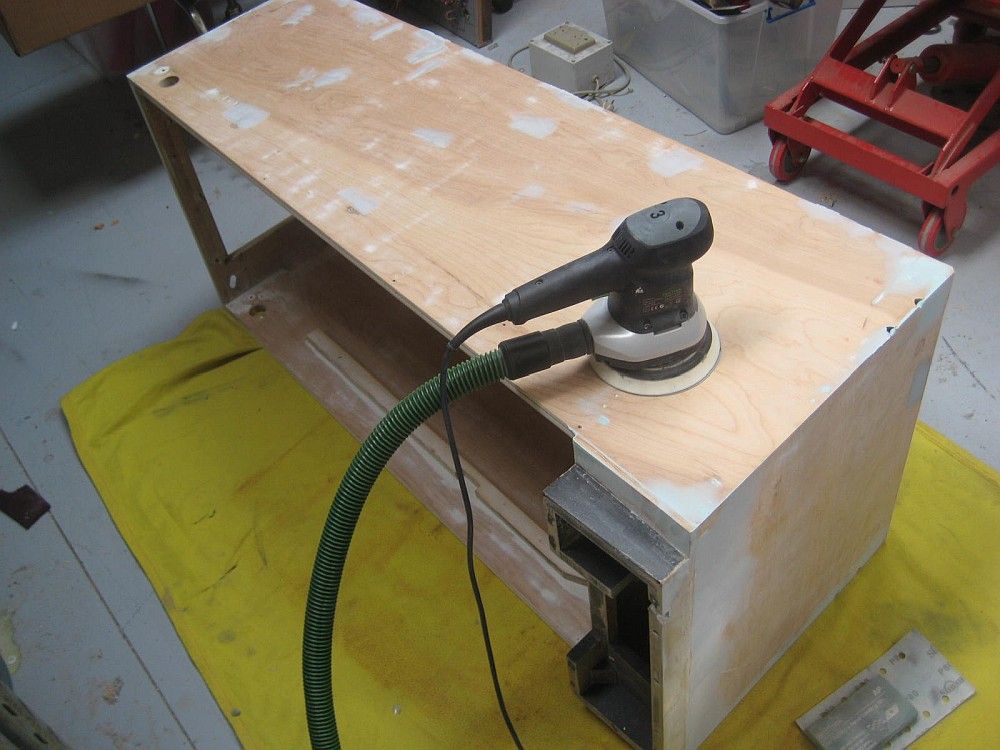
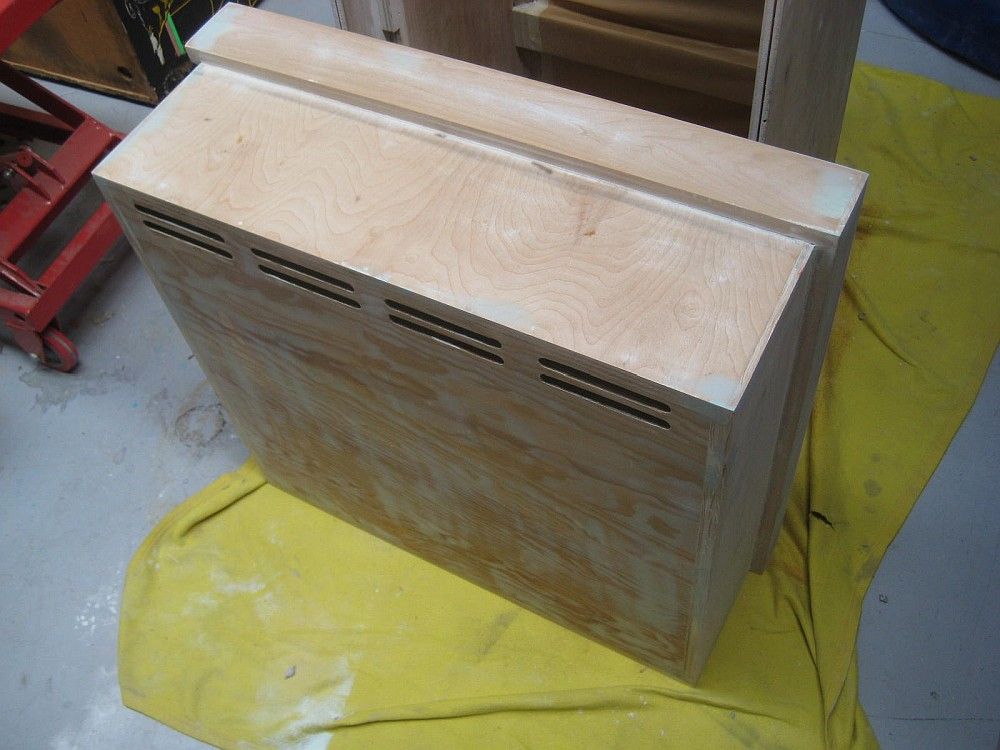
Ready to go...

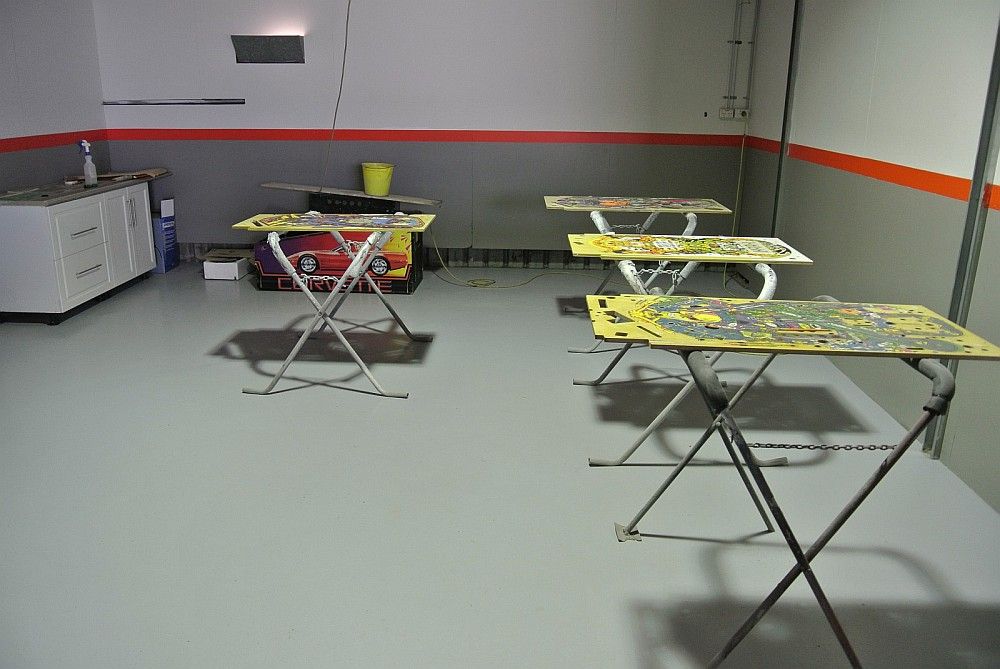
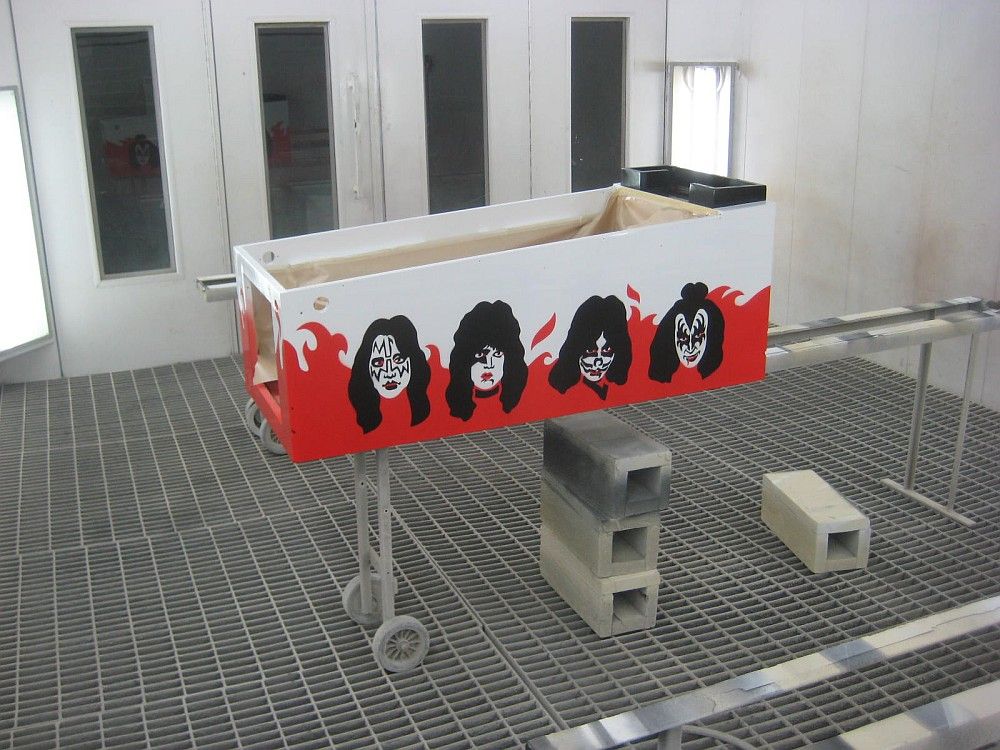
Moved to the paint shop and ready for primer/colour and finish finish...
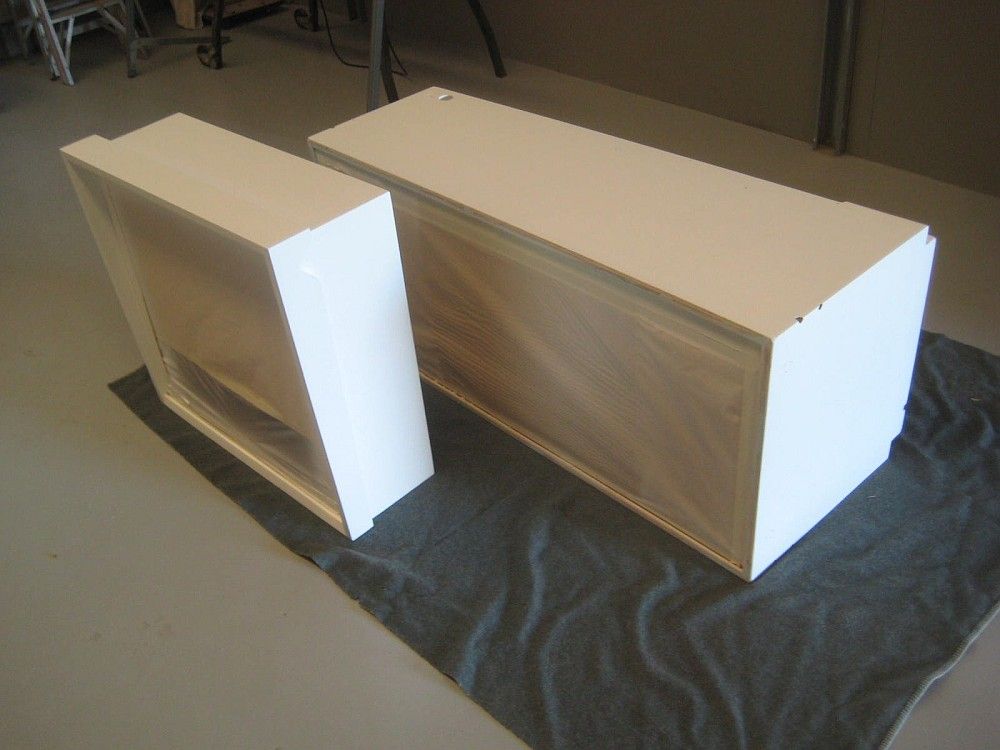
Ready to sand and colour...
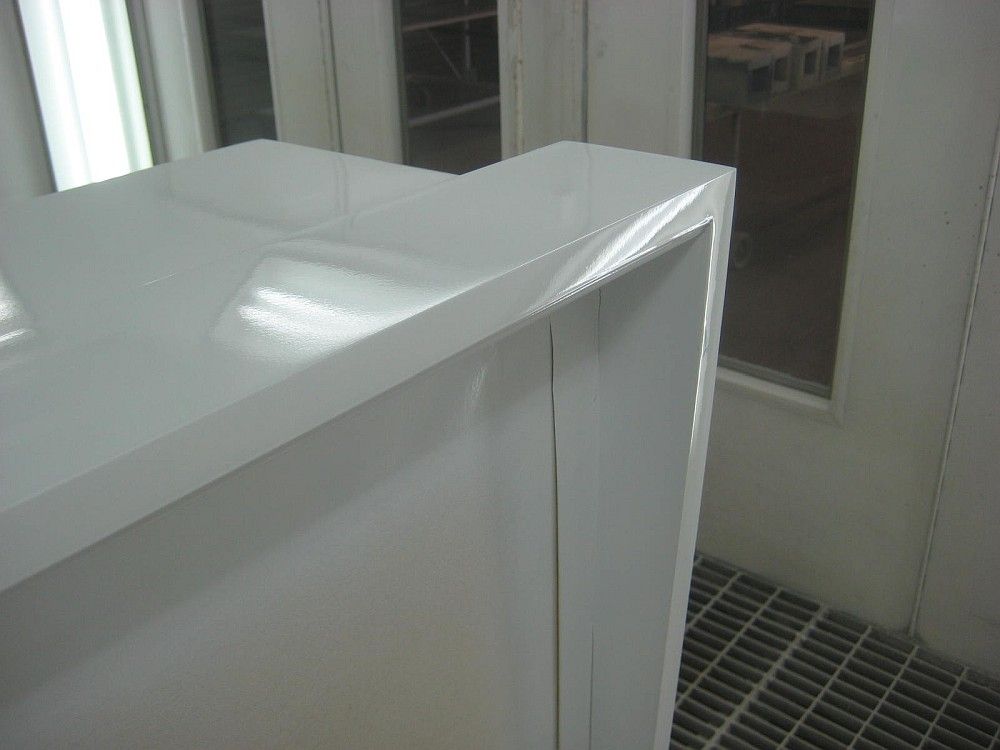
White base down...
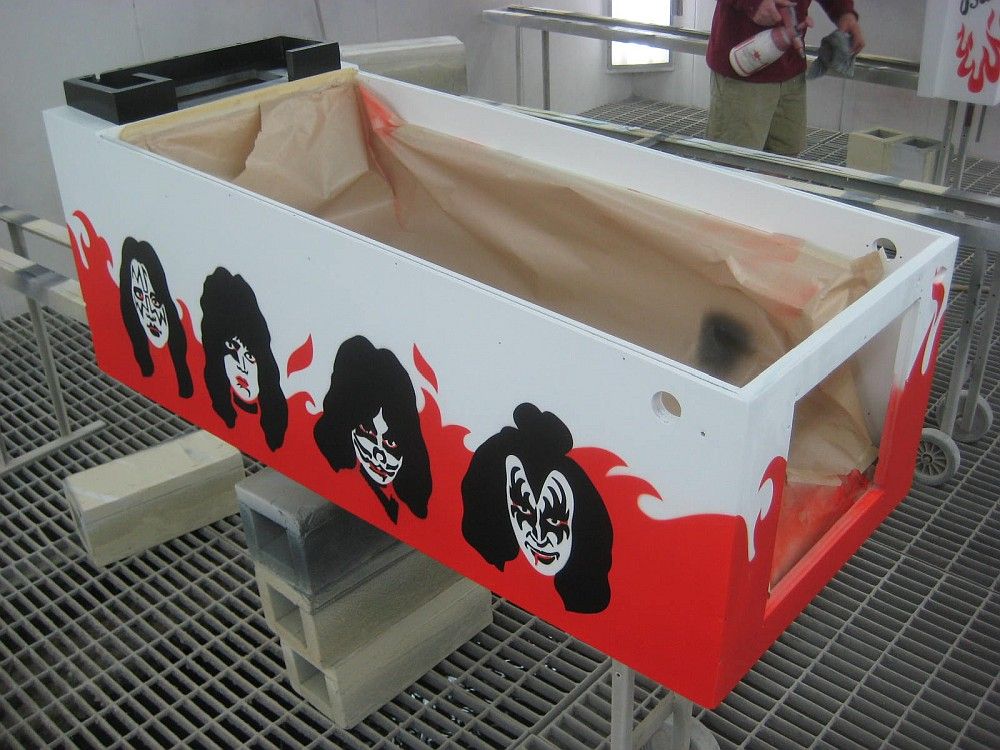
Color applied to the lower...

Other side...
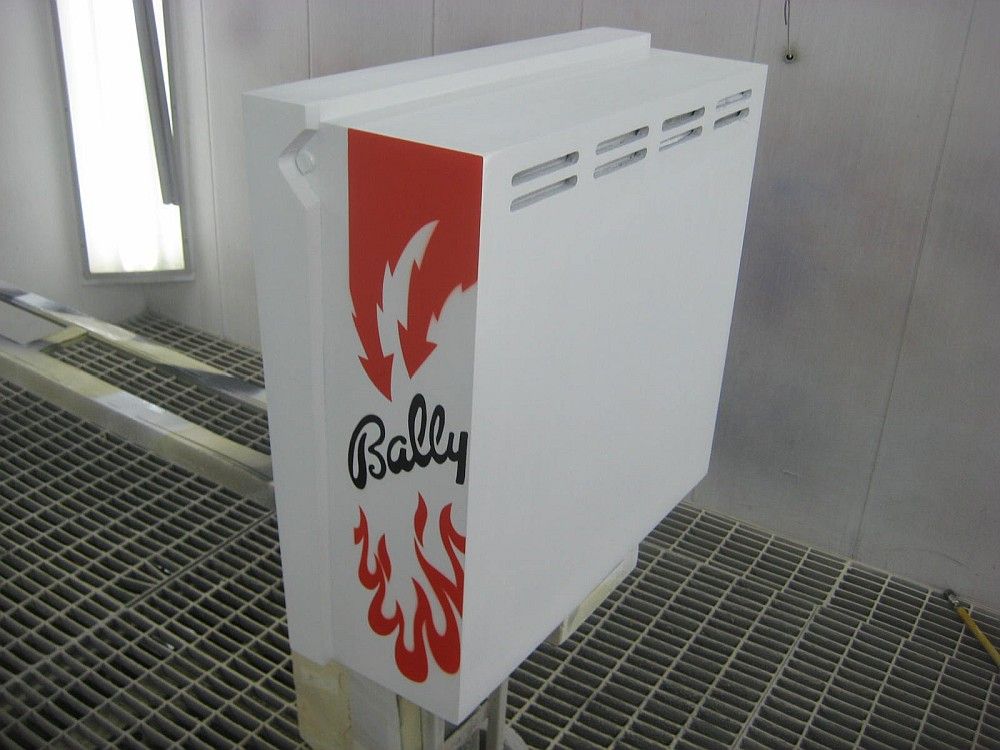
Backbox coloured too...
Colour was locked up with a semi gloss to better suit the factory finish of the game...
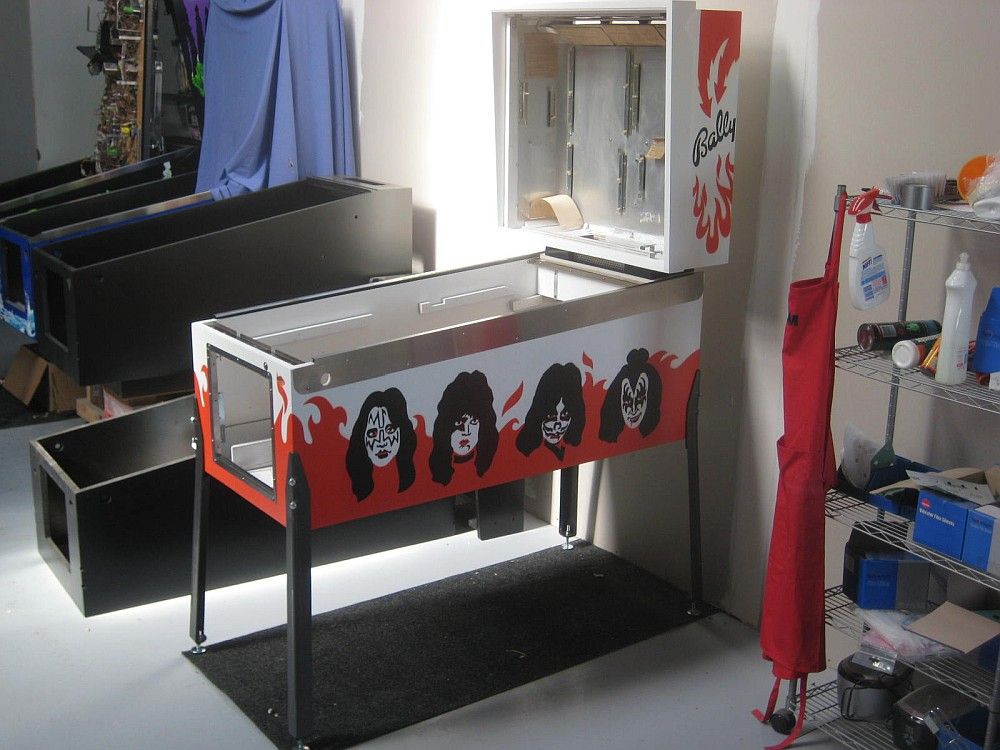
Cabinet back in the shop and is now ready to be rebuilt. Note i had left the original paper work and serial
numbers on the machine as i just couldnt bring myself to tear them off and replace with something I had
made. While mine may be white, and better quality, given the originals had lasted so long i just had to
leave them in place.
I had most of the components already sent out for various finishing while the cabinet was being restored -
and I had ordered many of the parts required before the game was actually torn down...
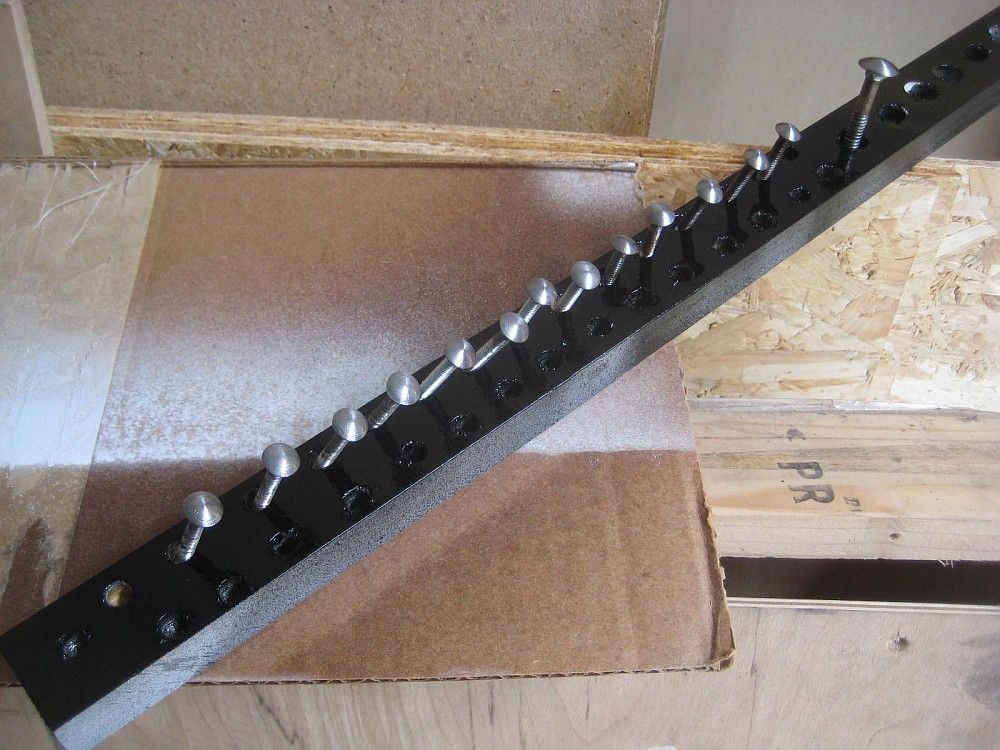
I upgrade the leg plates as the originals are just so tiny and weak. These are a much better option and
will last a lifetime. My direction on this project was basically to upgrade what i deemed important, while
keeping the game looking as original as possible...
I used felt protectors where the playfield was going to come in contact with the cabinet, to help prevent
future wear and tear...
All the bolts and hardware was tumbed and brush finished to tie in with the components they were fastening
(coin door etc)...
The old lamp board was stripped and rebuilt. Again i didnt go overboard filling and sanding what was there,
the board was thoroughly cleaned, prepped and refreshed and rebuild using new sockets and braid.
The old...
Other side for reference...
The new...
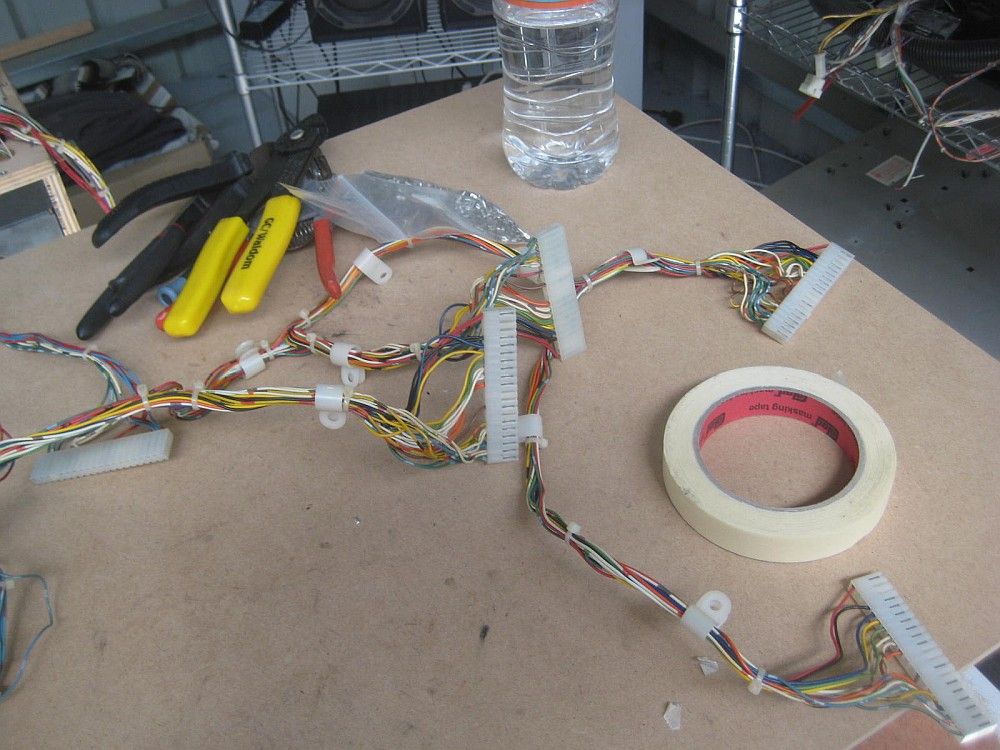
I should note that every connector was repinned for good measure. This photo highlights the corrosion and
grime pretty well. The far left pin has been replaced with a new component, the others are the originals.
Really a no brainer comparitevely. It takes a while but it will save you time down the track when you are
trying to troubleshoot bugs and intermittent faults...

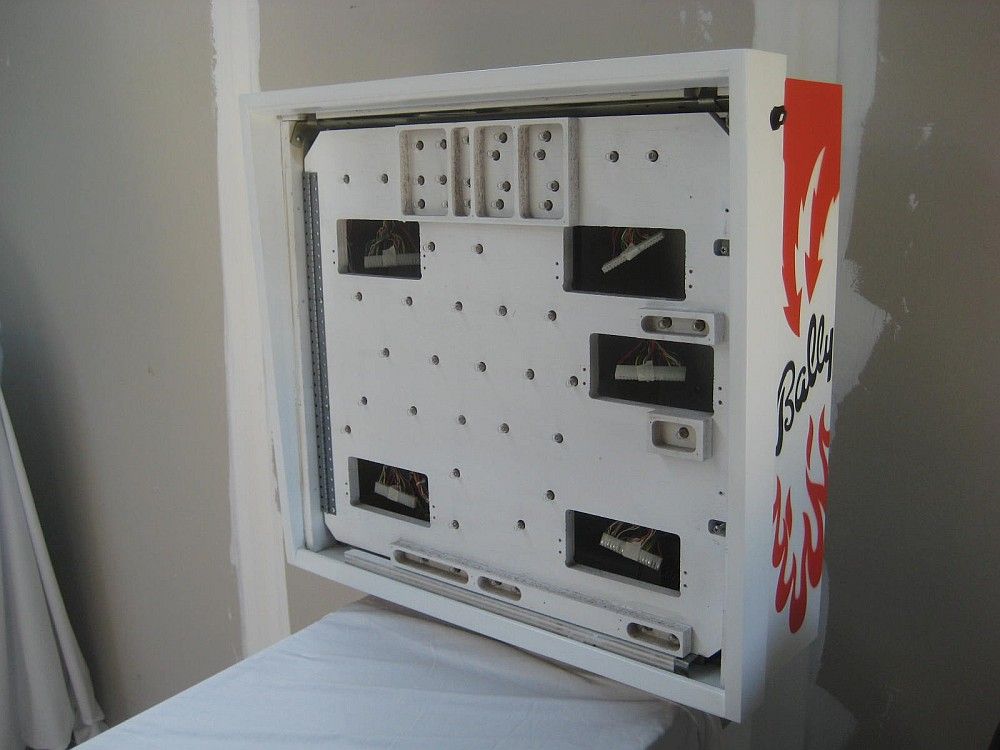
Lamp panel installed in the cabinet...
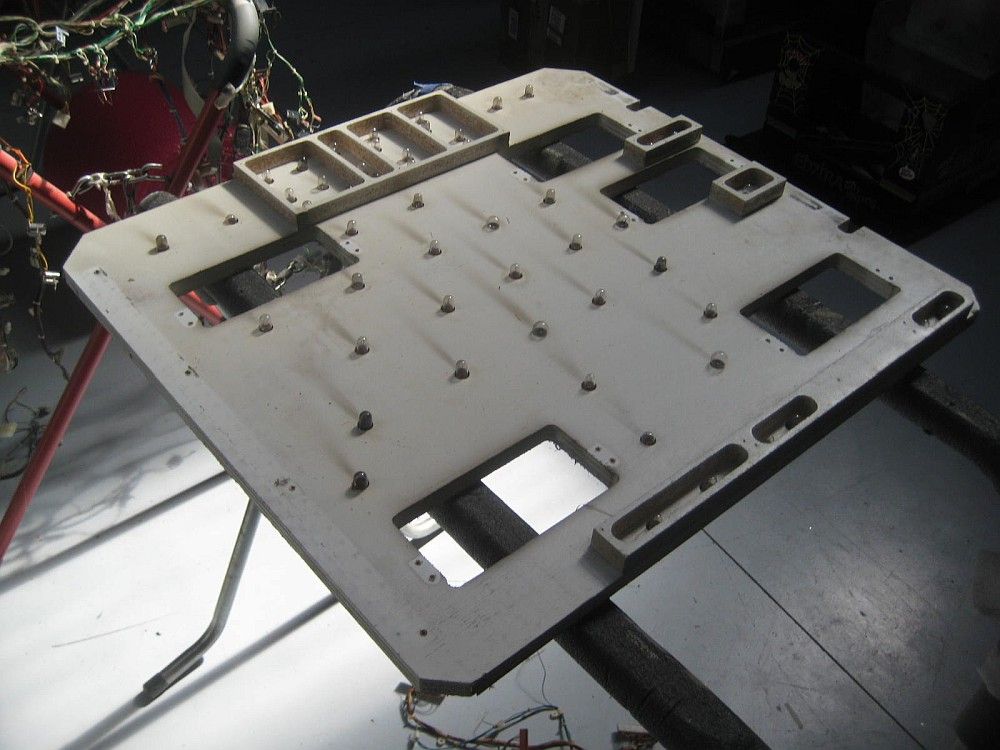
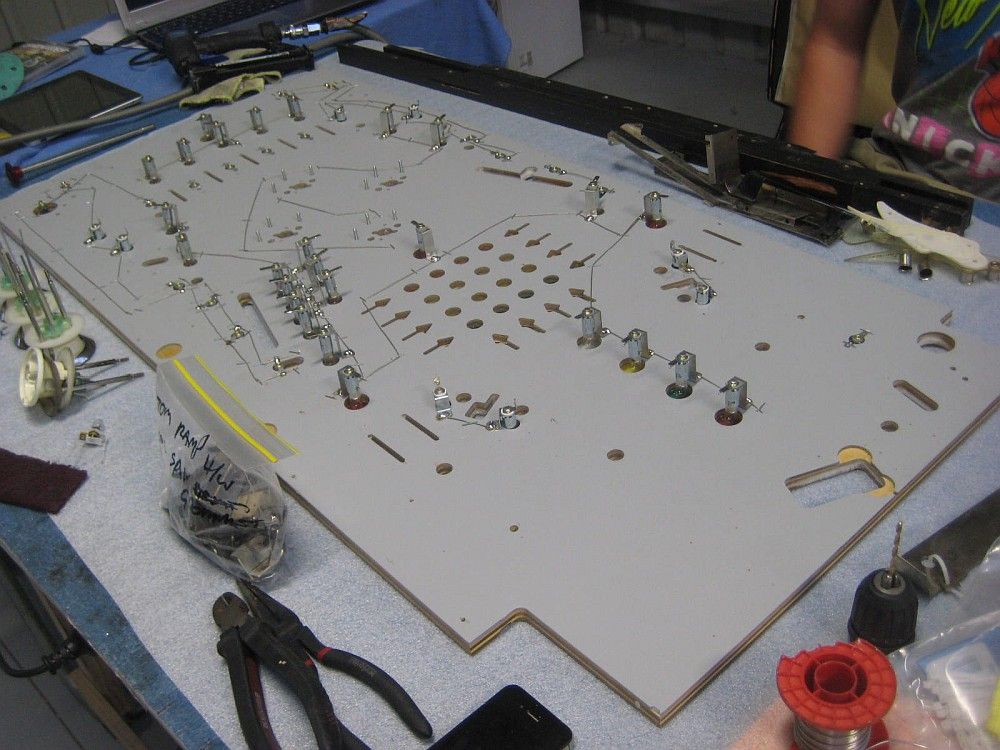
All of the playfield mechanics and assemblies were broken down, and their components polished. I had the
major components nickel plated for a fresh look, that i know will last another lifetime and present well
for years to come...
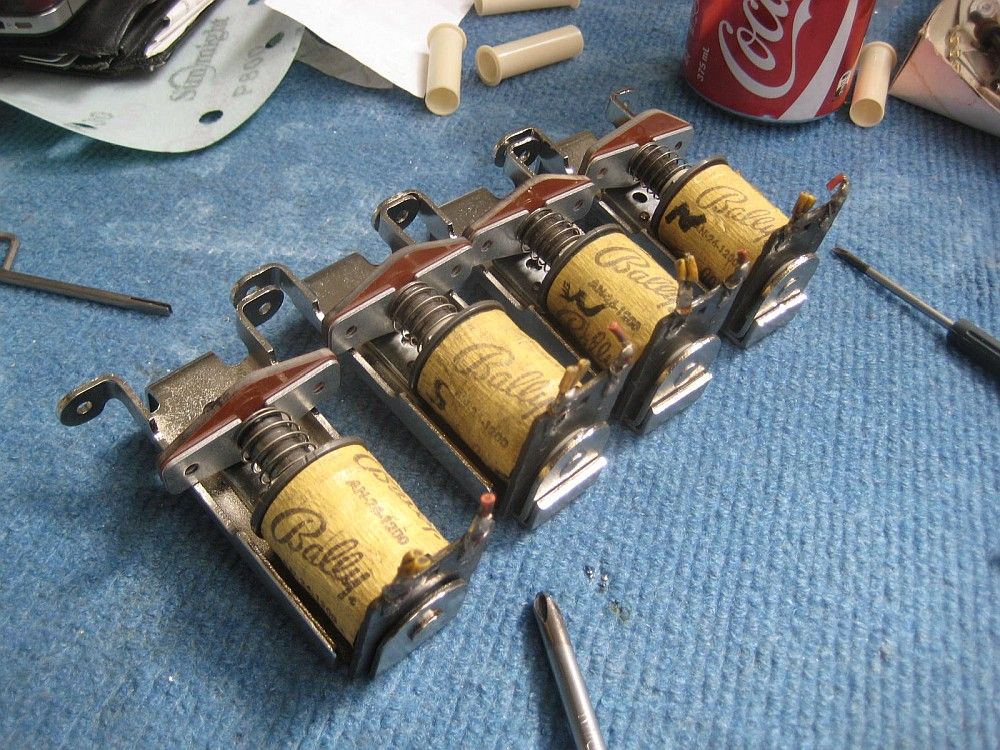
Pops complete too - again i decided to leave the original wrappers on. I cleaned them but i wasn't going to
gain a lot in presentation here. It is a bit of a balancing act with a game of this era. You can easily go
too far and have things starting to look out of place...
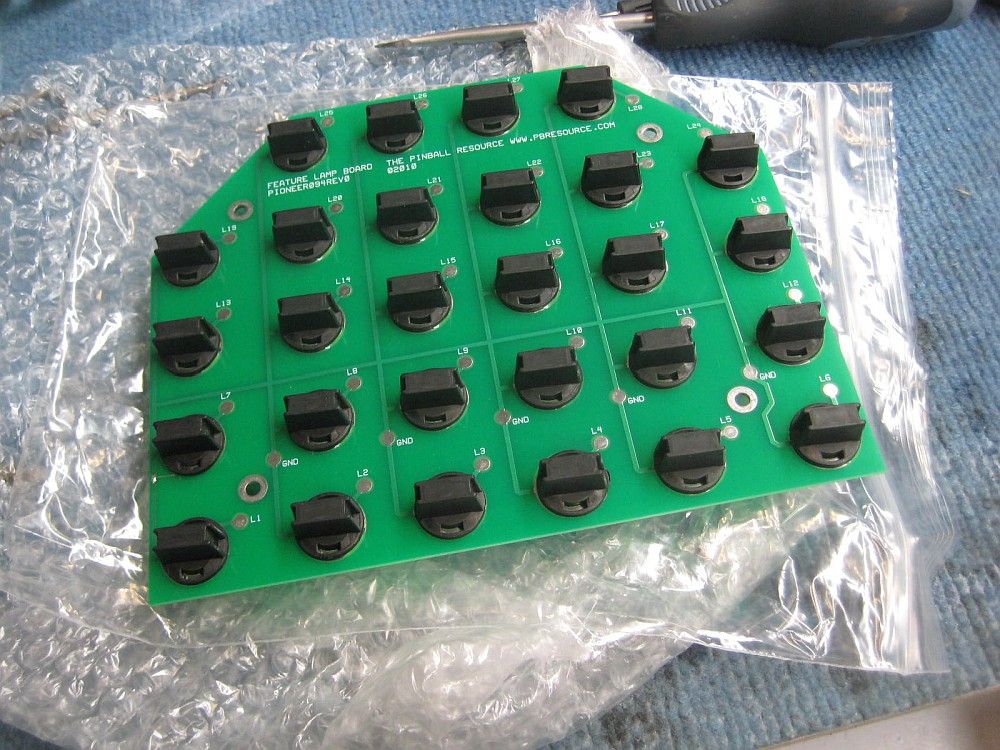
One upgrade was the primary lamp PCB on the playfield. I changed this over to a more modern board for ease
of service and again, hassle free use...
The reproduction playfield has been sitting for a while, so it was sanded and polished and ready to
rebuild...
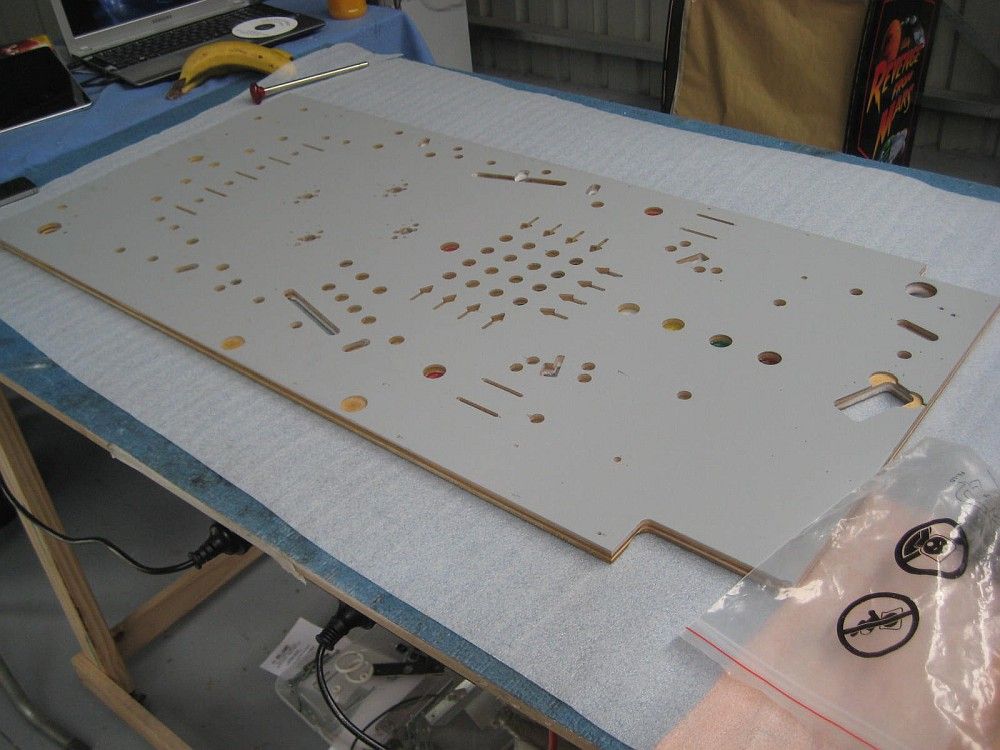
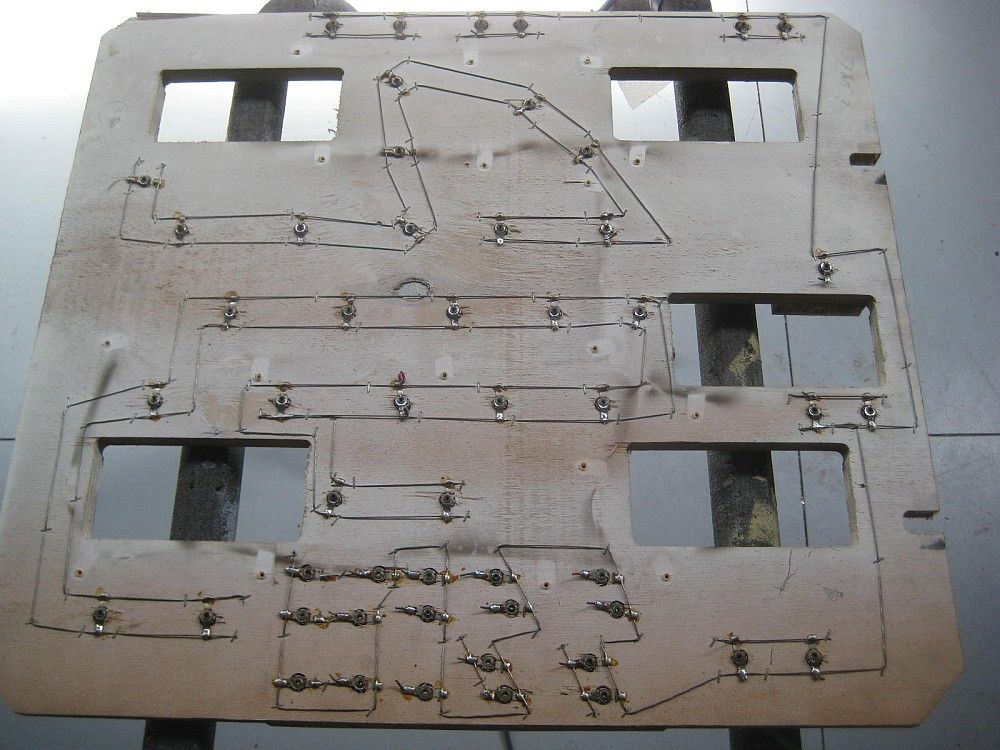
First step was to run all the lamp sockets and braid. T-nuts were also installed at this time...
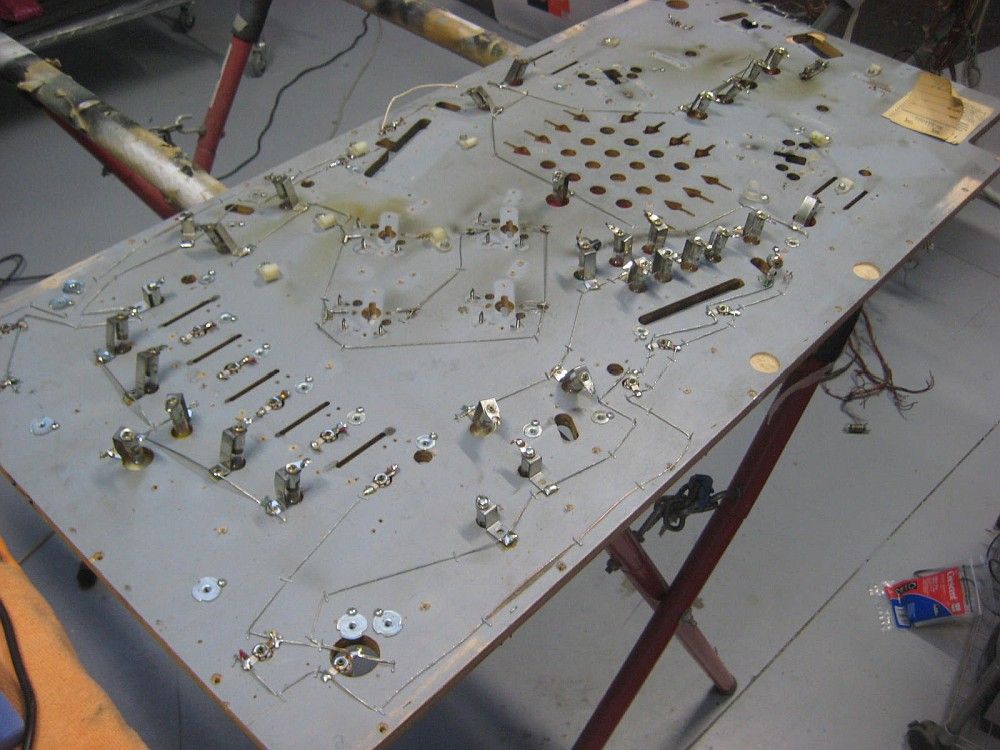
This is where the original comes in handy as a map...
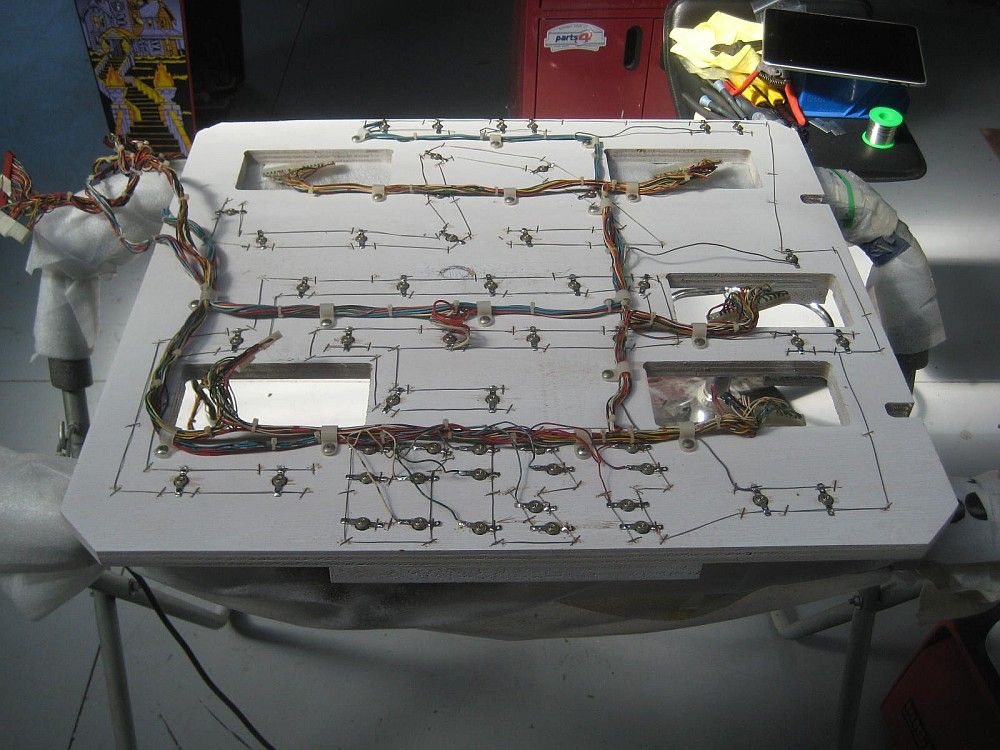
With the playfield rebuilt and wired it was ready to sit in the cabinet. AP member and all round good guy
ddstoys rebuilt the coin door for me and did an amazing job. Thanks man!
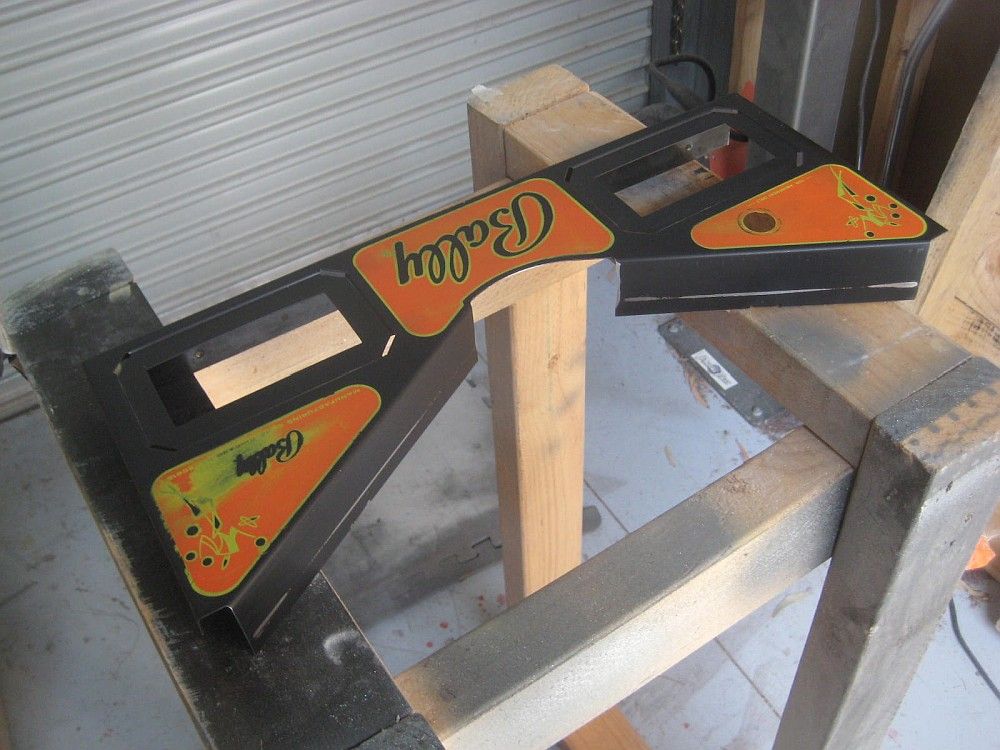
The apron was up next and i had been in two minds whether to restore the original or go ahead with the
reproduction art. I ordered the decal set and found that the colours just werent close enough to the
original or the rest of the playfield. I made my own and i am satisfied that this was the best option for
the project...
Original prepped for refinishing...
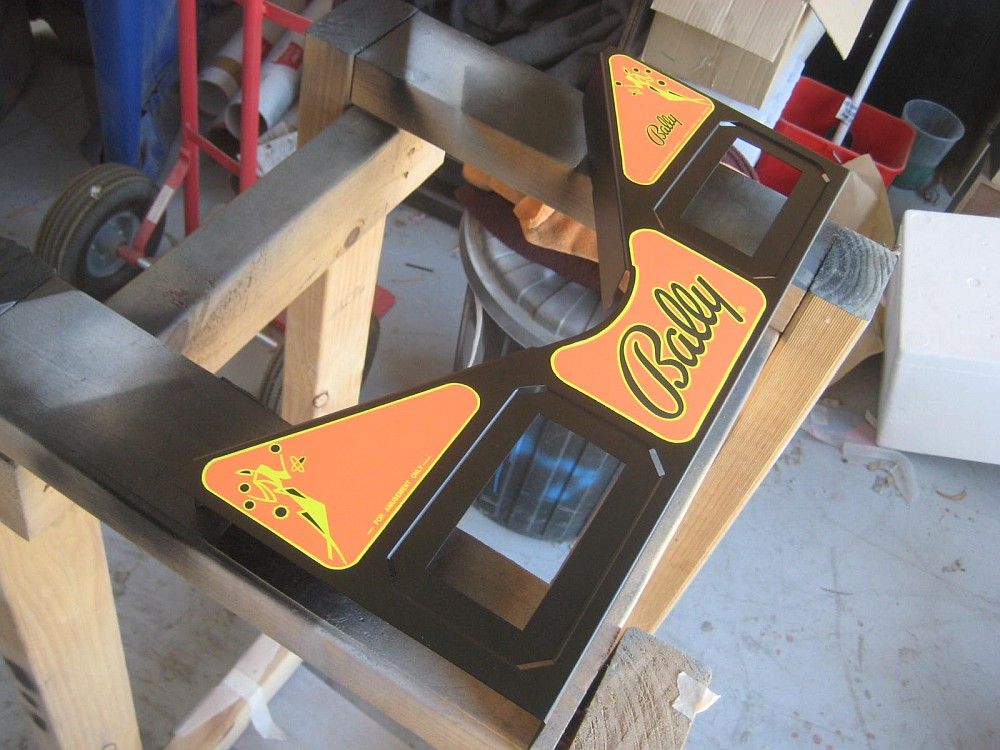
painted and decalled. The colours dont look right here but will come out under the clear...
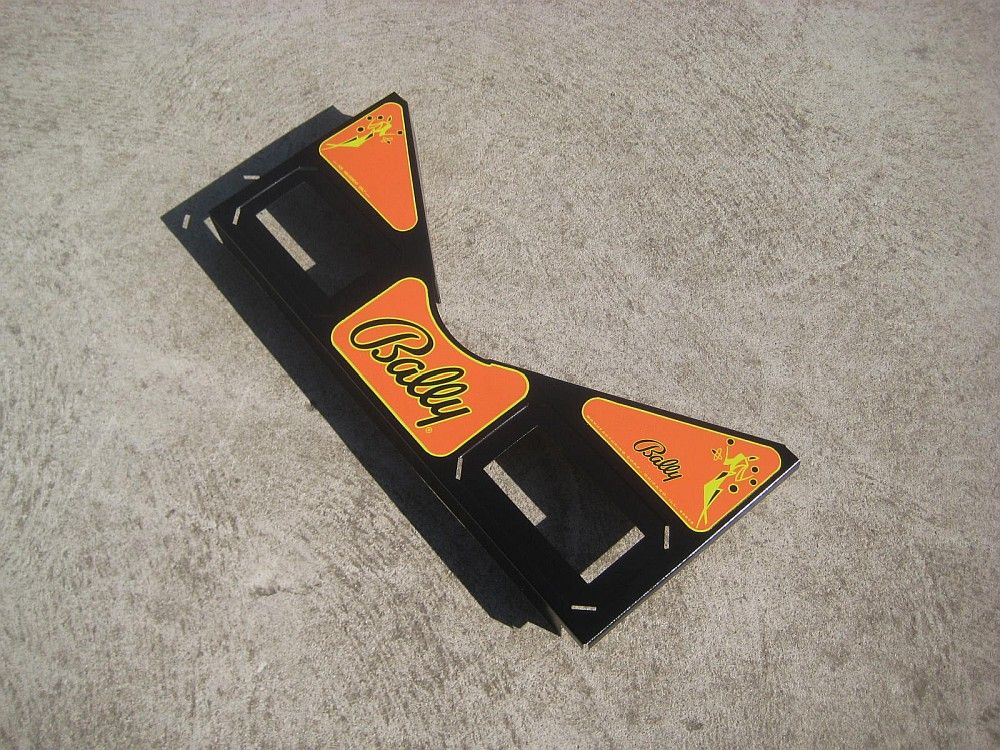
finished and ready to install...
Apron installed and the playfield is being rebuilt here...
Getting close to completion...
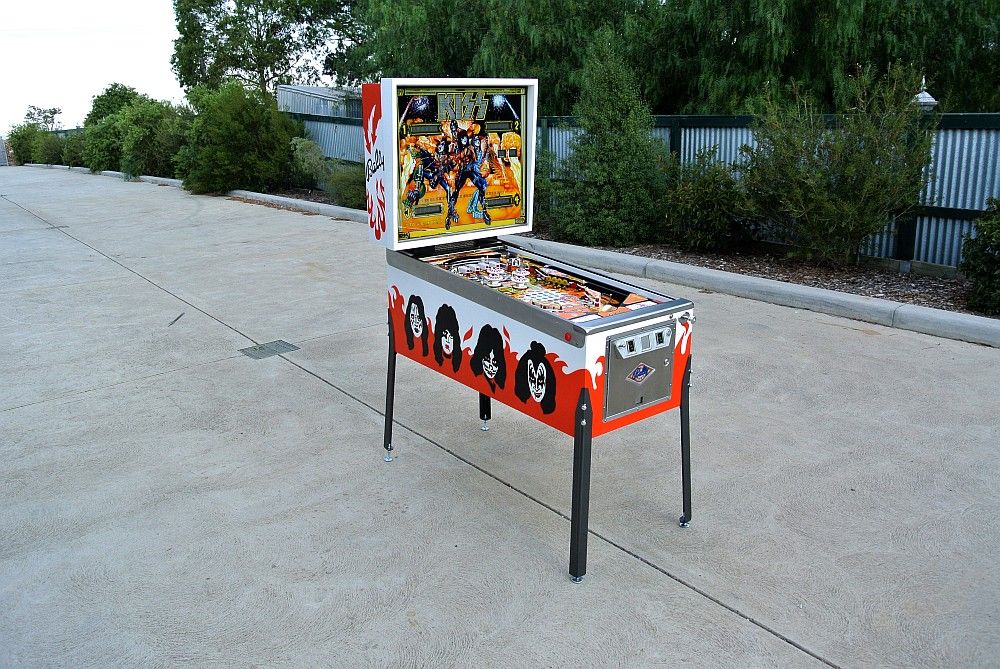
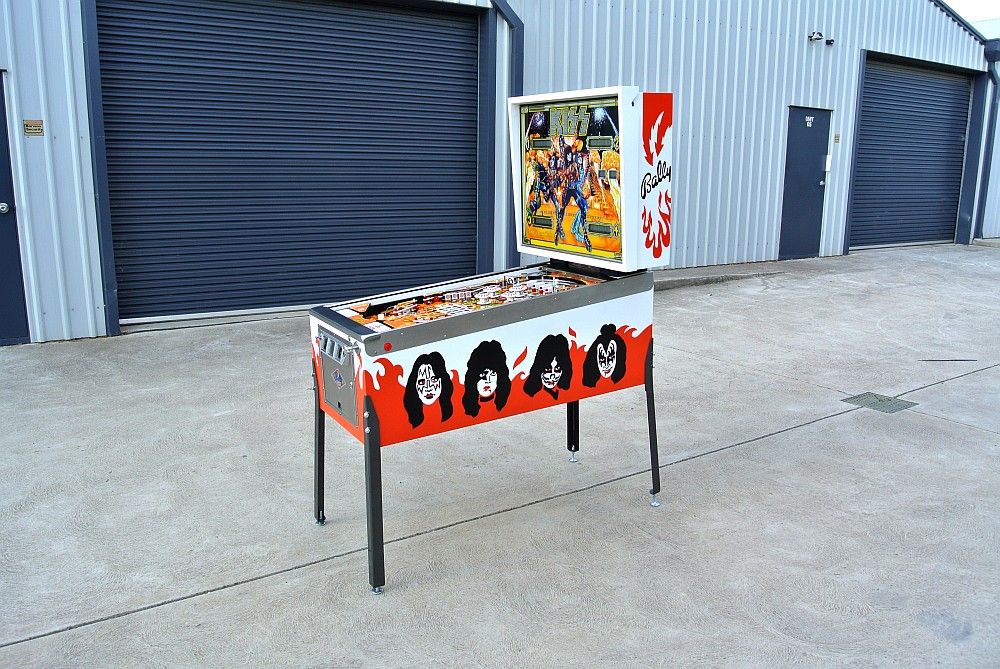
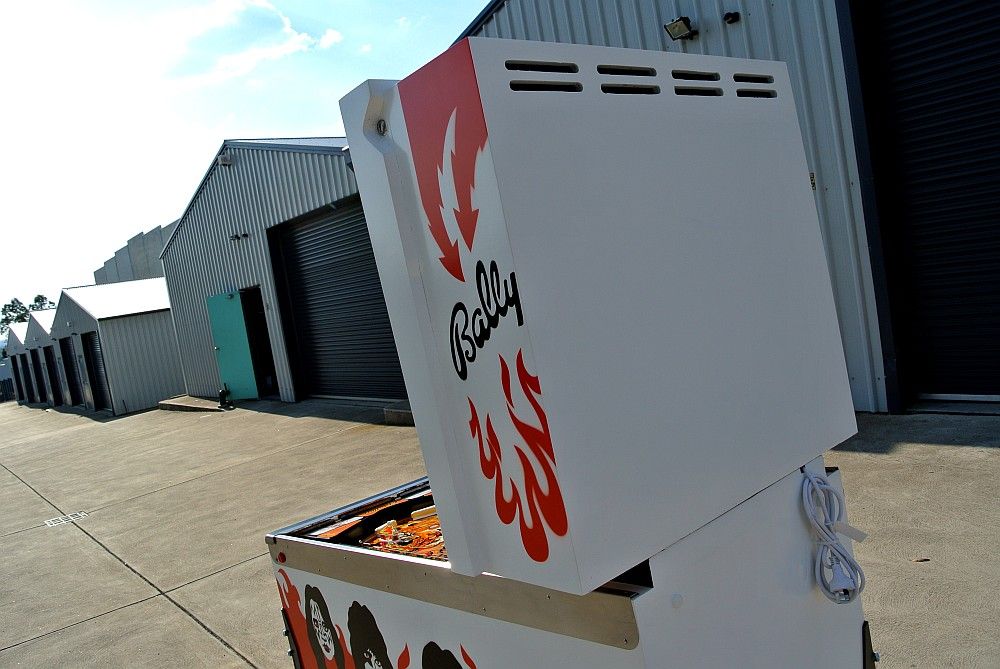
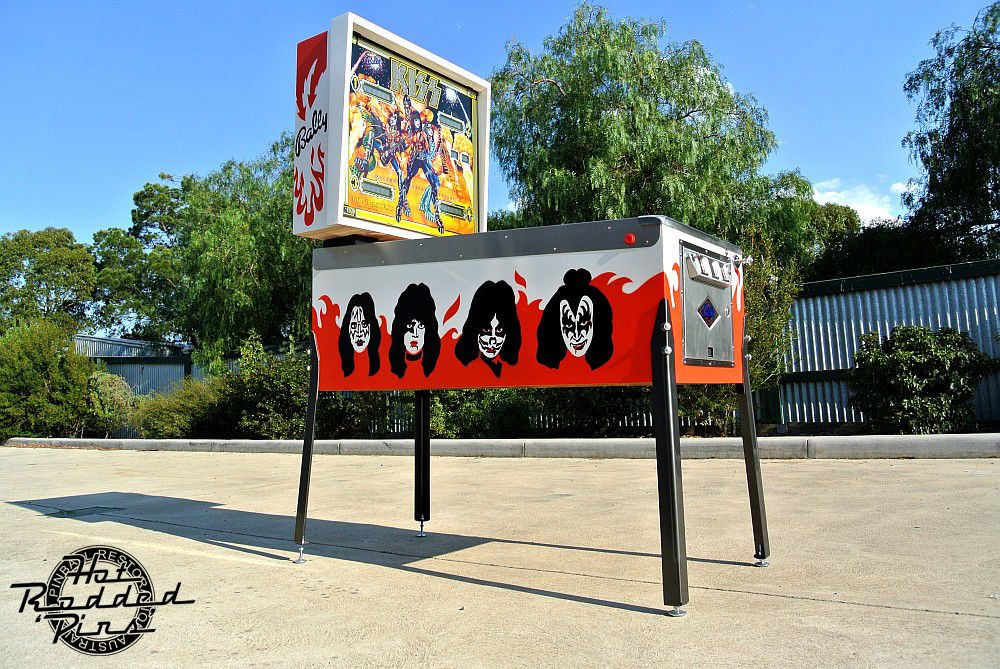
The next photos are outside with the completed project. This was the first title I have completed from this
era, and while these games dont have ramps, intricate toys and mechanics - they certainly pose their own
set of challenges. I am really looking forward to doing another game from this era, but for now its back to
the late model games for a while.
I hope you enjoyed seeing a little of the process.
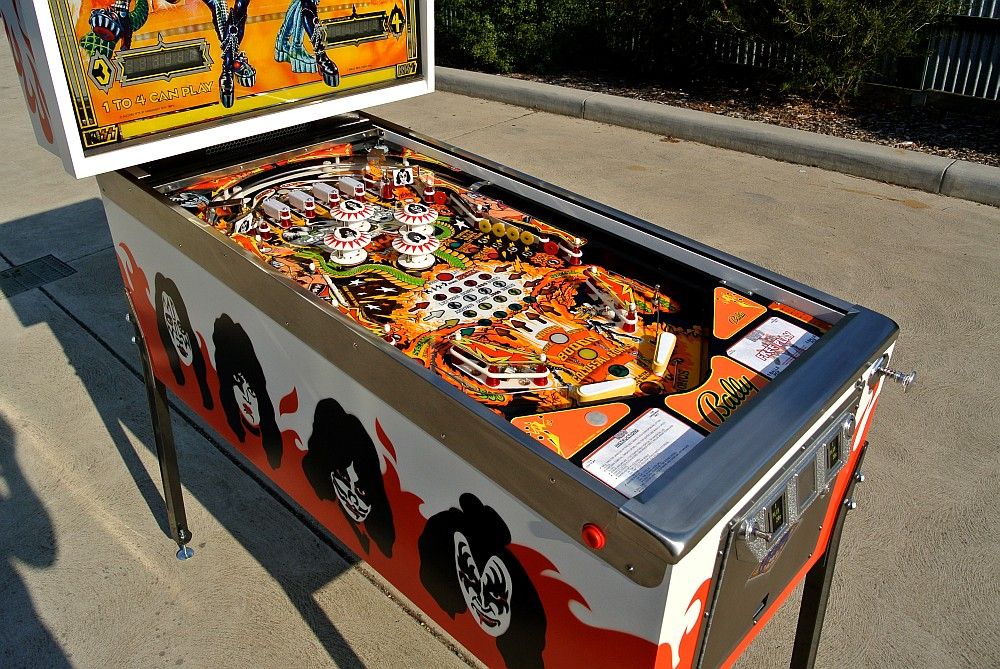
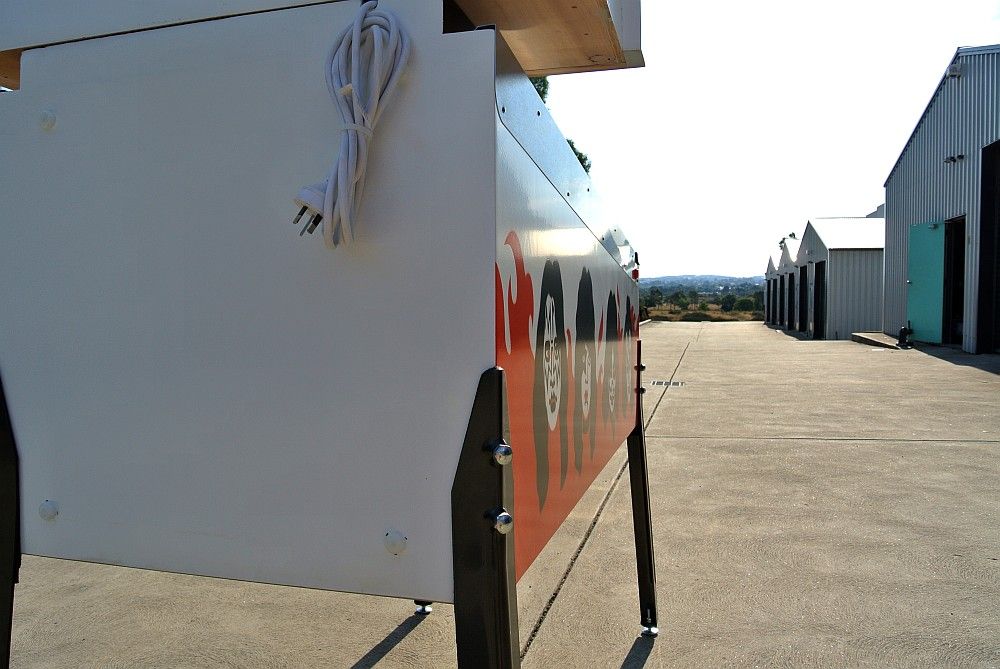
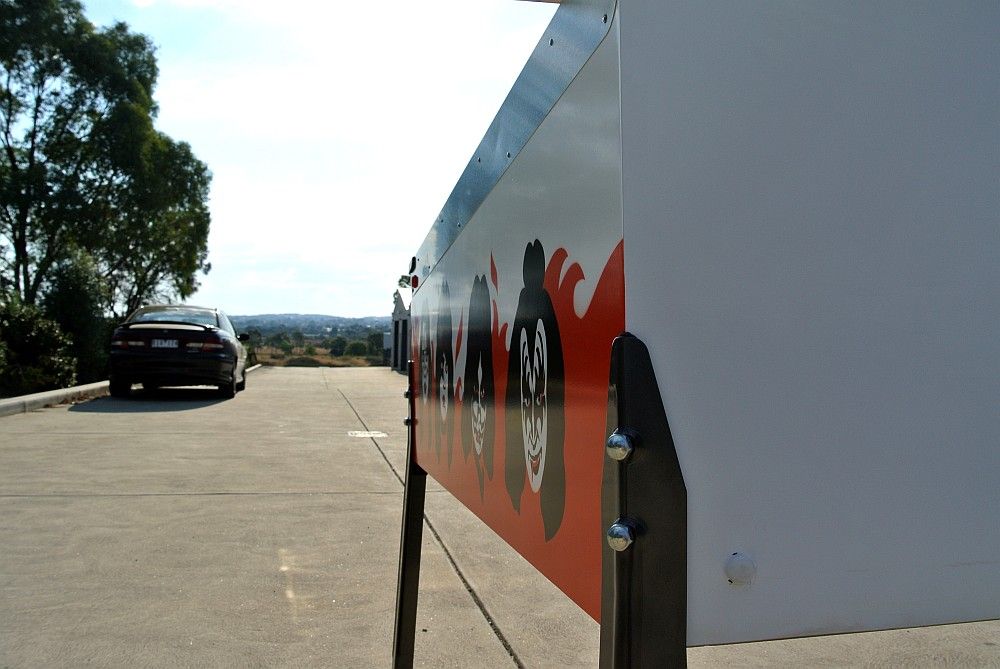
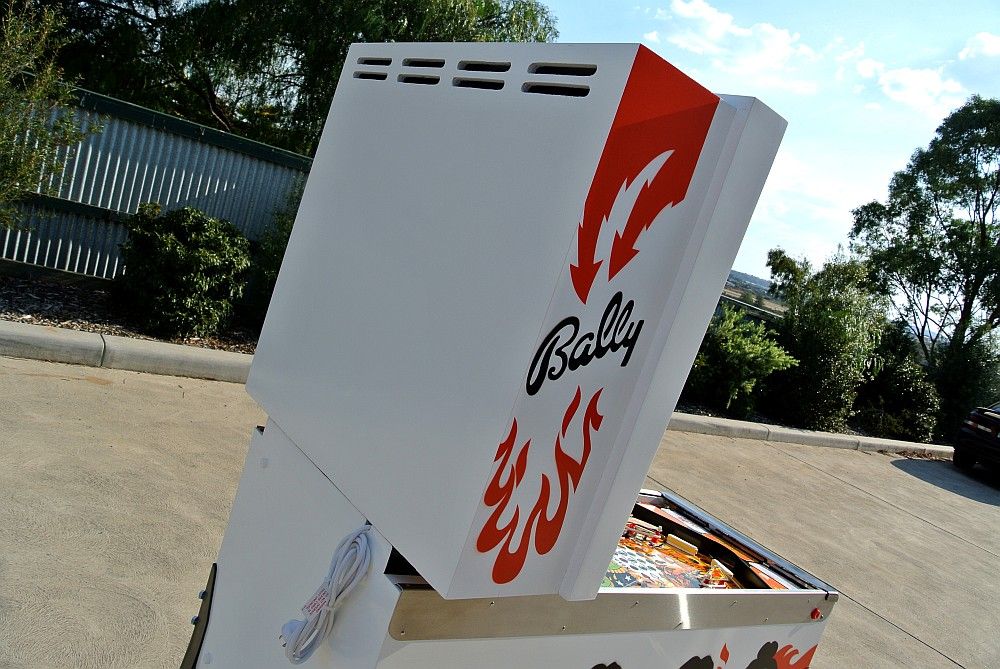
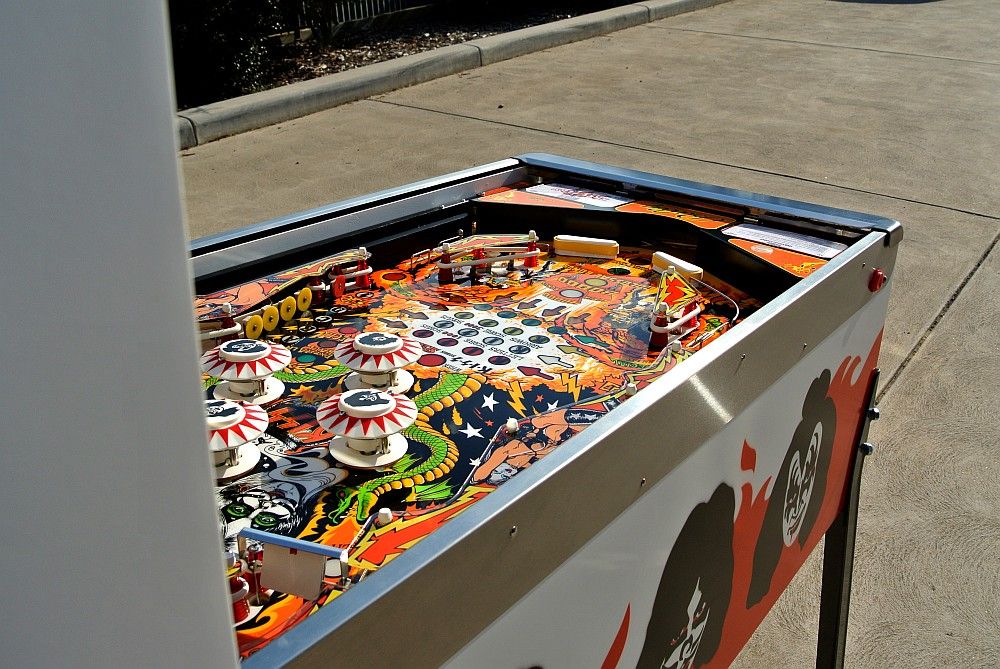
Here are the finished photos...
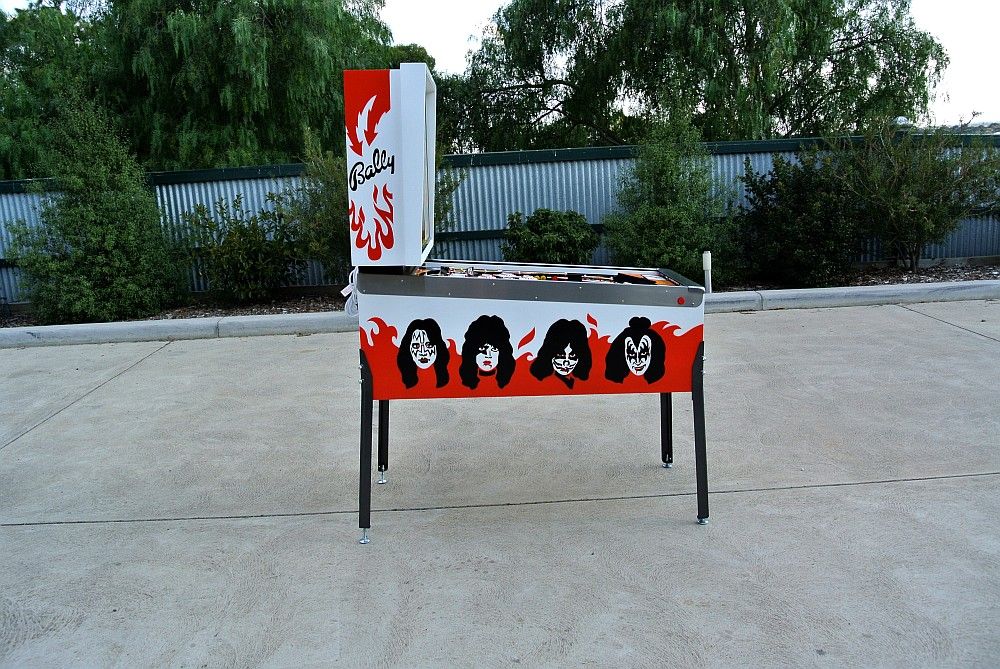
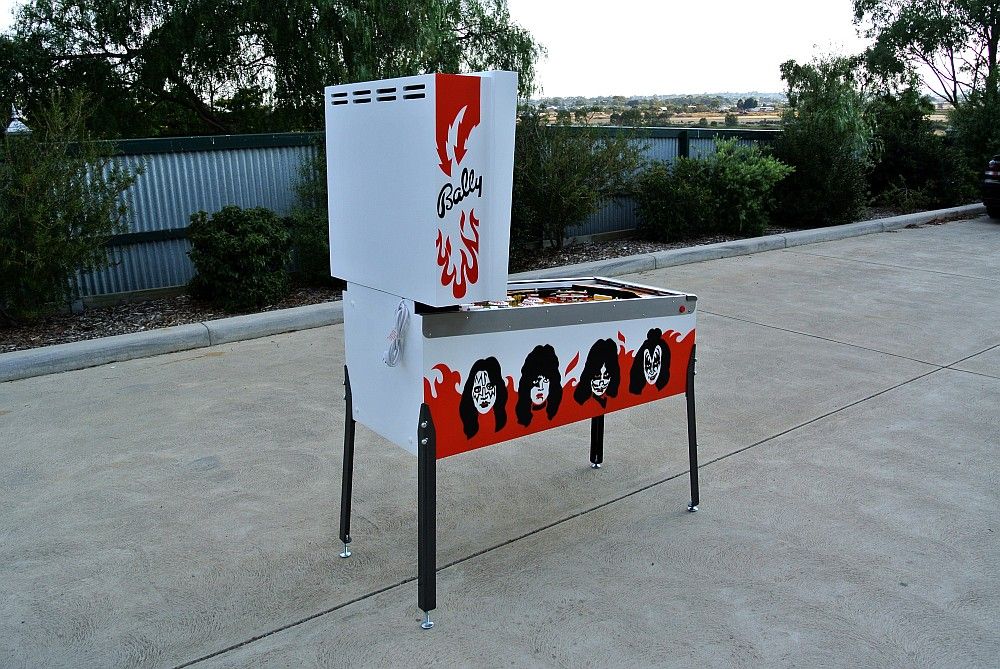
went with the white power cord for obvious reasons :-)
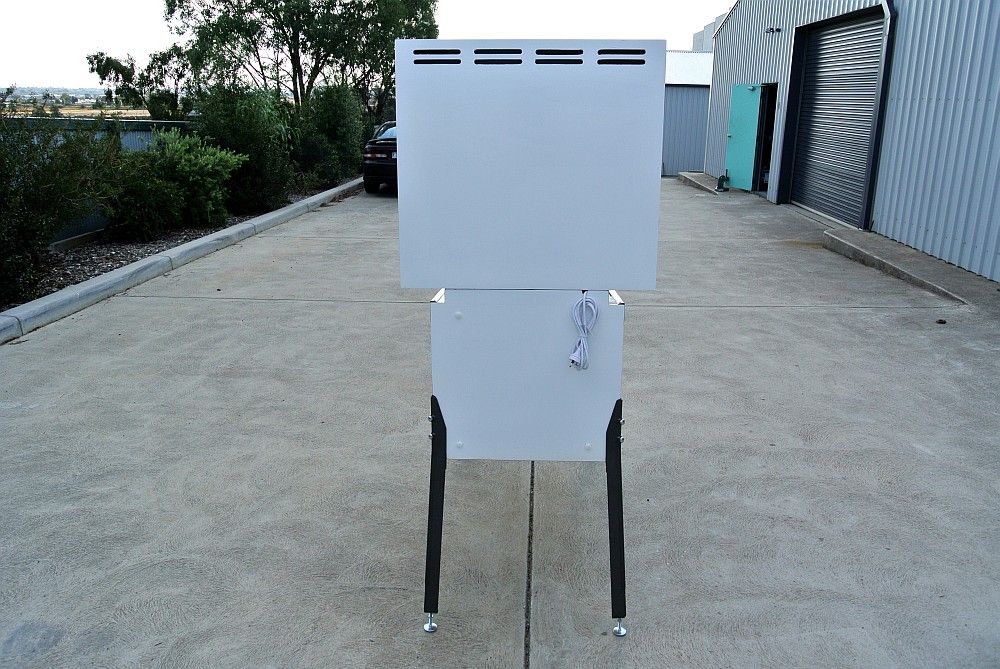
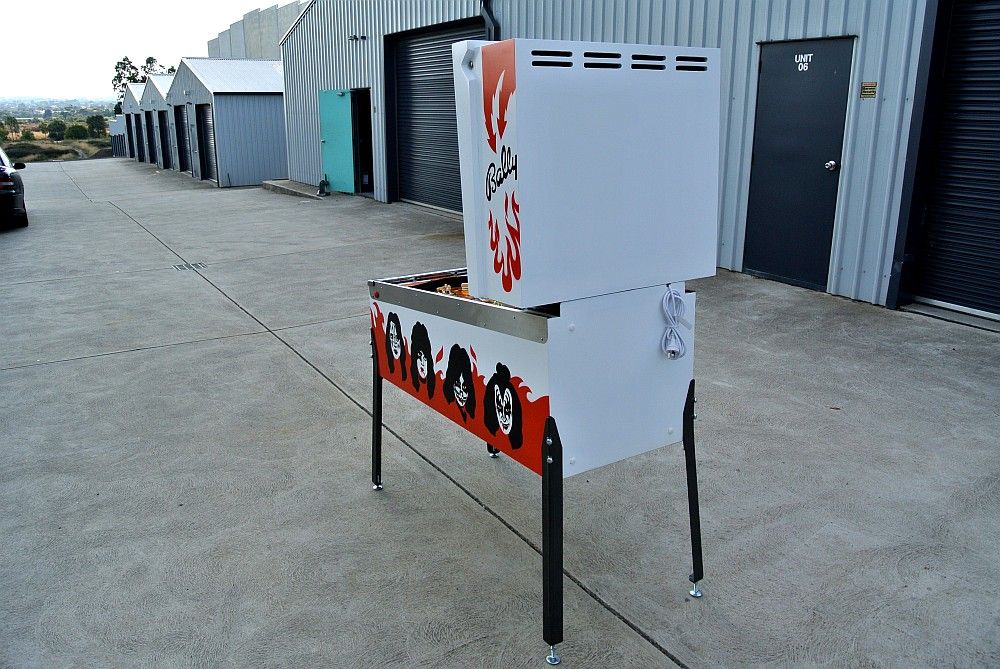
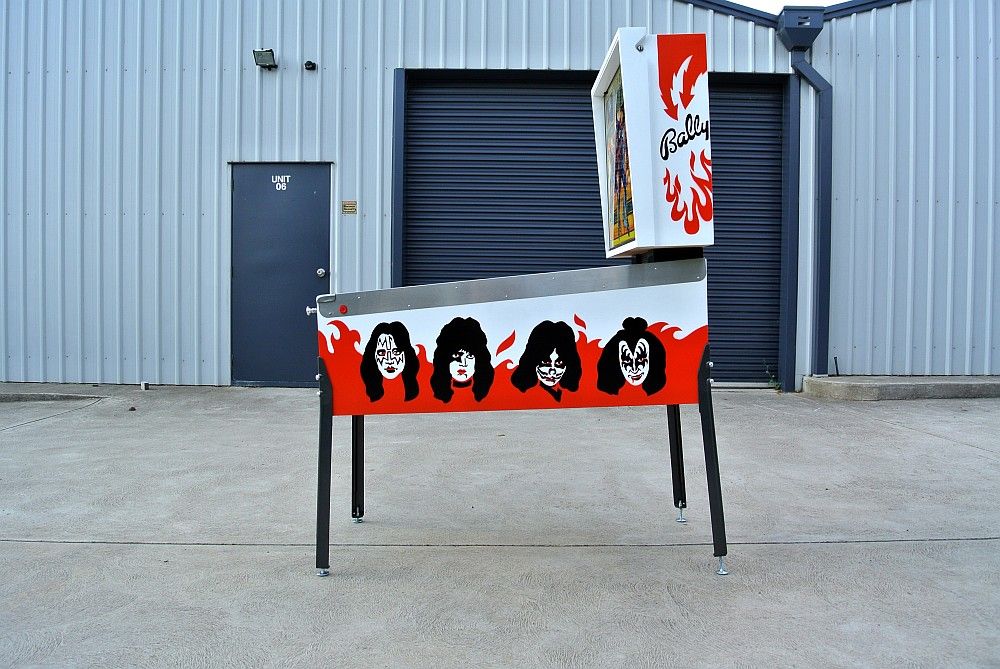
These photos were taken later in the day as it was a little brighter...

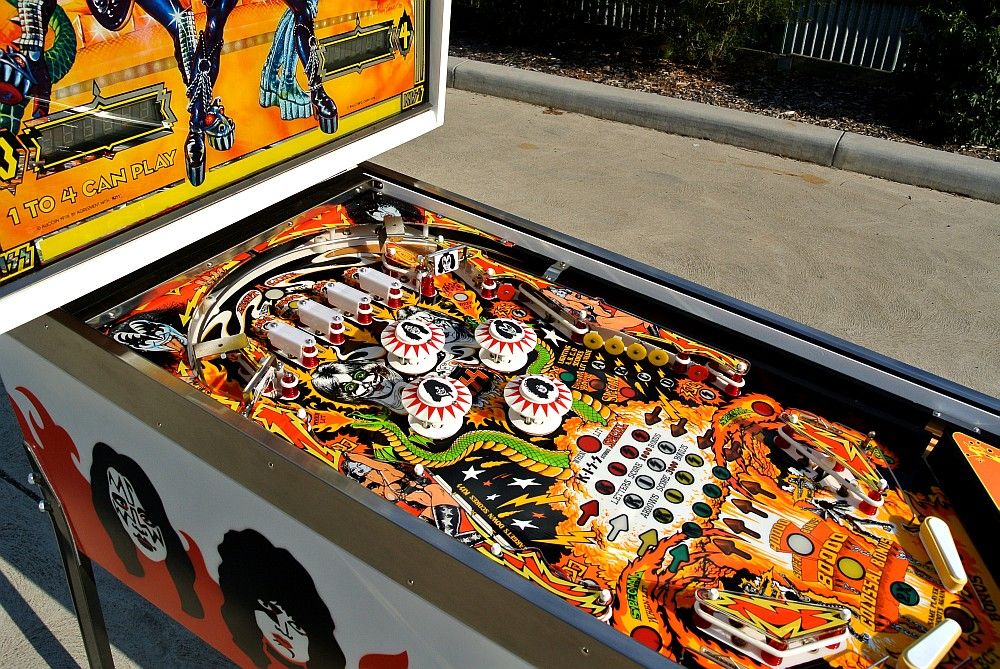
Thanks for looking guys :-)


