Hey guys,
Between Embryon updates, i thought i would post another job we recently completed for Nino at APR.
Playfield as received from Nino...
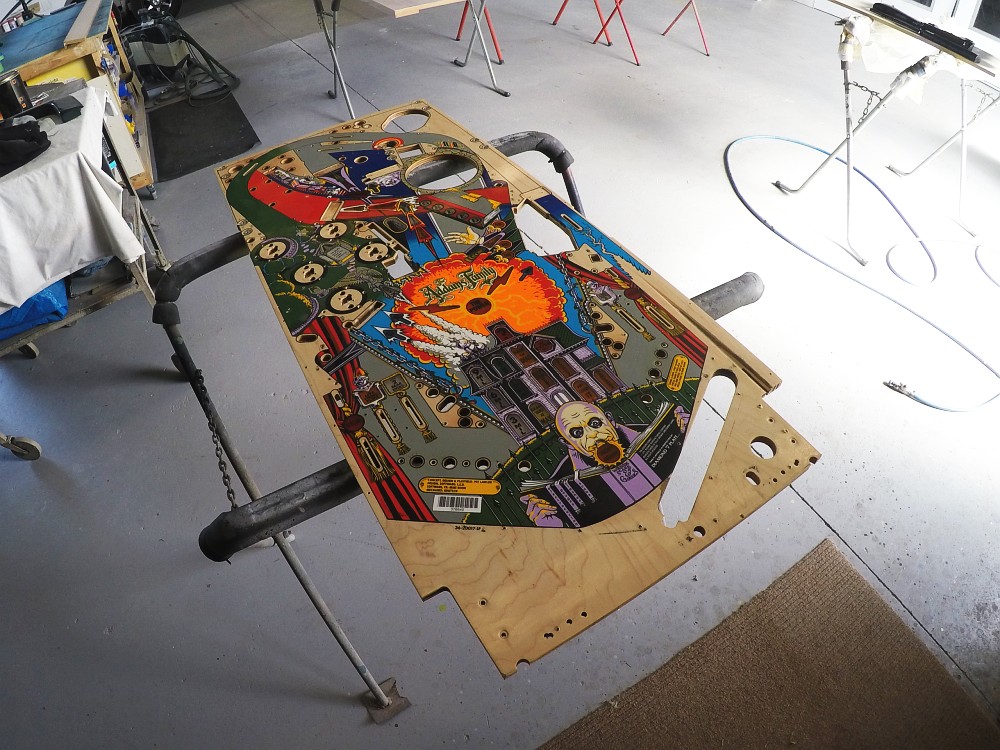
Just another shot of the starting condition...
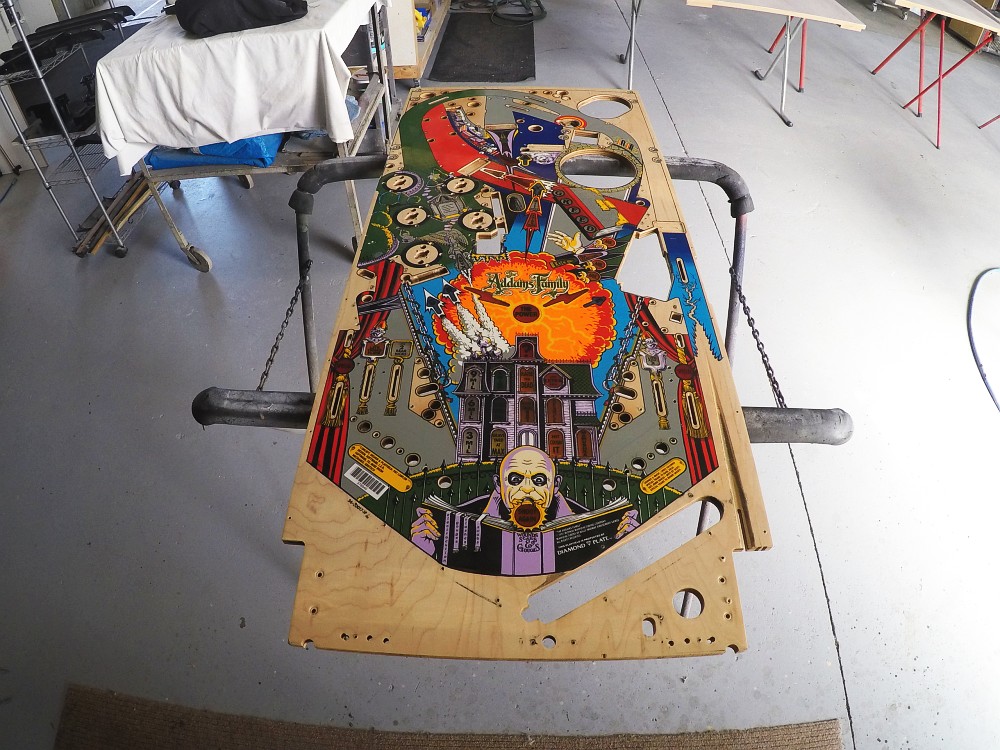
First things are usually the same for all playfield jobs, document the damage and thoroughly clean and prepare the playfield. Mylar will be removed now...
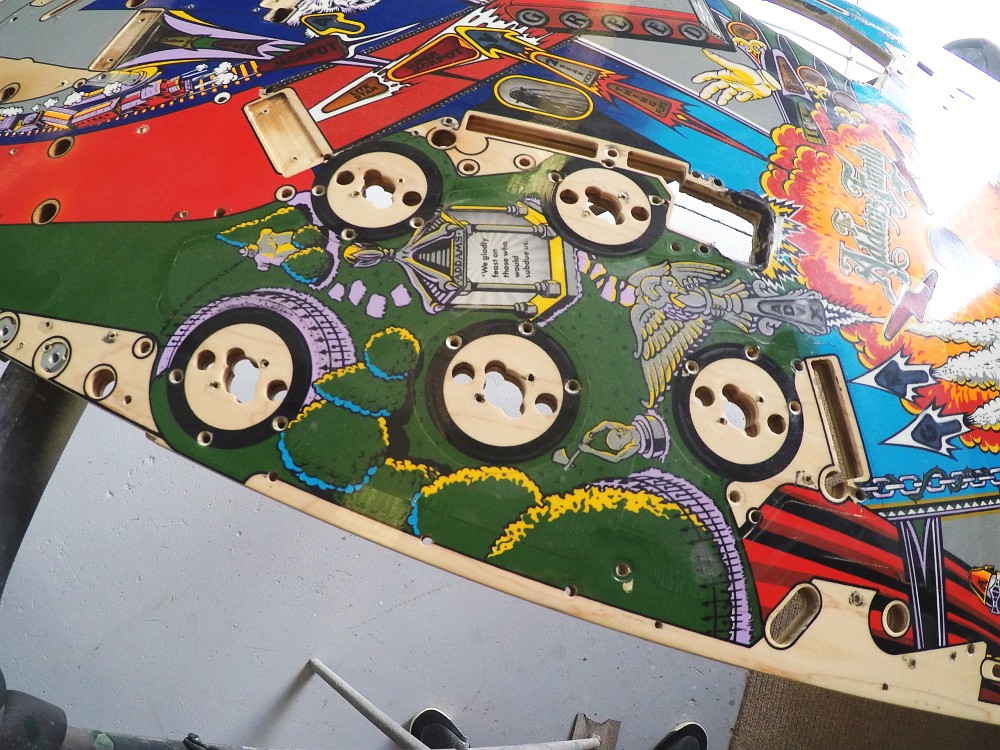
Ramp flap damage...
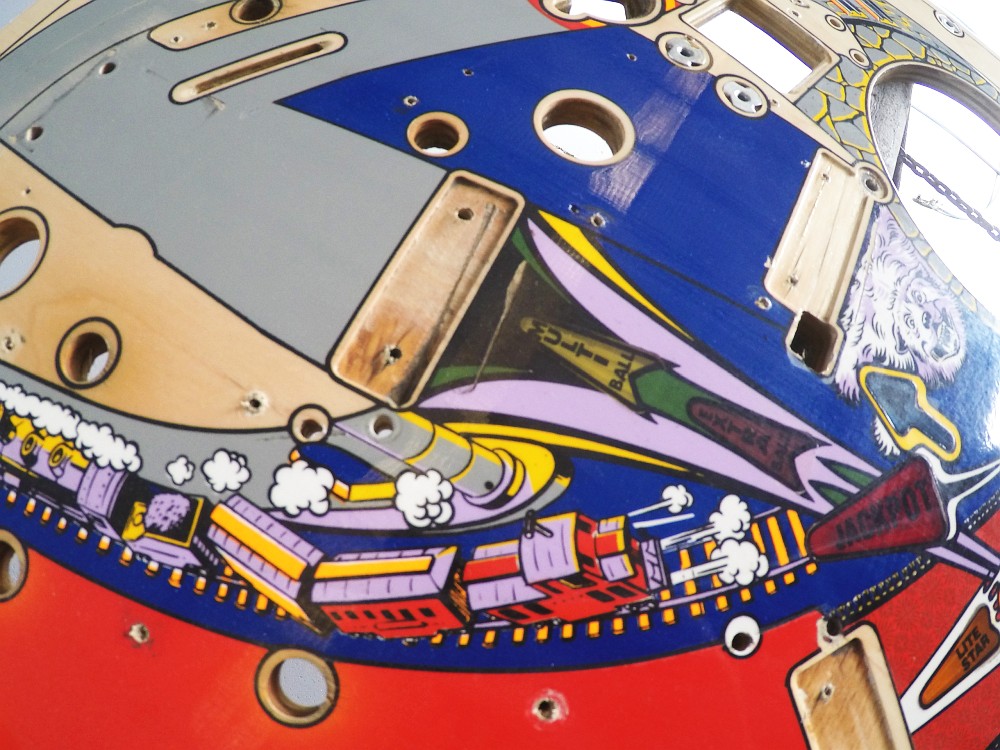
As always, the Electric Chair is chewed apart. This is one in 'better' condition...
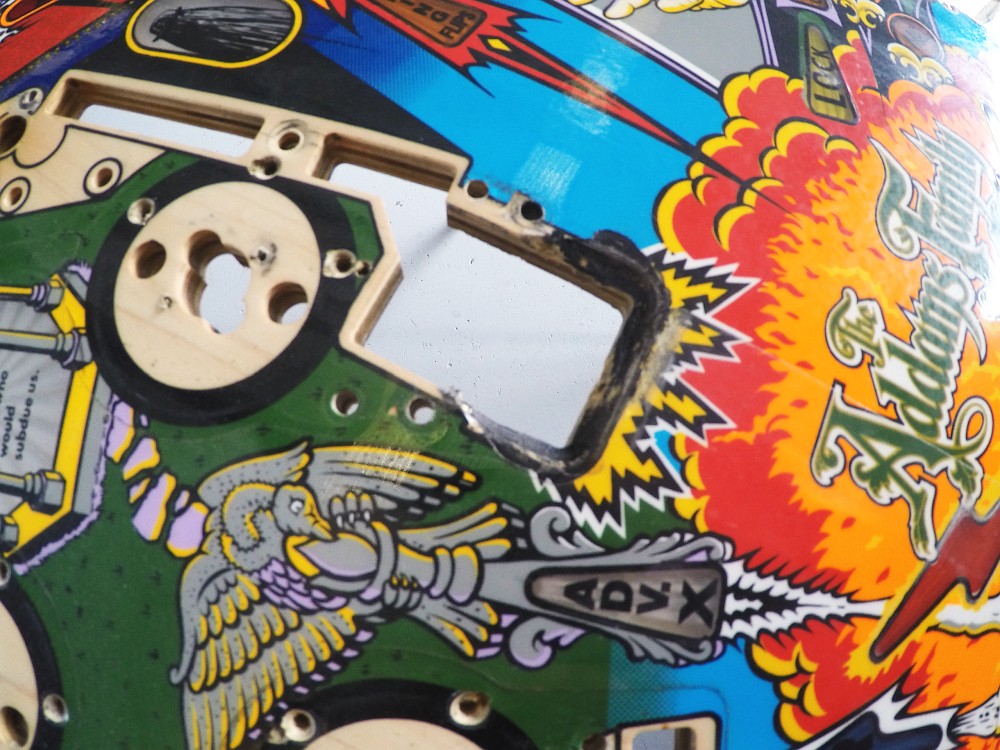
Other areas that had previously been 'worked' on...
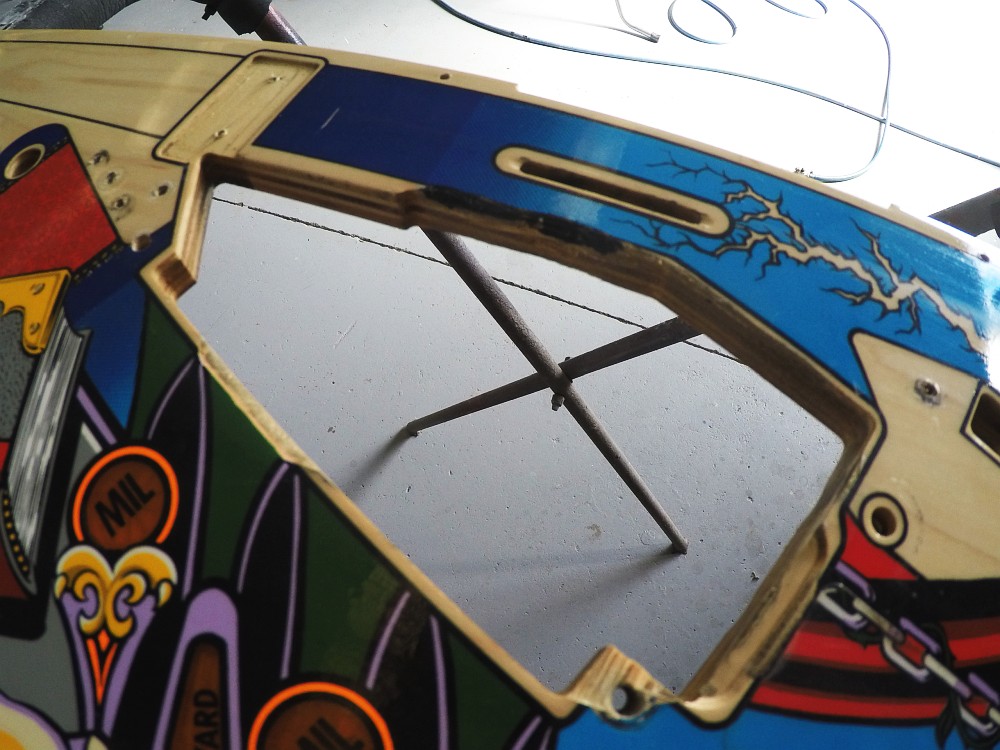
Shooter lane needs to be cleaned up and repaired at the eject...
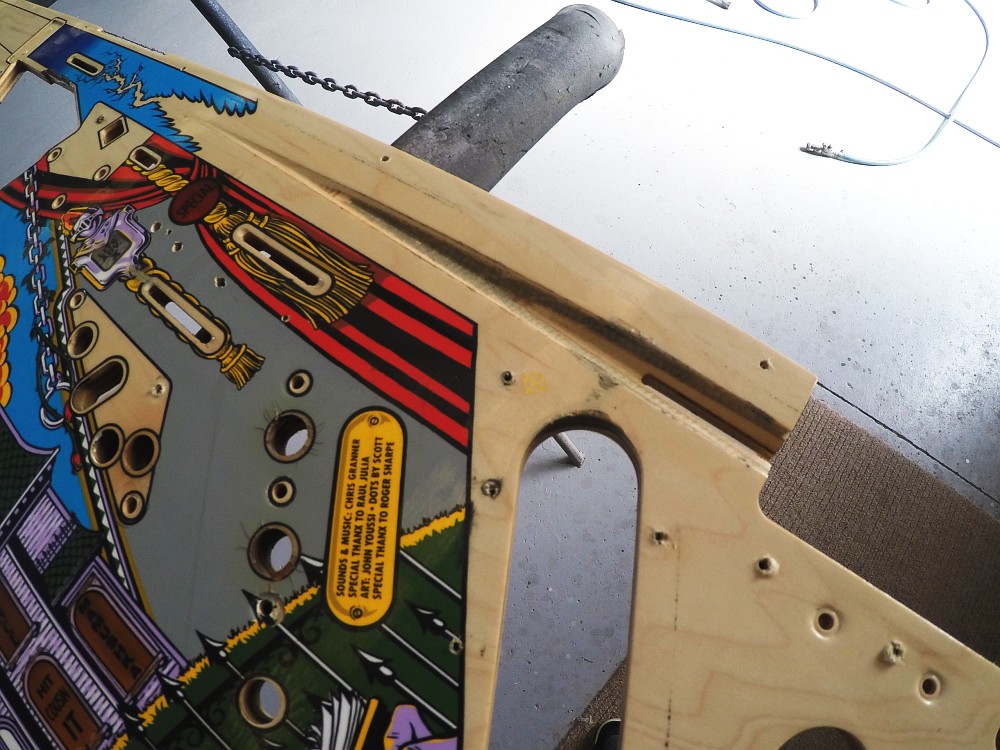
Mansion also in typical condition...
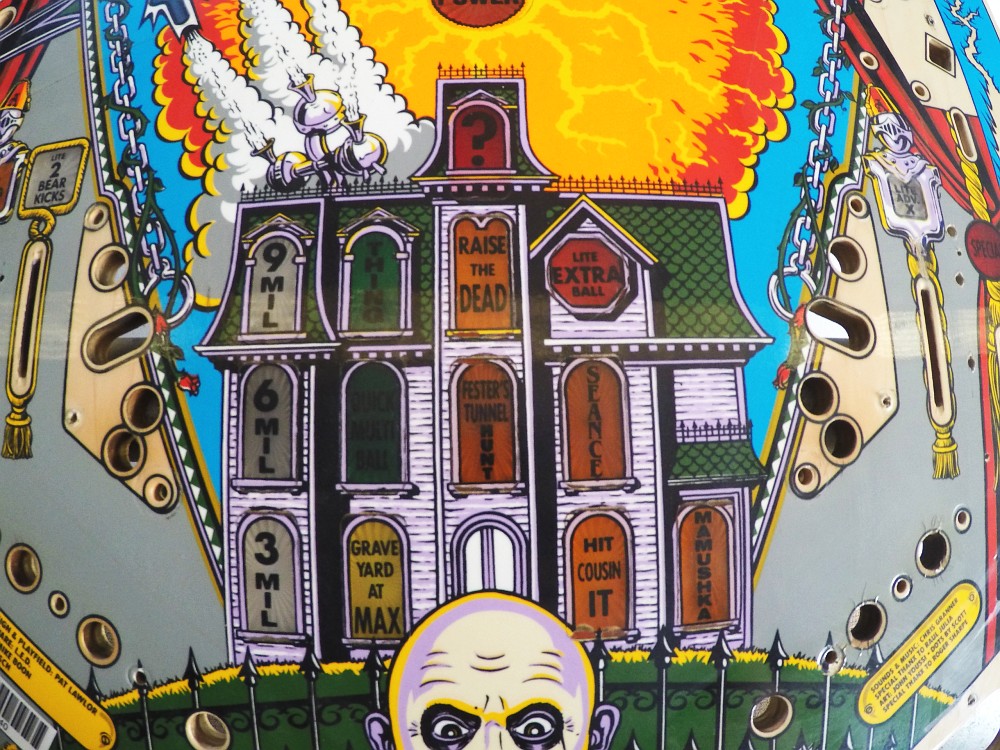
Trough/Outhole always blown out on most 90's playfields we work on...
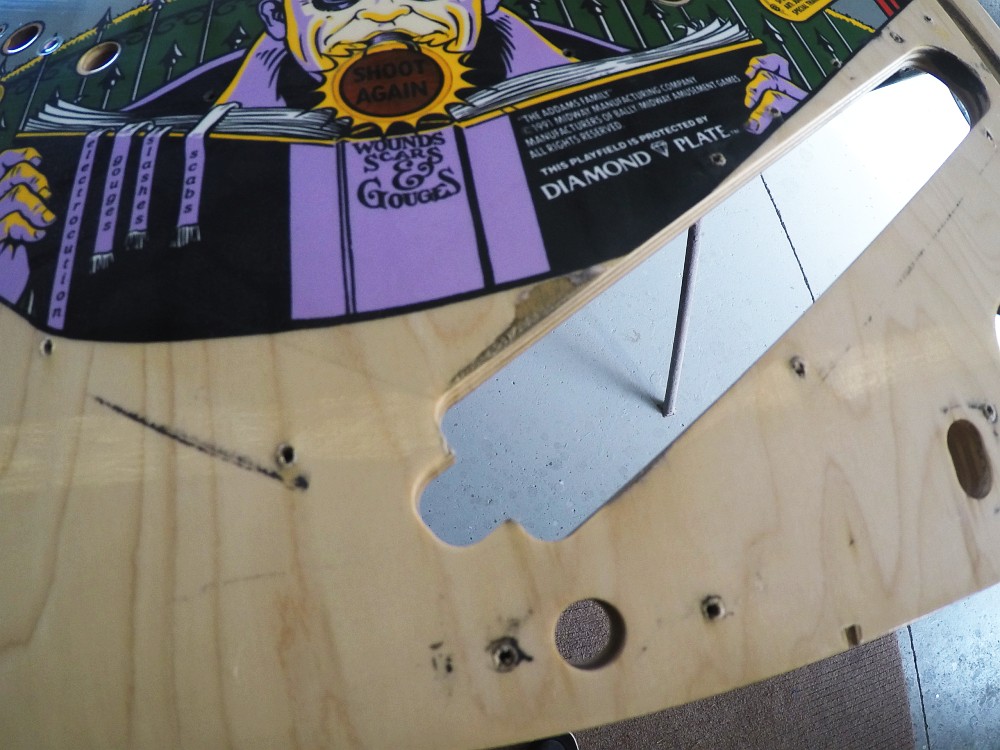
Playfield is cleaned as per documentation in the Embryon project thread. Unfortunately i didnt document the repair of the Electric Chair scoop - but a combination of fiber based filler and pins to anchor to were used to achieve a suitable strength repair. I will document this on the next one i do and share it here as i think it will help many guys with their restore work. Here is the cleared and prepared playfield...
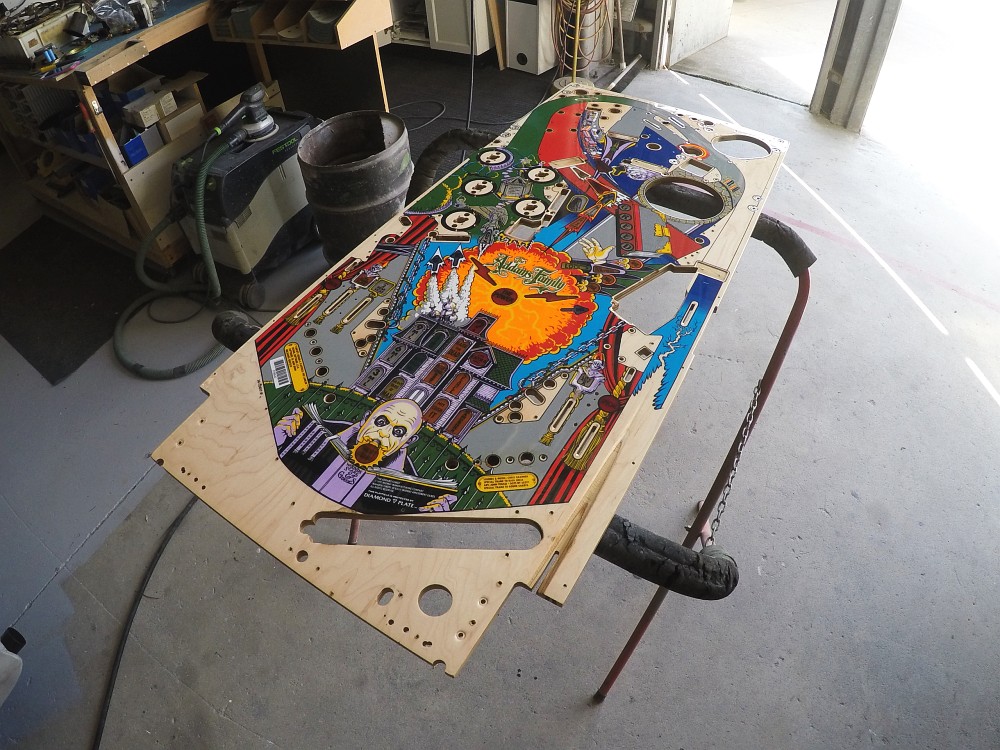
One really common problem when repairing an Addams playfield is this post location near the swamp. Its very rare that the ply hasn't split out at the corner or completely broken off and lost from the game.
In my experience, filler isnt really going to serve this application well longterm, so the best thing to do it replace the missing ply with another piece...
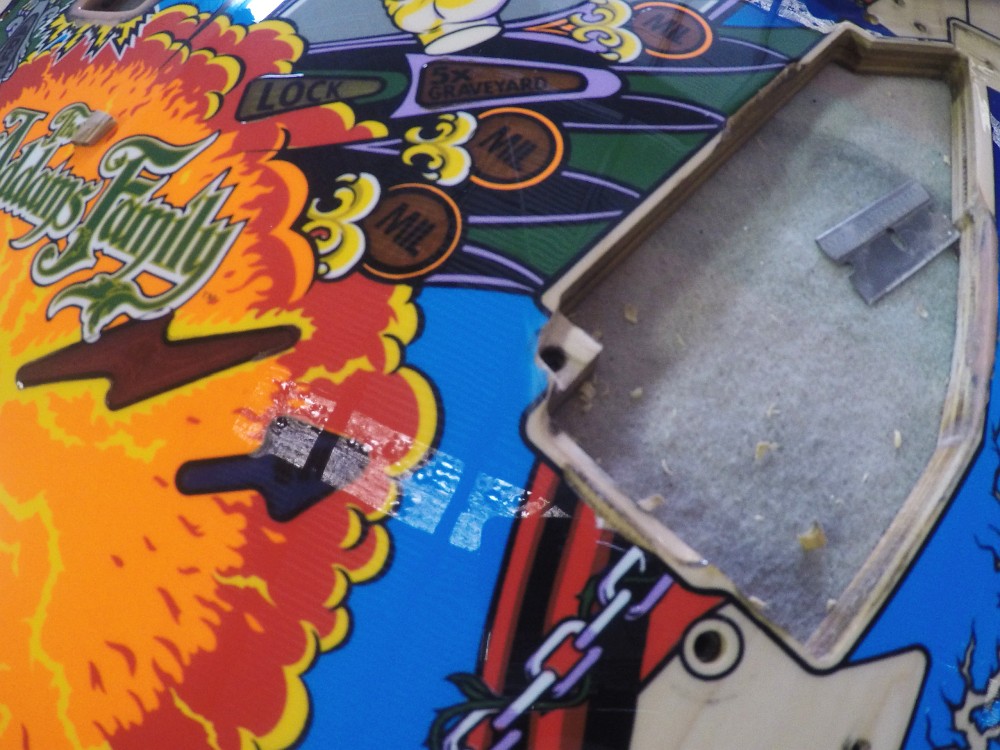
Repair to the section complete and set aside to fully cure. Section is over sized deliberately and will be sanded into shape once cured...
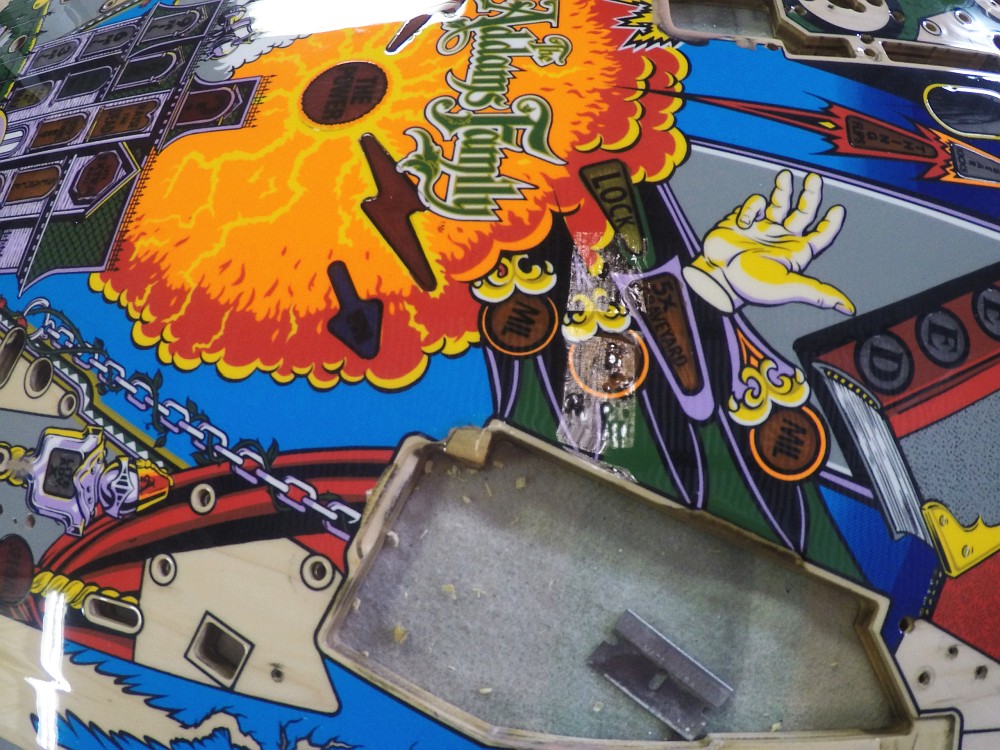
Moving on to the repair work, timber sections are taken care of and lightly refreshed...
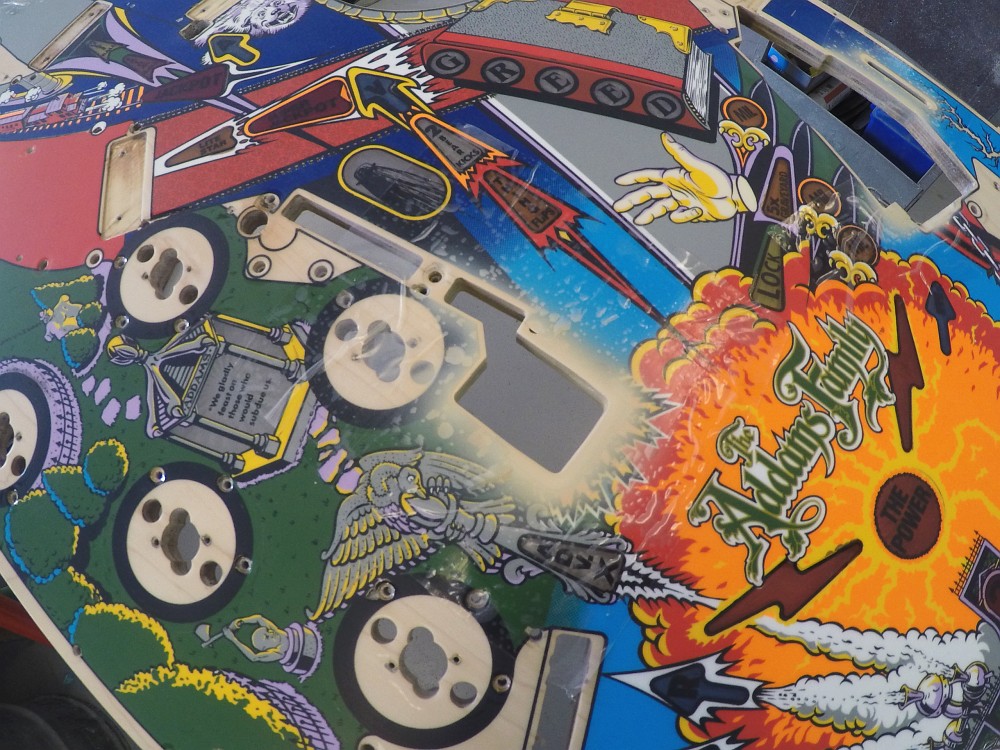
Timber repair is also sanded down (the epoxy) and refinished with the correct timber tone...
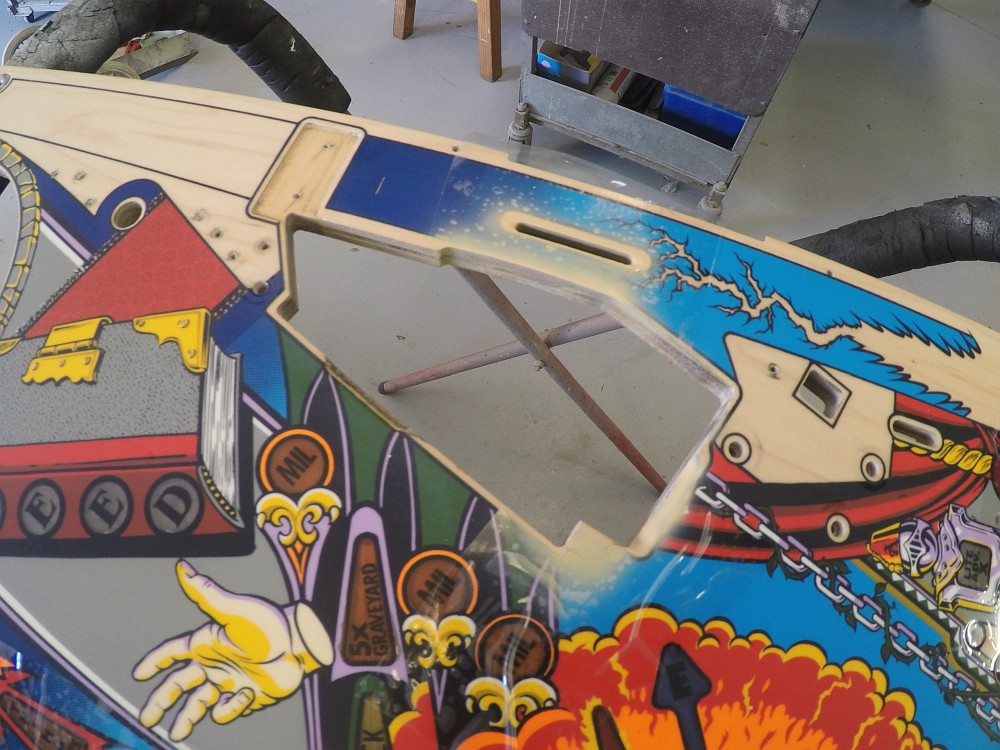
We always do all of the switch cutouts. It doesnt take long to do the whole lot, and gives the playfield a brighter appearance...
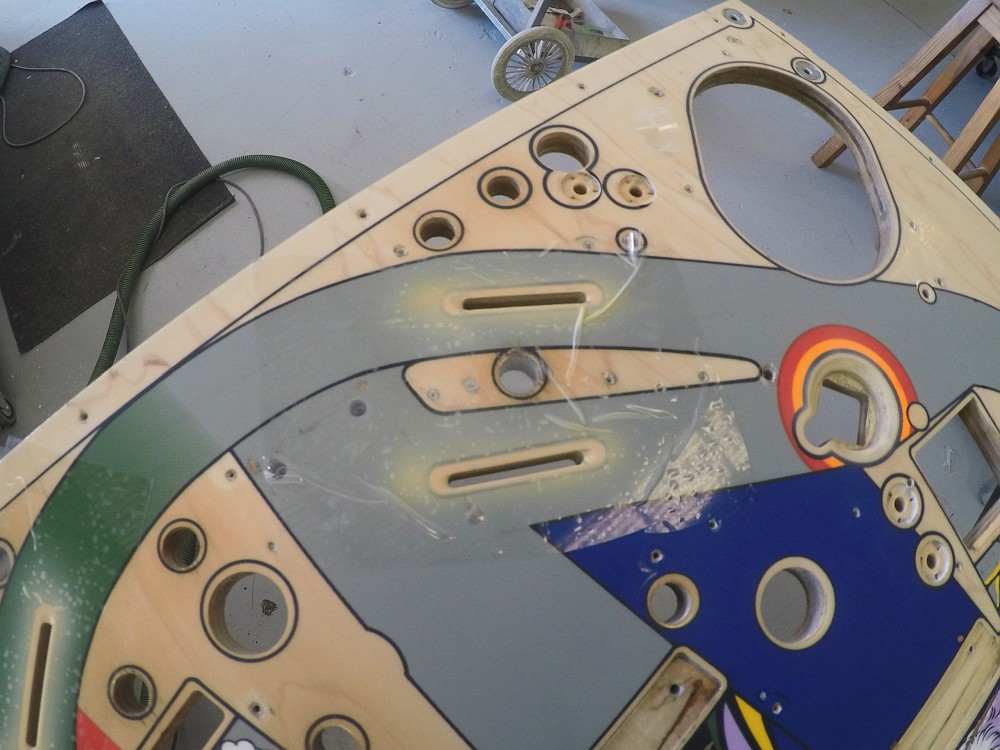
more...
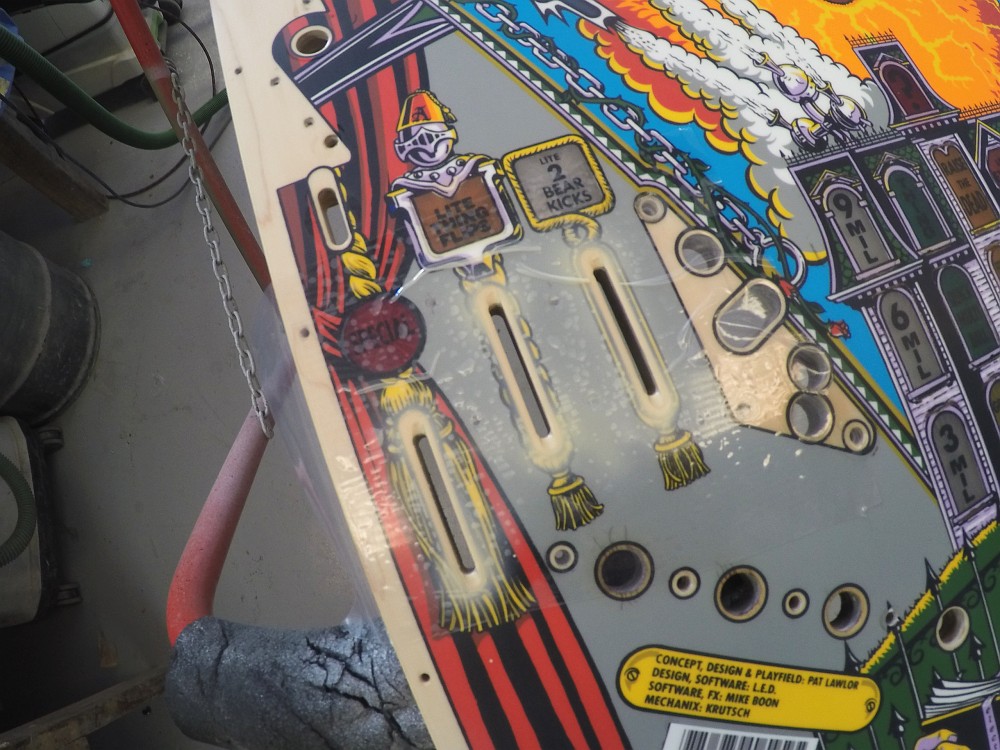
other timber areas mentioned at the start now refinished...
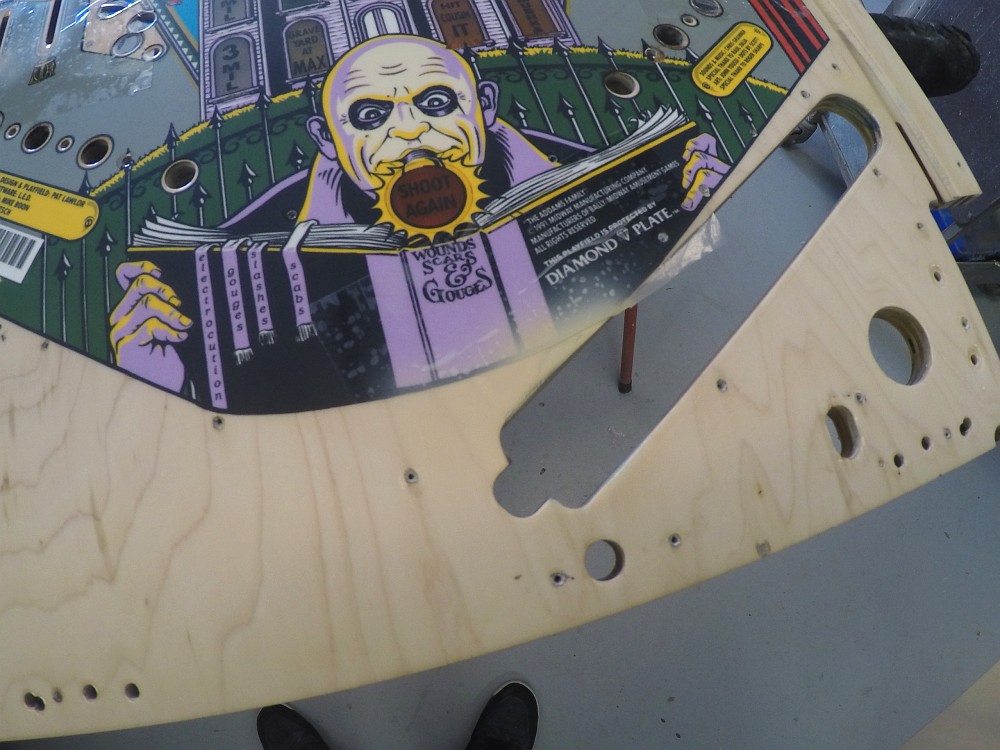
Shooter lane blended. We prefer to leave as much of the natural timber as possible. To achieve this - and i think @pinsanity touched on this in another post; you need to pick a dowel consistent with the shape of the shooter lane. Wrap an aggressive sandpaper grit around the dowel (perhaps 240 to start with and go up or down in grades depending on the severity of the imperfections). You want to sand the shooter lane all the way up to maybe 800 grit. NOTE - this needs to be done BEFORE clear coating your playfield for the first time or you will just be fighting the result the whole way.
You will also need to sand the shooter lane after the first clear to smooth THAT out - start with 600 this time all the way up until it is smooth.
Fast forward to where we are now, to bring it all together we mix a timber toned paint and over thin to fade everything together softly. The paint cannot be too opaque or the effect will be lost and the repair will be very obvious...
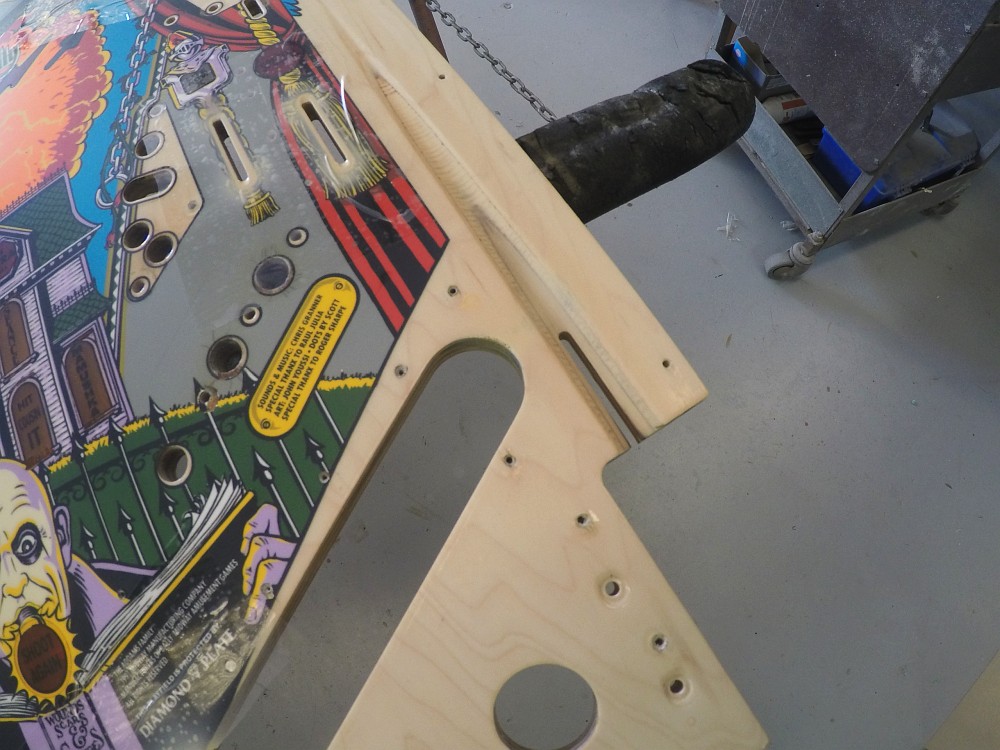
Mansion repaired...
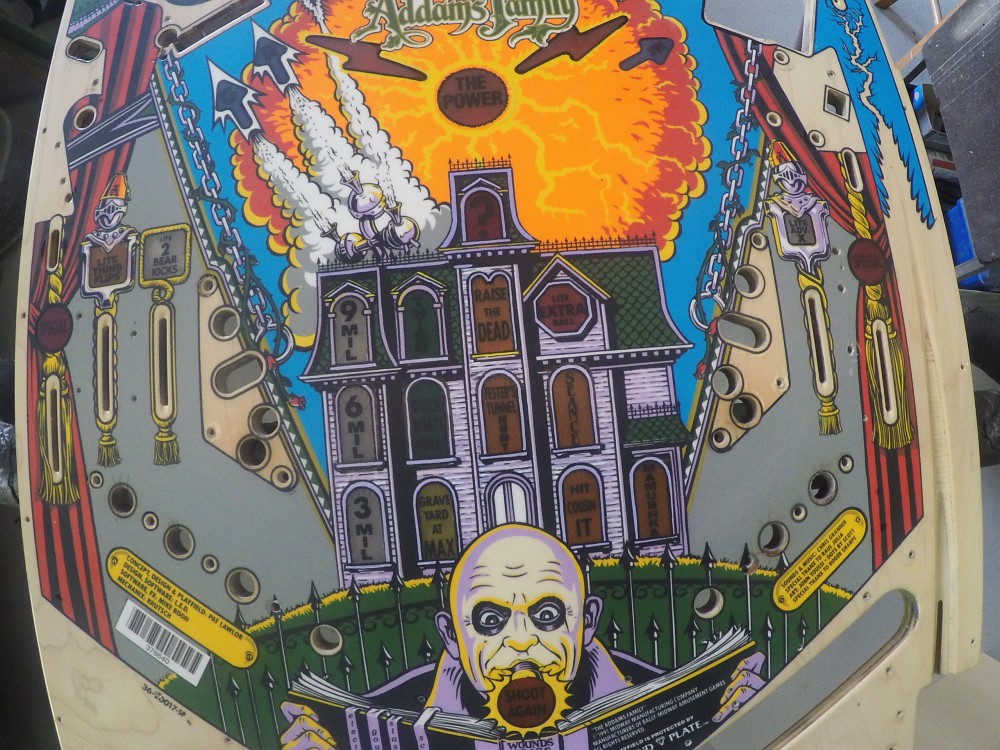
Upper section overview, everything has been completed and you can see the Electric Chair repair in this image...
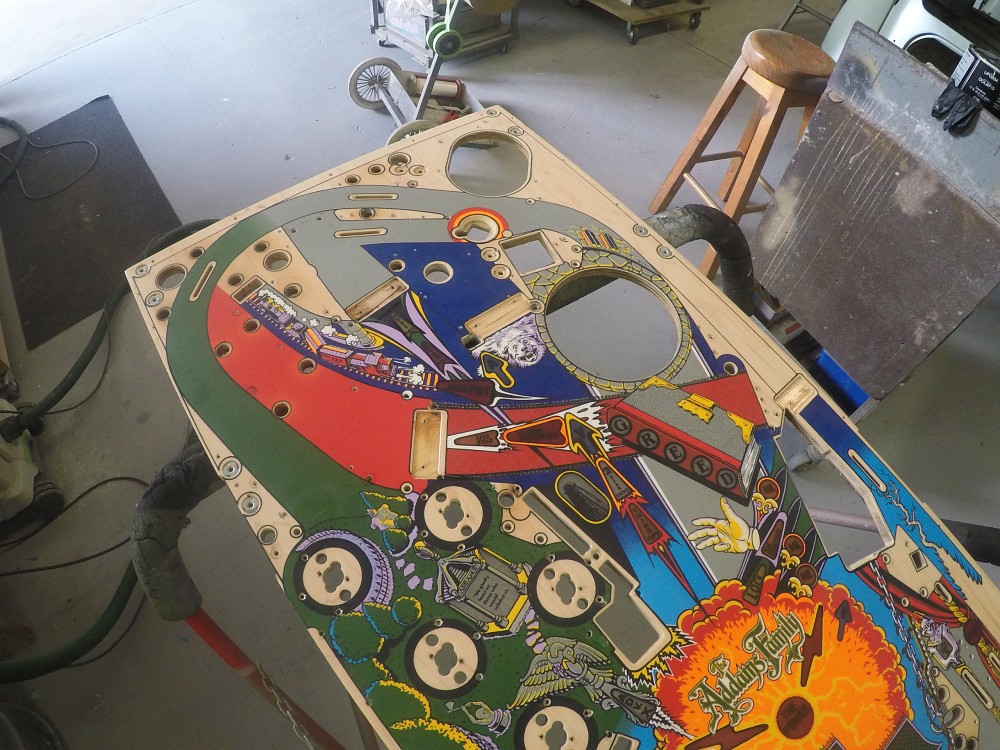
Playfield in the booth and ready to clear for the final time...
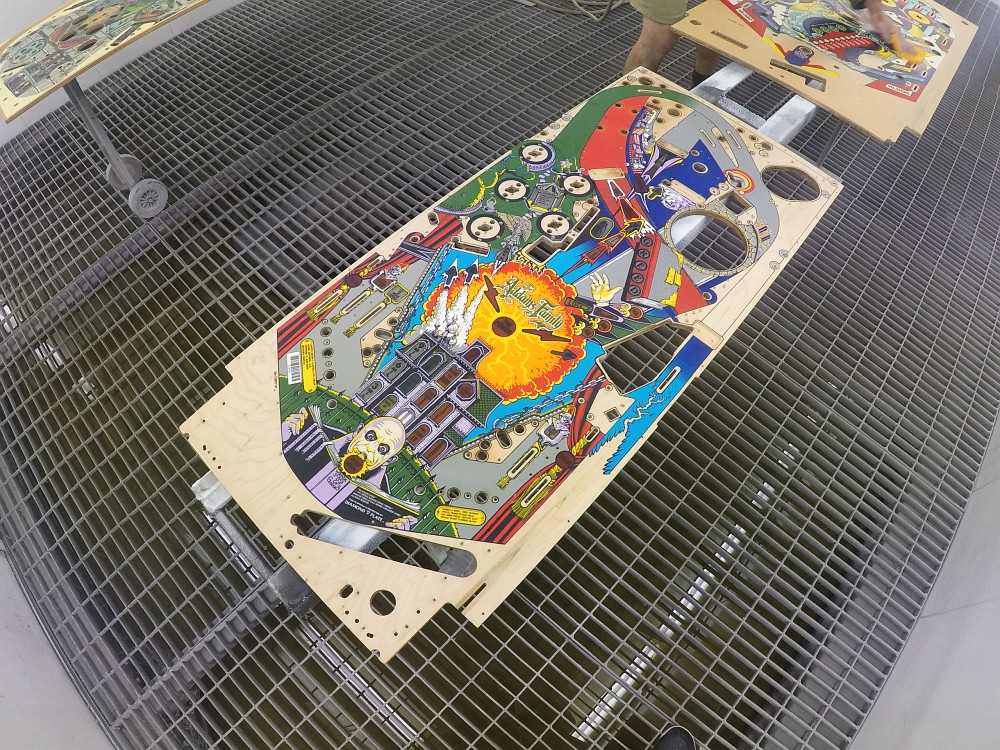
Cleared...
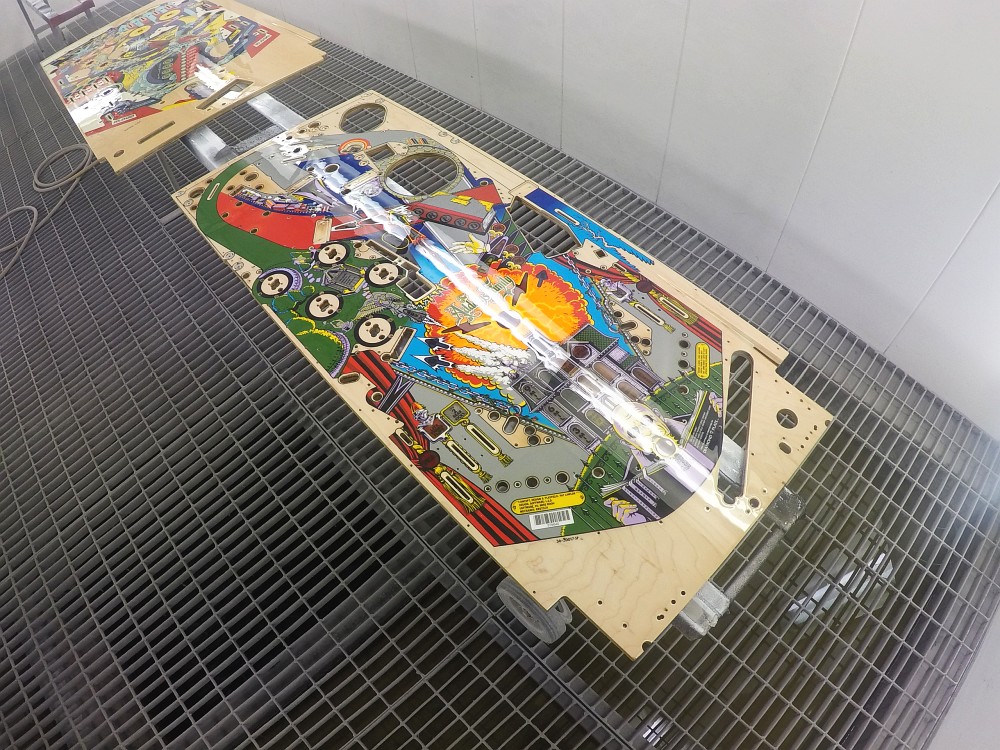
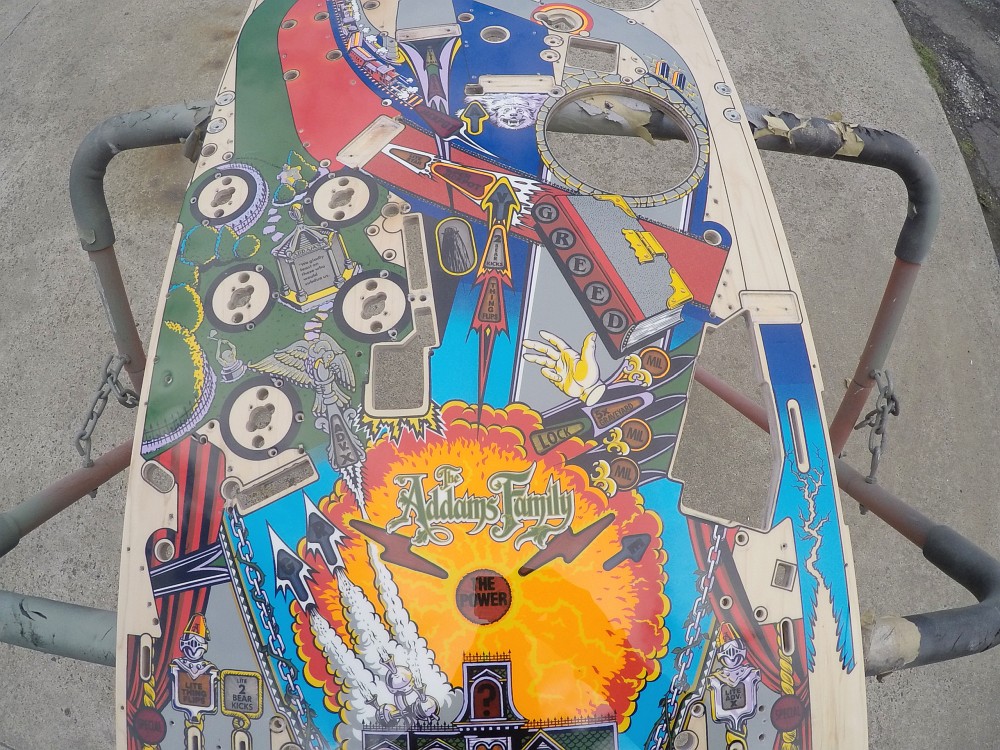
Playfield is complete and ready to go back to APR for re-assembly...
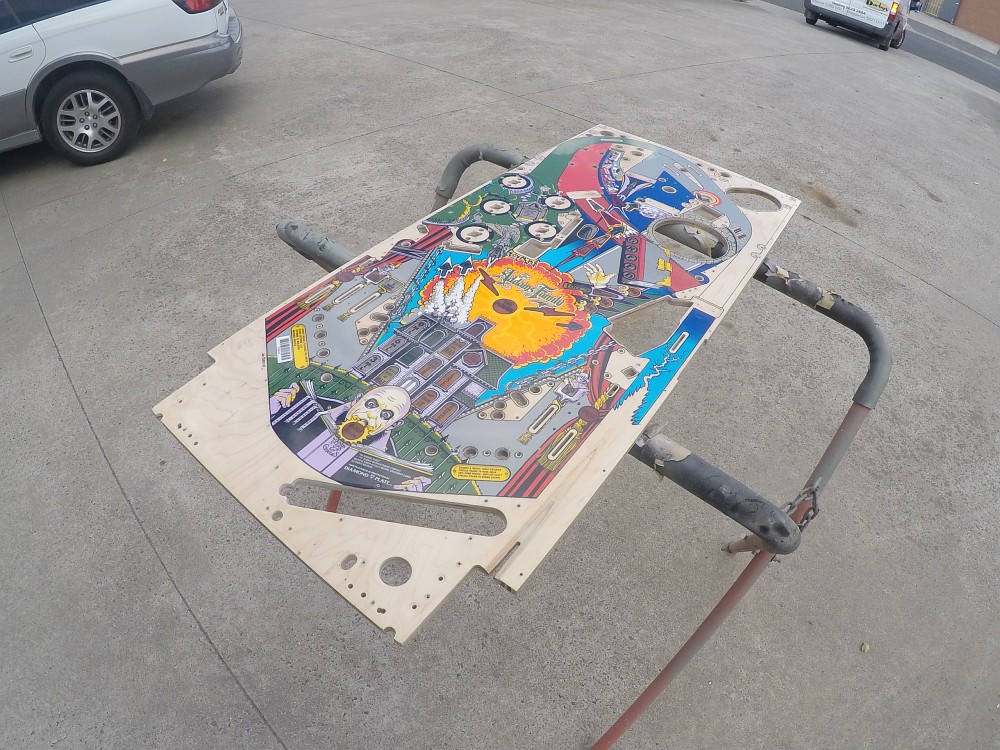
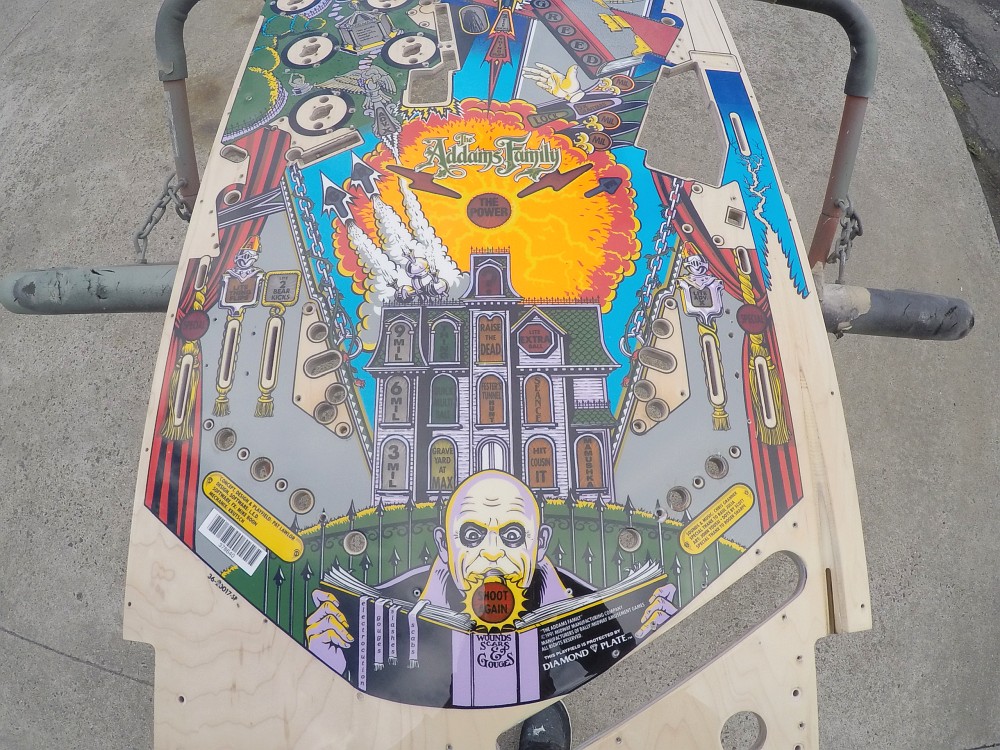
Couple of holes will be re-drilled prior to assembly but best to leave the paintwork to fully cure before that happens...
Thanks for reading guys, im sure Nino will post more as the game is being rebuilt for the client.
Tim
HRP