Hi guys,
The HRP shop recently completed a Bally Who Dunnit, and I thought a few resto guys might like to see what went into it, given there are limited game specific parts available for this title.
The following is a visual diary of the build.
Game arrived, and setup ready to document...

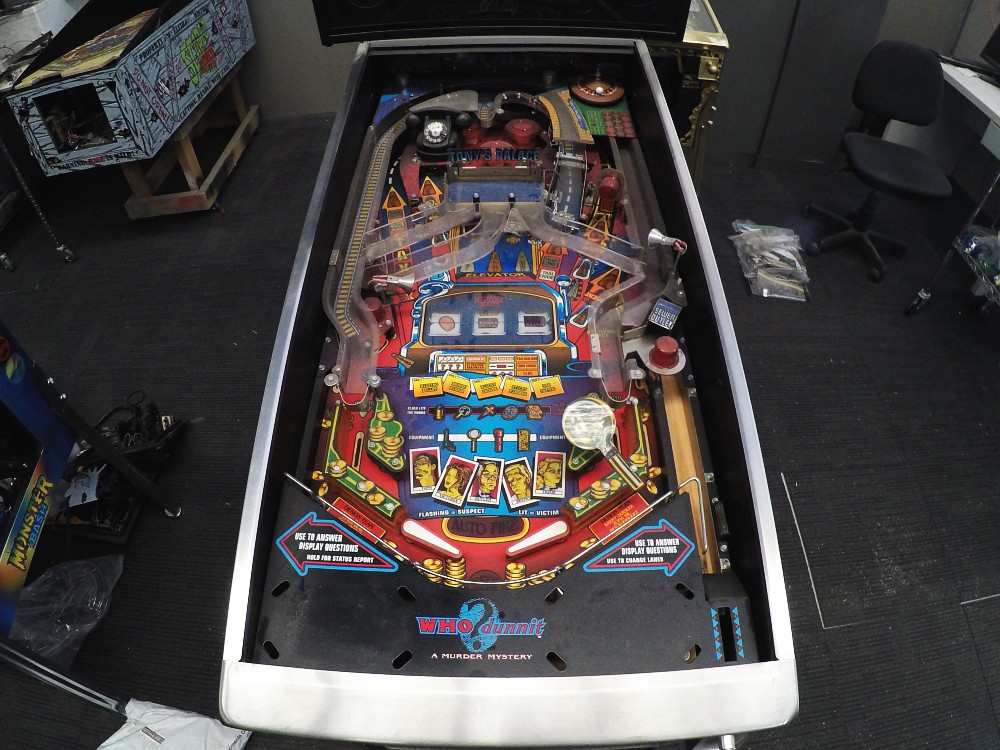
Overall a neat, original game. Still needs a heap of work but it is complete...
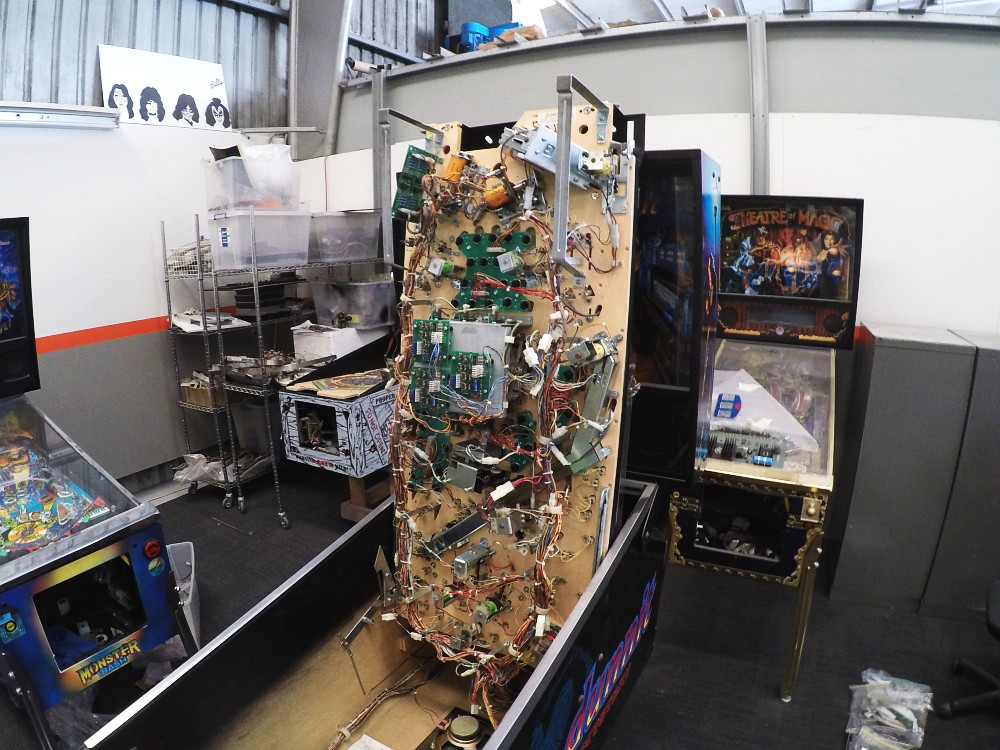
Playfield documented underside...
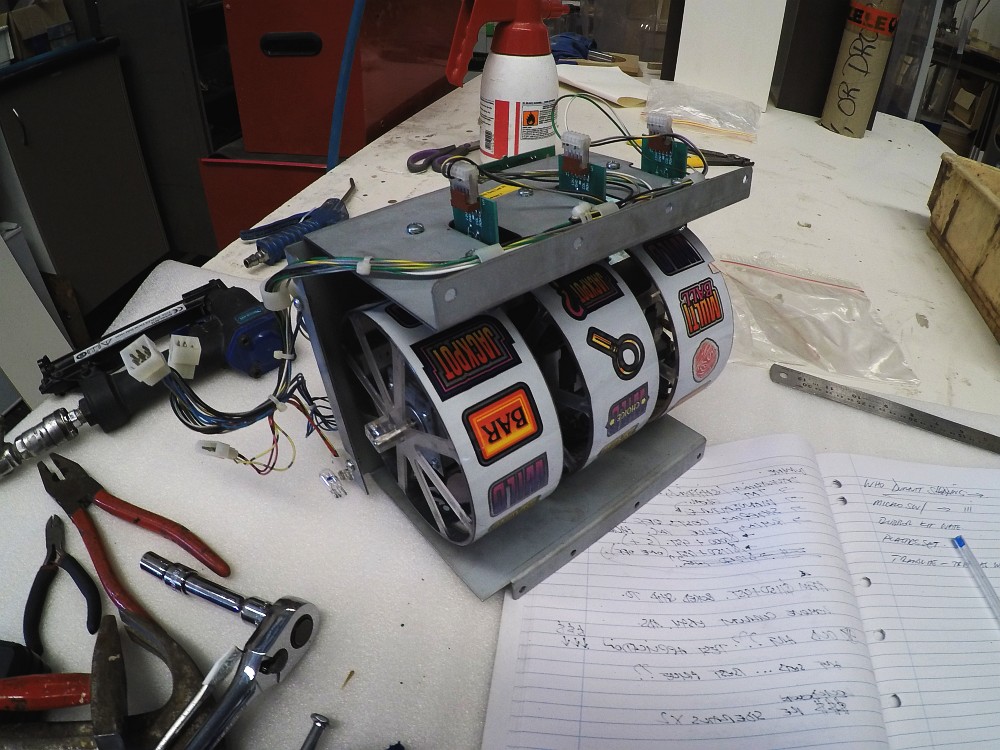
Bally slot machine assembly pulled out as i will rebuild this seperately at home...
Teardown and documentation begins...
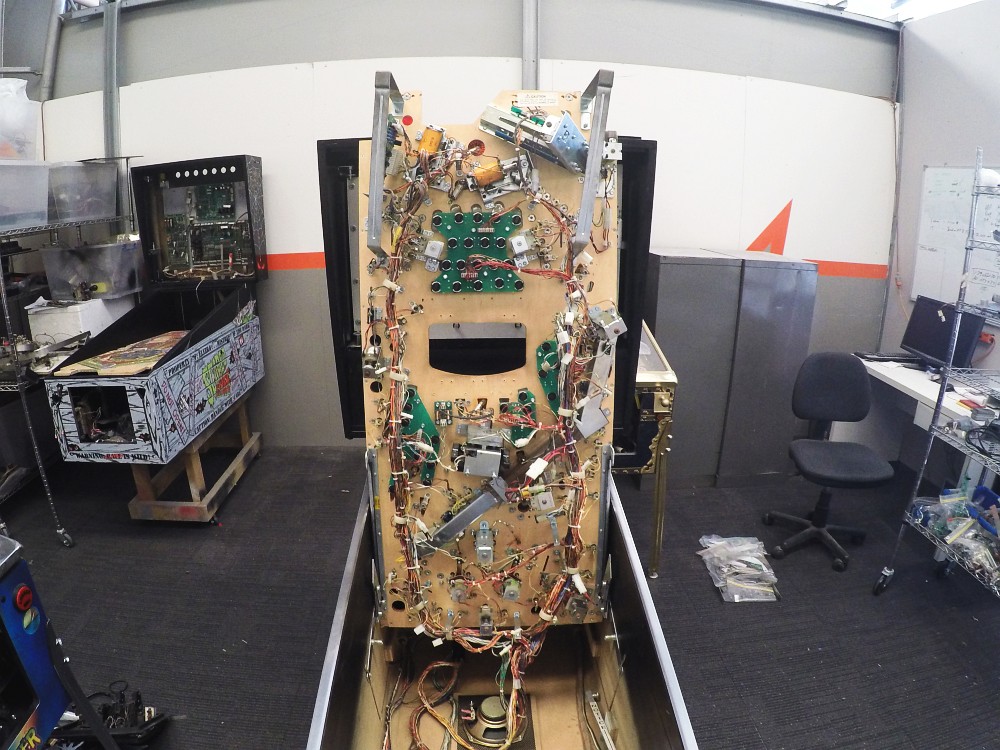
Most of the underside is removed, p-clips are noted and ready to remove playfield...
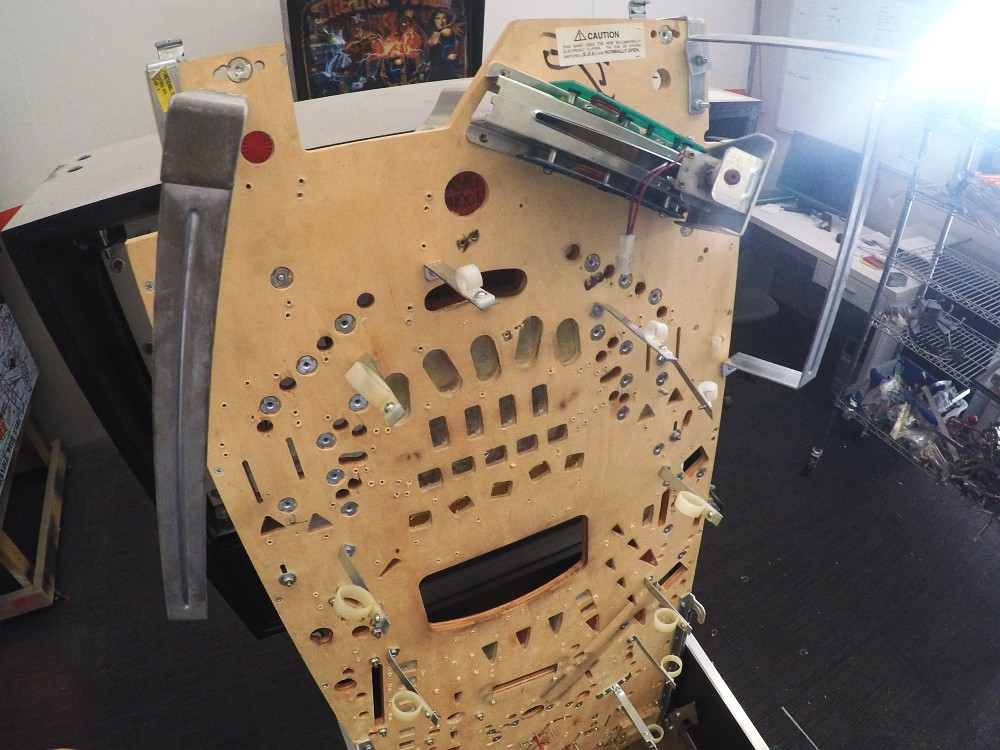
Mechs ready to break down...

Playfield ready to move to the first restoration stages...
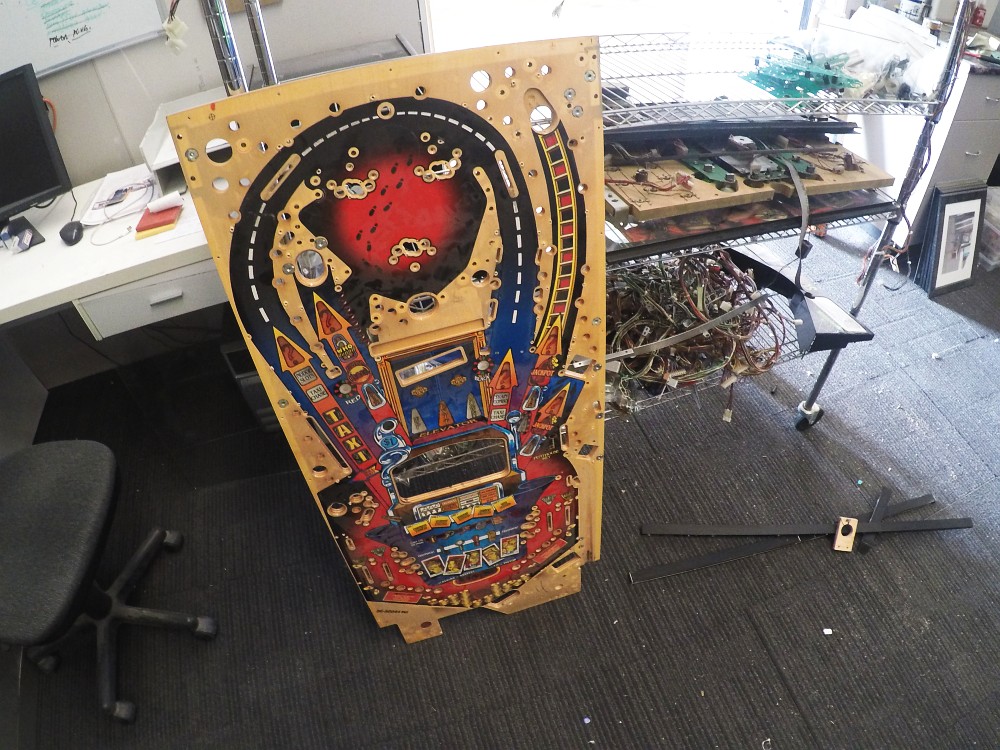
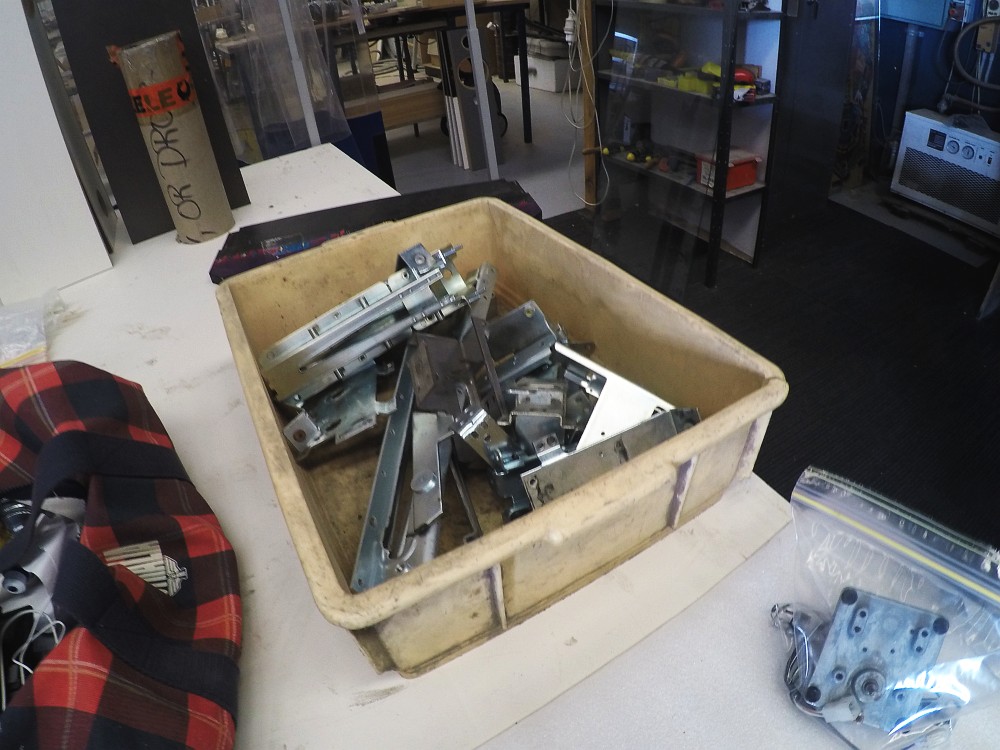
Major assembly brackets will be nickel plated to brighten them up...
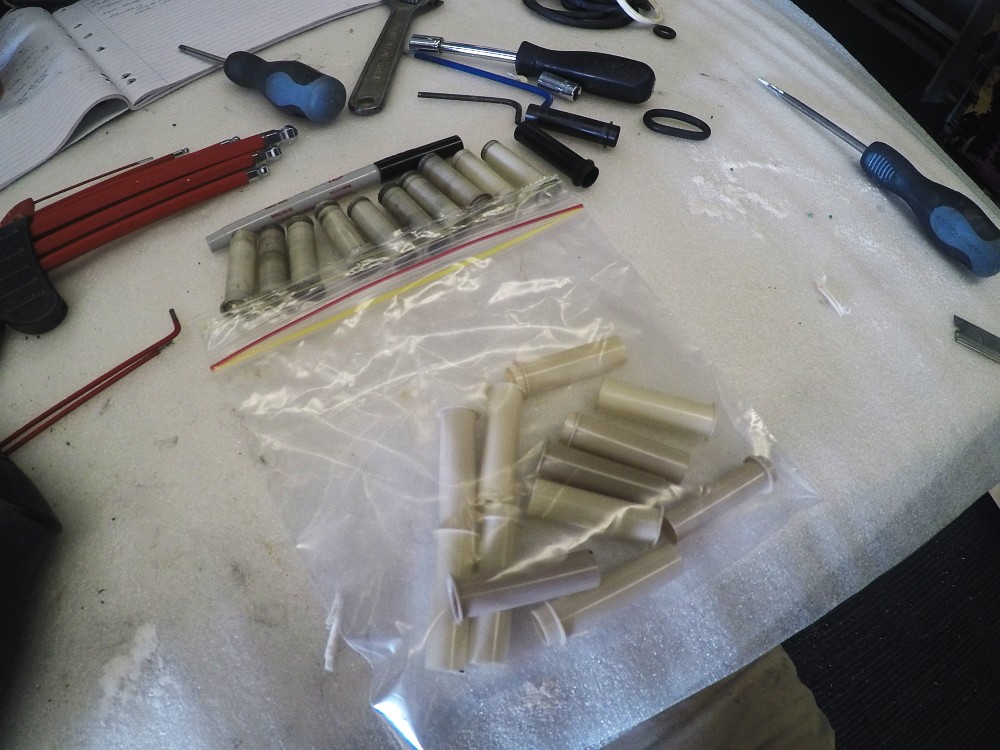
New coil sleeves are cut and set aside until required...
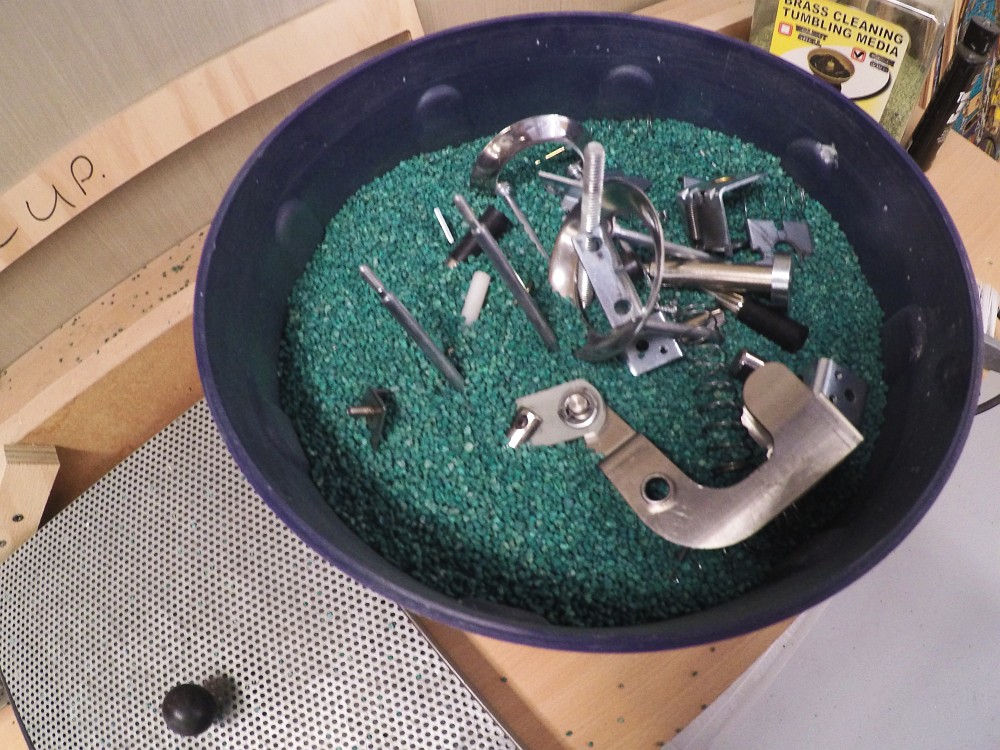
With the mechs broken down, all other components are tumble polished for a while...
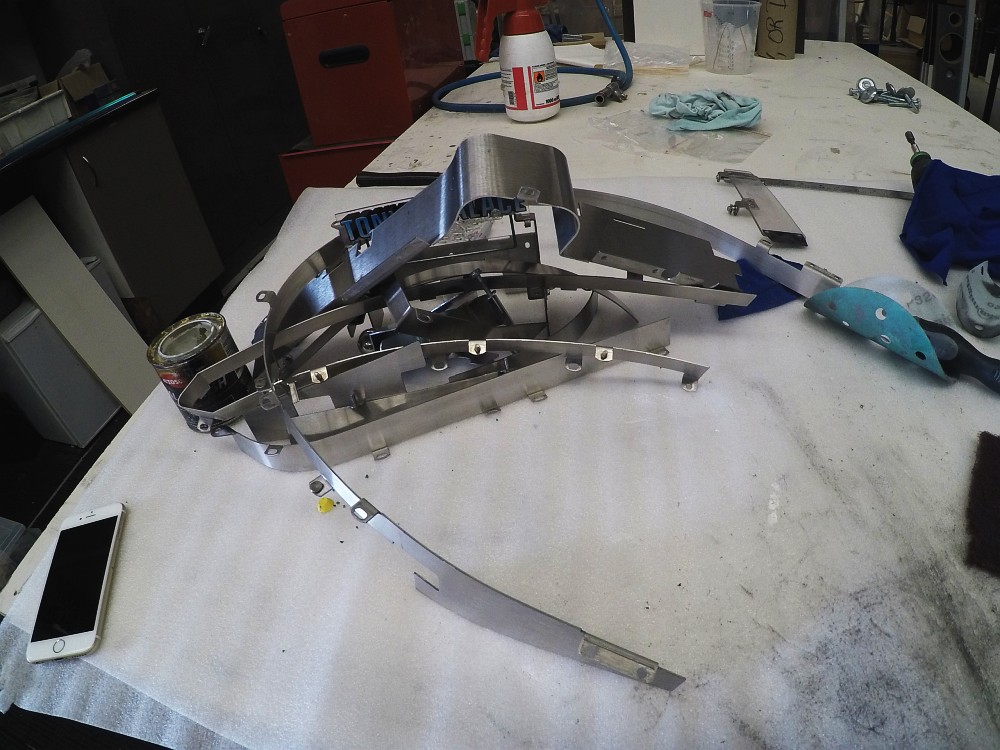
All stainless is re-grained and finished with scotchbrite...
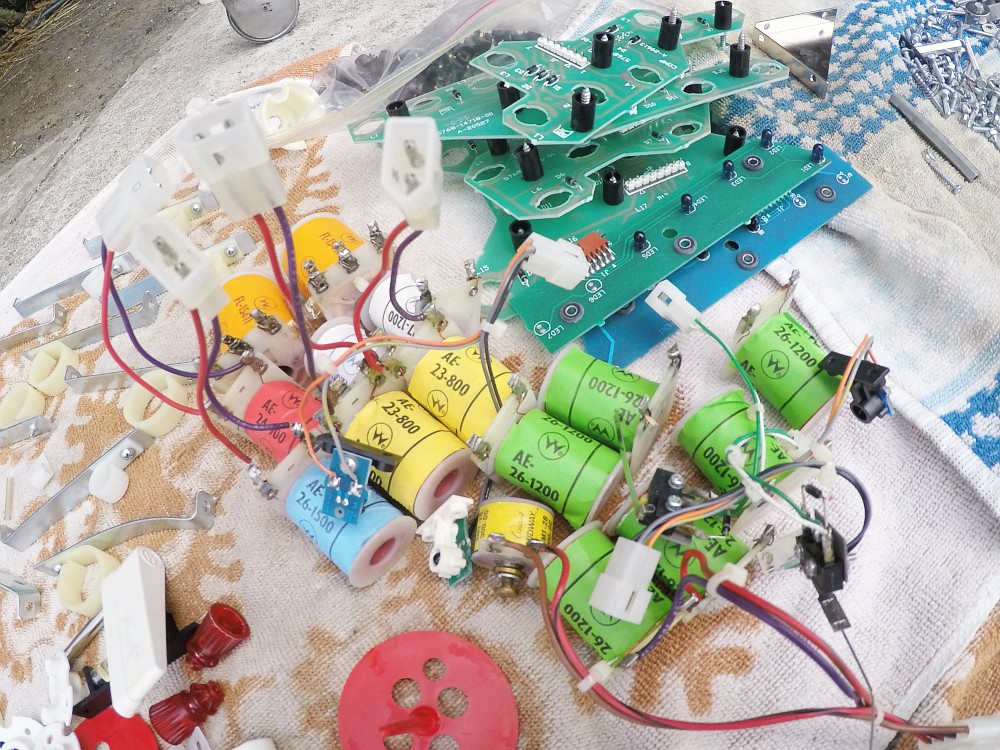
All of the playfield components are thoroughly cleaned, and polished etc...
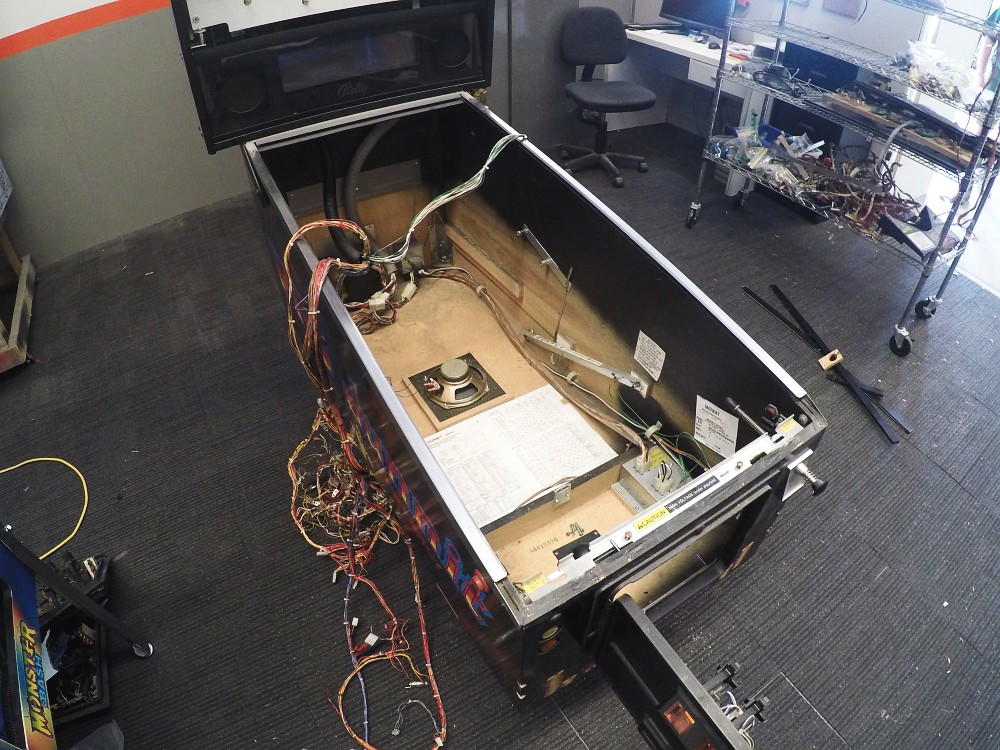
With the playfield components underway, its back to the cabinet teardown...
Replacement art isnt currently available so we completed a full restoration and repair on the original cabinet and artwork...
Backbox underway...
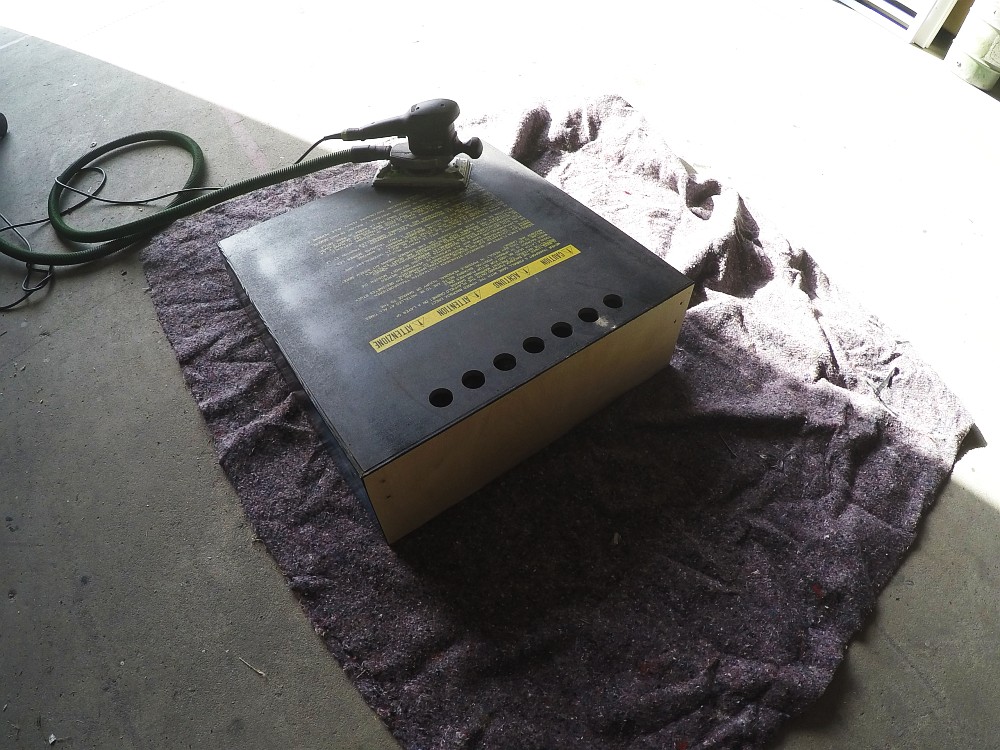
Repairs to backbox...
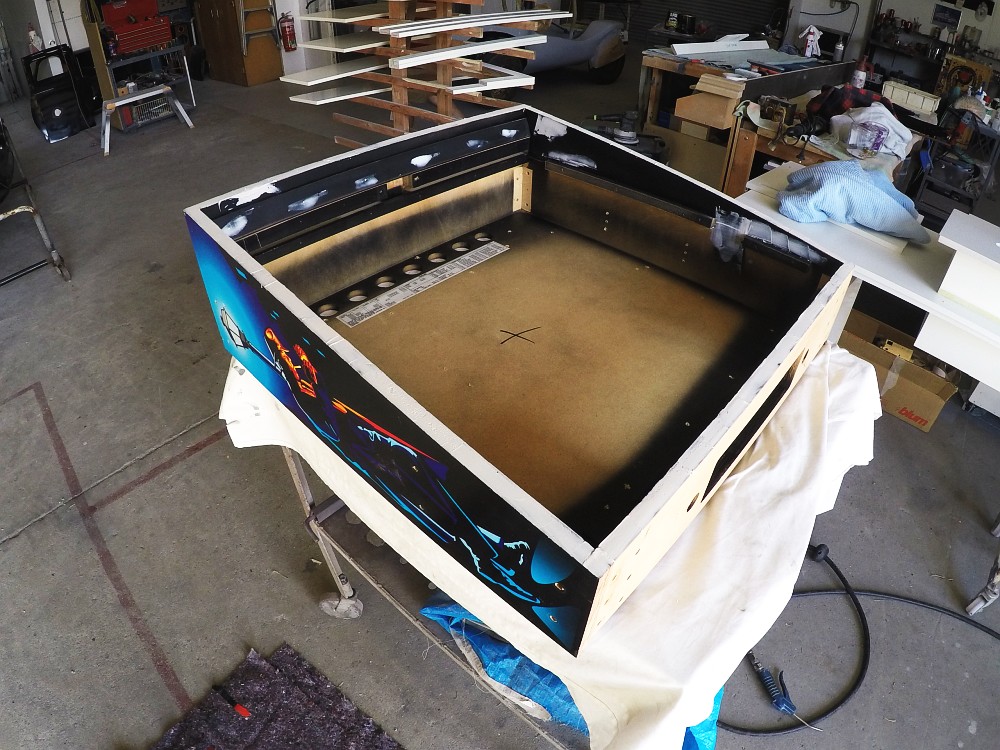
Removing siderails carefully on the lower cabinet...
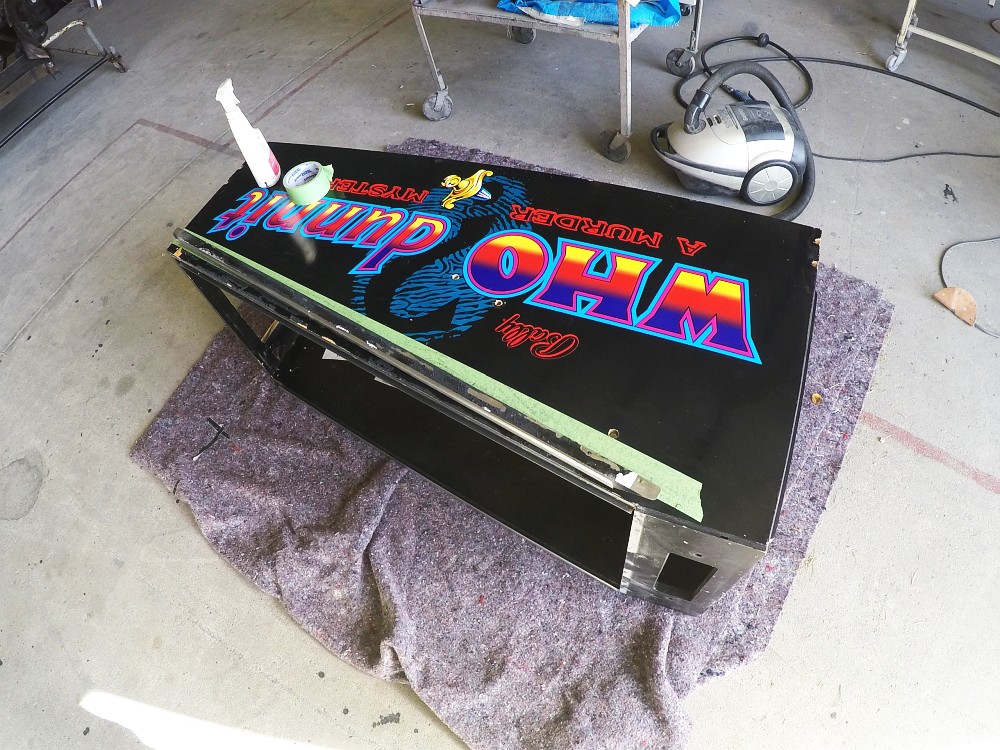
Seams and joins eliminated on upper...
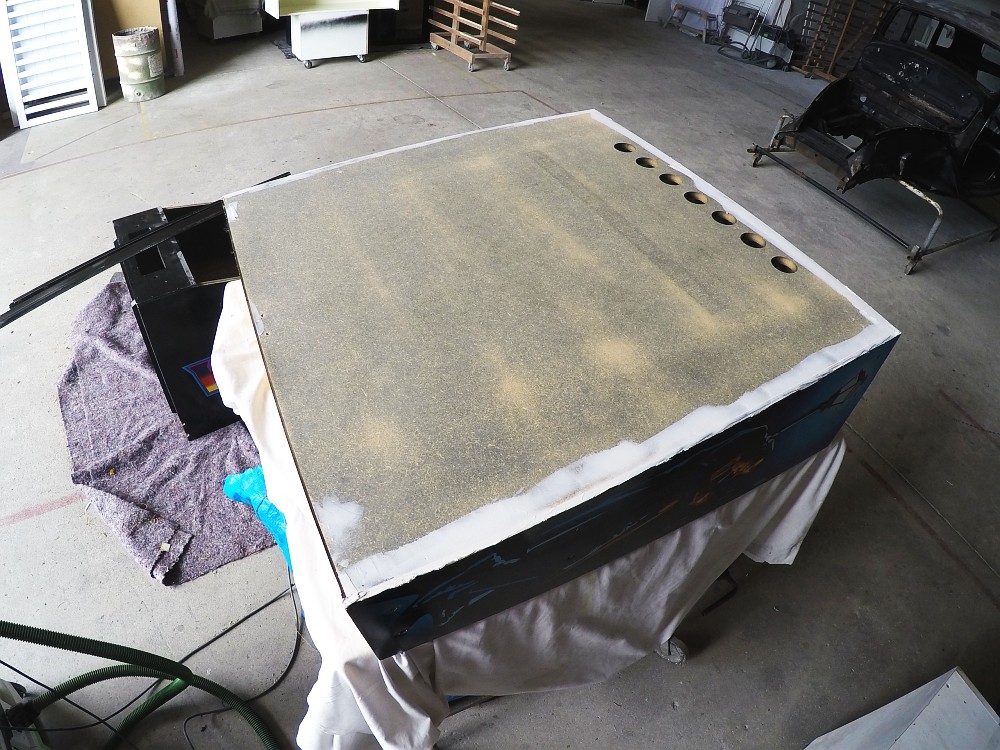
Detailling the underside of the lower cabinet...
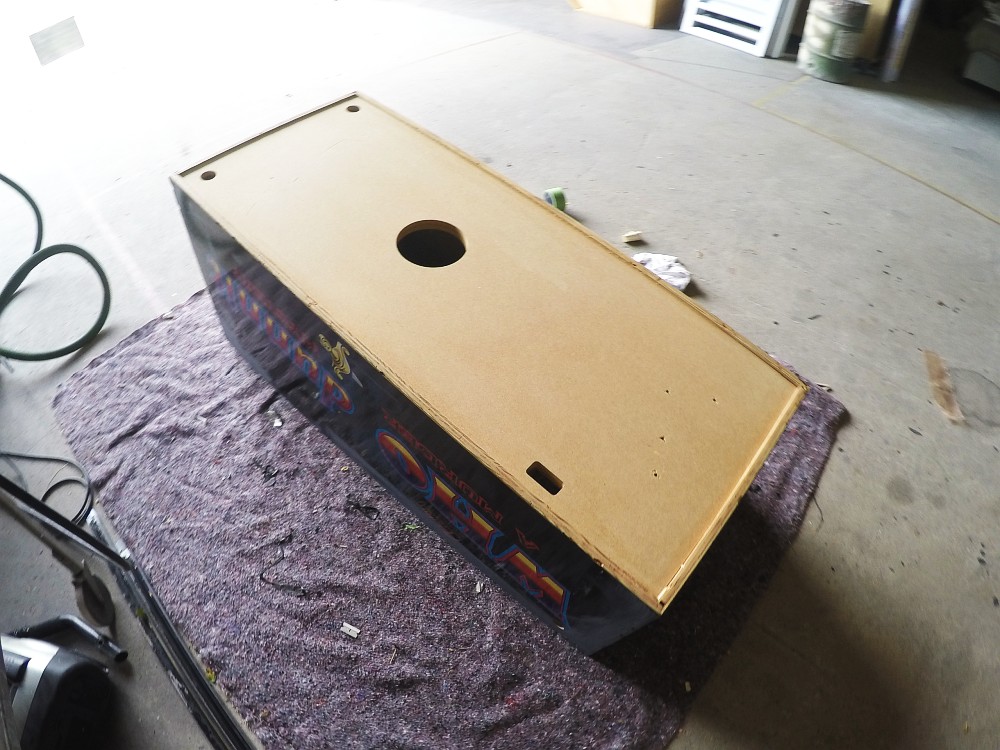
Repairs and timber areas in primer stage...
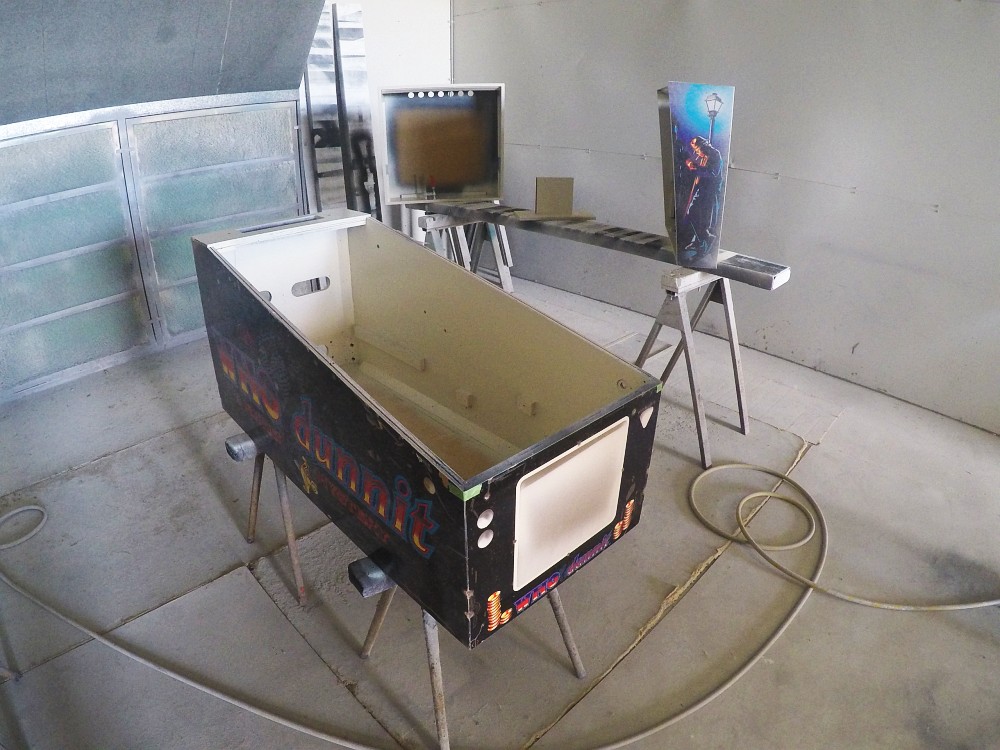
Again...
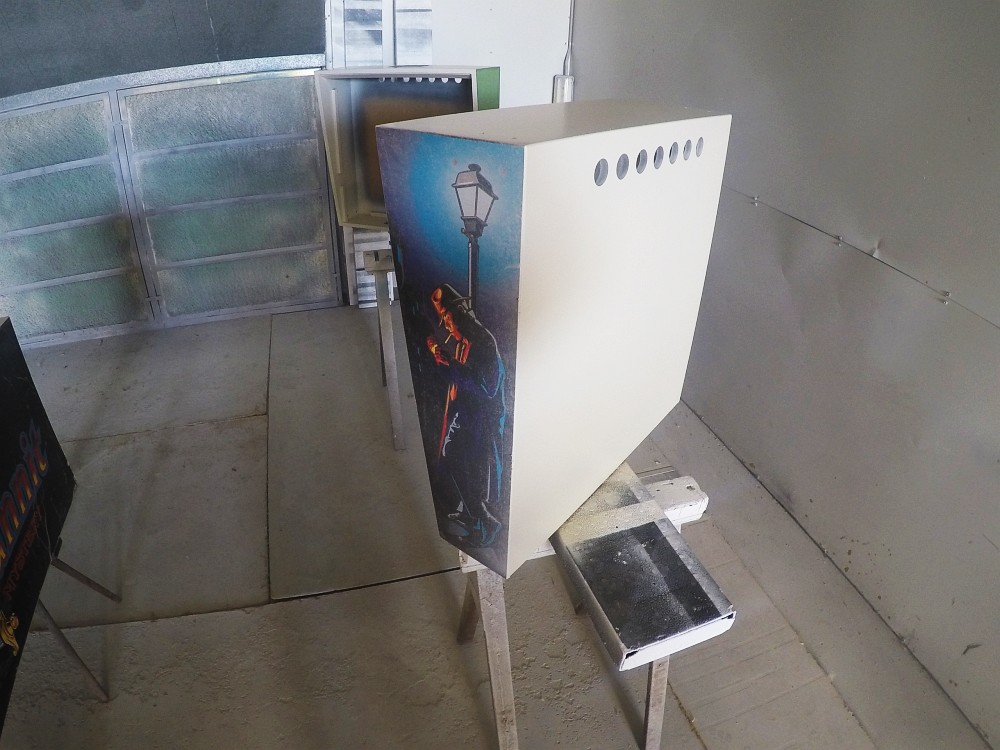
Cured and ready to prep for topcoat...
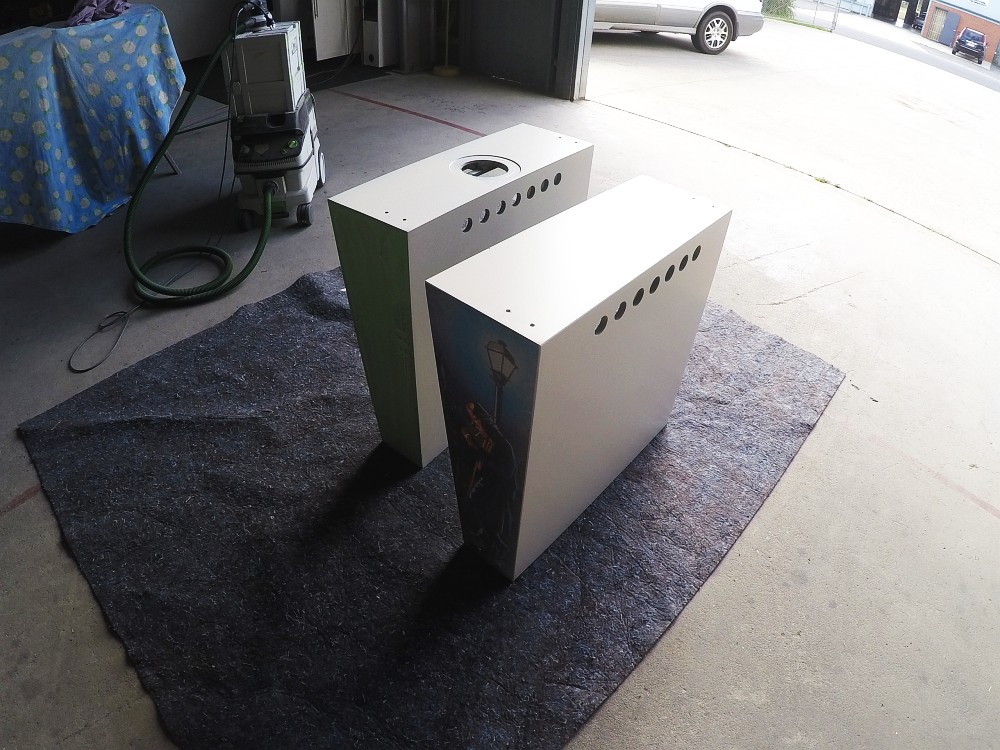
Topcoat applied on backbox...
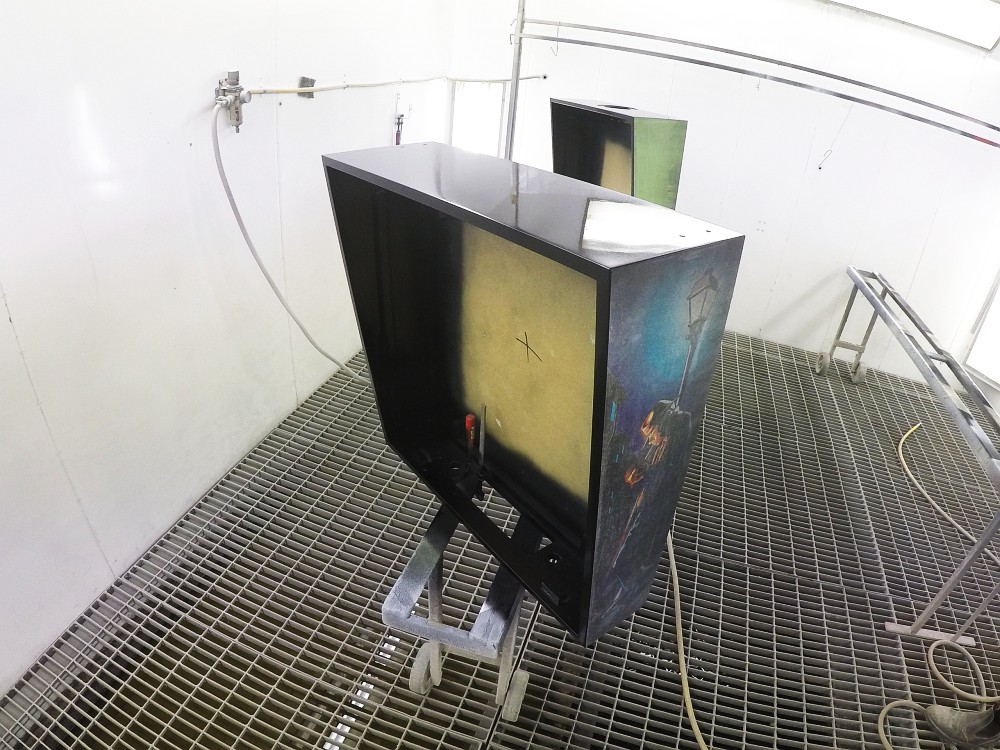

Again, there is probably another entire thread on this process, but similar to the playfield work we do - we are masking and painting back in the colour that has faded, along with the black areas as well...

Black applied here...
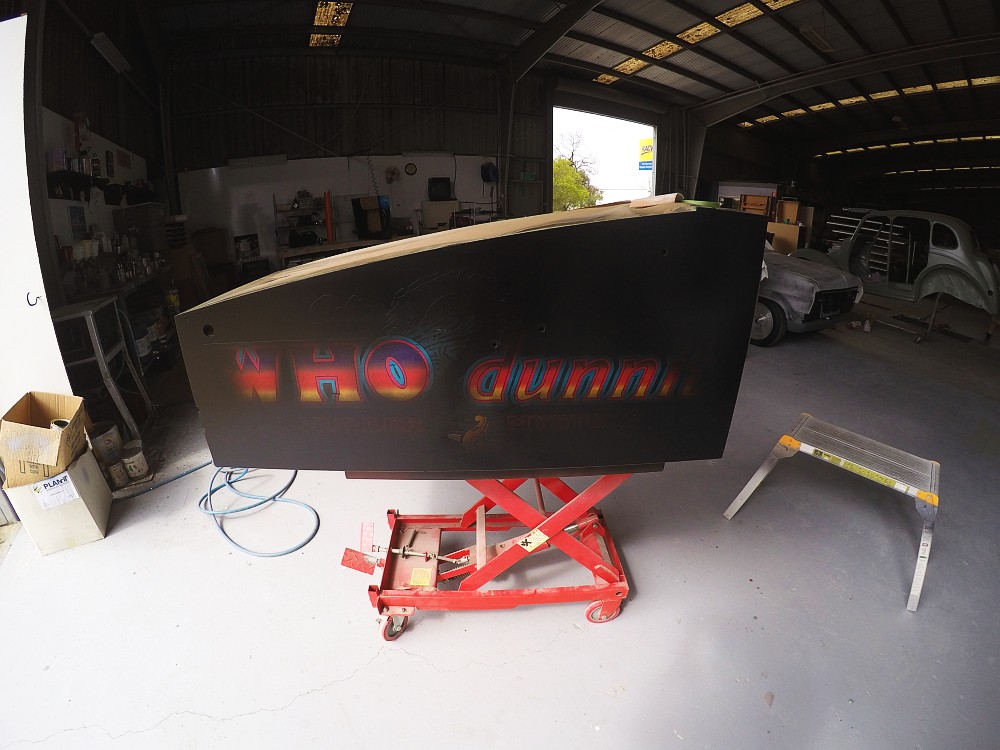
Unmasked and ready for the next stage...
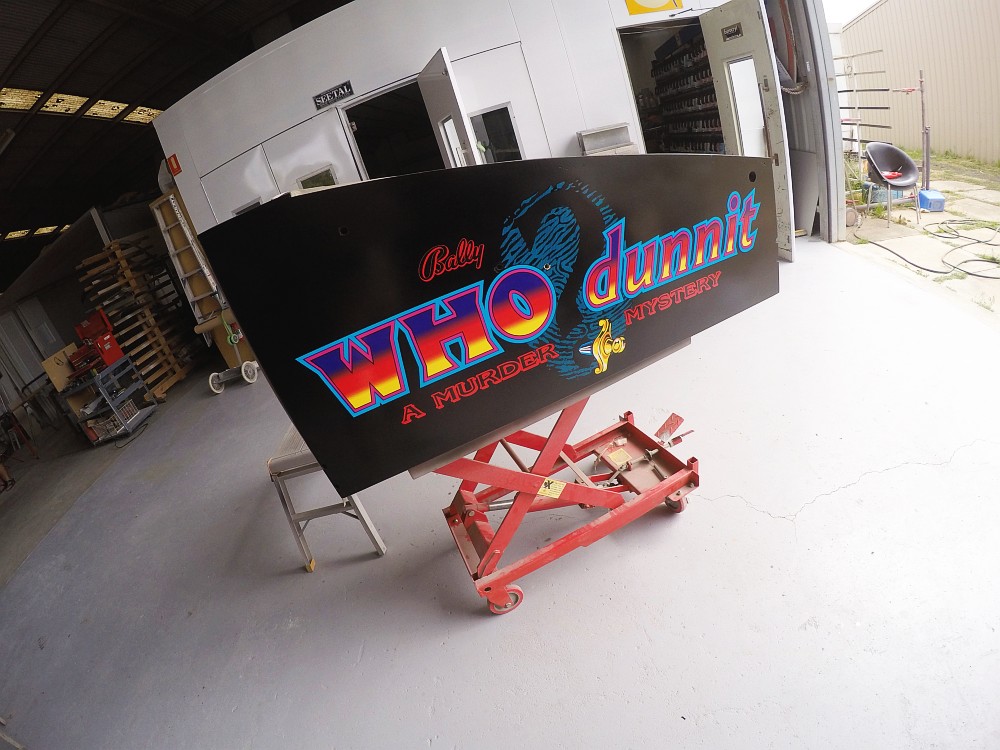
Cleared. We chose a gloss level on par with an original cabinet finish. Straight gloss is just a bit too much in my opinion...
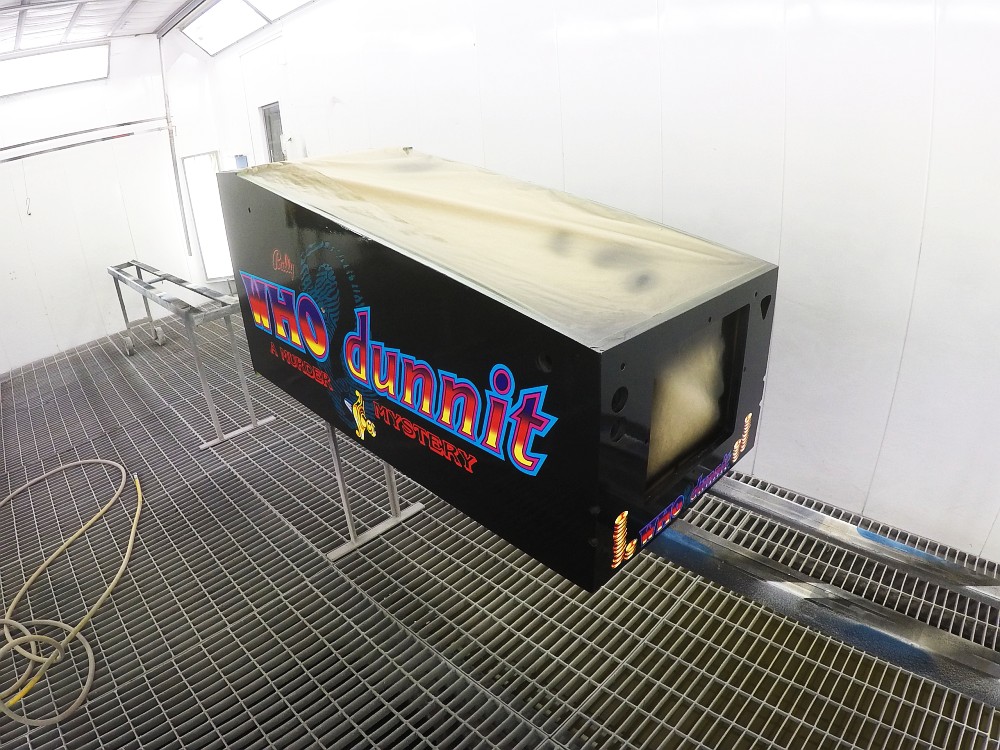
Backbox art repaired and cleared...
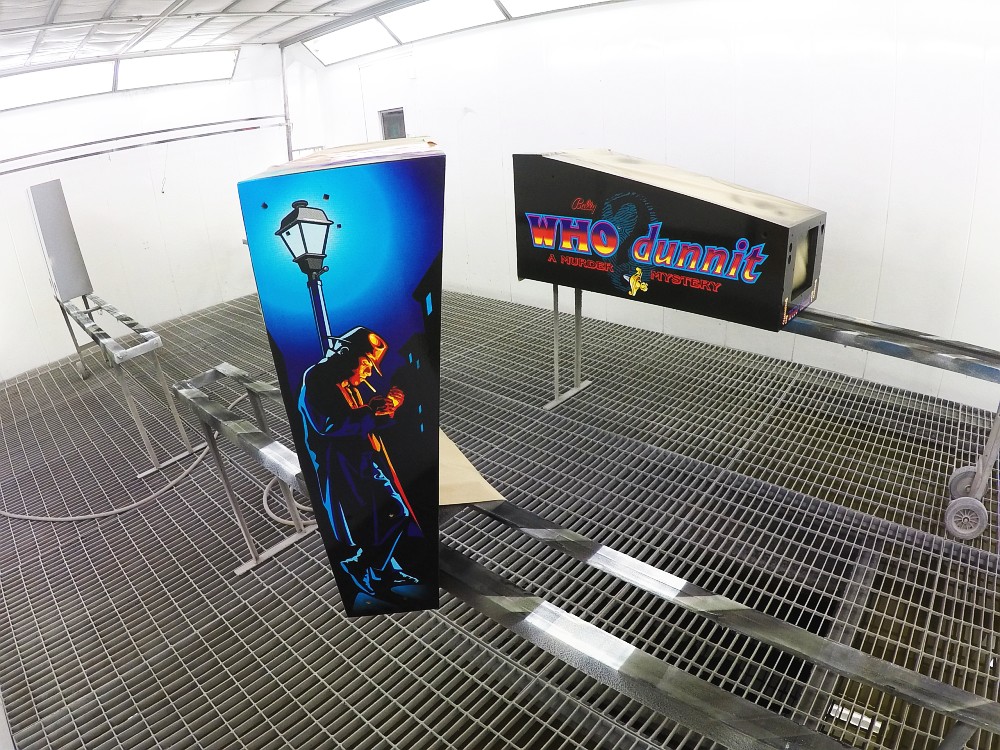
Cabinet is finished and can now begin its rebuild. During this process, parts have been ordered and most processes that need to be out-sourced to other contractors are finshed and back in house...
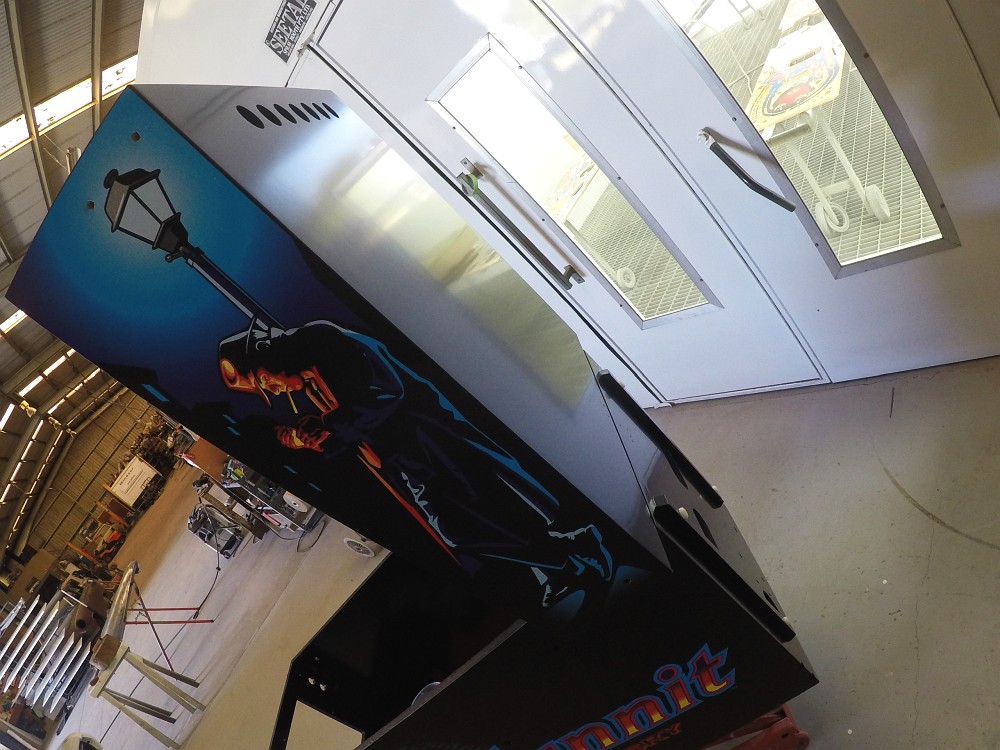
Majority of the cabinet is now built and just needs the wiring neatened up...
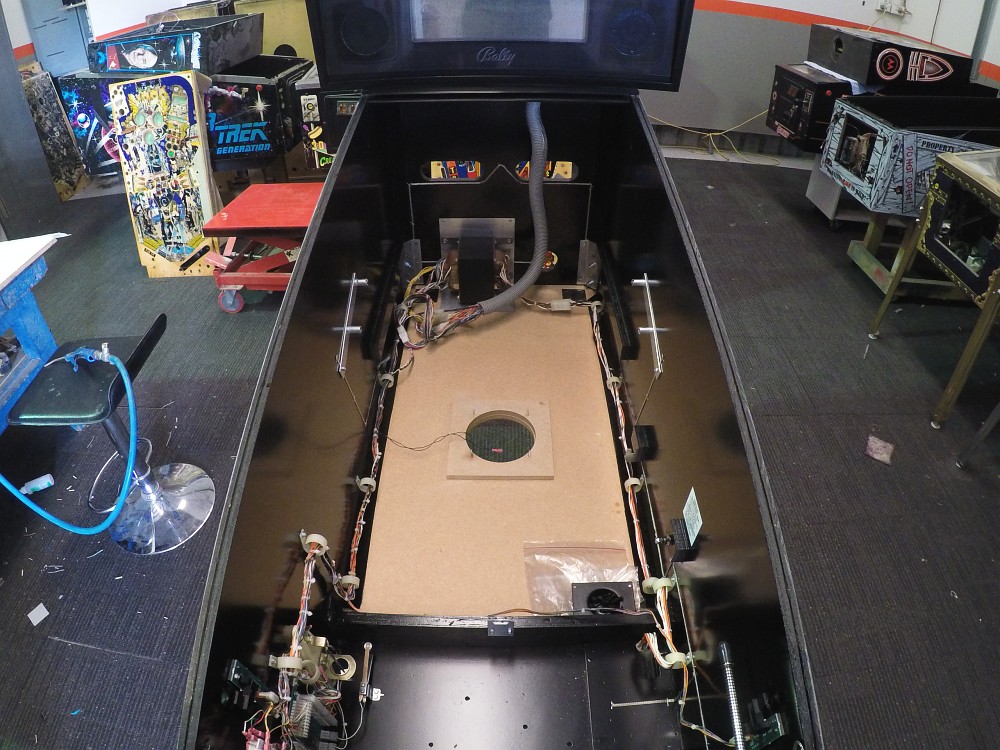
Details...
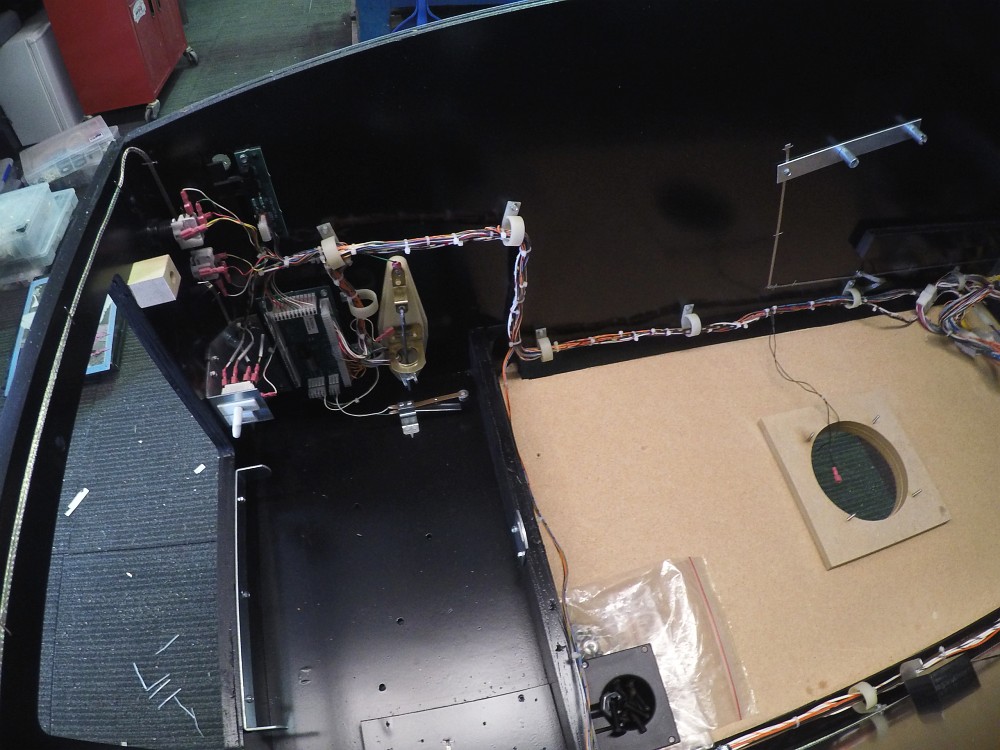
Backbox rebuilt and wiring run neatly. New decals were created and installed throughout the cabinet...
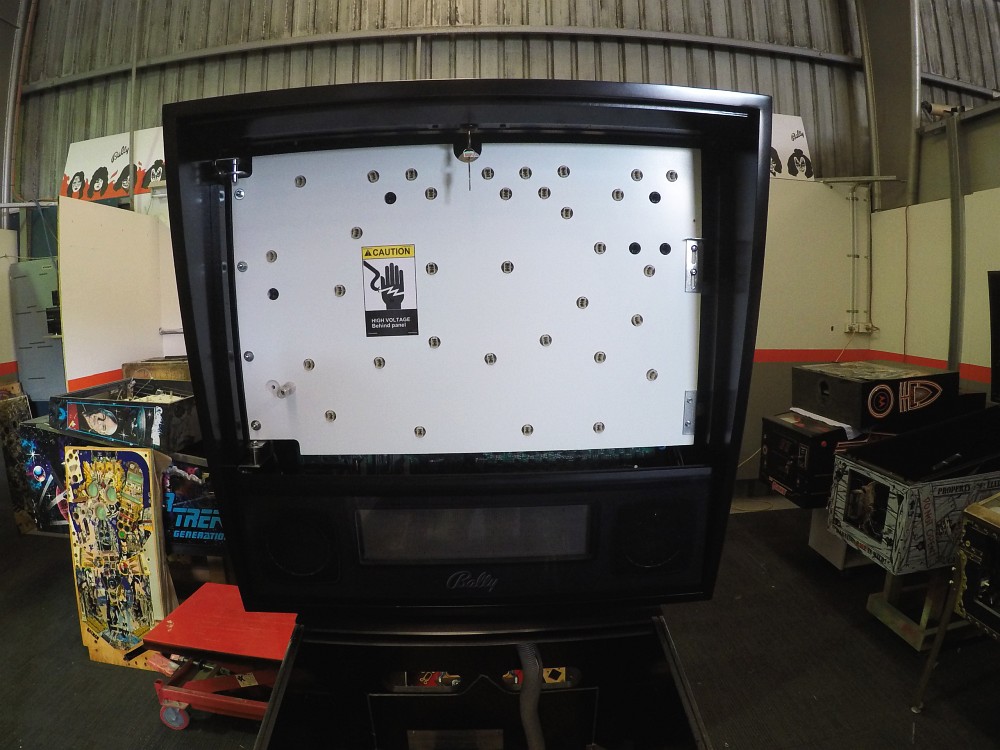
Next major restore component of the project is the playfield. I wont go into crazy detail as it was in quite good condition overall. The main stages of repair were as follows...
As started...
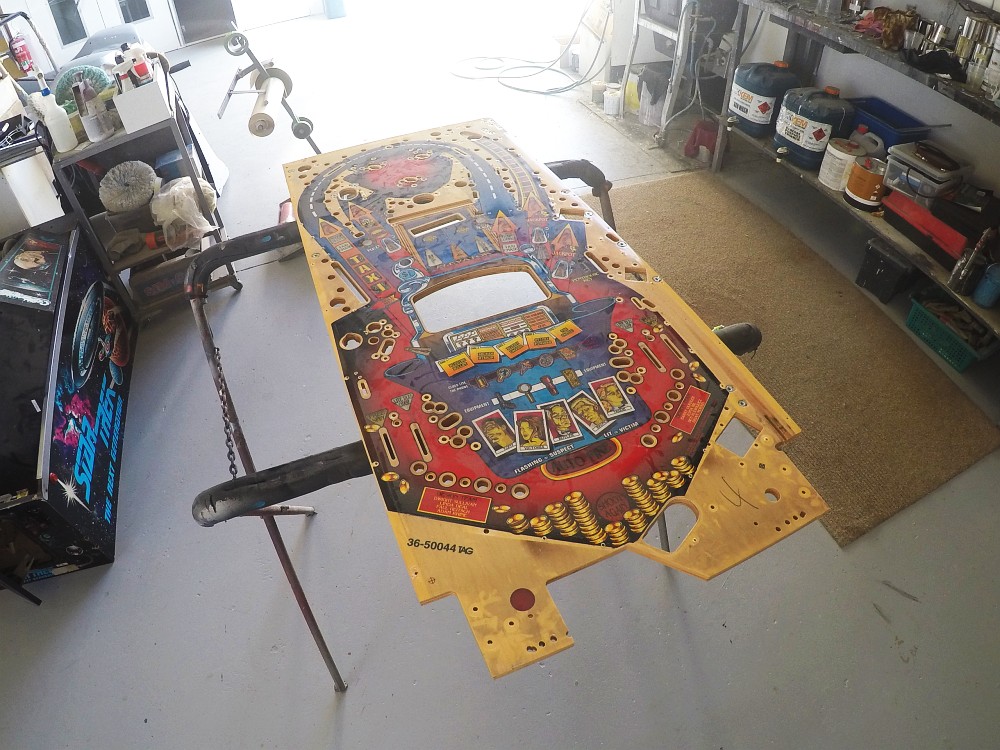
Prepped as per our usual process and in the booth to be cleared...
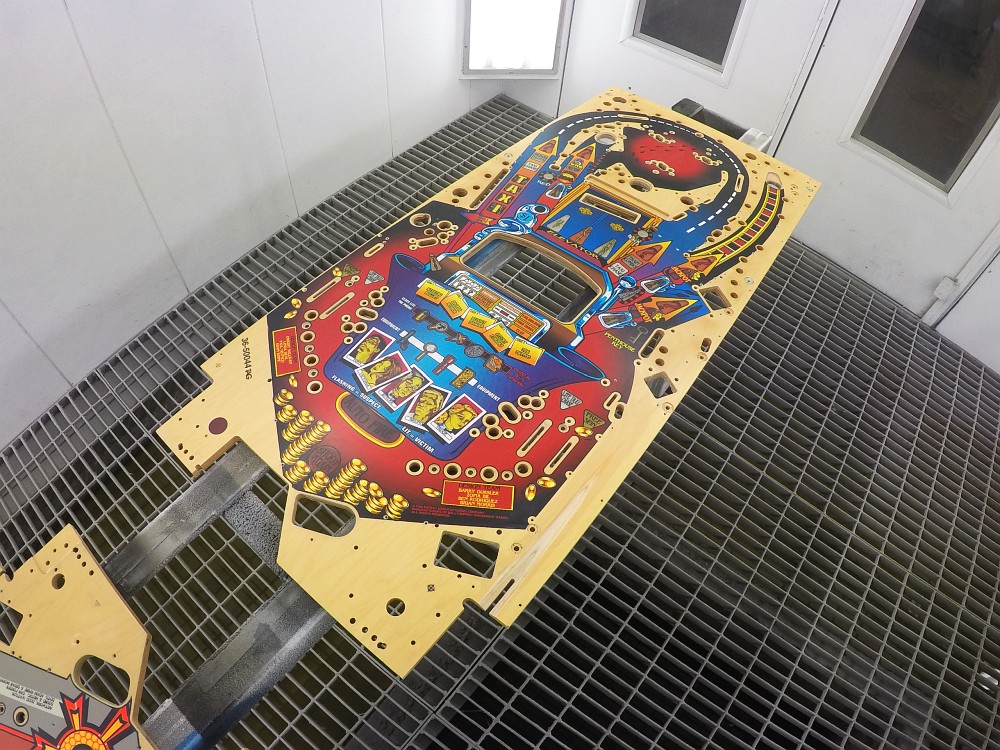
Timber tone refinished lightly...
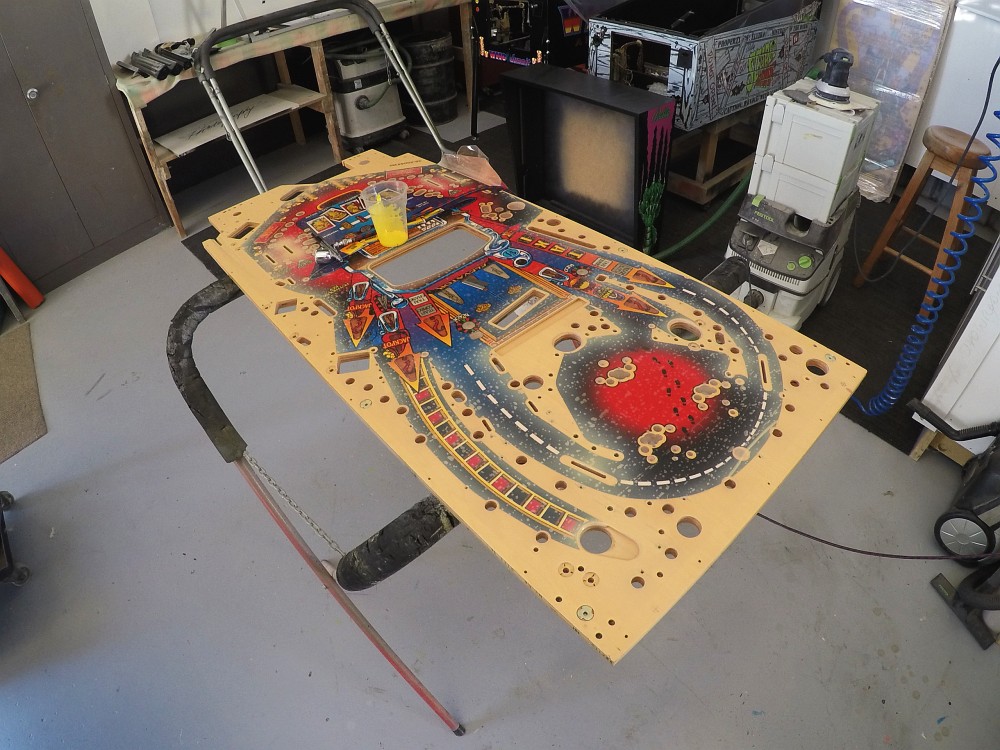
Lower inserts showed early signs of splitting artwork, so this was all refinished...
Folder fades...
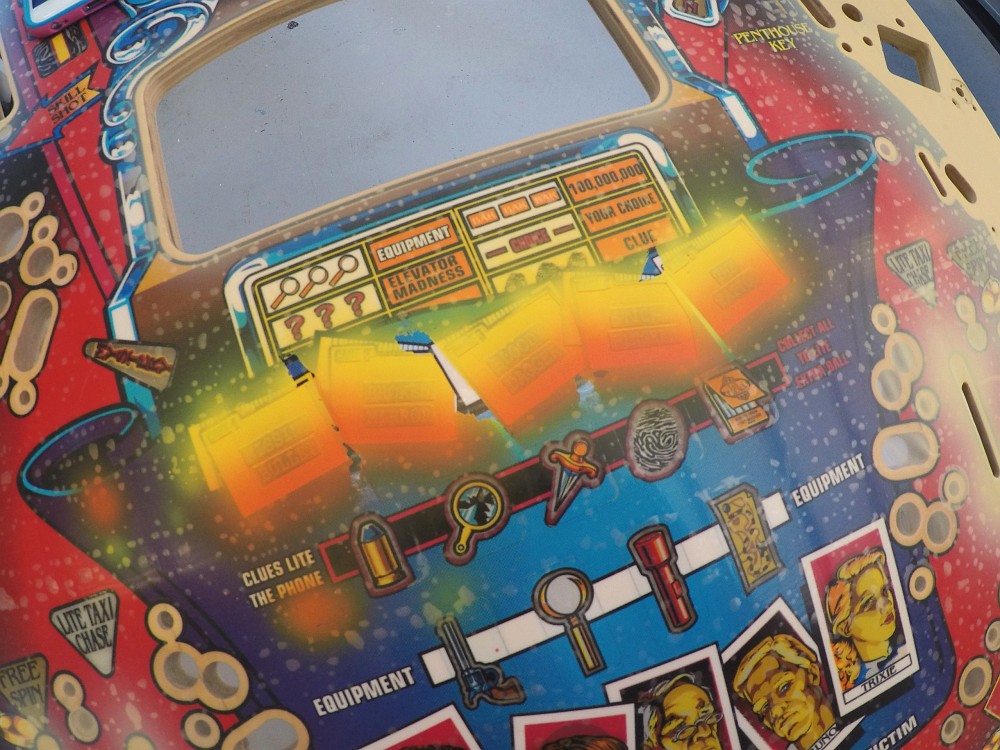
Entire blue/purple fade was masked and refinished...
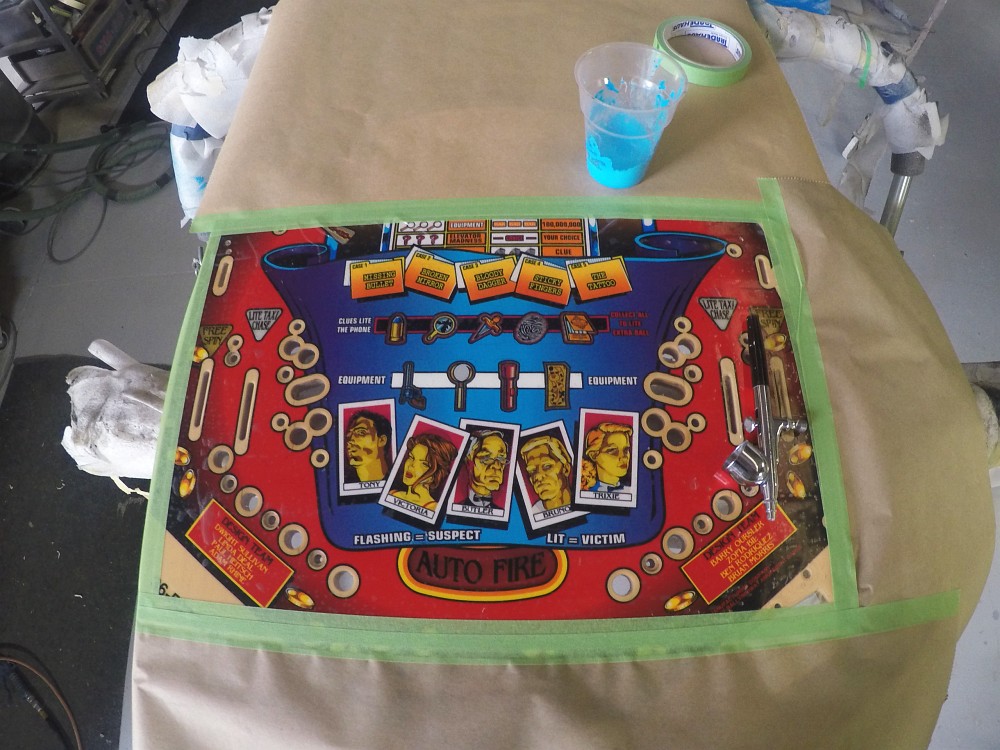
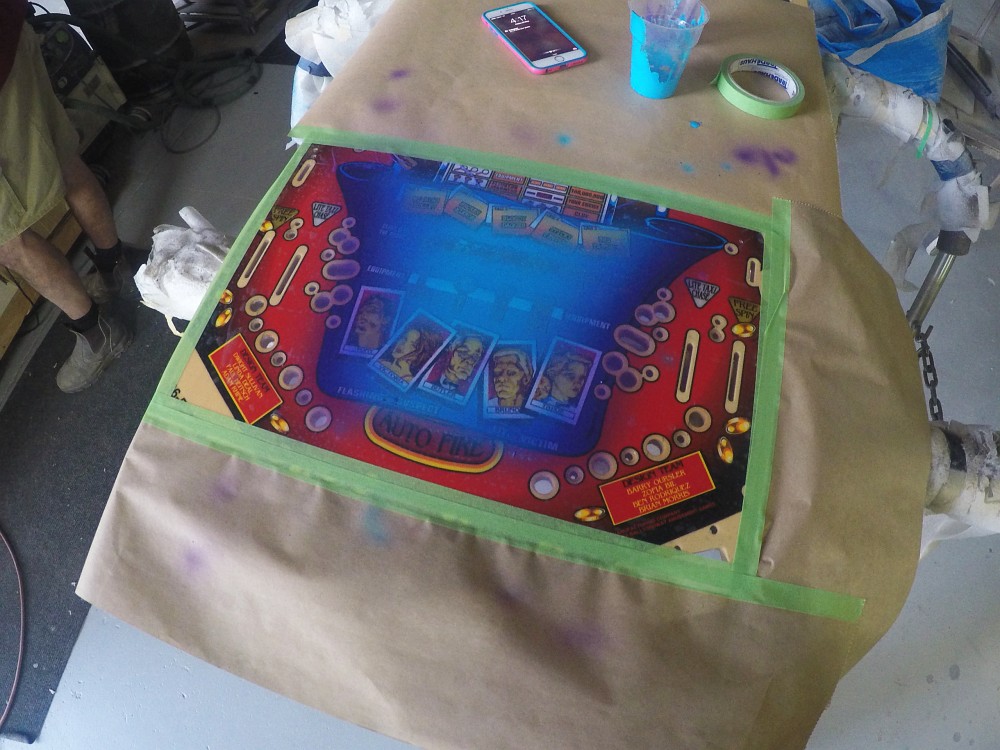
Unmasked...
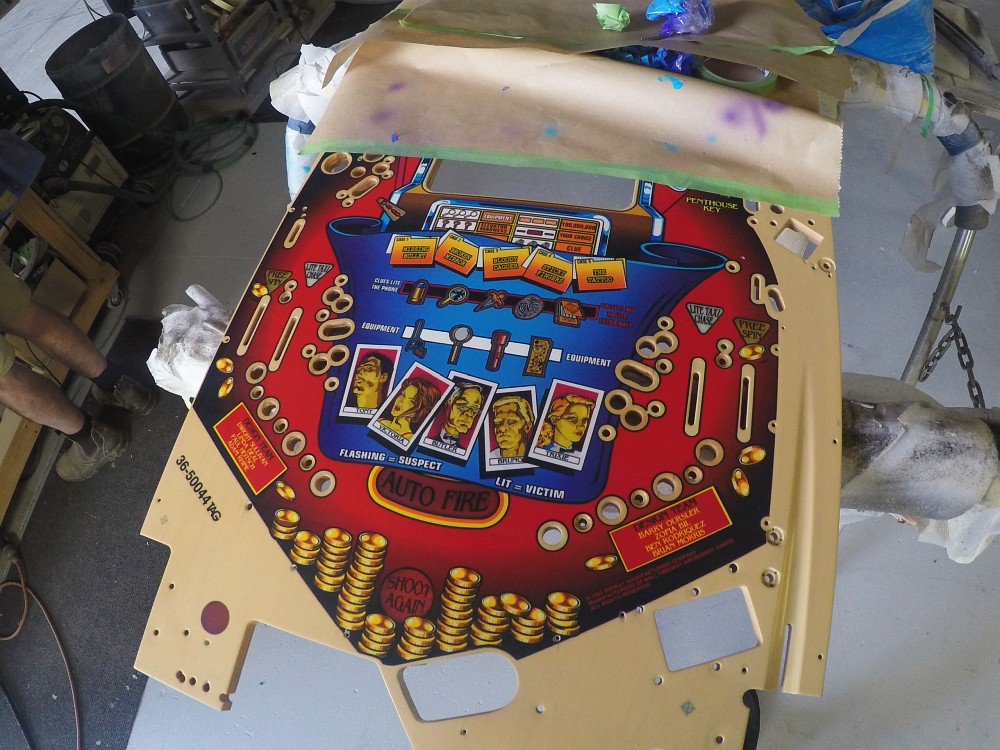
Overview...
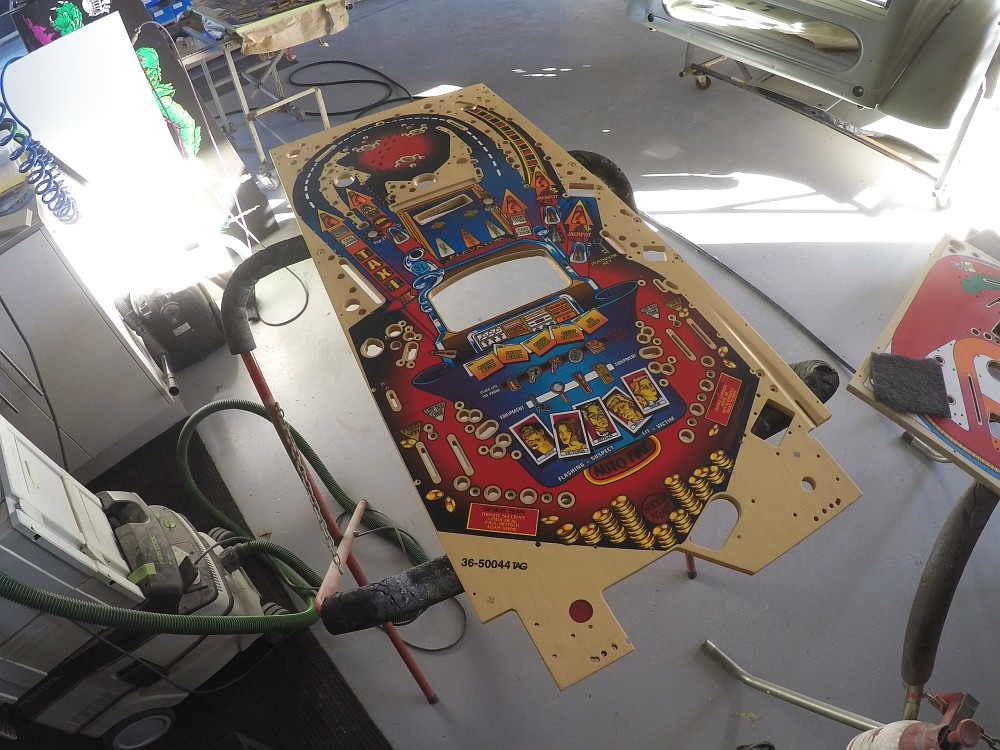
Ready to clear...
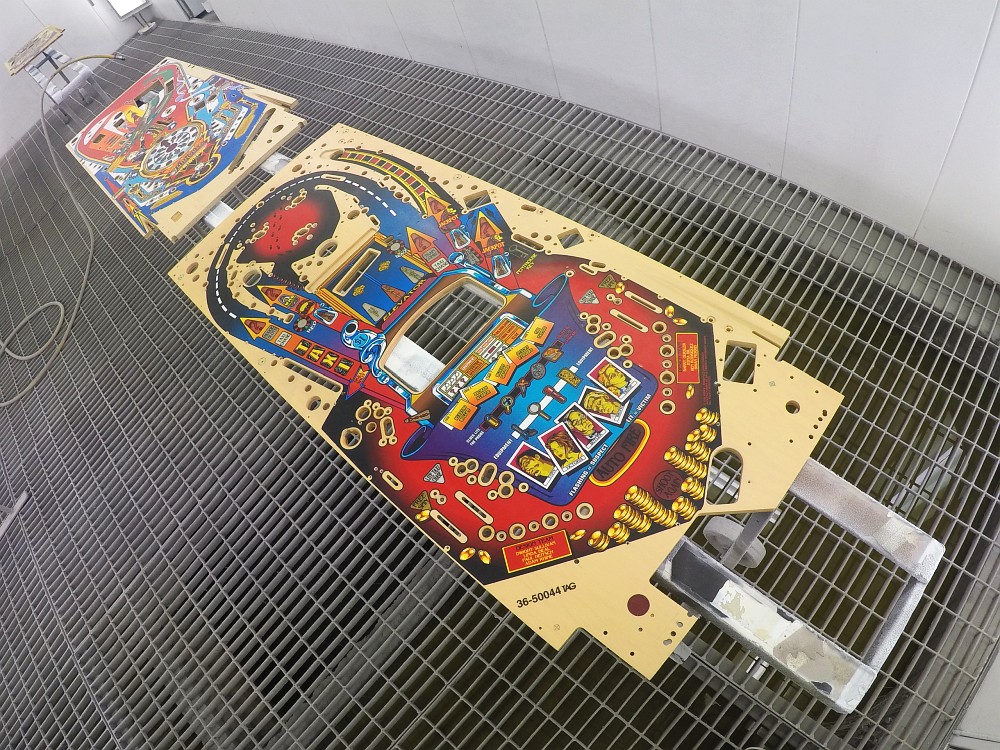
Cleared...
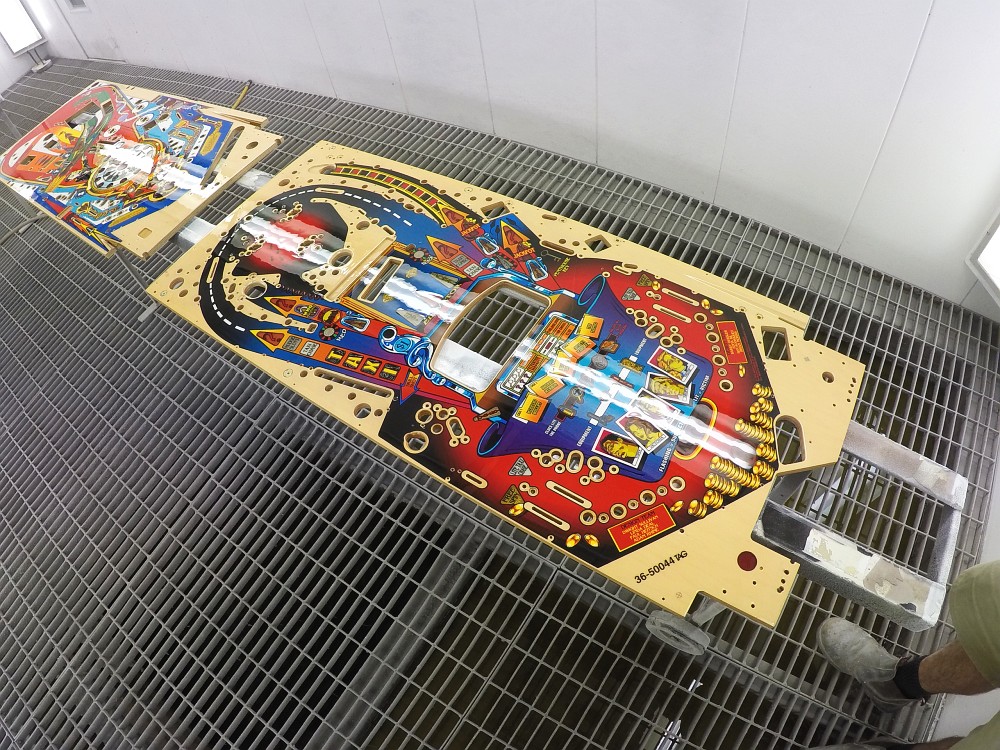
With the playfield complete, nickel assemblies can be rebuilt ready for installation...
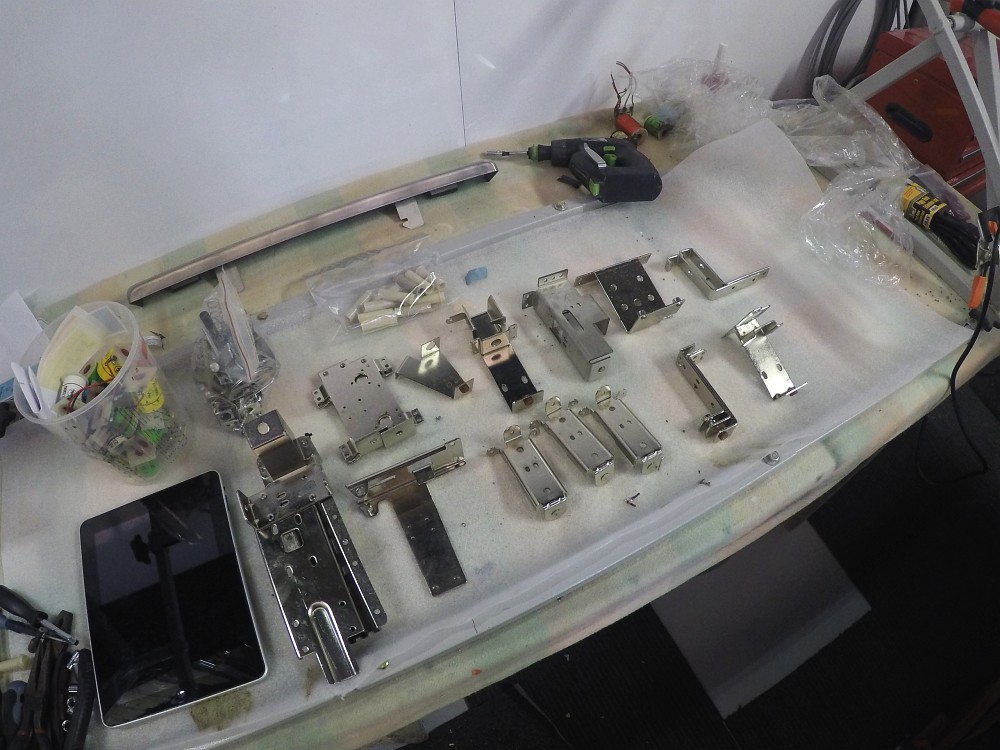
Pretty much everything rebuilt now, new micro switches on the mechs and wiring harnesses...
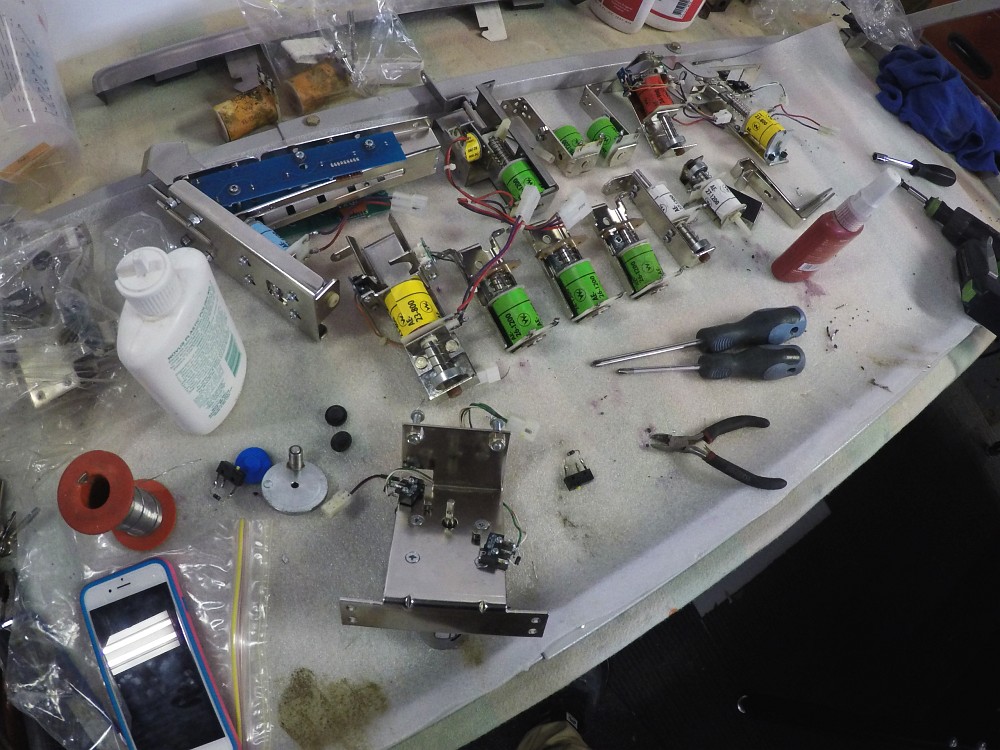
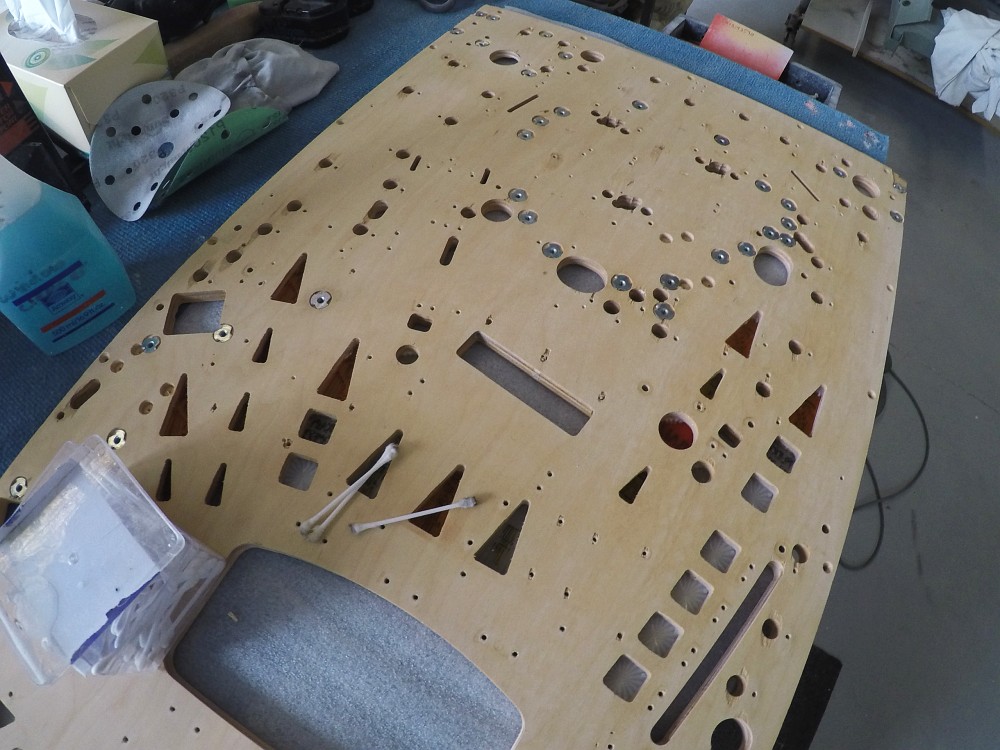
Playfield ready for the rebuild, final stage of cleaning out the cutouts and can be populated...

Oh and detailling the insert lenses. A MUST DO on every restoration job...
Playfield on the bench, all through playfield parts are installed first...

P-Clips back on the playfield...
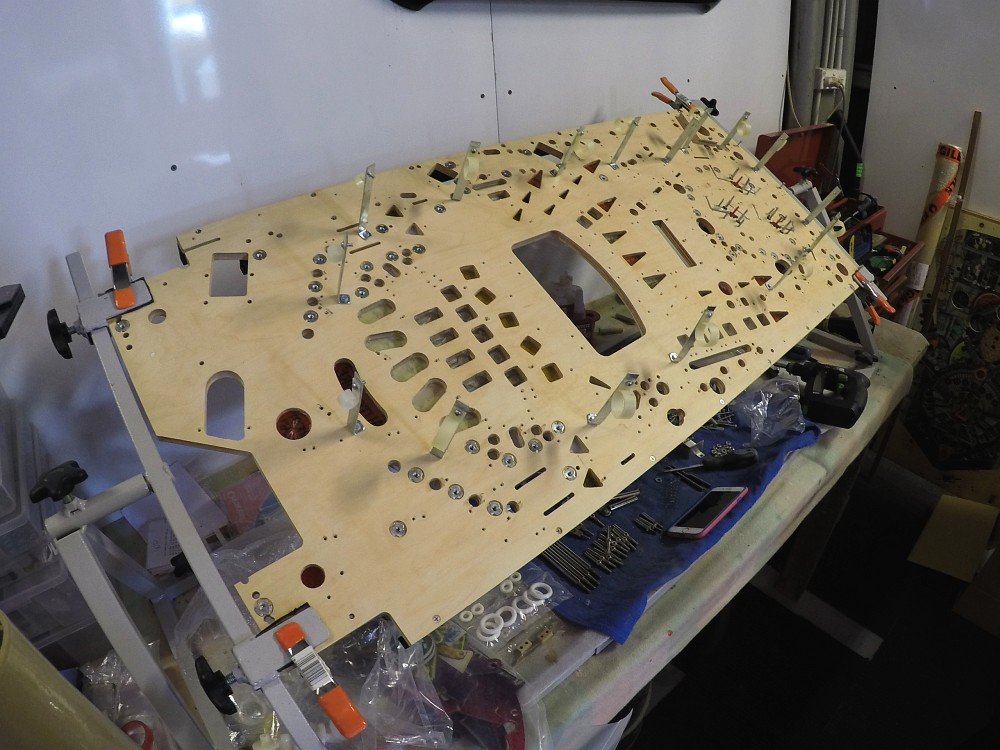
Topside bolt through components are fixed down...

Playfield flipped back over and the assemblies are fixed to the playfield...
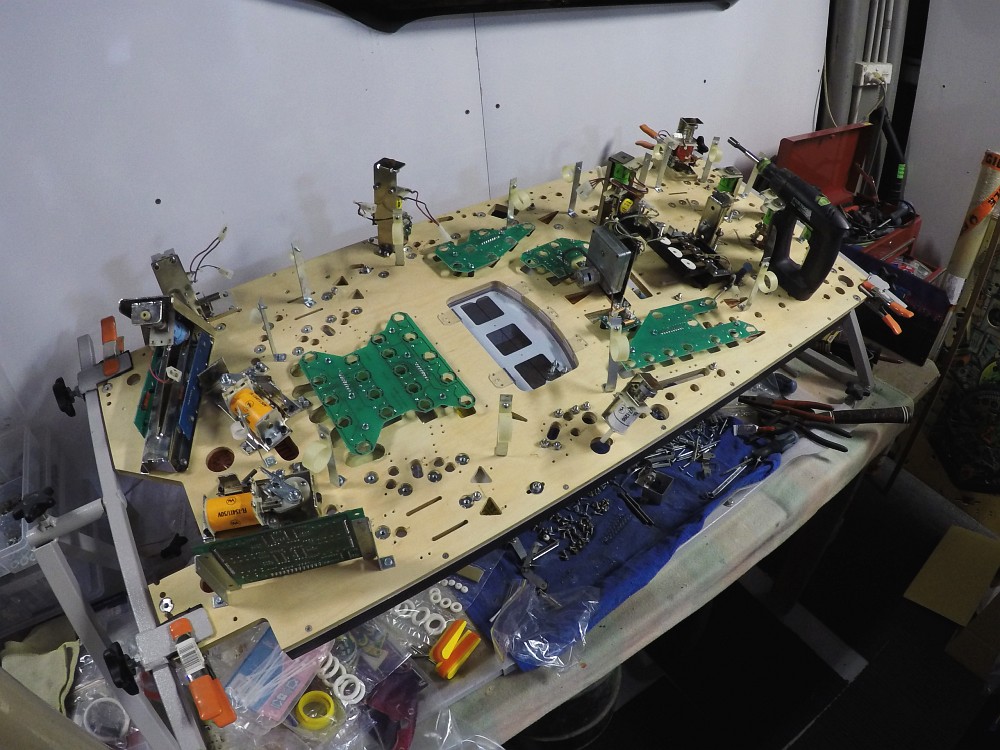
First harness installed...
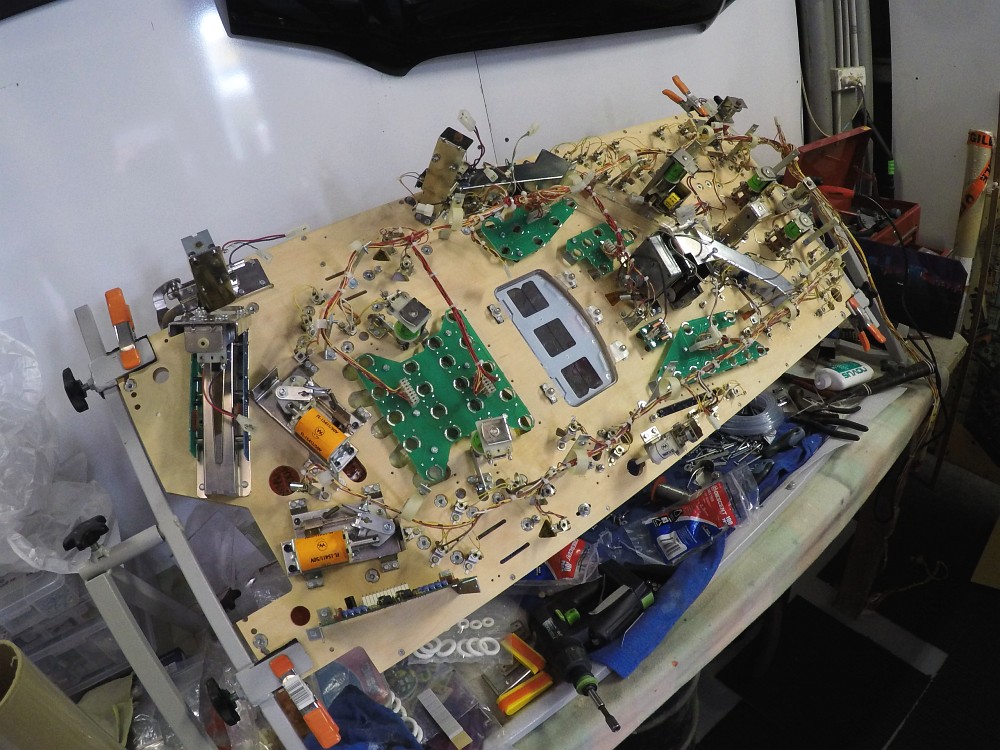
Switch and coil harness are fitted as well, then everything neatened up ready to drop in the cabinet...
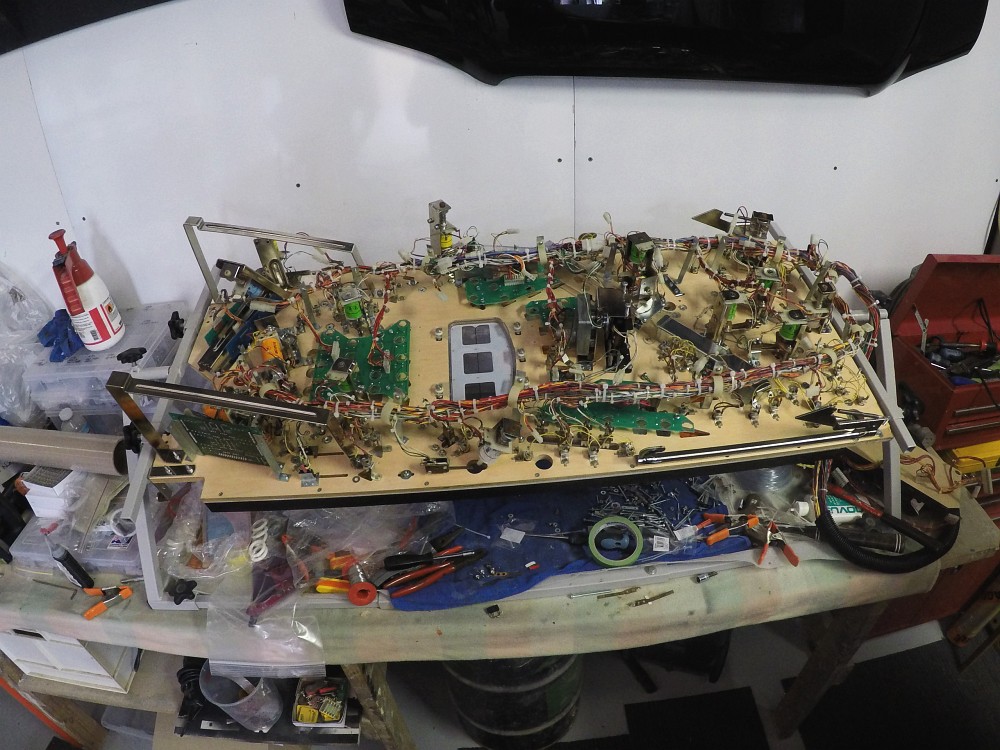
Which we prepared earlier...
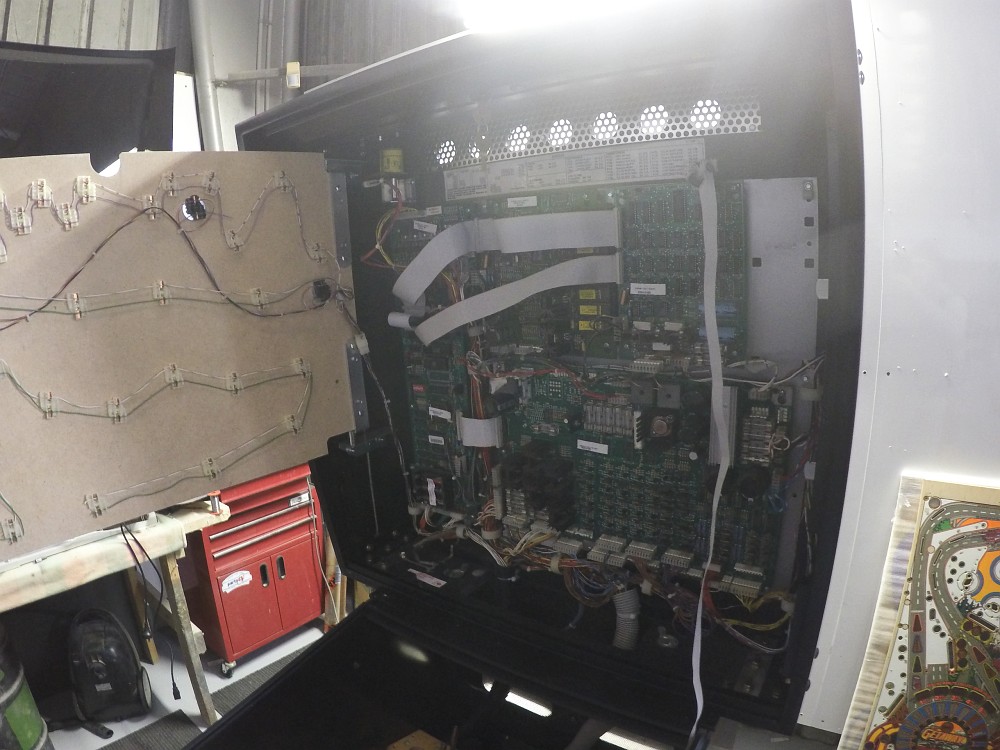
Back in place...
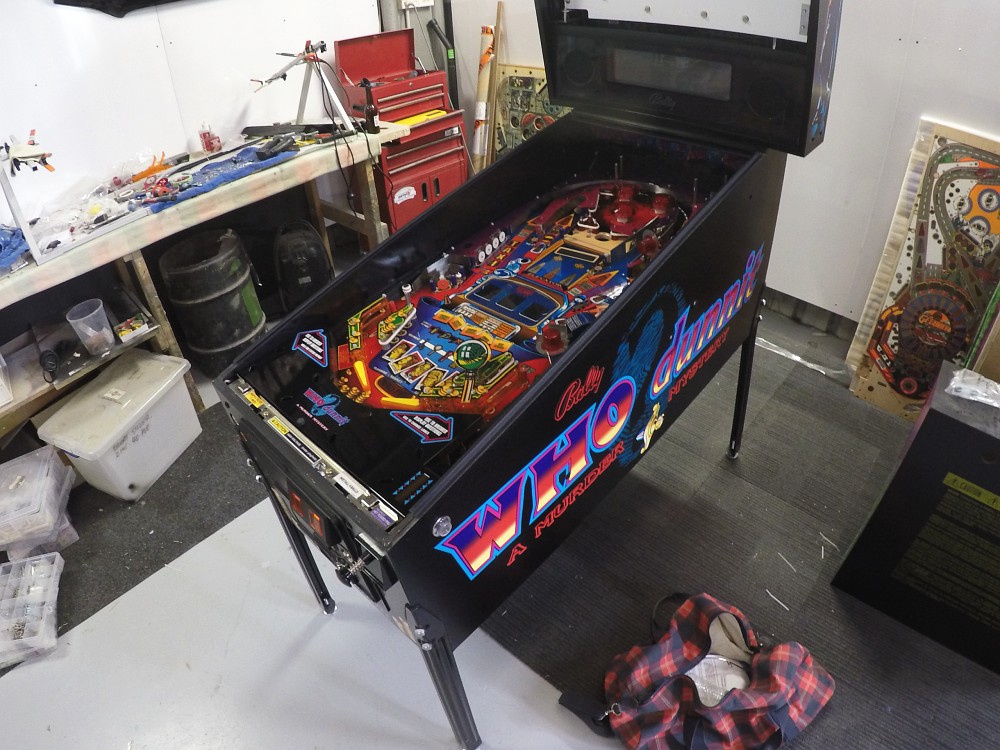
One last component to rebuild is the Slot Reel assembly - really cool mech...
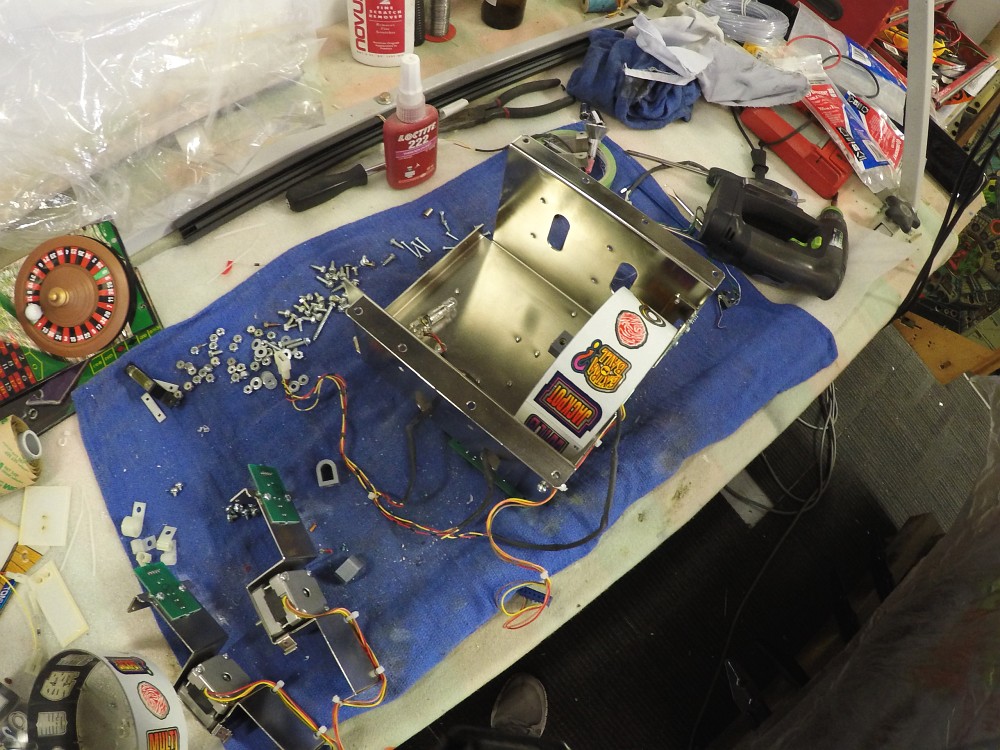
This unit received three new stepper motors, and upgraded bushes thanks to Swinks. Thanks again mate!
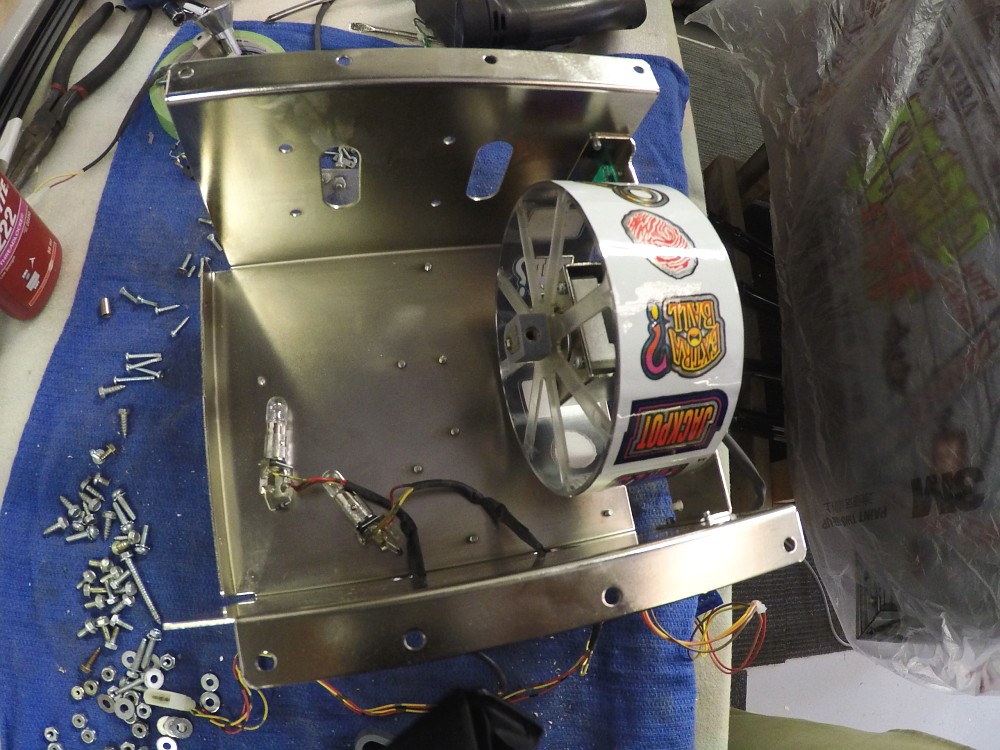
Nearly there...
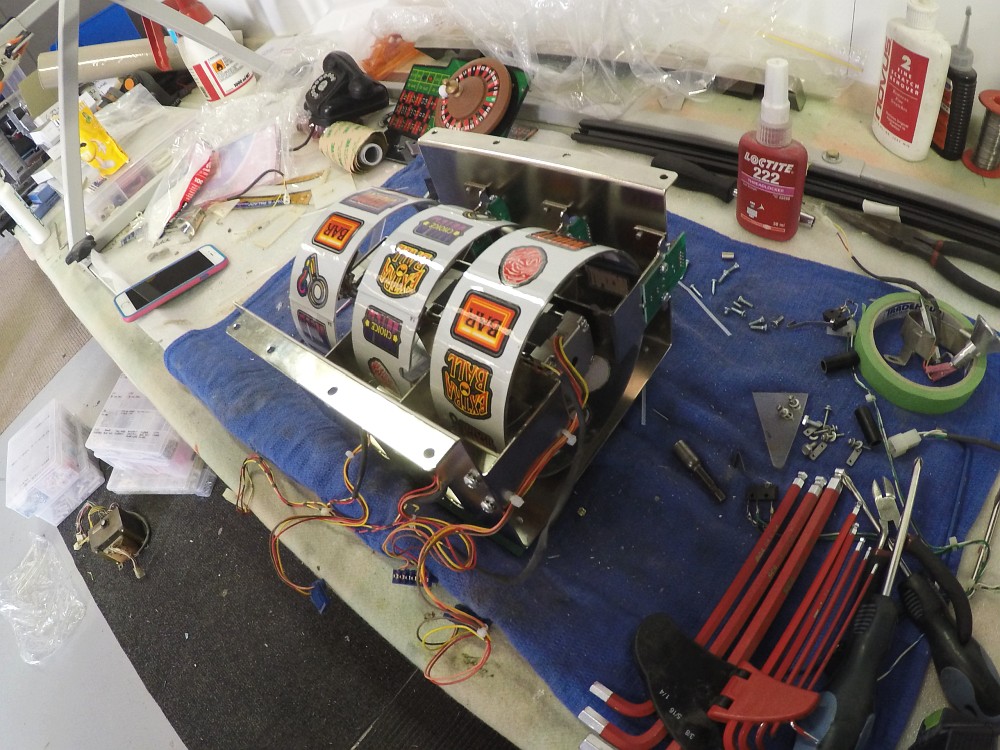
I re-wired the harness so it looked a little neater and easier to service down the track...
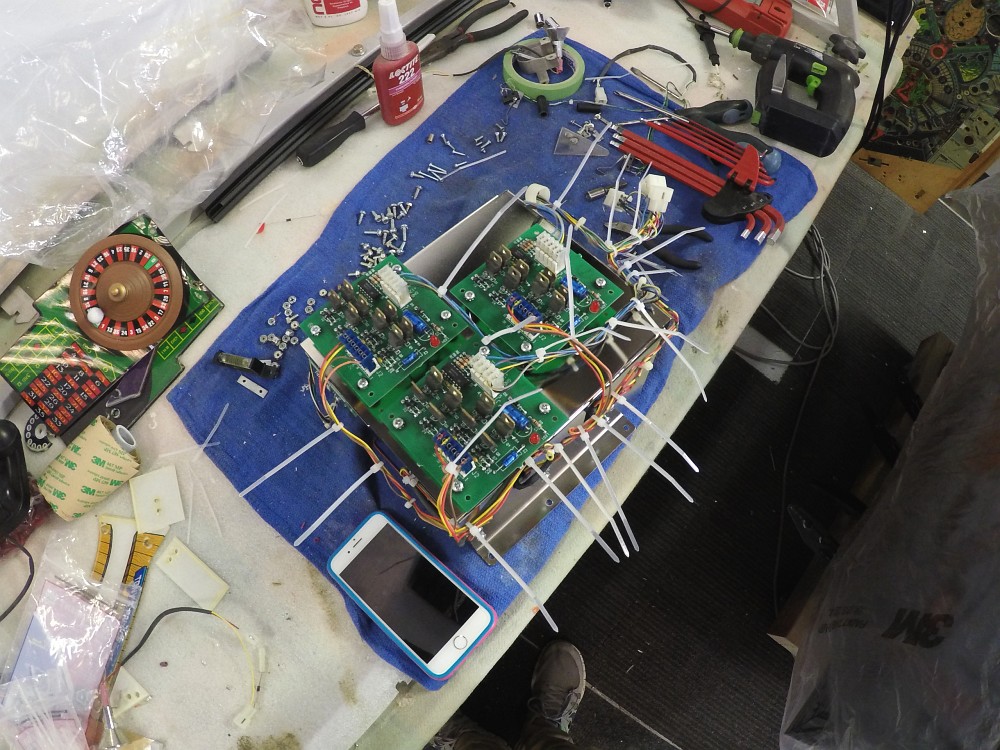
Fitted into the playfield...
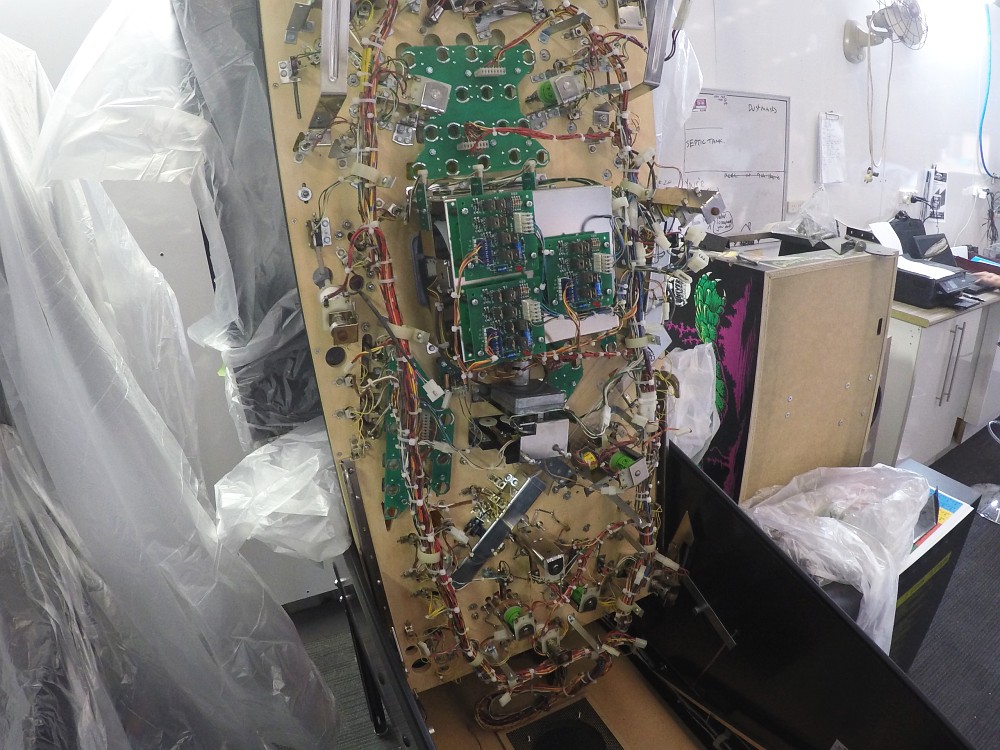
Powered up for testing...
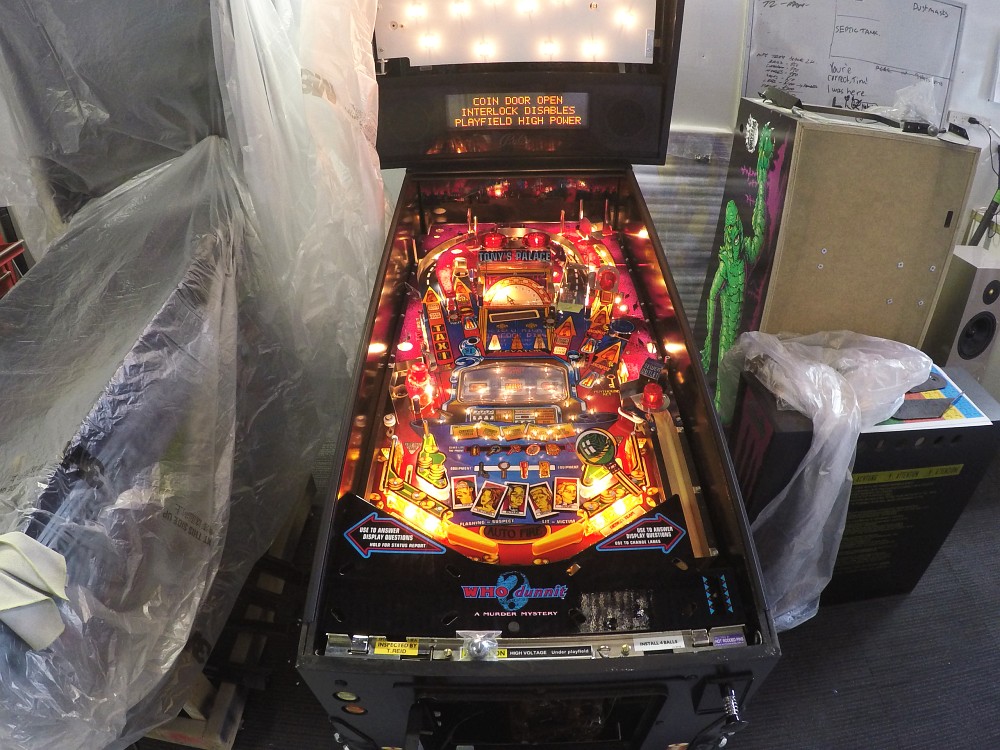
Fitting the ramps now. These were all the originals as we couldnt source replacements. They were all rebuilt at the ball drops/exits - they were sanded and flame polished where possible...
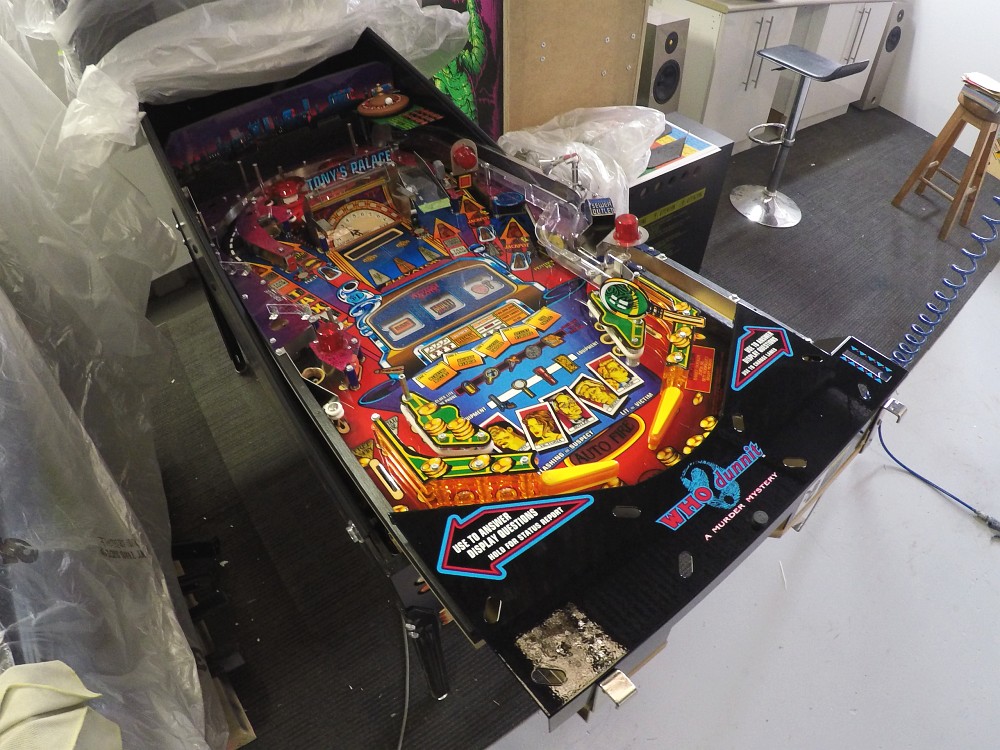
Nearly there now, left ramp installed along with the center ramp. It really takes up alot of real estate on the playfield...
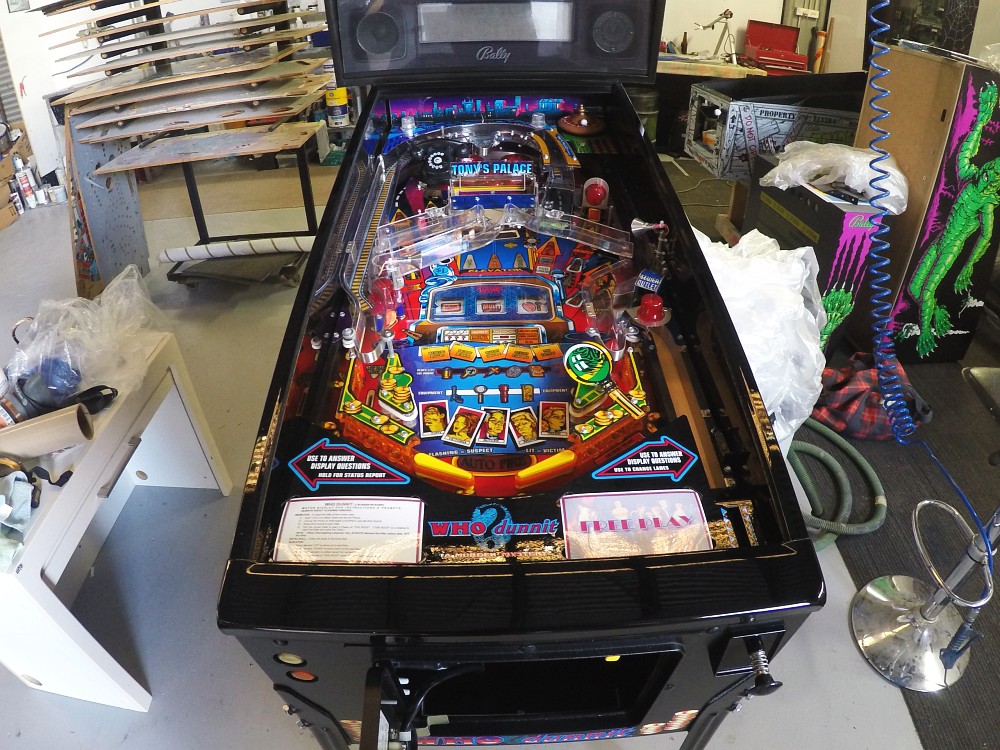
A few finishing touches and will be ready to test etc...

Powered up and factory burn-in will run the game through its paces for a while...
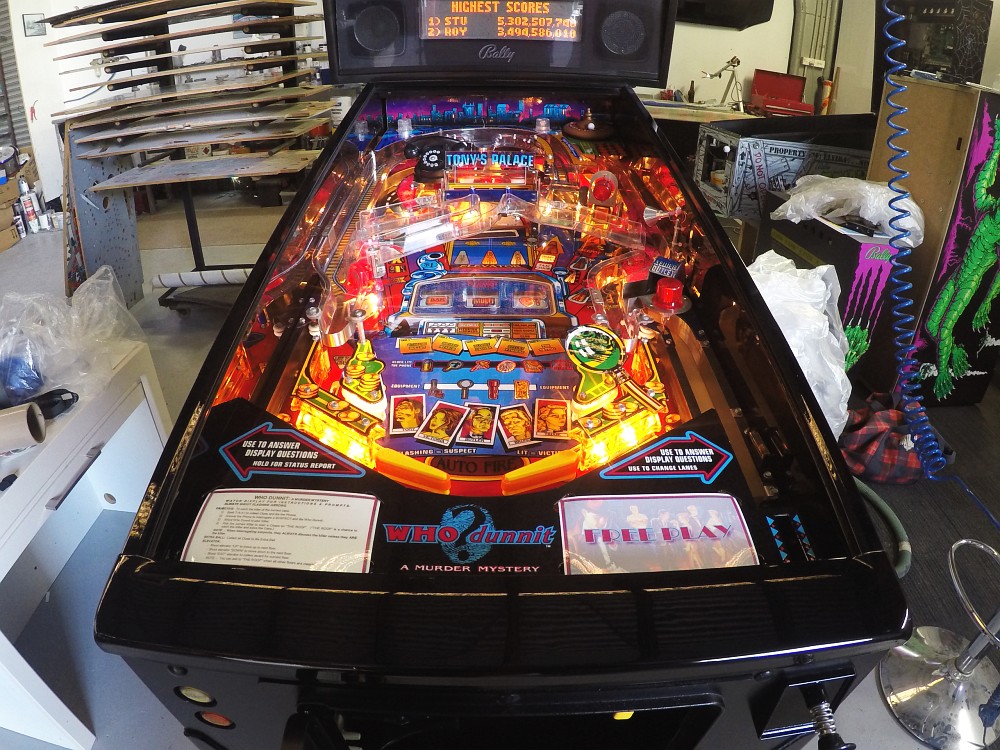
We also fitted black mirror blades to complete the look...
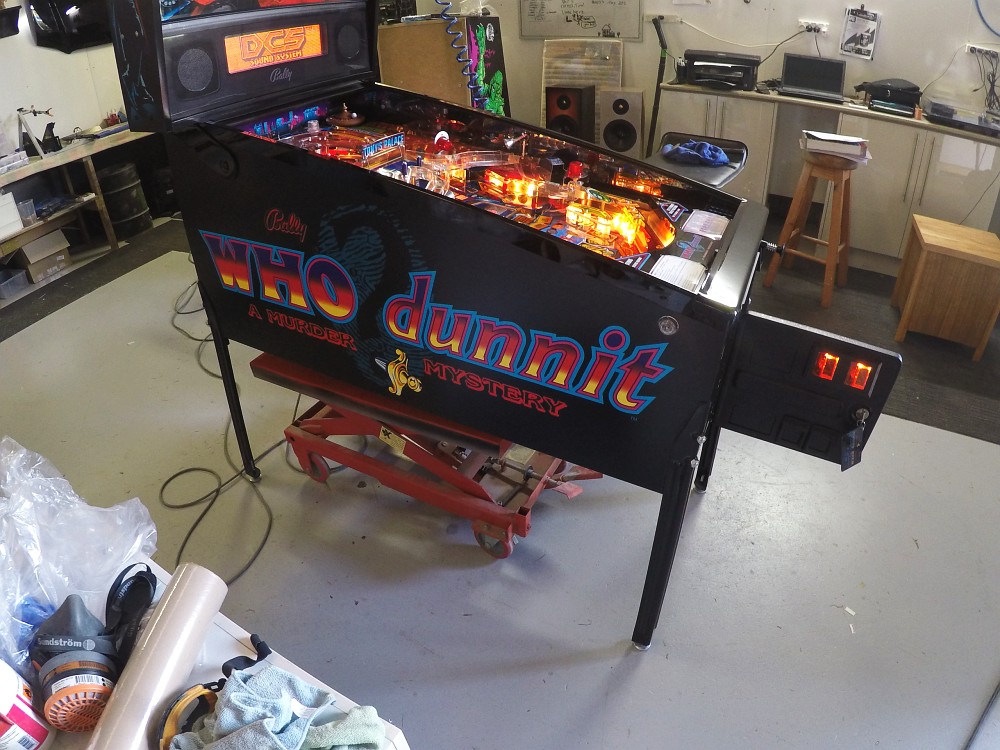
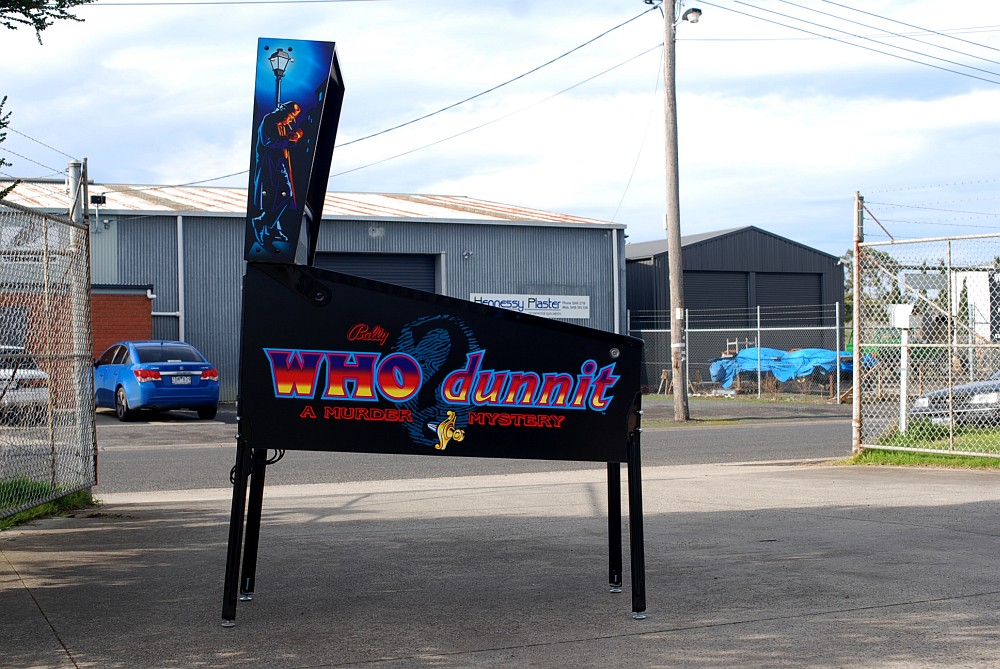
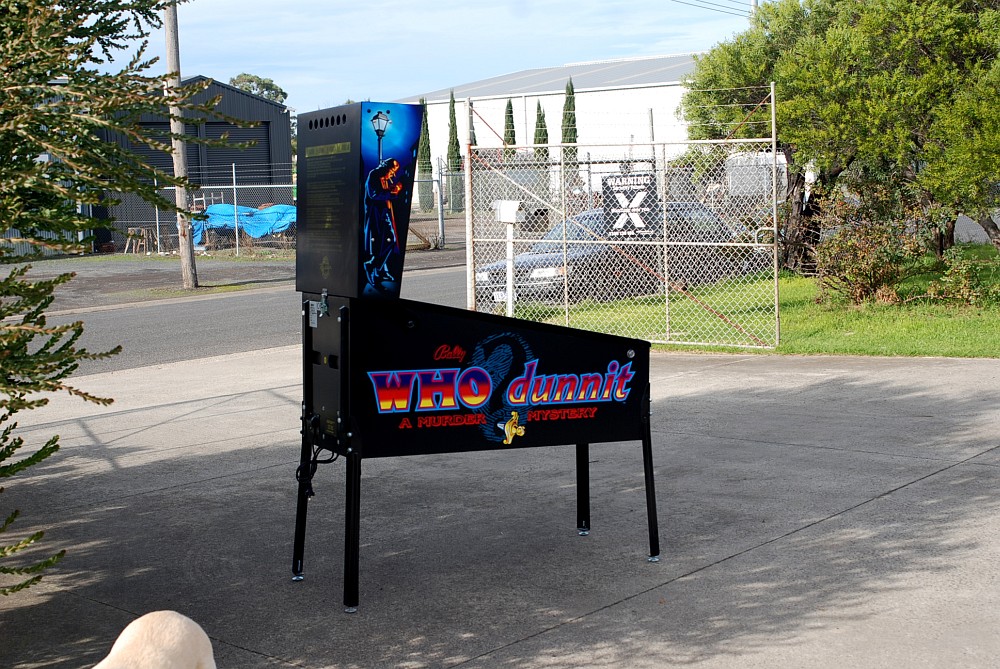
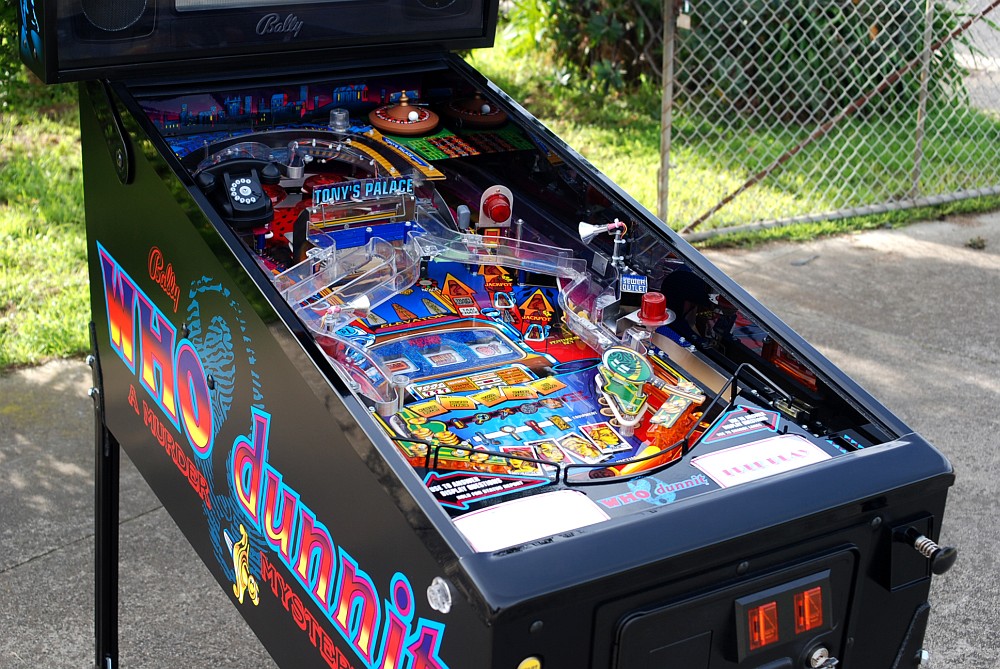
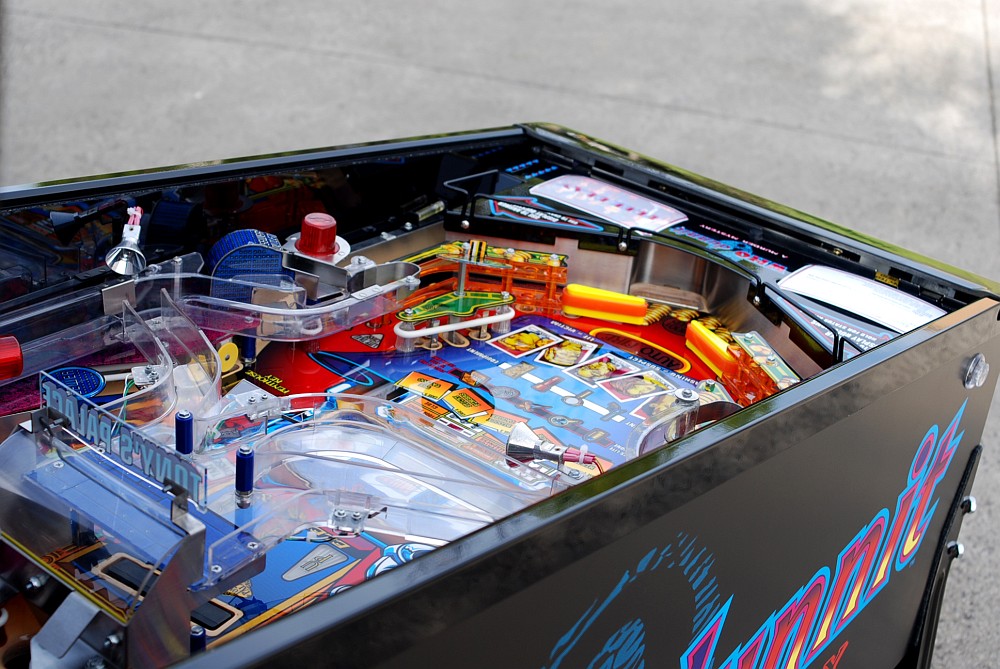
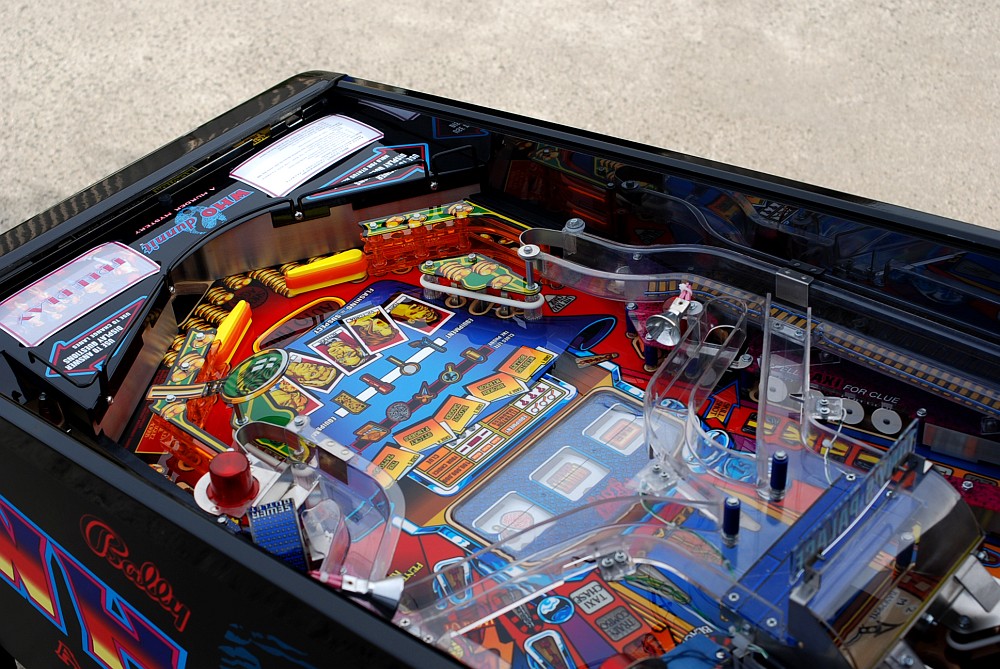
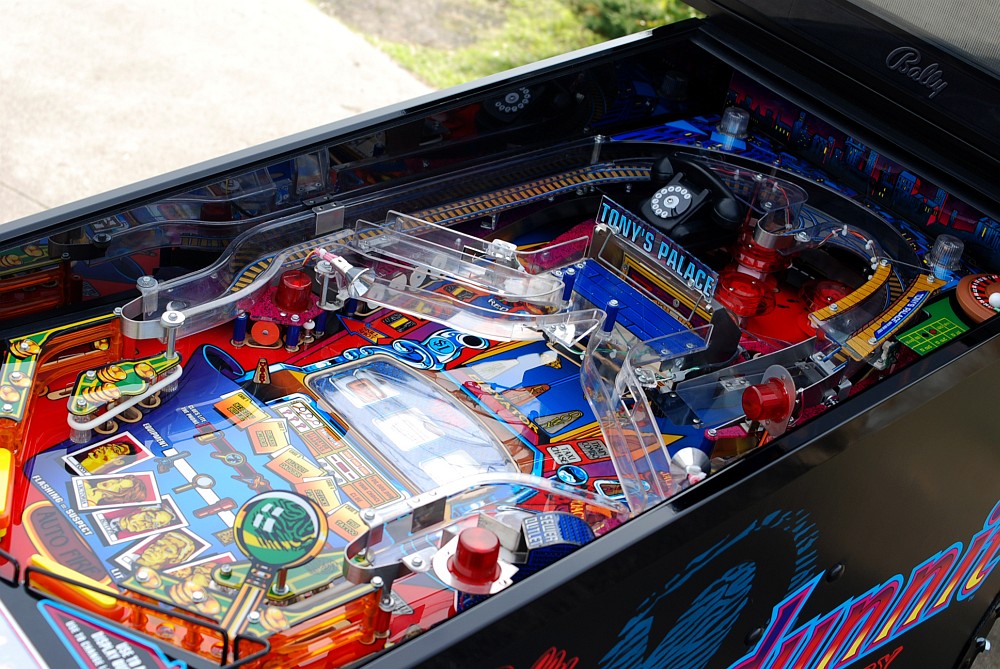
The following photos are just glamour shots. I would also like to thank Daniel (ddstoys) for his continued support and tech wizardry down at the shop. He is a legend and is a true credit to the pinball scene, thanks brother.
Thanks everyone for following the projects we do and for the support of HRP. It is greatly appreciated.
Tim and Co.
Hot Rodded Pins
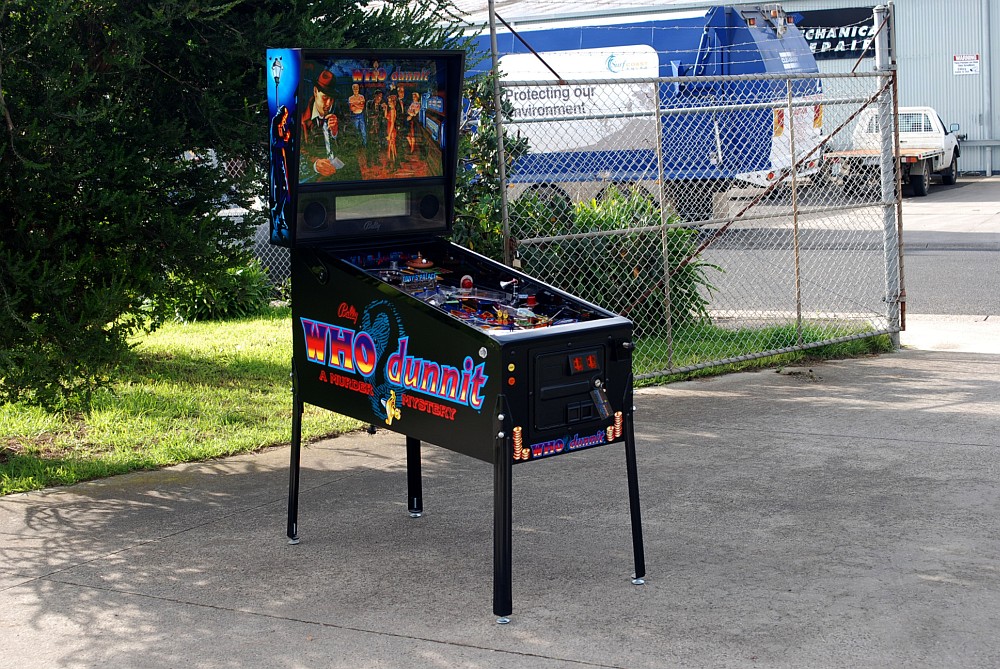
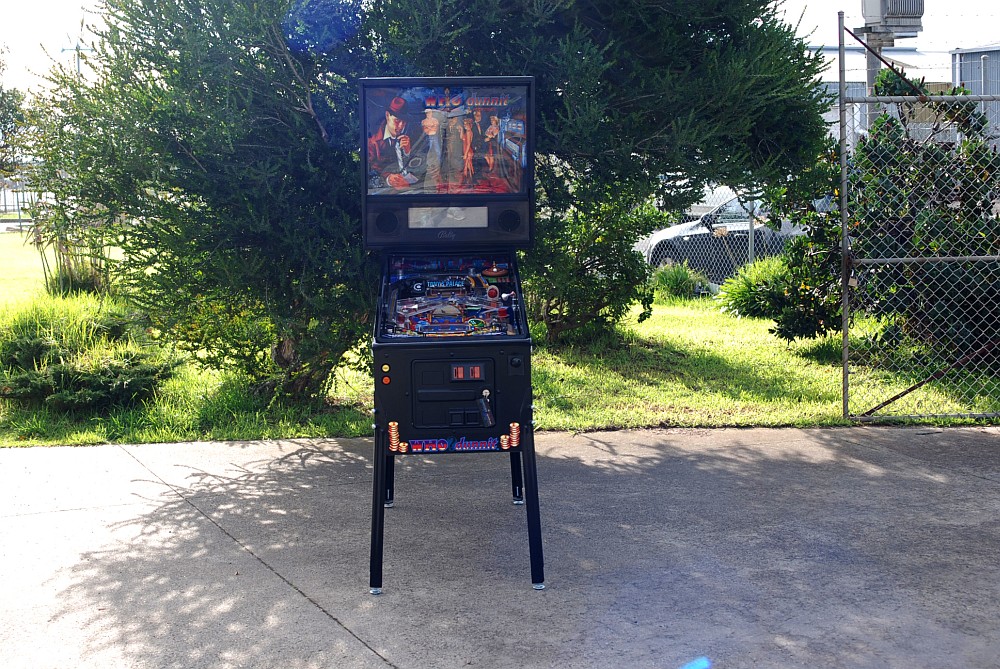
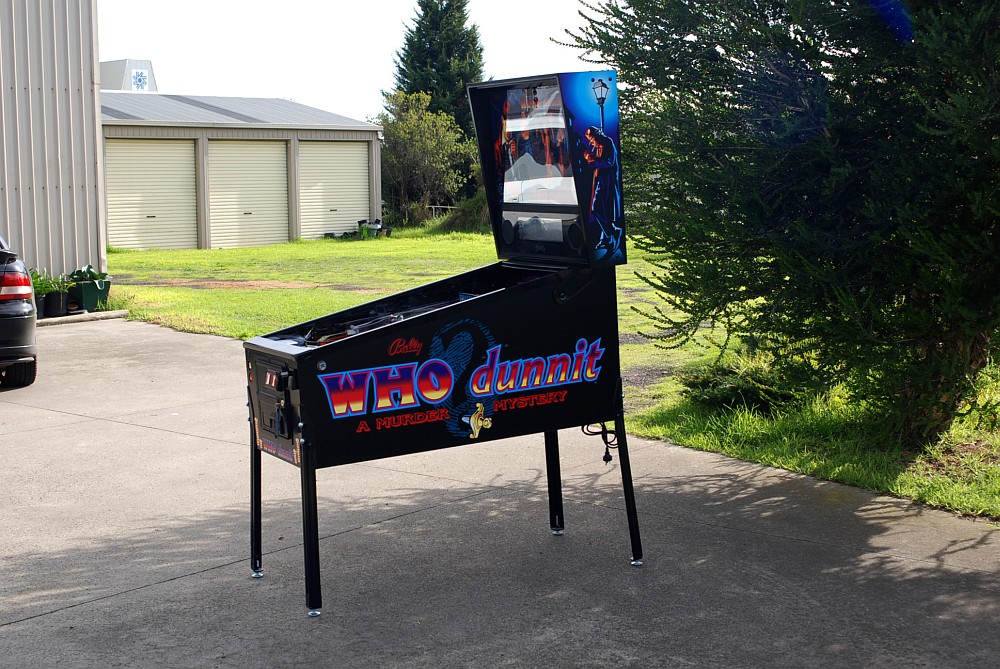
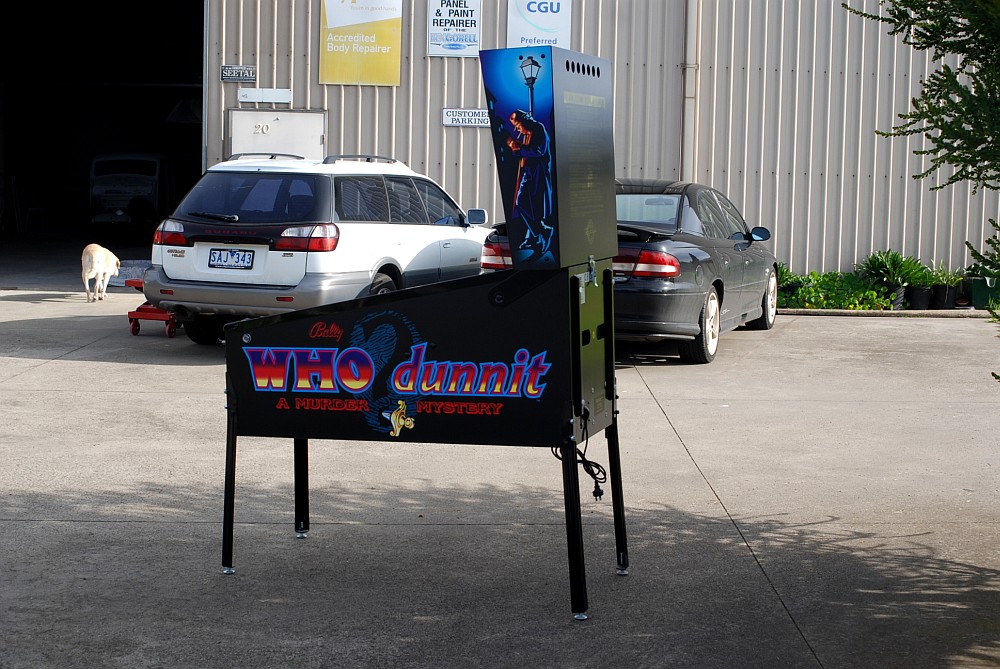
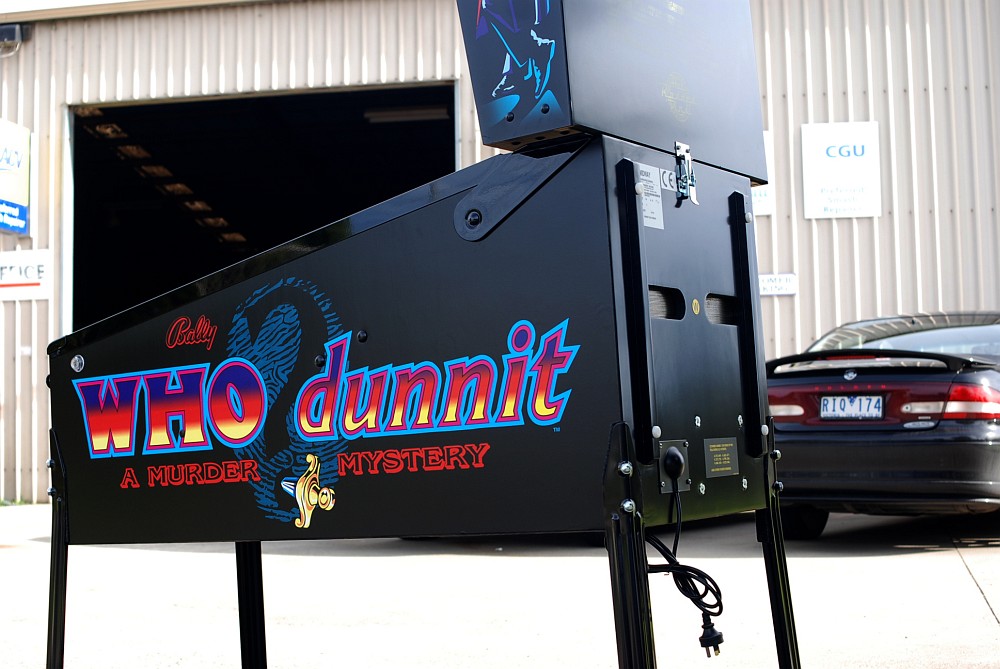
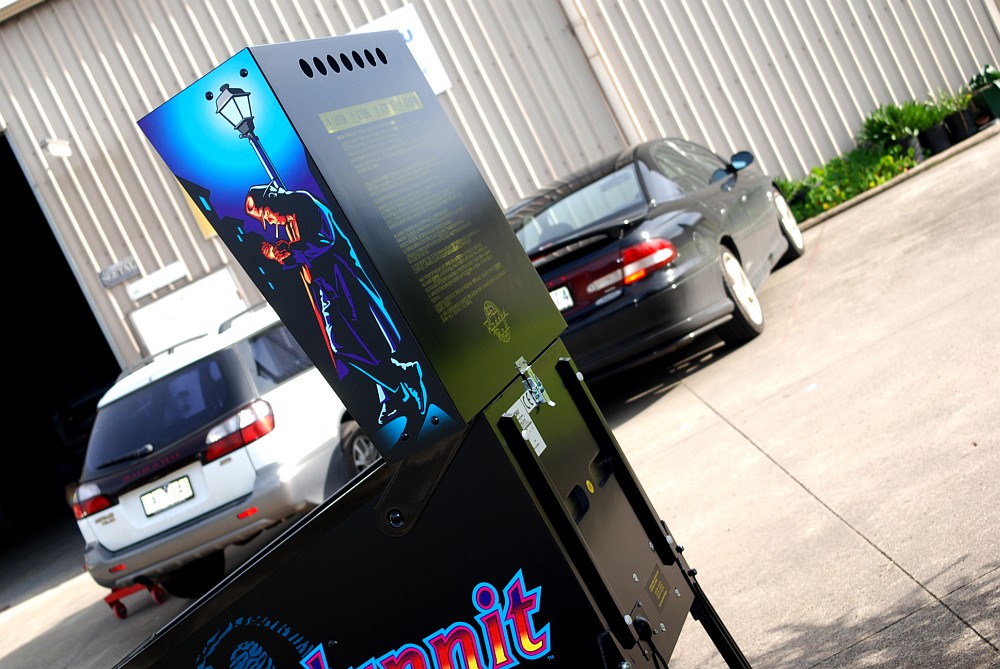
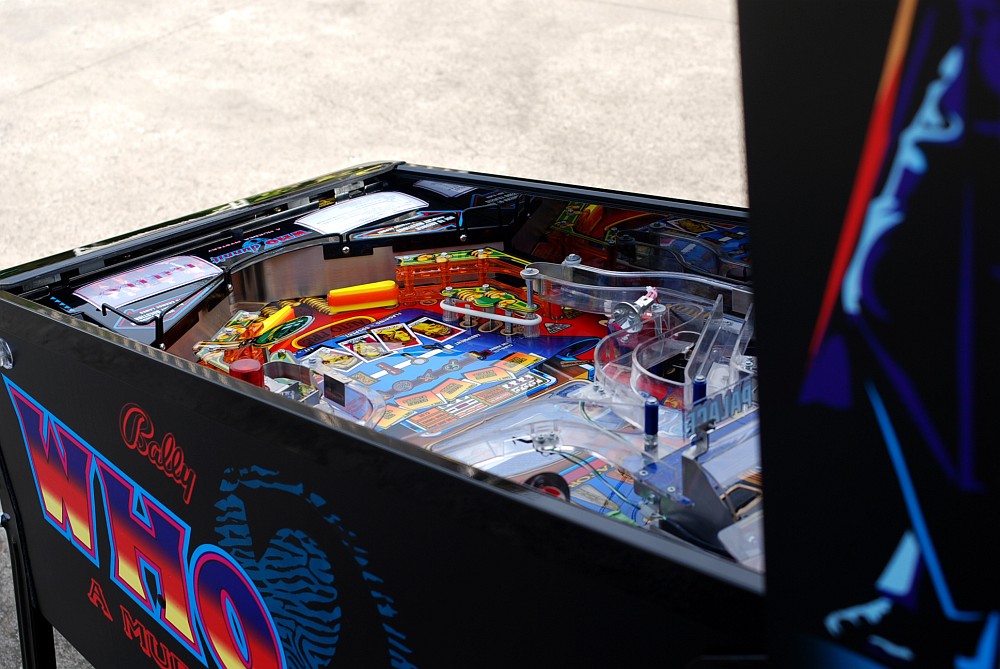
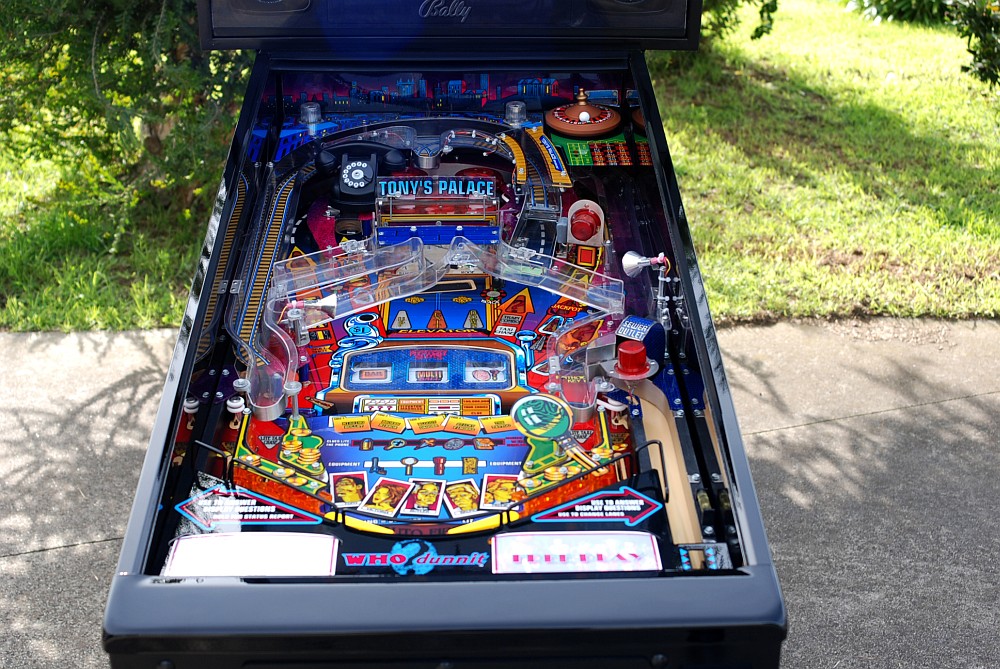
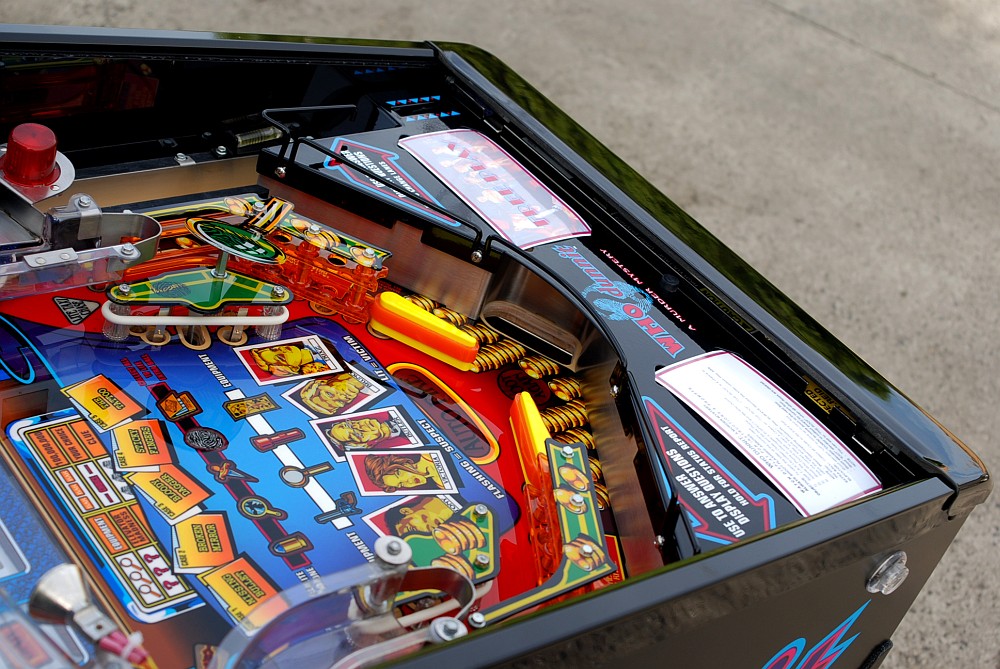
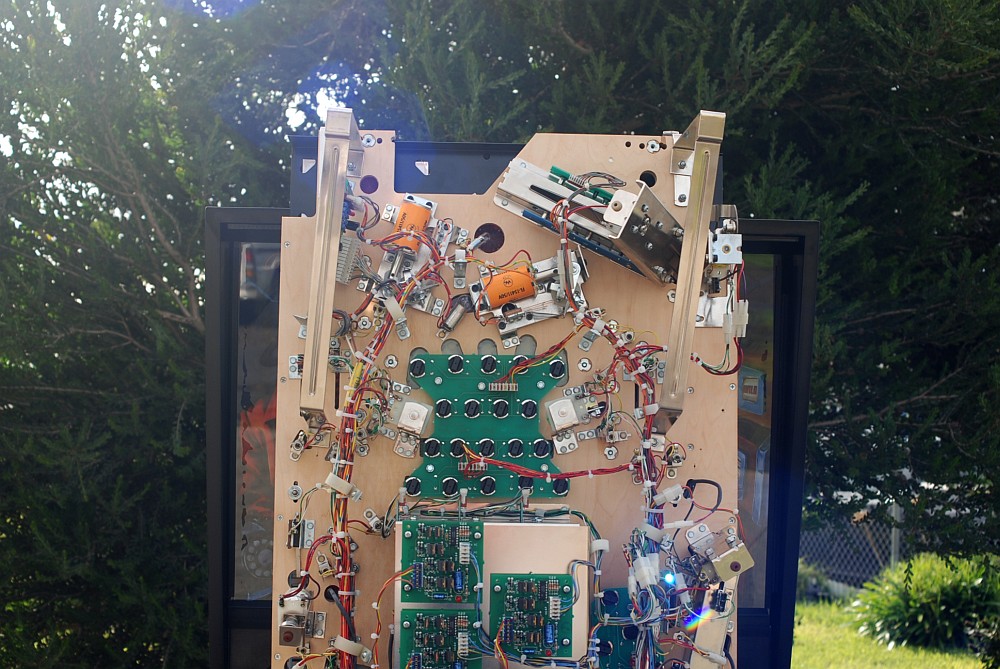
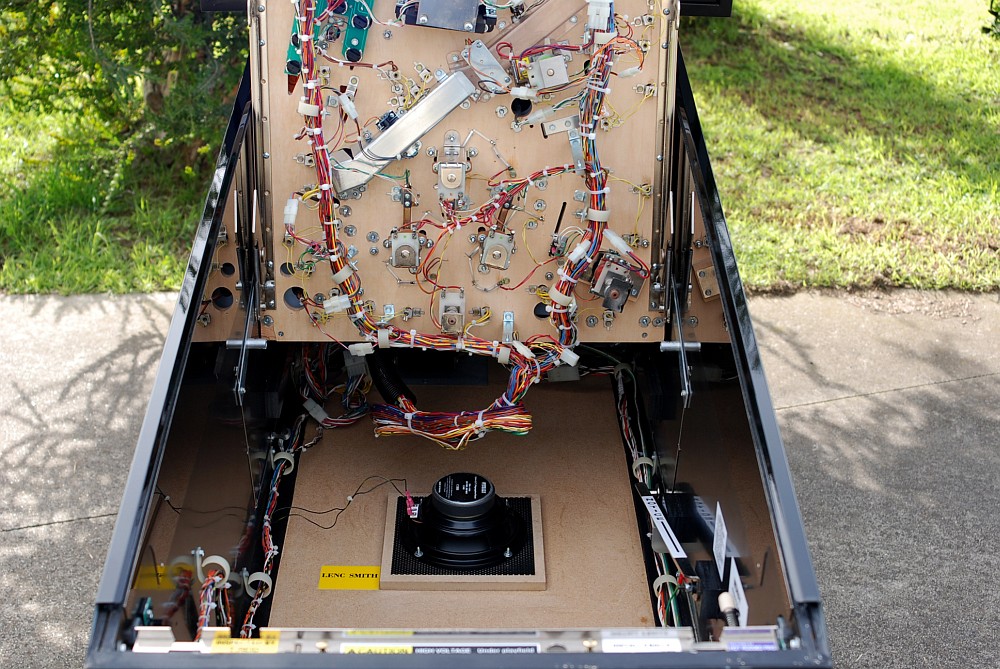
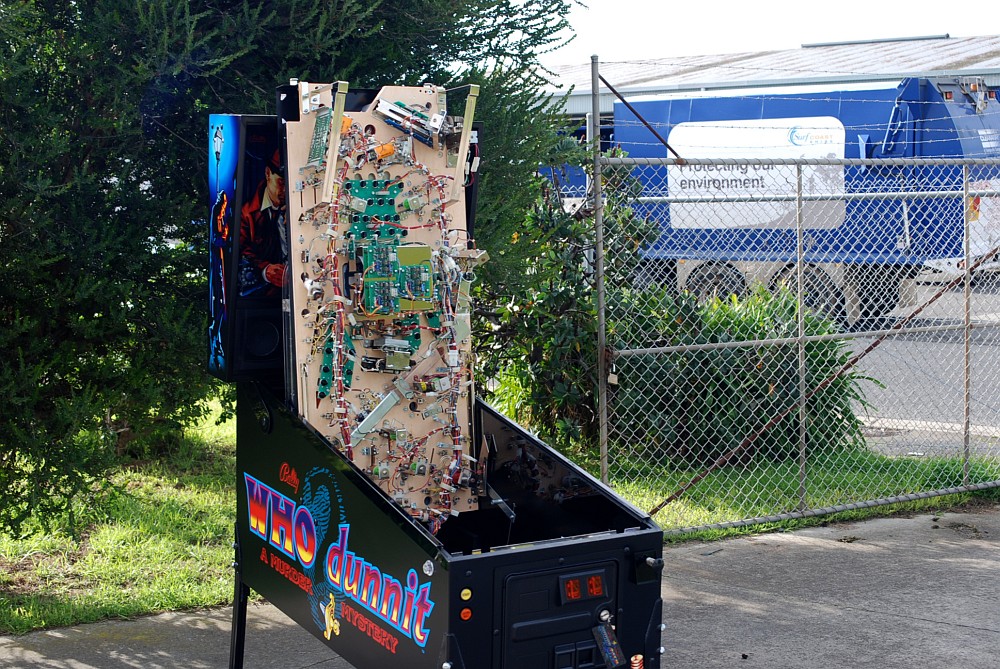
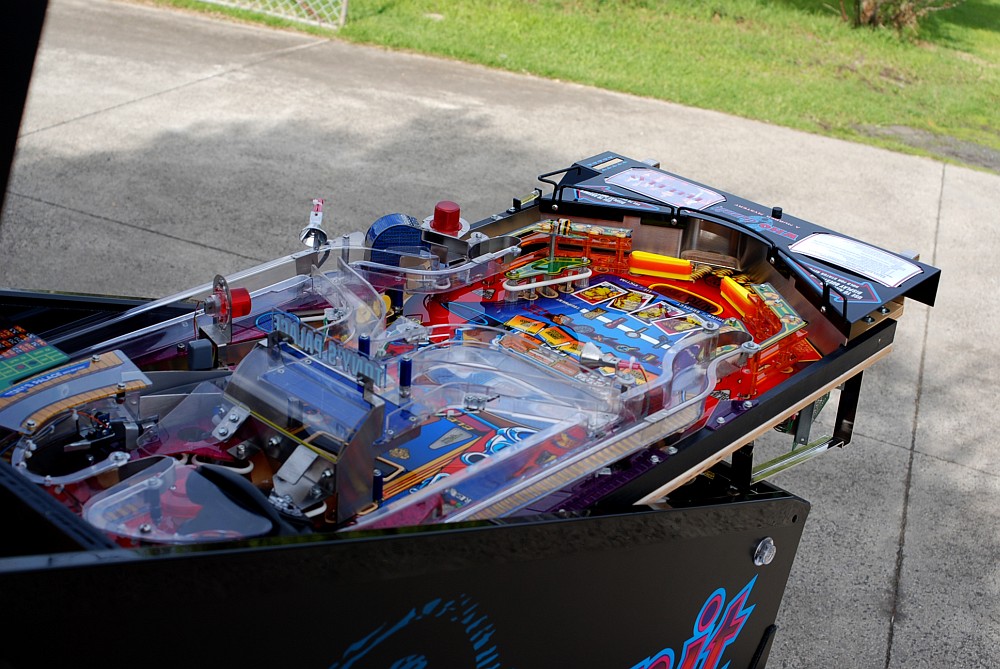
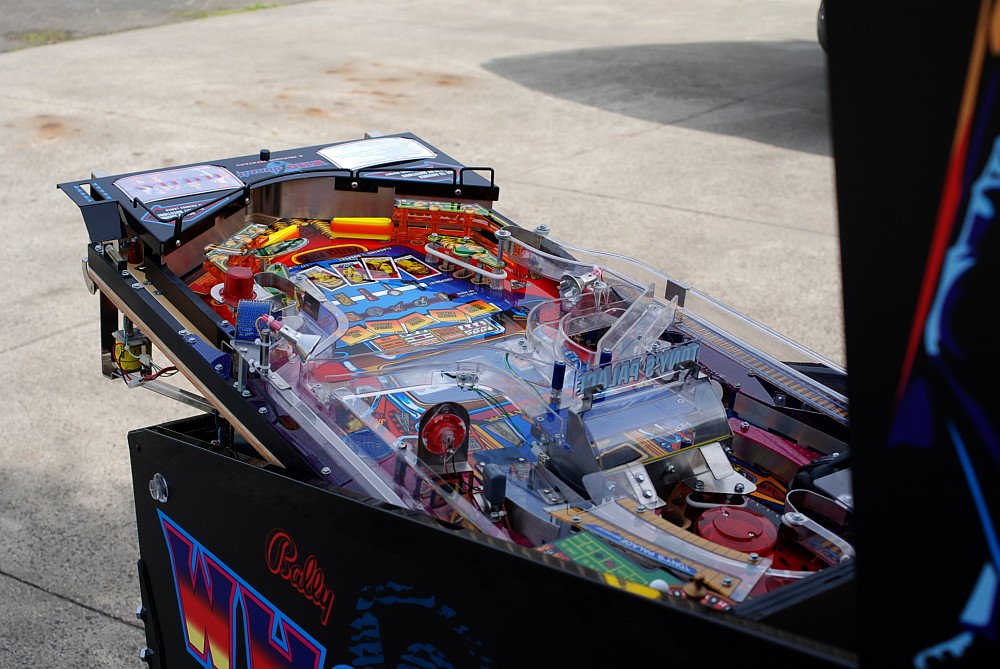
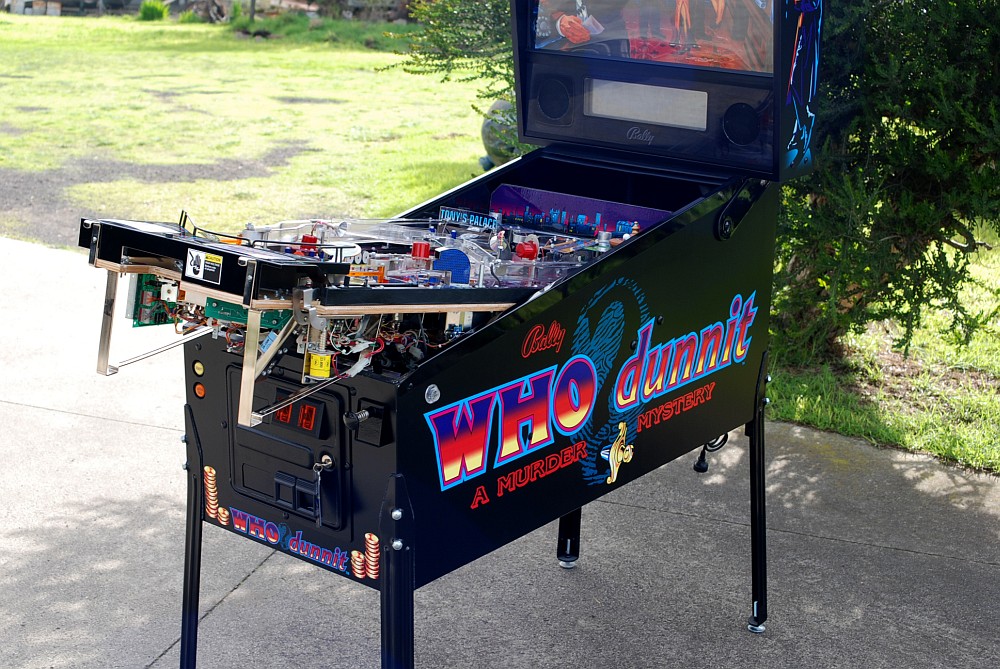
And a gameplay video - Dont mind the missing line in the DMD, a new DMD had been ordered and will be installed upon delivery.
I really am the WORST pinball player ever... im sure Pinnies4me will second that if he is reading ;)