Author Topic: Strangeway's Guide to Electroplating  (Read 10446 times)

0 Members and 1 Guest are viewing this topic.

Offline Strangeways

  • Pinball Restoration is my passion
  • Administrator
  • Trade Count: (+9)
  • *****
  • High Score Initials:
  • Forum Posts:
  • Melbourne
  • ABN 68 283 634 461
    • Ride The Boney Beast
Strangeway's Guide to Electroplating
« on: August 30, 2019, 04:07:26 PM »
I've been asked several times to do a guide on electroplating, and I thought it was time to put together something that demonstrates what is possible for anyone to do in their Shed, Garage or small business. I did a review years ago, but I wanted to start from scratch and have a Guide that is updated with new tips, and a place to answer questions.

Disclaimer

The process of Home Electroplating (I used to do it in the garage at home) is great fun, and satisfying - BUT - It is also a process that involves TOXIC and DANGEROUS Chemicals. Don't even THINK of trying this at home if you have kids or pets that share the workspace with you.

Safety

Mandatory - Gloves at all times, eye protection at all times and most of all NEVER leave a plating job unsupervised. ALL chemicals need to be stored in bottles, with covers, and be LOCKED away when not in use.

Why Electroplate at home ?

The reason I started was because pinball parts are predominantly small, and in some cases, the parts cannot be replaced if lost. In addition, as I was plating customer machines, I didn't want to lose parts, or wait weeks for the plating job to be finished. Also - I personally like learning new things.

Who Should do it ?

Anyone who works with metal that wants to restore metal to it's original state or better. Small business that have the time and resources to do the work in-house have more control of the timing and quality. I'm at that point where I can comfortably say I can Zinc plate BETTER than the Electroplaters I use for Nickel only. Some Commercial Electroplaters DON'T have Zinc baths any longer, and 90% of pinball metal parts are Zinc Plated - NOT Nickel. The Chrome parts are often polished Nickel.

Is everything I need to plate readily available ?

Yes ;
The plating kit is from http://www.janekits.com.au
Tubs can be brought anywhere - Coles, Bunnings etcWater - Distilled or from your water tank (not tapwater)Pickle - Hydrochloric Acid - BunningsPlastic container, wooden spoons and cloths etc - Bunnings


So there is a brief intro. What I want to share with you is 8-10 years of experience of following the manufacturer's instructions and developing my own system based on making many, many mistakes. The good thing about electroplating is that if you stuff up, you can simply strip the plating and start again. It is that easy. The most satisfying part of Electropating is that you control the quality, and the more development you put into the process, the better the results.

Here are some photos of recent Plating jobs - just so you have an idea of what is possible ;


Most people throw them away - But I re-plate ANYTHING - especially leg bolts - more on that later..


WPC Playfield supports..


So clearly based on the above, it is possible to Zinc Plate at home, with similar or better results that a commercial Electroplater..

Aussie Pinball - Proud to be Australia's Premier Pinball Forum

http://www.australianpinballrestorations.com.au/

http://www.rtbb.com.au/catalog/

We carry the largest range of NEW Ramps in Australia

Offline Strangeways

  • Pinball Restoration is my passion
  • Administrator
  • Trade Count: (+9)
  • *****
  • High Score Initials:
  • Forum Posts:
  • Melbourne
  • ABN 68 283 634 461
    • Ride The Boney Beast
Re: Strangeway's Guide to Electroplating
« Reply #1 on: August 30, 2019, 04:33:34 PM »
The most IMPORTANT First Step is the understanding that this process has a difficult learning curve. You need patience. You need to allocate time where you will not be distracted. Once you decide to try plating, you will most likely start with a small 4L Kit, as you will need the power supply, anodes and everything else to get started. From that point on, you can just buy the refill kits.

The single most important part of the kit is the instruction book. EVERYTHING you need to know is in this book. I have only needed to call Janeskits ONCE for advice, and that advise was in the book anyway. If your the kind of person that won't read manuals, skip plating. You are wasting your money.


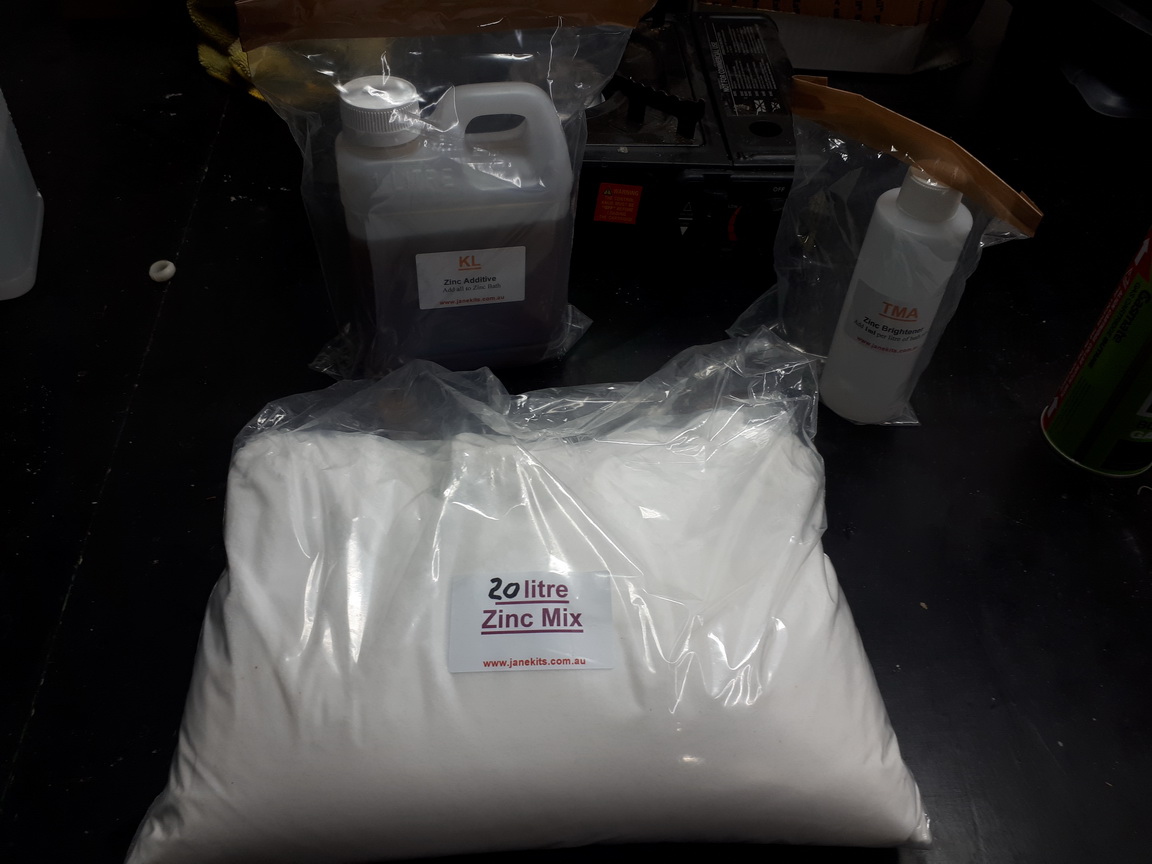
As part of the 20L Refill Kit, I have the Zinc Mix (powder), TMA Additive and Brightner. This is the magic potion. Just Add Distrilled water, or rain water.


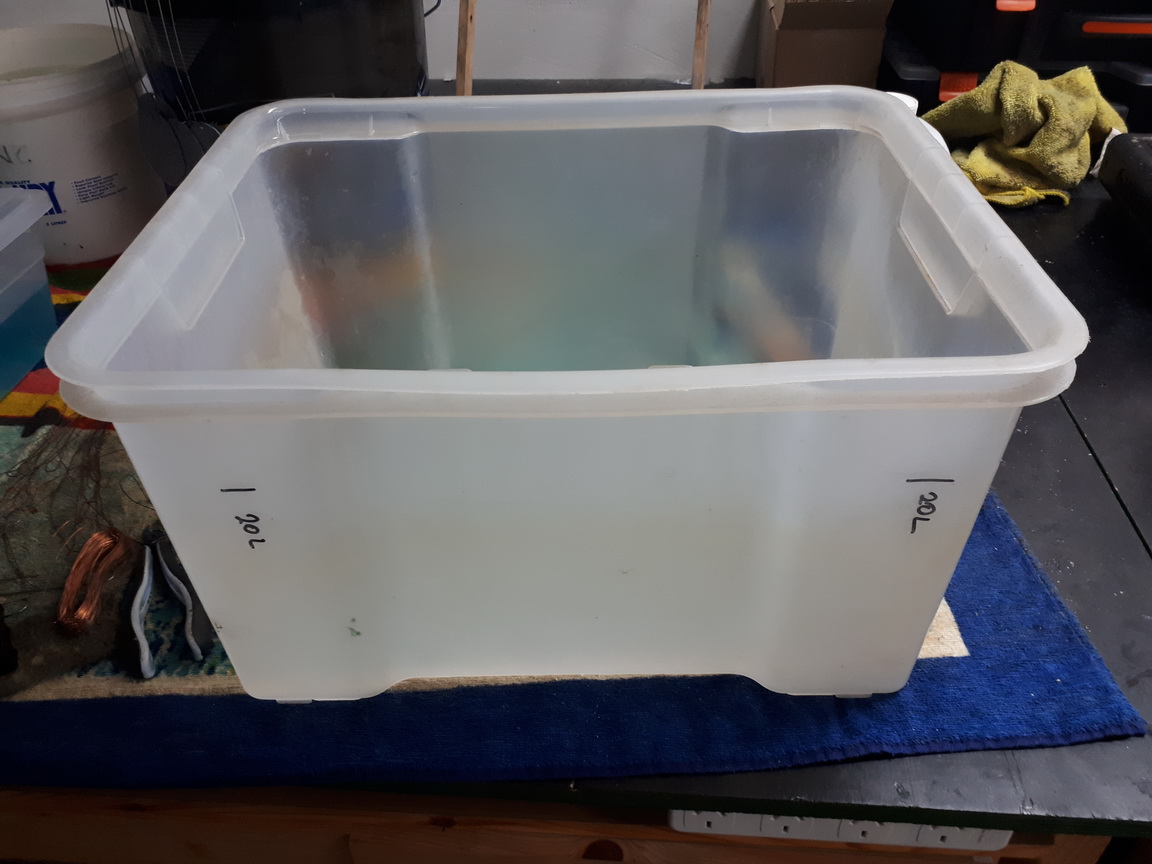
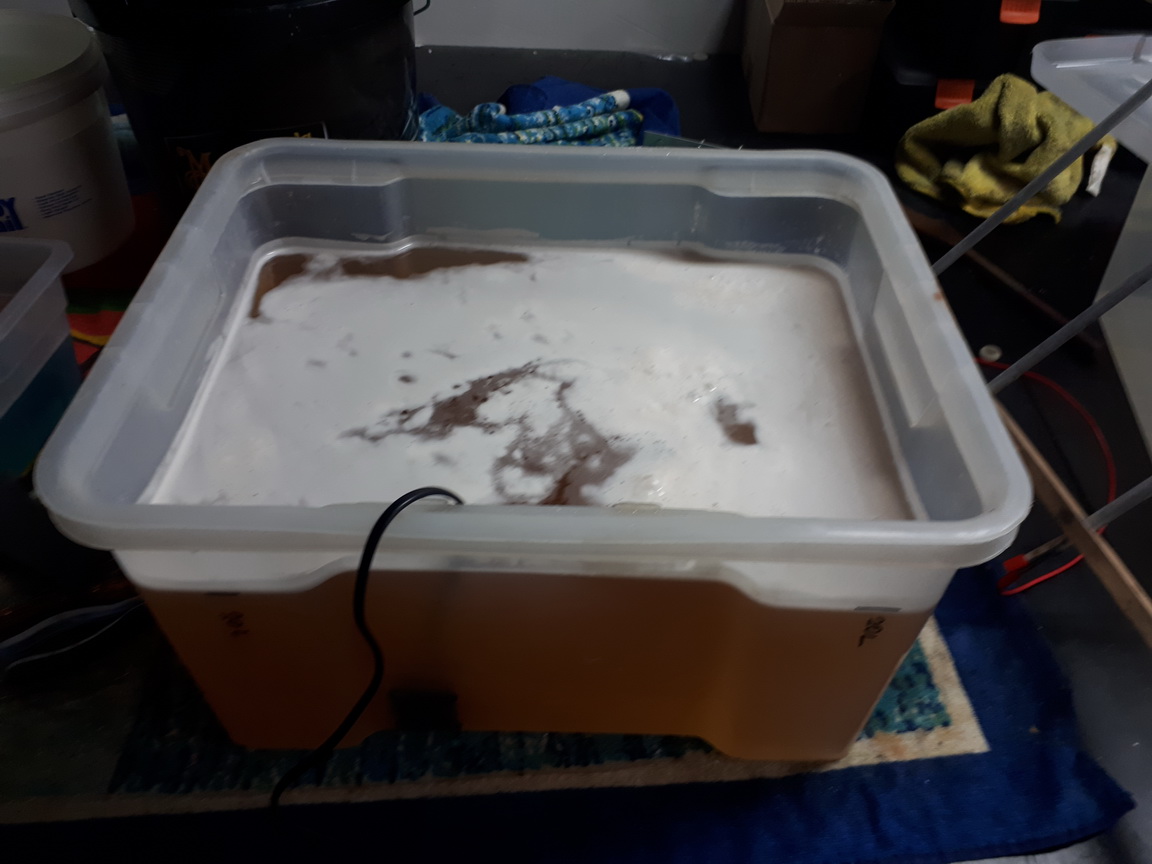
This is a 20L plastic Bath. I use a number of tubs for different parts - long parts, heavy parts, smaller parts - but I mix the 20L kit in this tub.


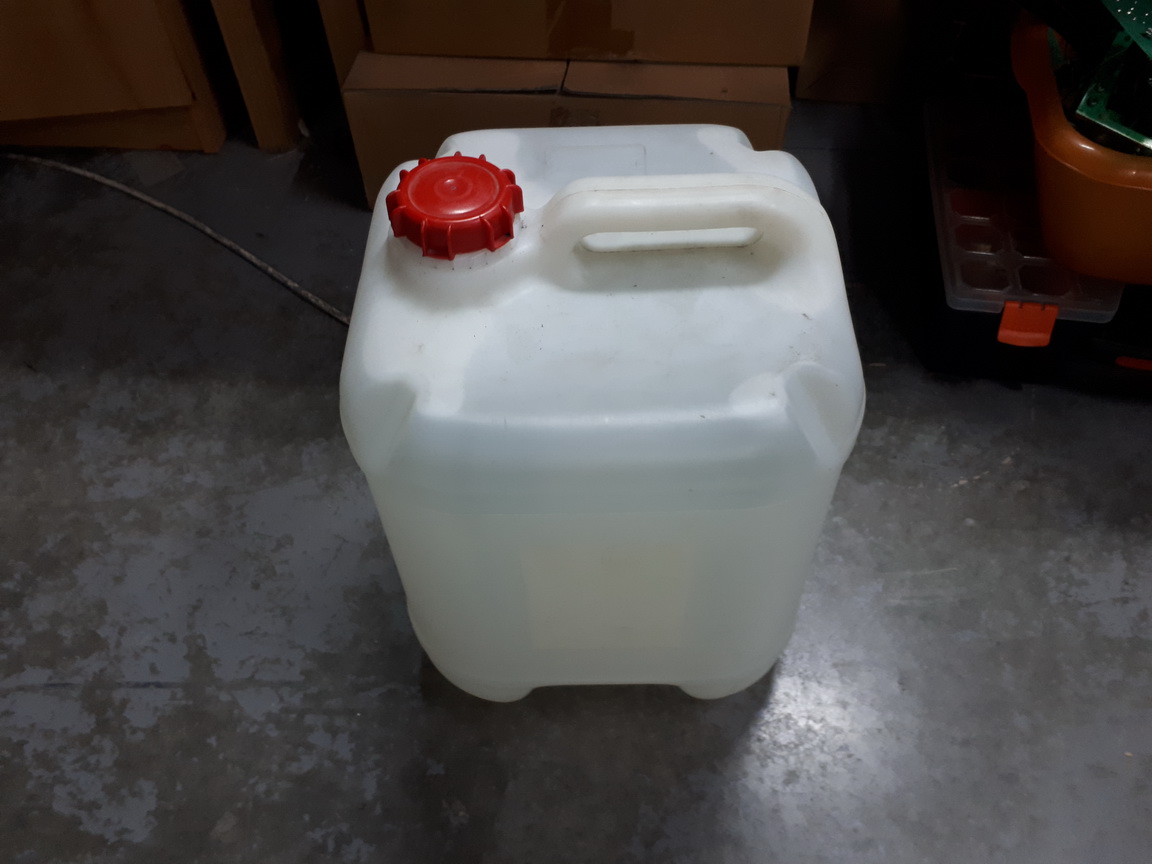
Rainwater. Don't use tap water for the magic potion. It has chemicals which will react and cause issues with the bath. Plating will be erratic.


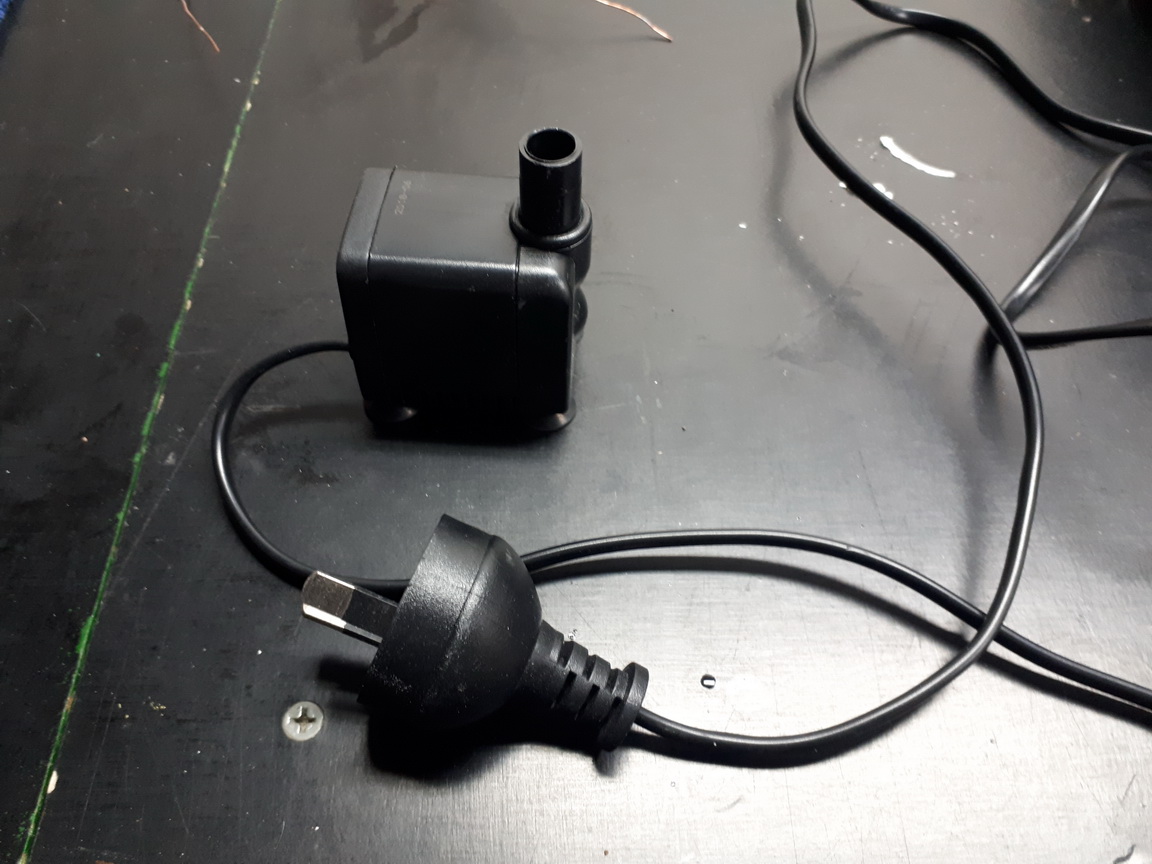
Agitator - Not required for small baths. This keeps the magic potion running around over the parts. sometimes sediments rest on top of parts while plating. The agitator moves them off.


The Magic Potion - as I like to call it.


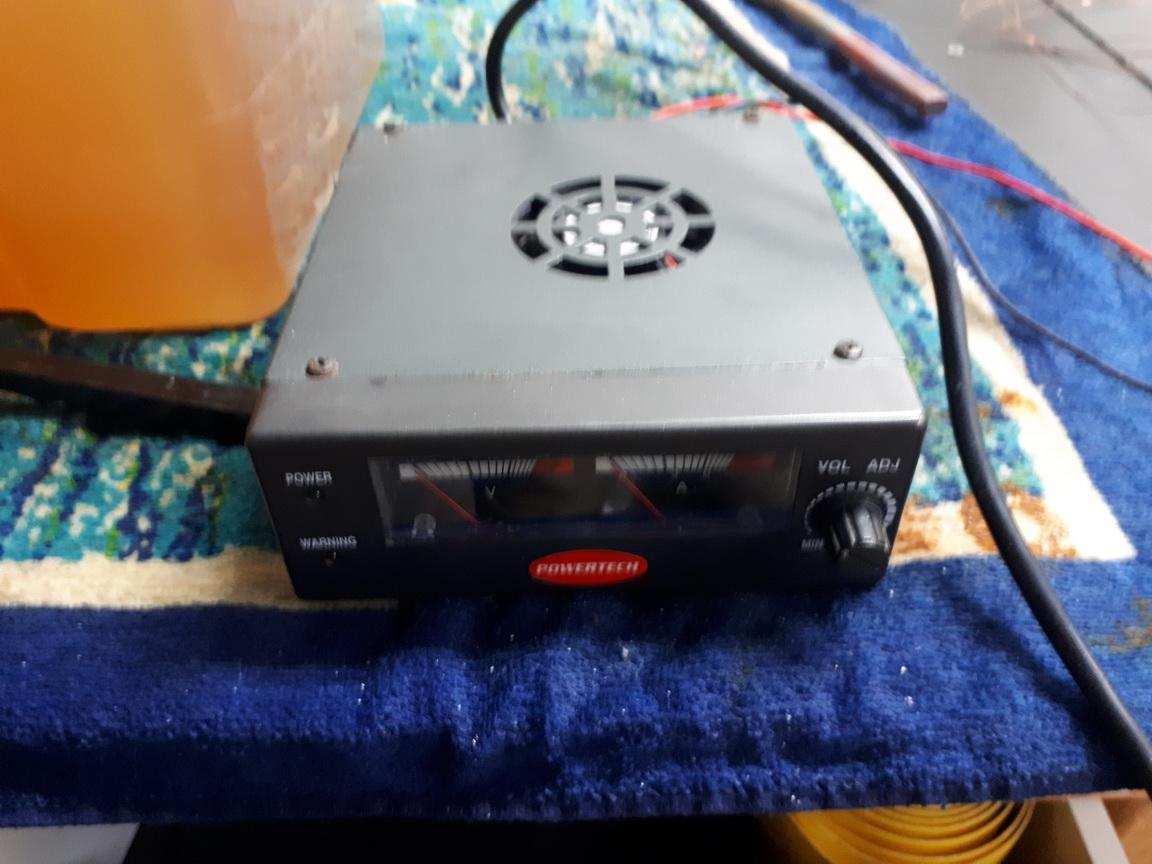
The Power Supply - Just a basic unit that can deliver 2-3Amps to the bath.


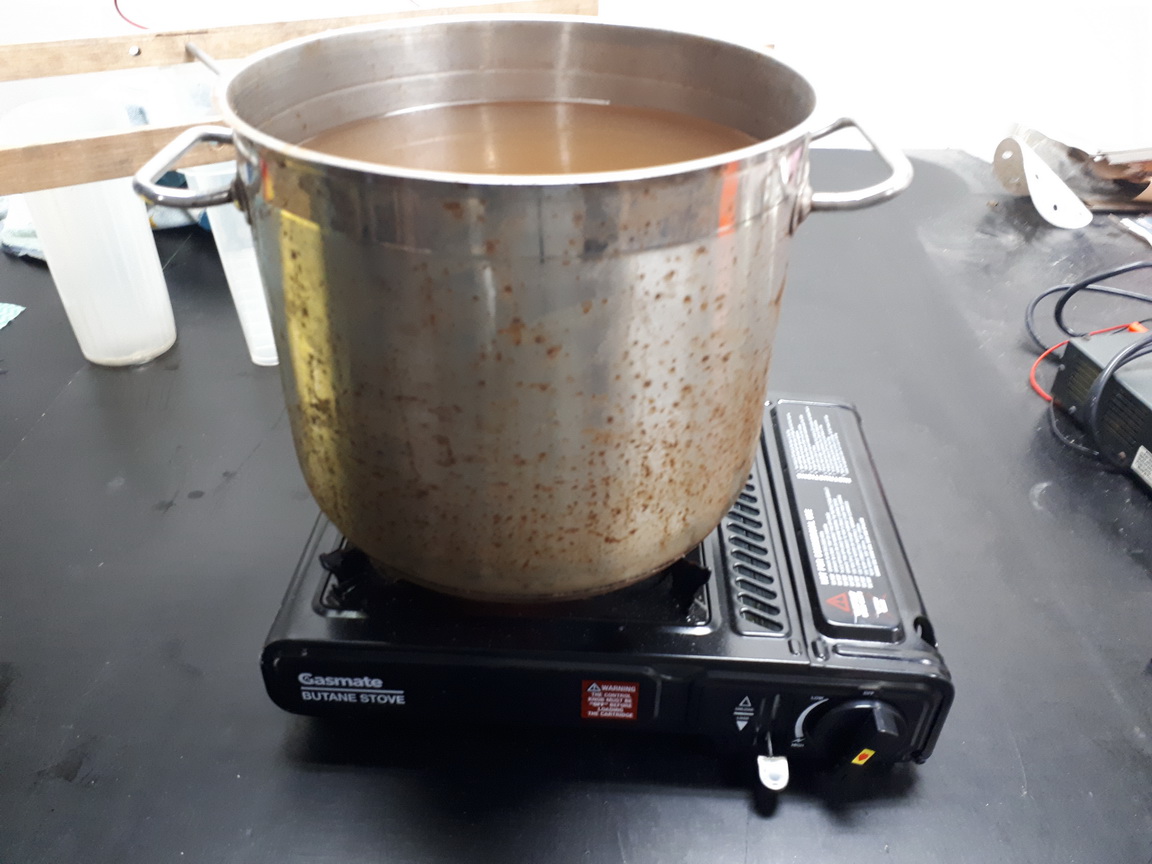
Basic Gas Stove - of the Camping variety.. BEST plating results are achieved at 27C and above. So I "Cook the Pasta" to bring it up to temperature.


Chemical - Rust and Scale Remover - This is used to remove plating AND remove corrosion and rust. It is diluted with water and placed in its own tub.


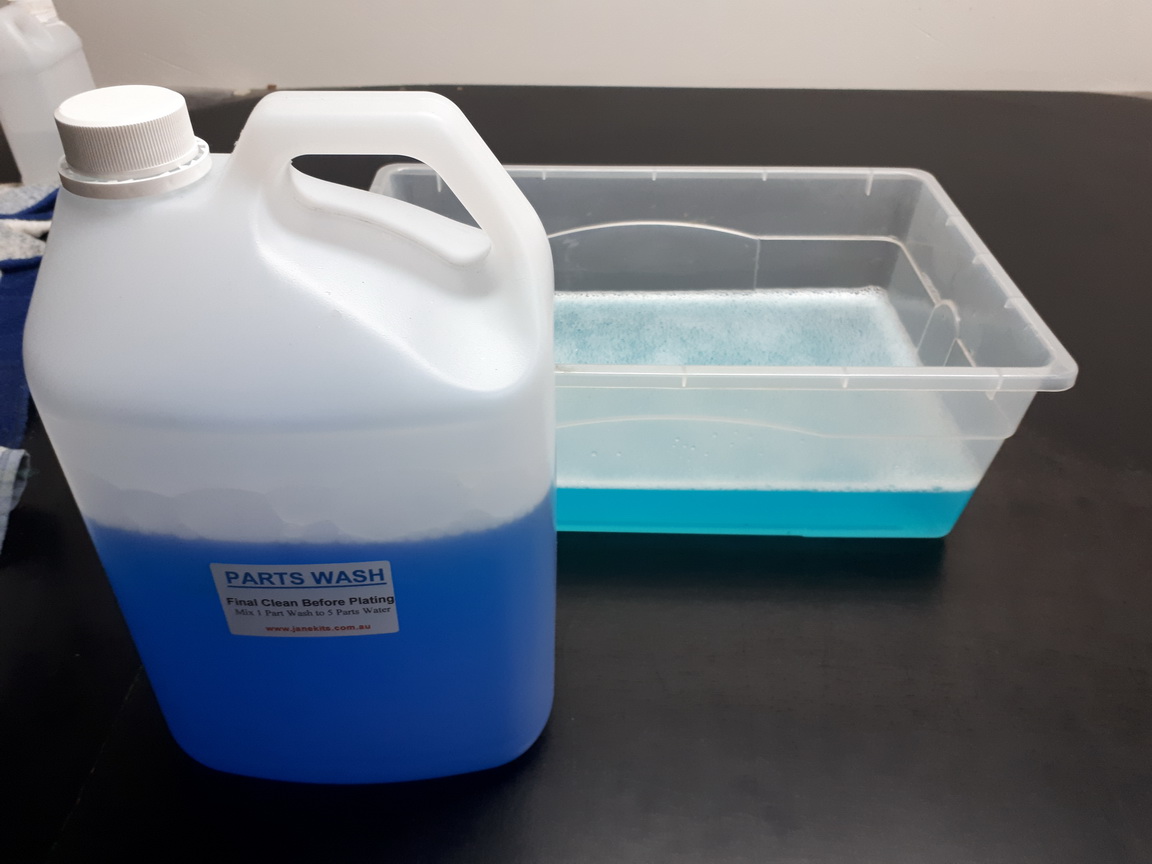
Chemical - Parts Wash - Used as the last part of the preparation, after Rust etc have been removed


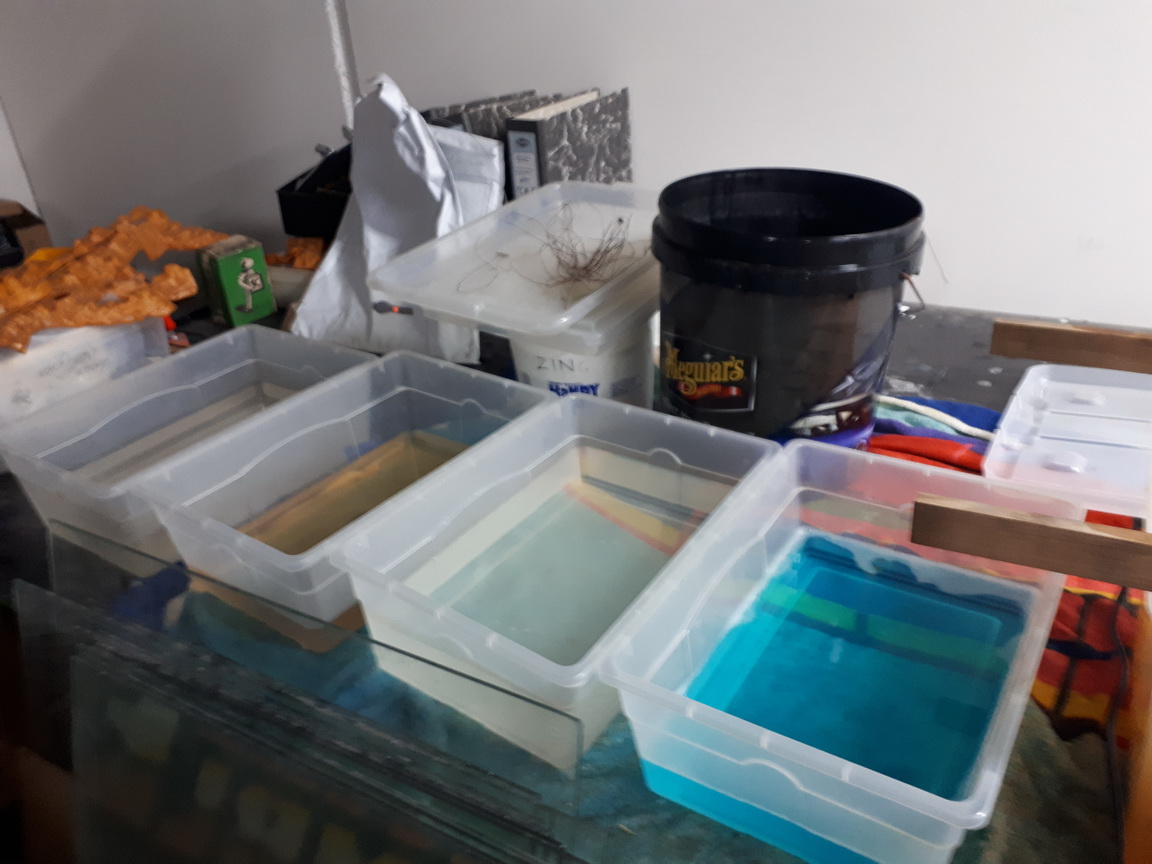
The Setup - This is why you need HEAPS of room..

Left Container = "Pickle" - I'll cover that later, but it is Hydrochloric Acid and water - removed old plating.Next Container - Rust and Scale Remover - For removing Rust / CorrosionNext Container - Water. To wash off contaminants before placing in the last containerLast Container - Parts Wash - This removes grease, oil, and preps the part for plating.


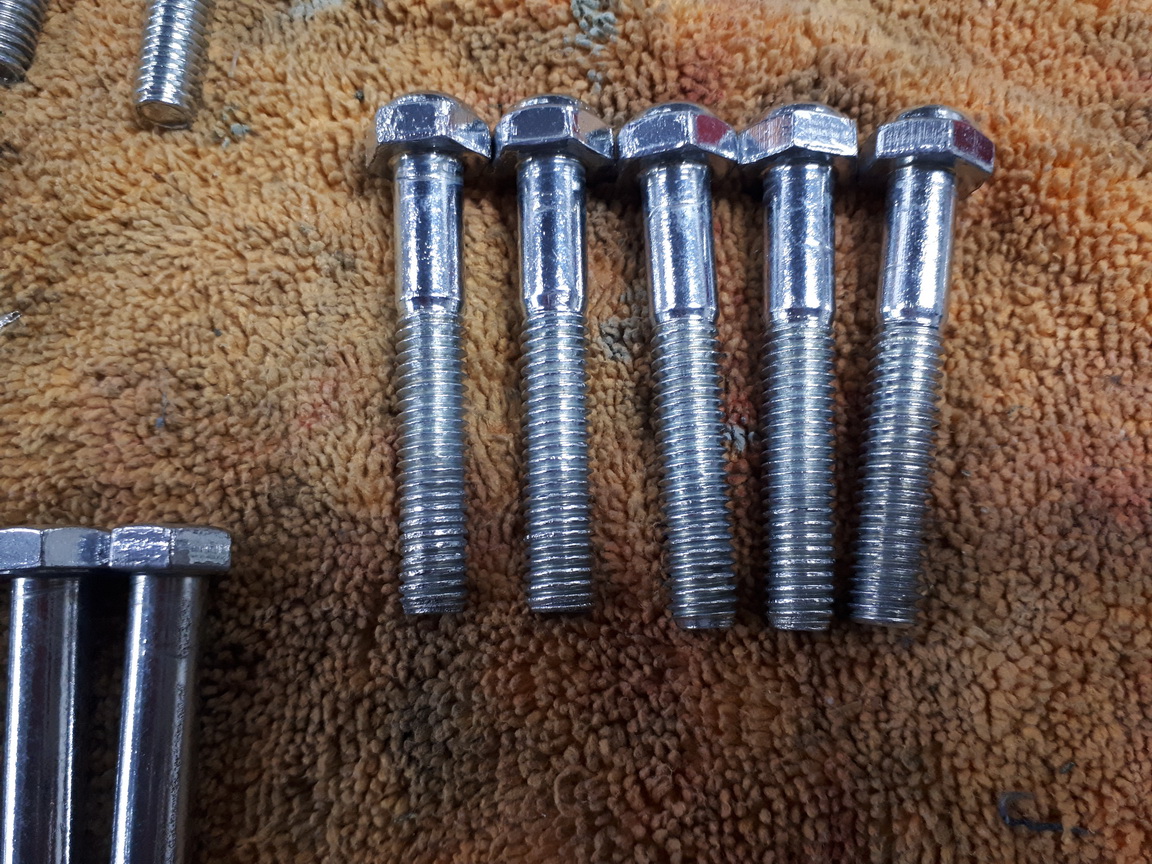
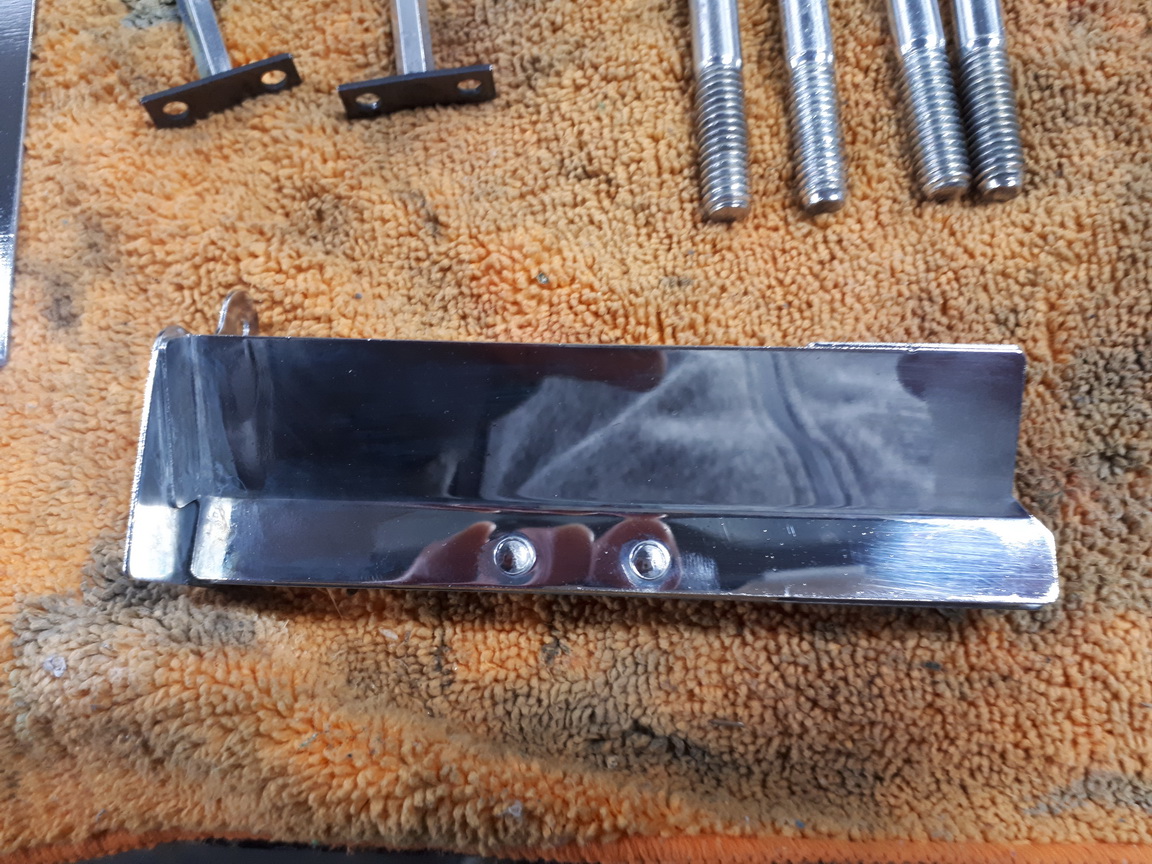
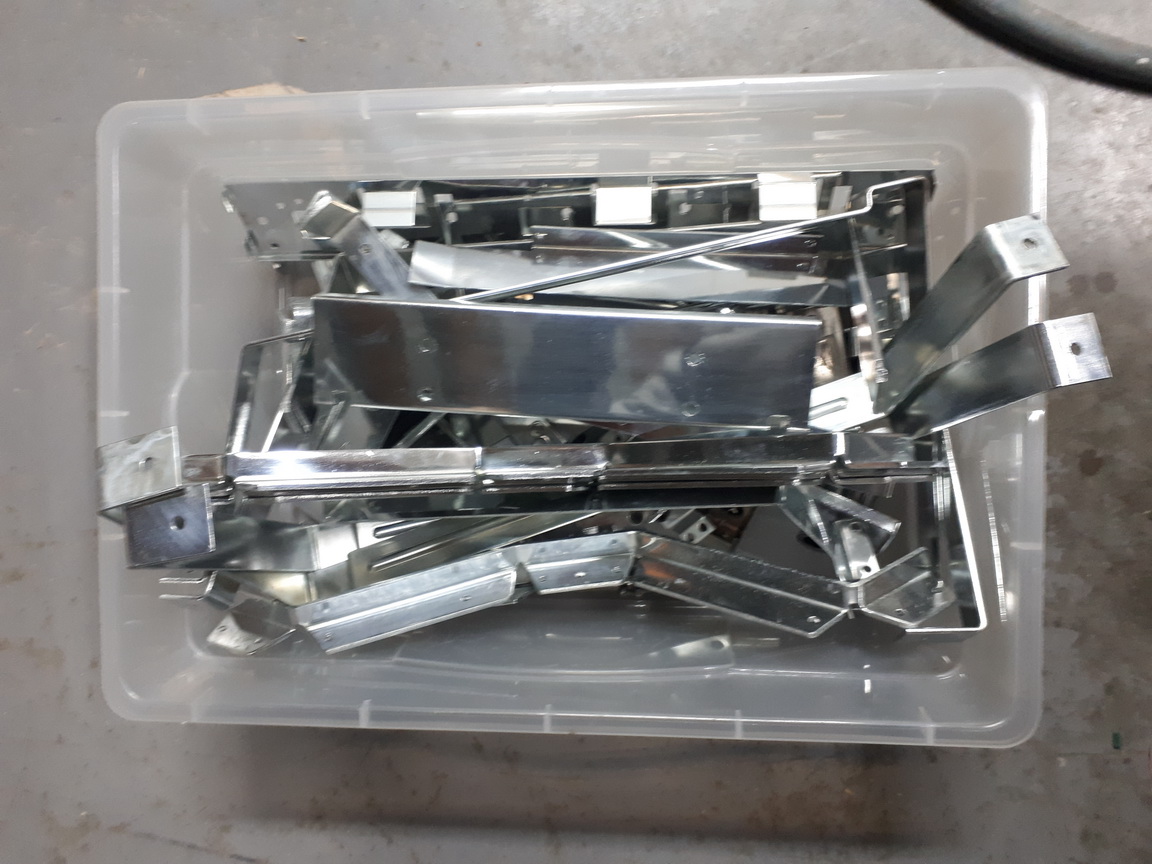
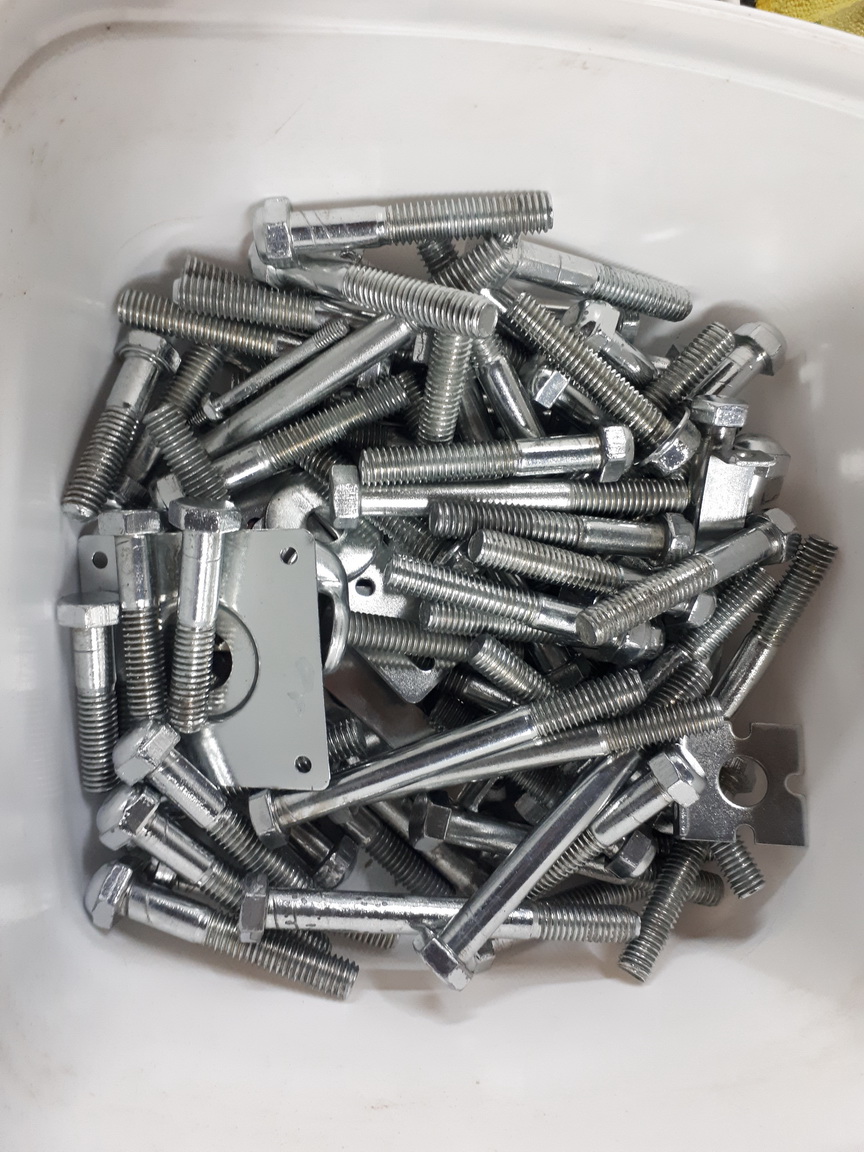
That's the basic setup. I'll update the next part soon. In the meantime, here are more examples of zinc plated parts ;


Feel Free to ask questions  @@^

Aussie Pinball - Proud to be Australia's Premier Pinball Forum

http://www.australianpinballrestorations.com.au/

http://www.rtbb.com.au/catalog/

We carry the largest range of NEW Ramps in Australia

Offline RPZ

  • Trade Count: (0)
  • **
  • Forum Posts:
  • Sydney
Strangeway's Guide to Electroplating
« Reply #2 on: August 30, 2019, 07:25:35 PM »
Makes me want do restores! I wish I had the room!

Great Job and thanks for sharing!

Offline ddstoys

  • Trade Count: (+23)
  • ******
  • High Score Initials:
  • Forum Posts:
  • Geelong
Re: Strangeway's Guide to Electroplating
« Reply #3 on: August 30, 2019, 08:23:04 PM »
I’ve been toying with this for ages and after my last resto having a part go missing at the electroplaters I think it’s time i have a crack at it. 

  Thanks for the thread it’s interesting to see and damn you need lots of space


Sent from my iPhone using Tapatalk

Offline Limorange

  • Trade Count: (0)
  • **
  • Forum Posts:
Re: Strangeway's Guide to Electroplating
« Reply #4 on: August 30, 2019, 09:38:39 PM »
The plated parts look awesome, always wondered about the process, thanks for sharing.

Offline Pinballer

  • Trade Count: (0)
  • *****
  • Forum Posts:
Re: Strangeway's Guide to Electroplating
« Reply #5 on: August 31, 2019, 09:38:11 AM »
Excellent, thanks for sharing so far. I've been looking forward to this thread for a long time. Being able to replate my own parts and take a restoration to the next level is exciting.

Offline Mr Pinbologist

  • Trade Count: (+5)
  • ******
  • High Score Initials:
  • Forum Posts:
  • Wauchope NSW
Re: Strangeway's Guide to Electroplating
« Reply #6 on: August 31, 2019, 09:56:27 AM »
Thanks for sharing Nino.. been waiting to see this thread for ages!!
Might just have to give it a go myself   *%* *%*

Offline Toads

  • Trade Count: (0)
  • *****
  • Forum Posts:
  • Shepparton Vic
Re: Strangeway's Guide to Electroplating
« Reply #7 on: August 31, 2019, 01:45:15 PM »
Great work Nino.
Looking forward to following this.

Offline pinoffski

  • Trade Count: (0)
  • *****
  • Forum Posts:
  • Wollongong NSW
Re: Strangeway's Guide to Electroplating
« Reply #8 on: August 31, 2019, 11:09:08 PM »
I am lucky atm they have a blacking system where I currently work..
Have made some parts for drop targets .

 interested in the zinc plating system.
How many restores do you get out of the 20 litre system

Offline ktm450

  • Trade Count: (+1)
  • ******
  • High Score Initials:
  • Forum Posts:
  • Geelong, Victoria
Re: Strangeway's Guide to Electroplating
« Reply #9 on: September 01, 2019, 06:10:17 PM »
Great results from a home setup, would be very satisfying to do it yourself.

Offline Strangeways

  • Pinball Restoration is my passion
  • Administrator
  • Trade Count: (+9)
  • *****
  • High Score Initials:
  • Forum Posts:
  • Melbourne
  • ABN 68 283 634 461
    • Ride The Boney Beast
Re: Strangeway's Guide to Electroplating
« Reply #10 on: September 02, 2019, 10:14:36 AM »
I am lucky atm they have a blacking system where I currently work..
Have made some parts for drop targets .

 interested in the zinc plating system.
How many restores do you get out of the 20 litre system


Depends on how many parts need to be plated. A 20L Kit would last over 12 months. I've plated almost every Zinc plated part in a Dr Who, Joker Poker, Sky Jump, Free Fall, Addams Family (X2) and Indiana Jones. On top of this, 200 Legbolts, washers and other metal parts lying around including tools. If you prep the parts properly, the bath could last longer. The bath does lose the chemical ability to plate over time due to loss of water through filtering and heating. The bath can also perish if you contaminate the bath by plating the wrong parts, or leaving a part in the bath for too long.
Aussie Pinball - Proud to be Australia's Premier Pinball Forum

http://www.australianpinballrestorations.com.au/

http://www.rtbb.com.au/catalog/

We carry the largest range of NEW Ramps in Australia

Offline Strangeways

  • Pinball Restoration is my passion
  • Administrator
  • Trade Count: (+9)
  • *****
  • High Score Initials:
  • Forum Posts:
  • Melbourne
  • ABN 68 283 634 461
    • Ride The Boney Beast
Re: Strangeway's Guide to Electroplating
« Reply #11 on: October 05, 2019, 06:02:21 PM »
Sorry for the delay inbetween updates.

Zinc plating has another advantage over Nickel - To remove the original Zinc plating is really easy. You can use "Jane Clean" if the part has a lot of rust or corrosion, but if there's limited or no rust, you can use a "pickle" of Hydrochloric Acid and water. It is a lot cheaper, and you can buy Hydrochloric Acid at Bunnings. Nickel Plating needs several chemicals to properly remove the original Nickel - and these are not readily available.


Follow the instructions on the bottle. Dilute and place in a plastic container. ALWAYS wear protective Eye gear when diluting. You can then drop parts in that need to be stripped.


This is the lock down receiver for a Gottlieb. Professional platers won't plate these in Nickel because of the moving parts. But I wanted to experiment with Zinc with my setup.


The bubbles is the reaction between the Acid and the original plating. You know the bath is still good if you see this reaction. No bubbles = No more reaction. Need to mix a new bath.


You can change the plastic container for different sized parts. I do this often. This part took about 20 minutes to strip the original plating, and it removed most of the corrosion. I then place it in the "Jane Clean" for an hour and it was ready for the next step.

Here is the Tilt Assembly after being cleaned in the ultrasonic. Ready to be stripped ;


Dropped in to a different container with other parts.


The reaction has removed most of the plating. The bubbles reduce in volume. These parts were stripped in 20 minutes;


 :D
Aussie Pinball - Proud to be Australia's Premier Pinball Forum

http://www.australianpinballrestorations.com.au/

http://www.rtbb.com.au/catalog/

We carry the largest range of NEW Ramps in Australia

Offline Strangeways

  • Pinball Restoration is my passion
  • Administrator
  • Trade Count: (+9)
  • *****
  • High Score Initials:
  • Forum Posts:
  • Melbourne
  • ABN 68 283 634 461
    • Ride The Boney Beast
Re: Strangeway's Guide to Electroplating
« Reply #12 on: October 05, 2019, 06:31:02 PM »
After Stripping the original plating in the Acid Pickle and the "Jane Clean", I scrub any remaining corrosion and then rinse with water. It then is dropped in the blue solution - "Parts Clean". This removes any residual solvents, grease, oil and anything else prior to plating.


I then hook the parts with Copper wiring and drop into another container of just water. It sits in the water until the bath is ready.


Time to heat up the plating bath. I've found that the perfect temperature is 30 Degrees, so I heat to around 35-37 Degrees.


Bit high, but I have to do this twice as the pot is 10 liters, the bath is 20 Liters.


A small amount of Brighener is added to the bath. I add this each time I heat up the bath - every plating session.


These are the Zinc Anodes. There are 8 in the 20 liter kit. They hang in the both on the opposite sides of the parts being plated.


Here is the bath setup and ready to plate. The +VE end of the power supply is connected to the bars at each end of the bath. The Zinc Anodes are hung from these bars. The -VE end is connected to the parts we want to plate. Two - Three Amps of current is set at the power supply. I have to monitor the initial 5 minutes to see if this fluctuates.


Here is the Tilt Assembly ready to place in the bath.


Ready To Hang in the bath. As soon as it is dropped in - the power is switched on. The bath must be actively plating with the anodes hung in there. An empty bath will go "off" if not monitored.


The Plating Process begins. Set the timer to 45-60 minutes to plate. However, I have to monitor the bath to ensure it is plating - there will be minute bubbles when plating. If plating is not happening, the part must be removed or the bath can go "off"


:D
Aussie Pinball - Proud to be Australia's Premier Pinball Forum

http://www.australianpinballrestorations.com.au/

http://www.rtbb.com.au/catalog/

We carry the largest range of NEW Ramps in Australia

Offline Pinballer

  • Trade Count: (0)
  • *****
  • Forum Posts:
Re: Strangeway's Guide to Electroplating
« Reply #13 on: October 06, 2019, 09:13:47 AM »
Great read so far Nino, thank you. When time allows can you please list all the equipment, containers, tools and supplies required to setup for this process?

Offline ddstoys

  • Trade Count: (+23)
  • ******
  • High Score Initials:
  • Forum Posts:
  • Geelong
Re: Strangeway's Guide to Electroplating
« Reply #14 on: October 09, 2019, 07:54:35 PM »
Loving the read


Sent from my iPhone using Tapatalk