Author Topic: Next Level Bling Bling Terminator 2 by Finny's Pinnys (100 plus Large Photos)  (Read 908 times)

0 Members and 1 Guest are viewing this topic.

Offline Finny

  • Trade Count: (0)
  • **
  • Forum Posts:
  • Melbourne Australia
  • Finnys Pinnys

Here are some photos of another T2 restoration with some modifications to help achieve a finer finish with added colour depth. I love the graphics of pinball so a lot of emphasis was placed on the overall finish and presentation.

T2 is a tricky restore as finding decals plastics and playfields are rare theses days to source which may be due to 3rd party licensing issues so one has to be inventive to modify and or repair what's existing. I was able to recover most of the plastics and playfield which were all in fair condition considering abuse & age factor. I'm not sure how many hours were invested, but the whole project was done over a 3 month period part time.

Williams 90's titles were designed for mass production so reducing labor and the bill of materials to achieve a certain specification was employed. This is great for the company bottom line and coin operators ended up with a unit that lasted throughout their depreciation schedules. As with any product designed for planned obsolescence, longevity for Williams wasn't included in the design factor unfortunately.

Now lets jump 20 or so years ahead and now we find time has taken it's toll. Todays collectors fall into many slots and look for certain attributes or criteria before purchasing machines. Some like theirs basically shopped out while some purists like NIB original factory presentation. Me personally… I want to go the next level to enhance the overall presentation, preserve the hardware & art to last longer and look better than it's intended factory specification by using current printing technology, LED lighting, 3rd party enhancements and automotive coatings.

So here are a series of photos with some comments explaining this process…

My 2 cents... Please Enjoy!


Client supplied unit from Japan in good condition for age. I've found a lot of Jap machines in the past to be good quality. Maybe it's not in their culture to abuse or kick the crap out of machines? Note the alignment of art an inch or less lower than where it's supposed to be.


Here too. Note art alignment.


Not bad condition this one. Required minor airbrushing only.


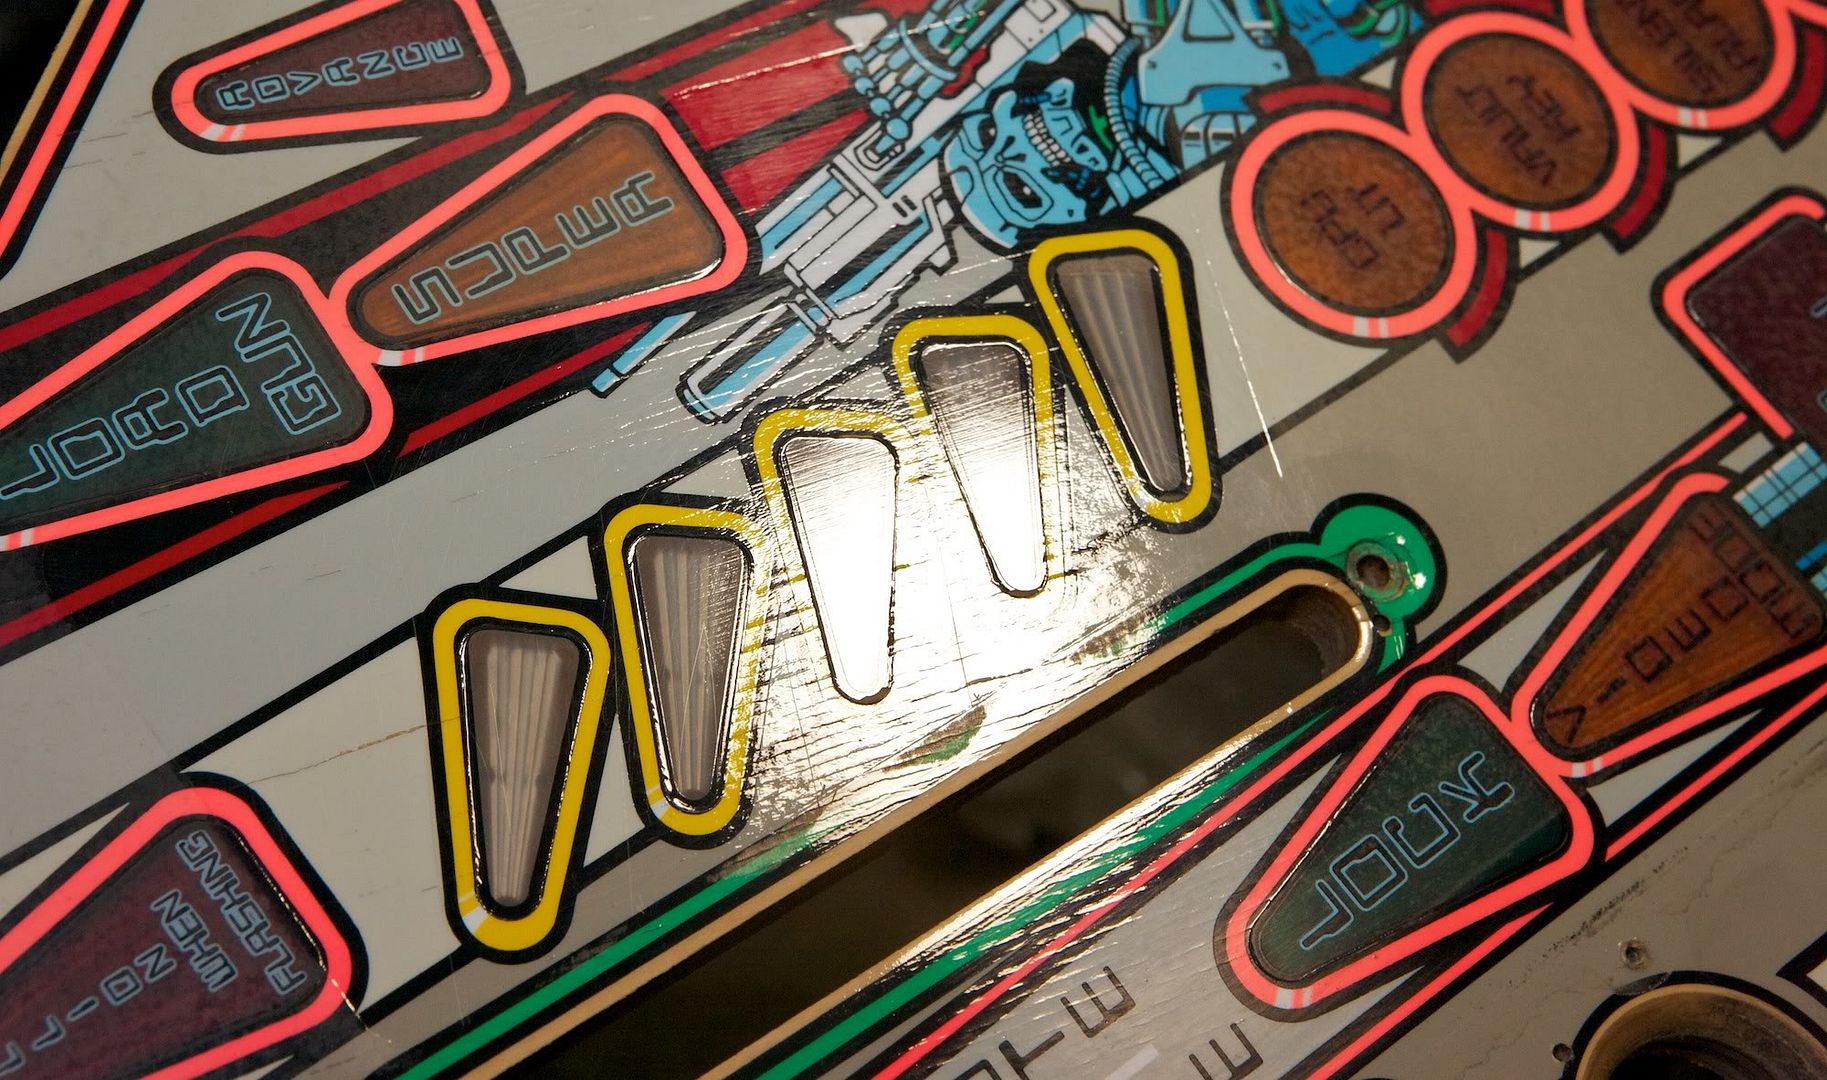
A sensitive Mylar removal area.


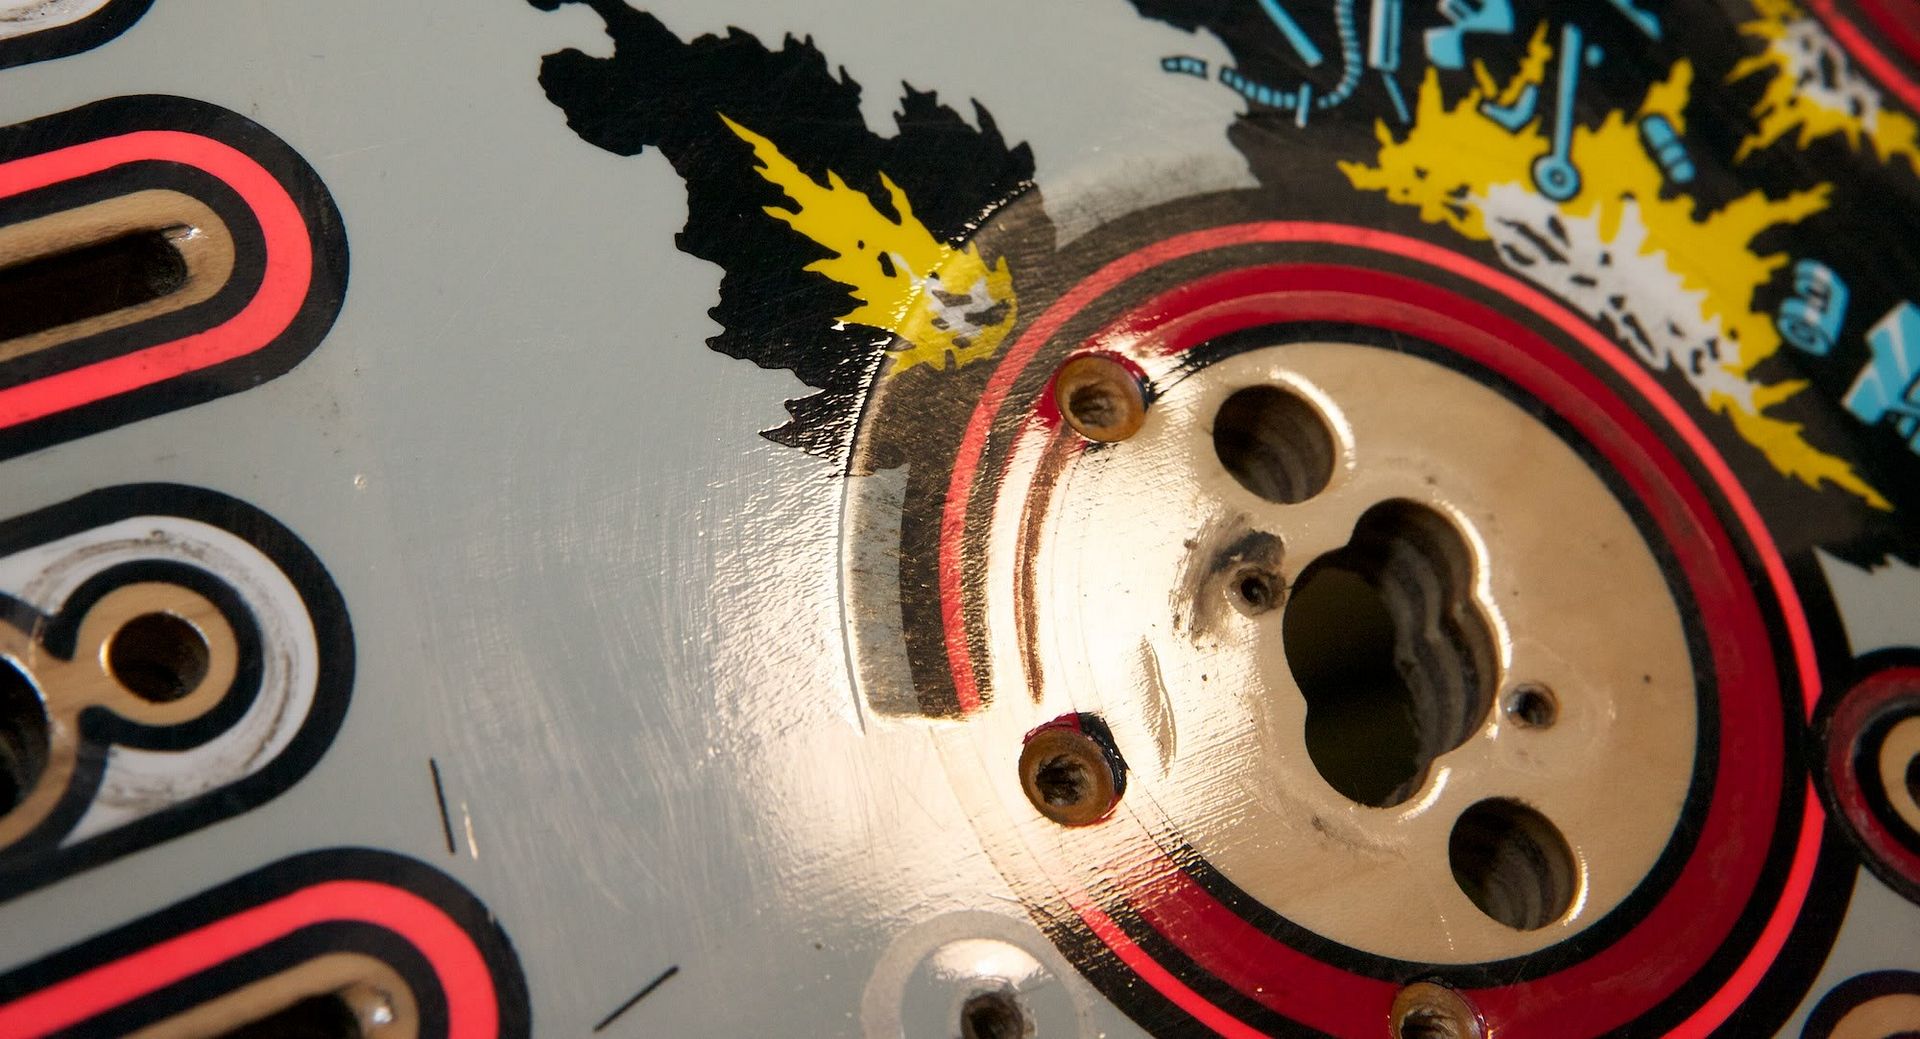
Here too, note wear around jet.


Some key line lifted on Mylar REMOVAL.


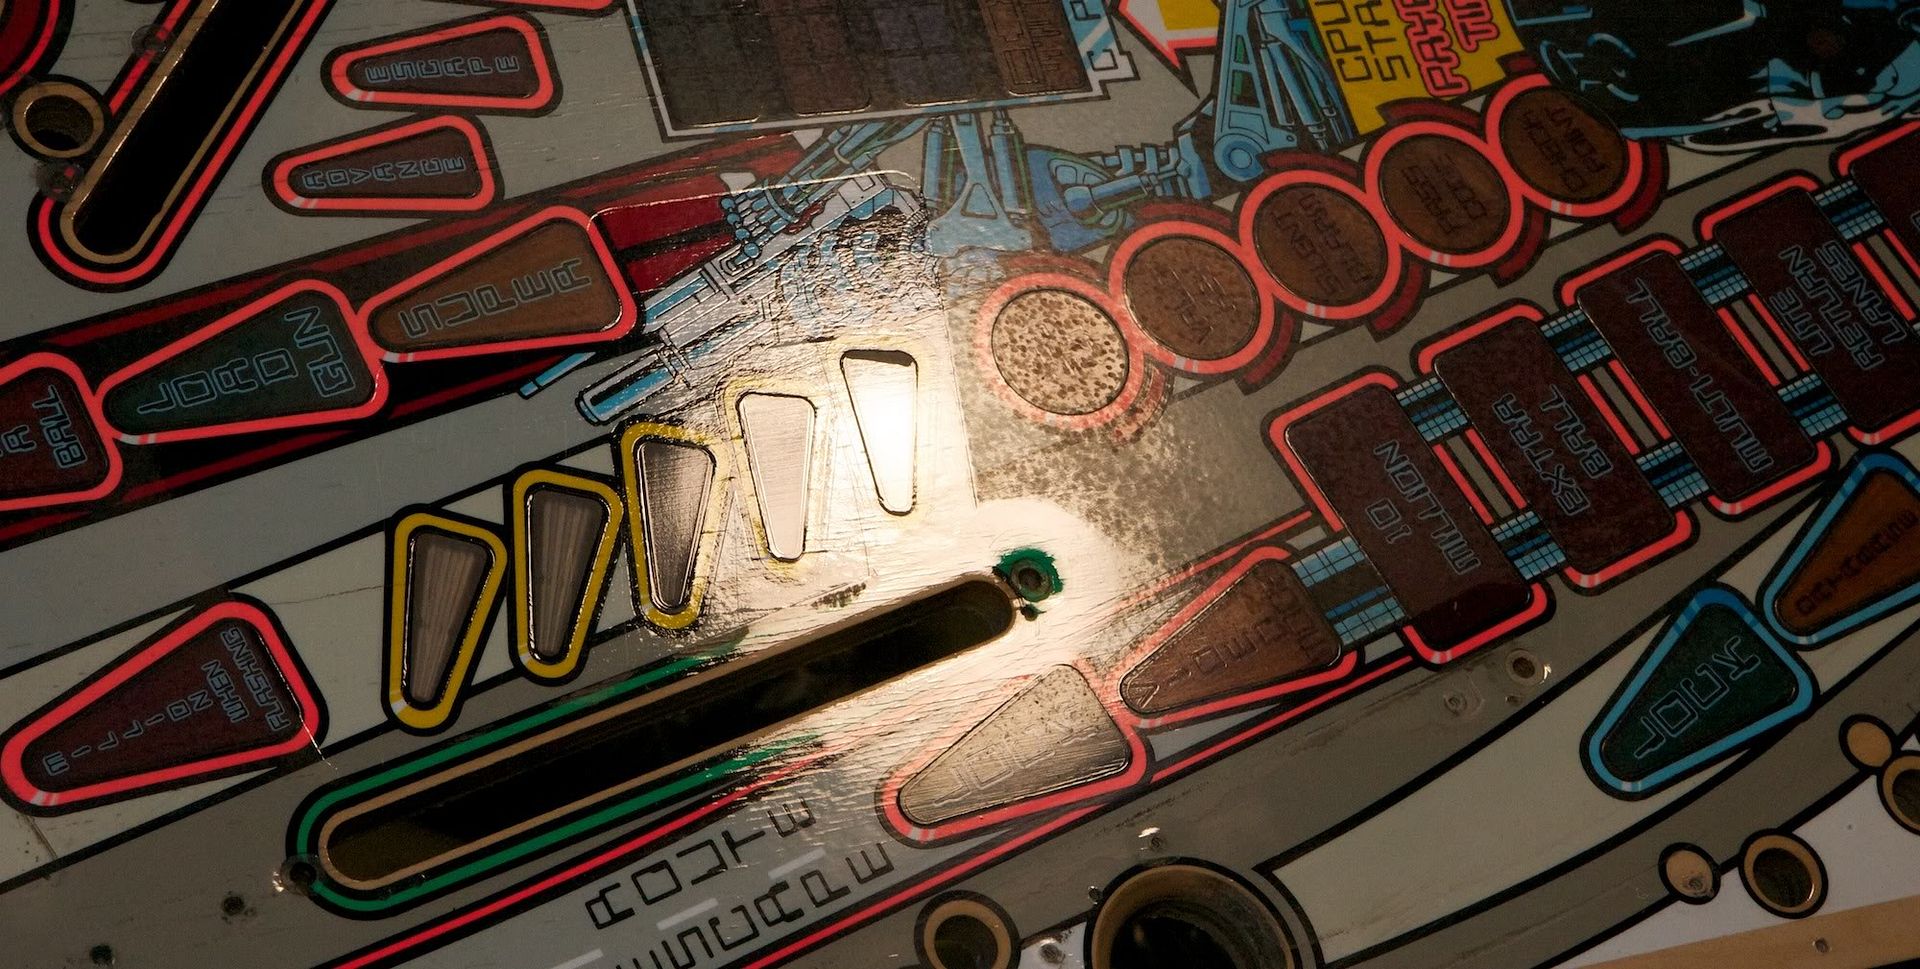
Crappy looking shooter lane.


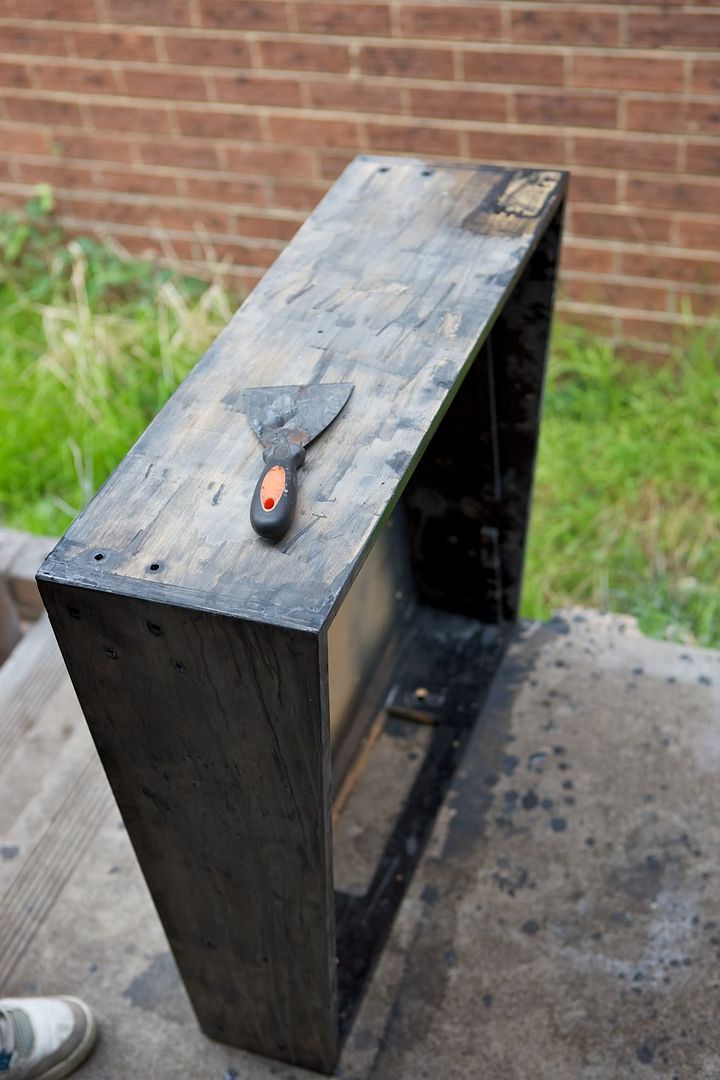
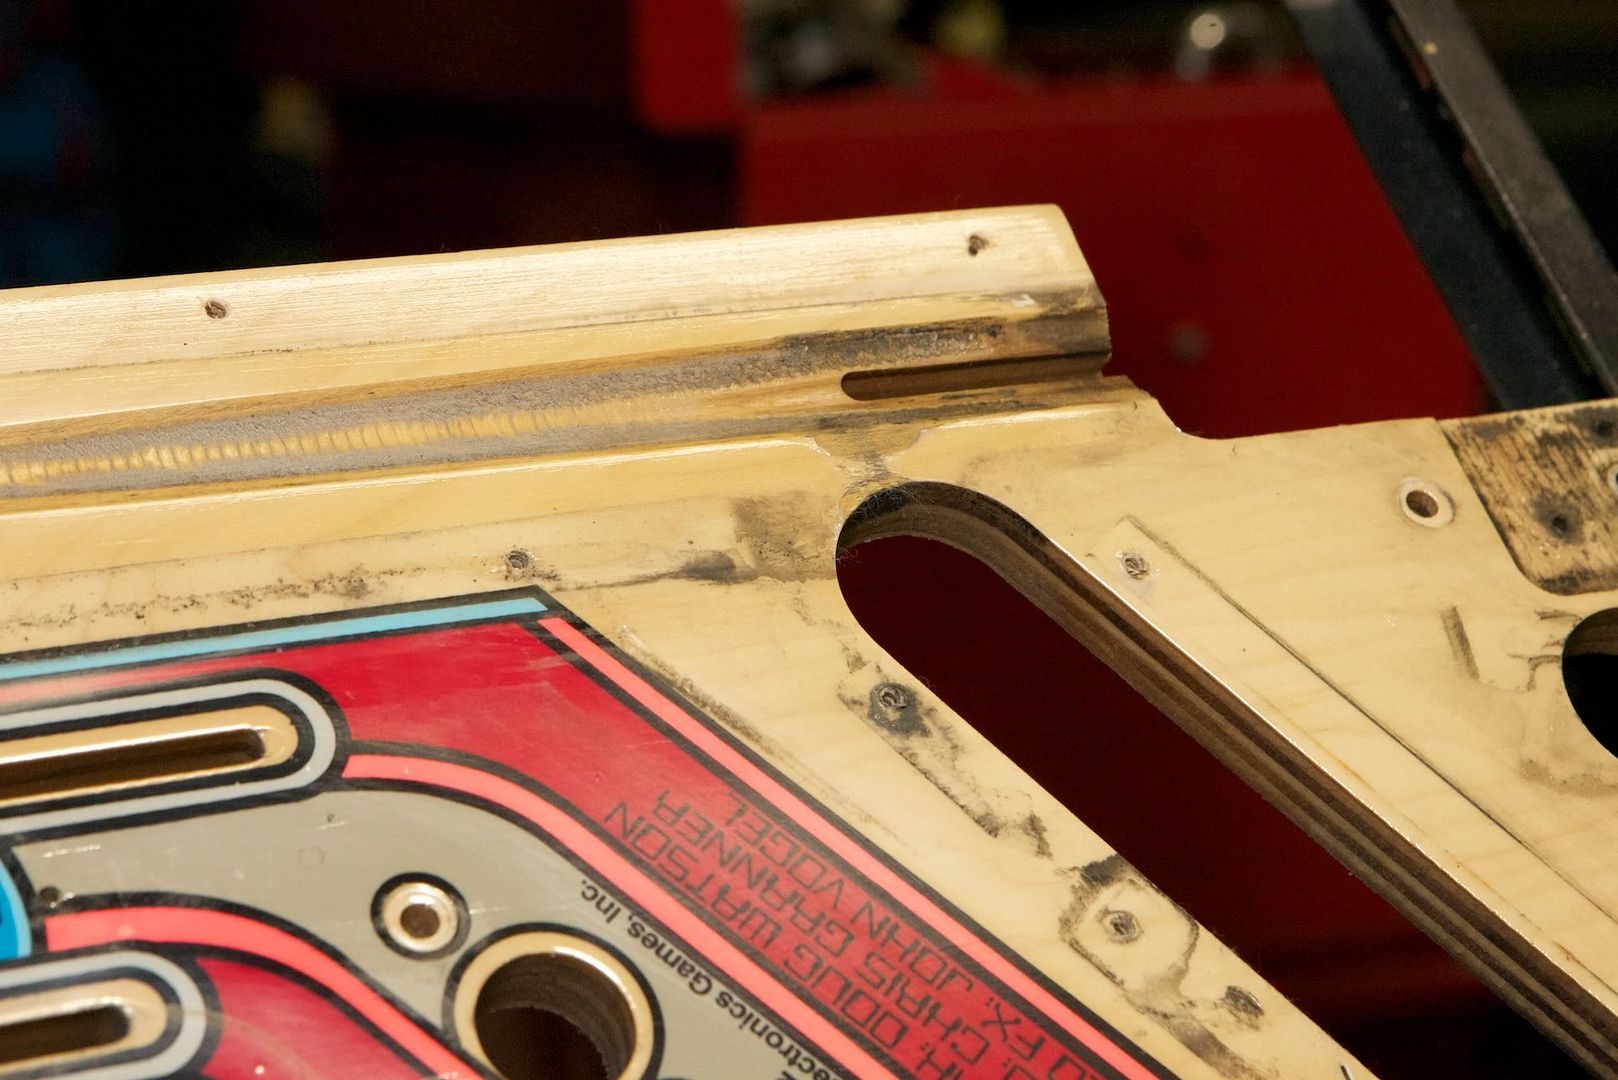
Acetone scraping of paint.


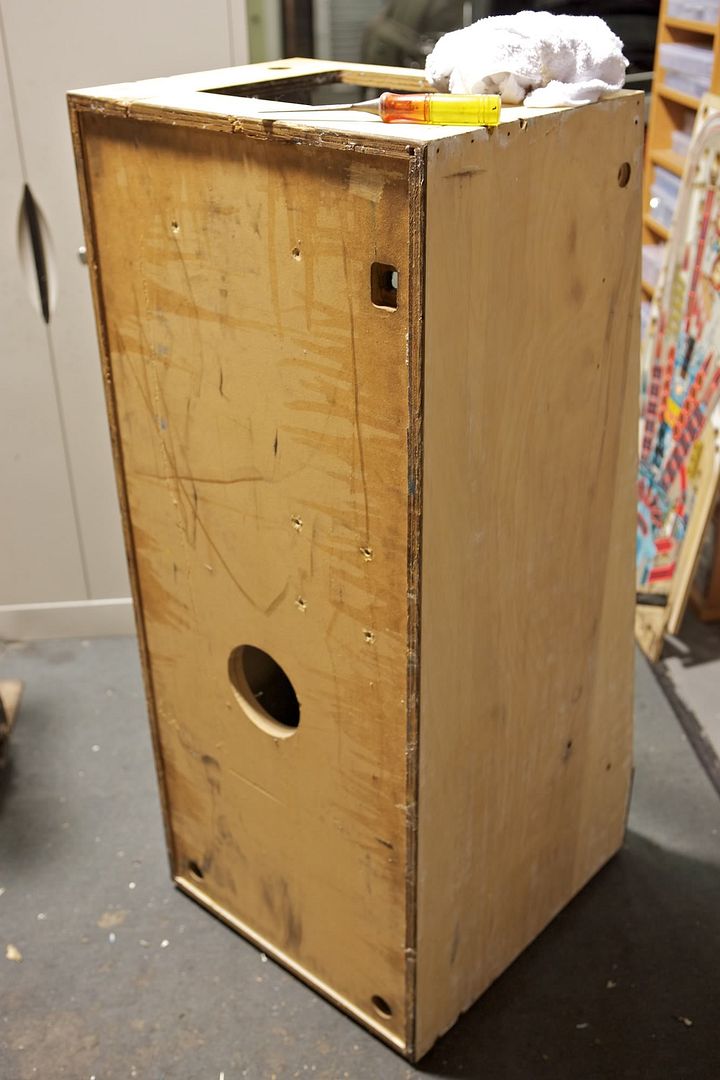
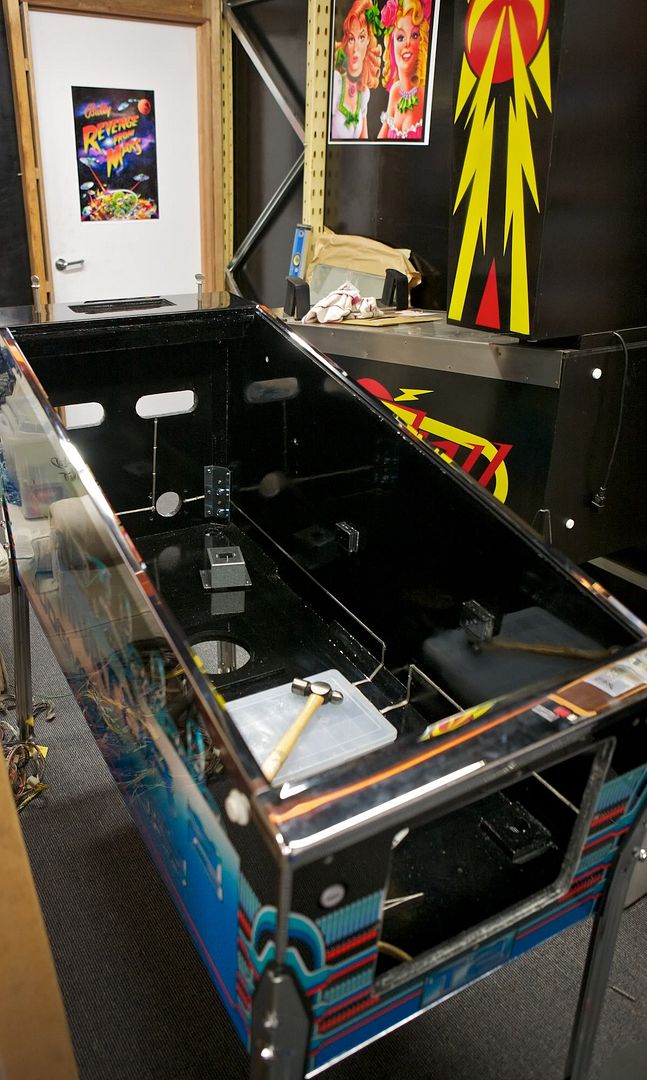
Cab ready for filling and sanding.


2 x T2 and a CC… Ha Ha what a mess...


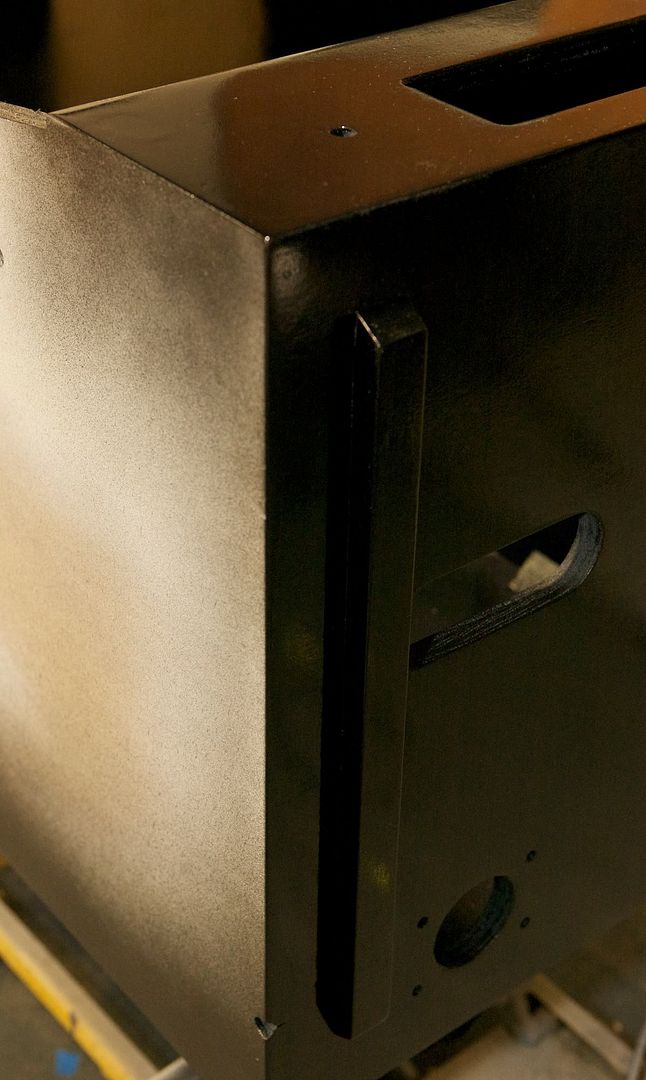
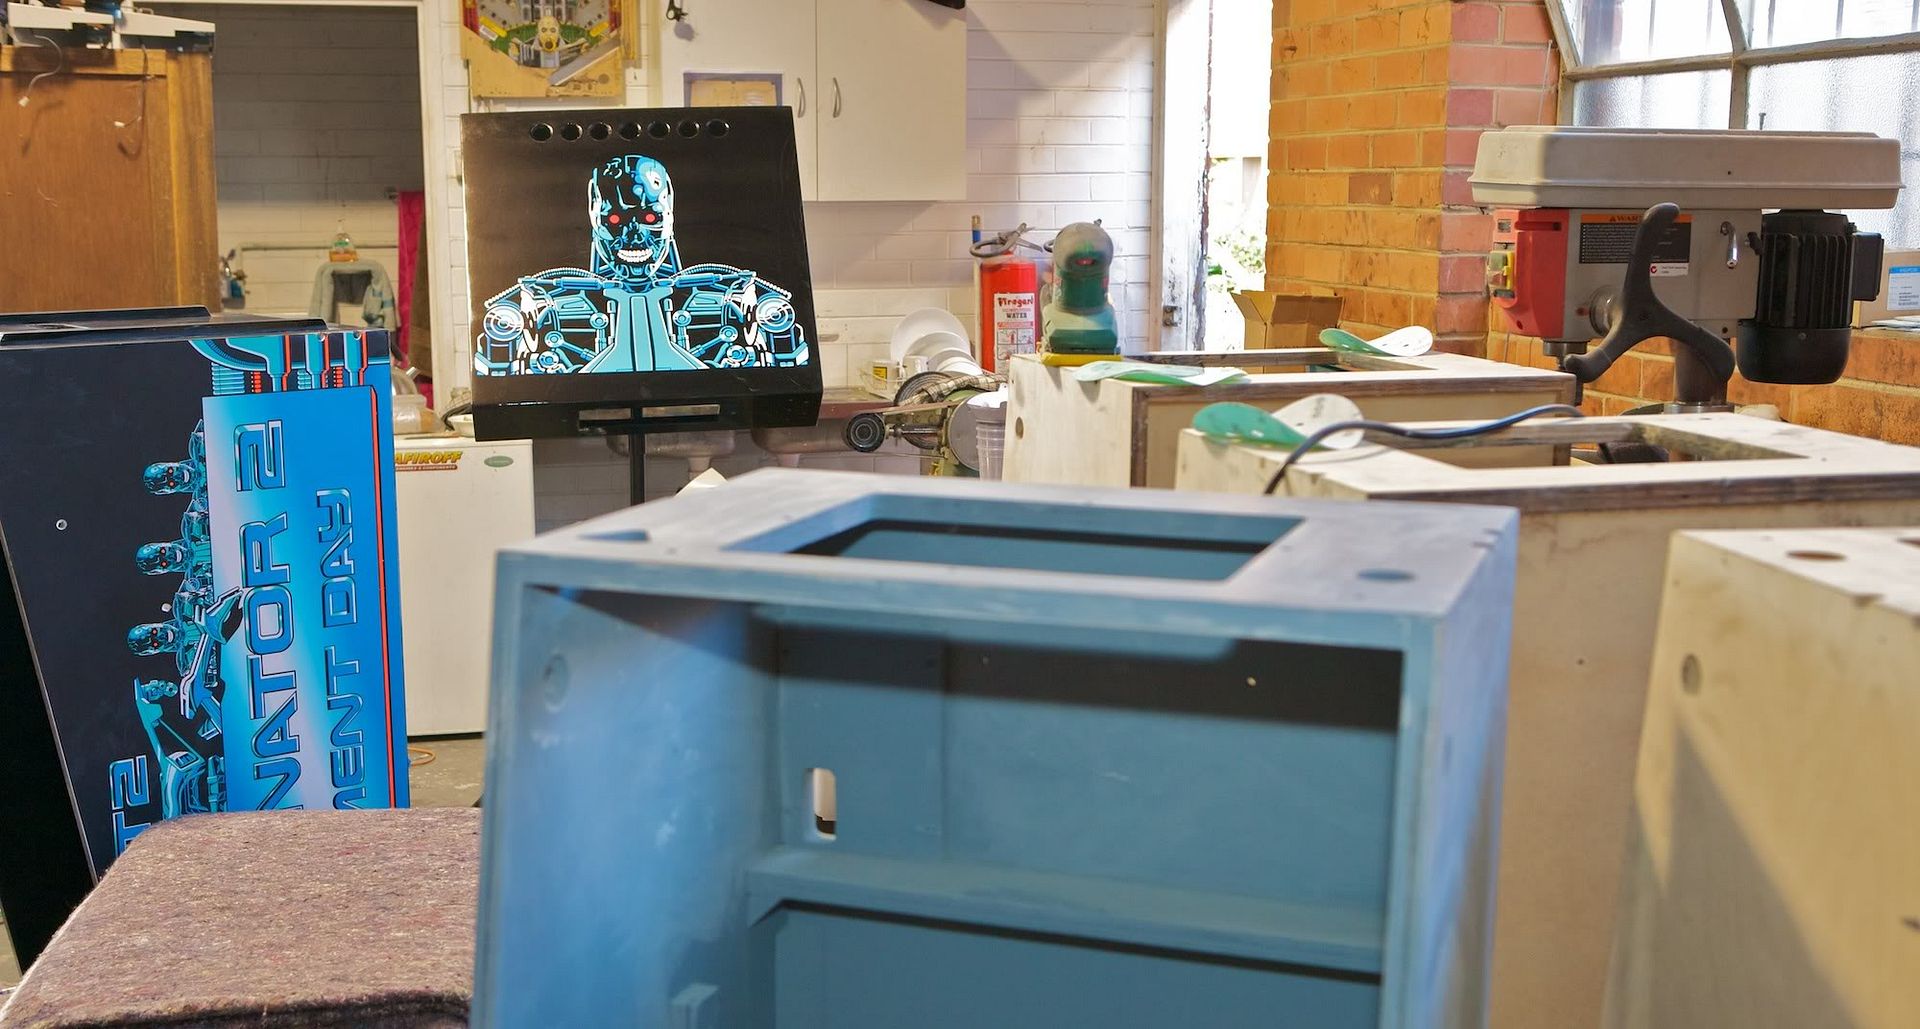
Acrylic black and waiting decals…


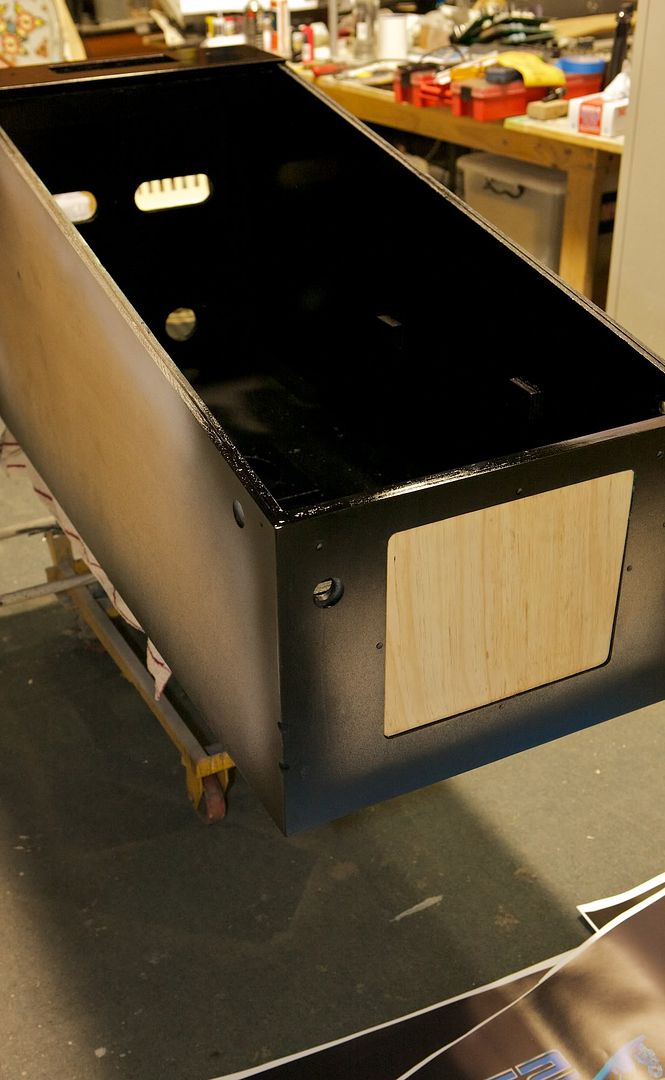
Temporary hole filler. I use this to prevent the decal sagging.


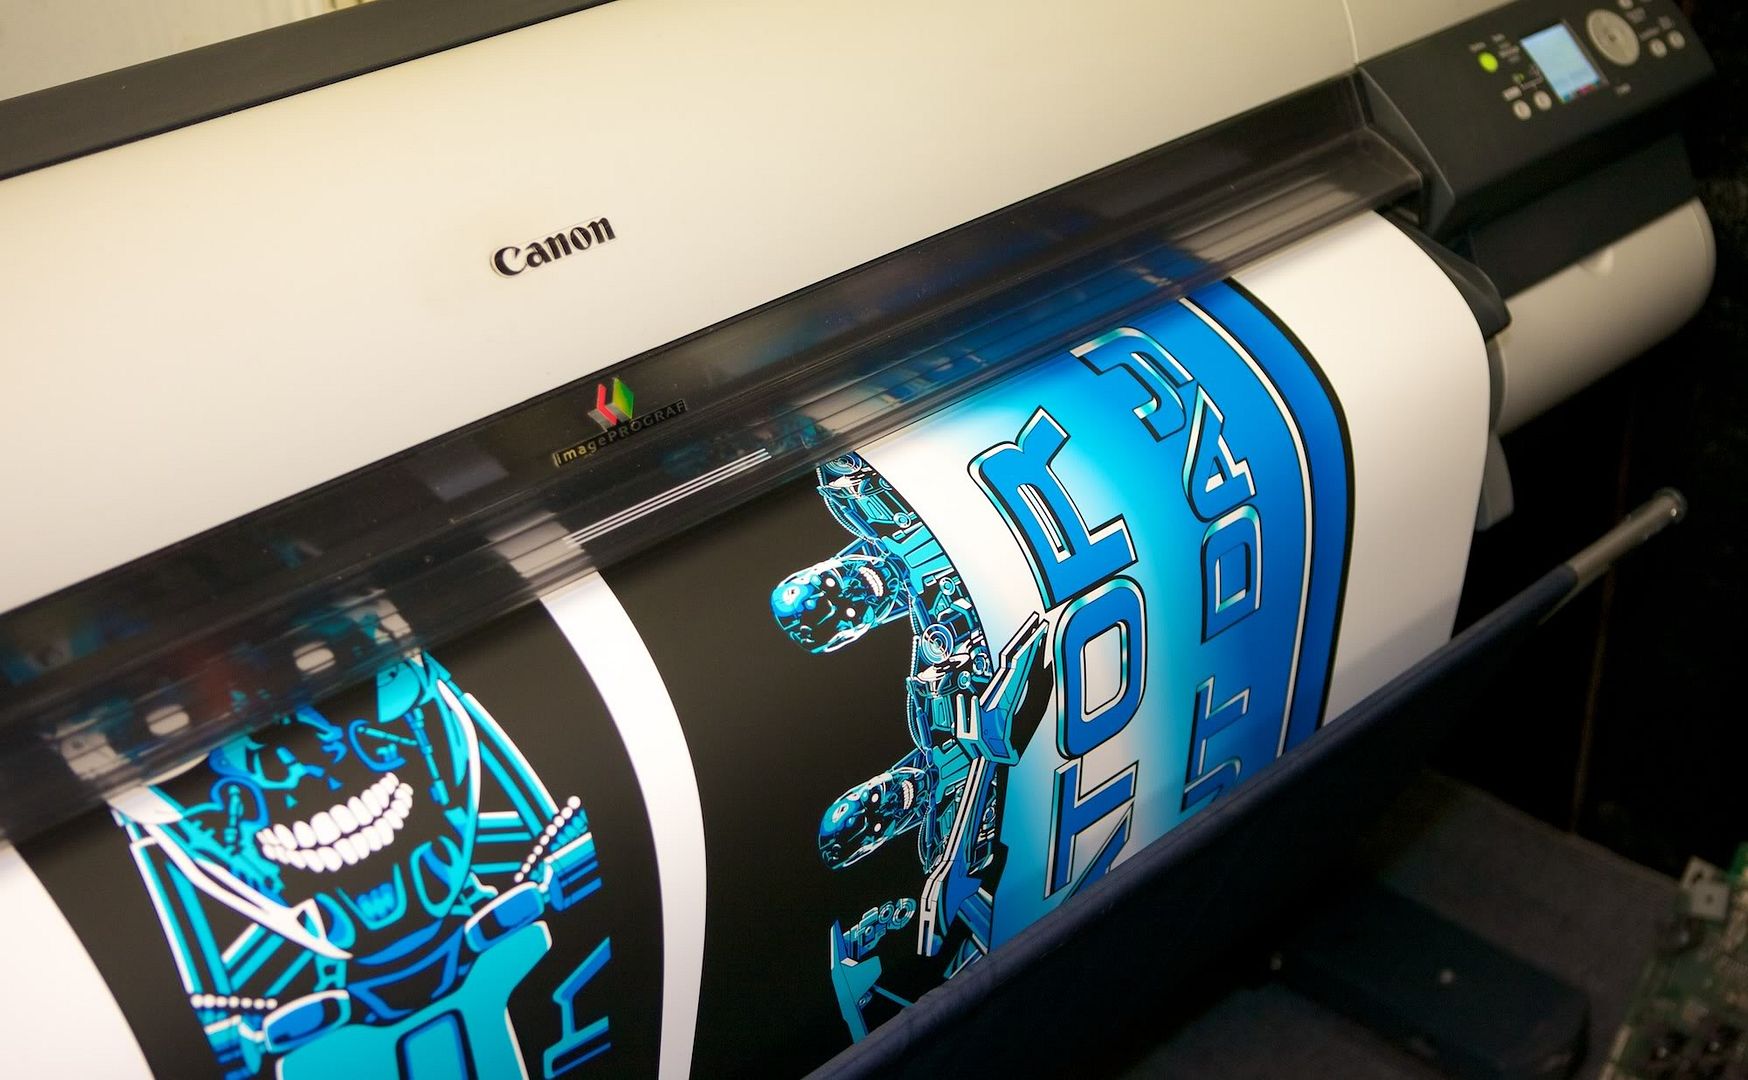
Hi gamut 12 colour printing. Maybe if Williams were producing machines today they might be using direct digital Ultra Violet curing inks directly on the cabs.


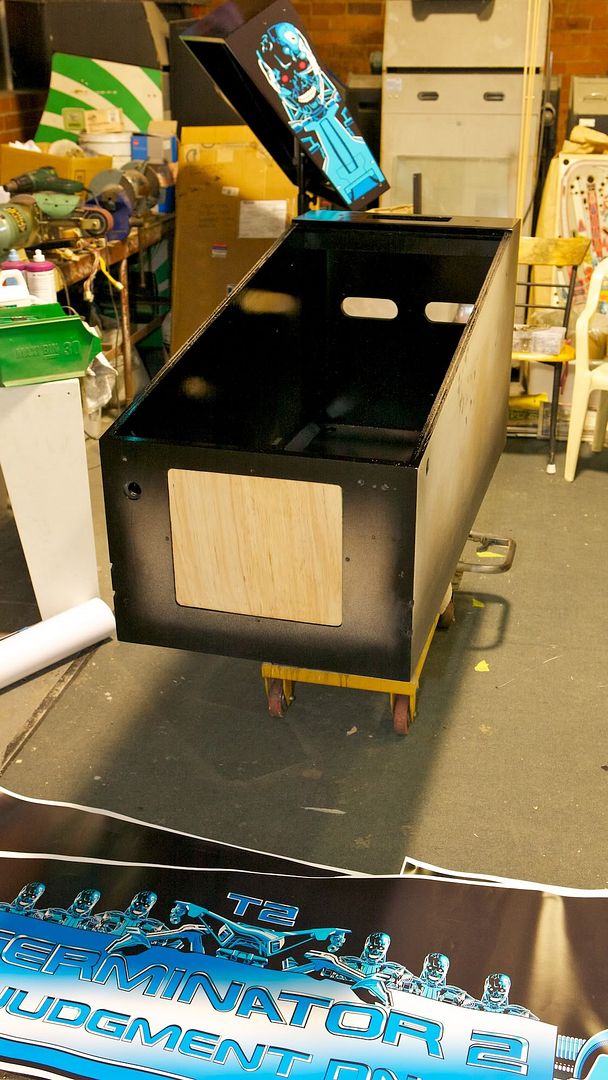
Head shell done now ready for the cab.


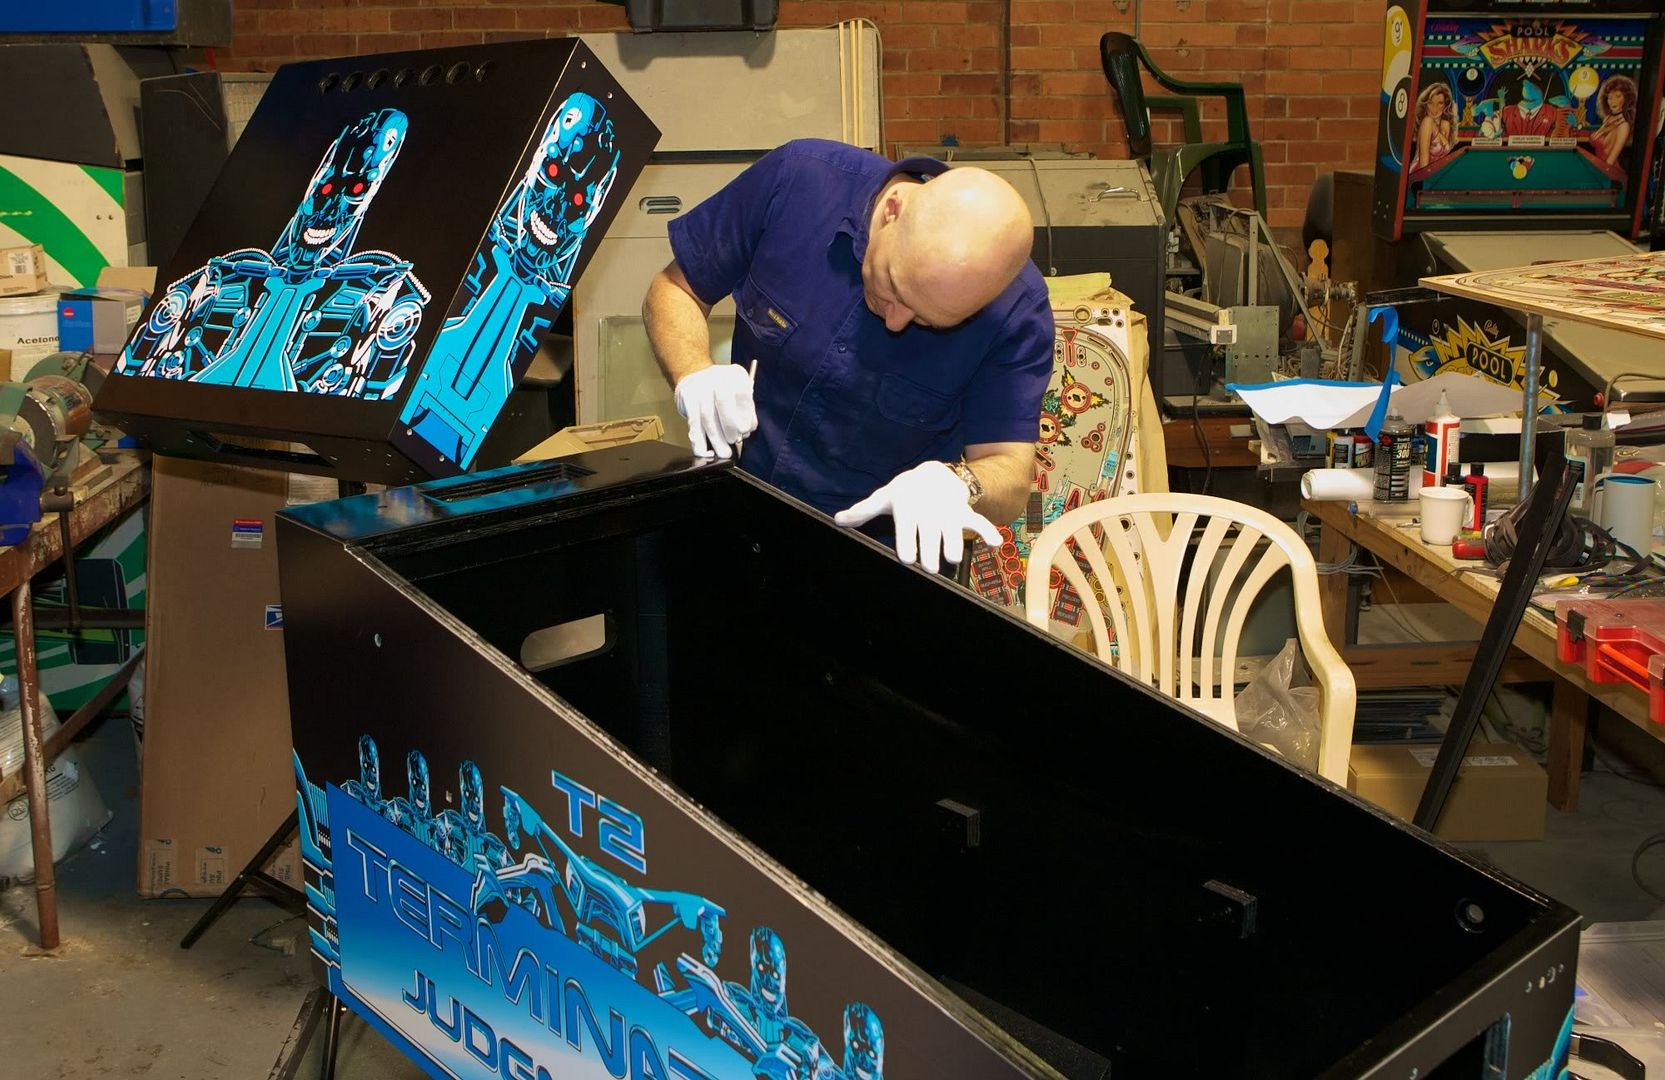
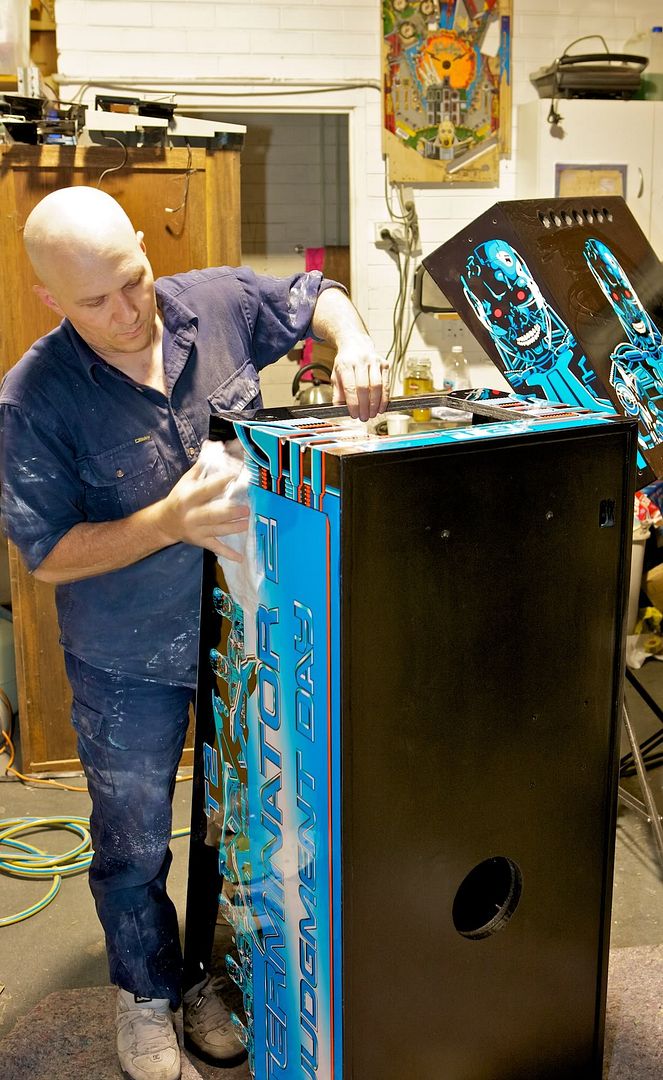
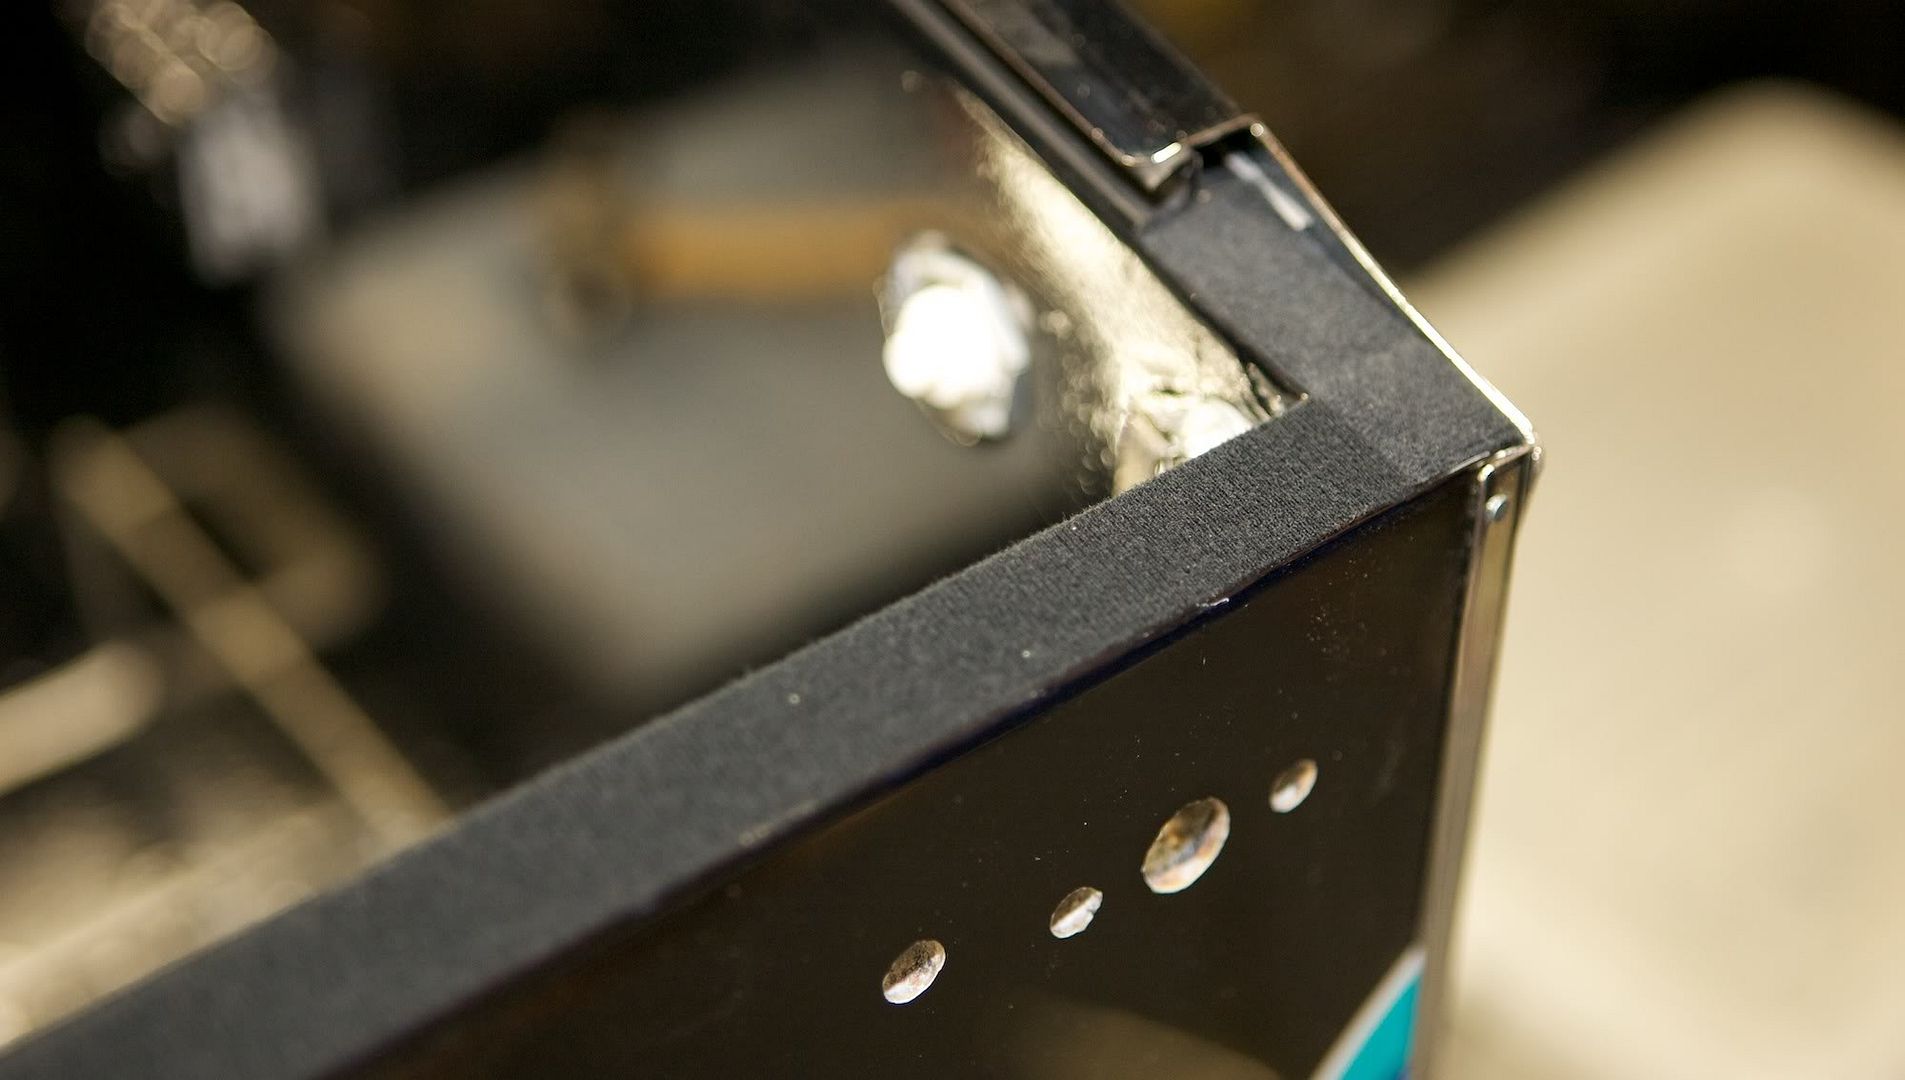
Some trimming in the corners. I wear the gloves so I don't mark the artwork which is sensitive to contaminates at this stage. This is 70 year archival ink and media which will be UV proof coated. Note UV reflecting off cranium.


Now where getting somewhere. All the art was created in illustrator. Since flawless hi res printing is available, no low resolution course scree printing was used. The final print job is fantastic. Thanks uncle Canon!


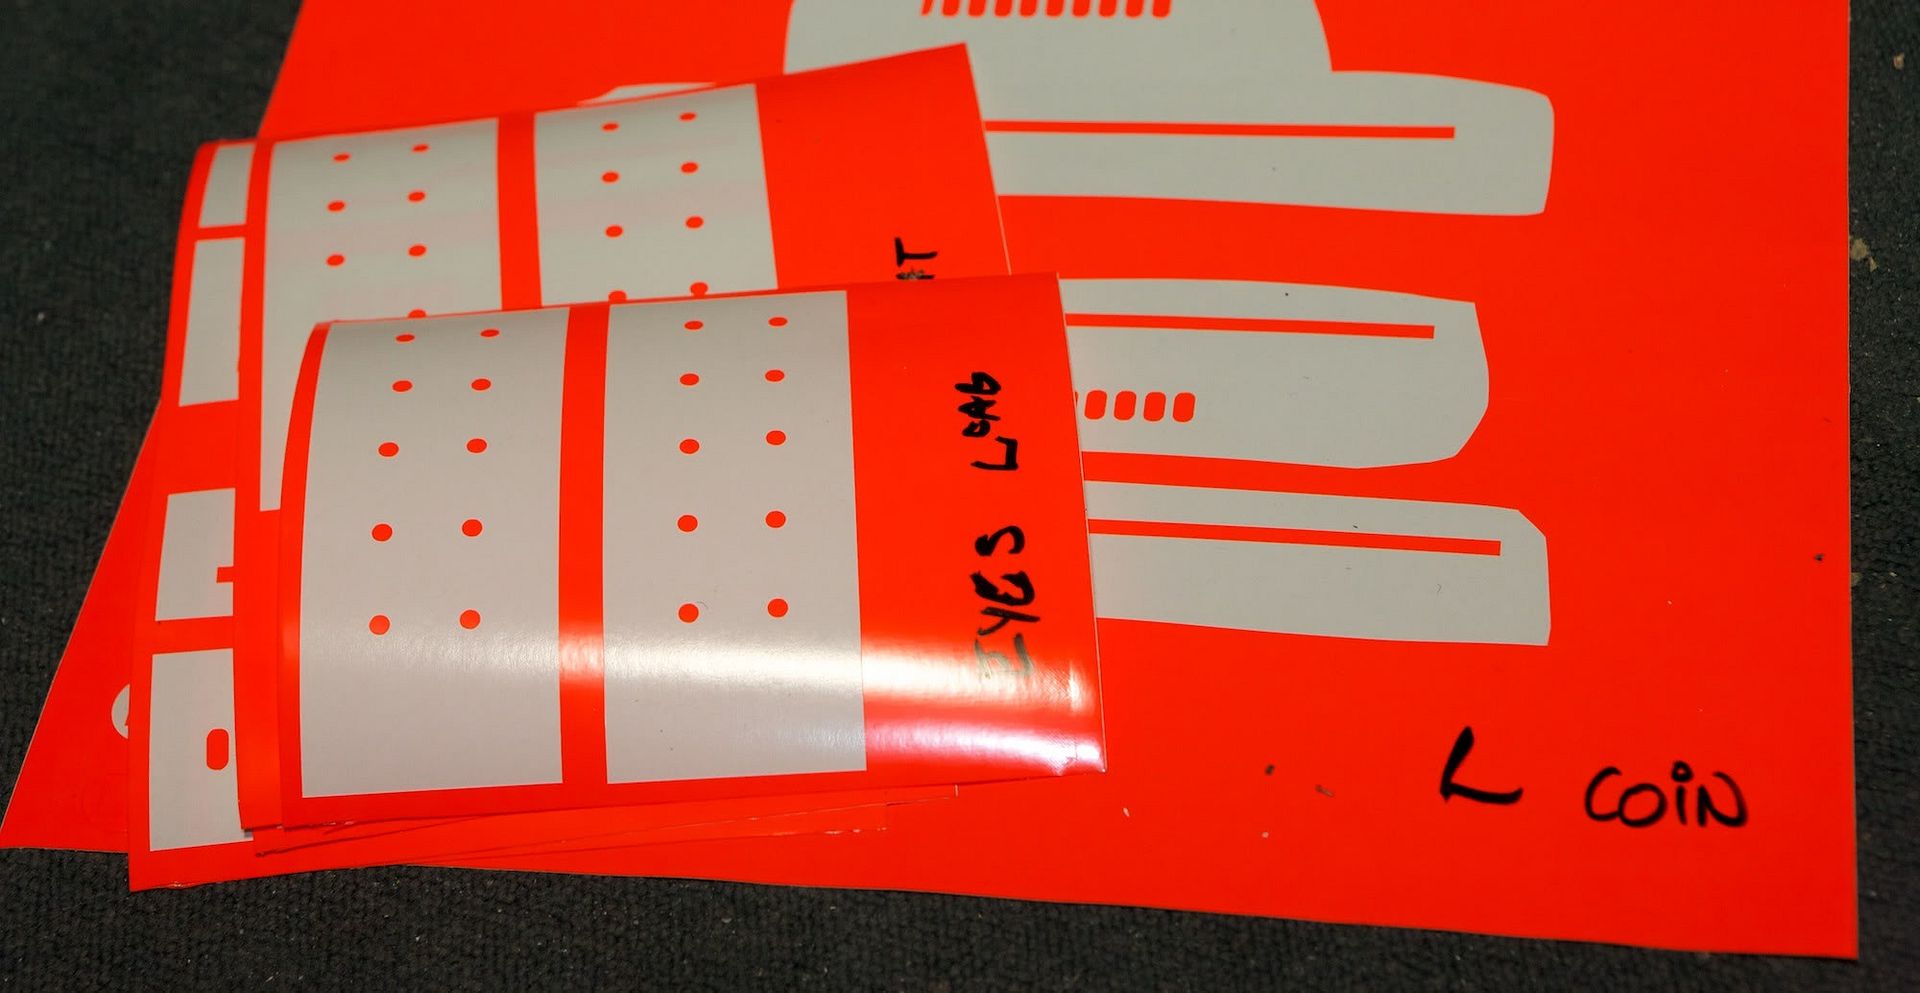
Here is where all the fun and games start. Since digital print can't do special spot colours you got to do them another way. So I used cut vinyl for the UV orange highlights.


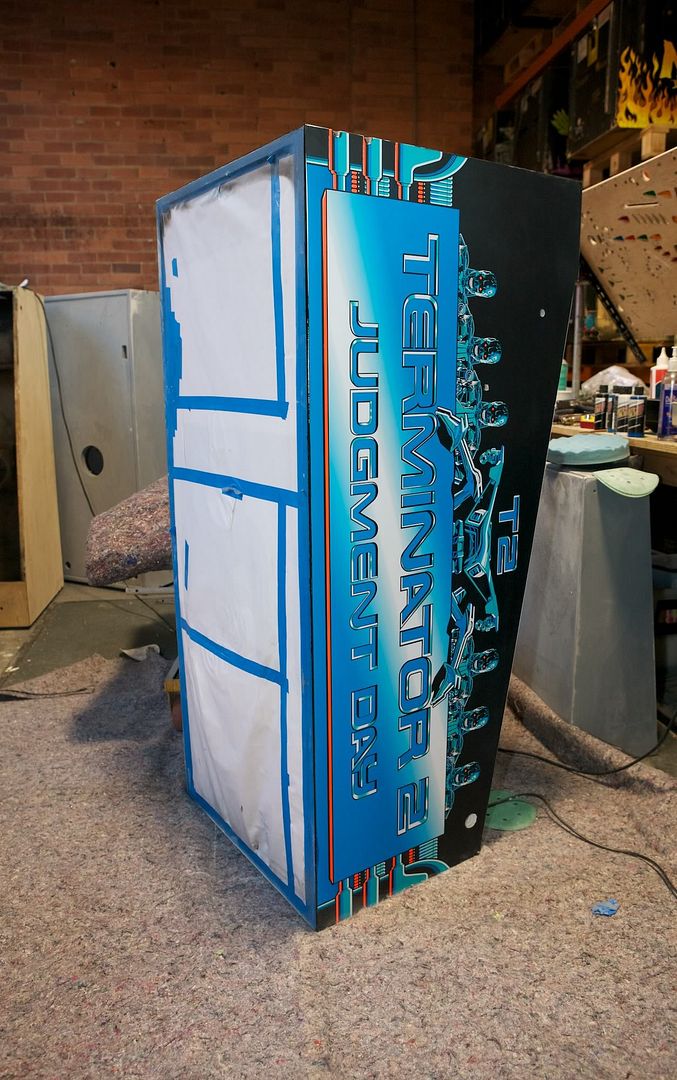
Vinyl applied to cab front.


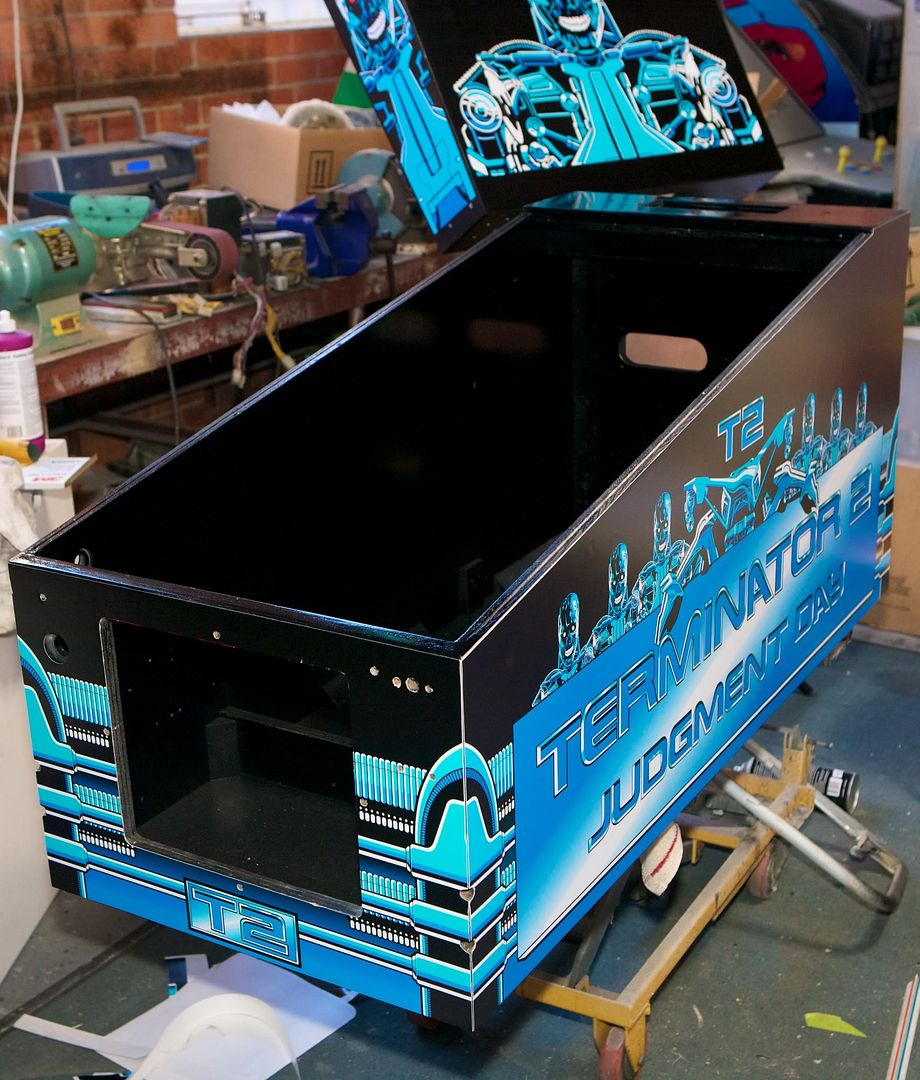
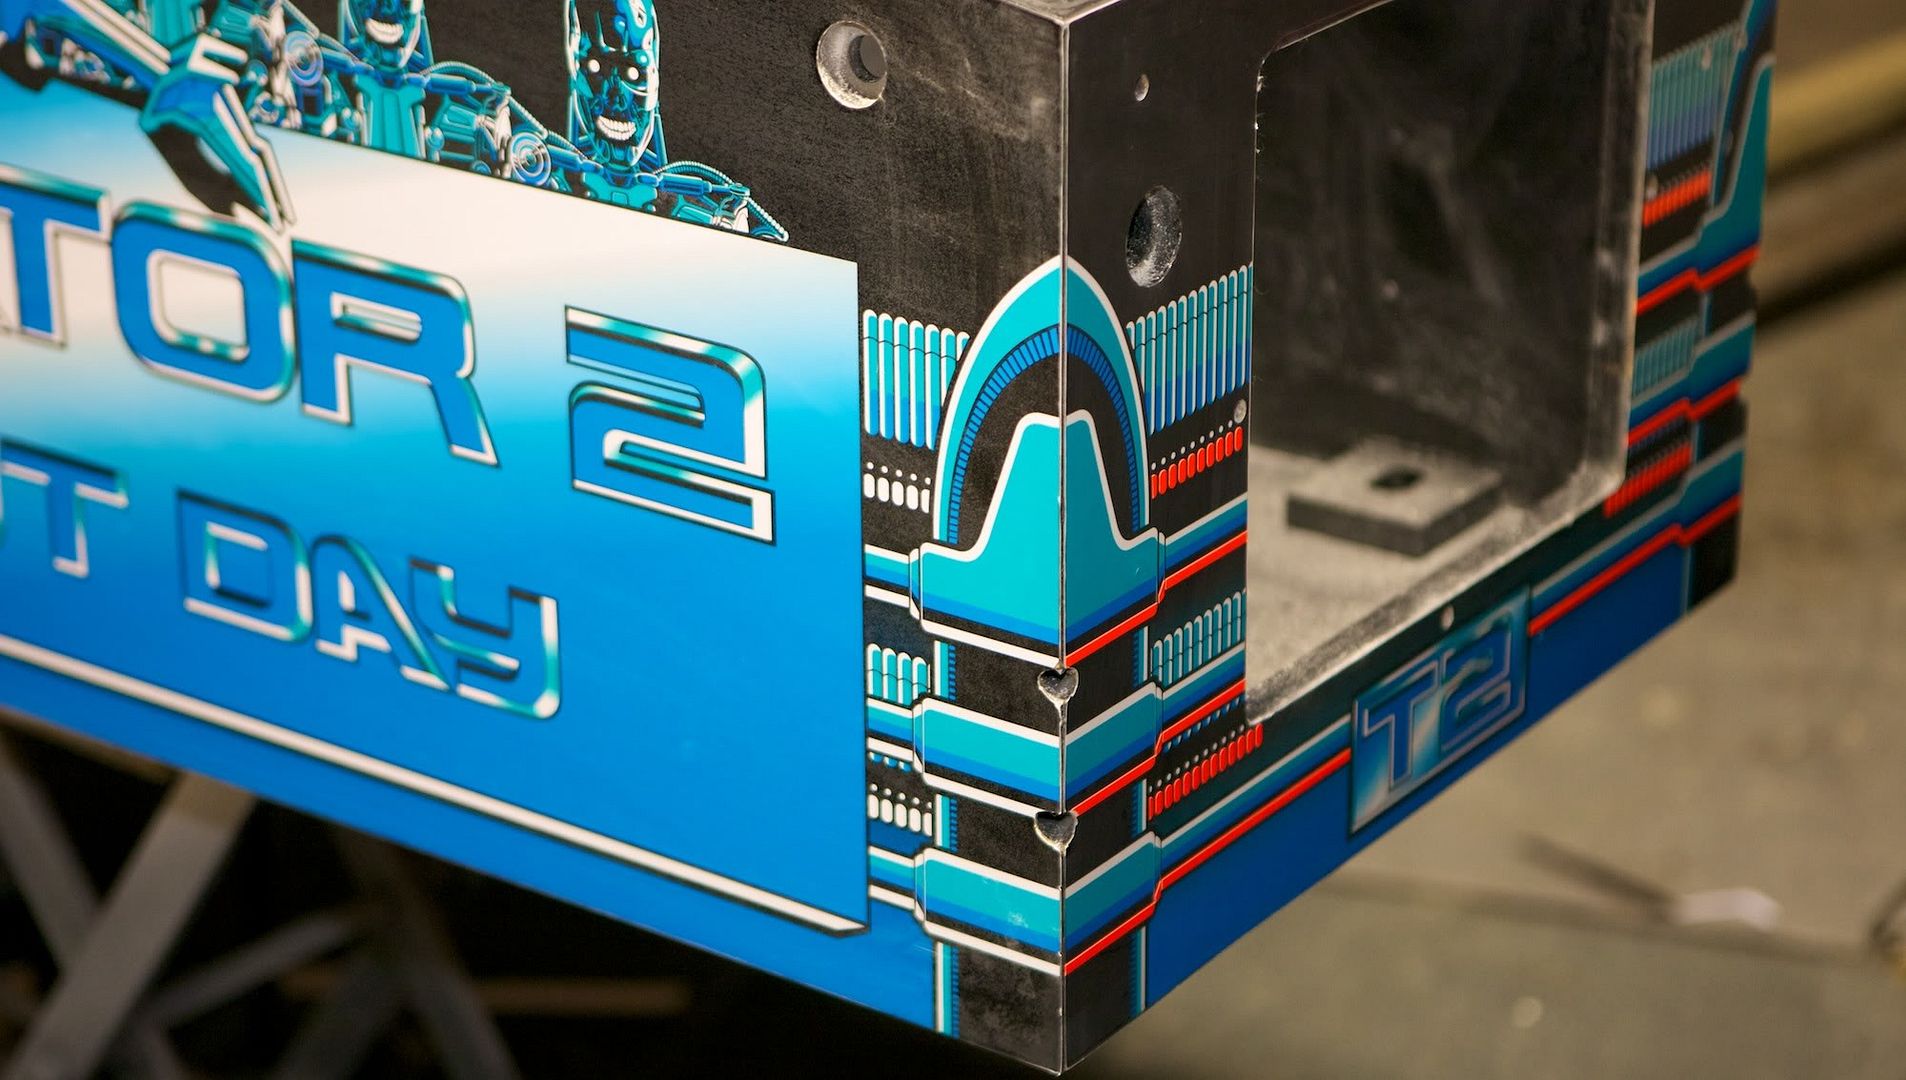
Rubbed back by hand after clear 2 pack applied. Graphics raised about 1" higher over factory spec from cab base.


Ready for the next coating. Note changed graphics here too.


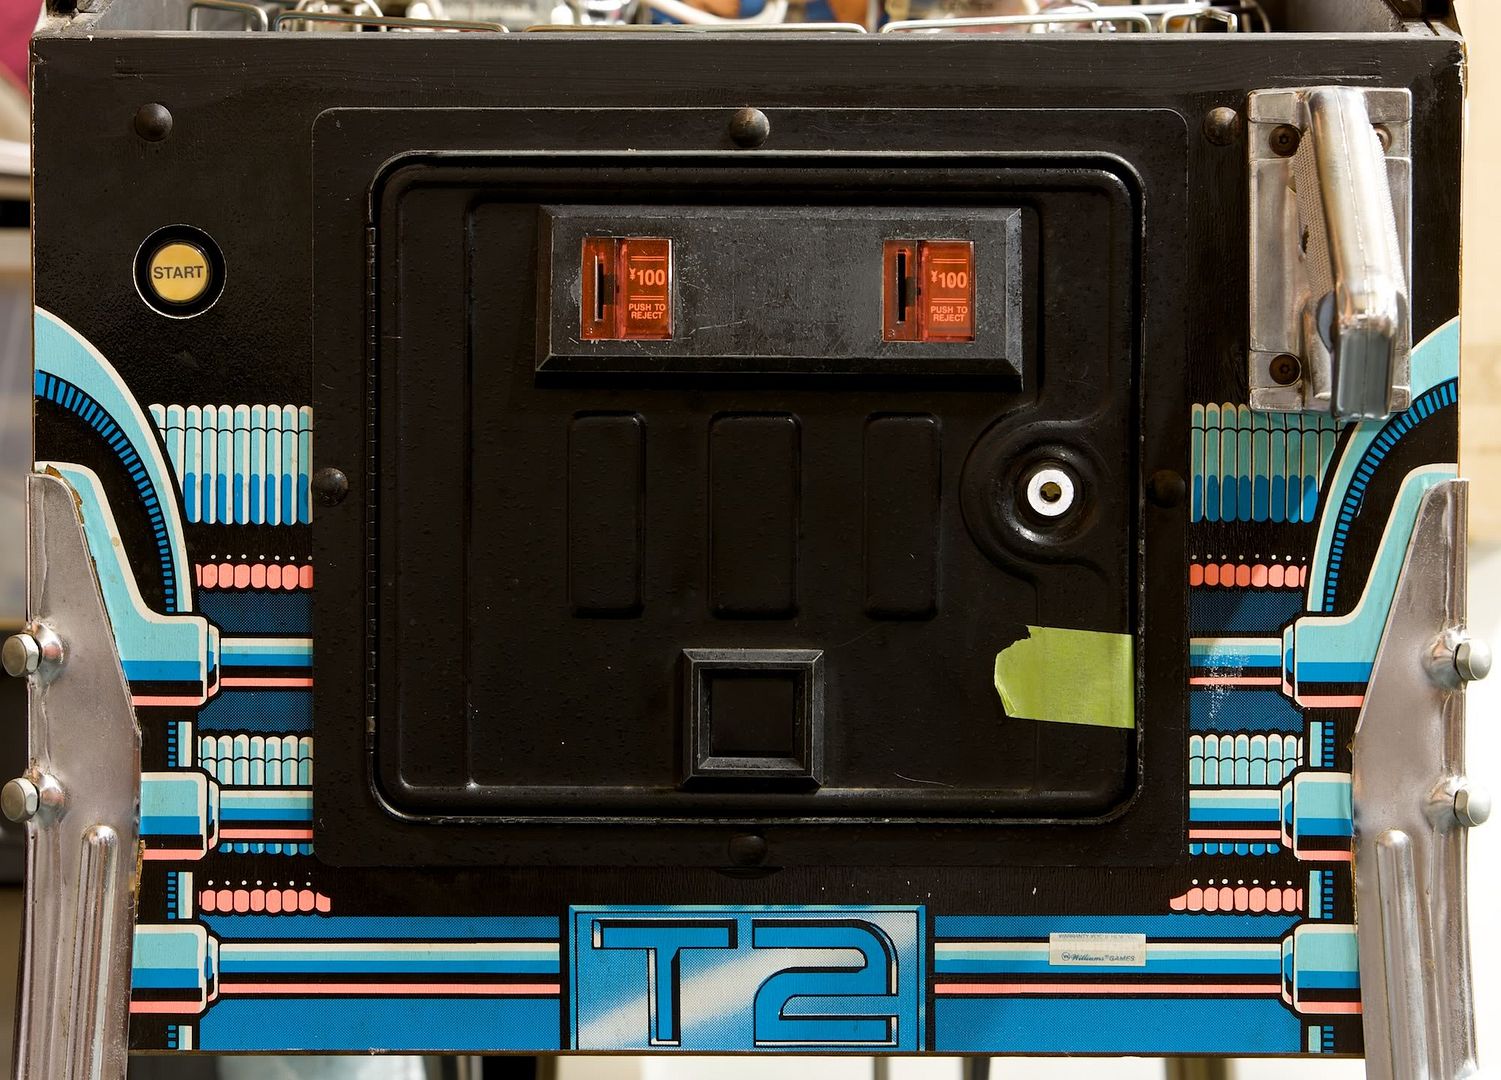
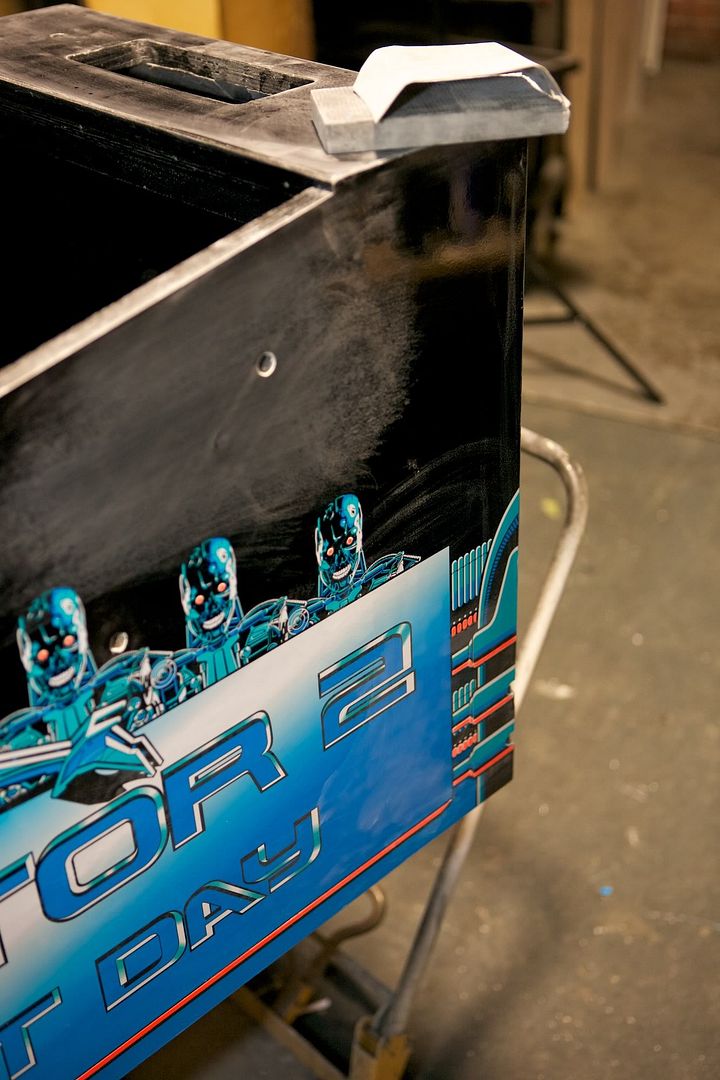
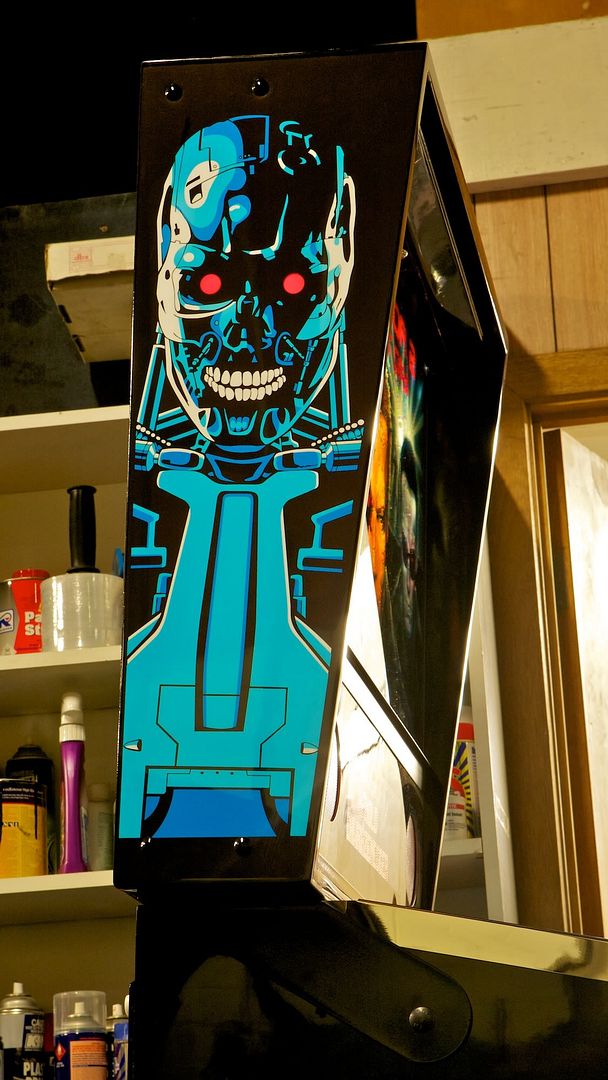
I didn't like the yellow instructions in 10 languages so say G'day to Mr T-800 instead. Not all machines are parked against walls or back to back. I've seen machines in open environments so I think they should look good from all directions. 4 others cueing up for the same treatment.


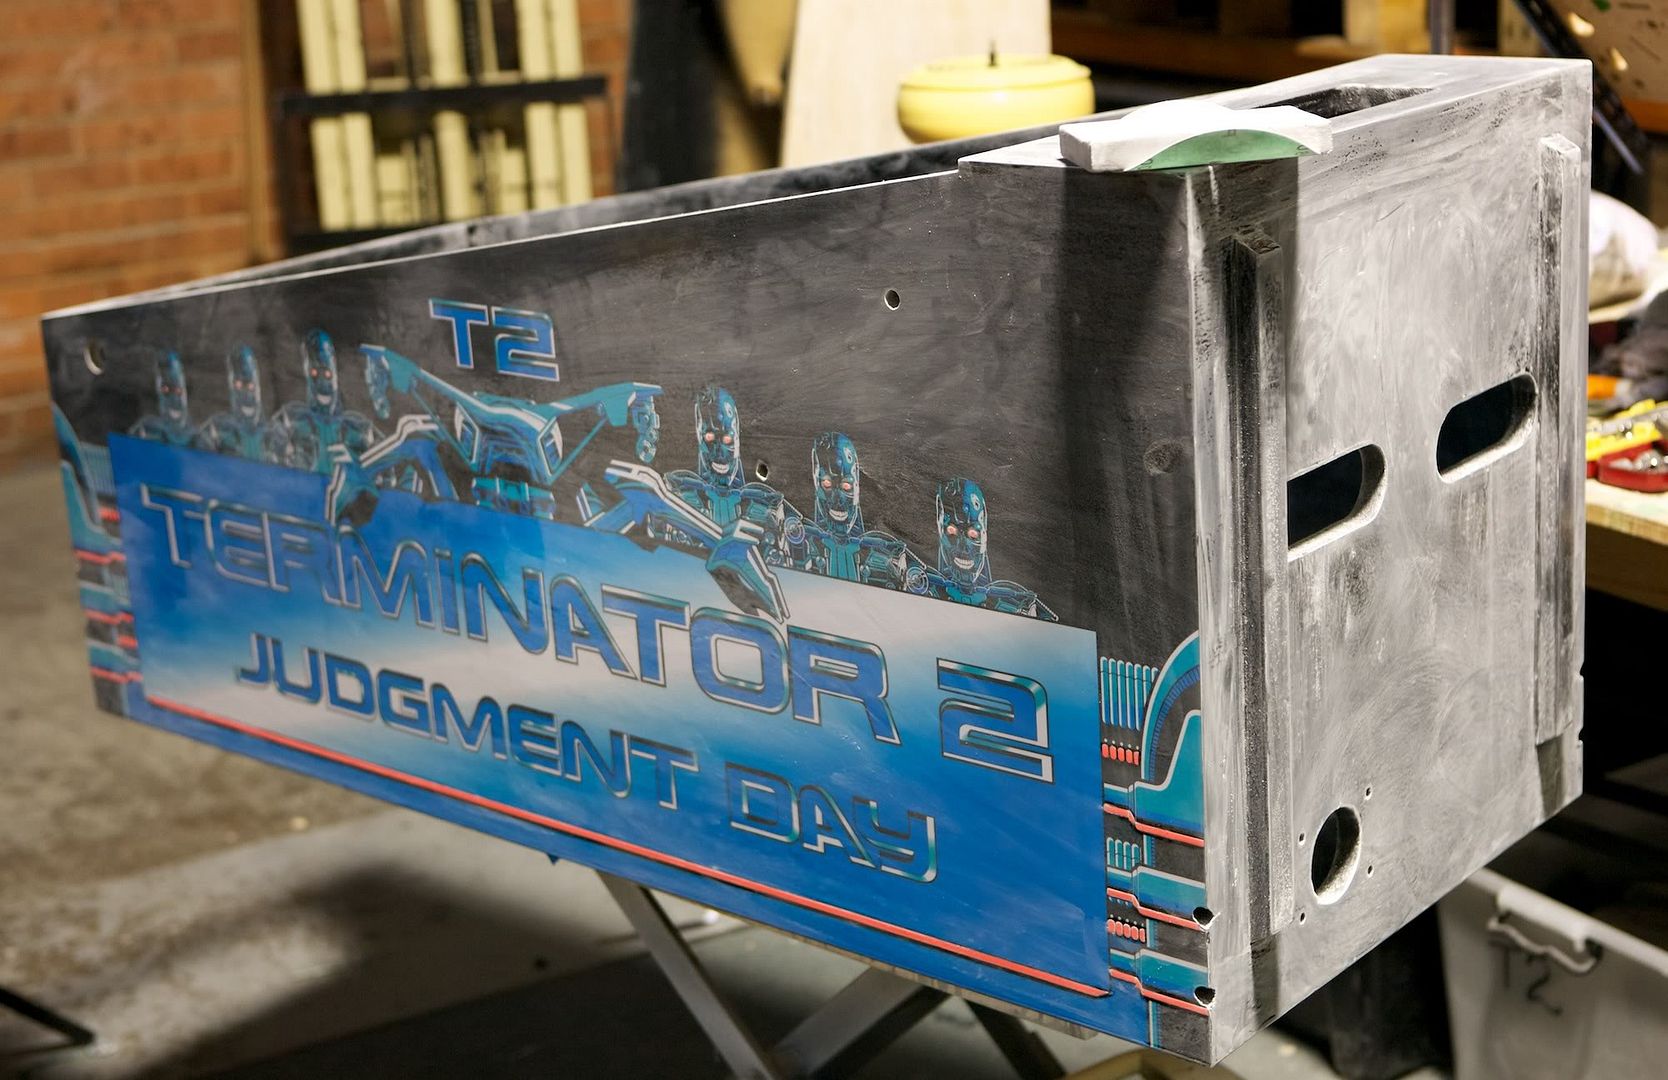
Ready for polishing. The base is masked to prevent overspray as this one is painted black underneath.


Crap job but someone has to do it. Elbow grease polish.


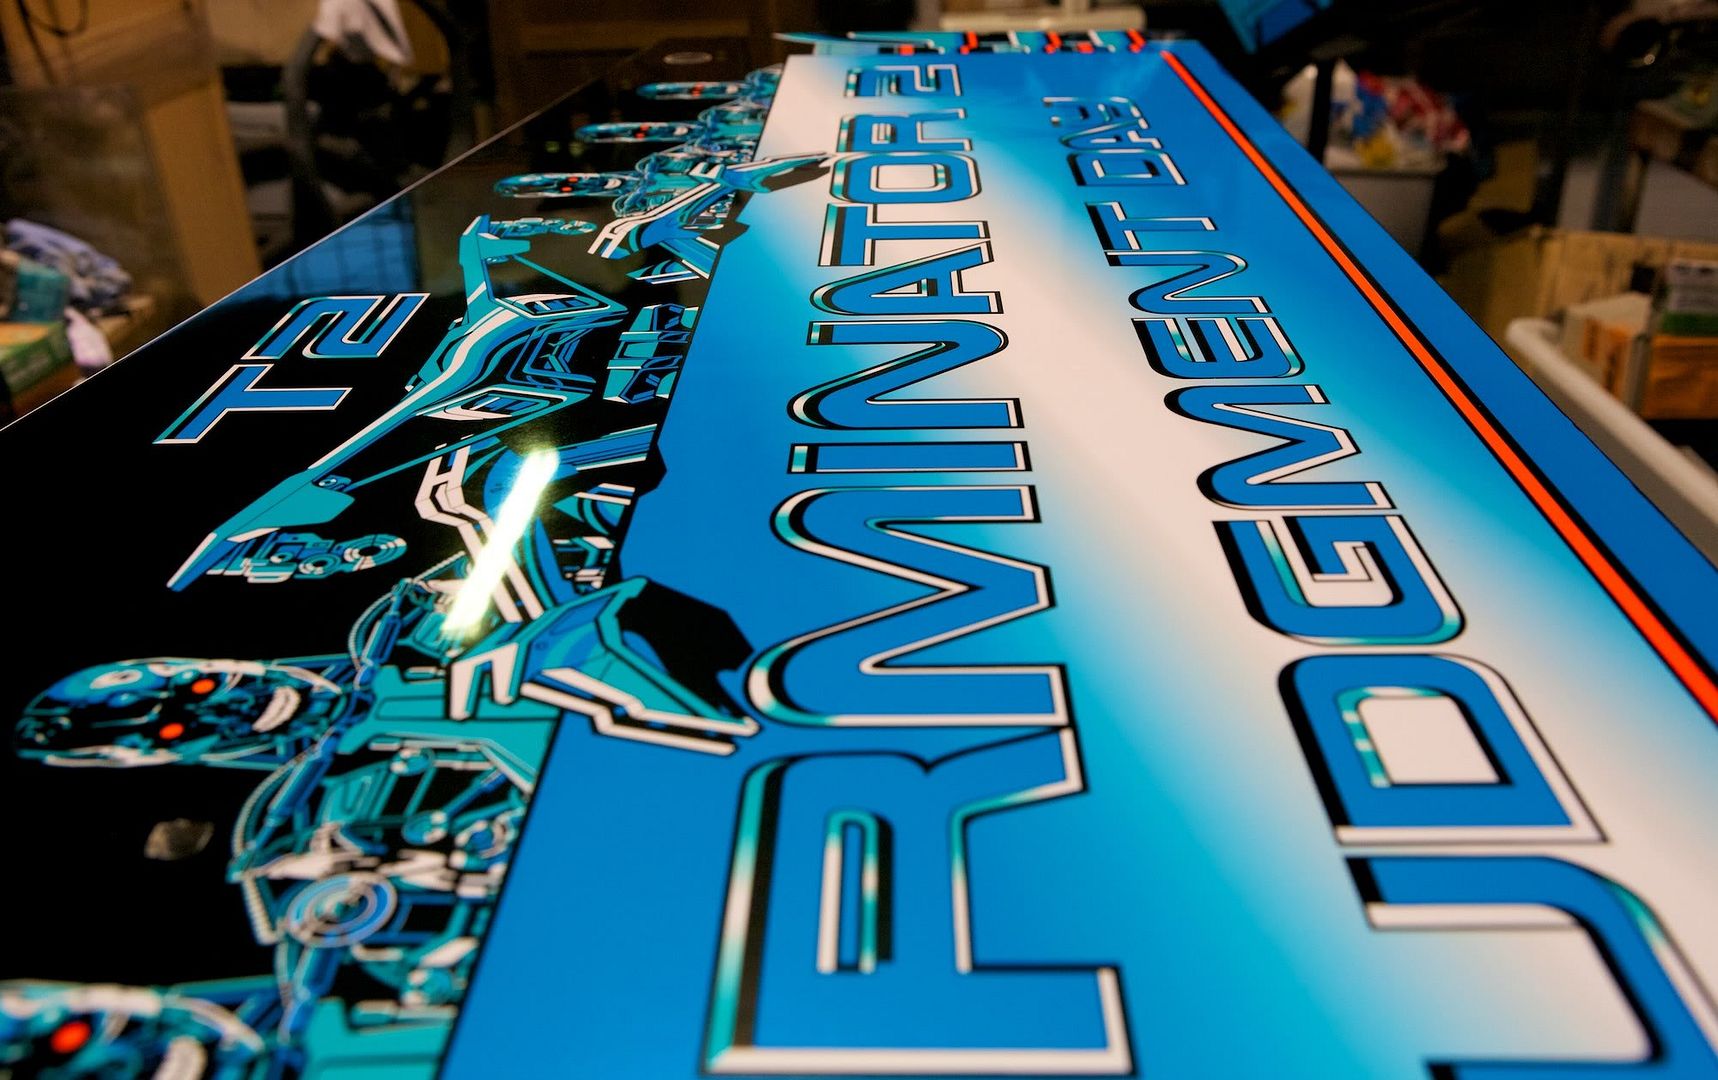
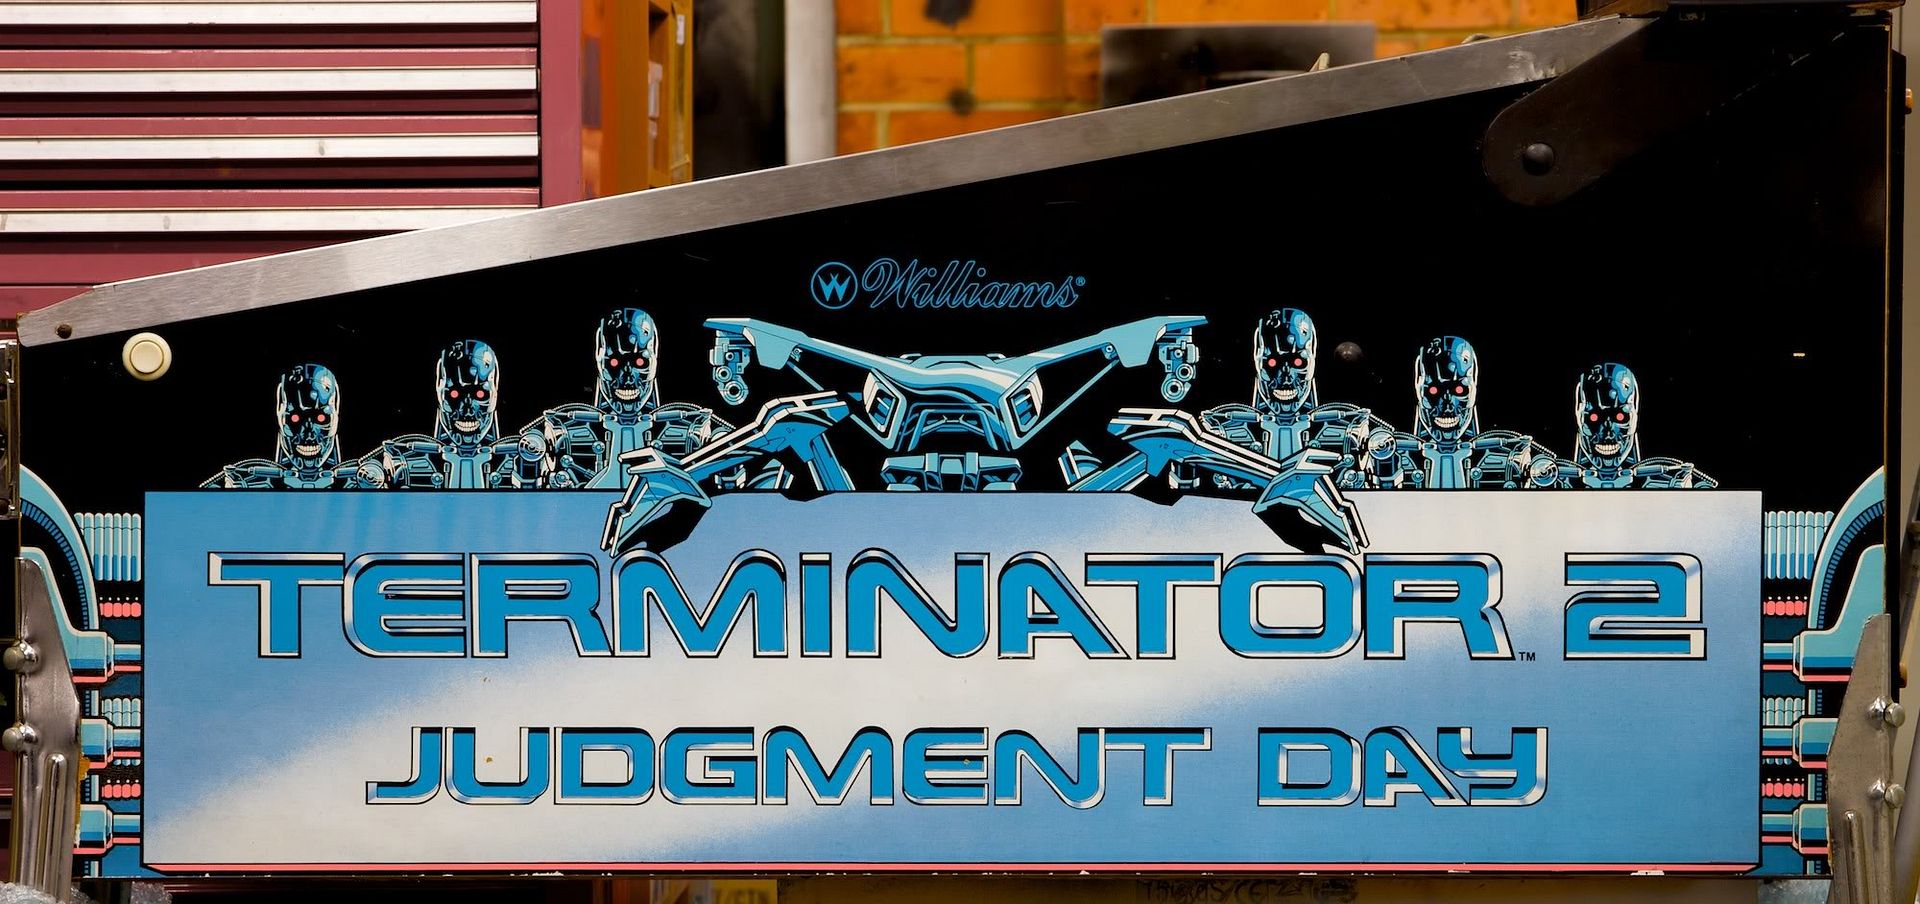
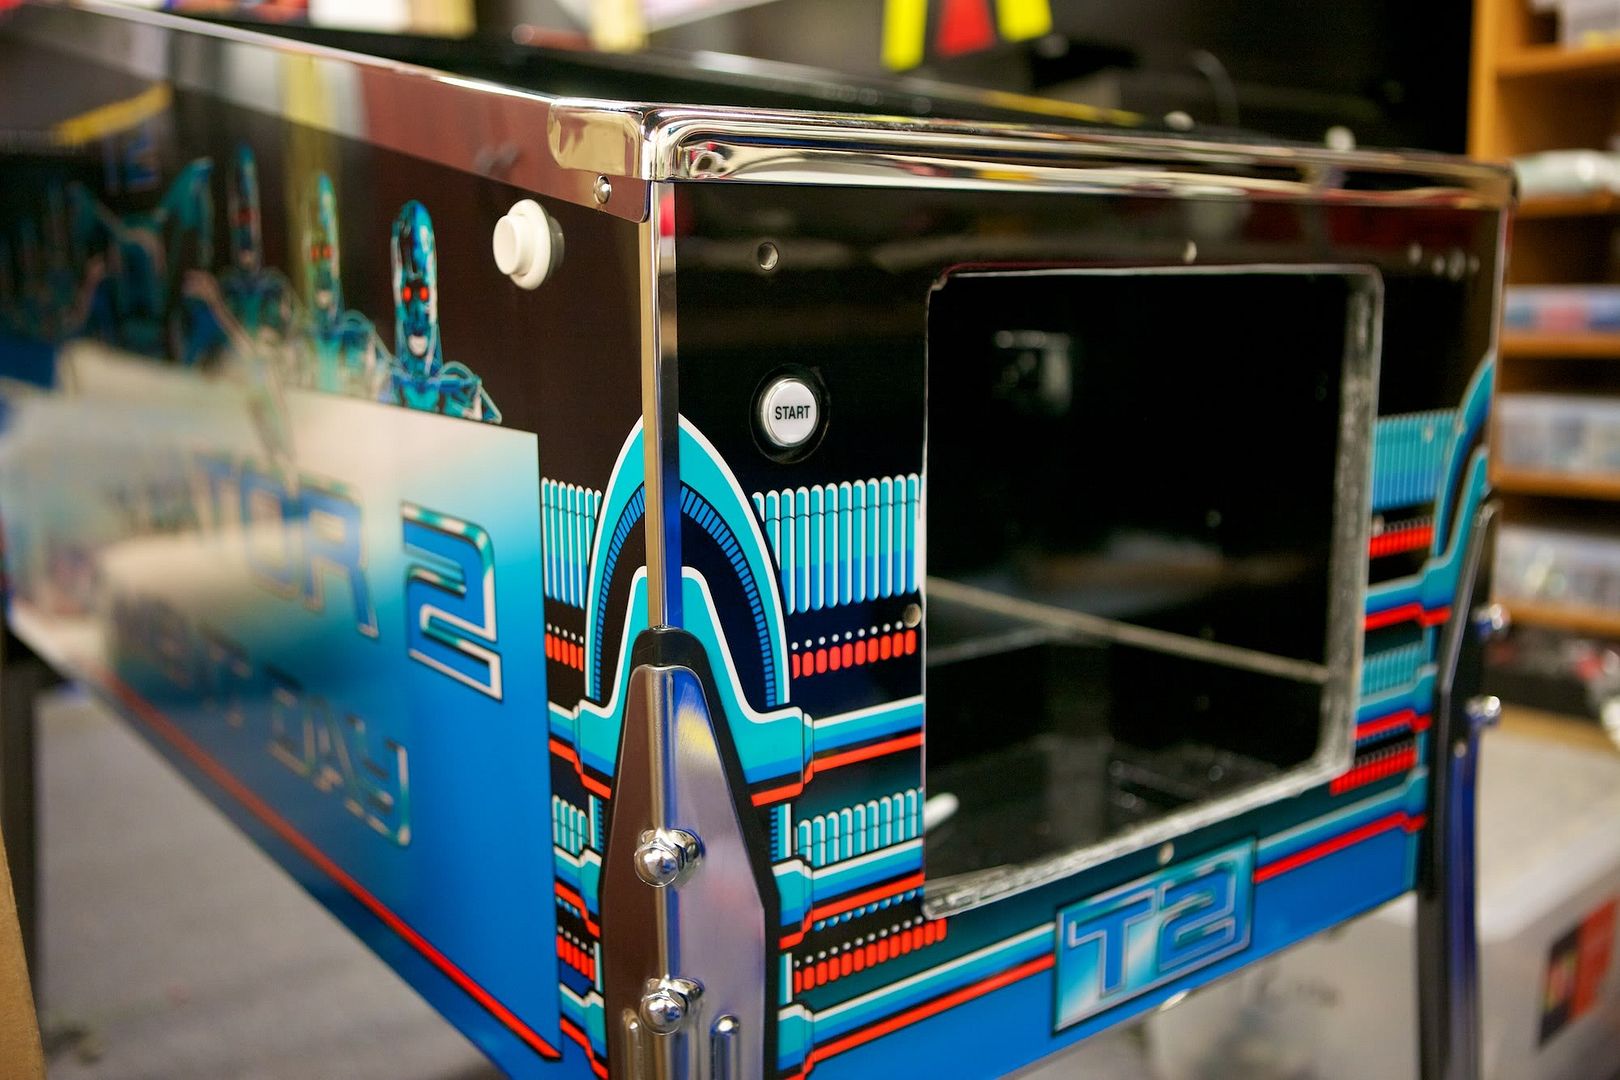
Shiny deep black, smooth blue graduations to white, sharp text with the orange jumping off the box. No low res corse screens here.


This was re powder coated and decaled which left a white outline around all the vinyl edges so these were masked and air brushed out then 2 pack coated a number of times to get that coated glass look.


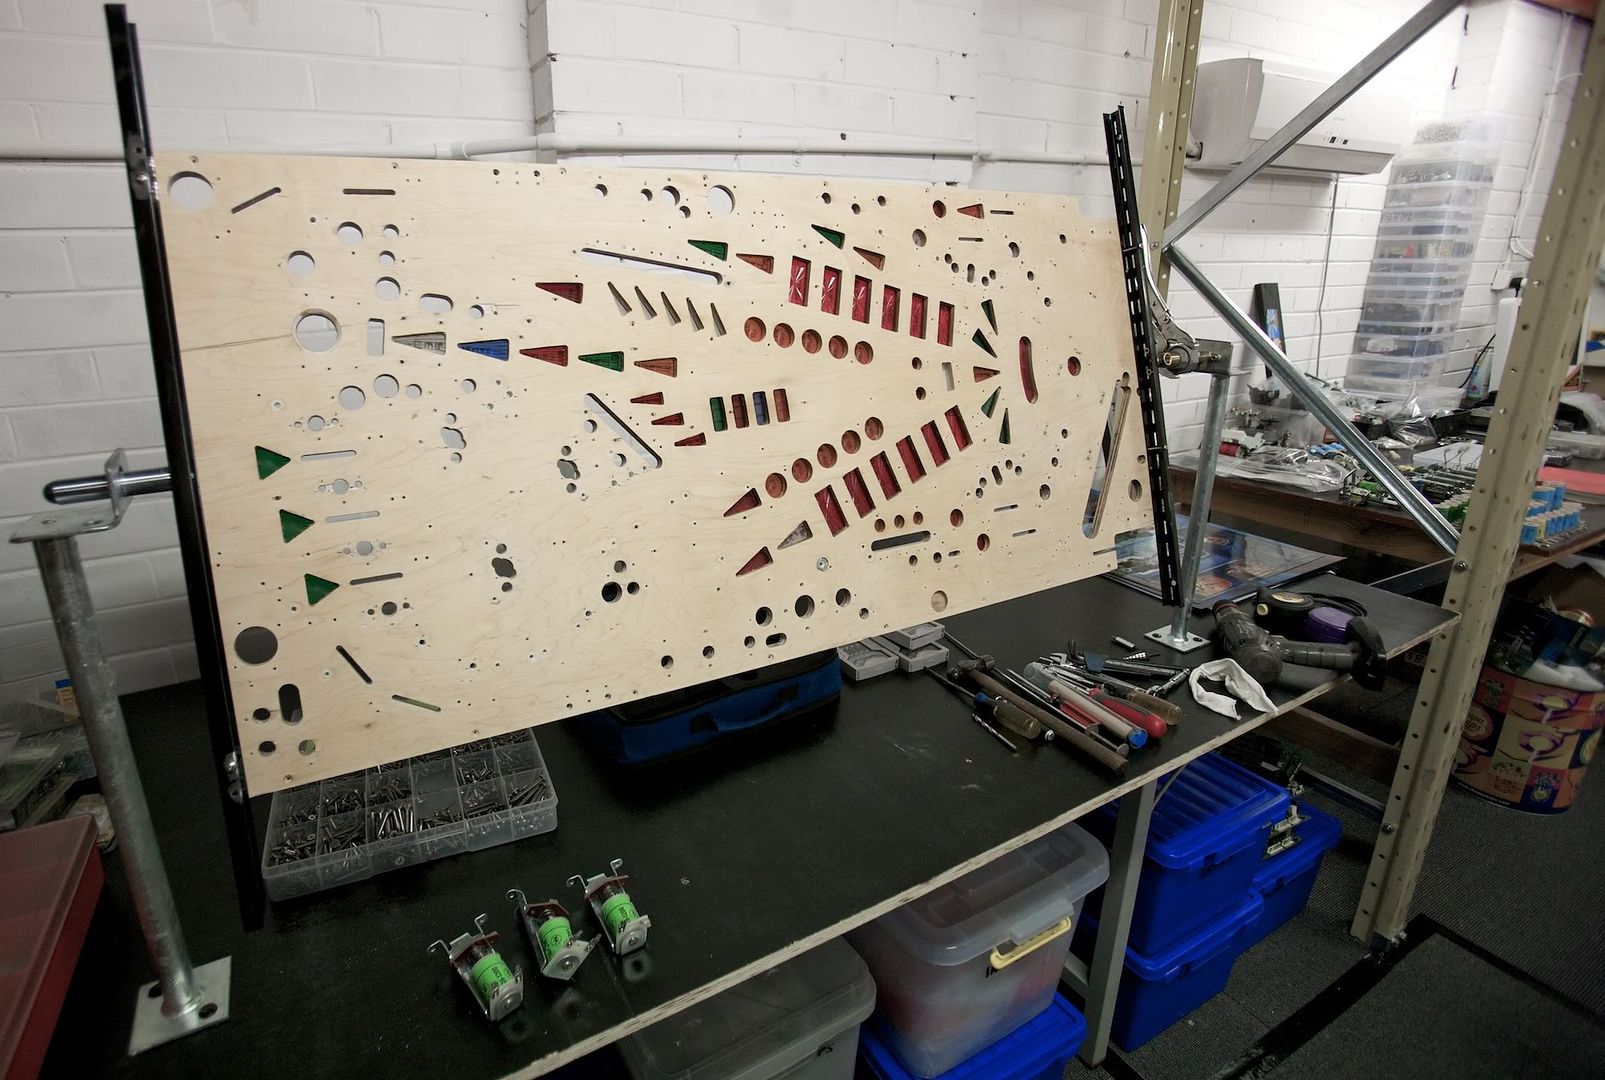
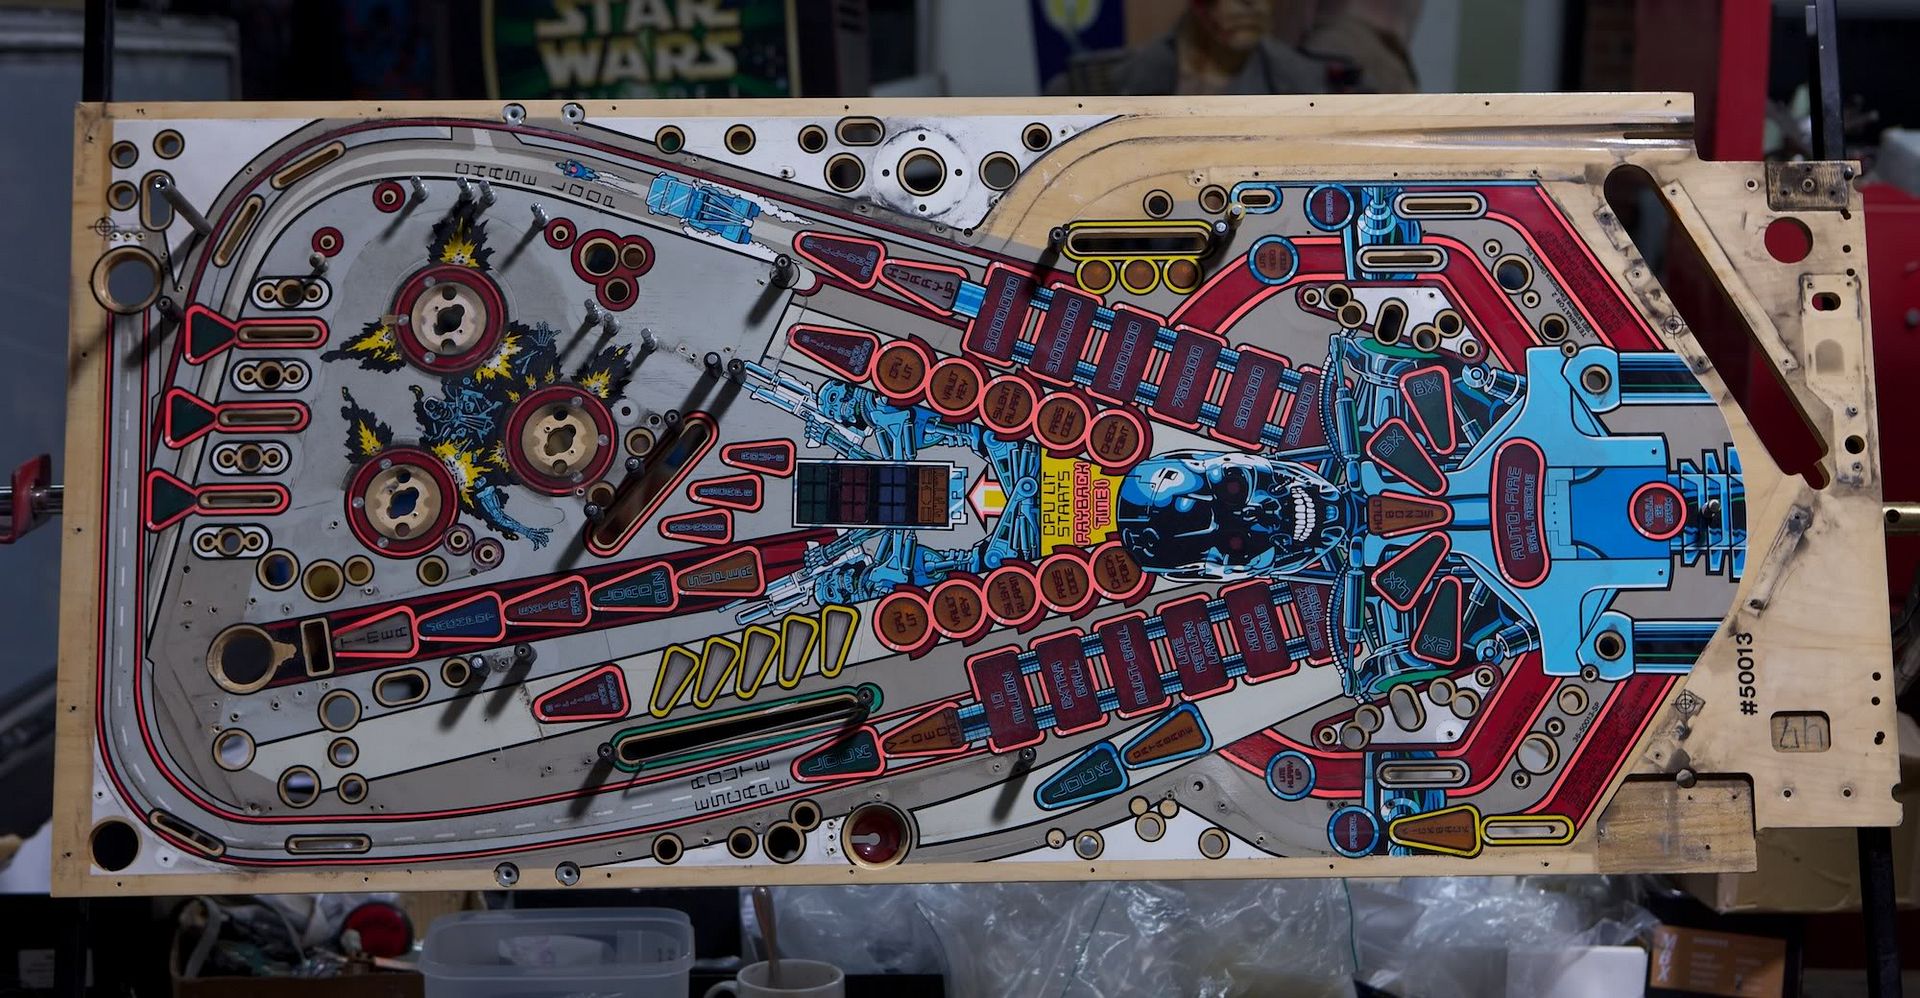
The inserts were cleaned and wood sanded.


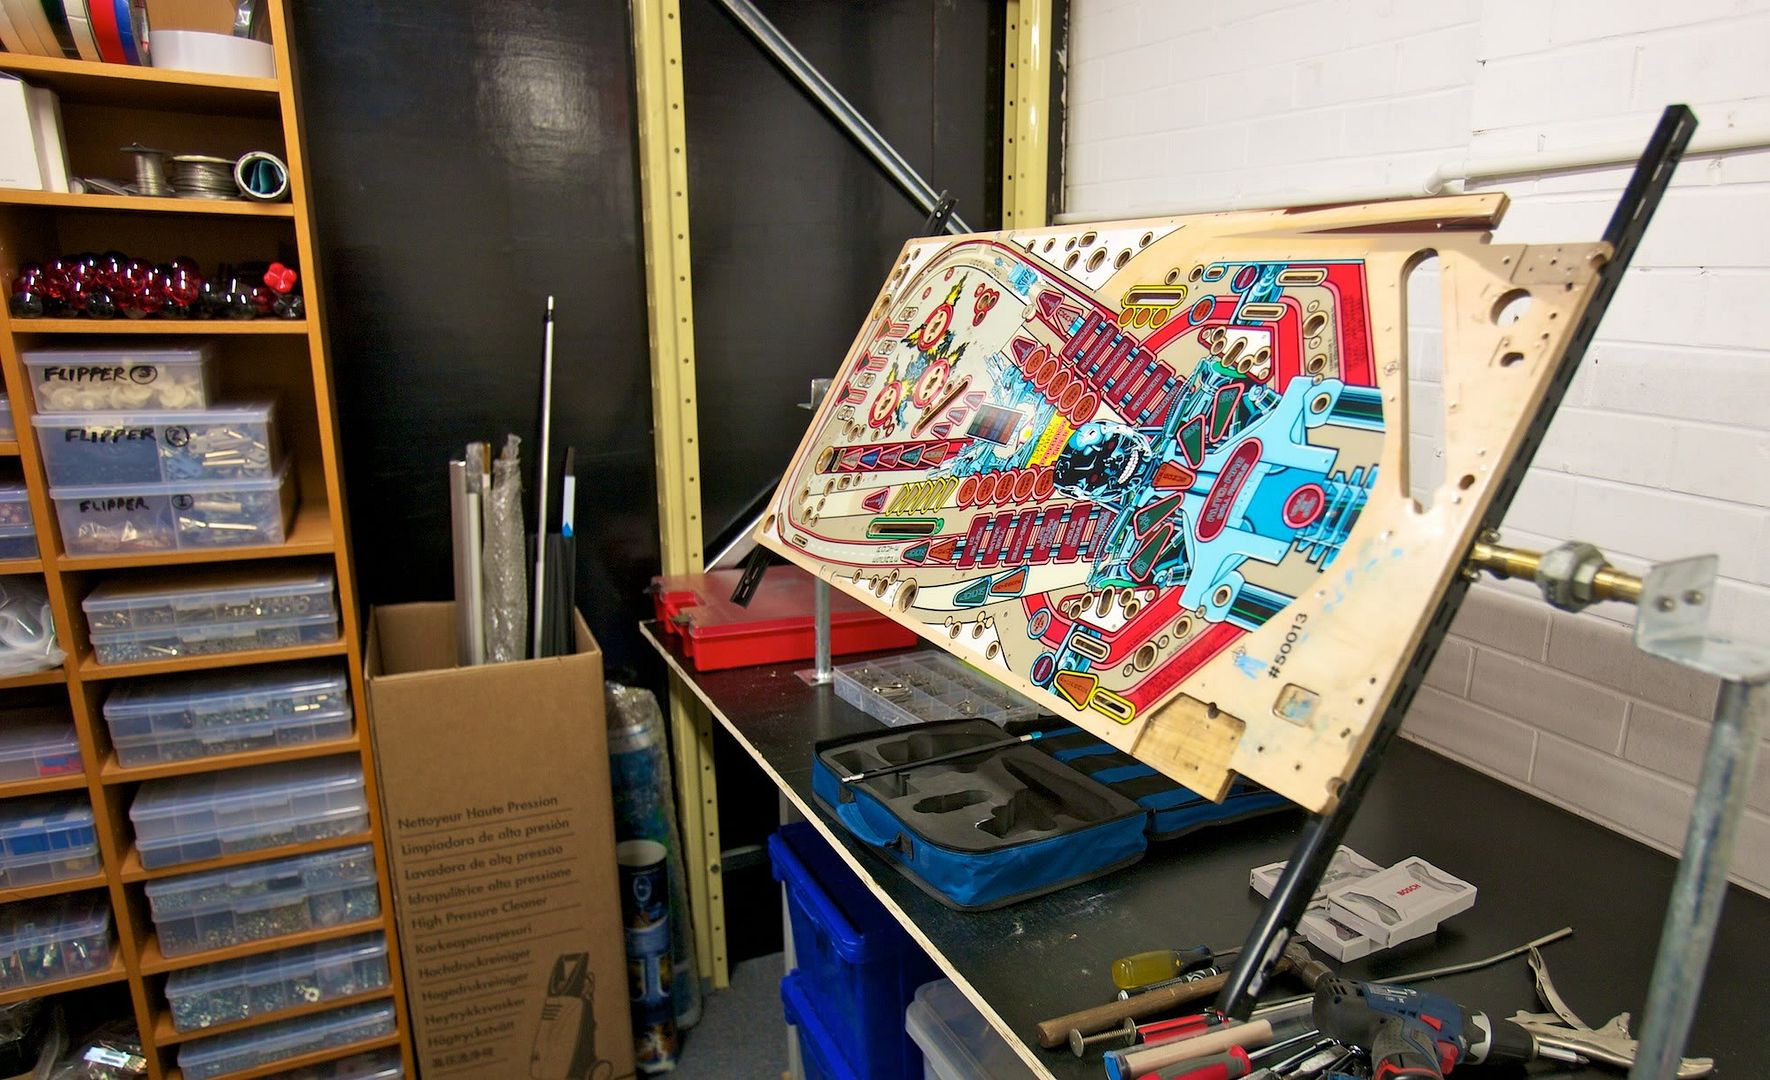
All art repaired, clear coated and awaiting final assembly.


Parts being added.


Cliffy's post sleeves used here on the yellow theme.


Restored art used here too with another Cliffy post sleeve.


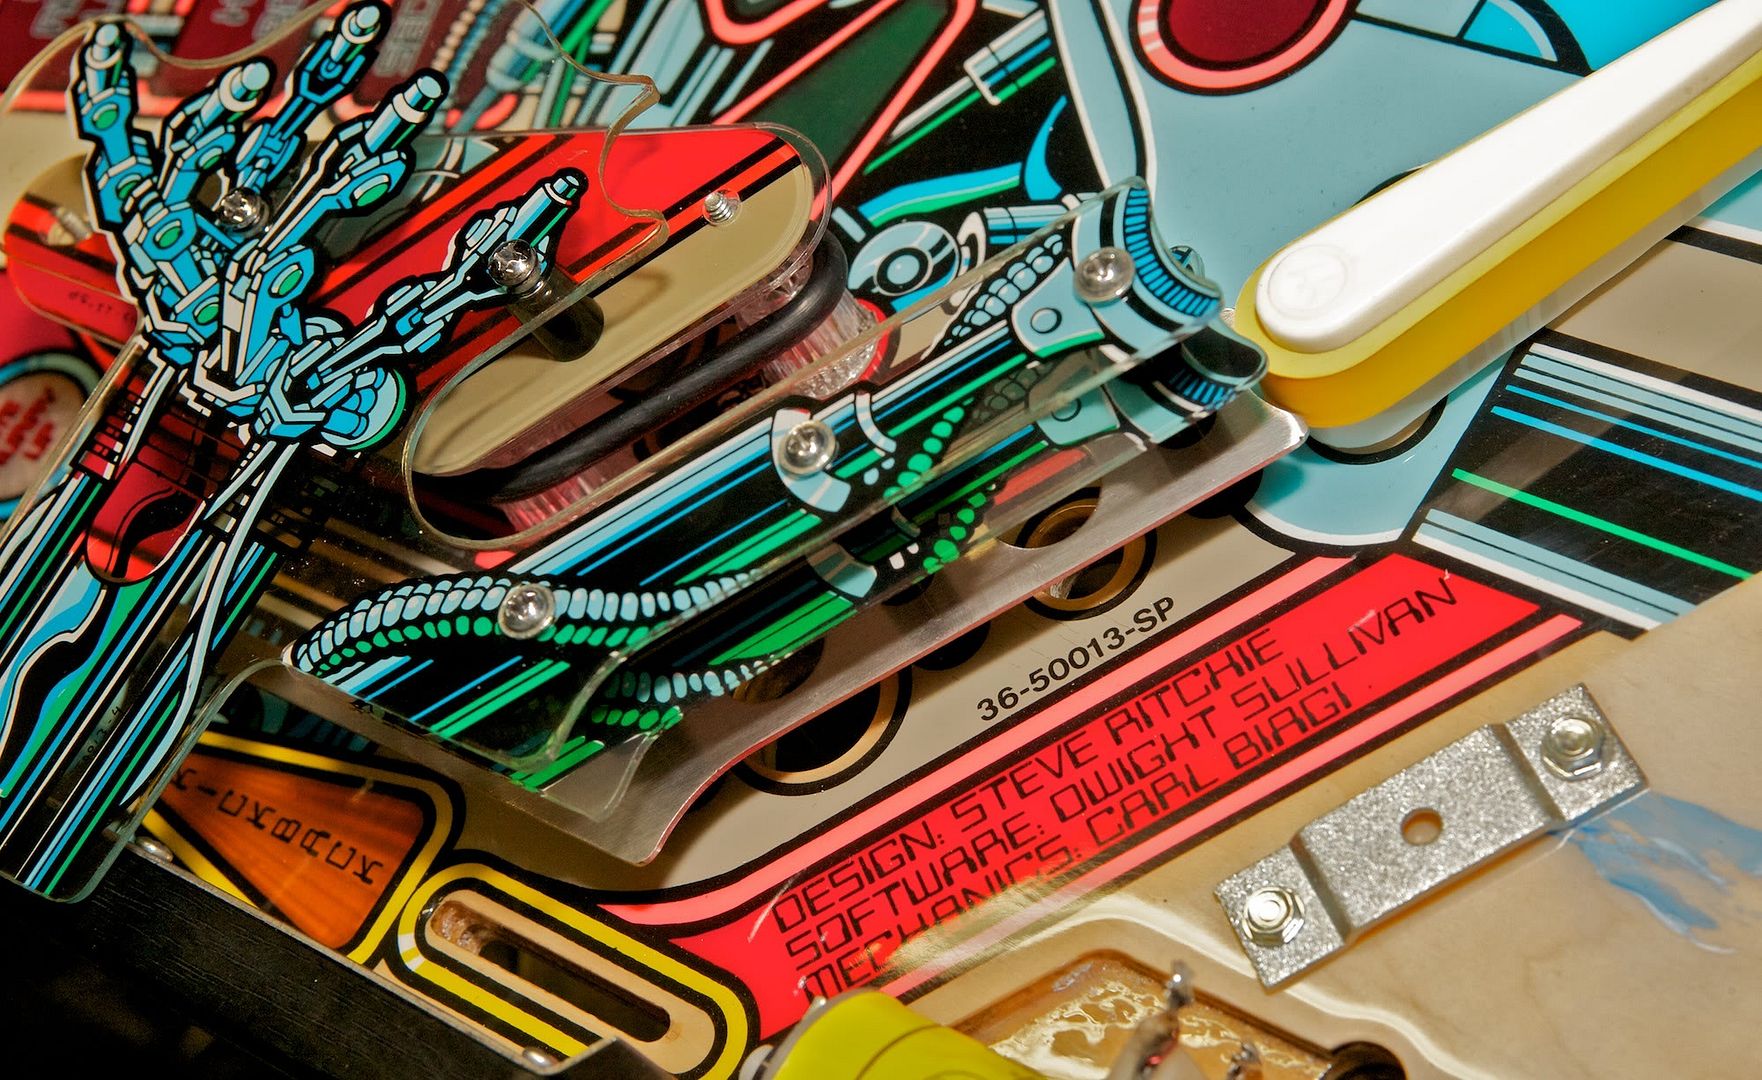
Plastics protectors from RTBB used here with a 3rd party skull and ship. These look nowhere as good as the original but are thick and 10 times tougher. They look more silver than chrome but longevity overrides aesthetics in this application.


My sneaky wiring job on the Hunter ship LED mod.


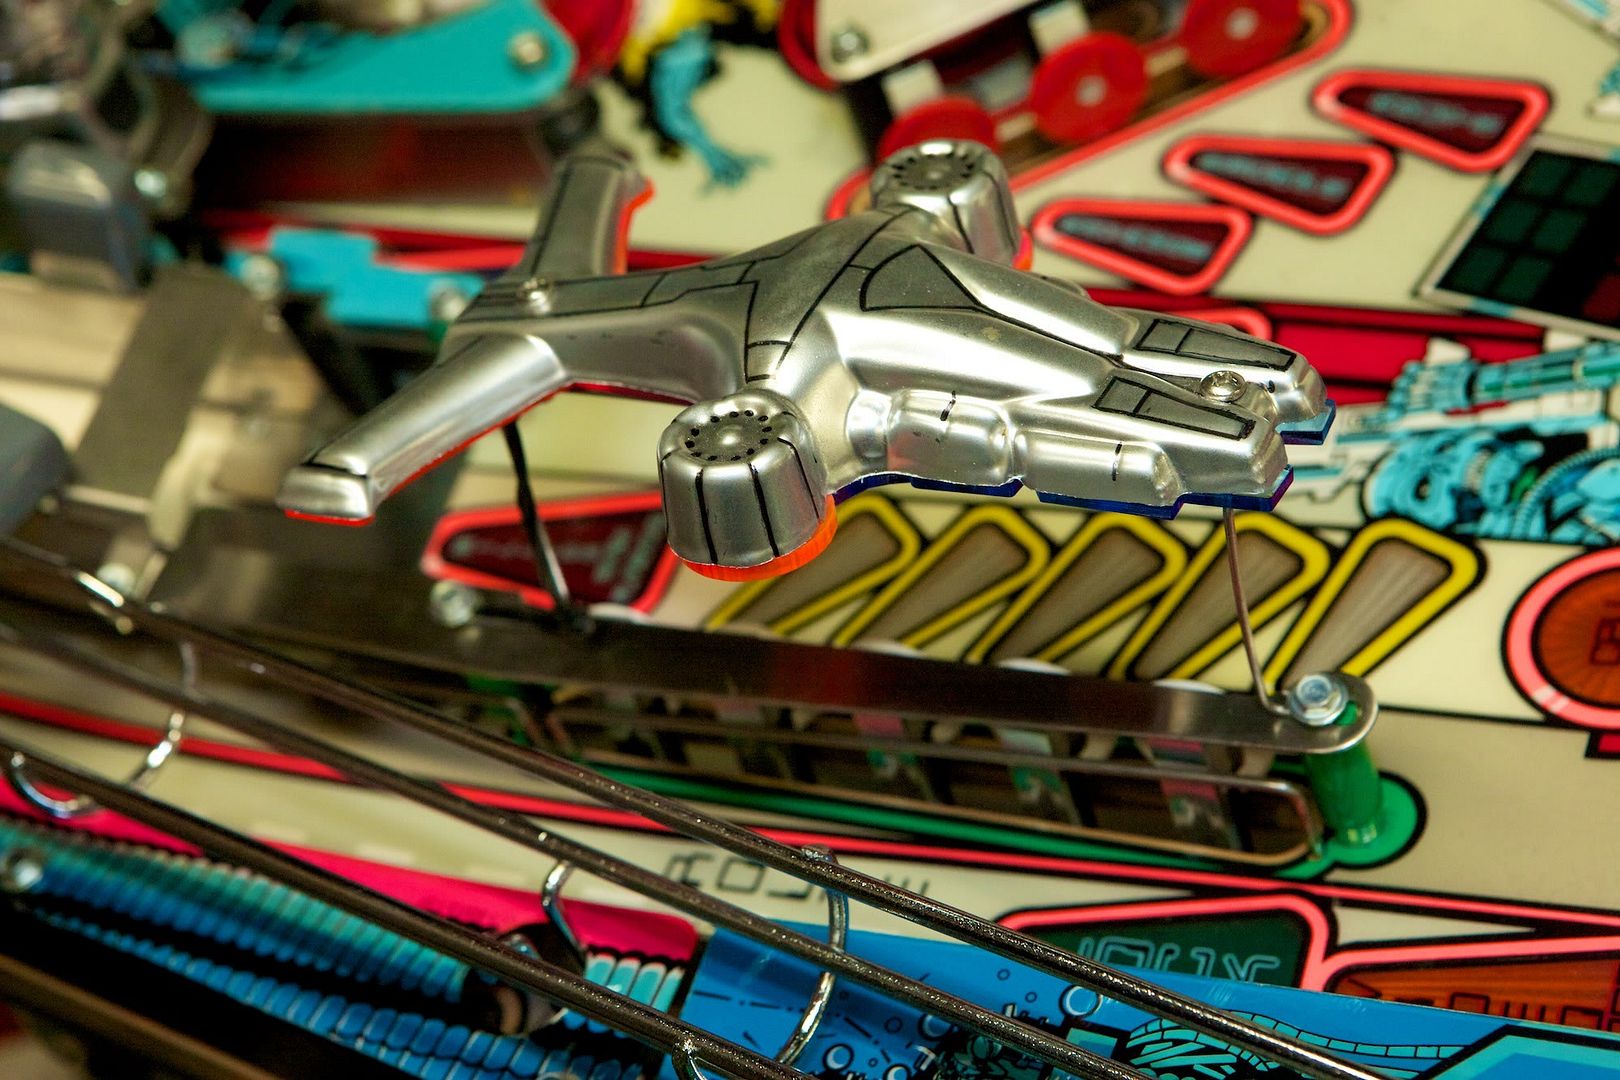
Ship with LED protector mod underneath.


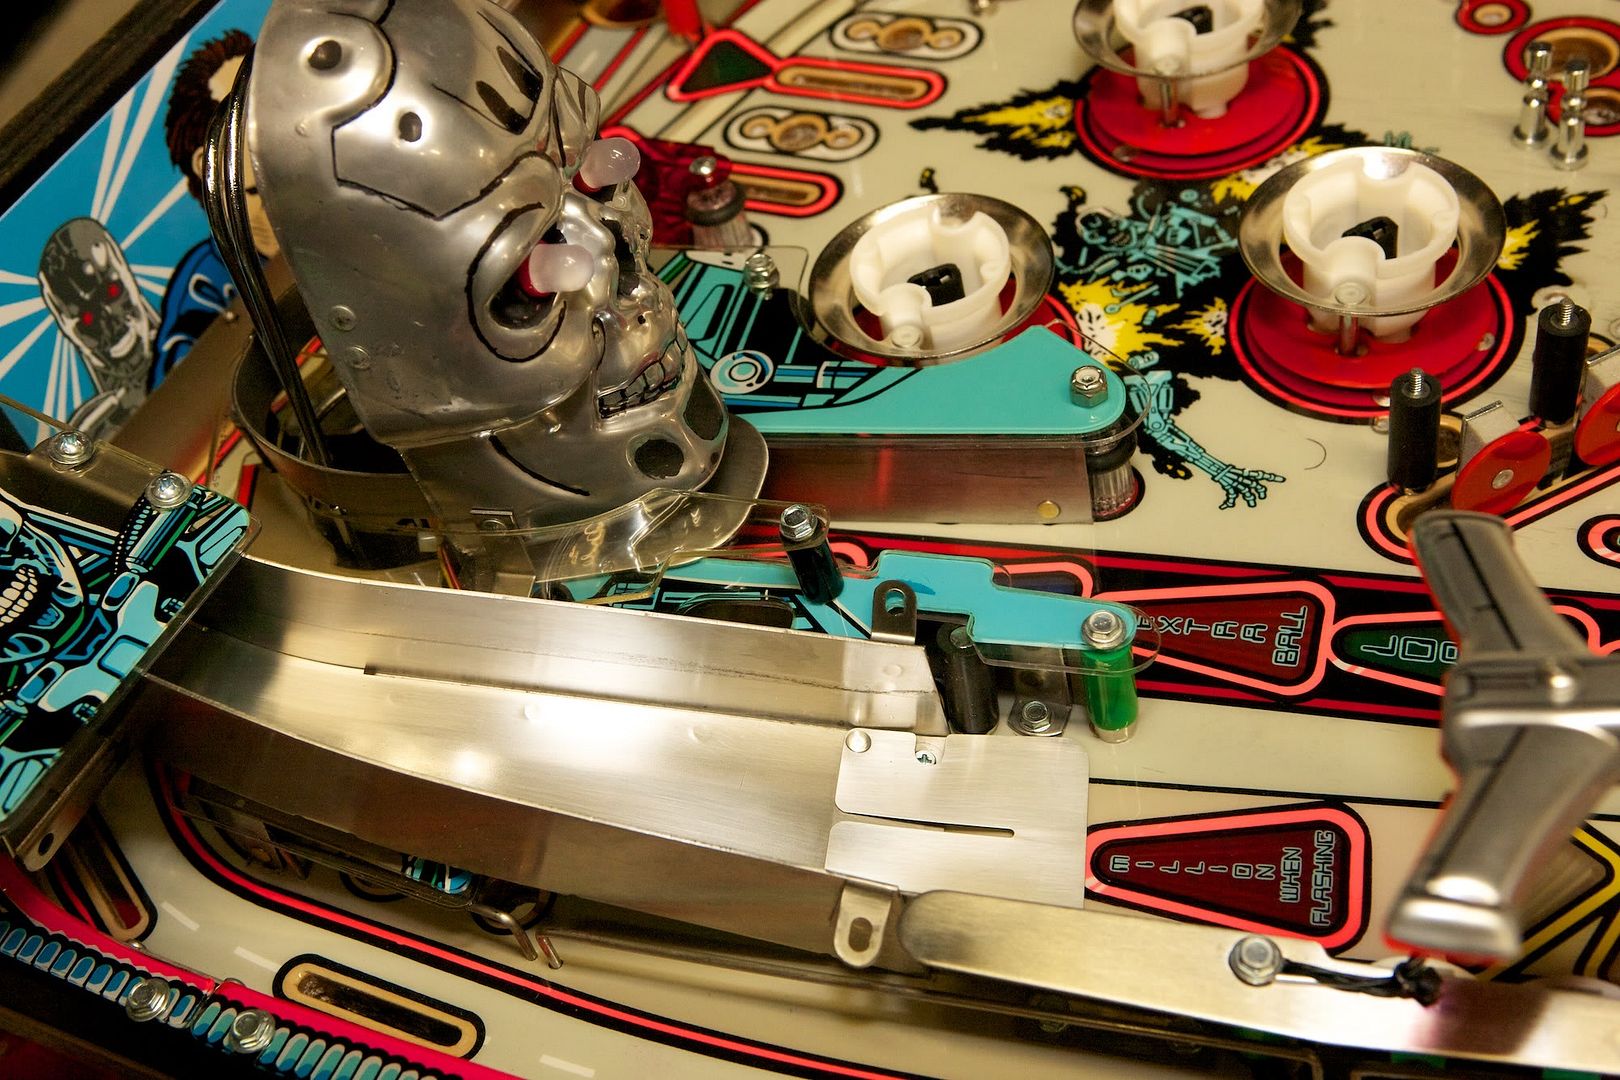
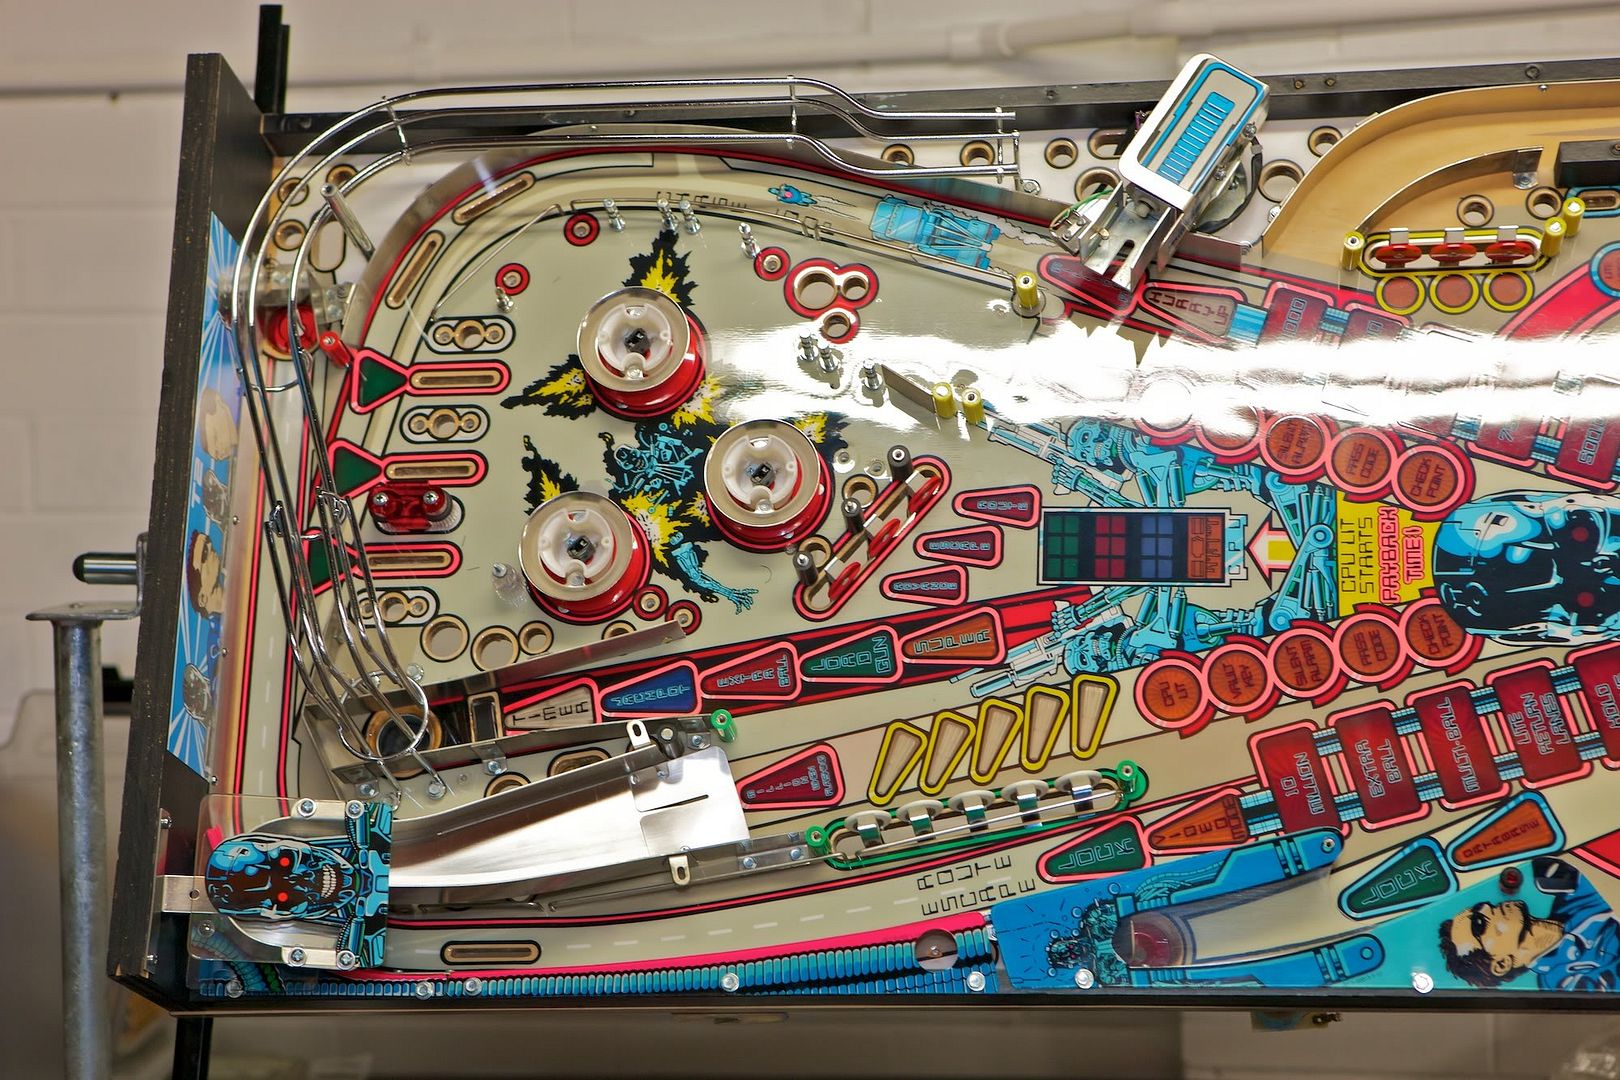
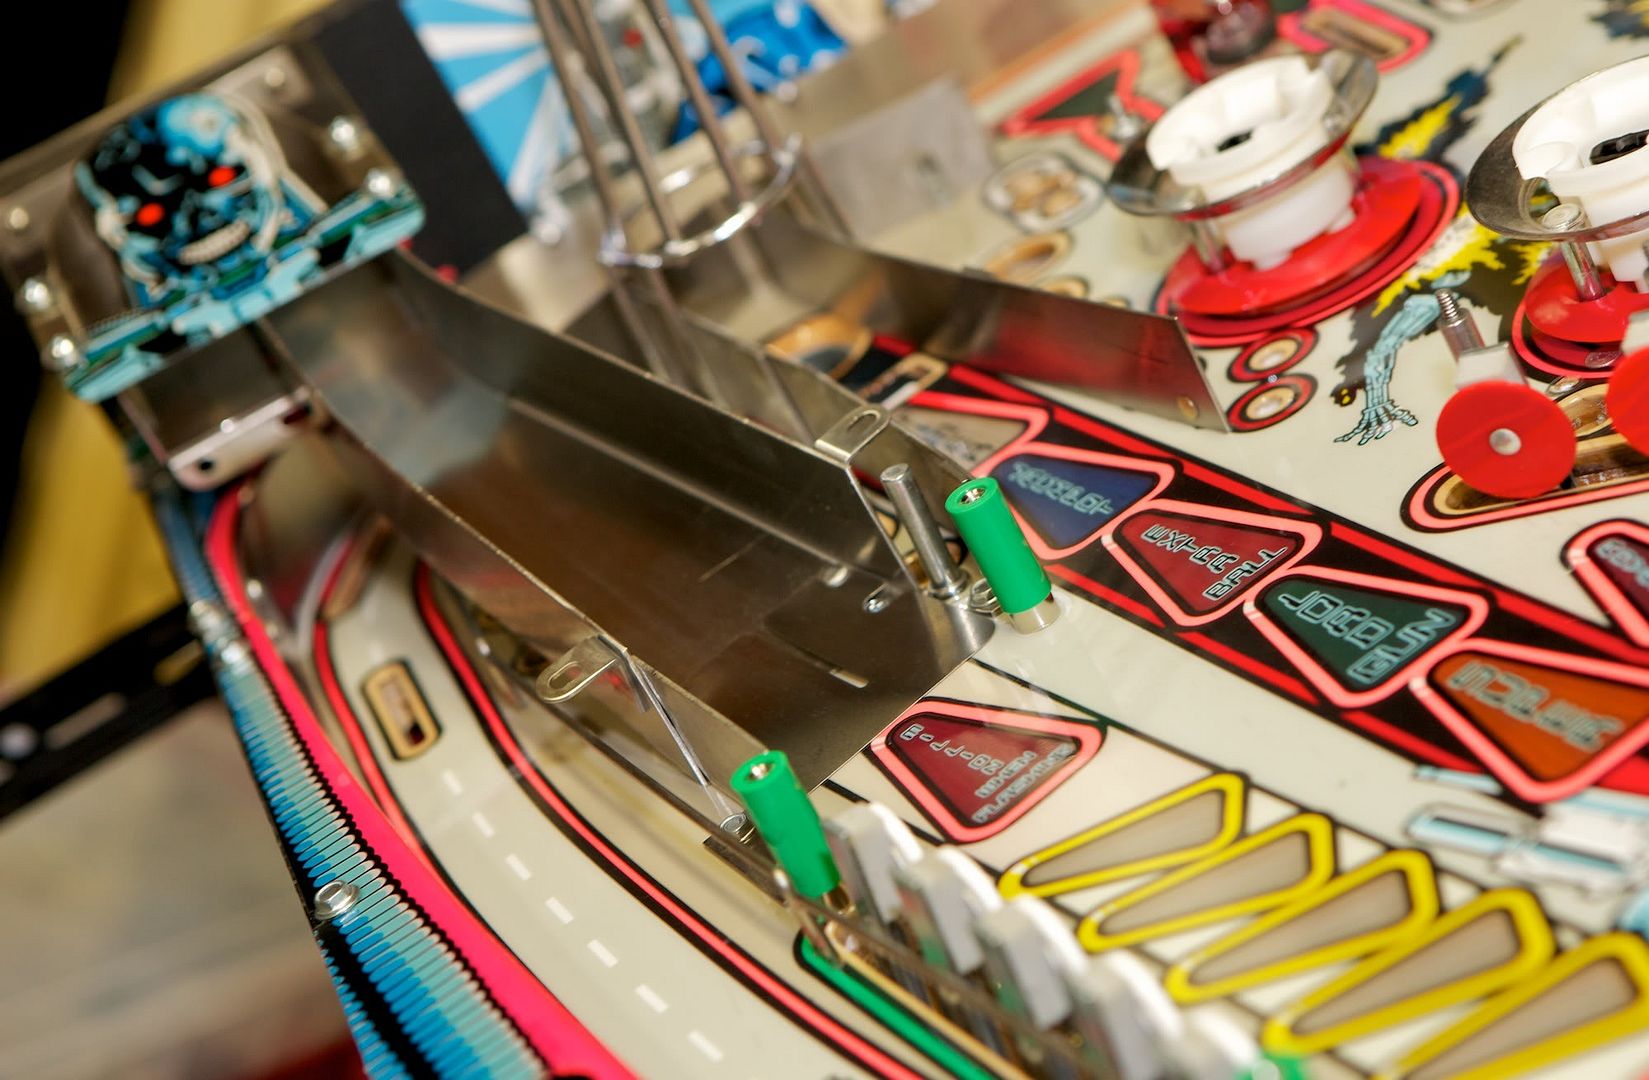
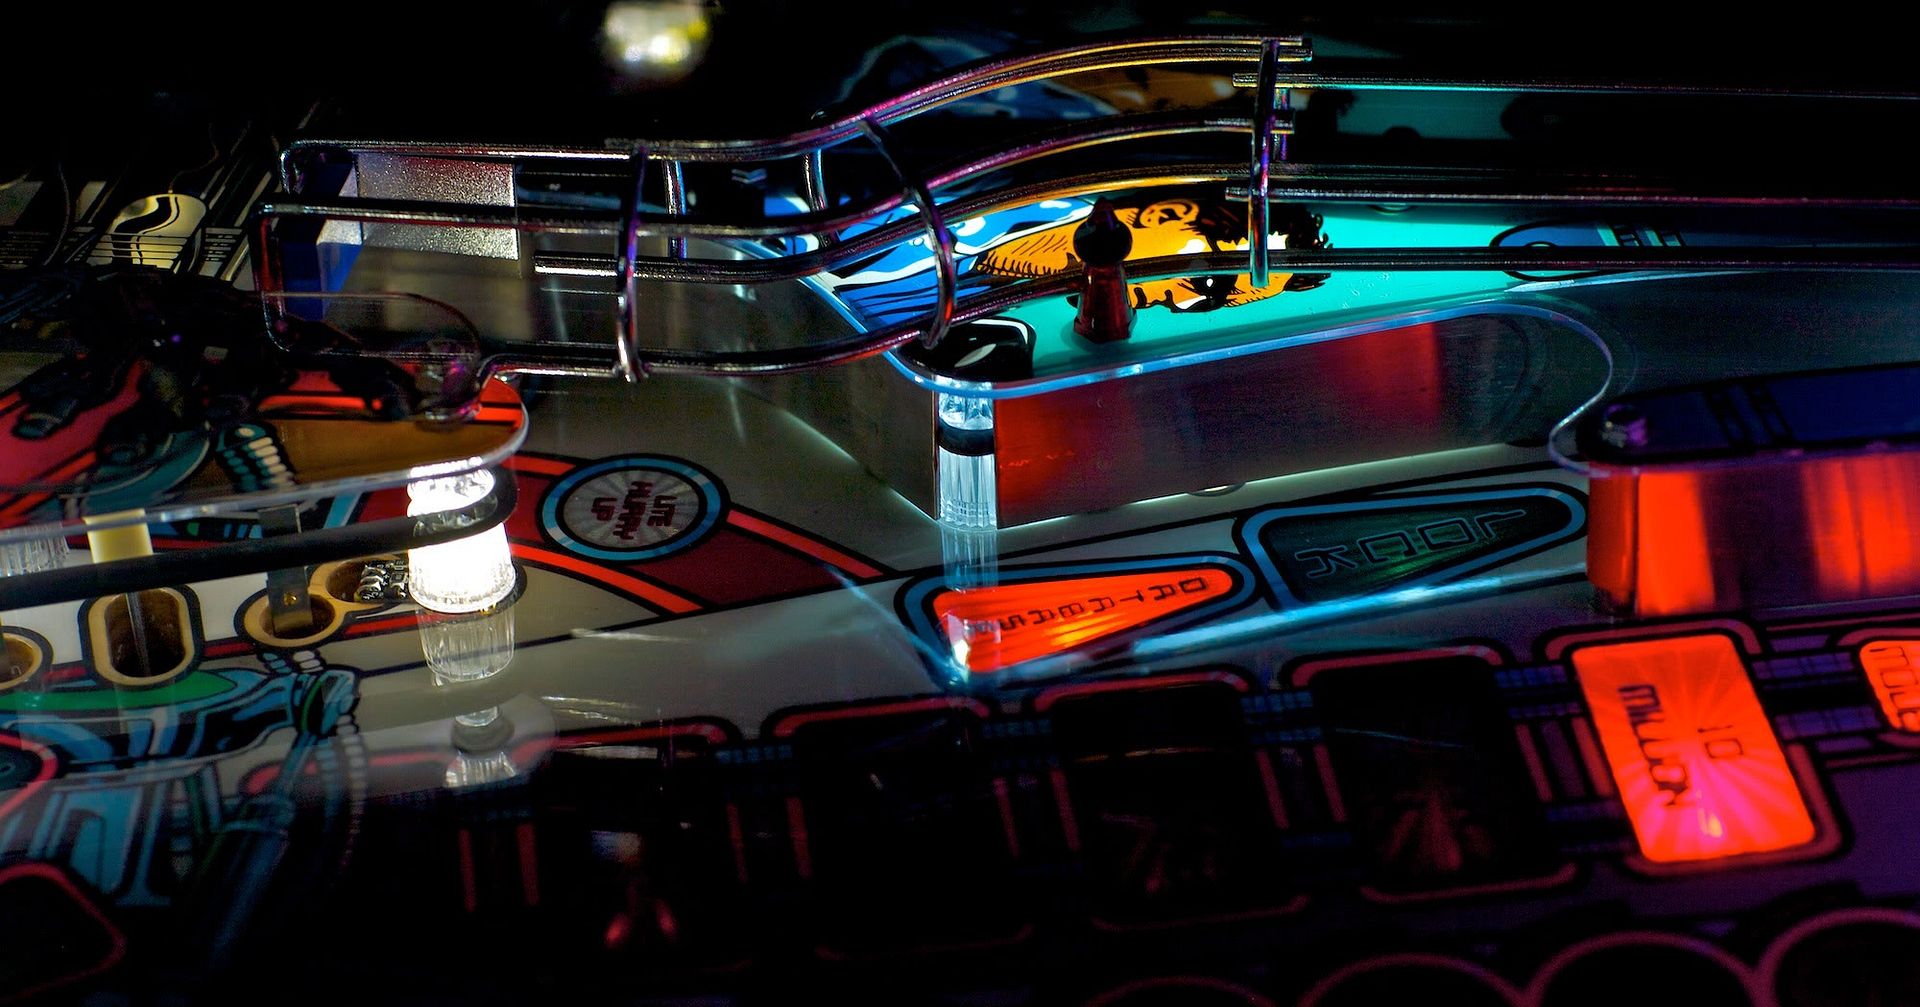
Since this was a high traffic area, I used a modified MM stainless steel ramp which extended out a little further to give less angle contact to the playfield. T-800 vision is now enhanced with frosted LED's. Better night vision I think.


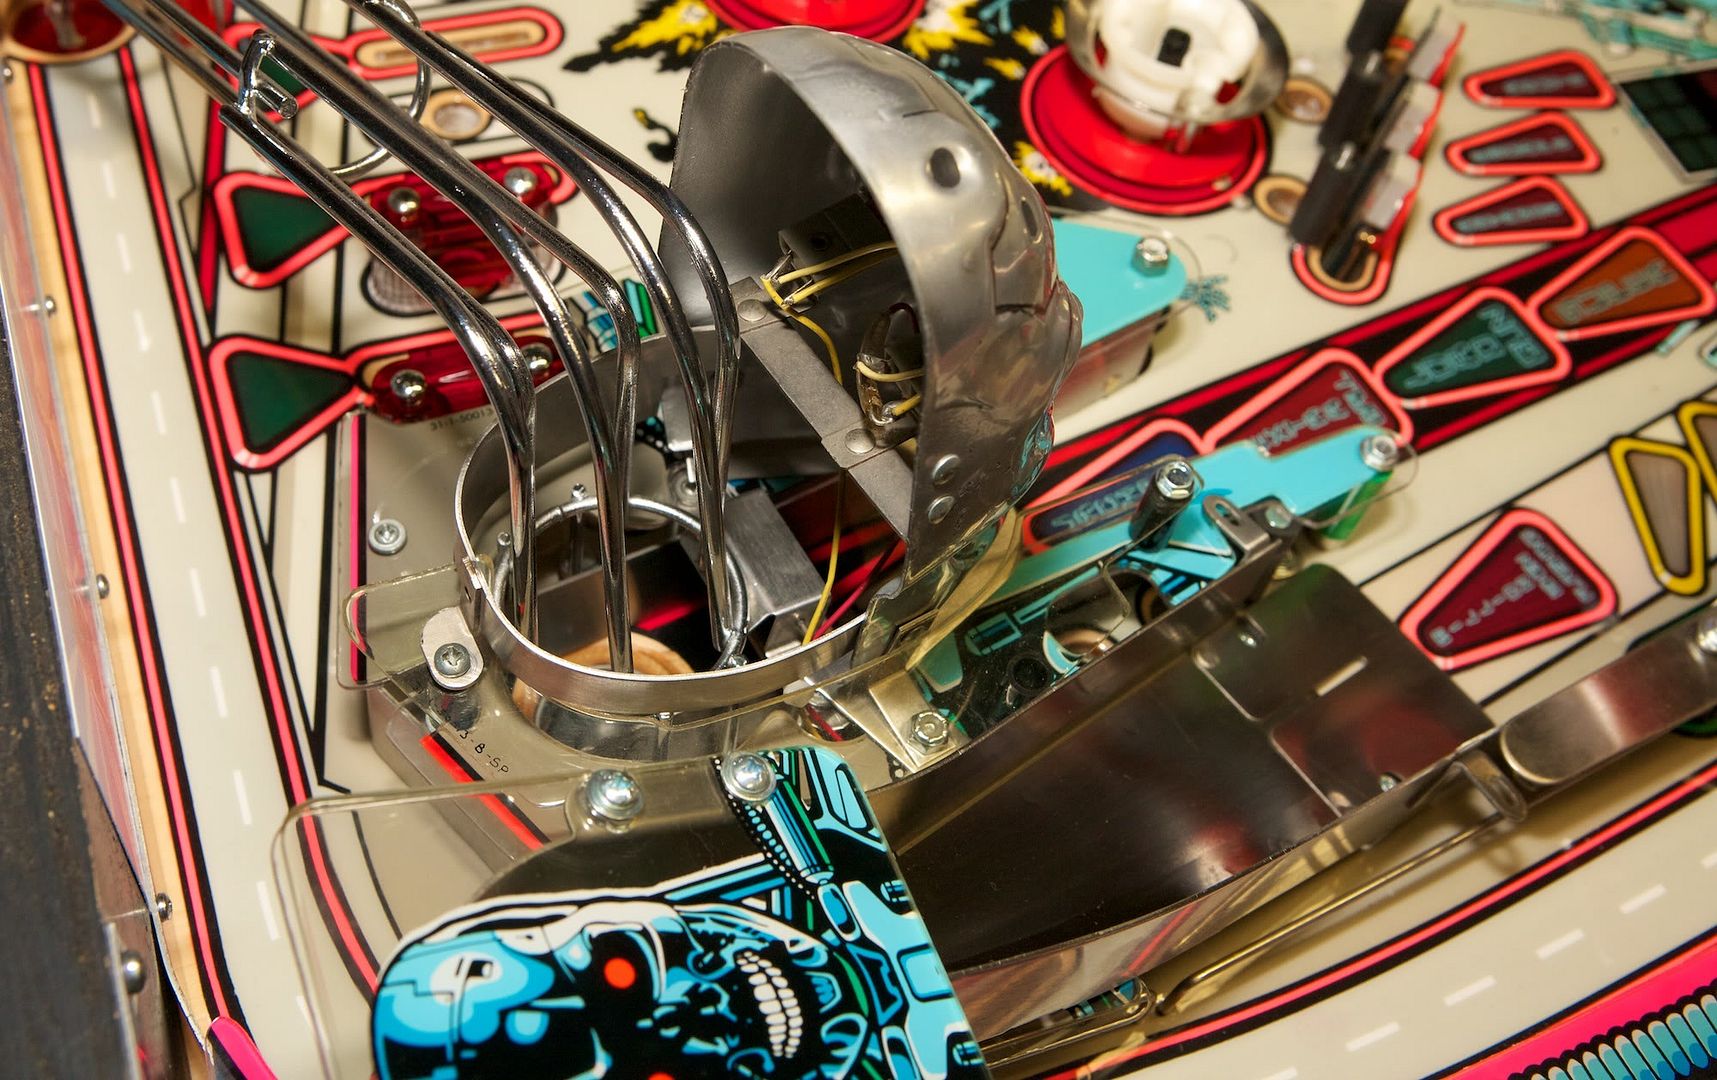
All skull mounts re riveted including lamp mount. Ball cage ramp was also re chromed.


I use black rubbers as it hides the dirt marks and the Cliffy sleeves are easy to clean. I usually avoid white unless a client requests it.


Just another close up.


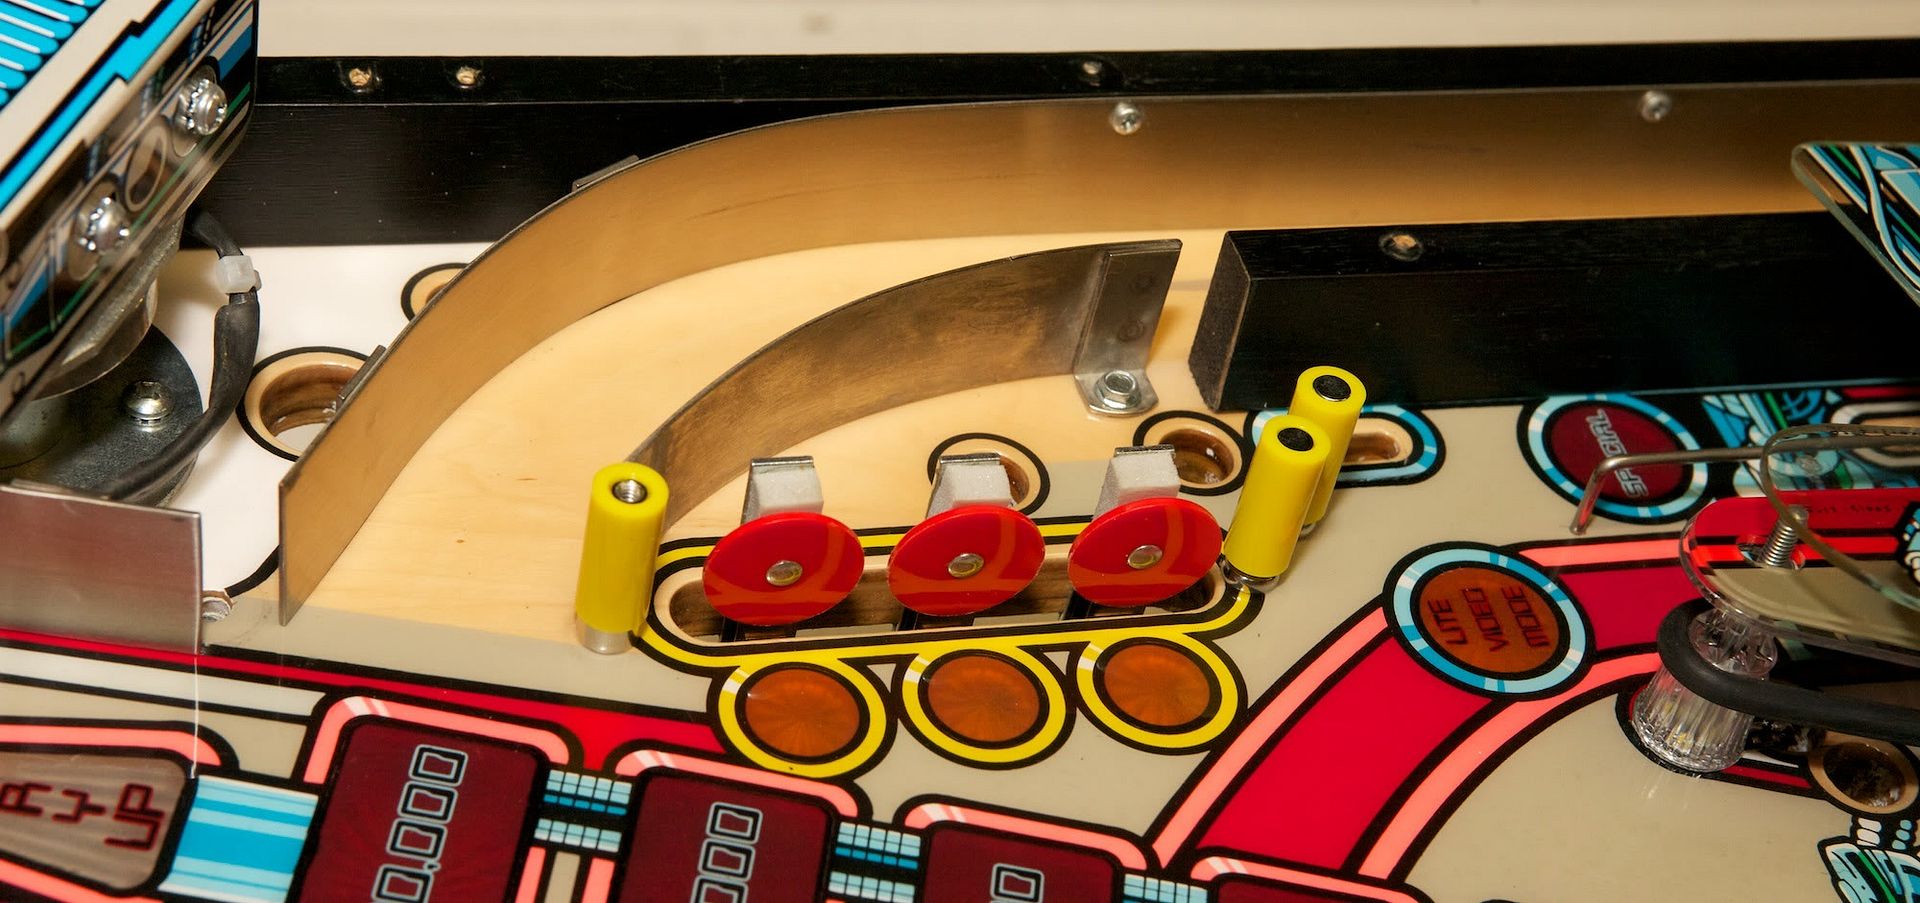
All targets installed are new.


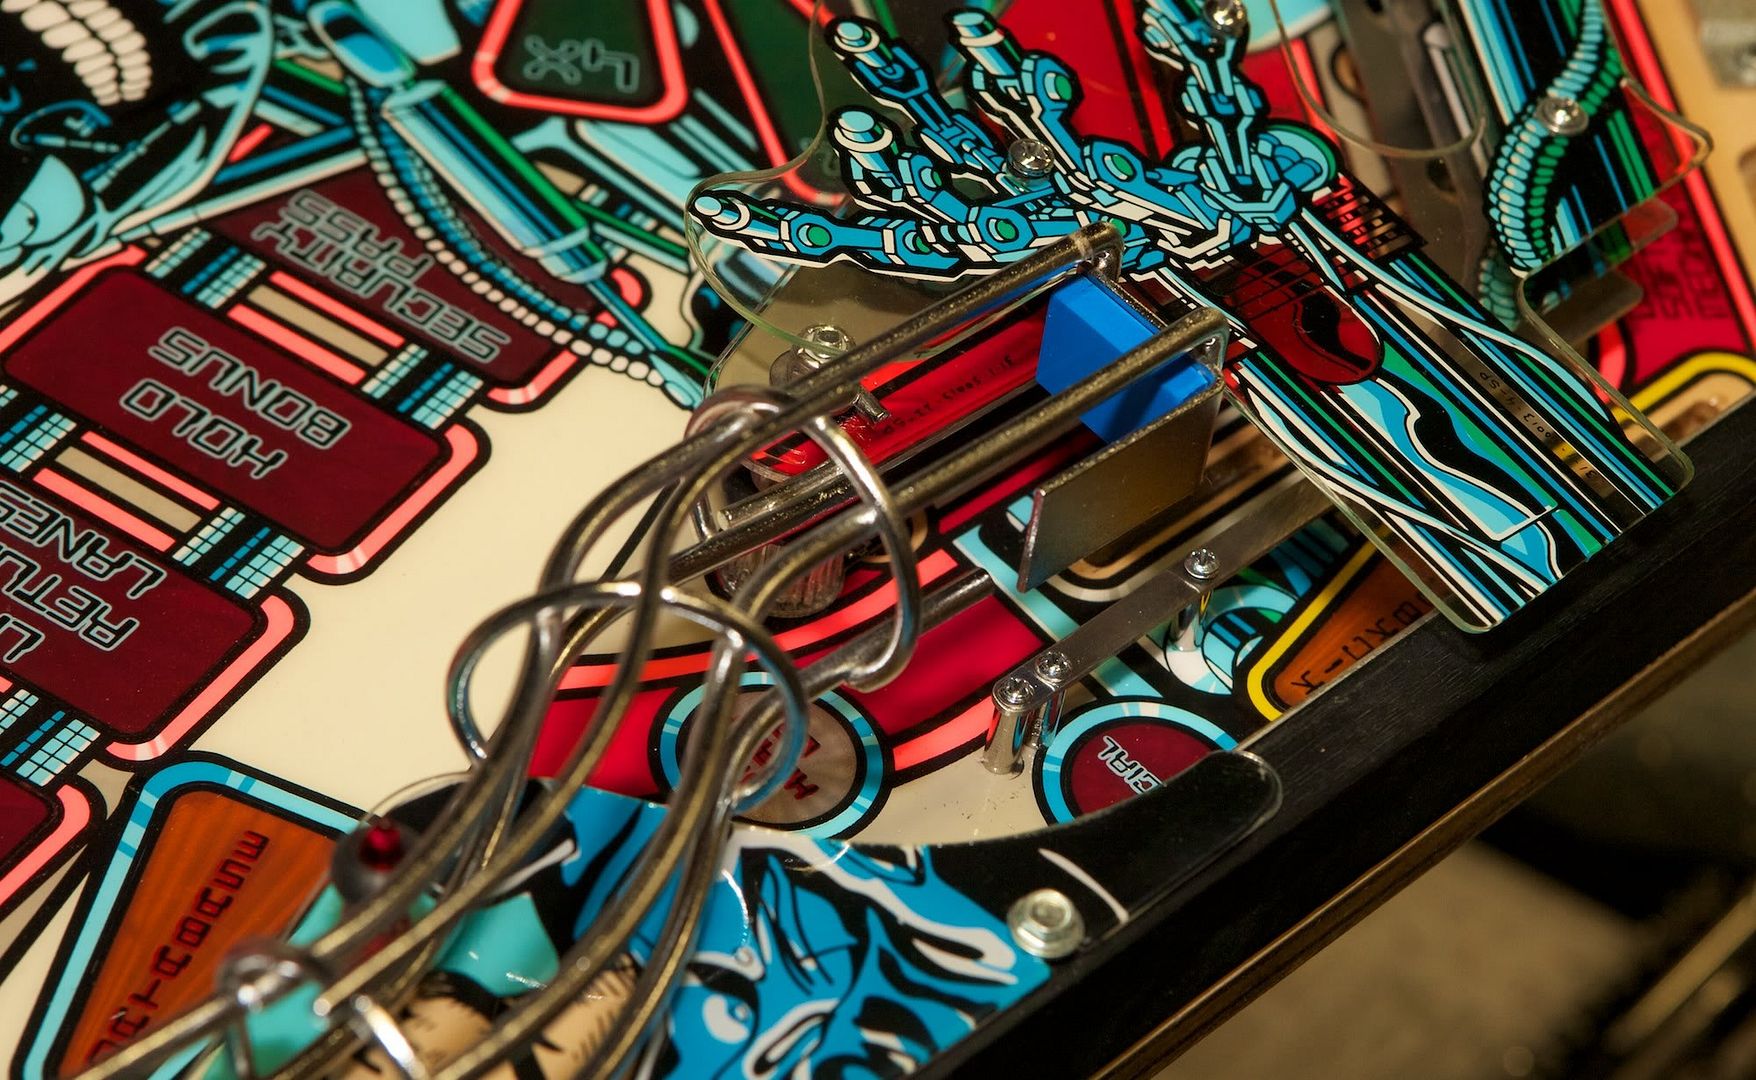
This ball drop area cops it hard. This was repaired air brushed. New blue stop rubber added.


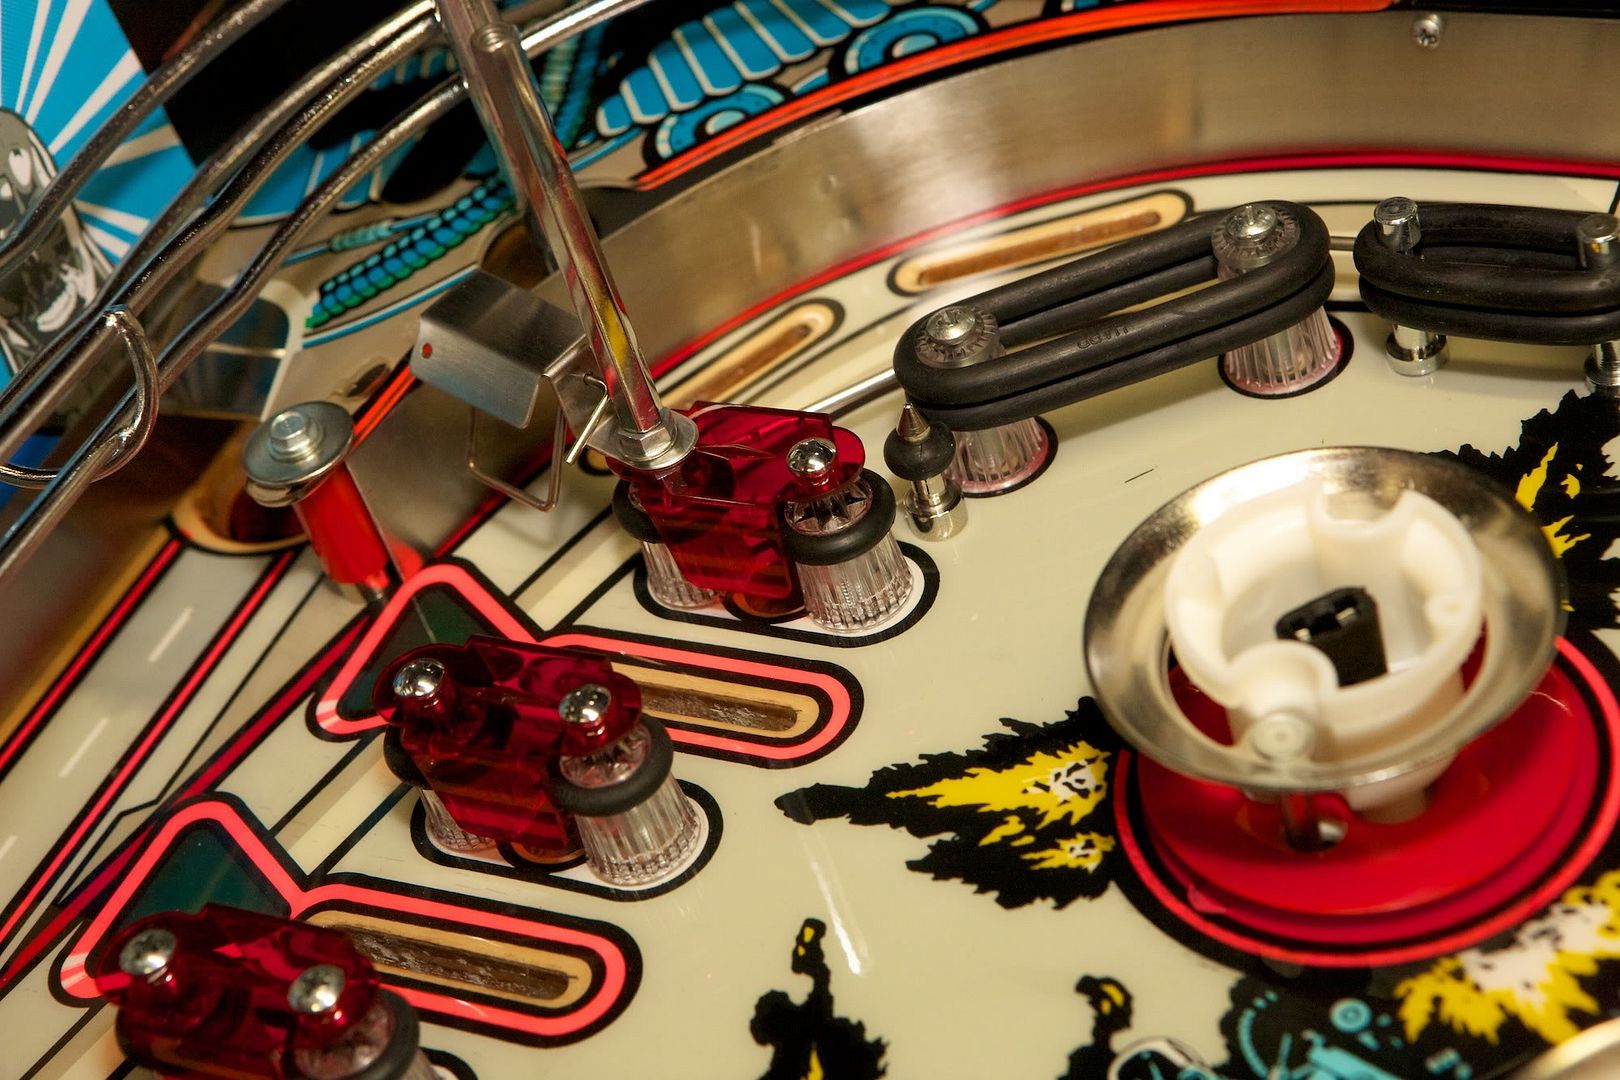
Double rubber post used here with a new cannon decal.


Did not like the white bats with yellow but was just trying it out for looks. Note modded LED posts.


Sling protector from RTBB kit.


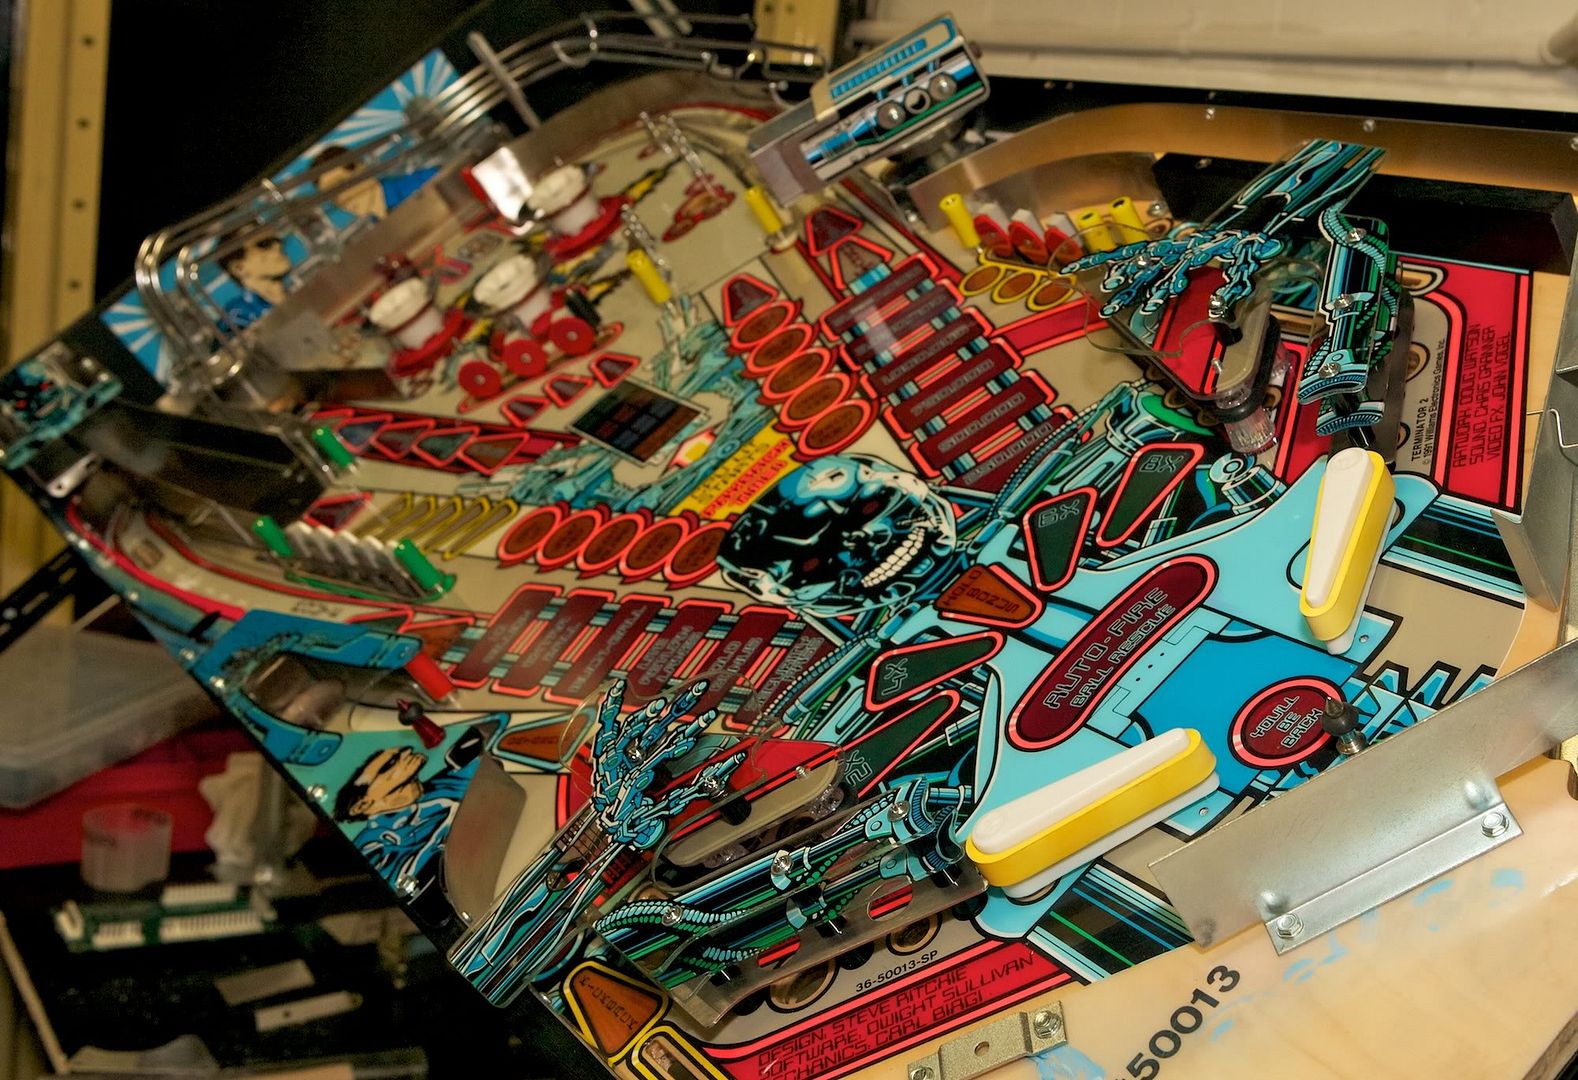
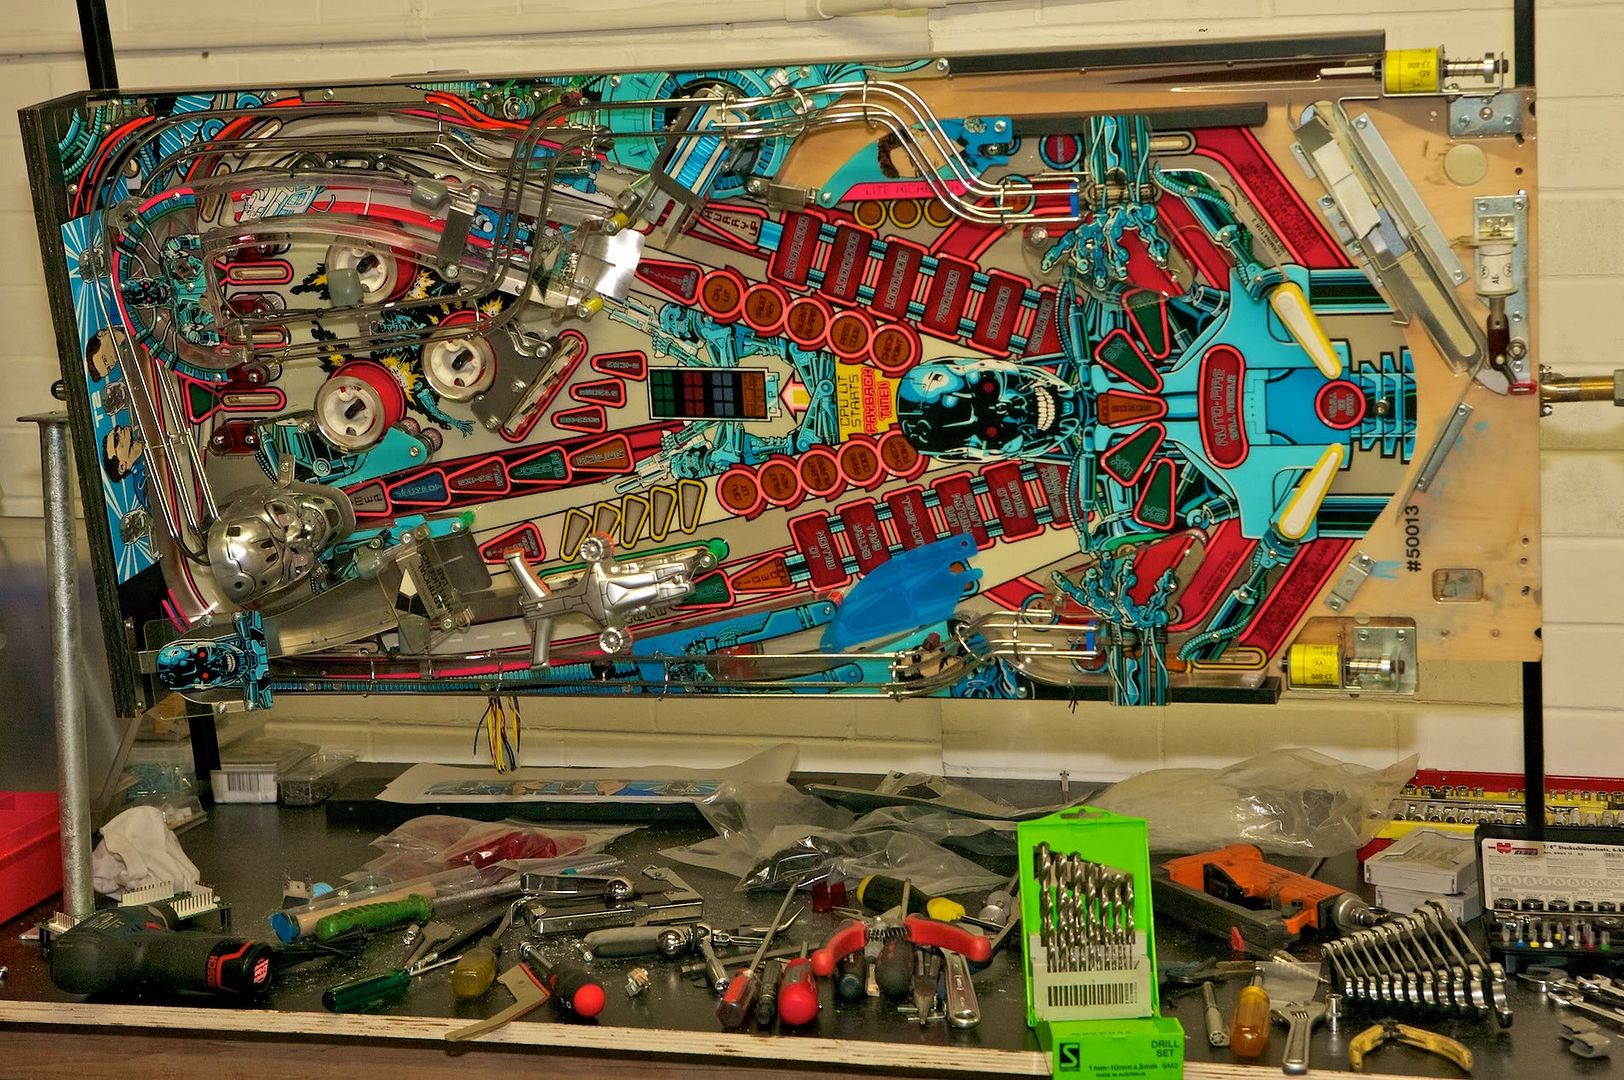
Starting to look like a machine now.


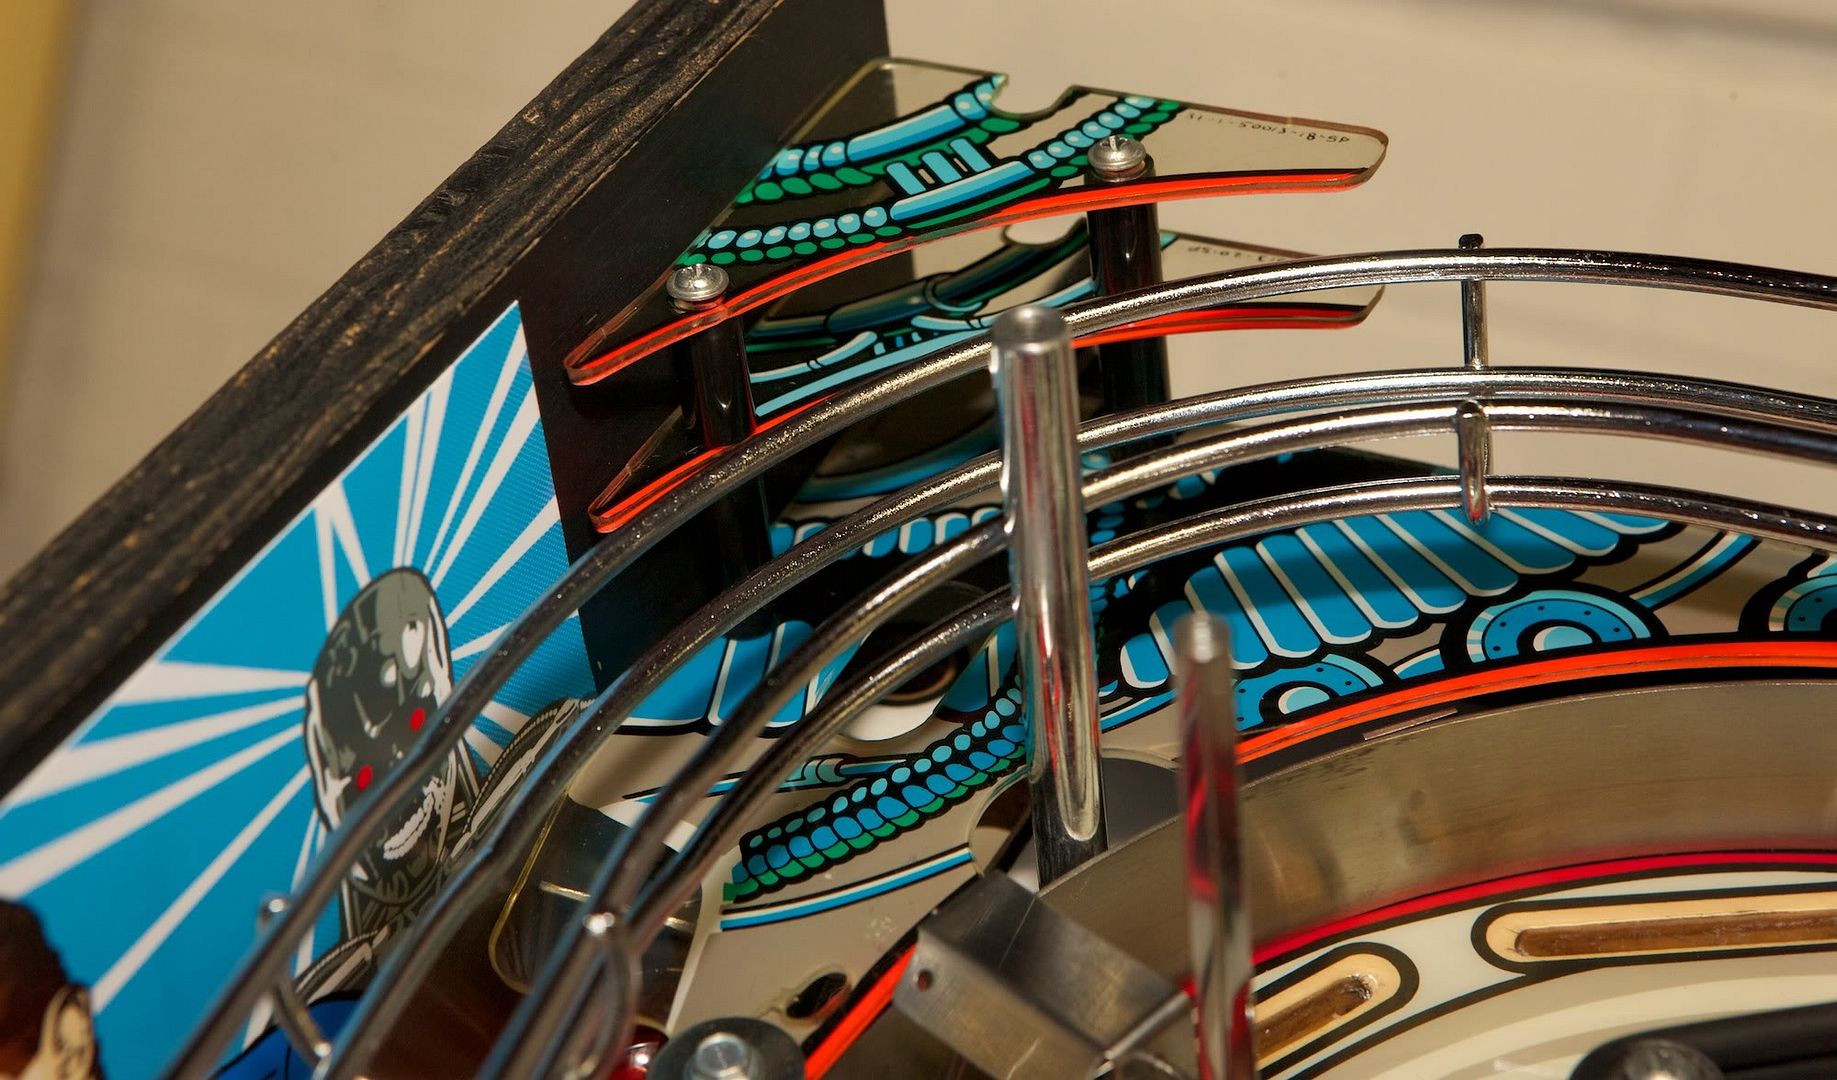
Love that reflection.


More new targets. Used red instead of orange though.


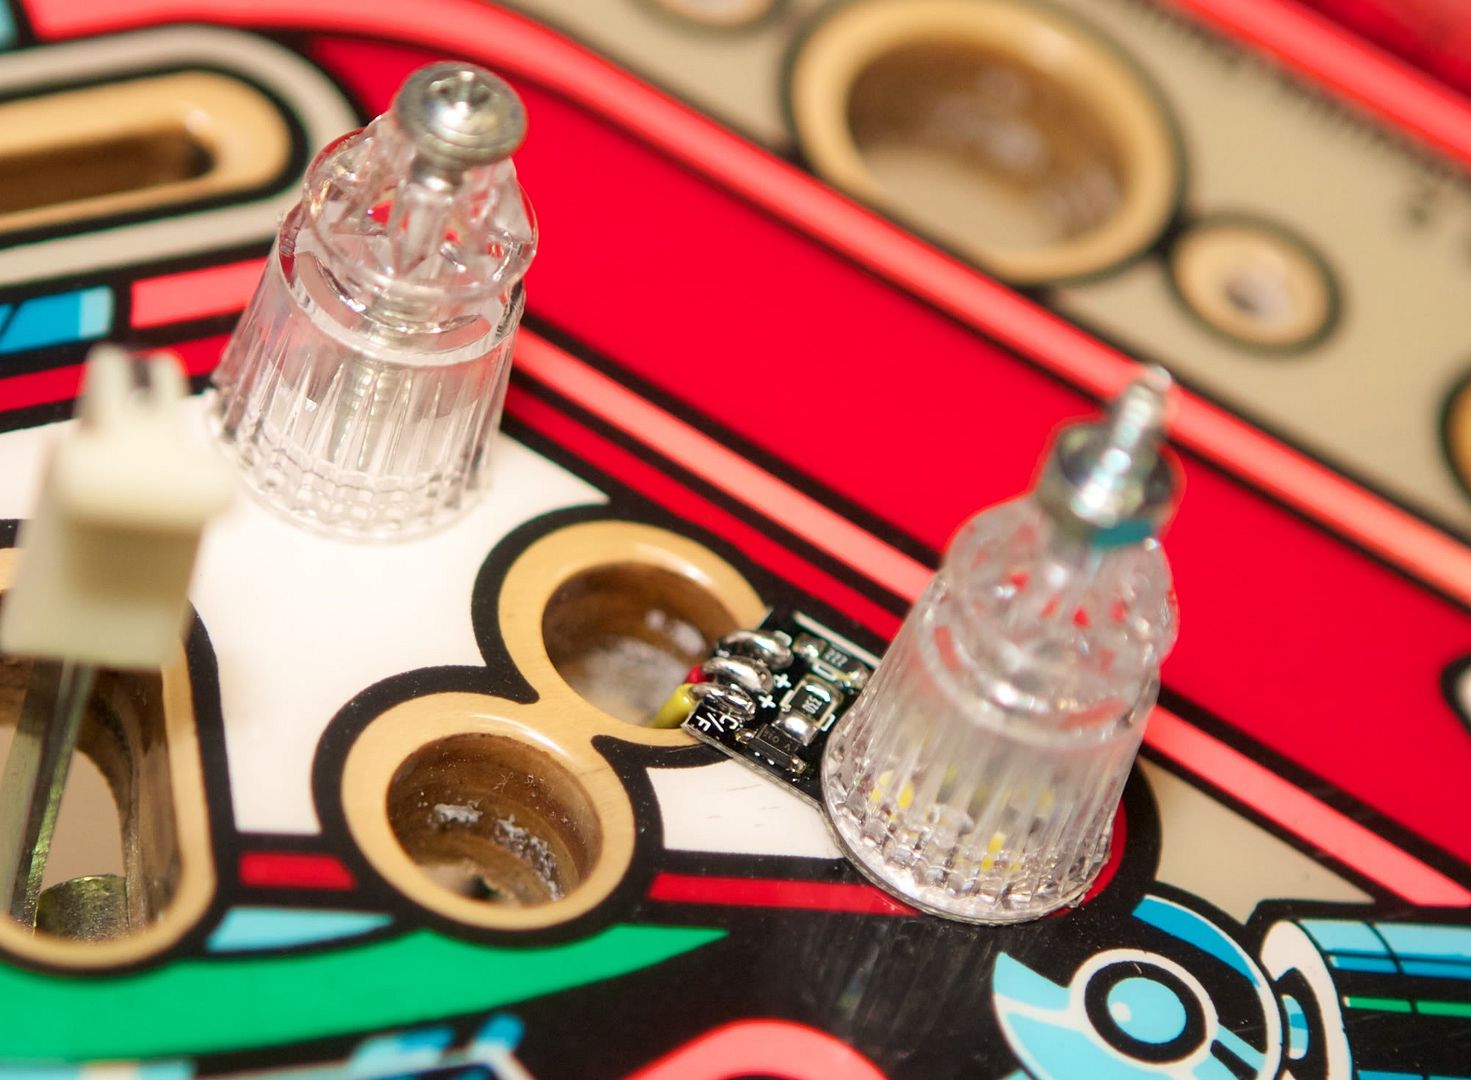
Post LED mod. Has a warm general illumination that flashes when the sling is triggered. Great enhancement. This was sourced from Great Lakes Modular dot com.


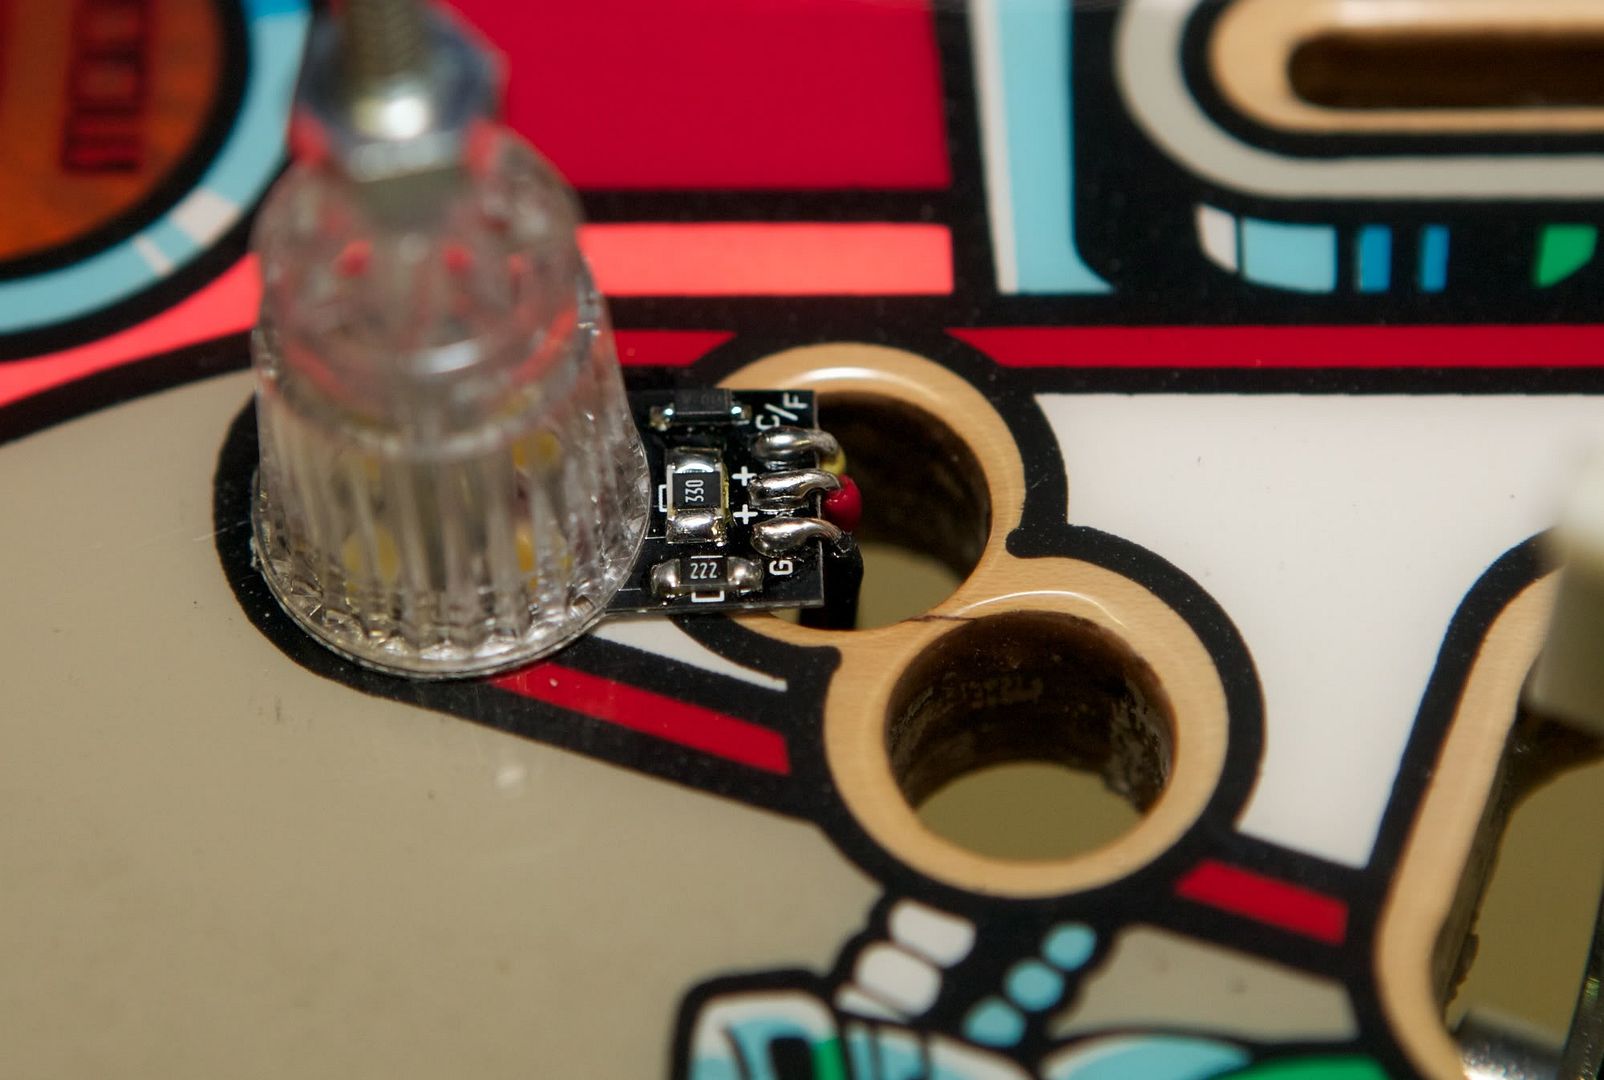
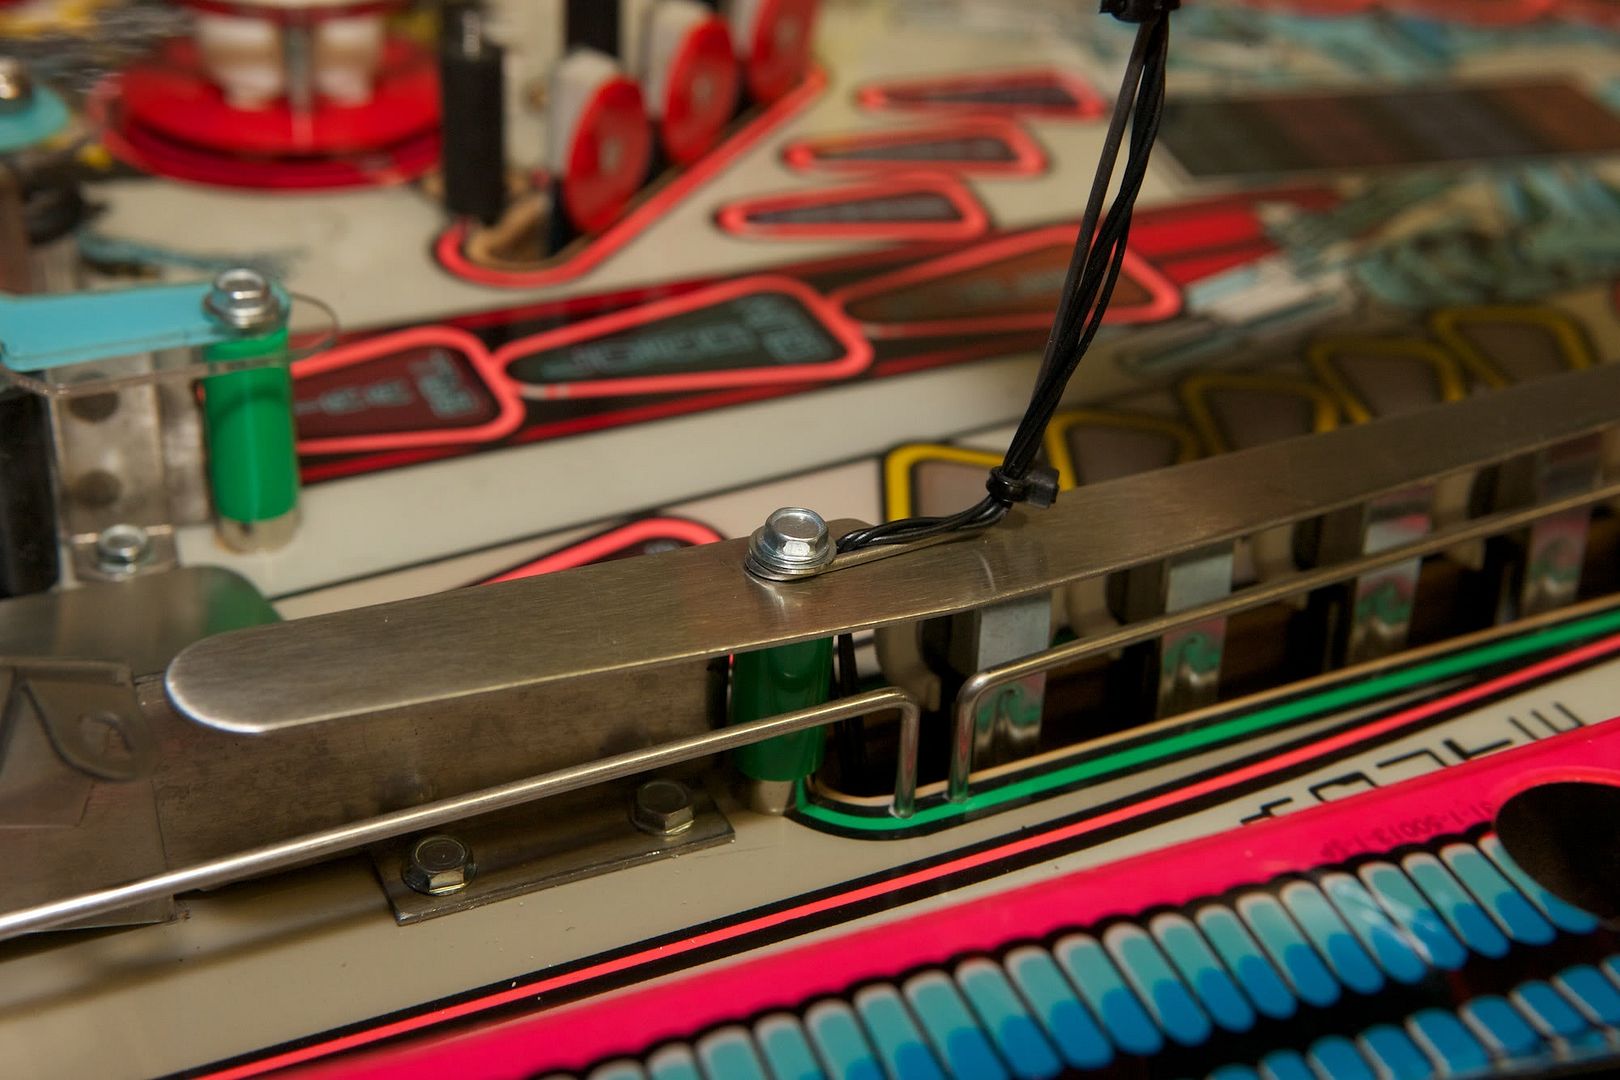
I'm not concerned about poking the wire down the GI hole as this will be hidden once the other bits are installed. No problem with GI either as plenty will come off the post. Love this idea!


Mod wires hanging there all set to go the next stage.


Nearly done here too. Not liking those flippers…


About to install new sling switches here. Note heat shrink used on flipper End of Stroke switches. Will be doing the coils too.


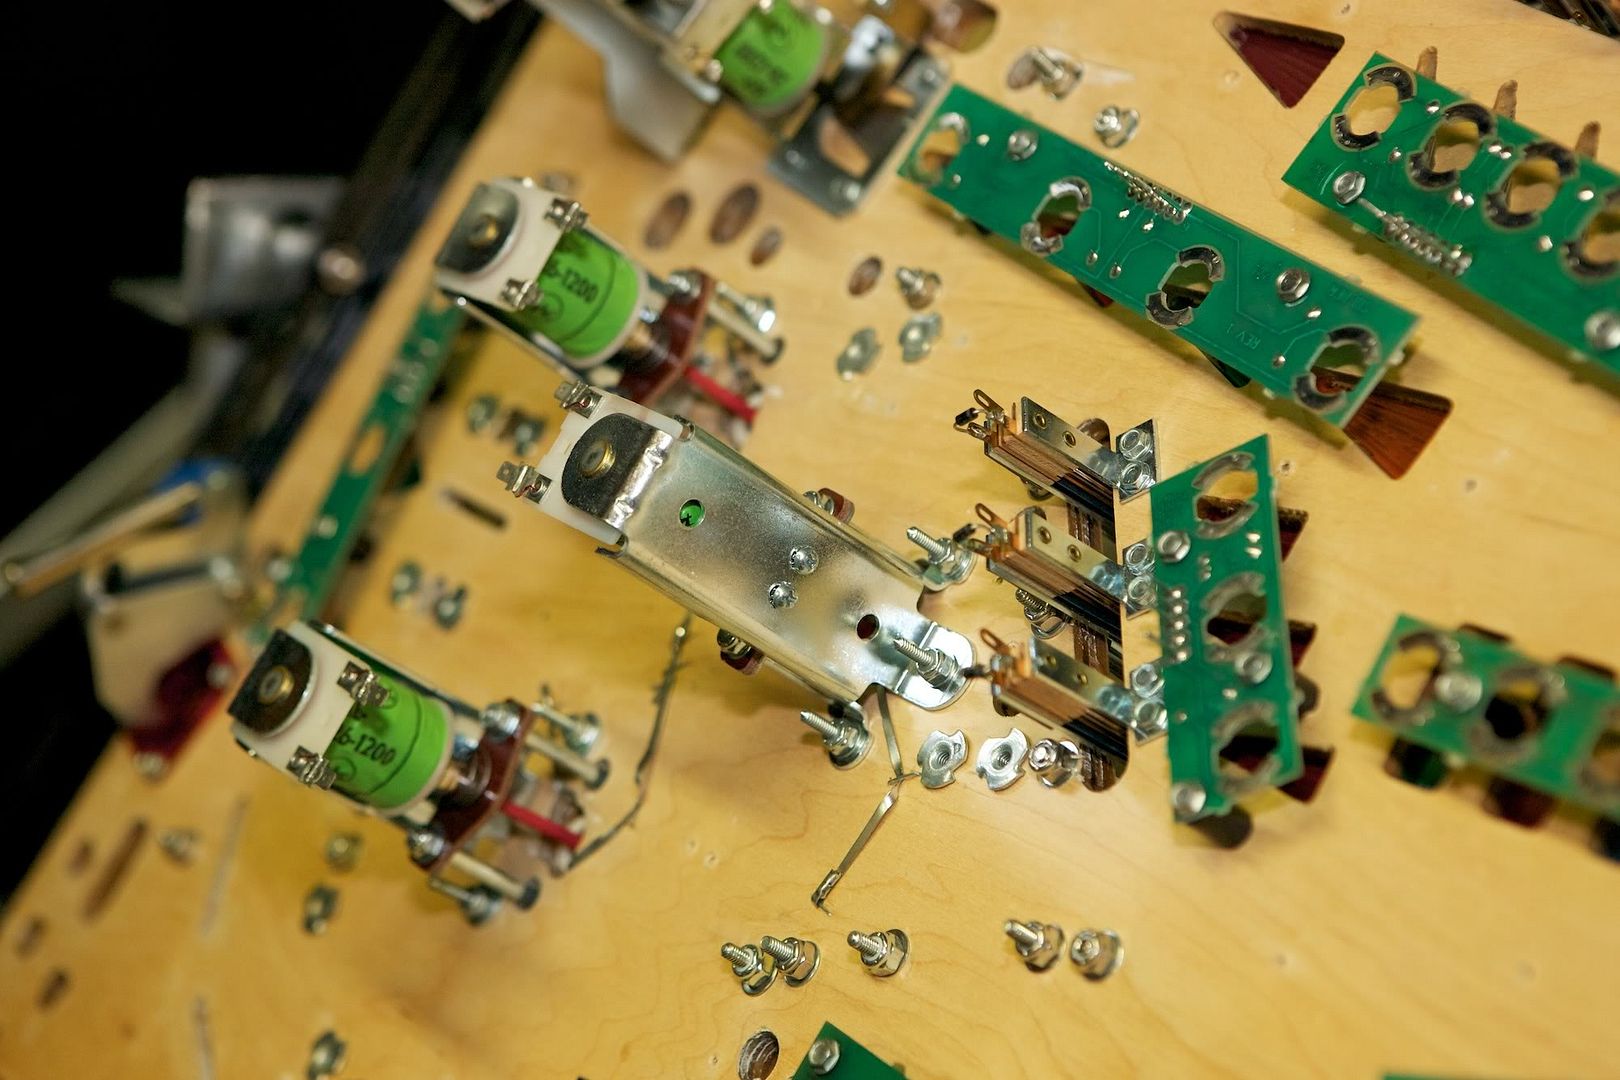
Most hardware I use is brand new but some is cleaned via the tumbler and used again. All mechanical assembly frame work like the pop bumpers are cleaned and re nickel plated.


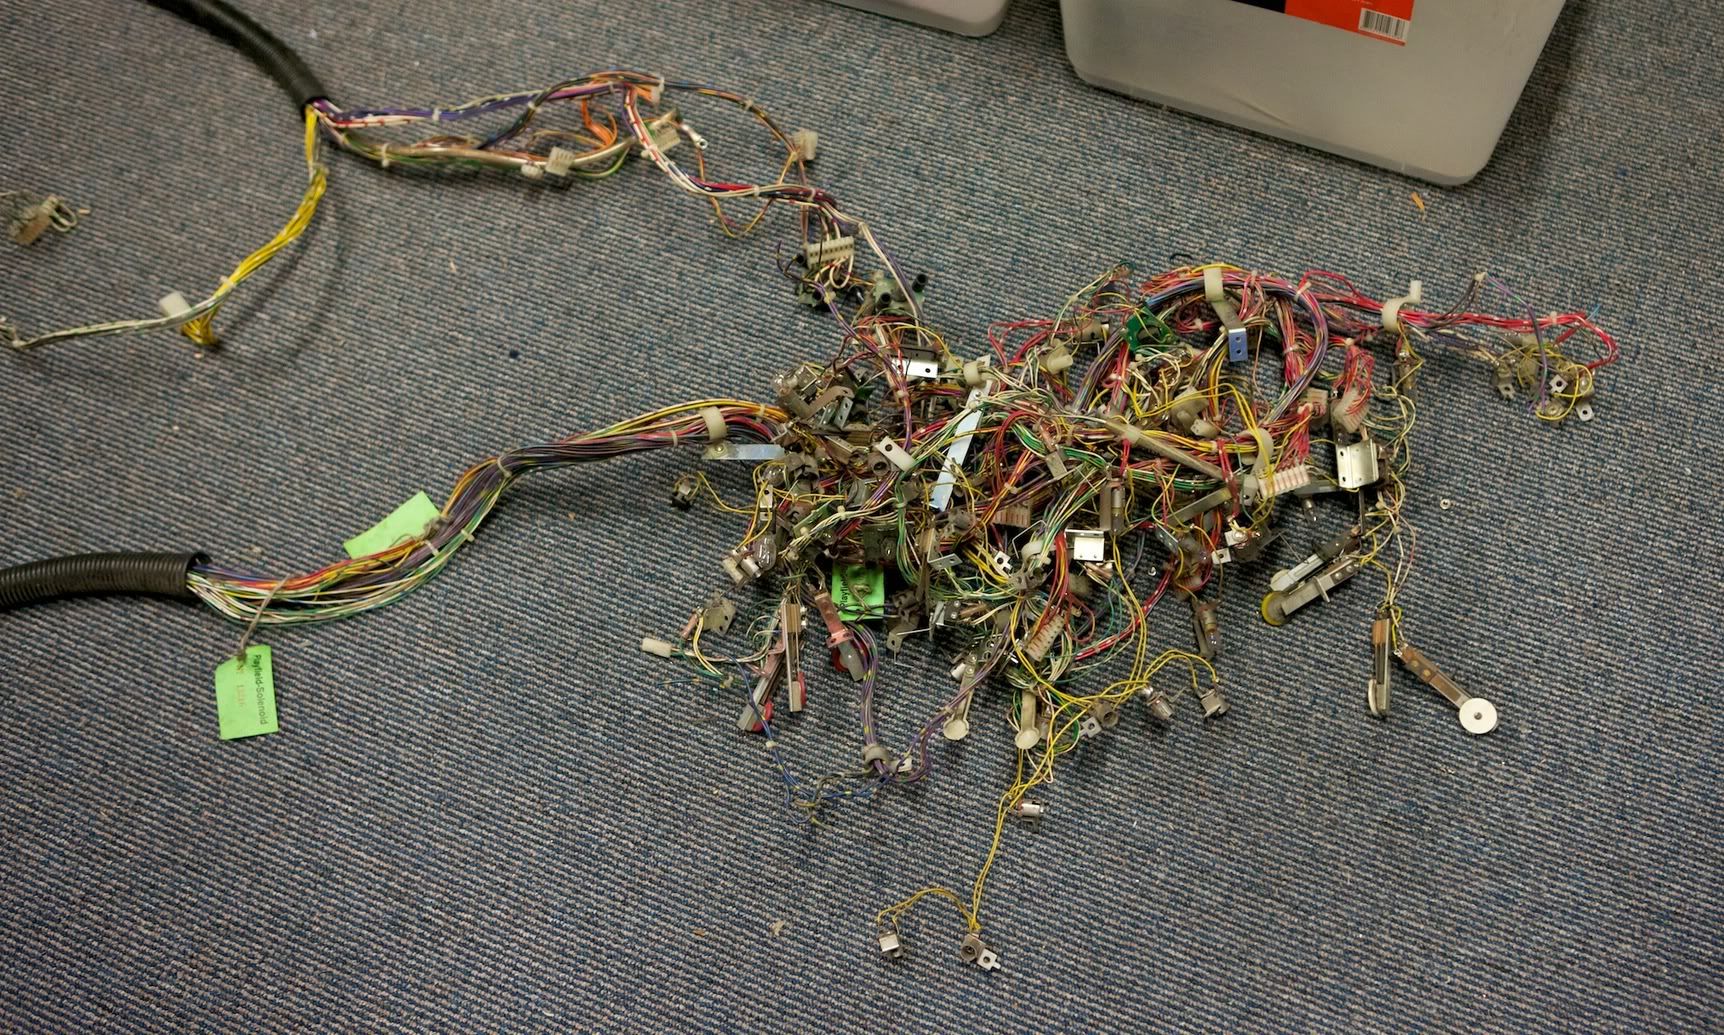
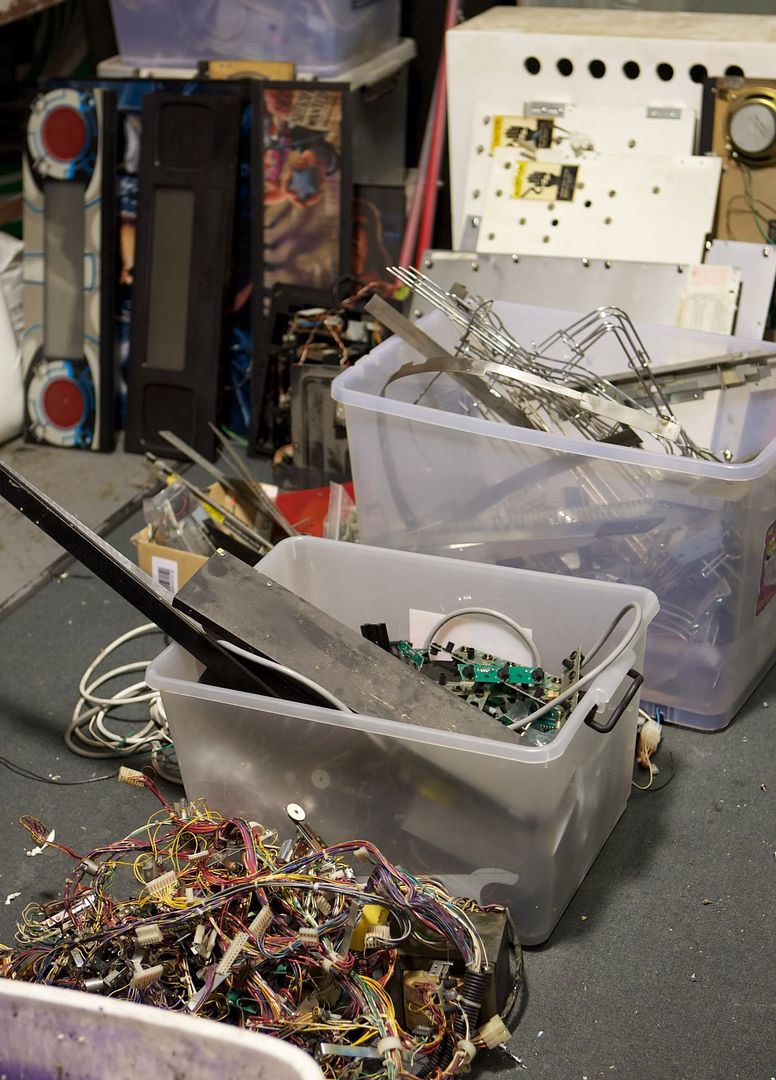
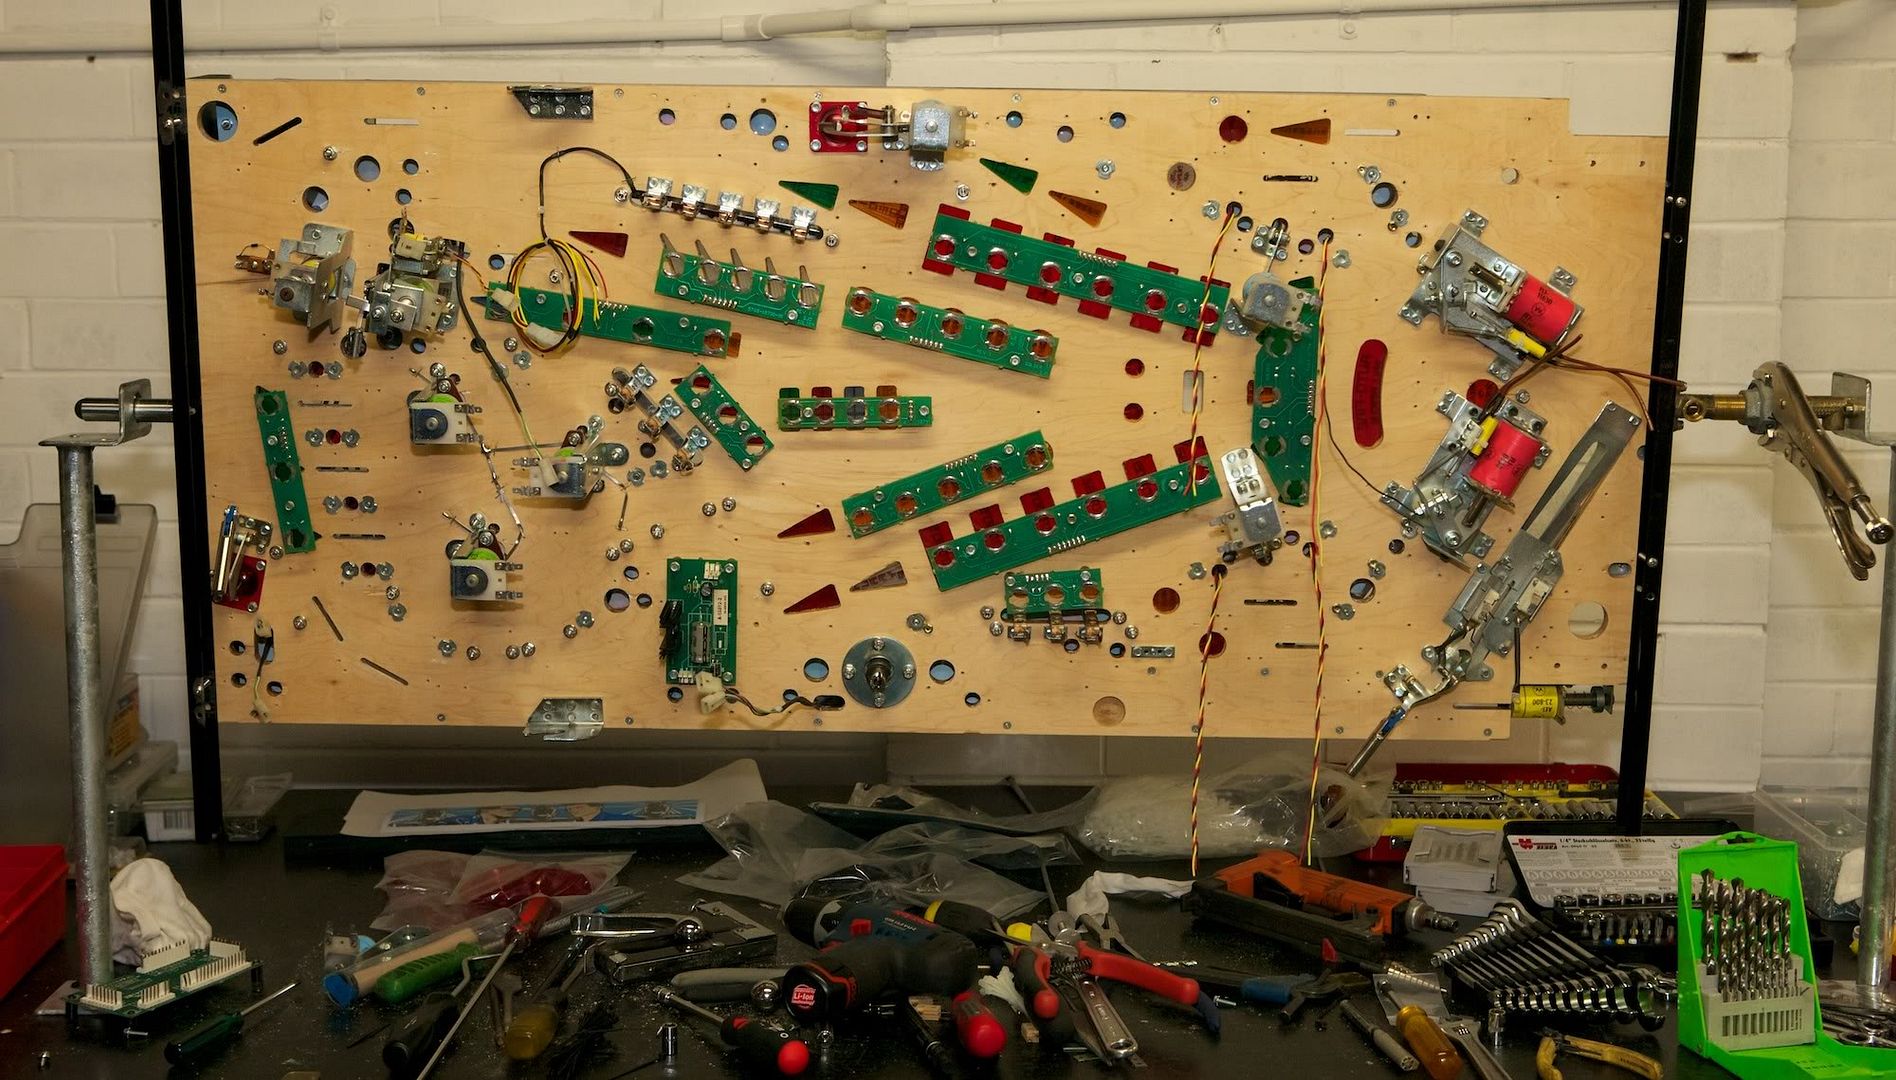
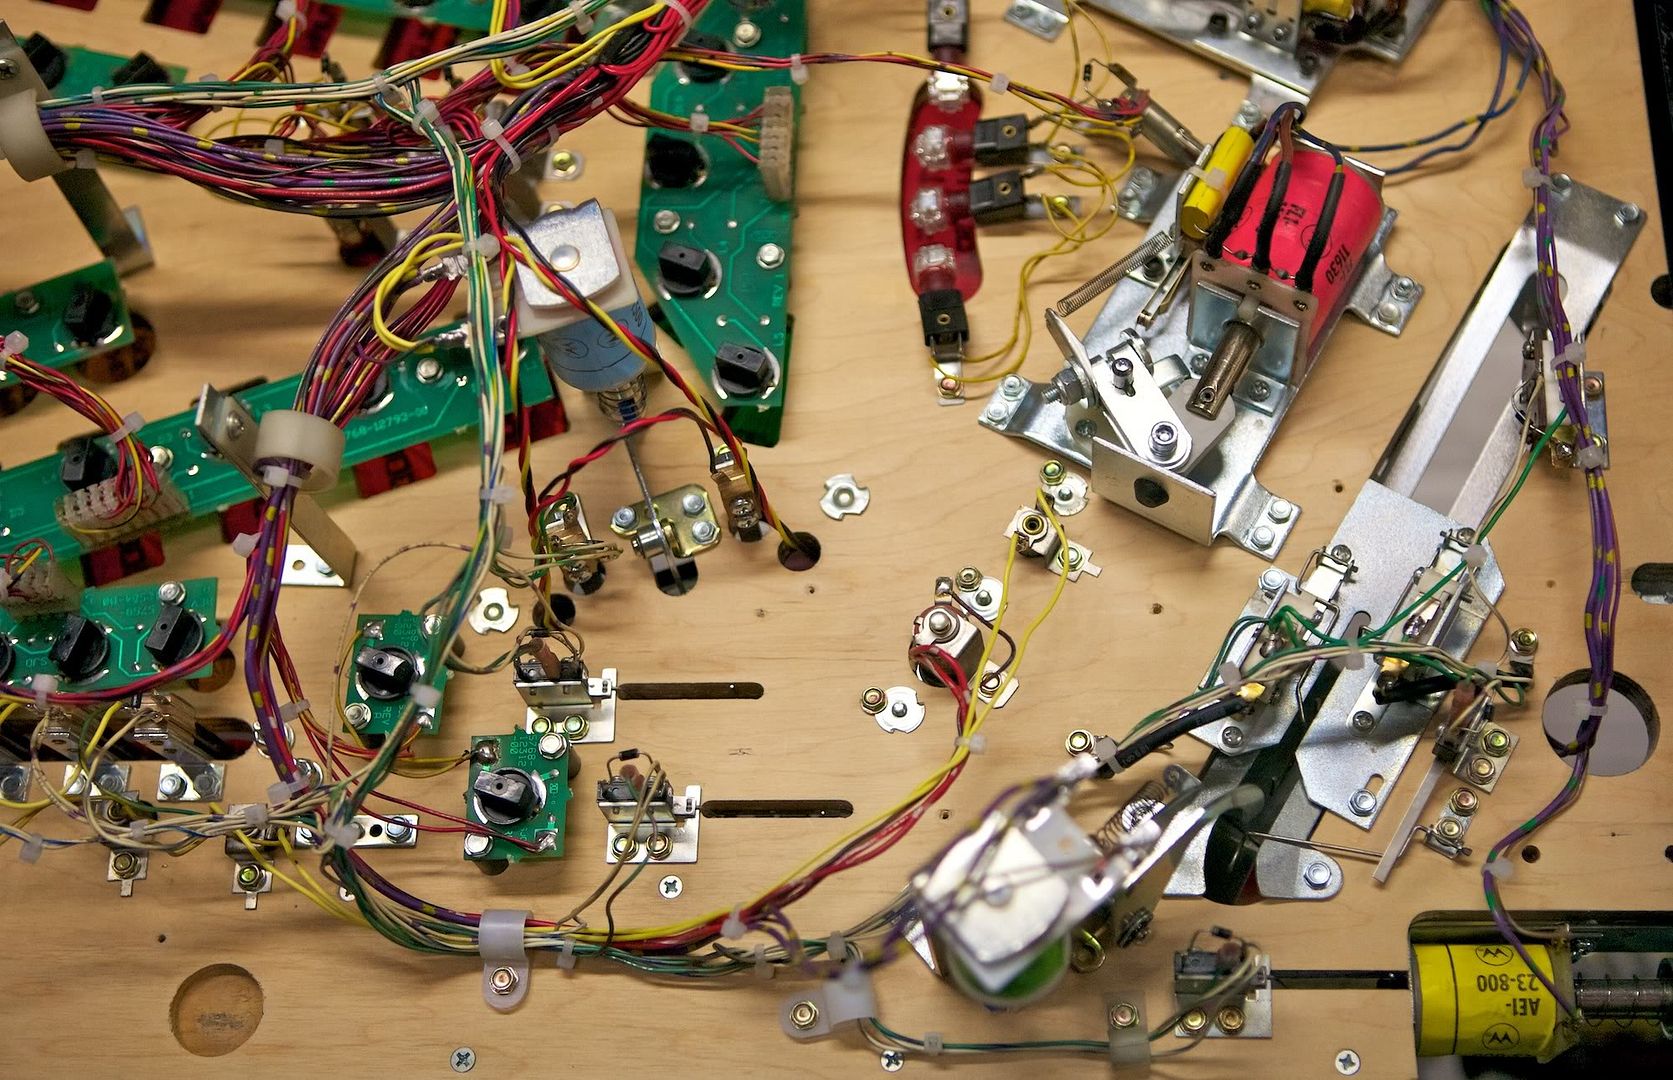
Yum! Rats nest… this is all separated cleaned and connectors checked and or replaced.


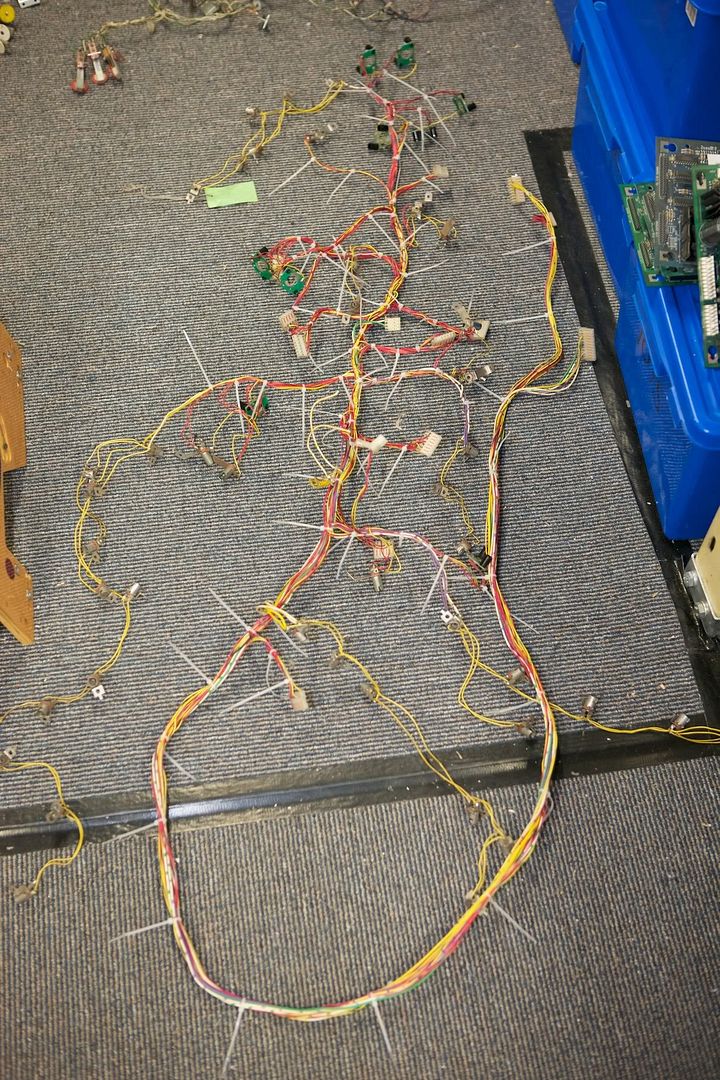
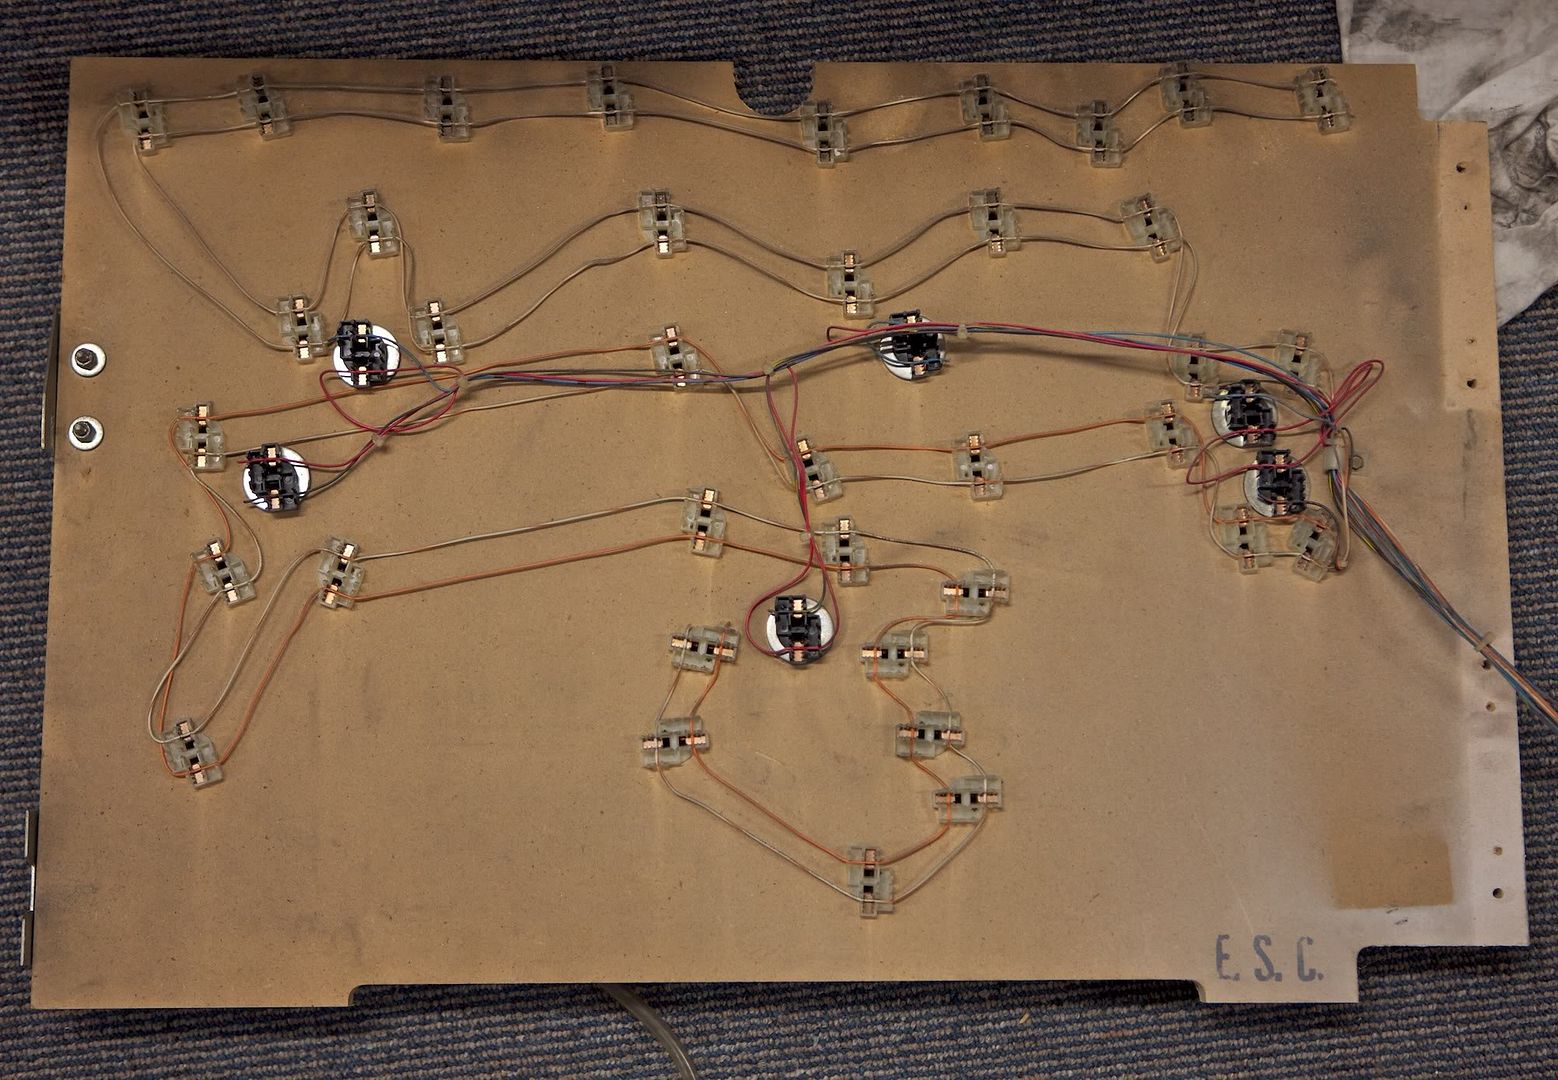
This is the lighting section of the harness that has been cleaned and re zip tied pending installation.
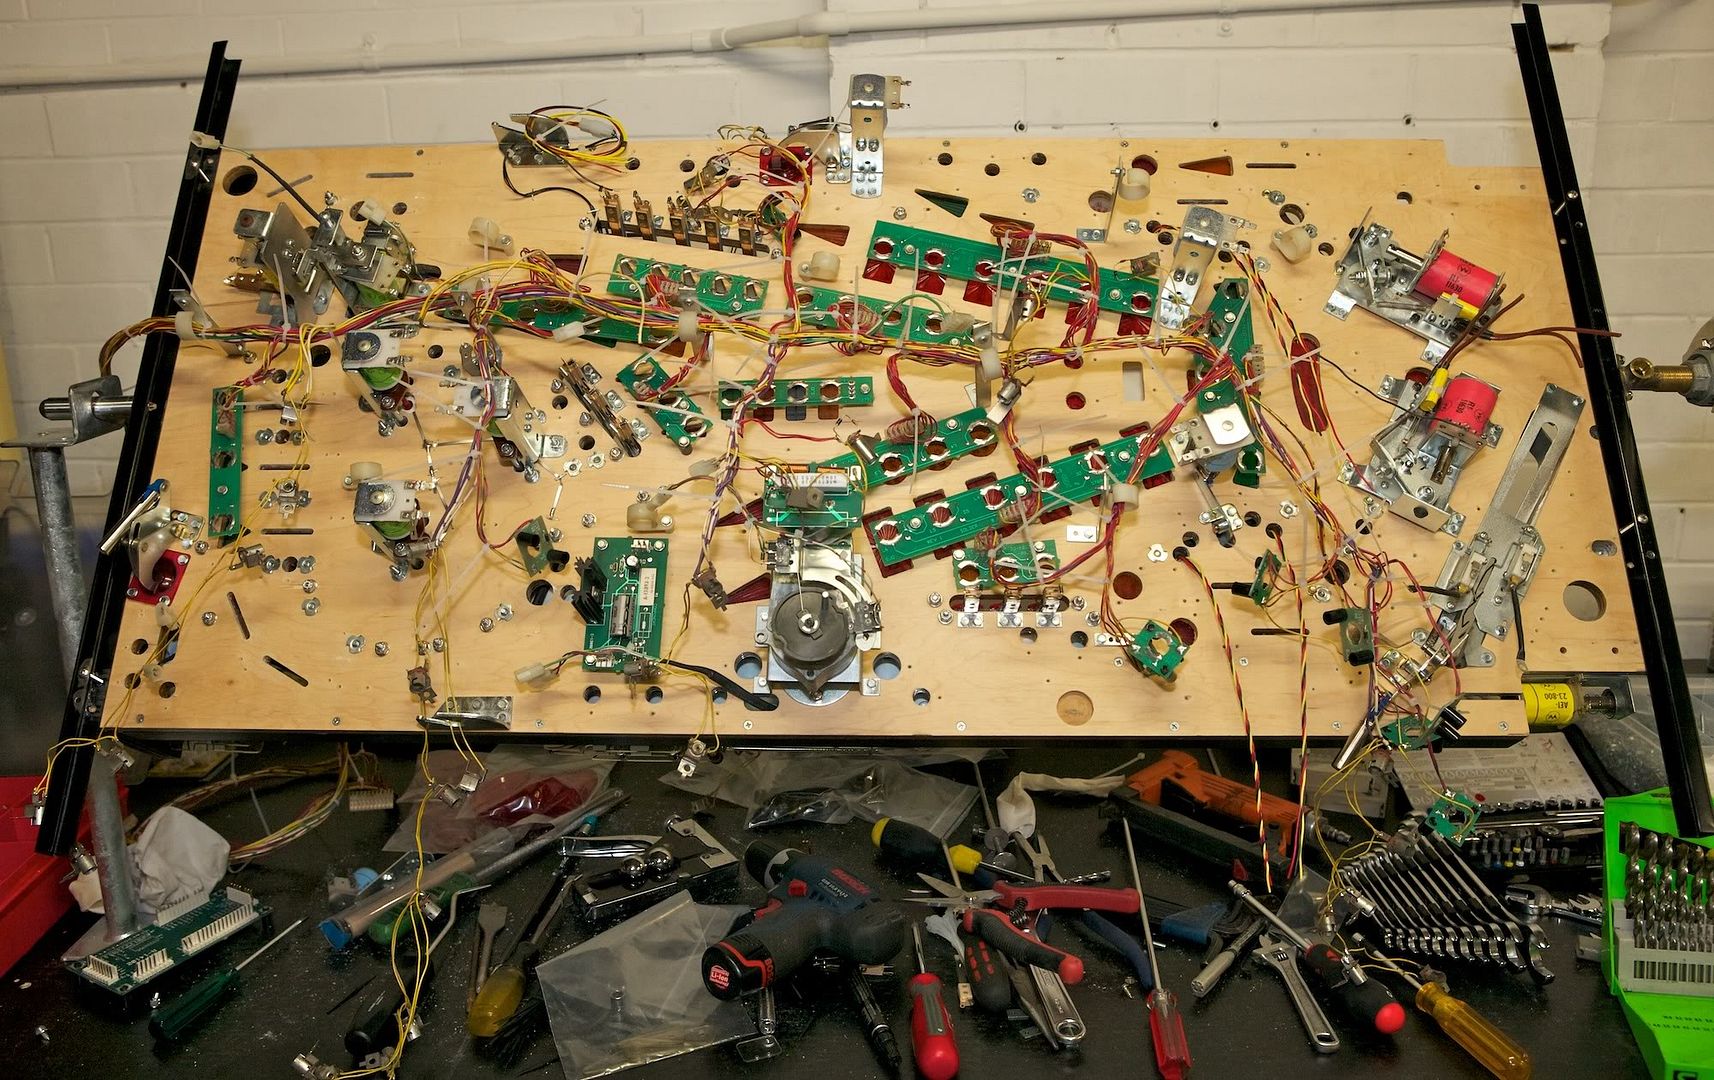
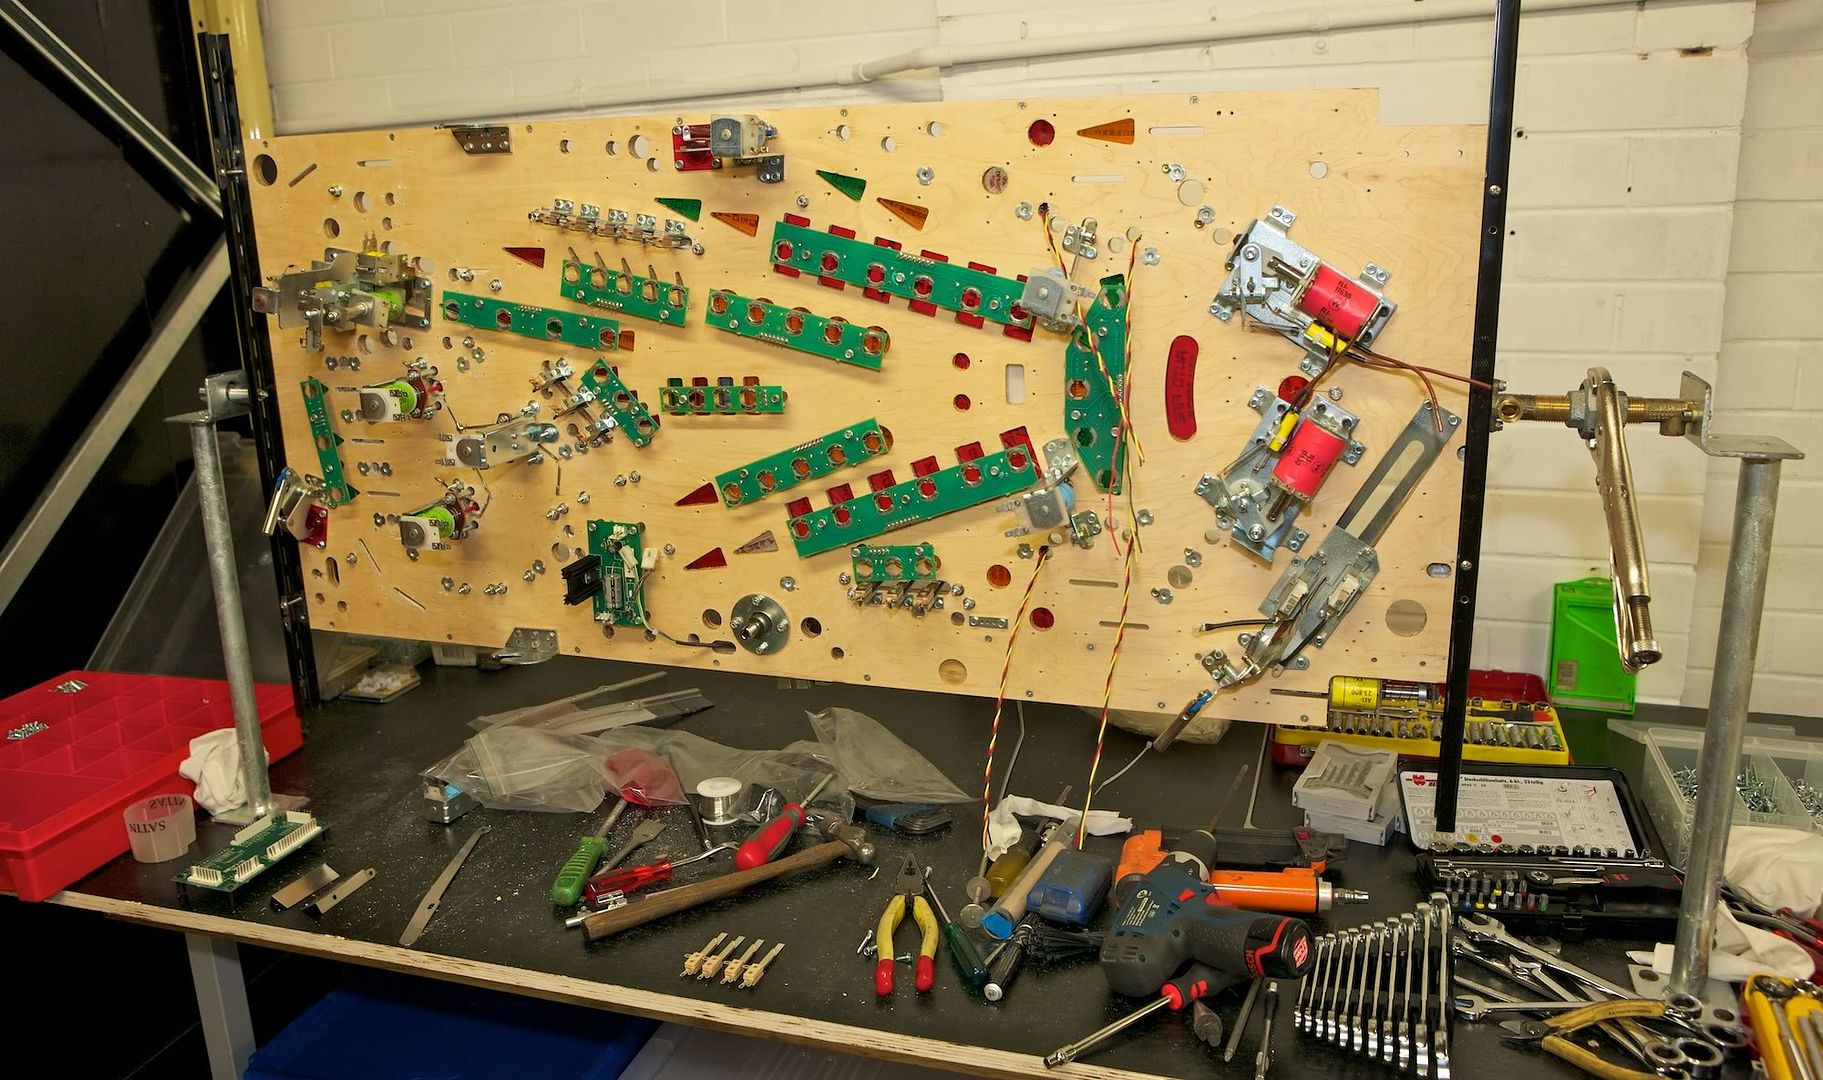

Being installed.


The other sections get the same treatment too. Made sure to keep it a neat as possible here too.


 Keeping the house neat and tidy. Note the large flash LED's installed. Flipper coils are re wrapped and heat shrink used on connectors.


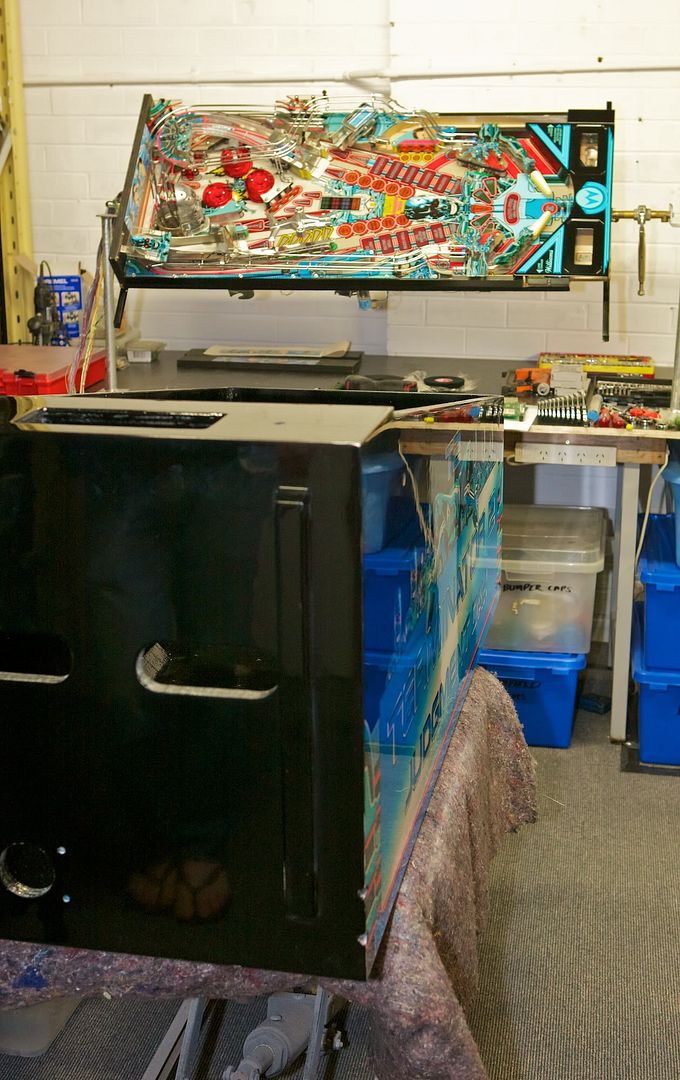
Nearly ready for marriage...


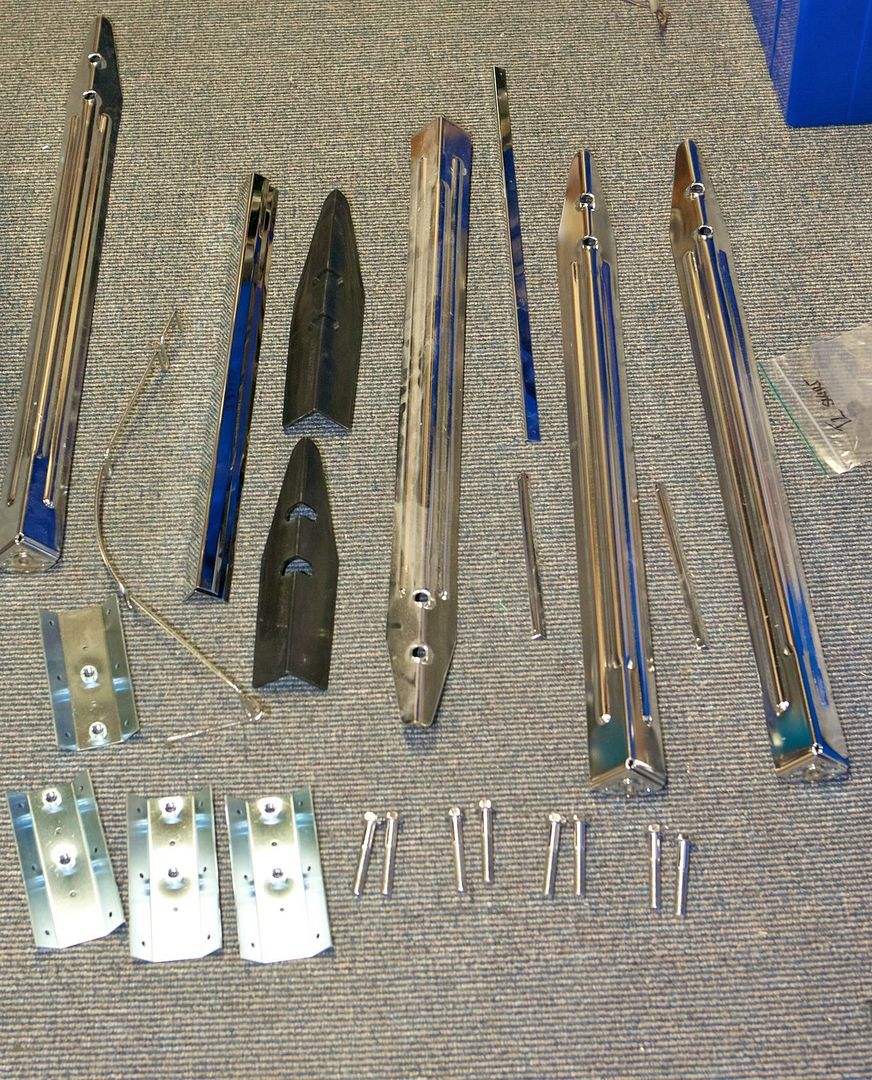
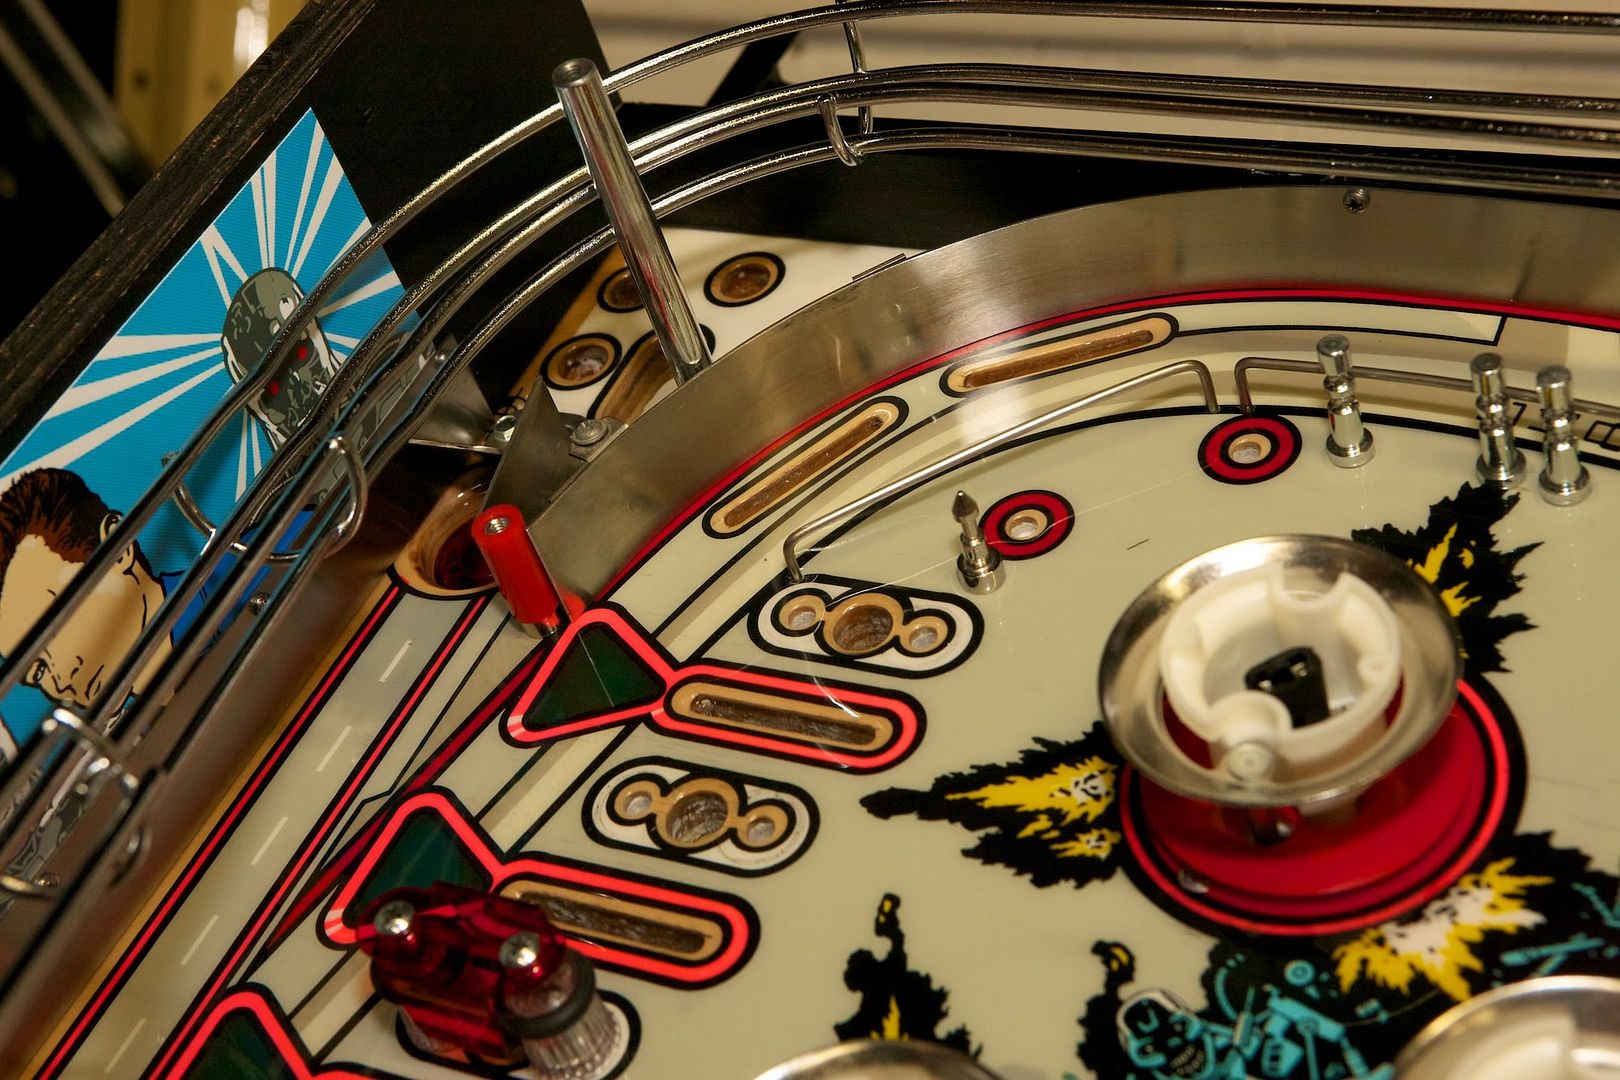
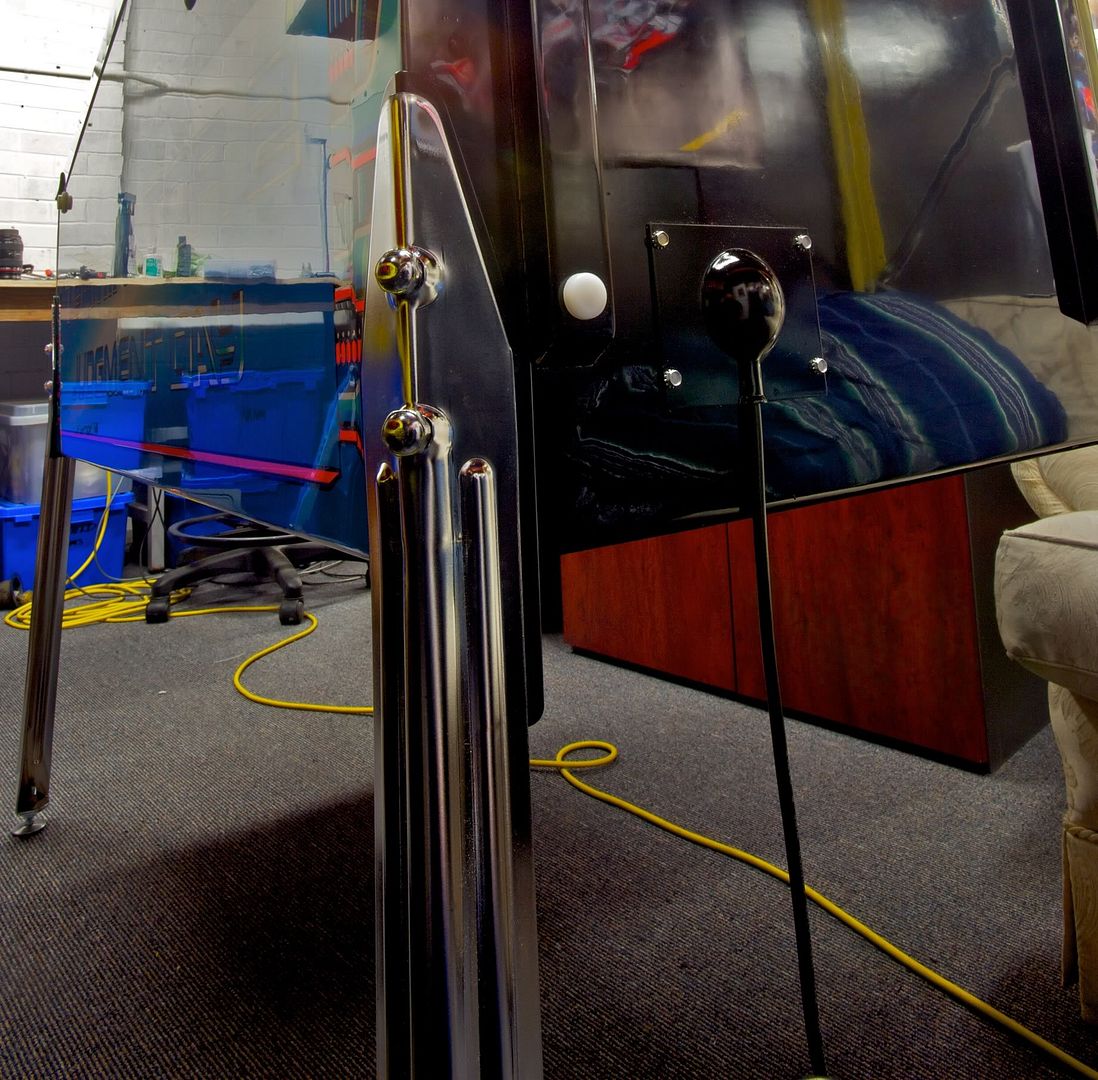
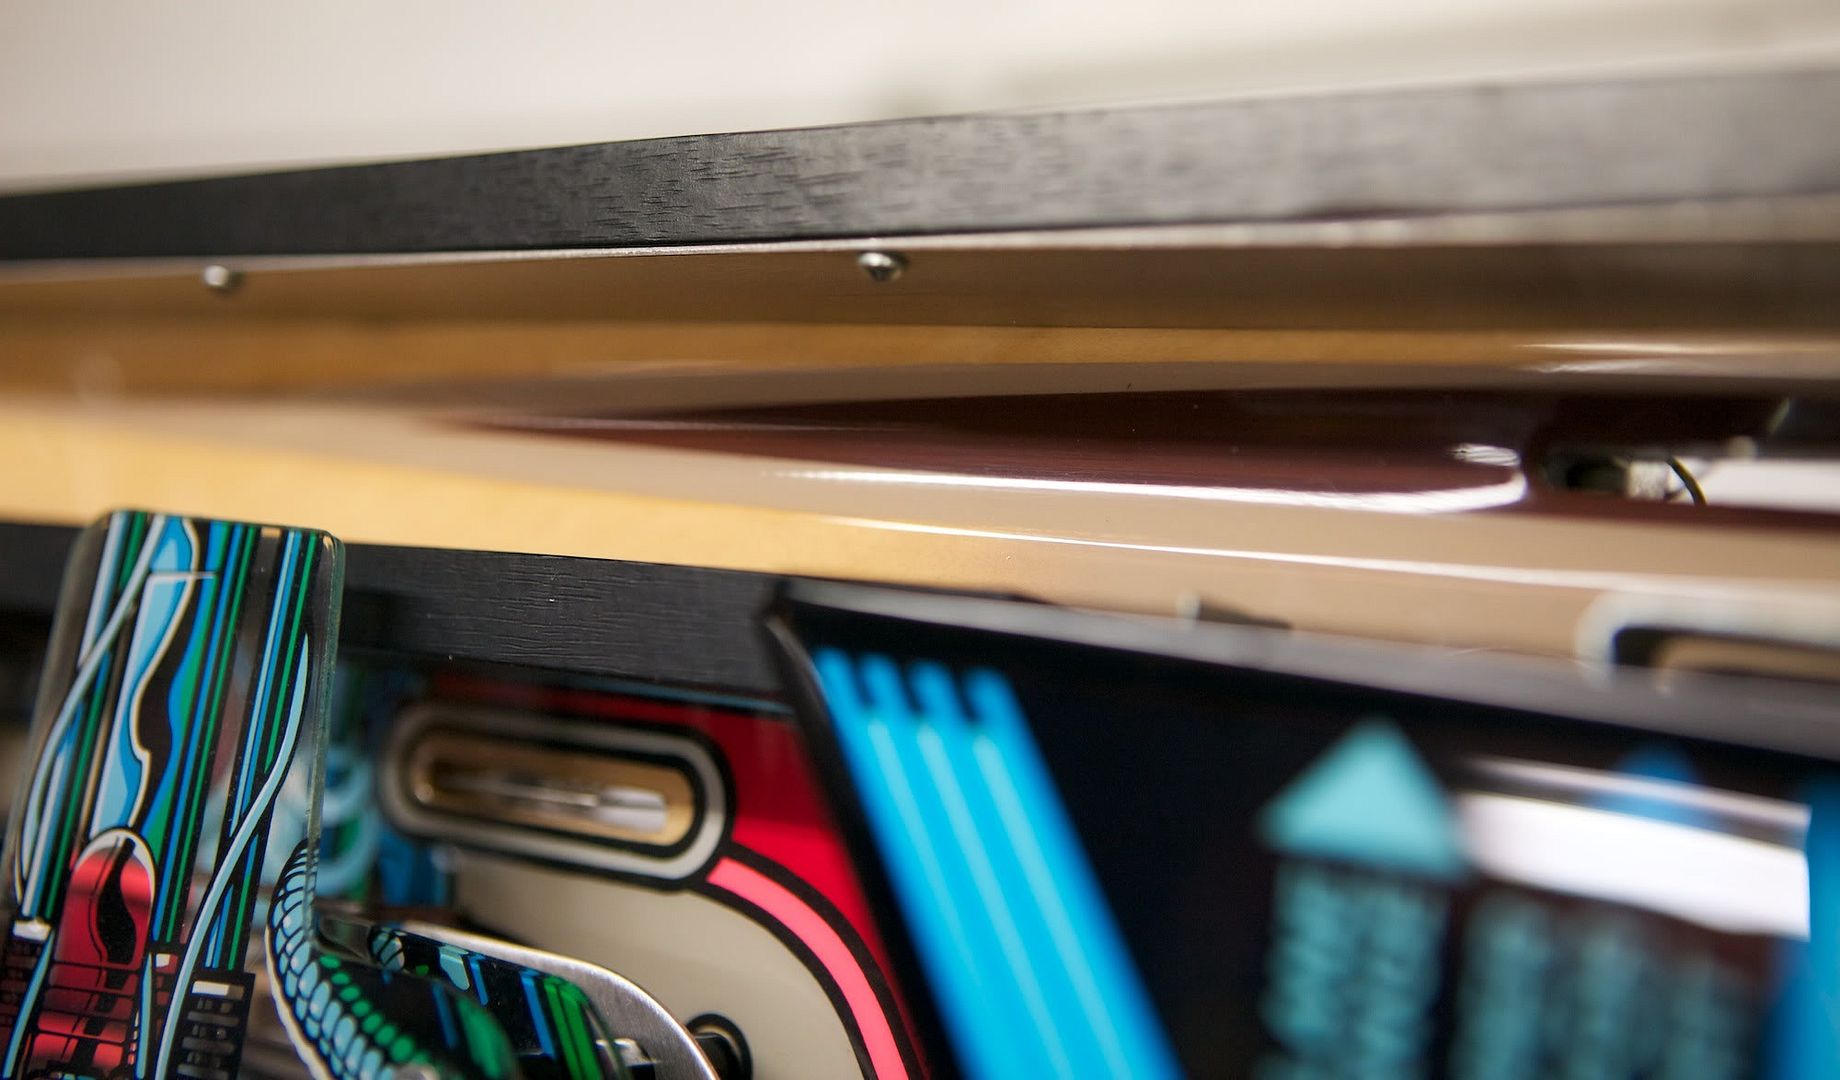
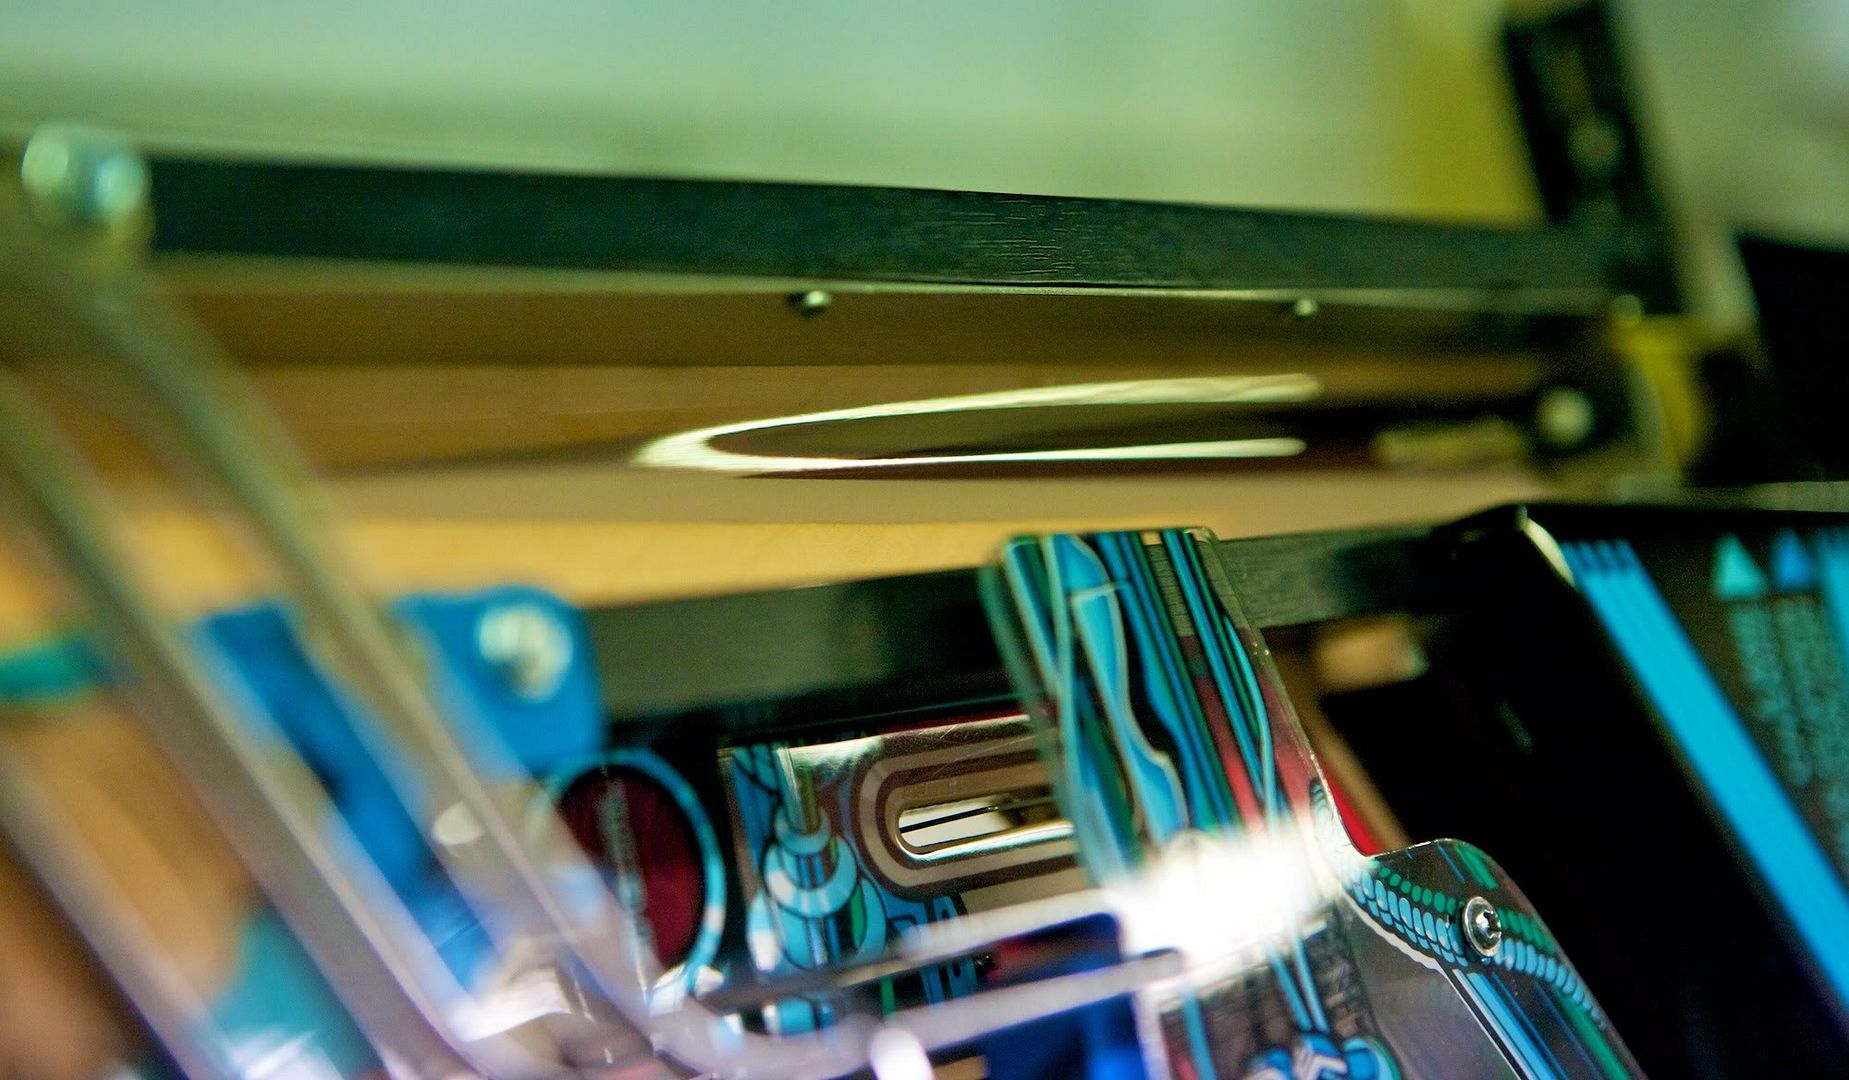
Some re-plated and chrome bits. I had the top glass rail made in stainless steel and chromed instead of the crappy plastic one. Rubber was inserted into the gap so the glass wouldn't impact the bare steel.


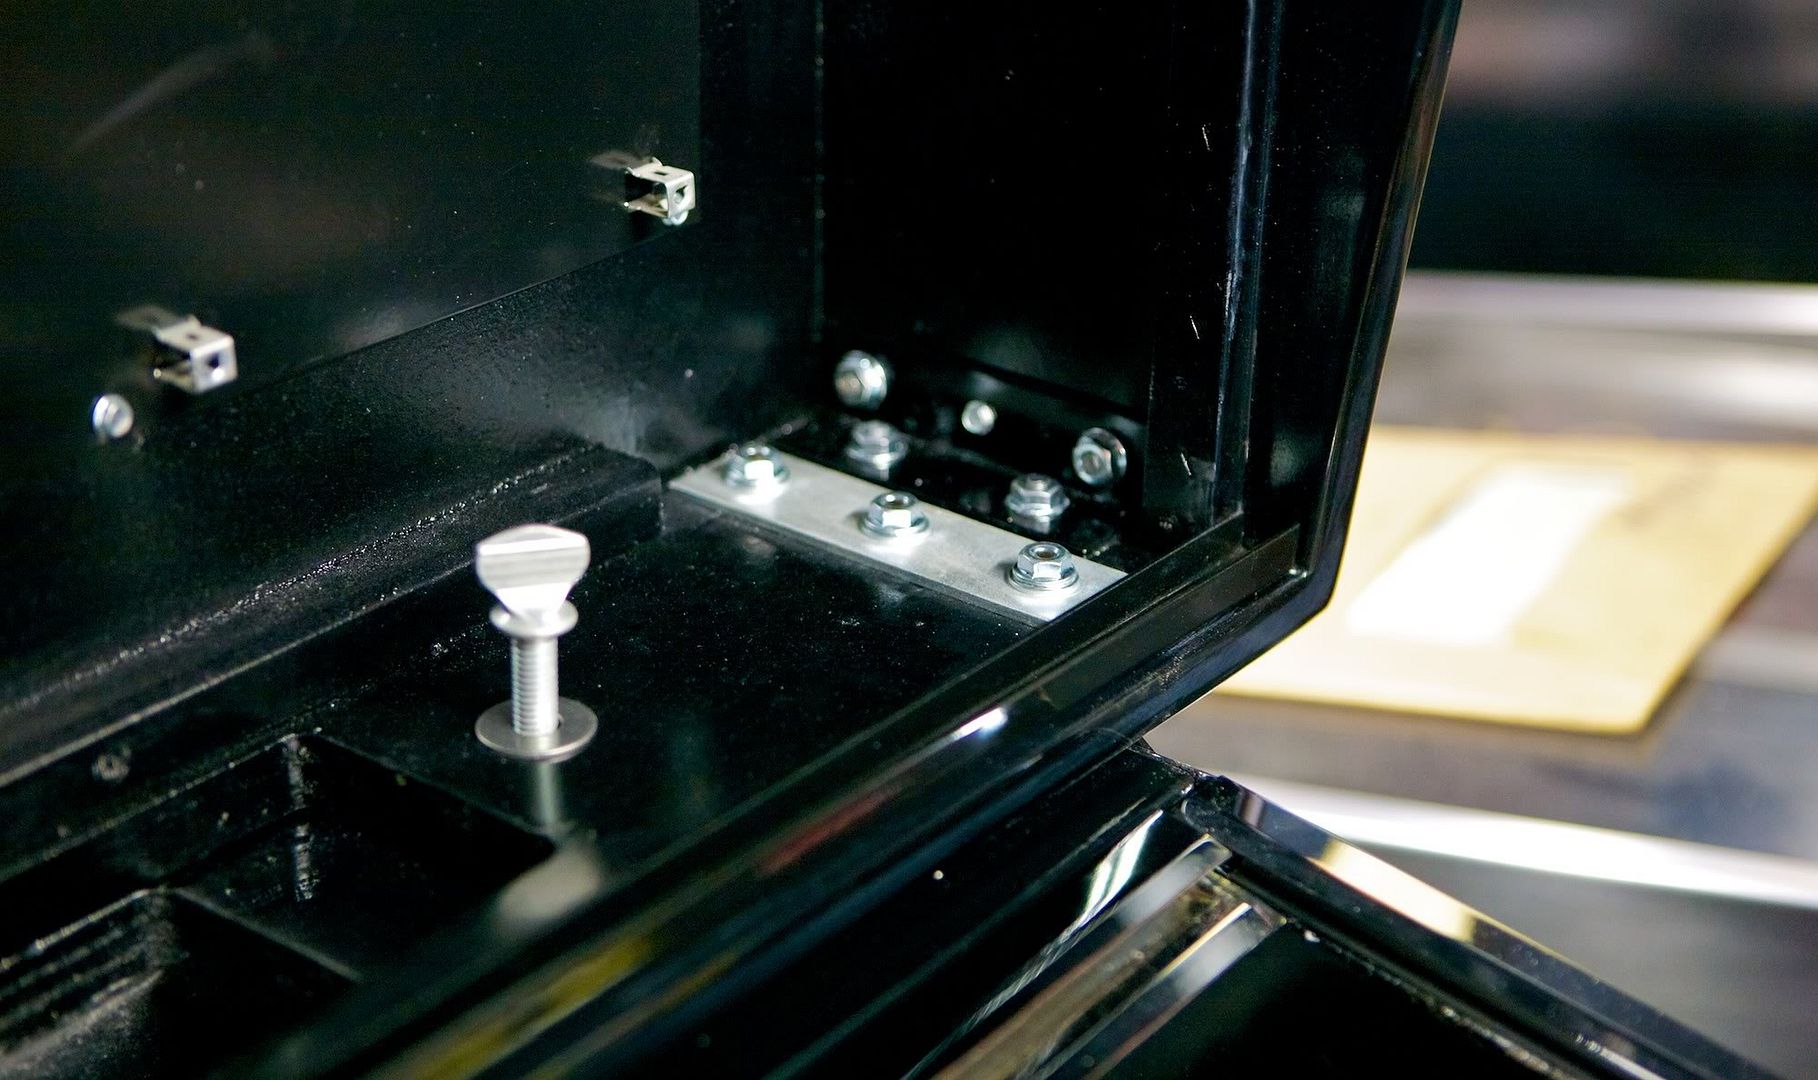
Updated leg mounts with longer nuts.


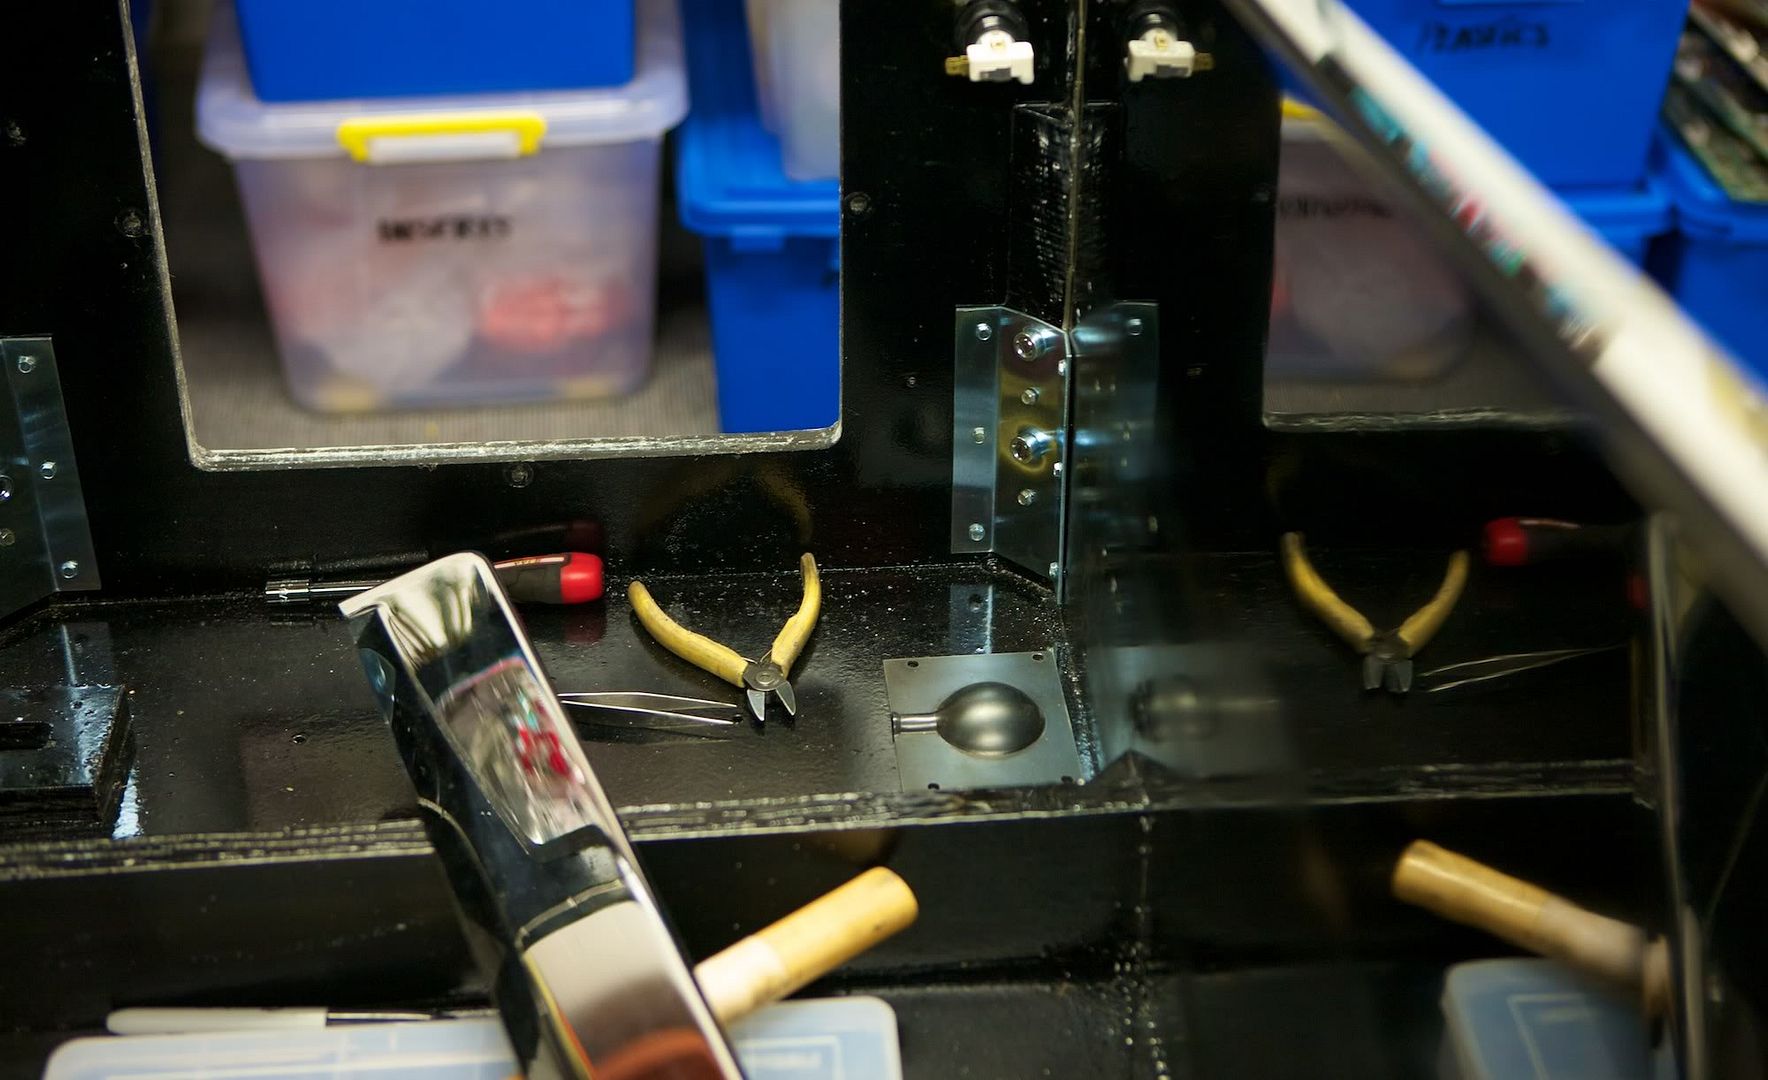
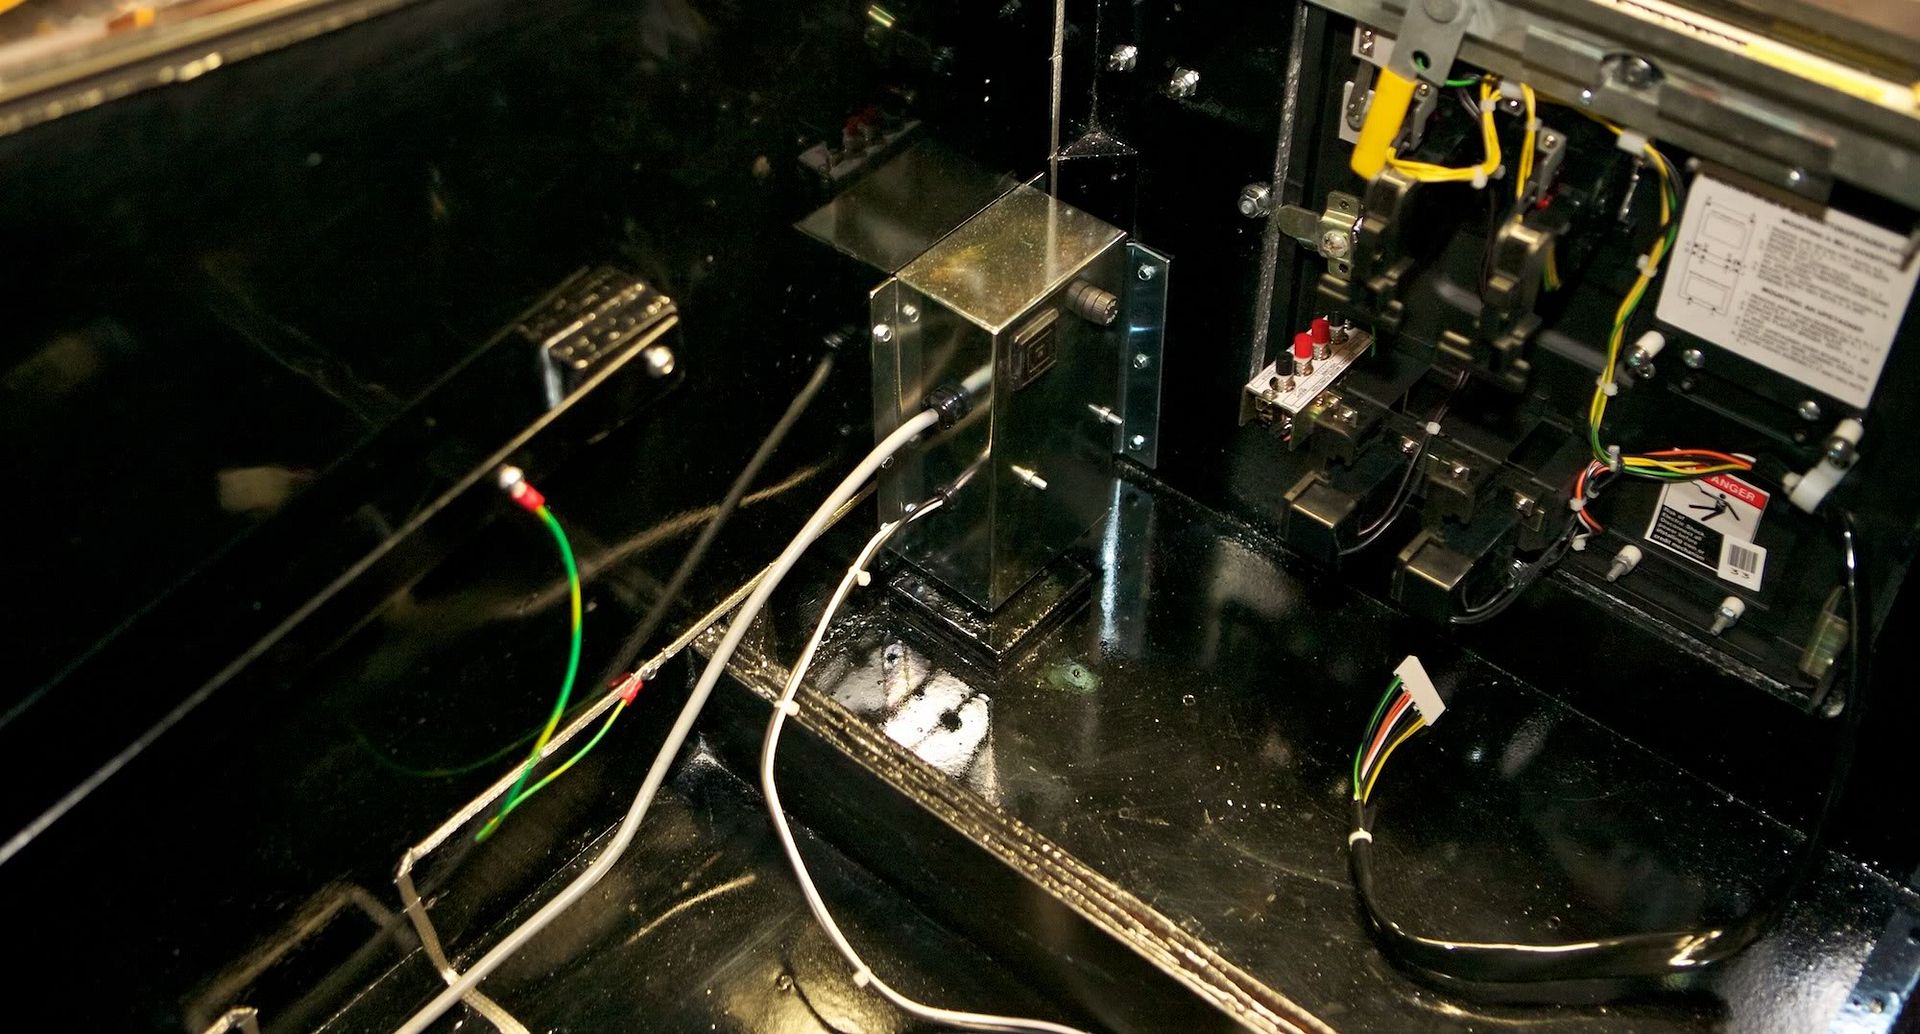
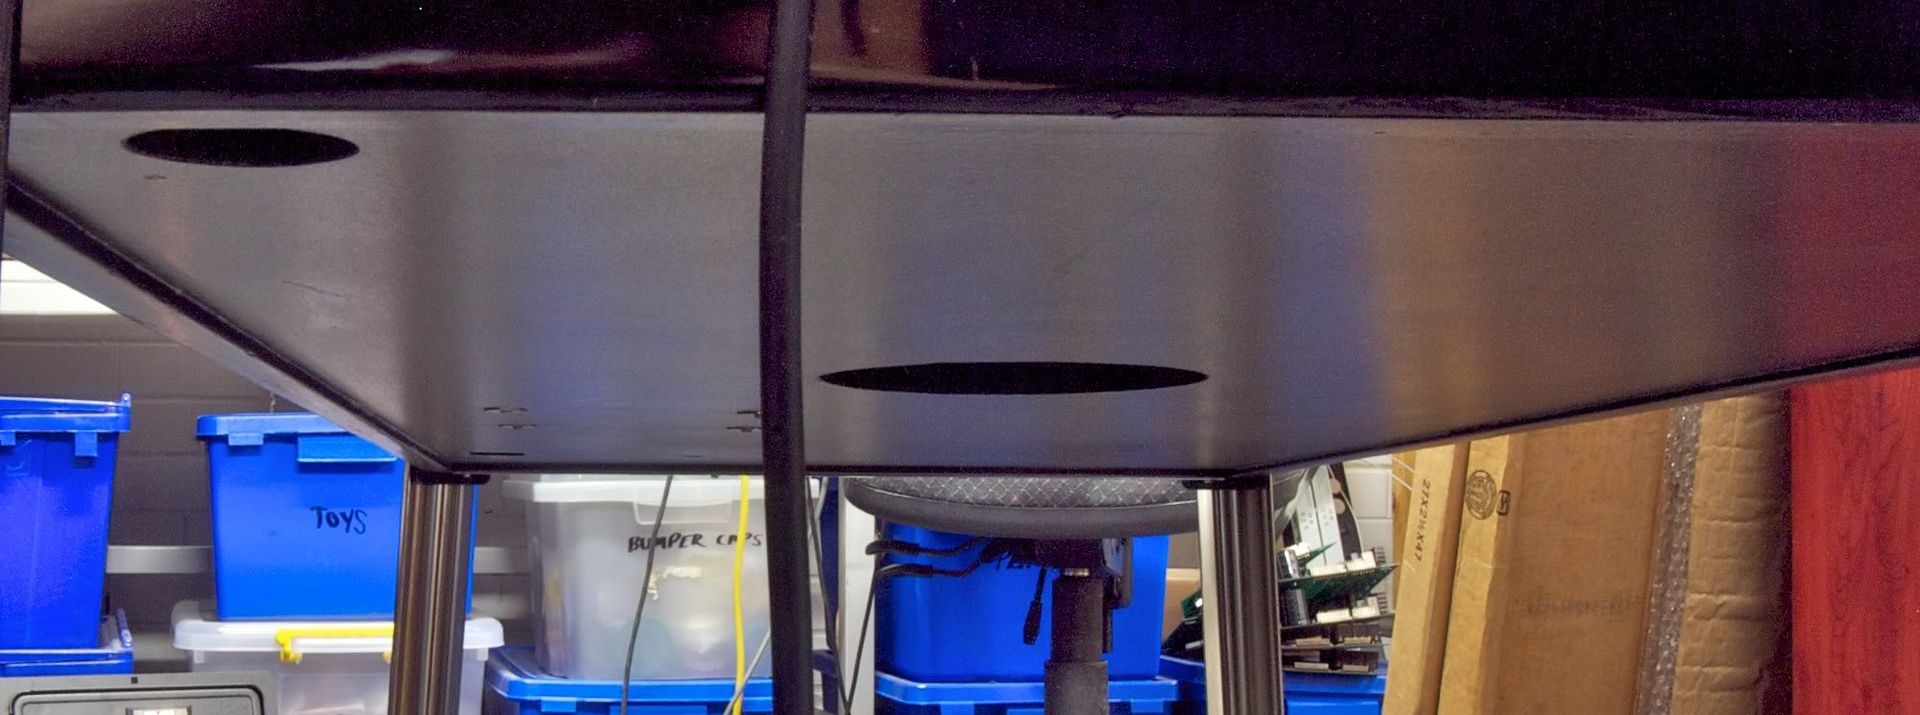
The cabinet was modded to accept the new type power connector which was used on all the latter WPC models. Just below the glass rails inside the cab was cleared and polished too, see the reflection...


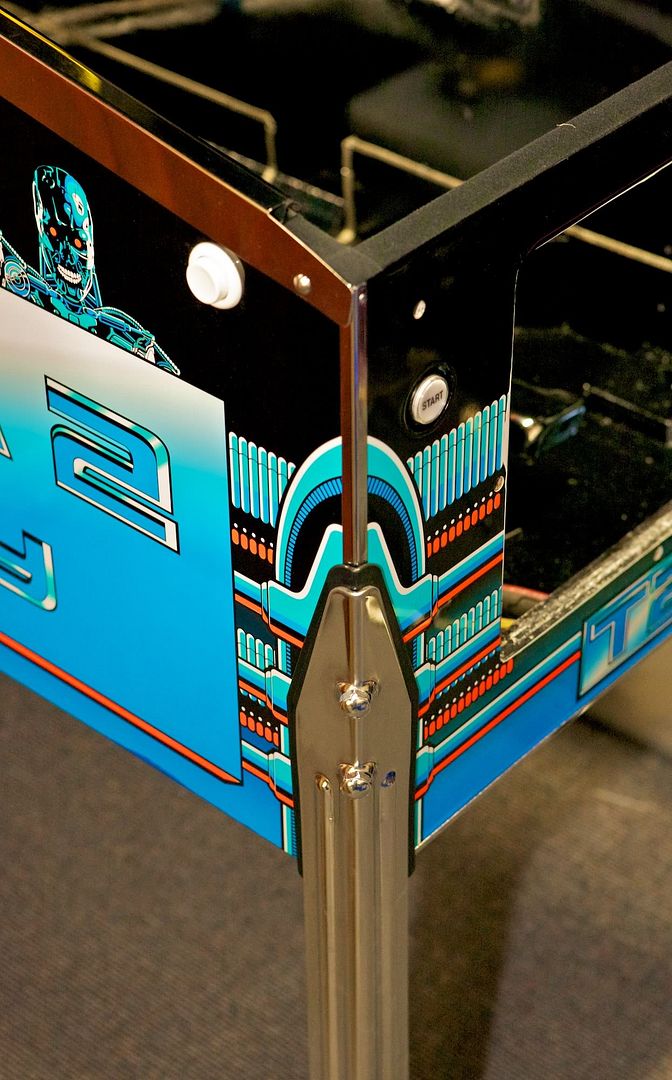
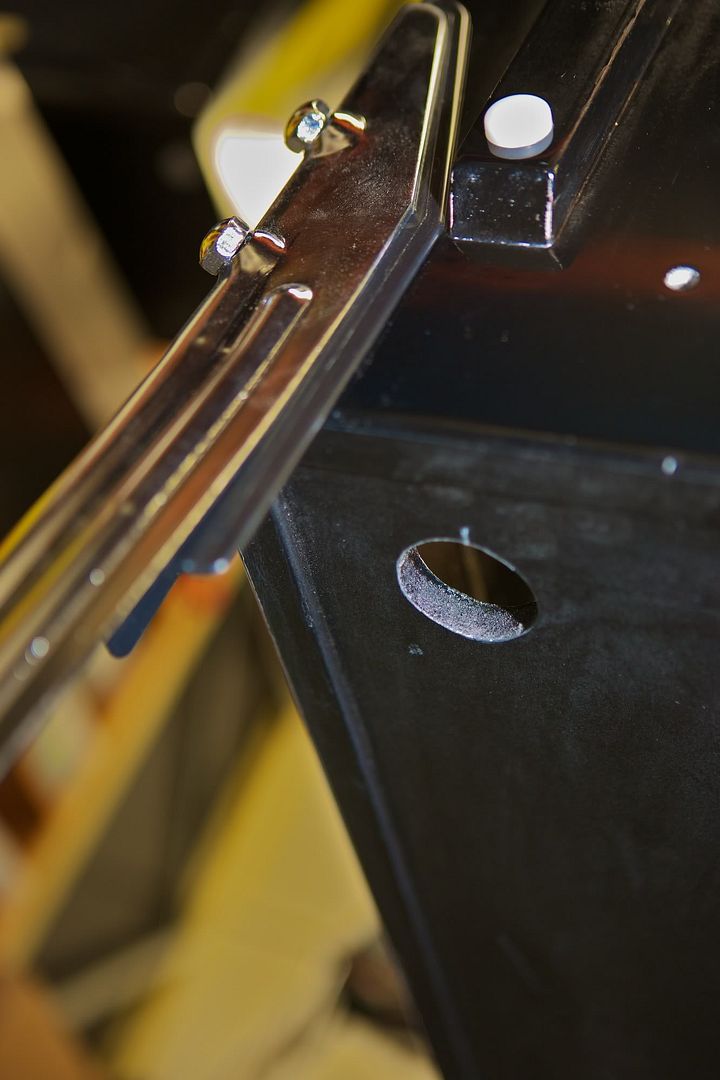
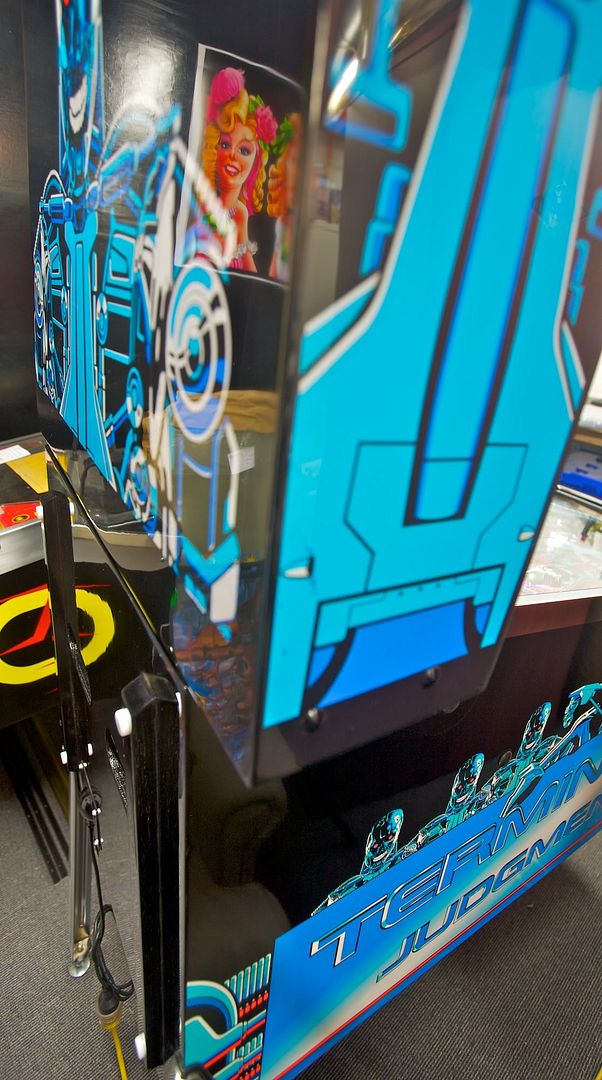
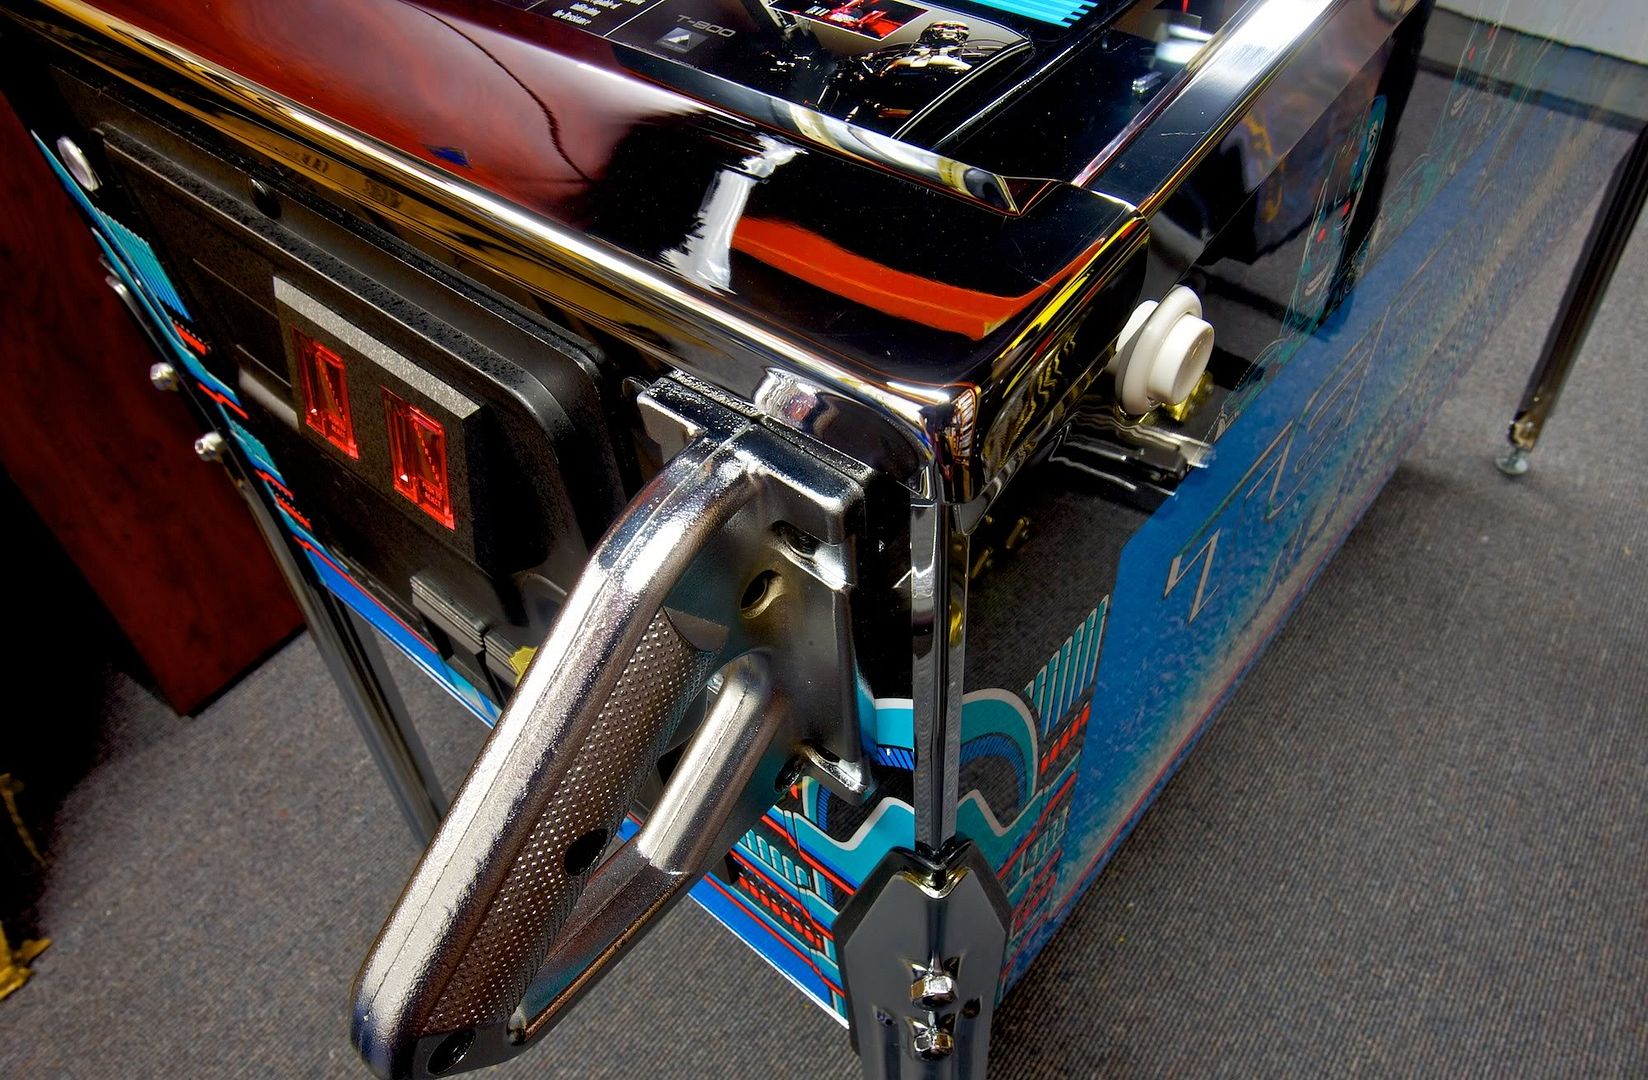
The side and lower edges are protected with a chrome trim kit. I also used plastic cab protectors on the legs. The second blueish green colour was matched from the playfield plastics spot colour. I recon it looks cool.


Automotive fury tape used across the top edge. Sticks like shit to a brick. Courtesy of BMW.


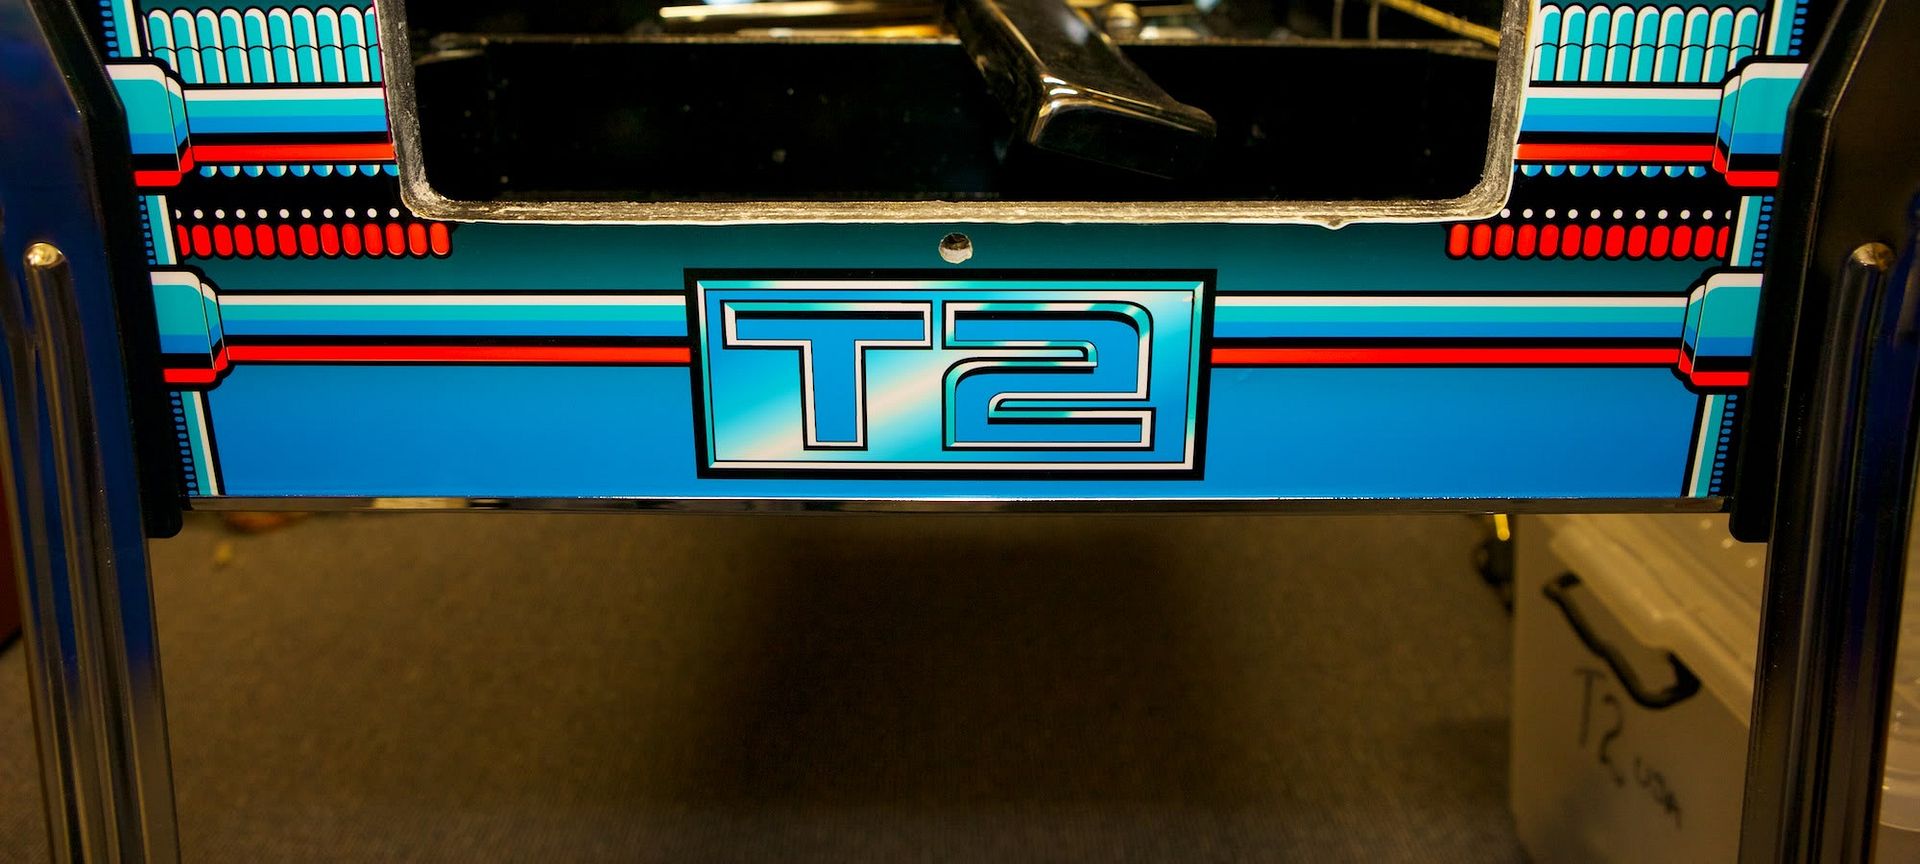
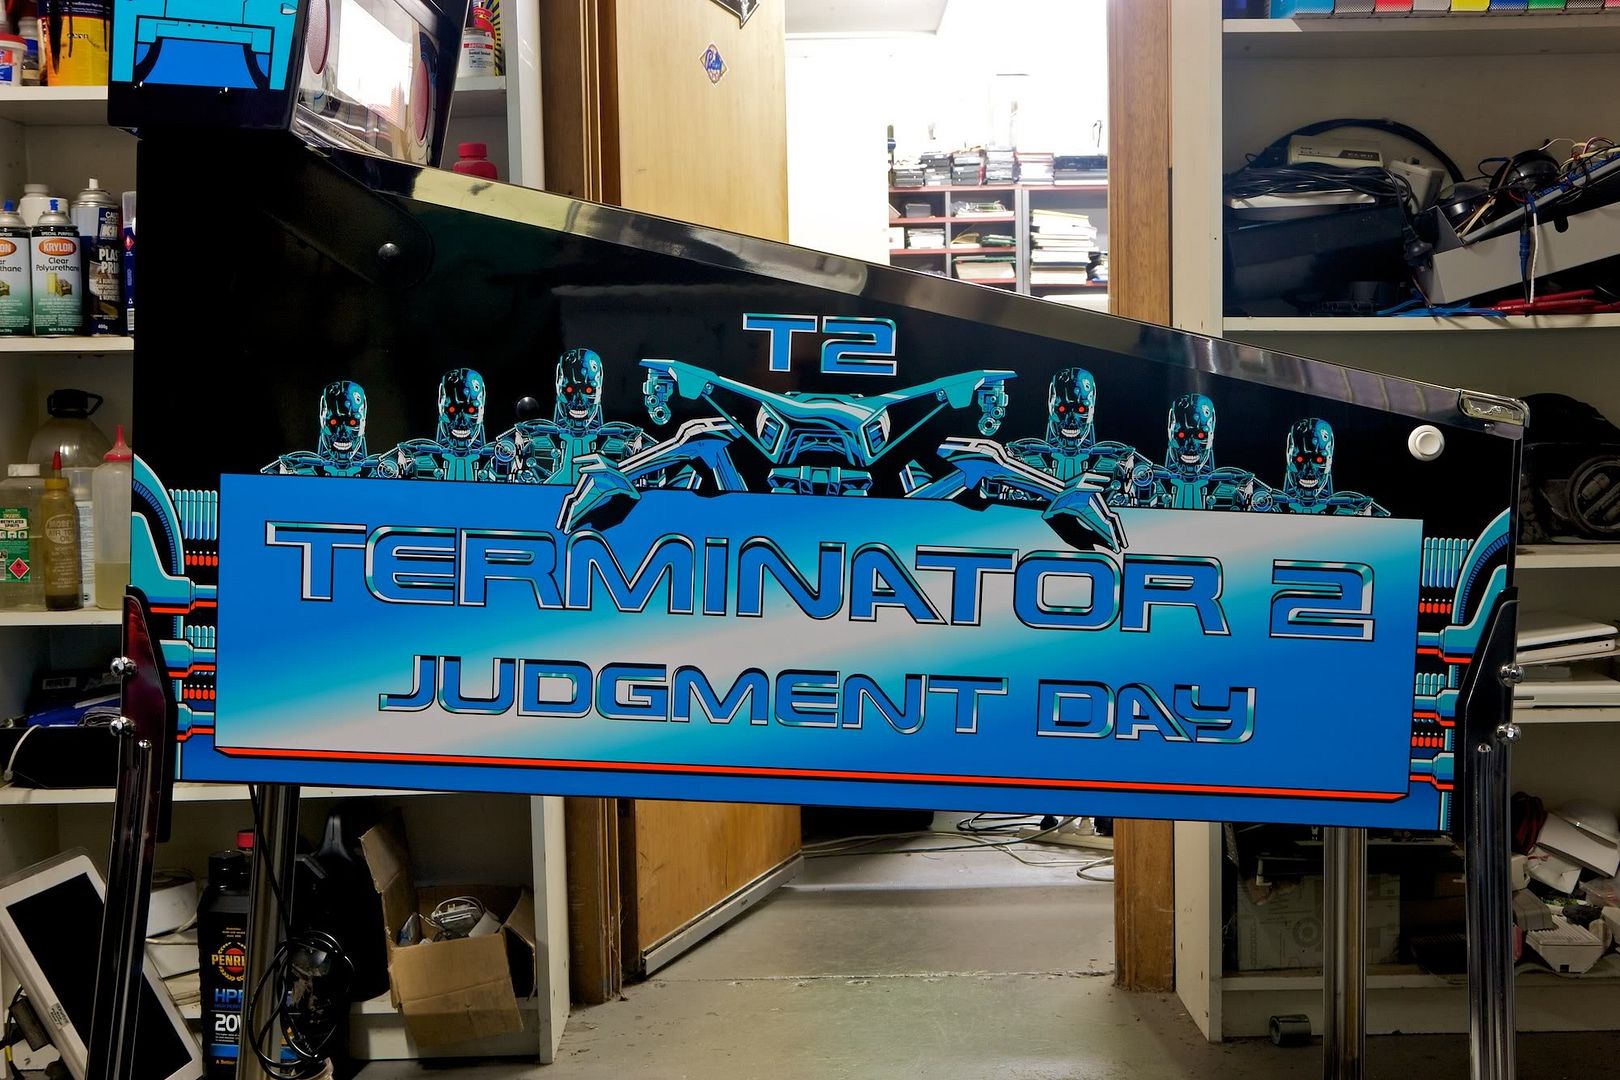
T2 in HiFi! Ha Ha… Now you can actually see the gap on the base of the text. Note the smooth colour graduation without banding and or screen marks.


Switch box re-plated.


Leg bolt heads chromed, just remember to use a ring spanner instead of a shifter which will rip off the chrome plate.


Powder coated braces, DMD rail and electronics mounting plate.


Bare wood painted flat black underneath.


Same...


This will get the same treatment too.


All clean and neat.


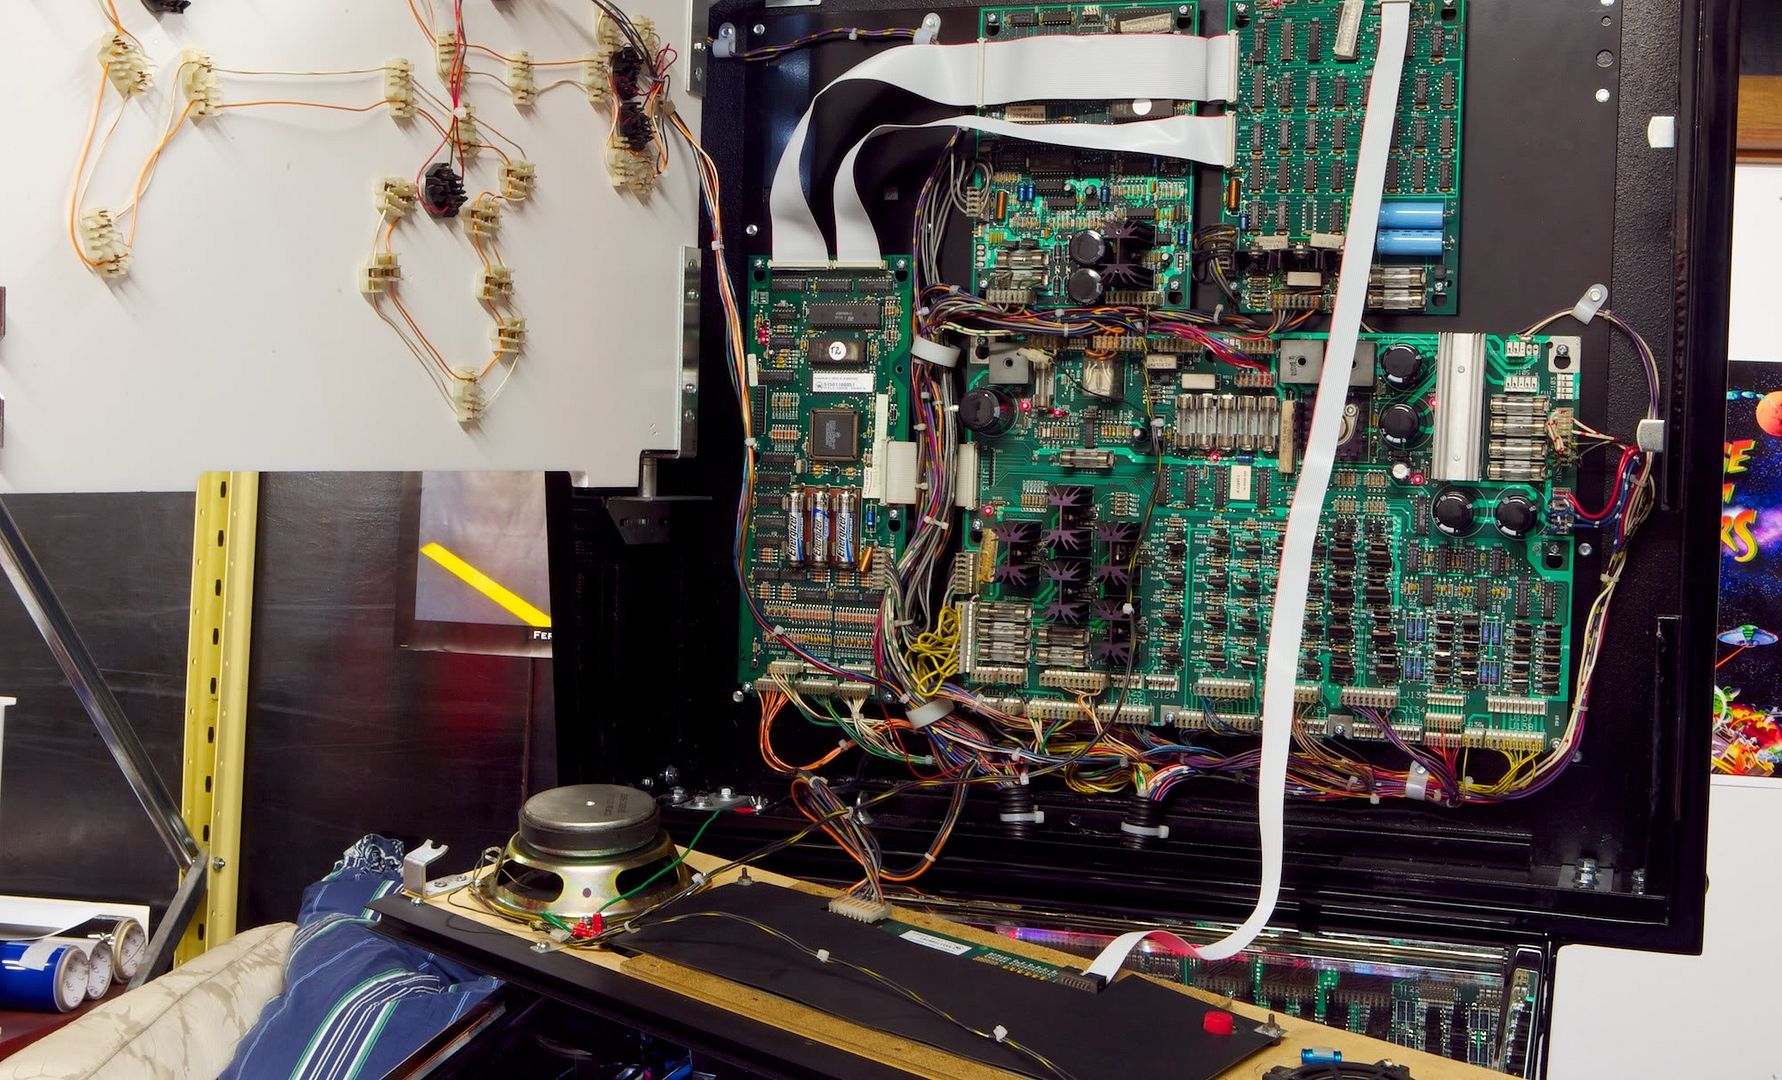
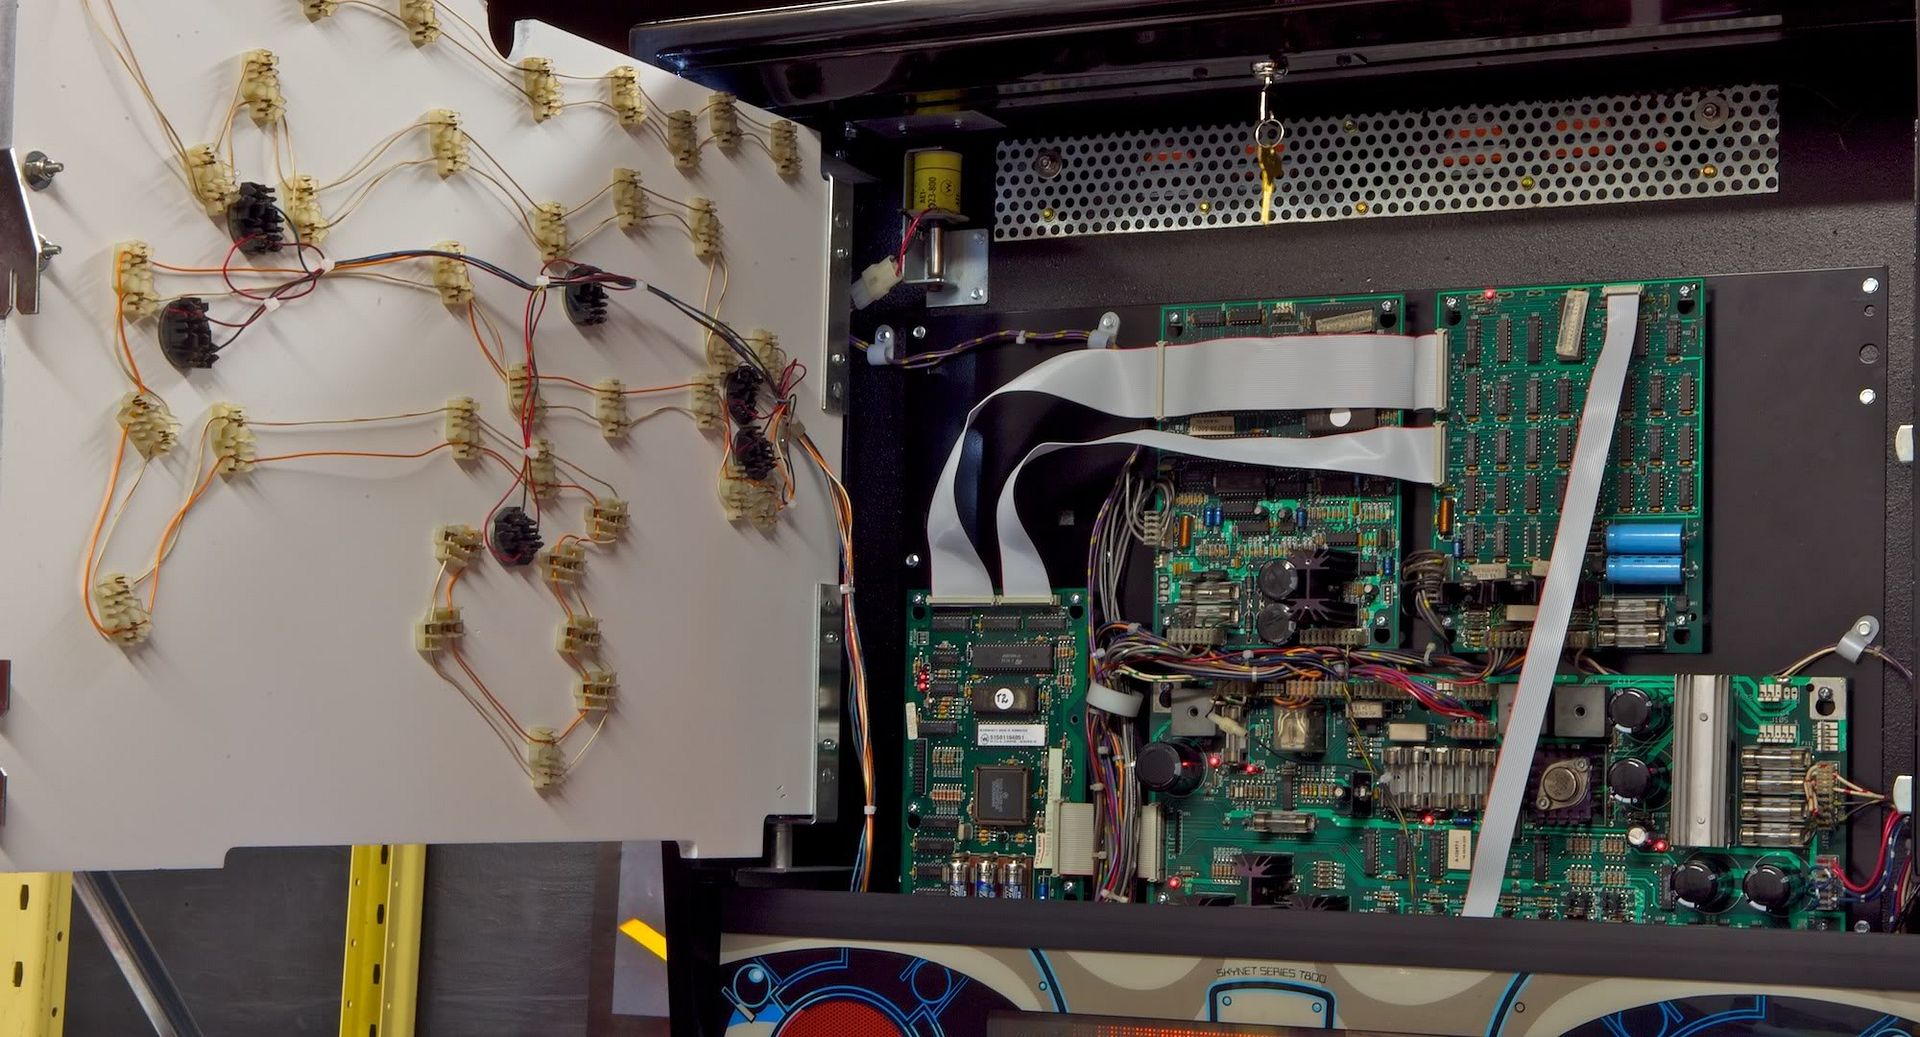
The DMD mounting board got the same treatment too. The two harness sections were mounted to the head box just like in latter models. Caps, bridge recs and power regulator replaced. Software updated and lithium batteries installed.


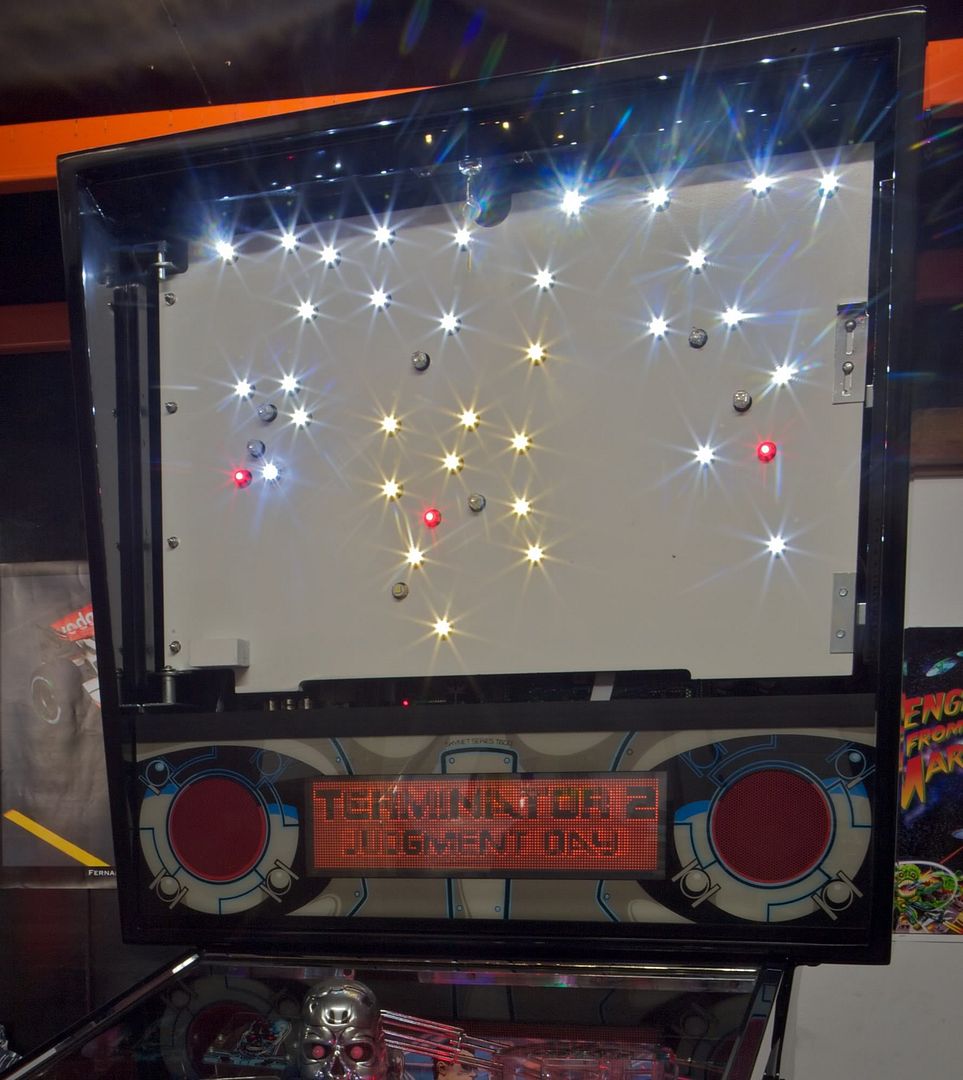
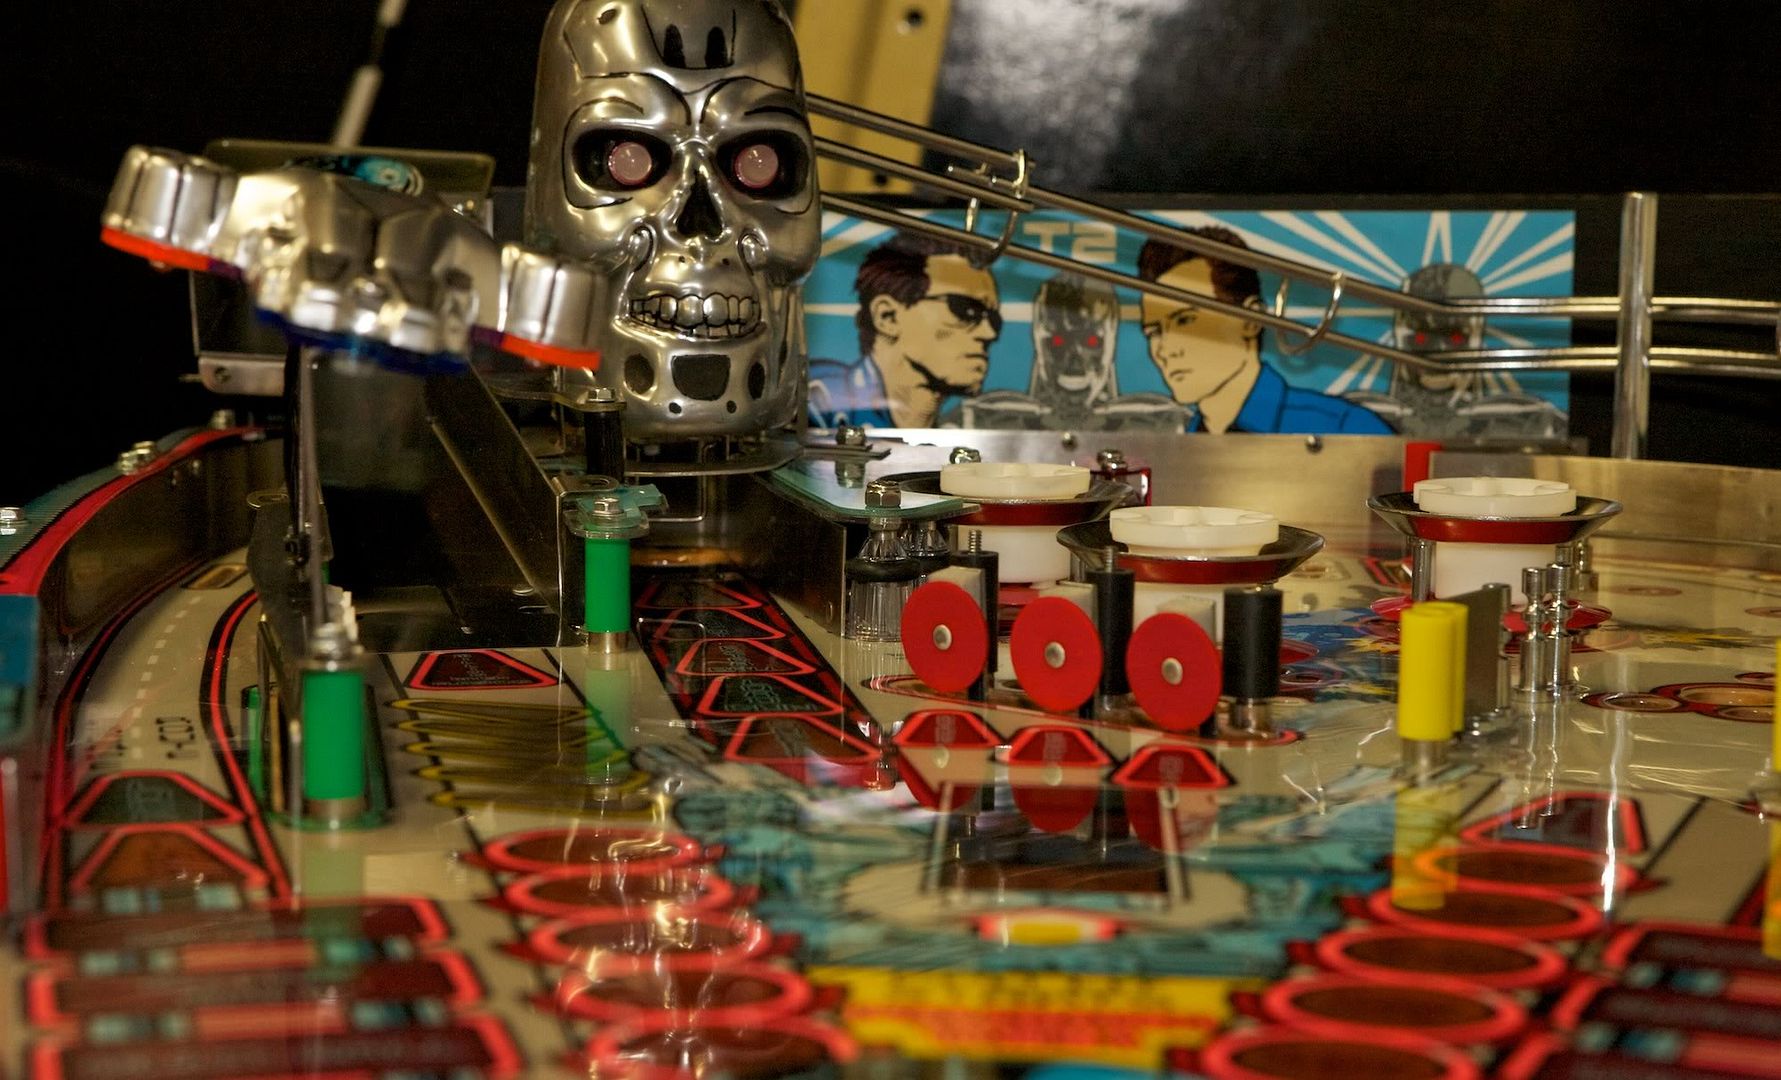
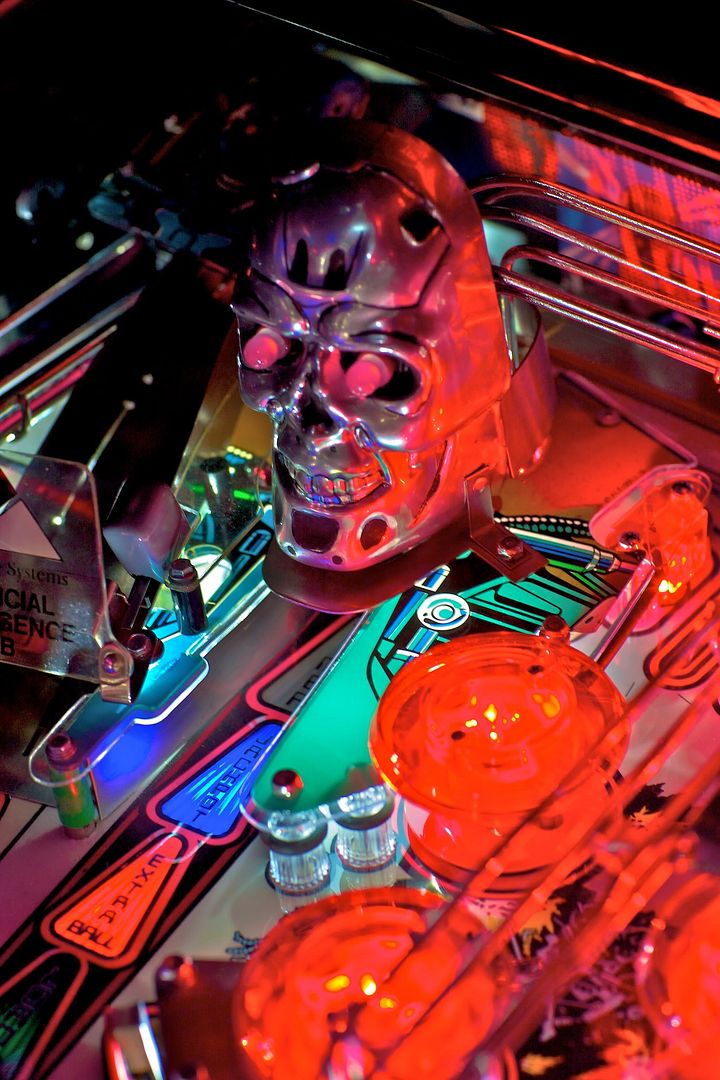
Warm led's on the face, cool used around the outside and red in the eyes.


New power mod and shiny finish.


Same...


Another close up of the finish.


Fly spray… Morteen I think… sorry out of focus.


New door from Mark C of Pinball Spare Parts Australia. Nothing better than a fresh bloody door!


Apron finish.


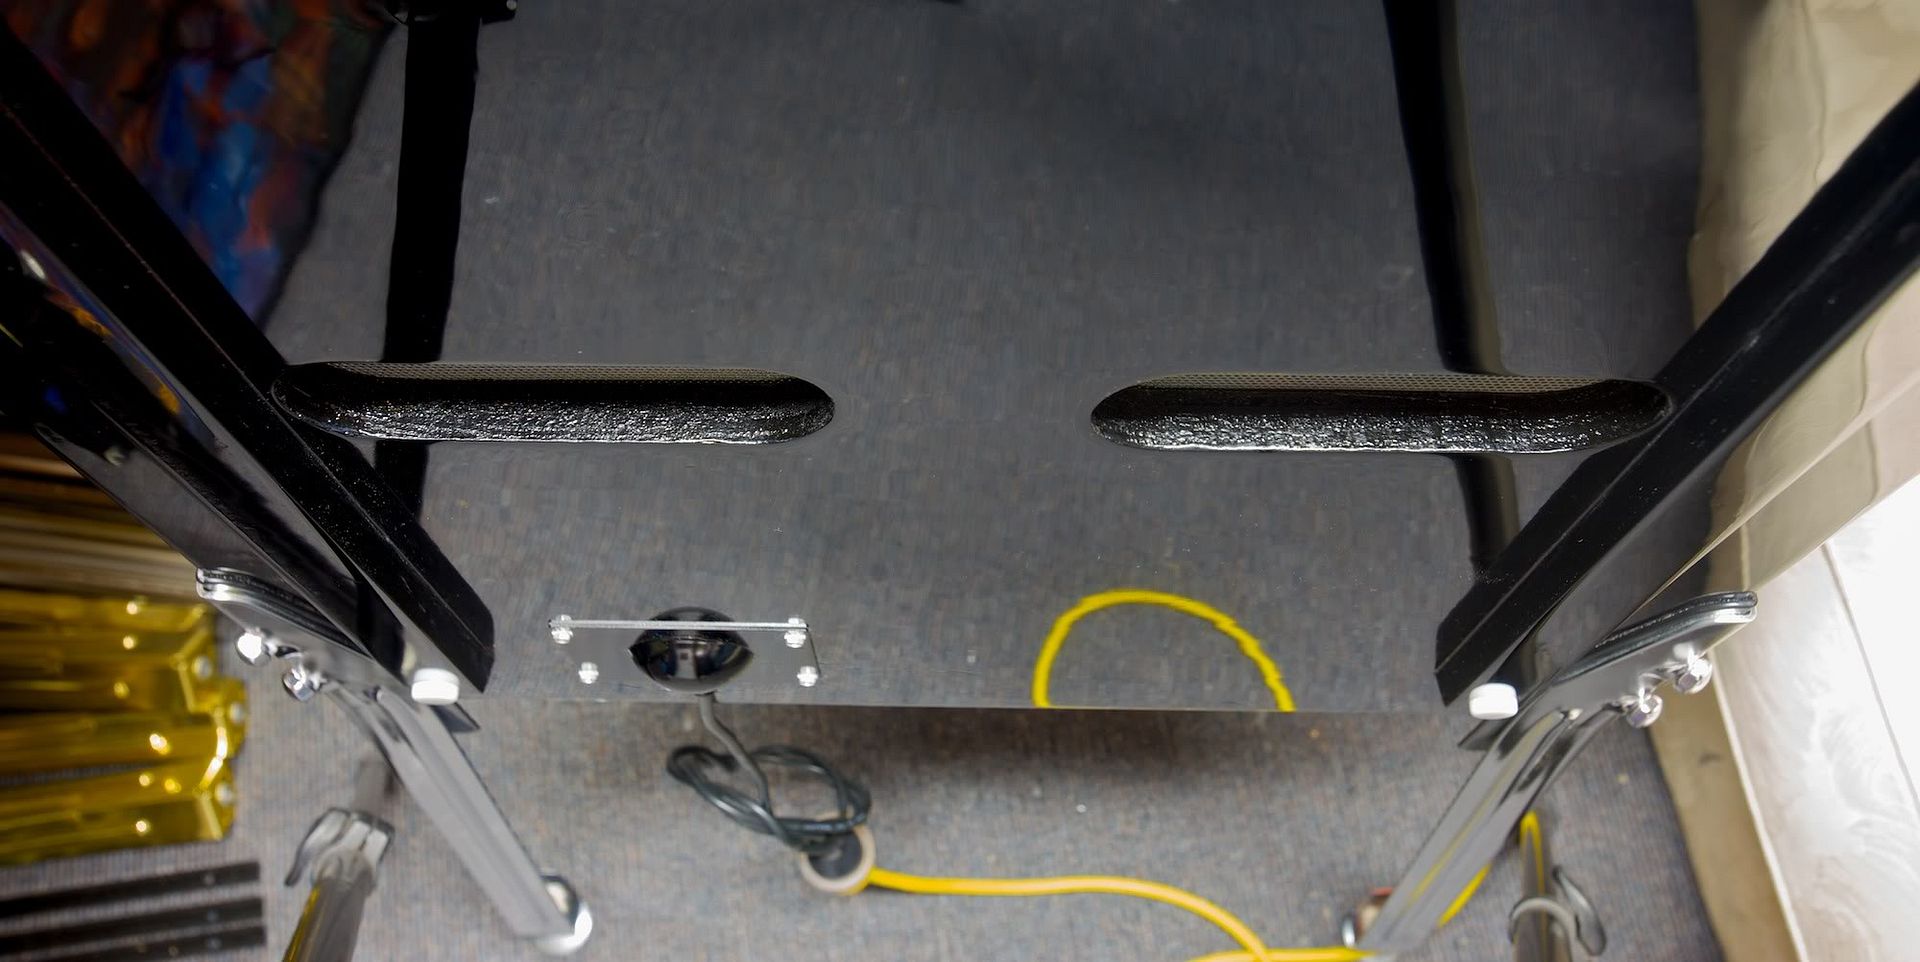
Inverted Pool Cue shooter lane.


Same.


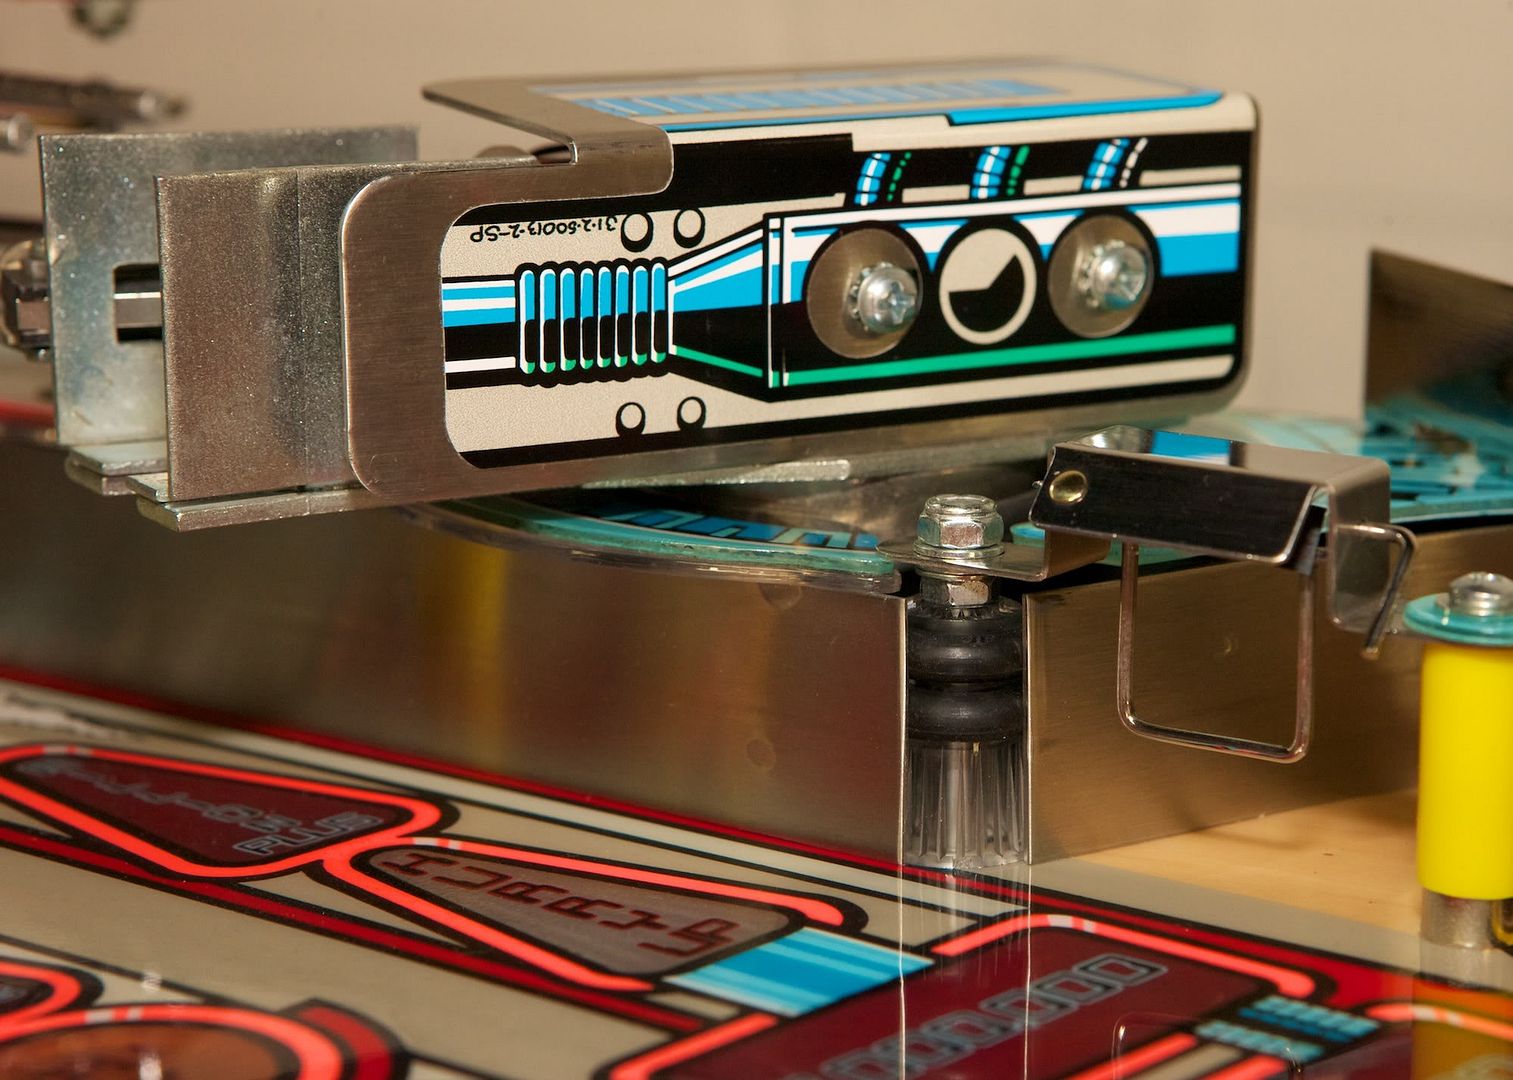
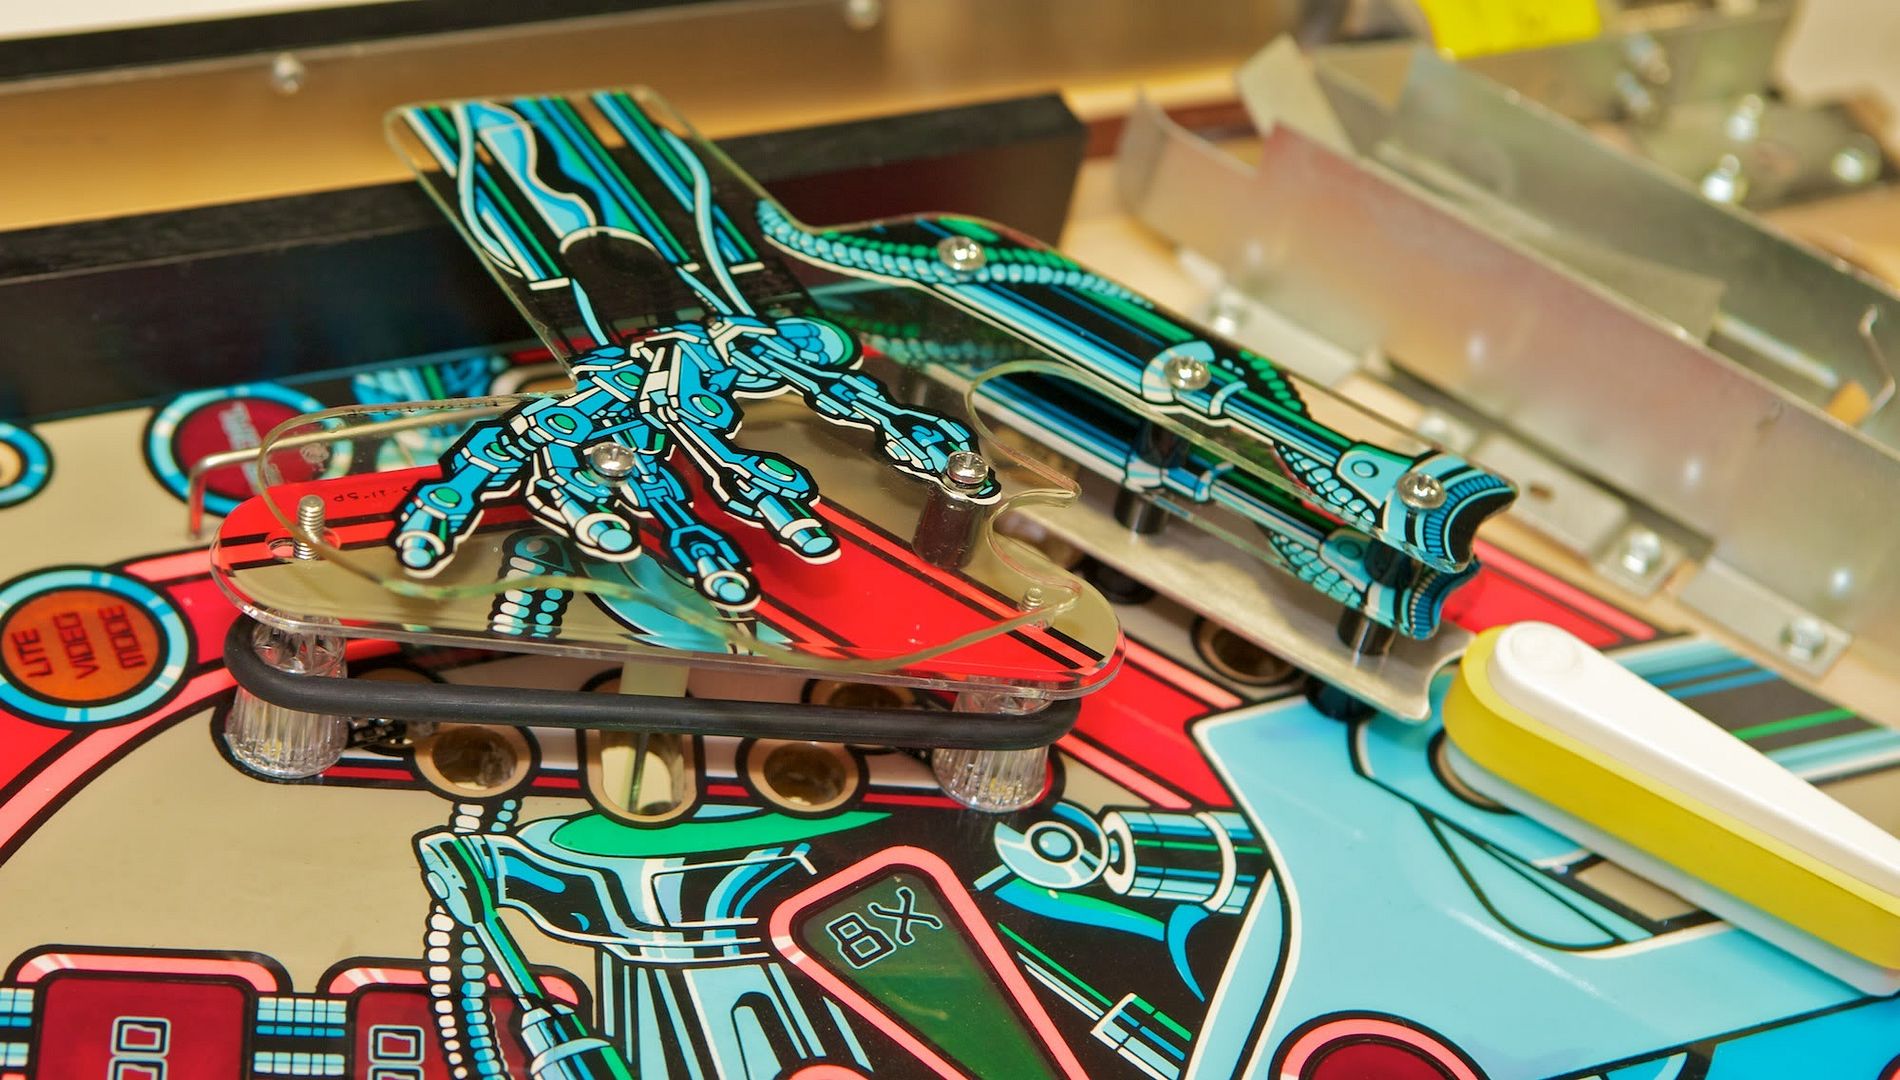
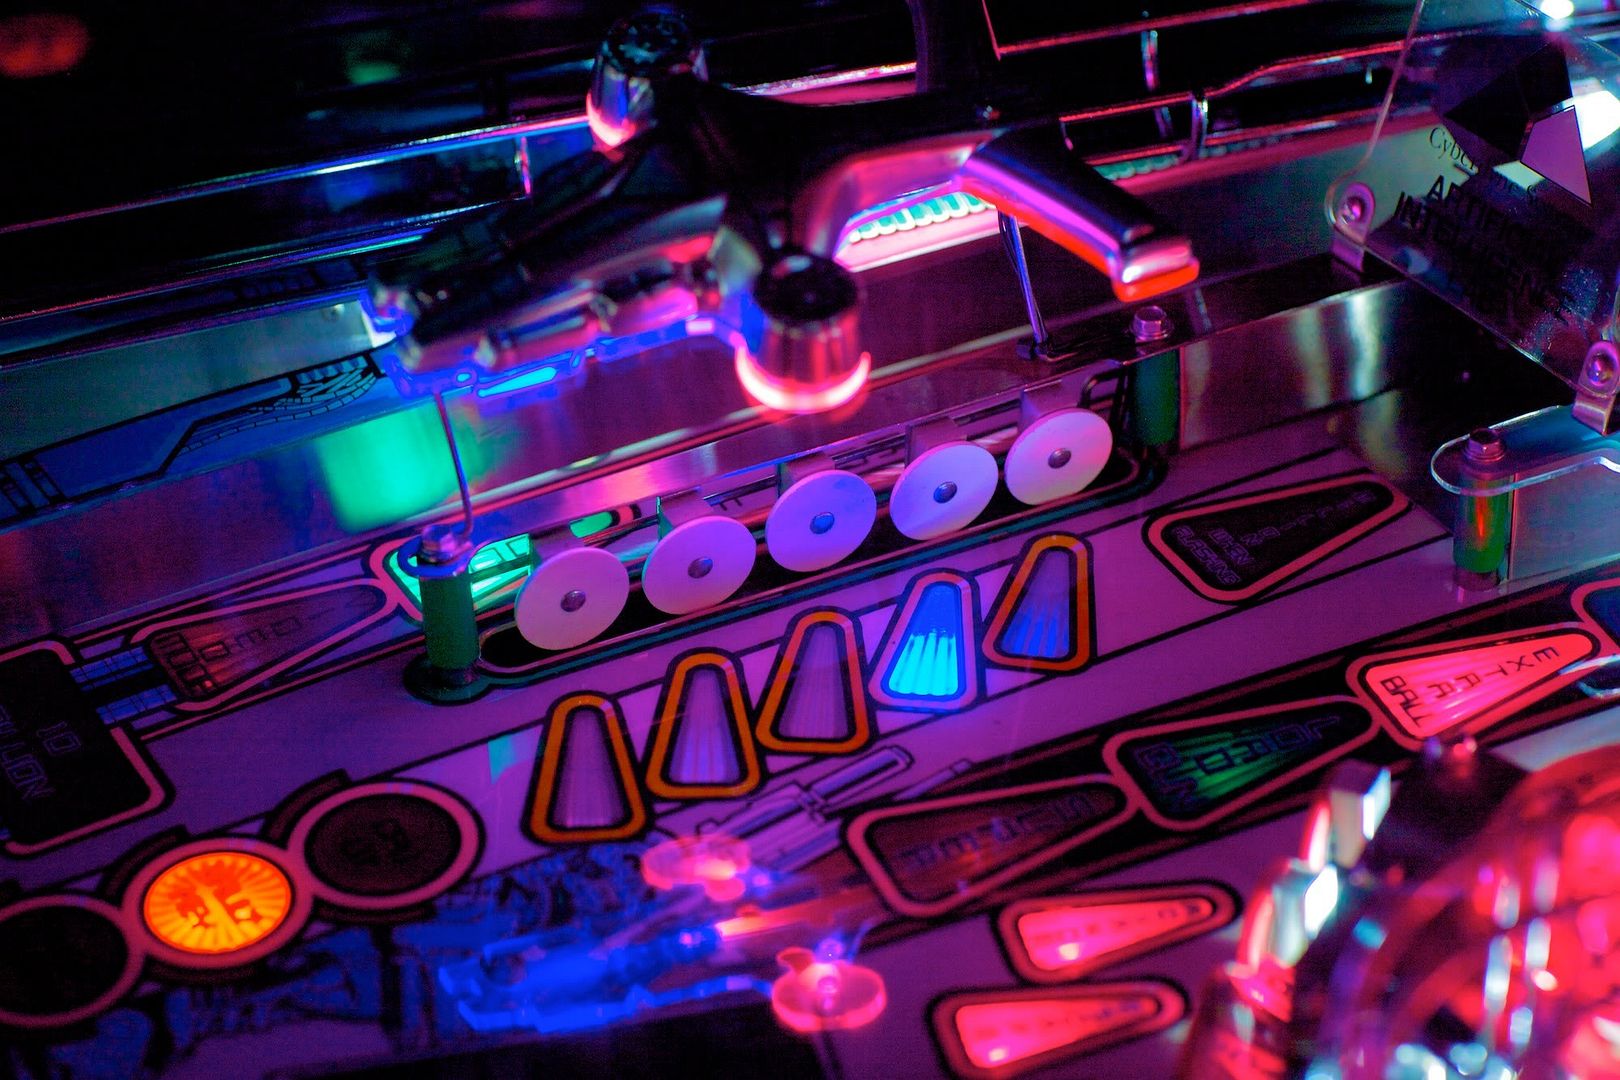
Post mod and illuminated plastics protector.


Mod electronics out of sight. These also look cool when flashing.


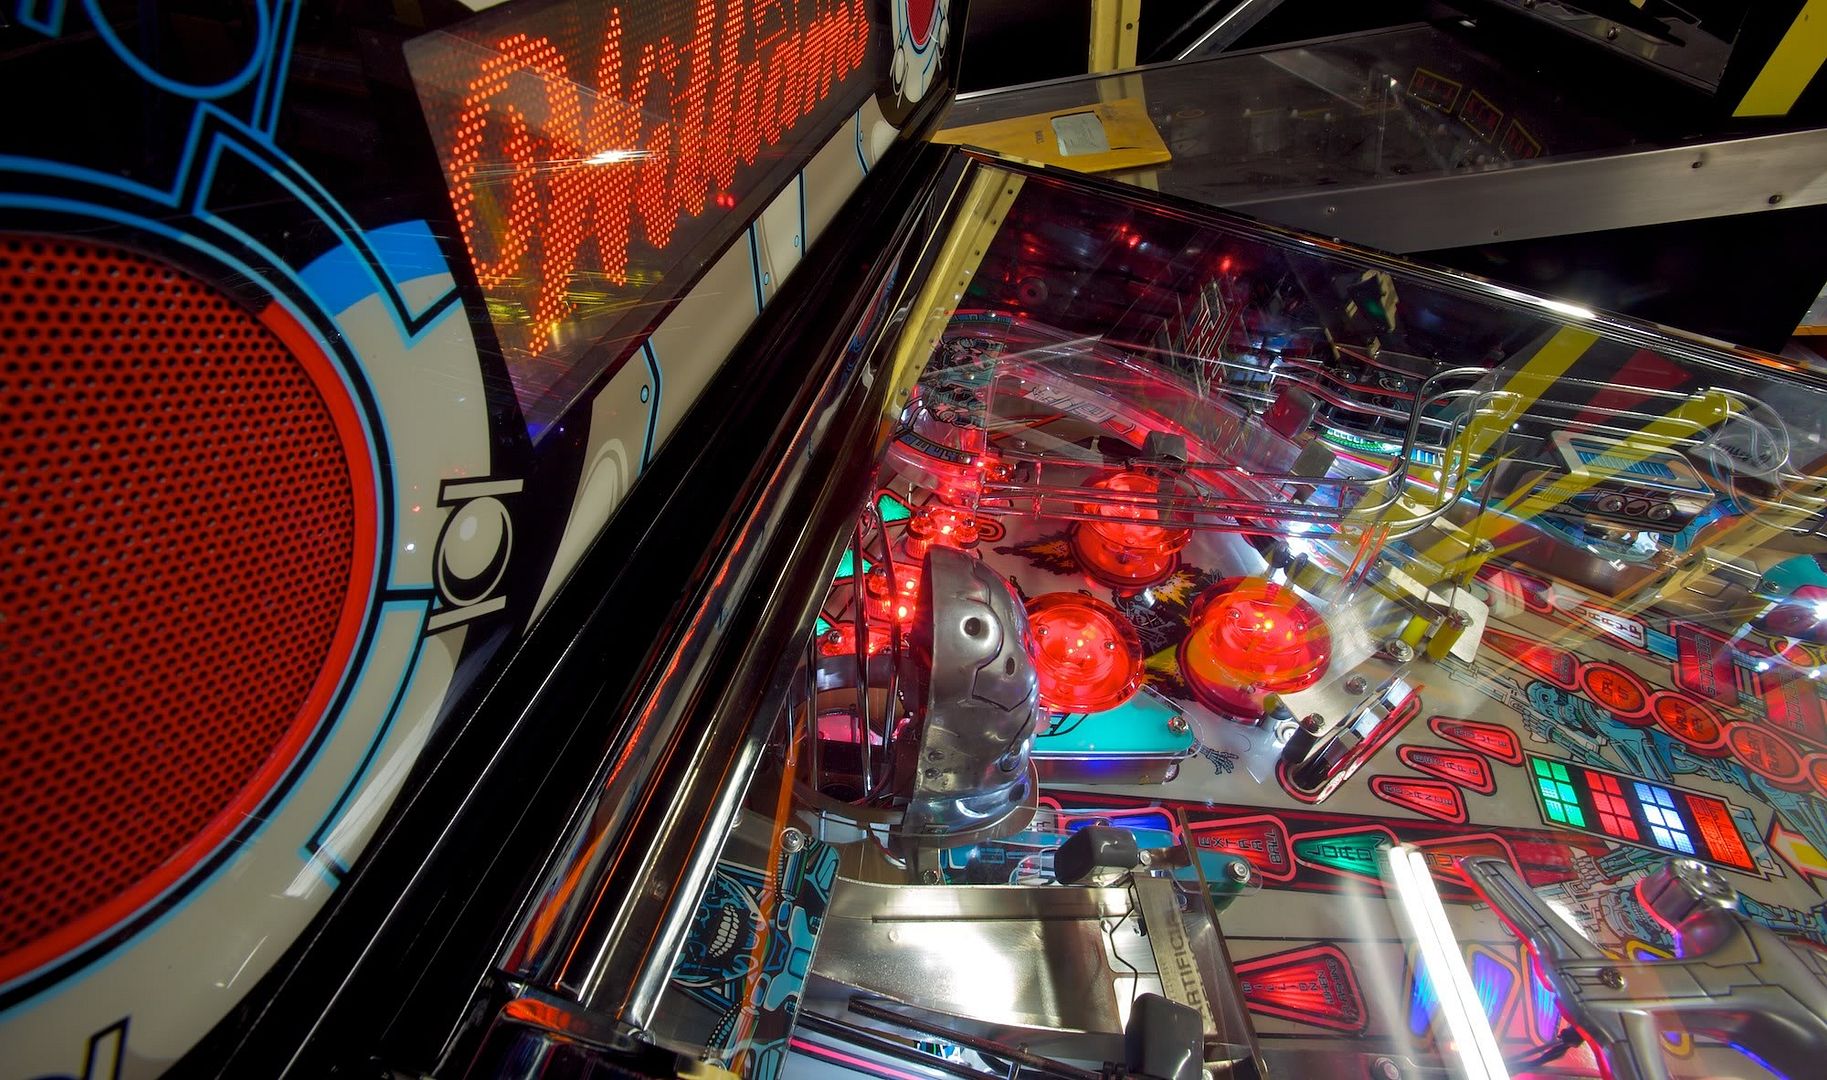
The red LED's look insane too.
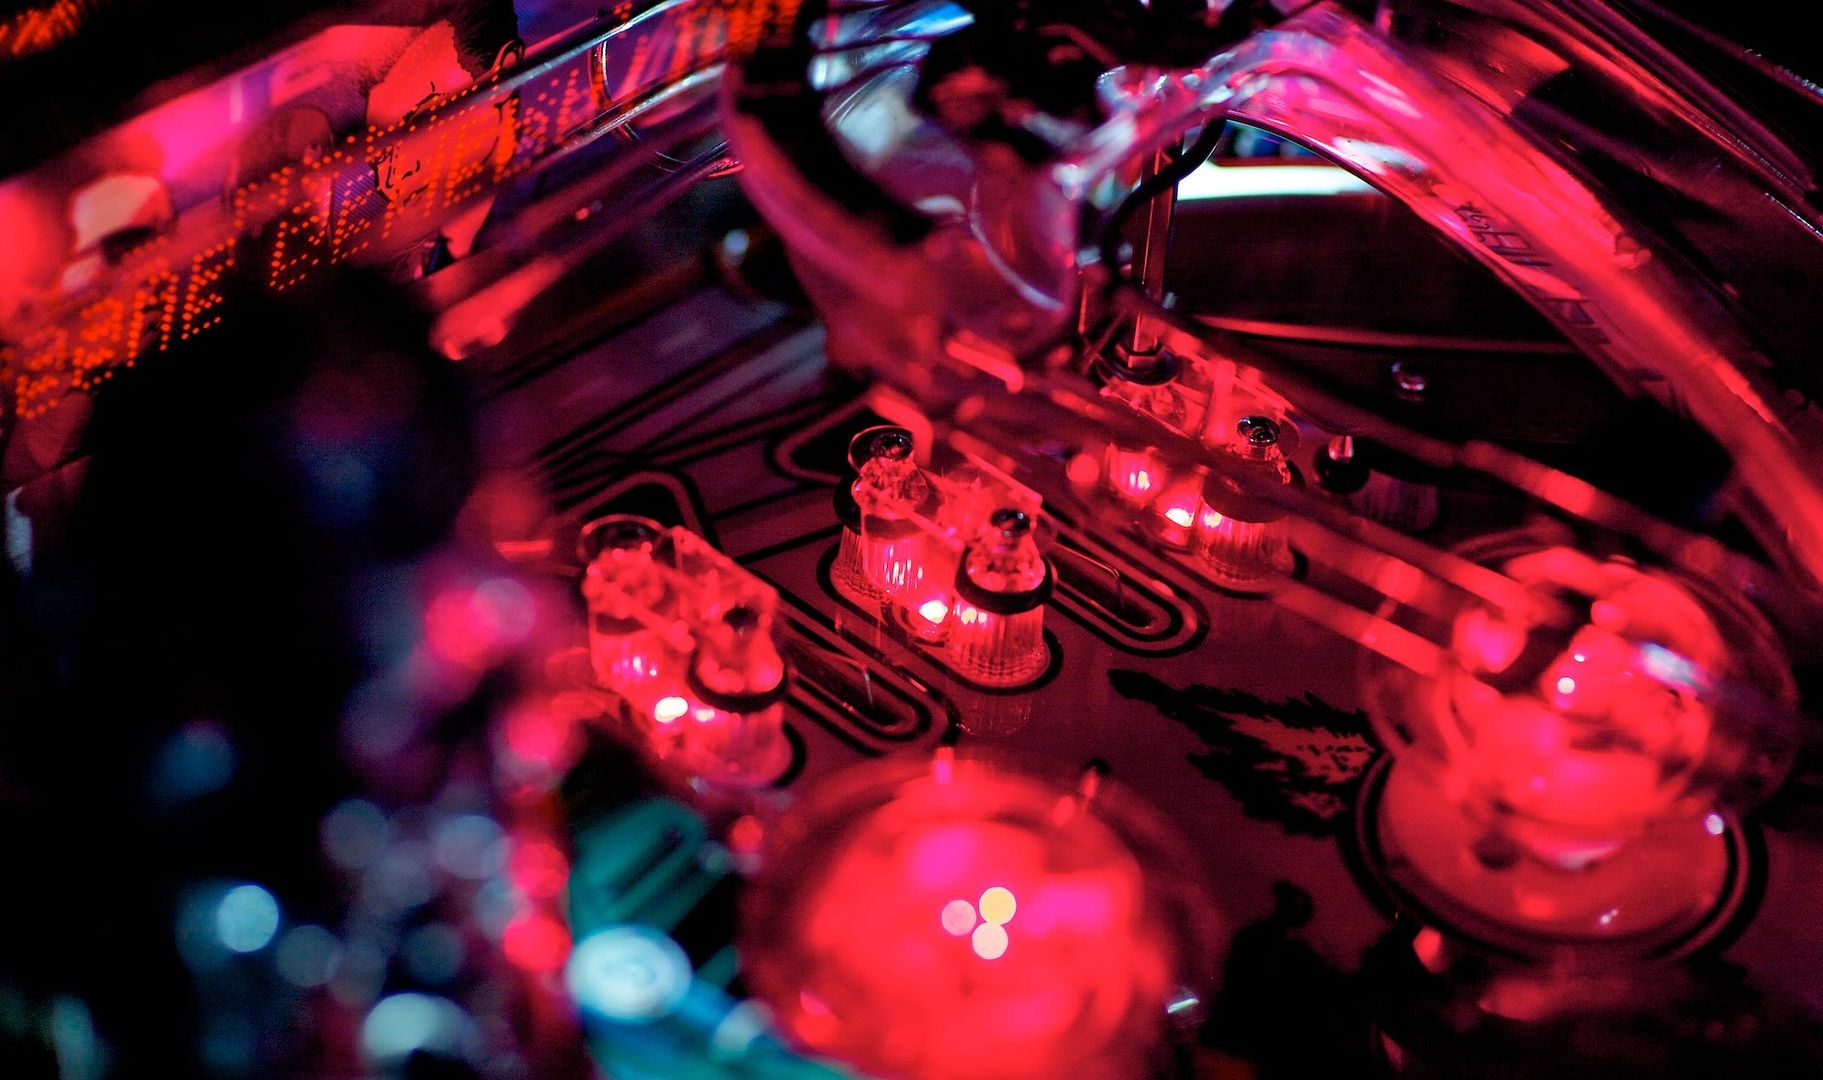

Same here...


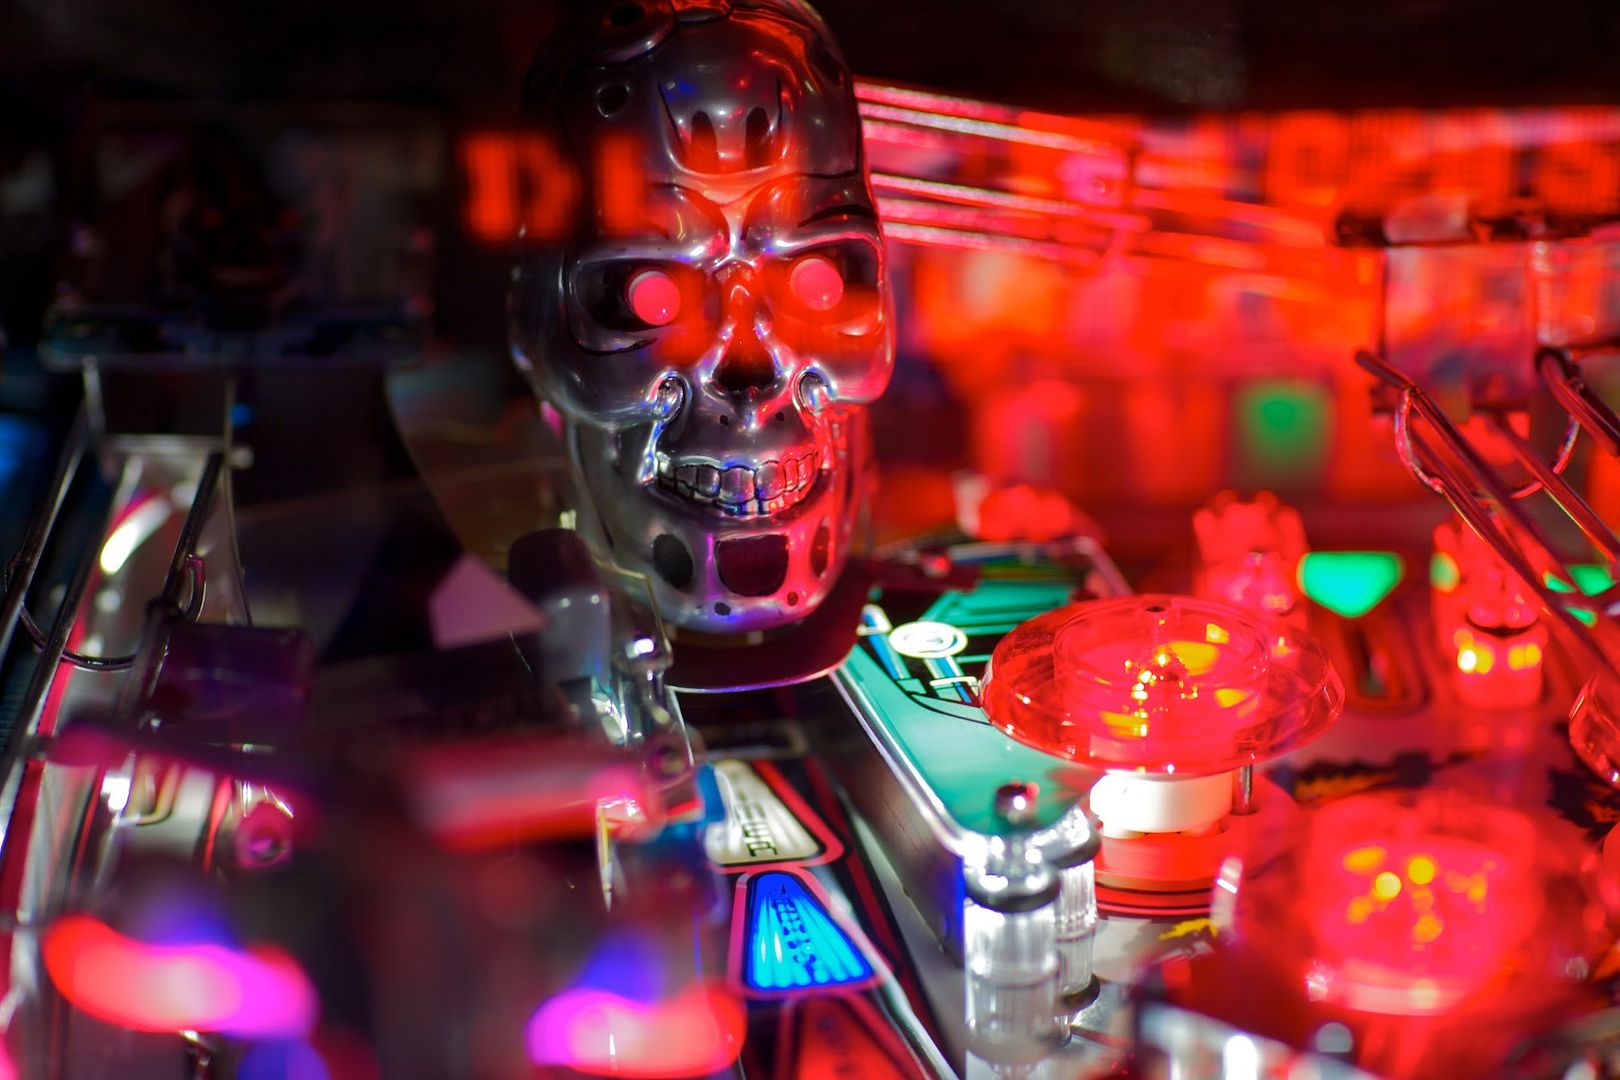
The lack of chrome from the T-800 not that noticeable as the LED's took all the attention away.


With the glass on. Just too dam shiny!


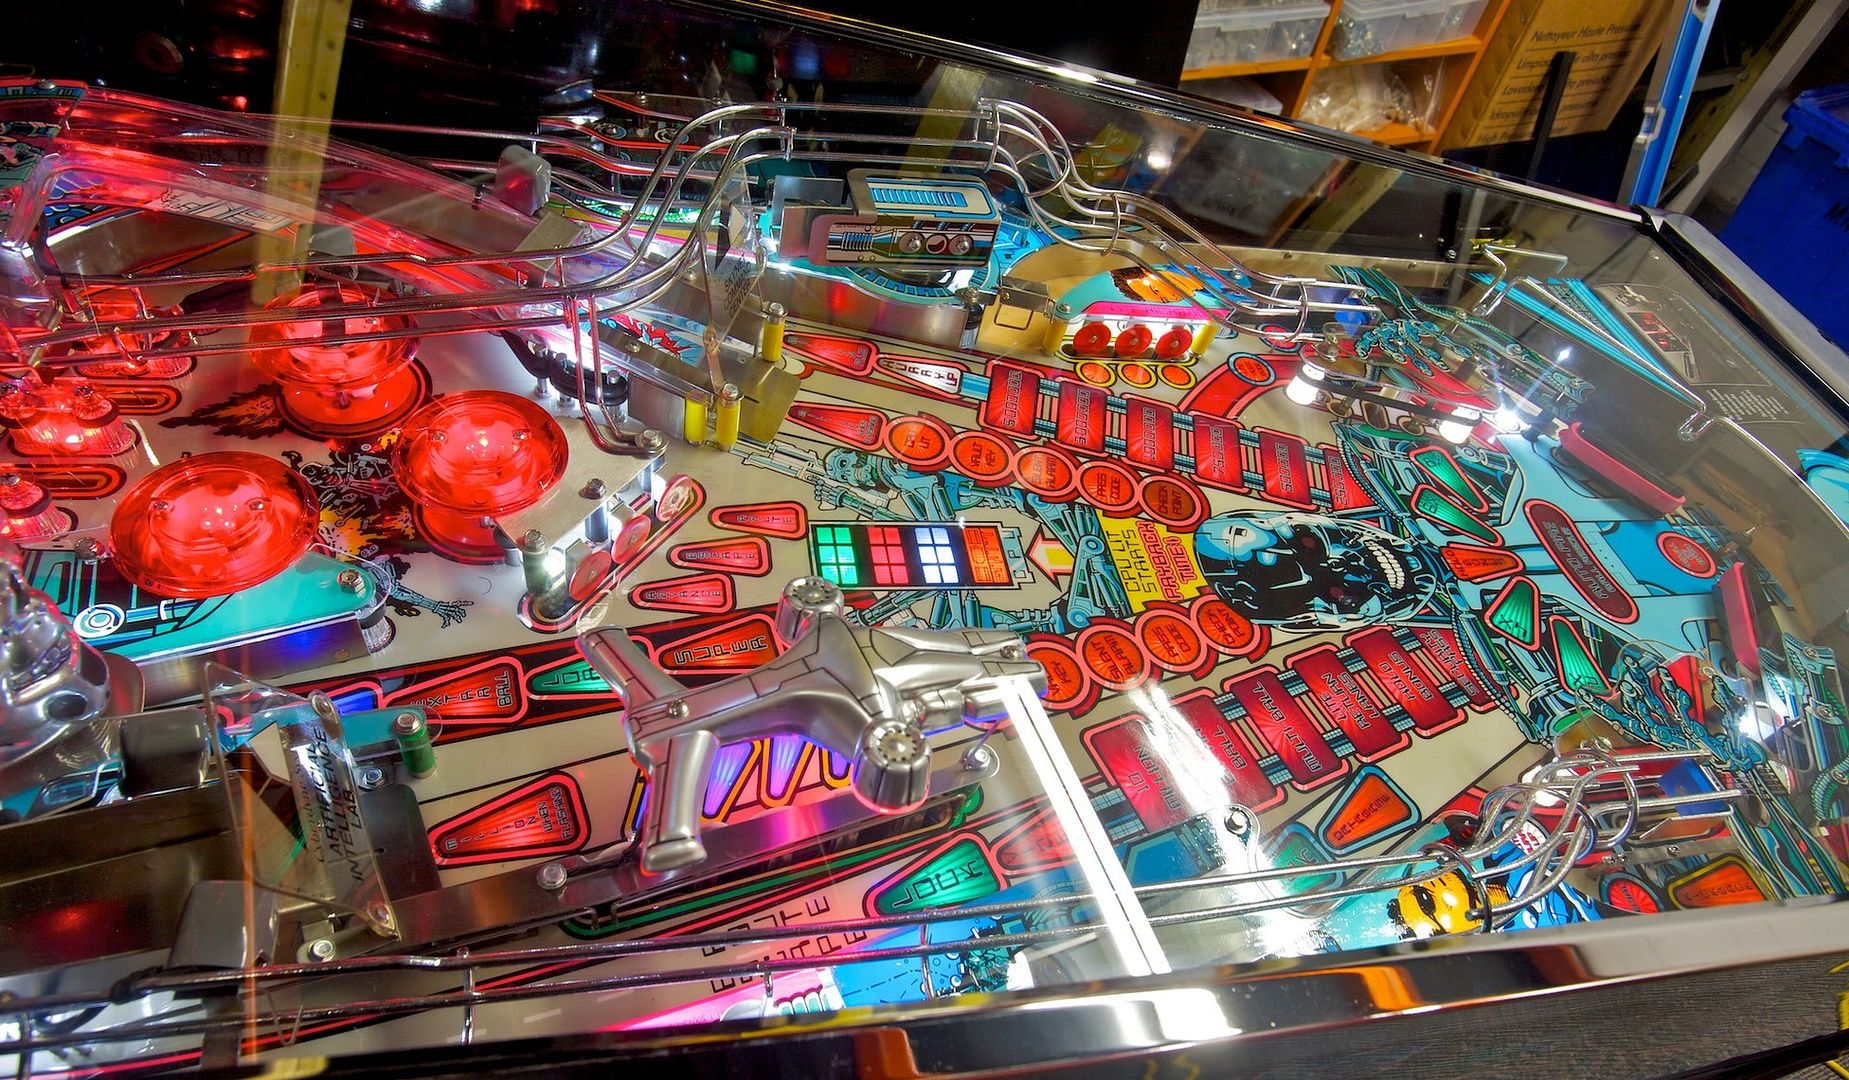
Hunter ship mod with the blue target LED's look fantastic.


My other half testing and taking notes. Yes, some blonds can play too.


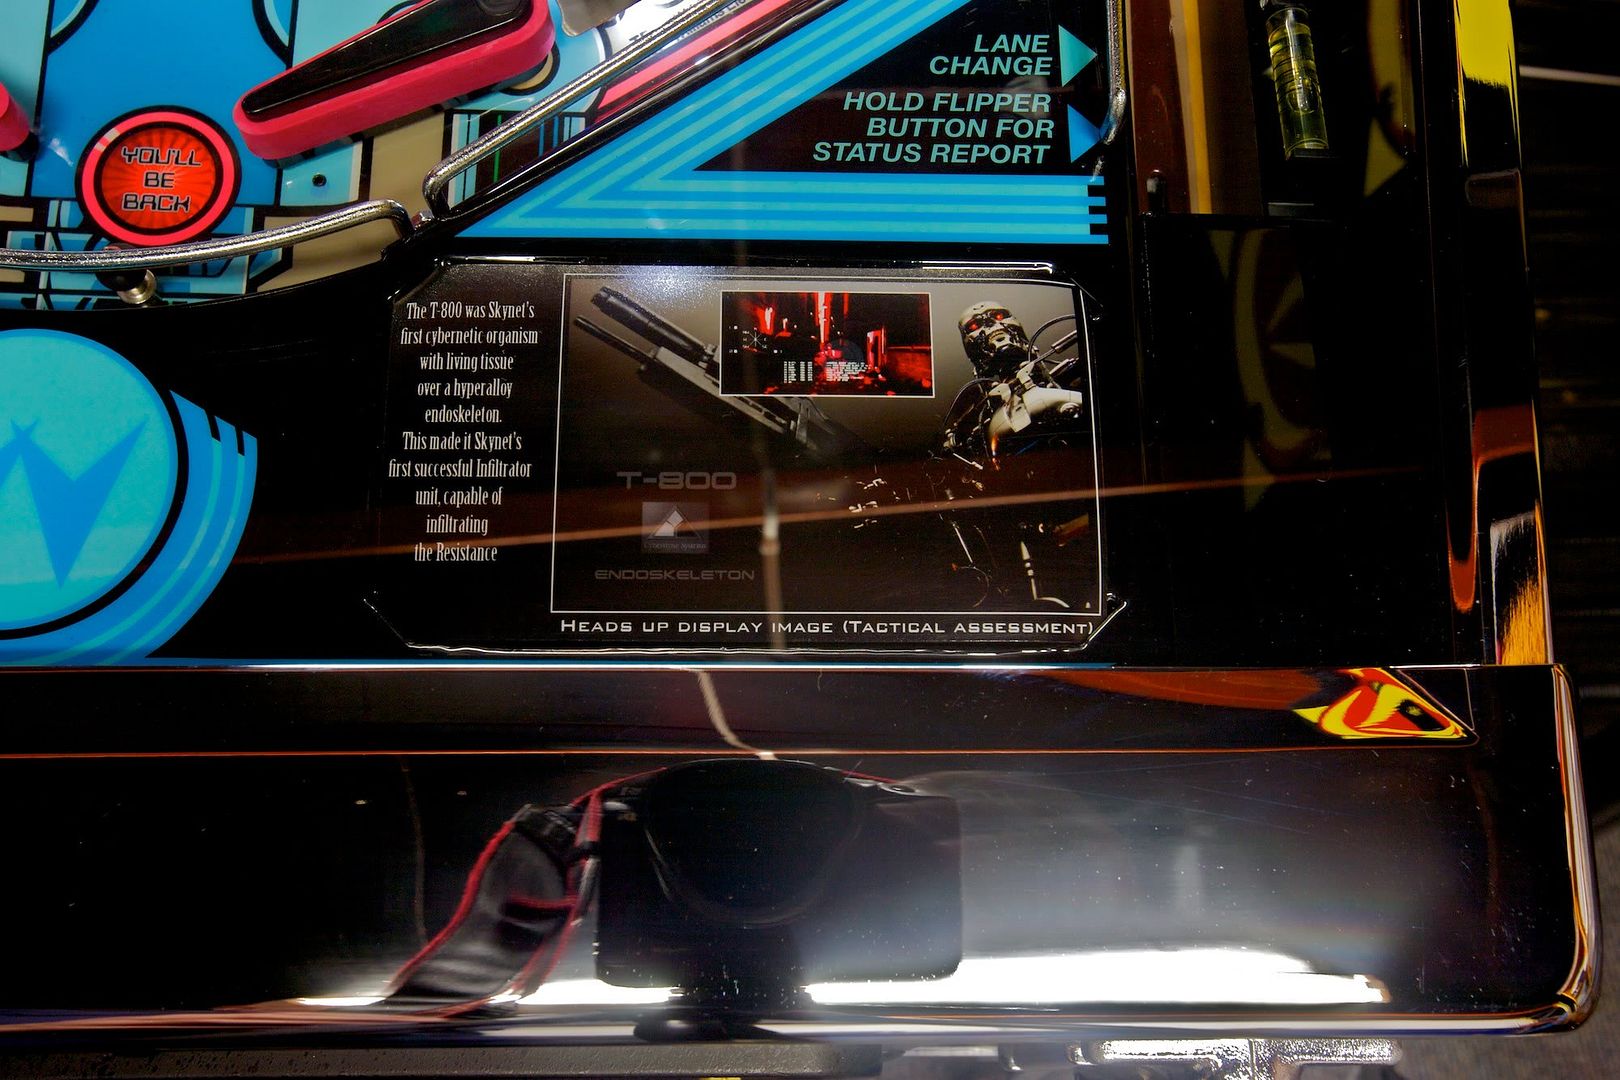
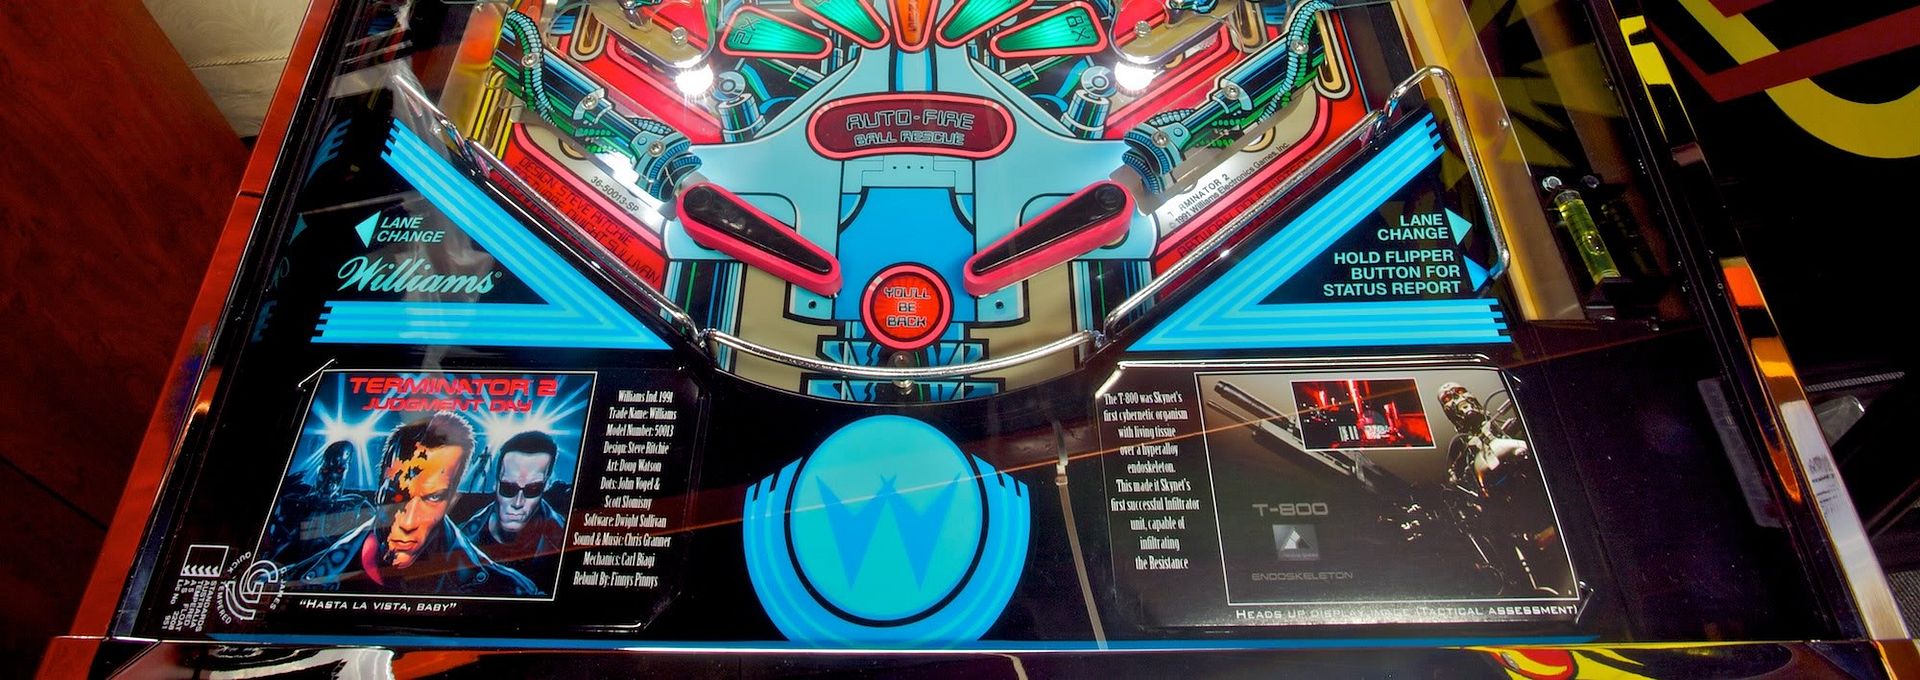
You want to know the rules? look it up on your iPhone or whatever. Some movie trivia and portrait displayed here. Note level installed. Also, avoid being tactically assessed as it can be hazardous to your health.


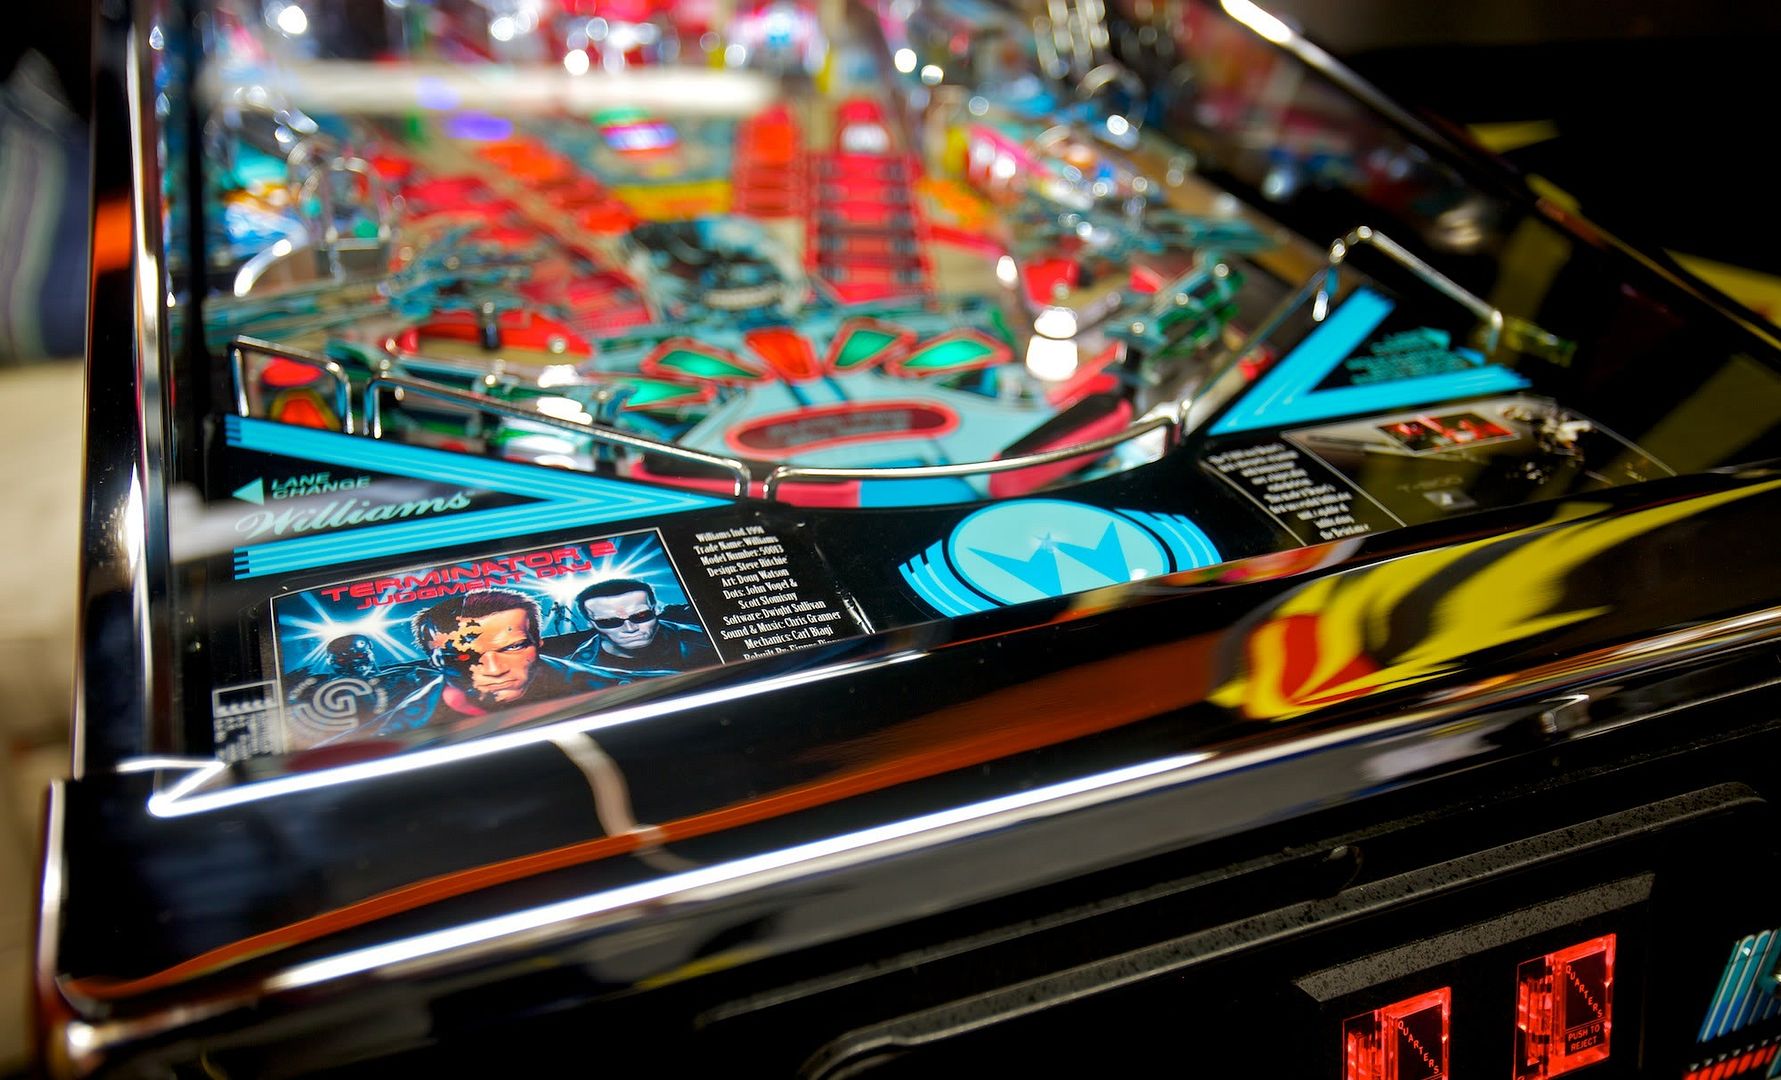
Back glass and credits listed here. Anyone got a quarter?


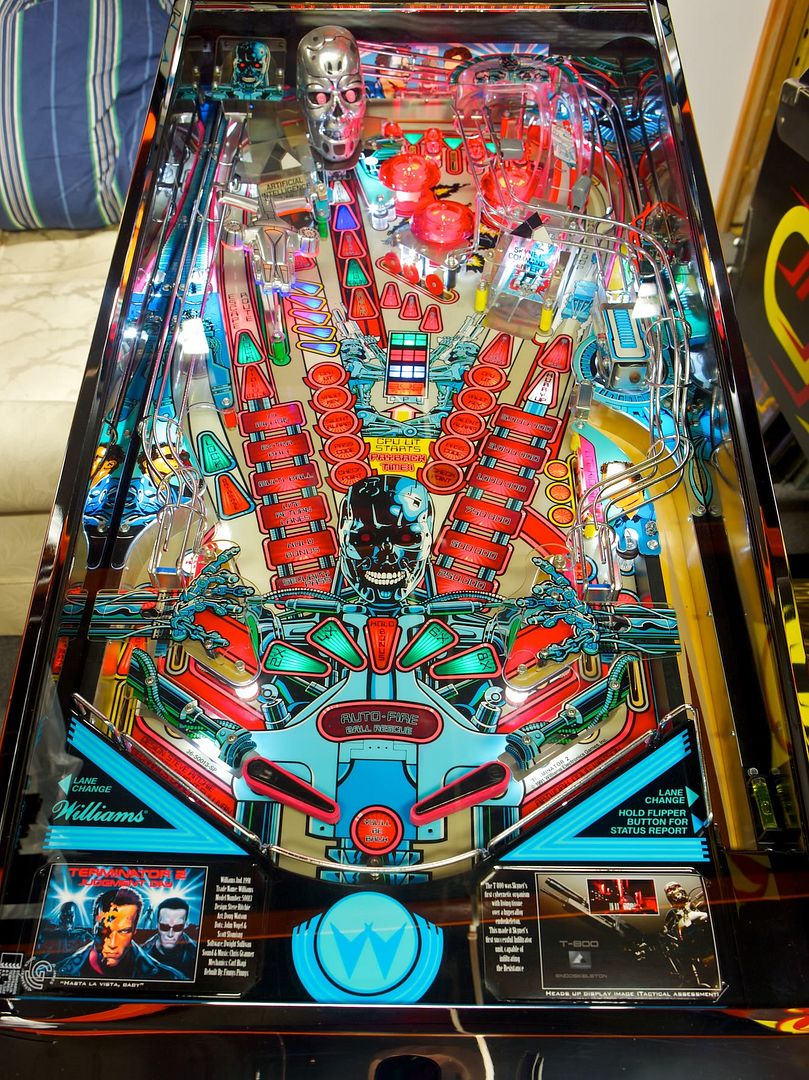
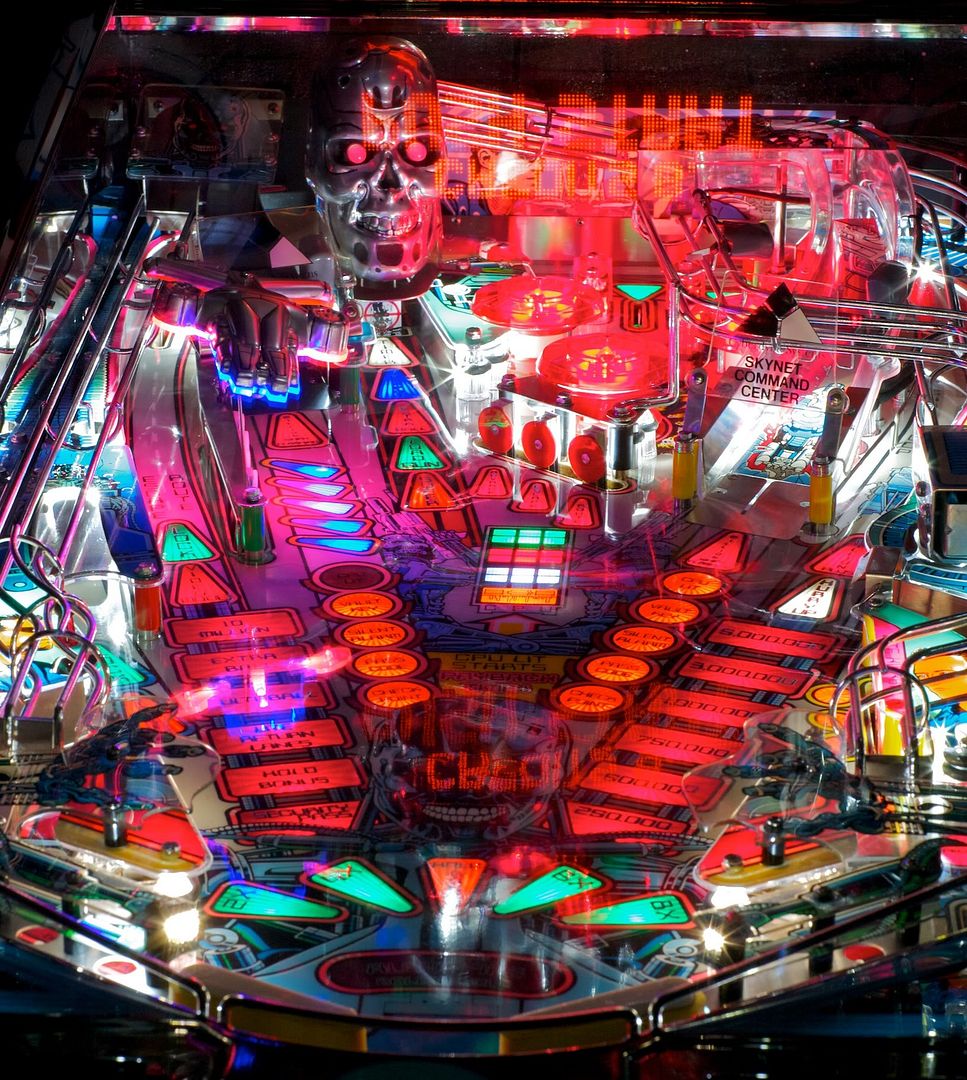
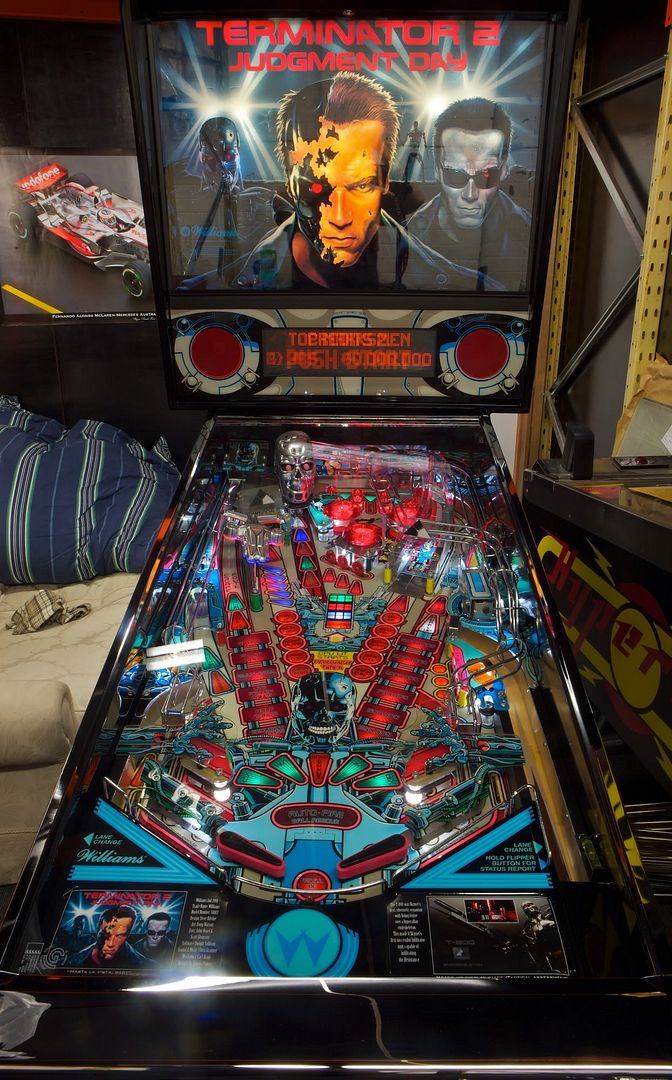
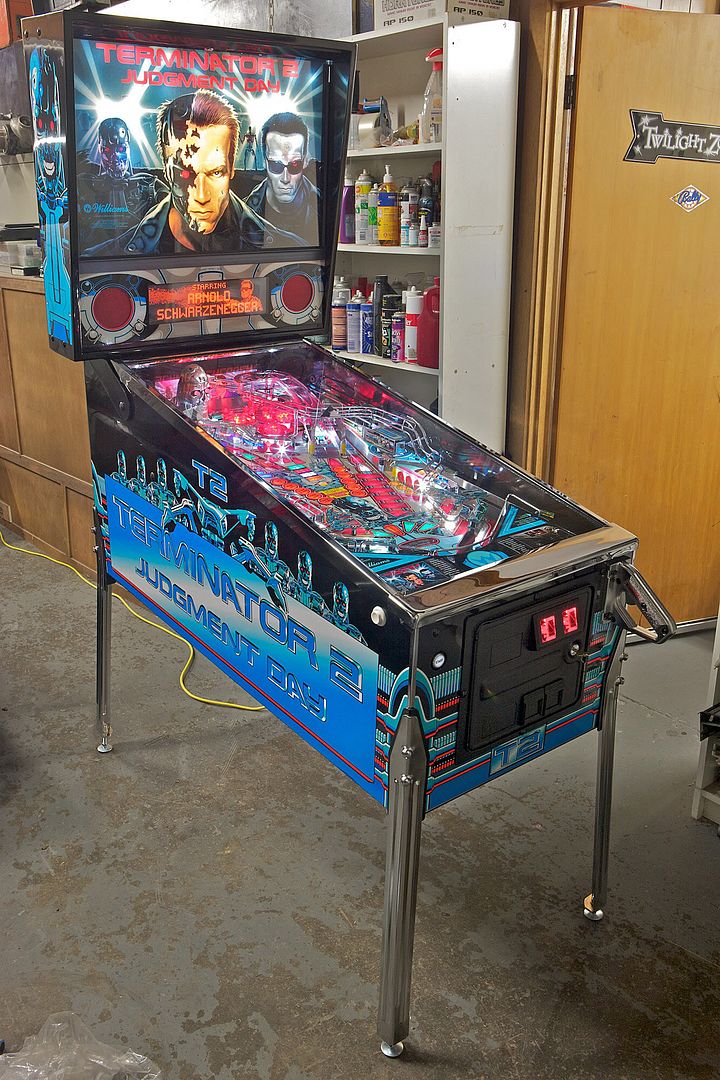
A players view. Note new flippers, now it all comes together. The inside reflections look nice too.


Bling Bling!! Finished product. I think the 2 pack, chrome and deep saturated colours marry well.


Wish list… Blue LED DMD, non reflective glass. A blue display would really hit it off!


Rubber inlayed chrome glass trim looks cool too.


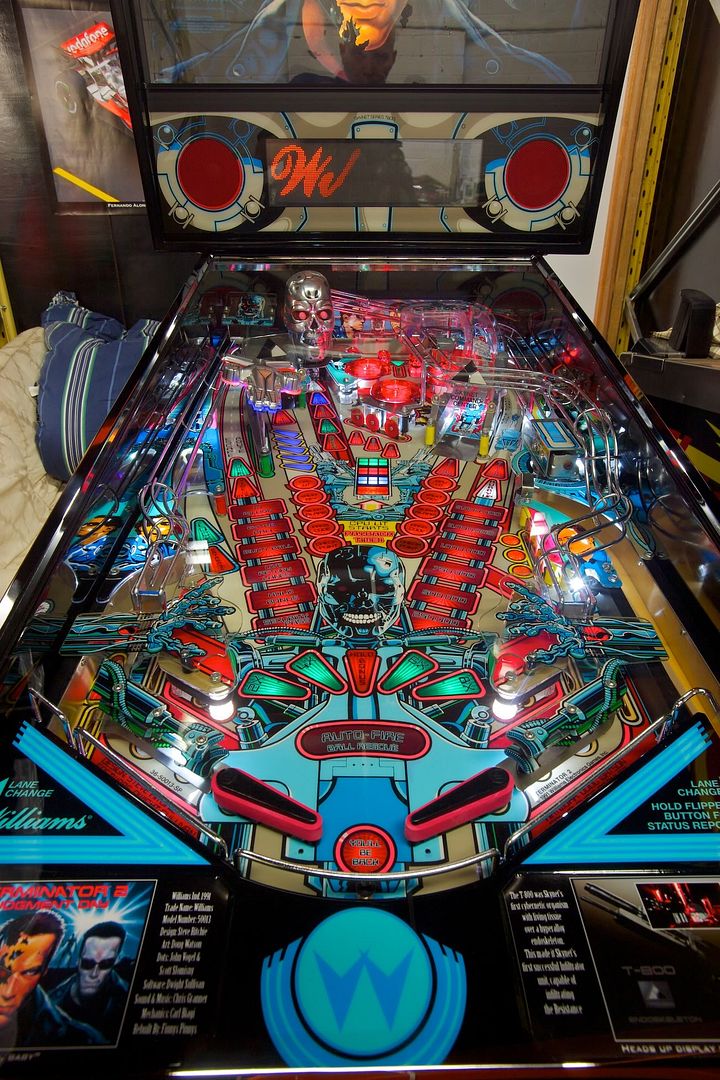
Just another overall shot...


Same here...


Again...


The LED's in the back box balance the tranz really nice.


Logo removed from head.


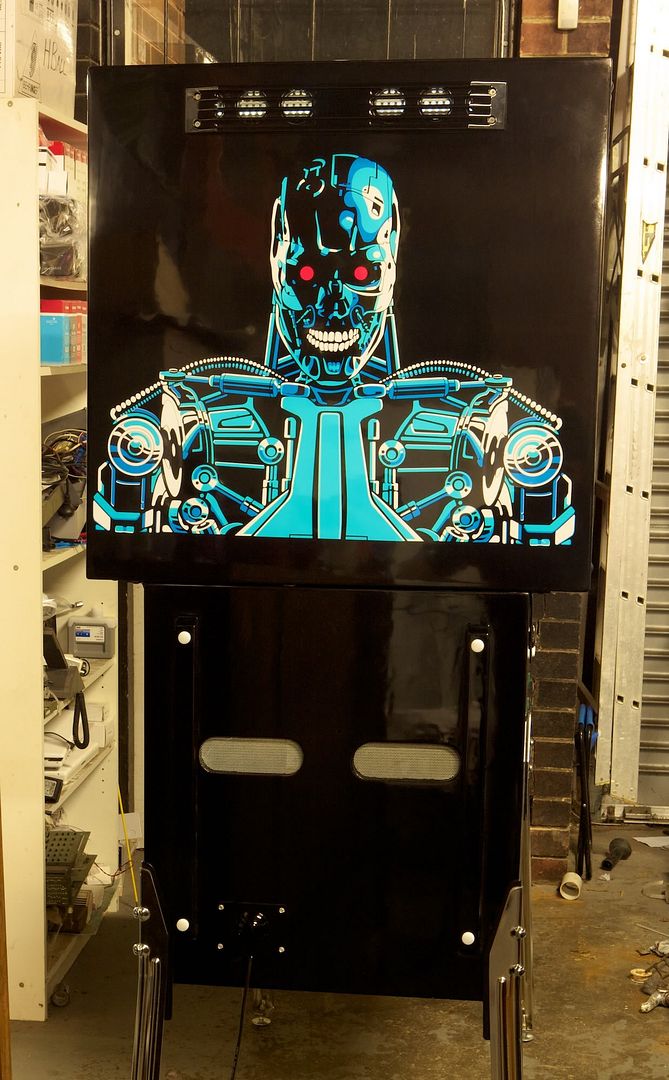
Didn't bother with using the lock either as it's not necessary. I used a billet powder coated vent over the cab holes. Overall, looks a bit more presentable.


Sans logo for T2. Raised art around an inch higher. Faultless colour blend curtsey of Canon 16 bit hi res printing. Spacers were also used on the back-box hinges to prevent scratching of the chrome and art during transport.


I recon the ex governor would of approved this one. Now after a few games and some showing off to my mates it will be cleaned, packed, delivered and set up at the clients place hopefully to last another 20 or so years!

"Hasta la vista baby"


Next… :tumble: Cactus Canyon. :tumble:


« Last Edit: March 18, 2011, 07:21:59 AM by Finny »

Offline m-rots

  • Trade Count: (0)
  • ***
  • Forum Posts:
  • Lara soon
   *%*    Great job   @@*  @@*  @@*  @@*  @@*  ^^^  ^^^  ^^^  @@*  @@*  @@*  @@*  @@*

(can you  upgrade my tatoo ?)

« Last Edit: March 18, 2011, 07:46:37 AM by m-rots »

Offline ajlaird

  • Trade Count: (0)
  • ******
  • Forum Posts:
  • Greensborough, Melbourne
  • Go Ahead, Make My Day
Awesome work, but we expect nothing less - only trouble is that I would be scared to play it!!

I am now late for work but it was worth it.

Offline ktm450

  • Trade Count: (+1)
  • ******
  • High Score Initials:
  • Forum Posts:
  • Geelong, Victoria
WOW!   $$(  I always love seeing your restos, Amazing stuff, you put us average guys to shame  :lol   $%$

Offline Pintoxicated

  • Trade Count: (+9)
  • ******
  • Forum Posts:
  • Table Top - Albury NSW
Congrats mate.  That is just ridiculously good.

How long did all that take?
Addicted to pins.

Offline Caveoftreasures

  • Trade Count: (+16)
  • ******
  • Forum Posts:
Respectfully to the fellow pictured, I think our melbourne version of Treasure Cove, El-Timbo, has better decals for a T2 because Timbo's decals are printed in one hit without adding red stickers, but this guys overall work is excellent.

I fully believe T2 is a machine I would purchase and send to Melbourne to get fully done, decals, playfield clearcoat etc etc, because a brand new looking T2 is very hard to pass up. The machine looks brand new. He has done alot of work and it shows in the end result.

Well done. Who wants a T2 after seeing another great resto !  ^^^ ^^^ ^^^
Behind every garage door could be a pinball collectors
"Cave of Treasures" 55 in my collection

Into  Stern -JJP - Cars , Road Bikes- Jet Skis - Star Trek n Sci-Fi & Electronics    
Beware of Stalkers & Walkers when playing The Walking Dead

My 7yr old son Hunter is my best mate in the world !

Offline Strangeways

  • Pinball Restoration is my passion
  • Administrator
  • Trade Count: (+9)
  • *****
  • High Score Initials:
  • Forum Posts:
  • Melbourne
  • ABN 68 283 634 461
    • Ride The Boney Beast

That's simply amazing Finny. I think the blend of LEDs and polished bling marry VERY well for this title. You have really "pushed the envelope" and raised the bar. I'd be interested in a rough estimate of time involved in this standard of work.

Well done - and thanks for documenting the restore so well - a picture tells a thousand words and that was 20 minutes of viewing well spent !
Aussie Pinball - Proud to be Australia's Premier Pinball Forum

http://www.australianpinballrestorations.com.au/

http://www.rtbb.com.au/catalog/

We carry the largest range of NEW Ramps in Australia

Offline Replicas

  • Trade Count: (0)
  • *****
  • Forum Posts:
  • North West England
Wow.
Got a T2 in my collection awaiting a full restore, dont surpose you are doing any more side art are you ?
The art work on that cab is awesome.
Darren.

Offline el_timbo86

  • Trade Count: (+1)
  • *****
  • High Score Initials:
  • Forum Posts:
  • Geelong, Victoria
    • Hot Rodded Pins
WOW!!  #*#

This is absolutely INSANE! A real credit to your eye for detail Finny!

Keen to see what you have in store for Cactus Canyon  ^^^

Timbo


Offline faza

  • Trade Count: (0)
  • ******
  • Forum Posts:
  • Sydney
Just when you think it cant get any better Well done Finny  ^^^

Offline Pinprick

  • Trade Count: (0)
  • ******
  • Forum Posts:
  • Perth
Congrats mate.  That is just ridiculously good.

How long did all that take?

Second that!
10/10 for expertise & patience.
Rough total of cumulative hours would be of great interest.


"I don't operate on a level playing field"

Offline Finny

  • Trade Count: (0)
  • **
  • Forum Posts:
  • Melbourne Australia
  • Finnys Pinnys
How long did all that take?

Around 140 hours and the unit sold for around 12k


El-Timbo, has better decals for a T2 because Timbo's decals are printed in one hit without adding red stickers

Maybe Timbo could advise further… but I think his were printed on a CMYK type printer (4 colour) which has a different colour resolution to the 12 colour Canon which is mostly used for fine art applications and high end photography. I've actually printed a CMYK set for comparison and the look is completely different to the Canons output. No printer can produce the bright orang colour except for screen printing or like I did, use cut vinyl. The vinyl is a highly "luminescent safety" super bright orange which unfortunately cannot be mimicked through our web browsers or printers to compare. The colour may look red via our computer monitors but I can assure you it's extremely bright especially the blues. Depending on which is best though, it all comes down to application as there is a massive difference in material costs and labour. I hope that clarifies the application differences.


Wow.
Got a T2 in my collection awaiting a full restore, dont surpose you are doing any more side art are you ?
The art work on that cab is awesome.
Darren.

The art isn't peal and stick and requires a stack of messy preparation which is more suitable for total rebuilds. Even if I could sell it as a kit, I wouldn't. Don't need the legal headaches as you could appreciate. Not sure if Planet holds the licence for T2 but I would consider a licensing option. Not sure if it would be financially viable though. Book your machine in for a turn key restore. I'll send them anywhere around the world.


Keen to see what you have in store for Cactus Canyon  ^^^

Thats going to get the same job too. The art on this will be really freaky (no screens and 600 dpi). Going to be an Ebay job. Should do well I think.


Everyone who commented… Thanks for the Kudos!!! This work is starting to become full-time lately so I'll post up more stuff as it comes off the line. I'm glad that everyone has enjoyed the post.  ^^^

Offline necroscope

  • Trade Count: (0)
  • *****
  • Forum Posts:
  • Romsey Vic
like everyone else has already said Very awesome work finny,thanks for uploading all the pic's too,one of the best restores i have seen on any pinball site.  ^^^

Offline Finny

  • Trade Count: (0)
  • **
  • Forum Posts:
  • Melbourne Australia
  • Finnys Pinnys
Image hosts...  ^.^

I'll fix this up latter, been to busy...

Same shots here without comments...

[img=http://img197.imageshack.us/img197/4126/t2rebuild109.th.jpg]
[img=http://img508.imageshack.us/img508/3225/t2rebuild78.th.jpg]
[img=http://img808.imageshack.us/img808/7330/t2rebuild85.th.jpg]
[img=http://img818.imageshack.us/img818/5290/t2rebuild86.th.jpg]
[img=http://img863.imageshack.us/img863/8942/t2rebuild79.th.jpg]
[img=http://img39.imageshack.us/img39/5449/t2rebuild87.th.jpg]
[img=http://img576.imageshack.us/img576/5523/t2rebuild80.th.jpg]
[img=http://img215.imageshack.us/img215/4862/t2rebuild81.th.jpg]
[img=http://img855.imageshack.us/img855/9866/t2rebuild82.th.jpg]
[img=http://img28.imageshack.us/img28/6264/t2rebuild83.th.jpg]
[img=http://img819.imageshack.us/img819/5100/t2rebuild84.th.jpg]
[img=http://img26.imageshack.us/img26/1974/t2rebuild77.th.jpg]
[img=http://img824.imageshack.us/img824/2753/t2rebuild76.th.jpg]
[img=http://img651.imageshack.us/img651/1671/t2rebuild75.th.jpg]
[img=http://img850.imageshack.us/img850/8923/t2rebuild74.th.jpg]
[img=http://img405.imageshack.us/img405/4018/t2rebuild73.th.jpg]
[img=http://img852.imageshack.us/img852/4481/t2rebuild72.th.jpg]
[img=http://img715.imageshack.us/img715/310/t2rebuild71.th.jpg]
[img=http://img834.imageshack.us/img834/4253/t2rebuild92.th.jpg]
[img=http://img806.imageshack.us/img806/51/t2rebuild93.th.jpg]
[img=http://img820.imageshack.us/img820/690/t2rebuild94.th.jpg]
[img=http://img854.imageshack.us/img854/5510/t2rebuild95.th.jpg]
[img=http://img859.imageshack.us/img859/6609/t2rebuild965.th.jpg]
[img=http://img828.imageshack.us/img828/674/t2rebuild96.th.jpg]
[img=http://img268.imageshack.us/img268/1520/t2rebuild97.th.jpg]
[img=http://img801.imageshack.us/img801/9350/t2rebuild104.th.jpg]

Offline Finny

  • Trade Count: (0)
  • **
  • Forum Posts:
  • Melbourne Australia
  • Finnys Pinnys
[img=http://img859.imageshack.us/img859/5948/t2rebuild103.th.jpg]
[img=http://img34.imageshack.us/img34/9164/t2rebuild102.th.jpg]
[img=http://img577.imageshack.us/img577/6452/t2rebuild101.th.jpg]
[img=http://img225.imageshack.us/img225/2231/t2rebuild100.th.jpg]
[img=http://img828.imageshack.us/img828/1412/t2rebuild99.th.jpg]
[img=http://img10.imageshack.us/img10/3687/t2rebuild98.th.jpg]
[img=http://img691.imageshack.us/img691/2985/t2rebuild105.th.jpg]
[img=http://img850.imageshack.us/img850/9350/t2rebuild104.th.jpg]
[img=http://img812.imageshack.us/img812/2985/t2rebuild105.th.jpg]
[img=http://img684.imageshack.us/img684/4875/t2rebuild106.th.jpg]
[img=http://img827.imageshack.us/img827/998/t2rebuild107.th.jpg]
[img=http://img864.imageshack.us/img864/62/t2rebuild108.th.jpg]
[img=http://img641.imageshack.us/img641/3268/t2rebuild70.th.jpg]
[img=http://img62.imageshack.us/img62/9807/t2rebuild69.th.jpg]
[img=http://img17.imageshack.us/img17/9735/t2rebuild68.th.jpg]
[img=http://img69.imageshack.us/img69/6170/t2rebuild67.th.jpg]
[img=http://img340.imageshack.us/img340/7687/t2rebuild66.th.jpg]
[img=http://img854.imageshack.us/img854/7435/t2rebuild64.th.jpg]
[img=http://img22.imageshack.us/img22/9057/t2rebuild65.th.jpg]
[img=http://img851.imageshack.us/img851/5852/t2rebuild56.th.jpg]
[img=http://img130.imageshack.us/img130/2619/t2rebuild57.th.jpg]
[img=http://img854.imageshack.us/img854/9002/t2rebuild58.th.jpg]
[img=http://img852.imageshack.us/img852/7190/t2rebuild59.th.jpg]
[img=http://img534.imageshack.us/img534/9369/t2rebuild60.th.jpg]
[img=http://img848.imageshack.us/img848/8171/t2rebuild61.th.jpg]
[img=http://img155.imageshack.us/img155/8525/t2rebuild62.th.jpg]
[img=http://img850.imageshack.us/img850/6530/t2rebuild54.th.jpg]
[img=http://img859.imageshack.us/img859/3451/t2rebuild53.th.jpg]
[img=http://img644.imageshack.us/img644/1786/t2rebuild52.th.jpg]
[img=http://img191.imageshack.us/img191/1407/t2rebuild51.th.jpg]
[img=http://img857.imageshack.us/img857/8379/t2rebuild49.th.jpg]
[img=http://img96.imageshack.us/img96/9949/t2rebuild48.th.jpg]
[img=http://img8.imageshack.us/img8/1275/t2rebuild47.th.jpg]
[img=http://img25.imageshack.us/img25/8426/t2rebuild395.th.jpg]
[img=http://img856.imageshack.us/img856/7637/t2rebuild39.th.jpg]
[img=http://img846.imageshack.us/img846/5518/t2rebuild40.th.jpg]