Firstly I'd like to give a big thanks to all the people that have helped me out along the way Nino for sorting out some parts I needed, Nick & Anthony (Nicks Brother) for supplying the paint, Daniel for more parts, Greg for vinyl cutting drop target images and pop rings, Tim for helping with the targets, Marco for the last minute coin door decal, Gav for stencils, Lee from Pinball Rescue for the key tag and decals, Tony from Pinball Shed for delivering it down here from Brisbane safely, my brothers Tim and Darren for helping financing the rebuild, my wife Brooke for being so understanding and spending many nights alone whilst I was working on the pin, and for anyone else I missed who gave me valuable help and advice along the way.
I really appreciate it guys.
Some of you would have followed some of this restore through my ‘please help’ thread:
http://aussiepinball.com/index.php?topic=5992.0Sorry if some info is repeated, On to the restoration….
BACKGROUND:
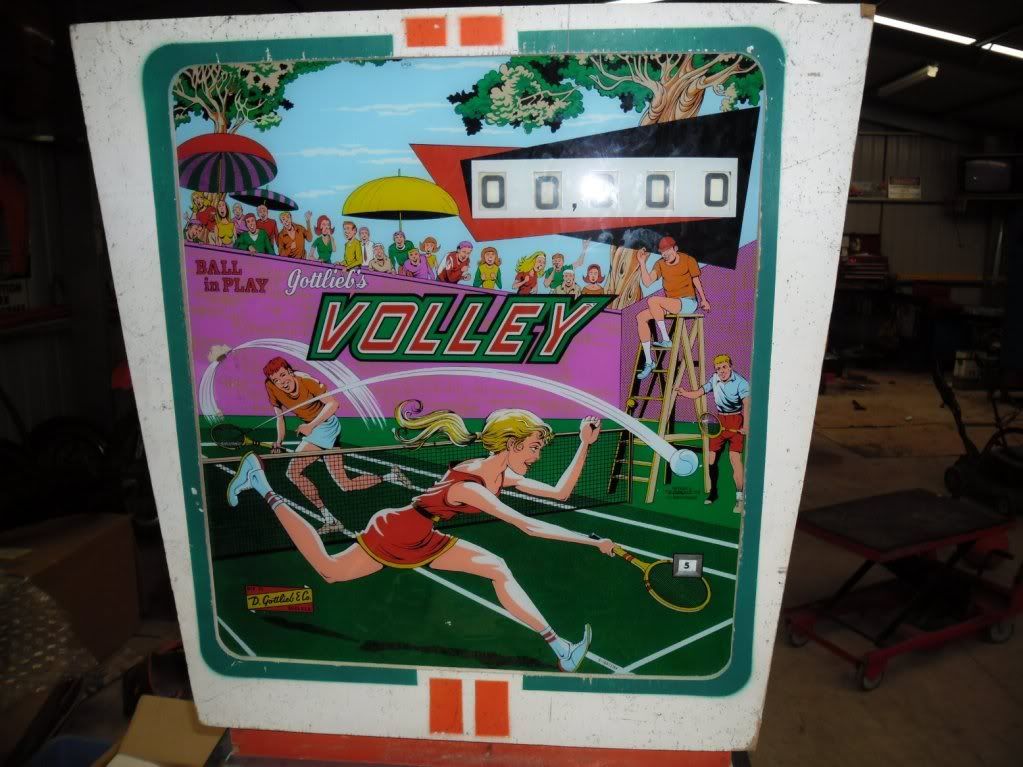
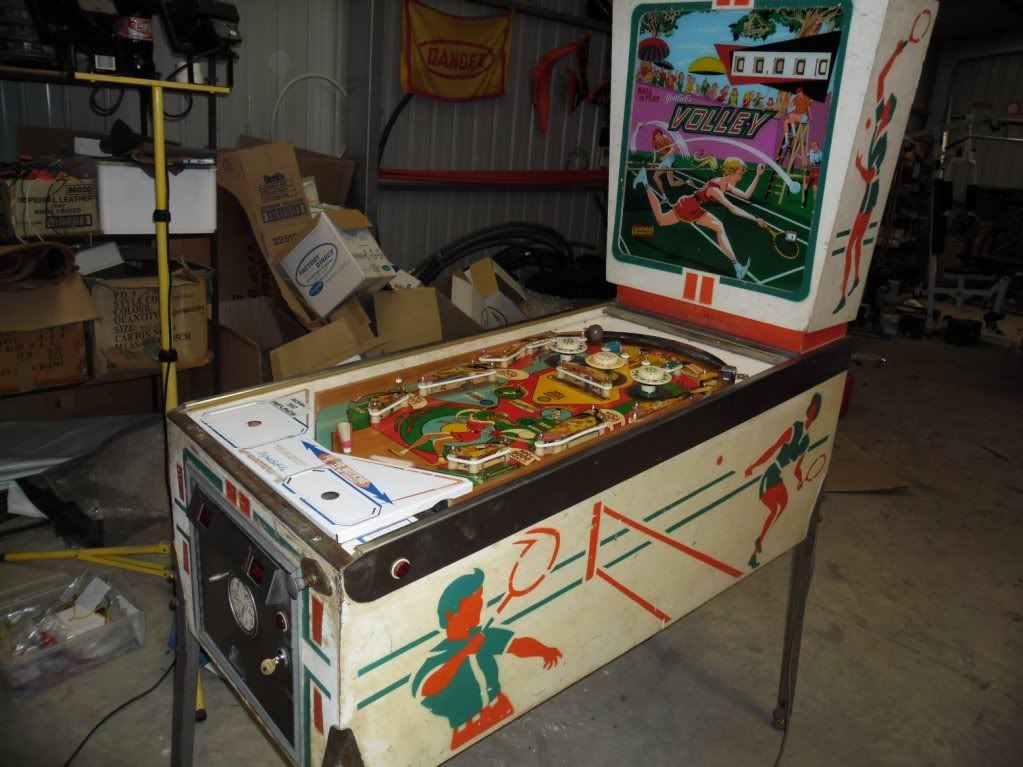
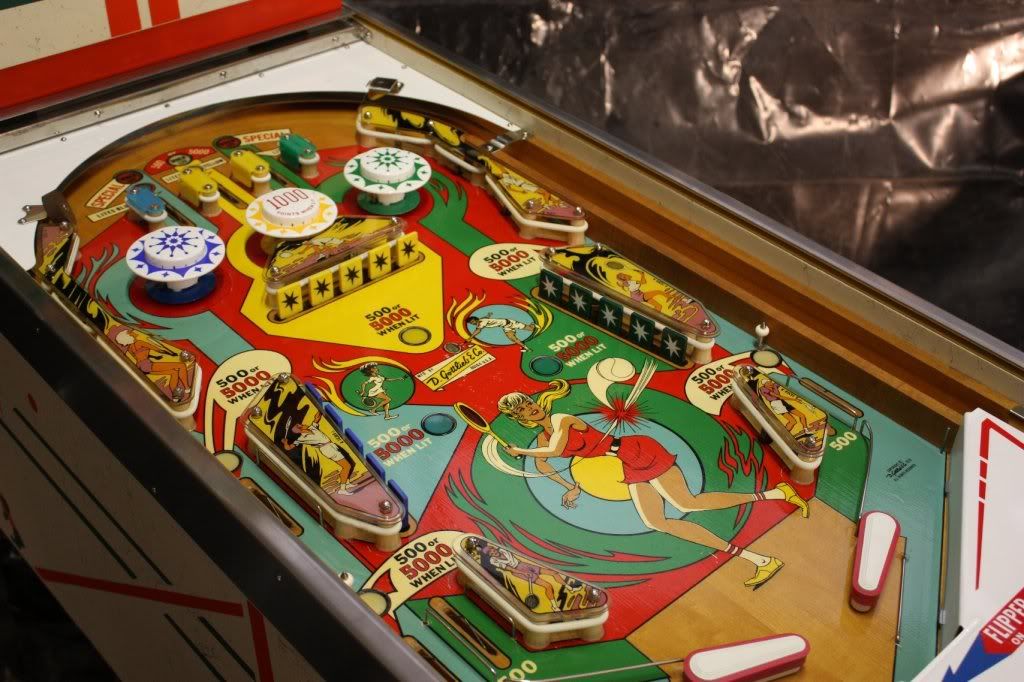
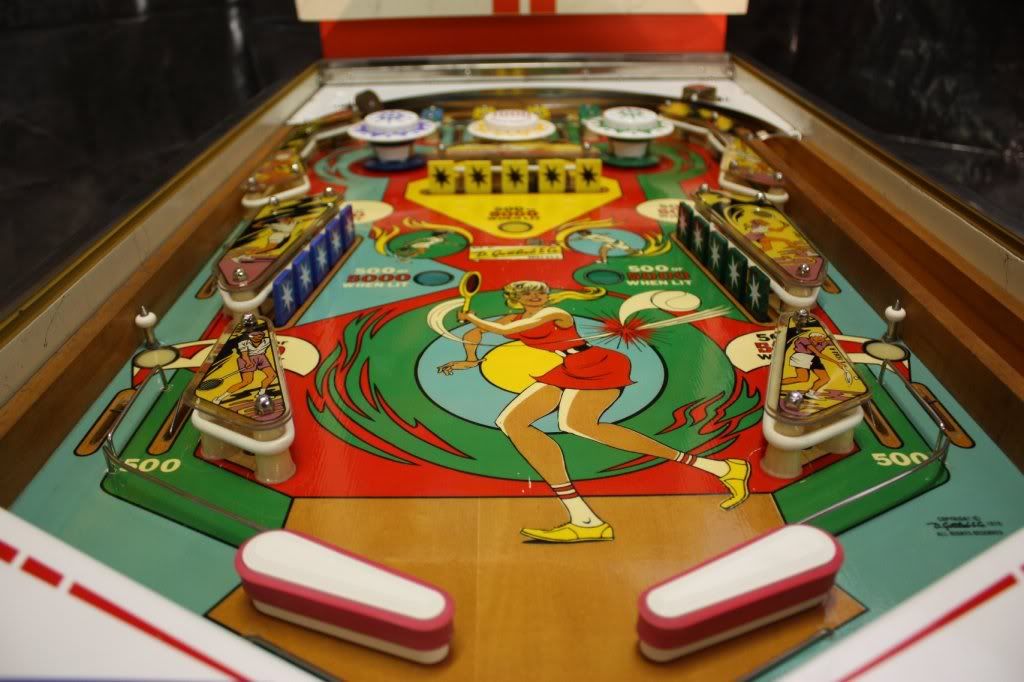
I had been thinking for a long time about my Father’s 60th birthday, he had often joked that once us boys moved out he would have a games room, so I had considered restoring an old pinball for him, I had considered games from his birth year but though they wouldn’t really be sentimental as he would never have played them as a child, so I moved forward and considered games of his teens and early twenties. Dad has played tennis most of his life so one game stood out above the rest “VOLLEY”. Not only is it tennis themed but it also is a great game with 15 drop targets to shoot for.
I had been keeping my eyes out for one to come up in the last year or so, but was not real serious, still unsure if it was the best gift for him, sure, I love pinball but I was not 100% sold on the idea. But then again, who wouldn't want a pinball machine next to their bar?? The best thing about it for me was I could put a lot of time in restoring it Dad has always put a lot of time in for us boys growing up and I wanted to give him something back (even if he didn’t know how long it really took me to restore)
I had given up on the idea, as his birthday was only 2 months away when a Volley appeared on eBay, I toyed with the idea but really didn’t think I’d have enough time to get it restored, a few guys offered me their help where ever they could, and I started to really consider it, I talked to my wife and told her she would be seeing less of me in the next two months as I will be busy in the shed, asked my two brothers if they were in, and the rest is history.
CONDITION:
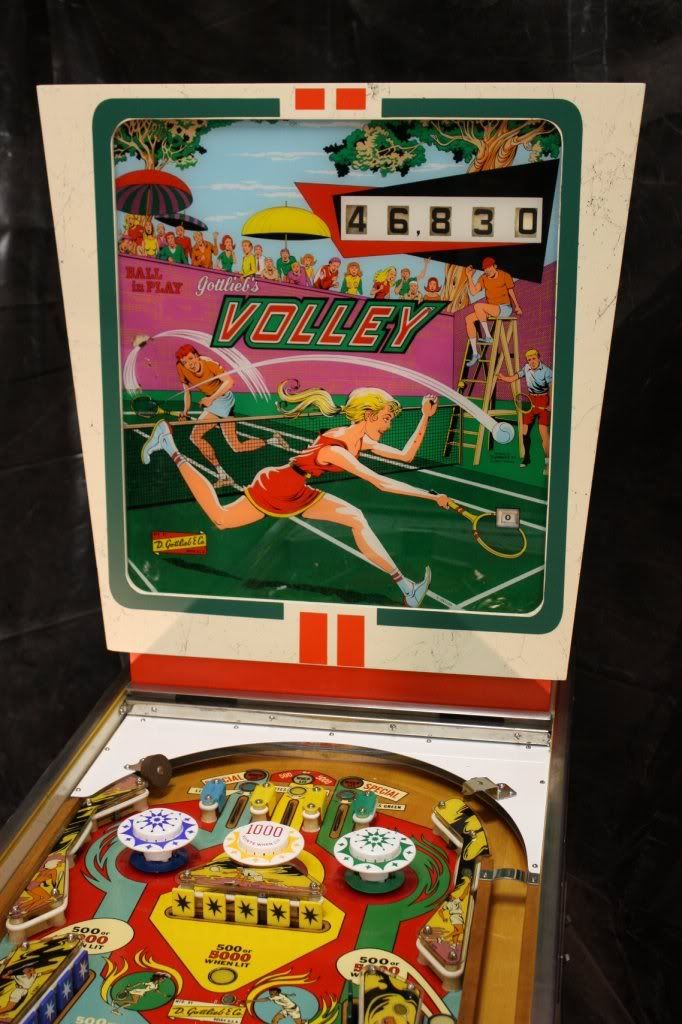
Backglass is in great condition for its age. There is a small amount of paint missing on the left hand side half way down, where the backglass has rubbed on the timber light board behind it, also from the heat of the globes in the area. I’m sure it could be touched up in the future, but is not really necessary.
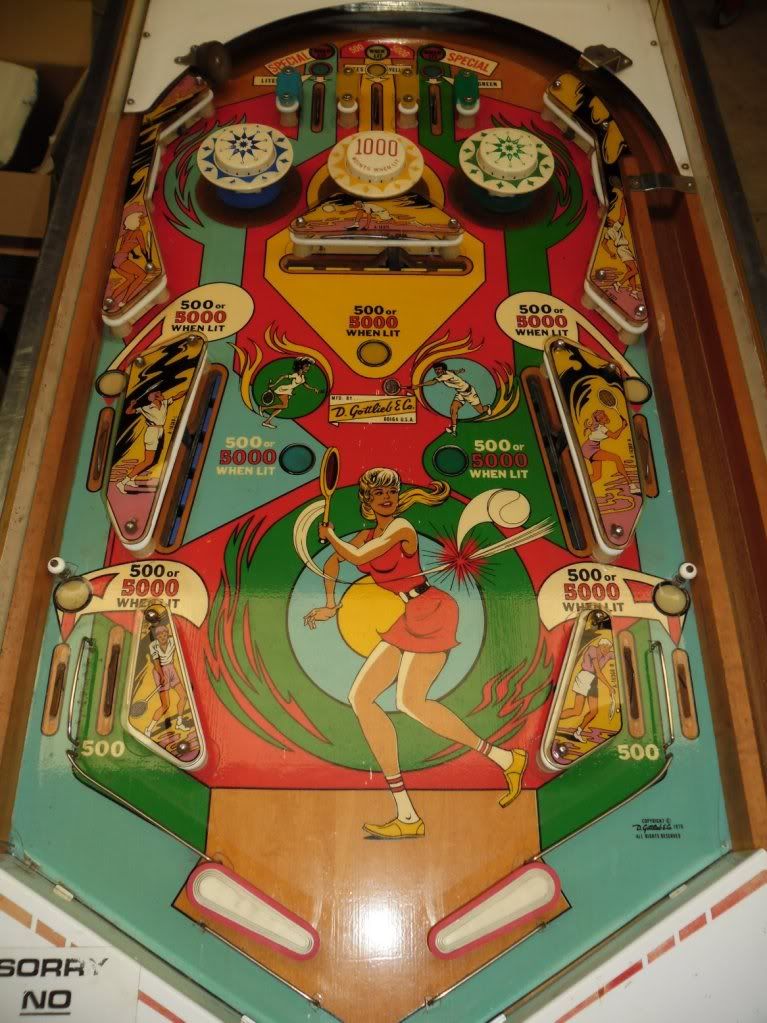
Playfield is in good condition, it has had contact put down on it, I’m pretty sure it is not mylar as it is quite thin. It has some very small areas of missing artwork, perhaps from previous mylar removal, as it is obviously not ball wear, other than the typical under pop bumper wear it still looks quite good. Wood grain laminate was used to cover the pop bumper wear and the shooter lane and ball arch area.
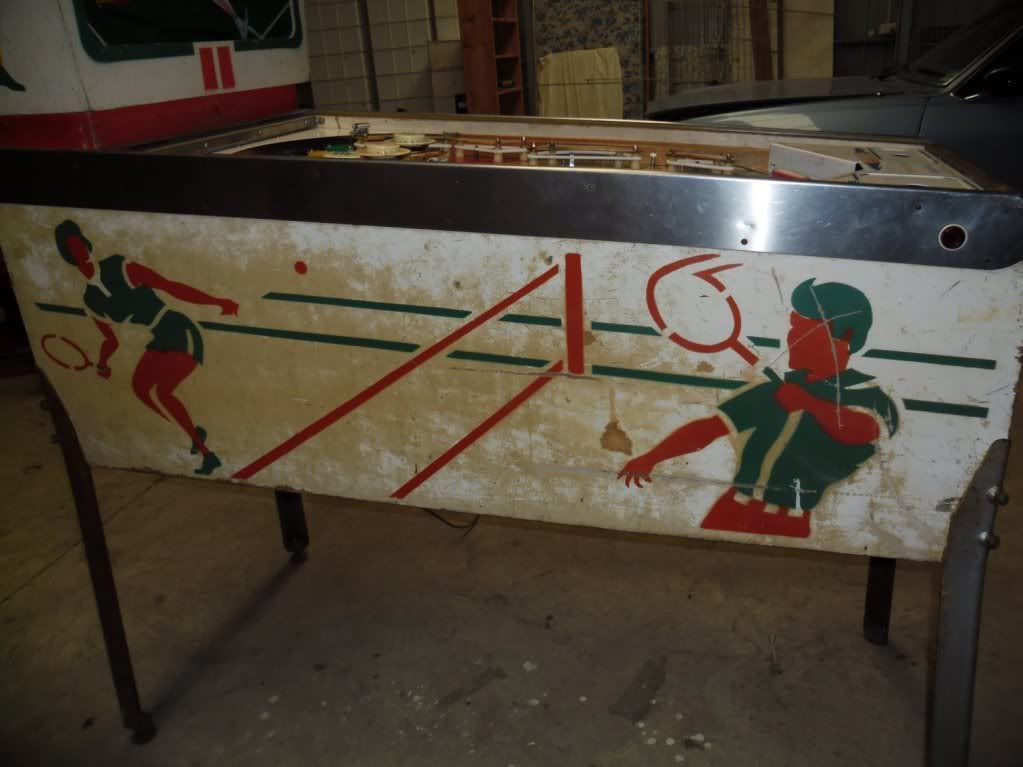
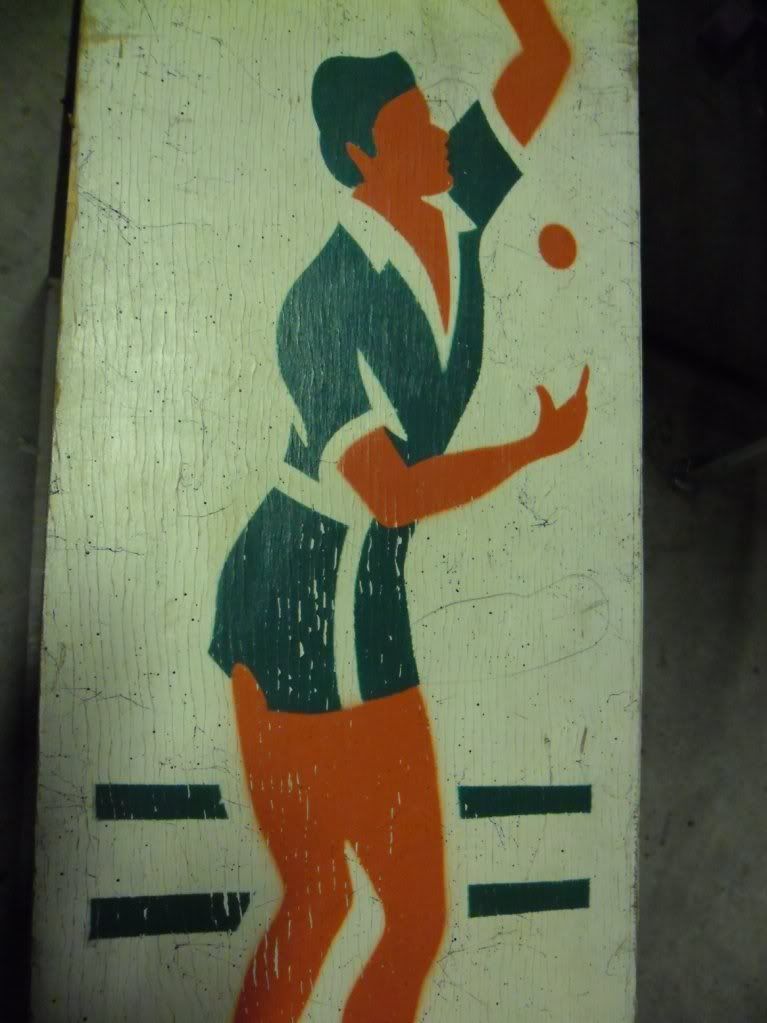
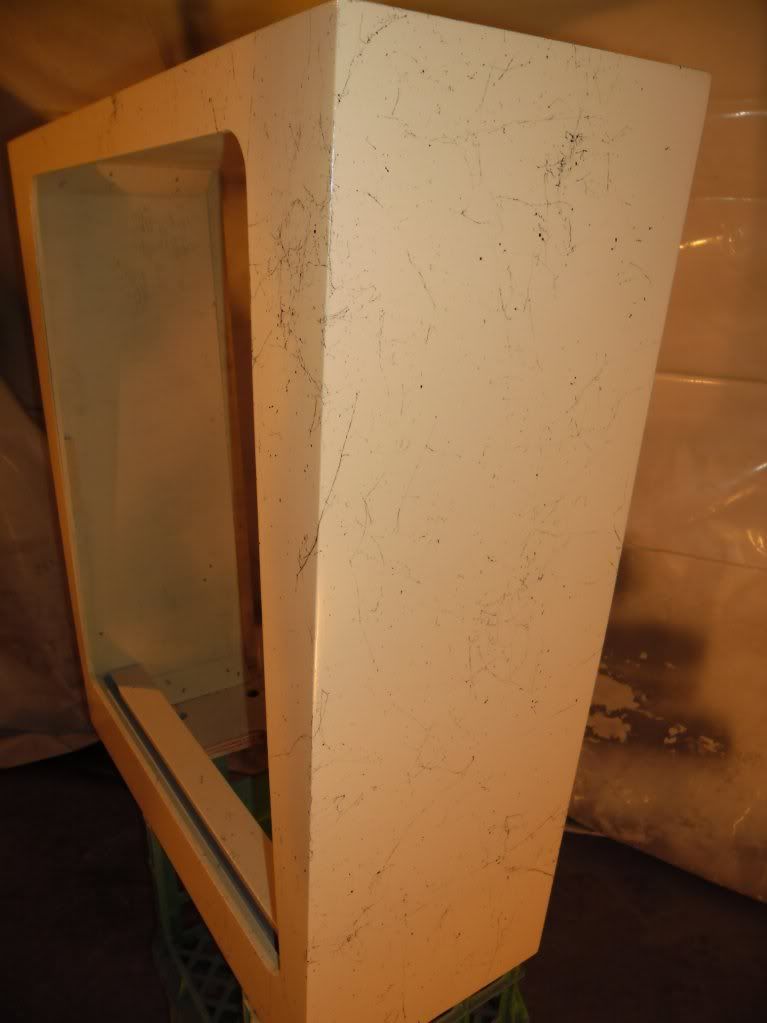
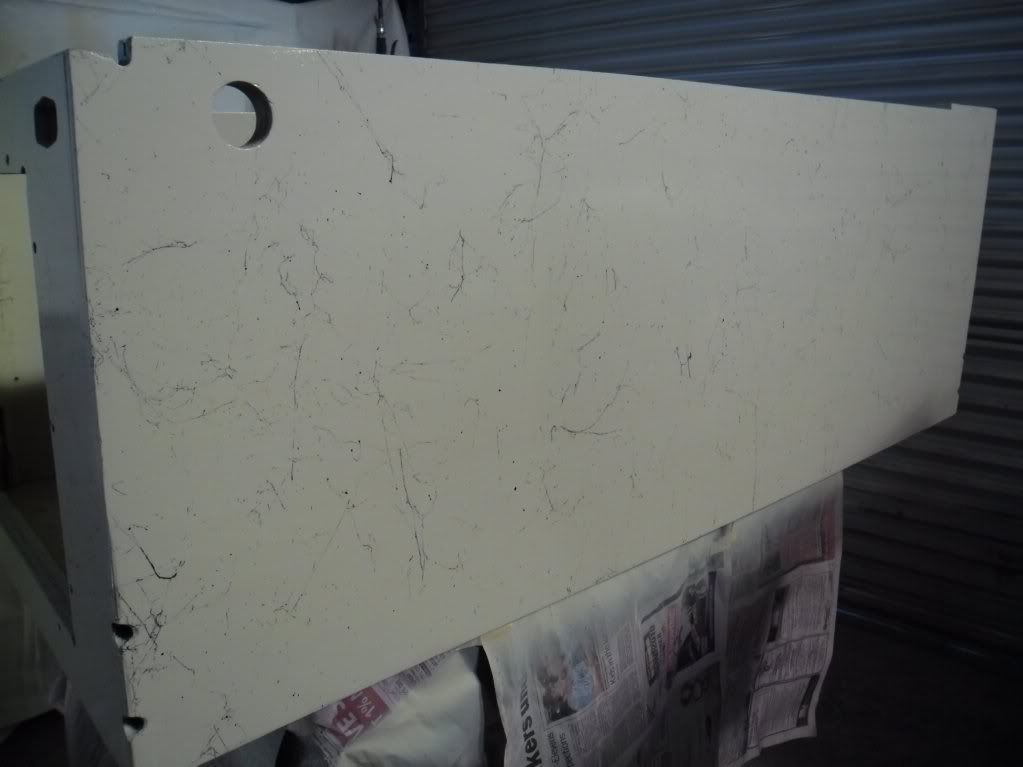
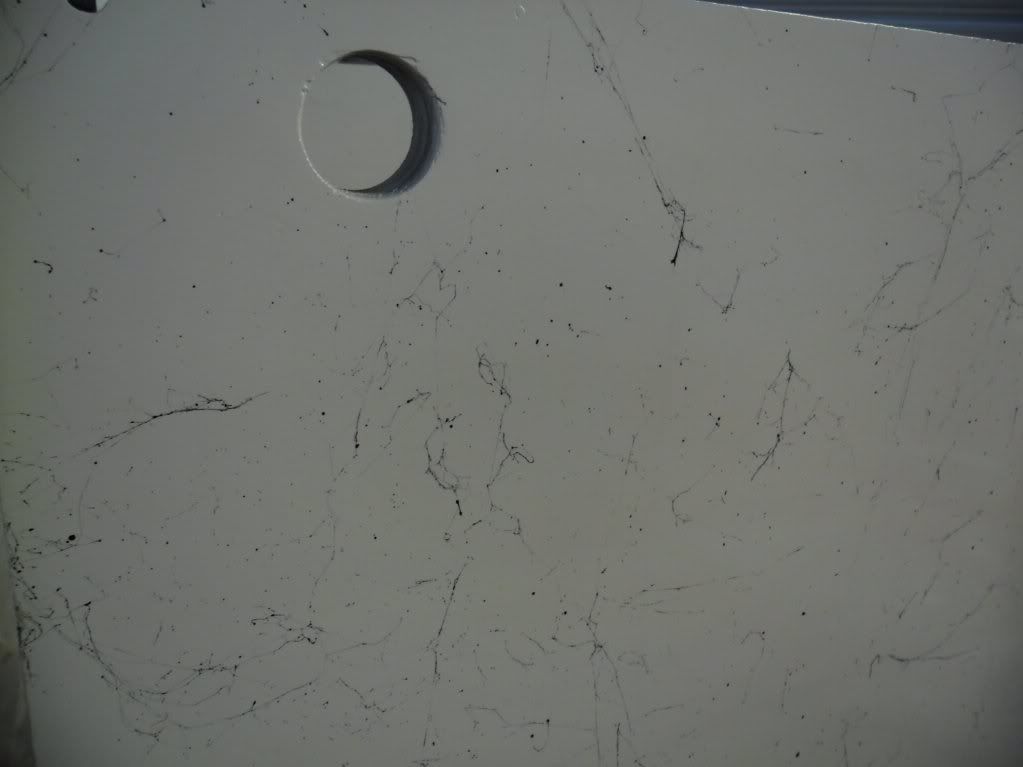
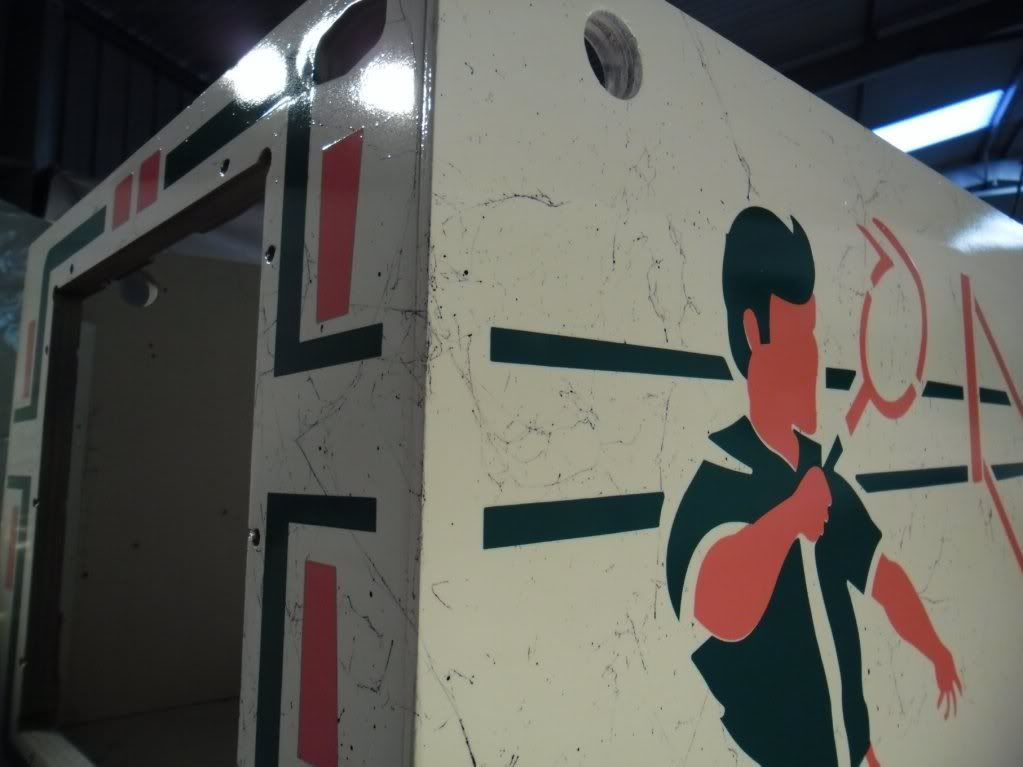
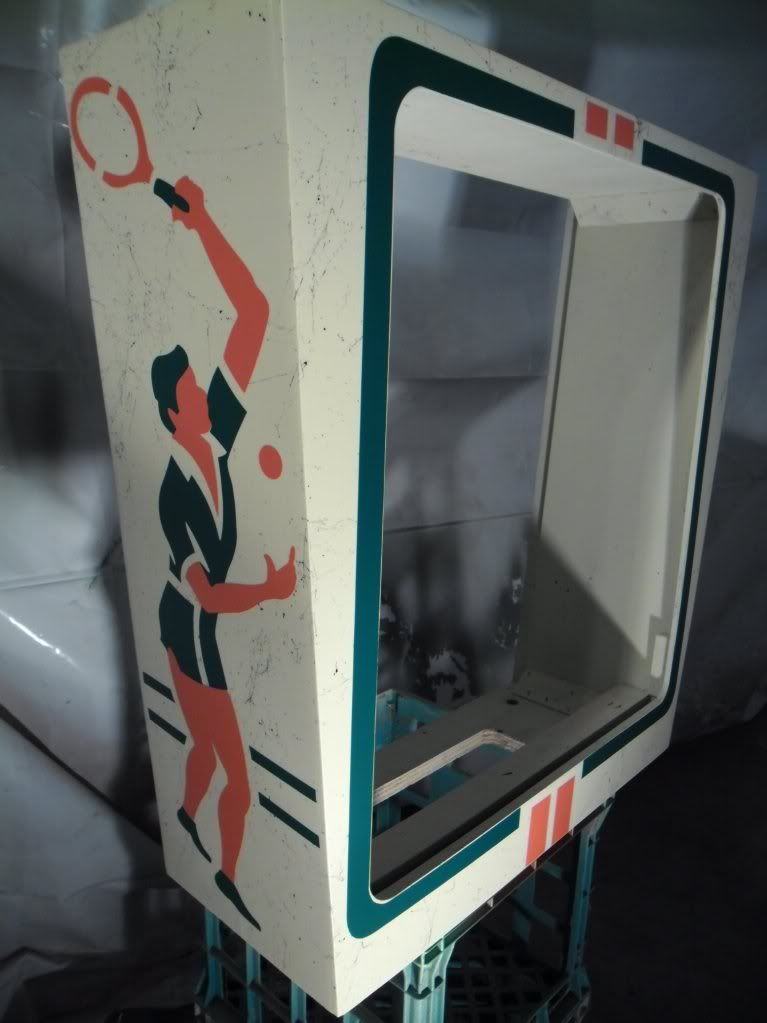
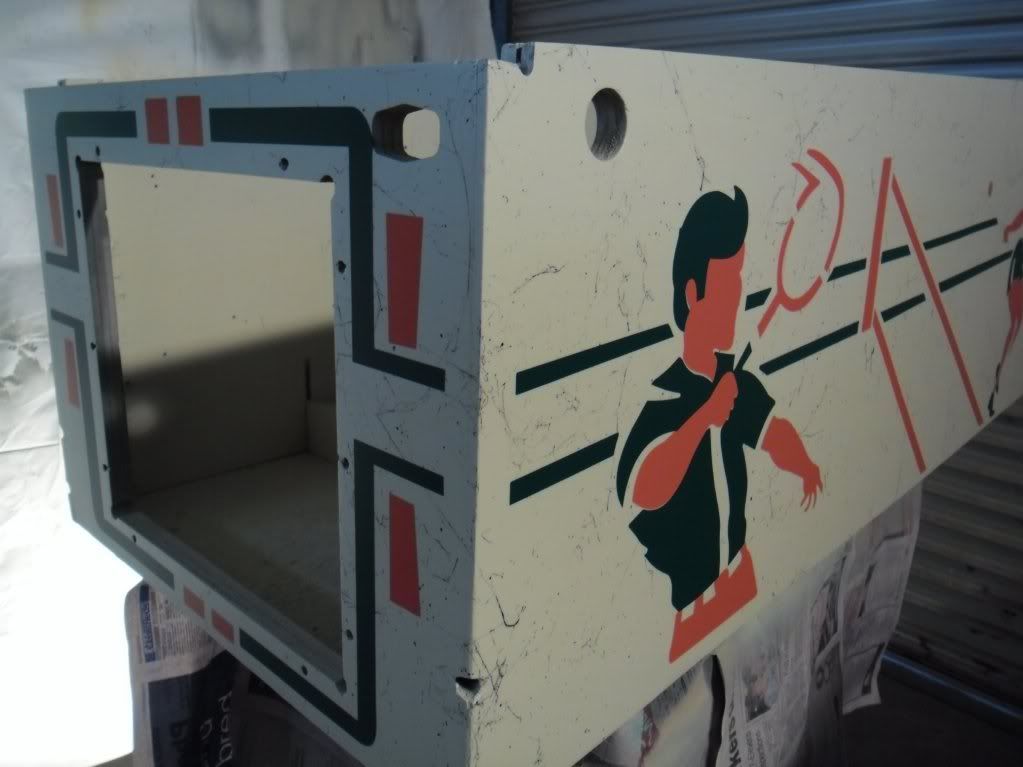
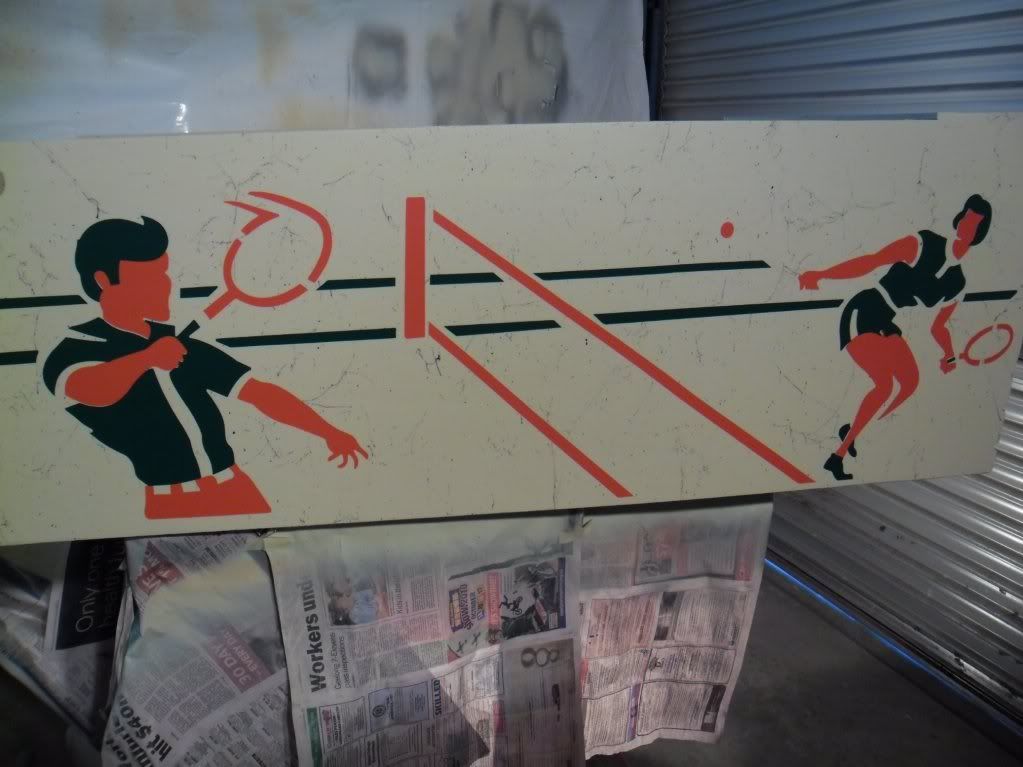
The cabinet is in poor condition, with gouge marks and graffiti, the sides of the headbox has very bad ‘planking’ of the timber, I knew I would have to restore the cabinet before purchasing so I was not at all concerned about its condition as long as I had a solid base to work from which it was.
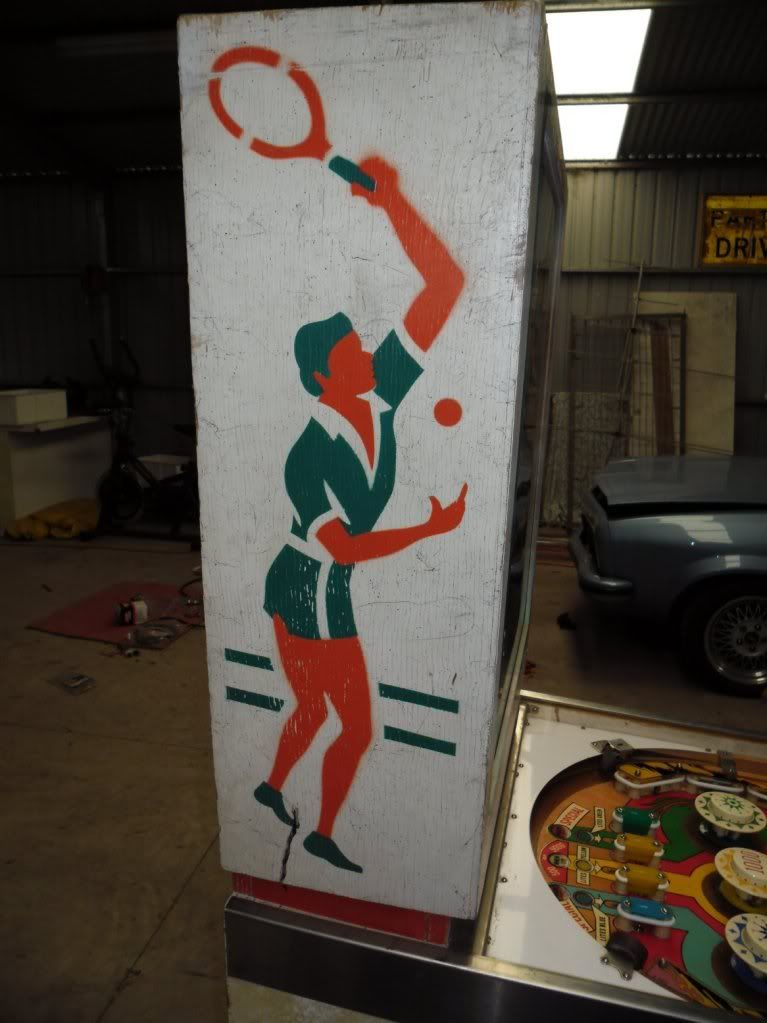
This is a close up shot of the planking, and some well endowed fellow

Legs supplied were incorrect for the game so I purchased some new correct length ones from Daniel.
The rest of the game was good, after checking and replacing a few fuses with the correct ratings I plugged it in for the first time and everything seemed to work.
The only thing missing was a replay knocker, which Daniel had a spare for me which he kindly donated, luckily the chime unit was complete as these are apparently hard to find.
REBUILD:CABINET
After a couple of games to check everything was ok, I stripped everything out of and off the cabinet.
I made a stand to sit the playfield on whilst it was out of the game, and lay everything else out in different sections, so hopefully I could work out where to put it all back.
I stripped down the cabinet with paint stripper a very messy job, let it dry for a few days then started sanding.
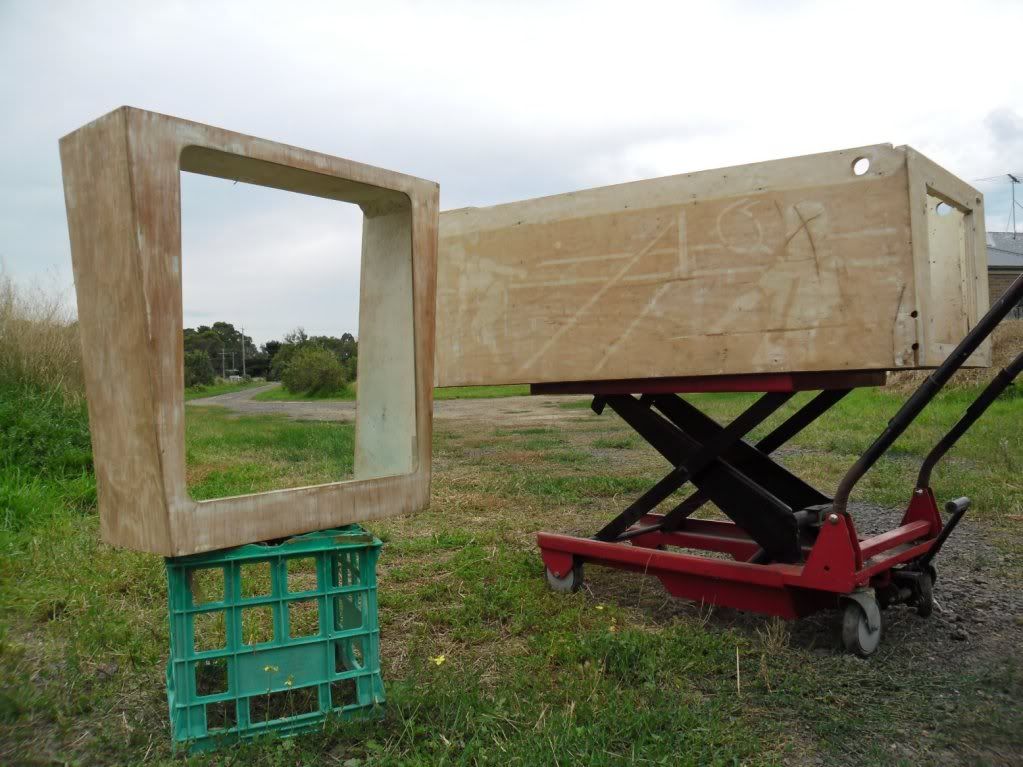
The headbox took a long time because of the ‘planking’ I had to get rid of a lot of it, then used plastic builders filler to smooth any depressions out, same on the body, After it was dry, sand, bog, sand, bog, sand…. Spot putty, sand, spot putty, sand…
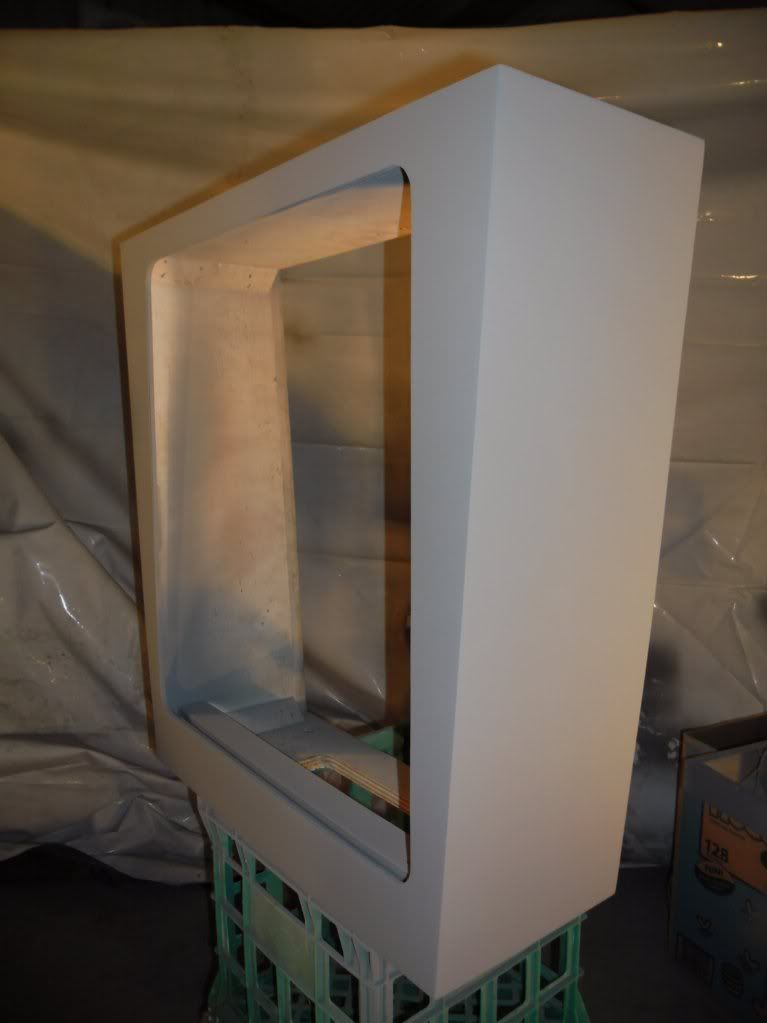
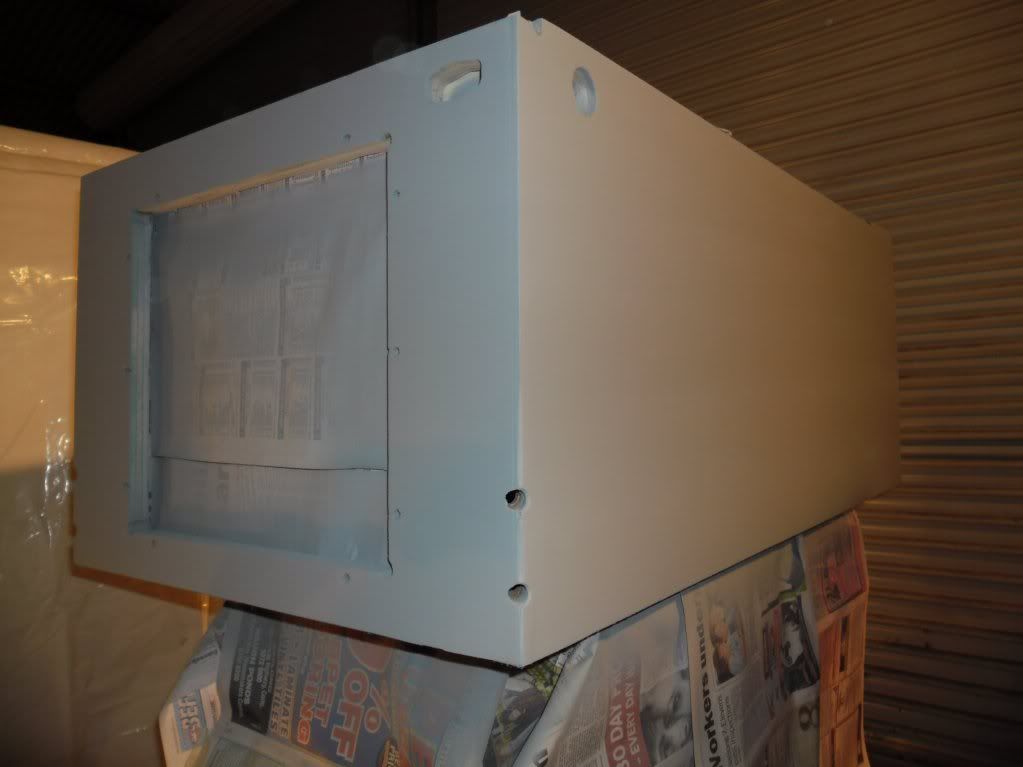
Got everything nice and smooth then lay on some primer, found a few other little areas, more spot putty, then finished priming.
This process took at least 10 hours, I had to keep telling myself that it was not a car, just timber, but unfortunately I am a bit of a perfectionist and had to get it as good as I possibly could, which after the webbing was applied I worked out I definitely did not have to be so pedantic (webbing was used from factory to cover and flaws in the timber and I wanted to keep it looking as original as possible).
I must also mention a huge thanks to Nick, who organised to get his brother Anthony, a manager of a local Paint supply shop, to colour match the colours for me. When I went back to pay for the paint, Anthony told me Nick had sorted it all out for me. Very generous thank you mate! He tells me that is was payback for a couple of ramps I made for him but I think I still owe him

After primer, light sand then onto the white, I lay down 3 wet coats then let dry for a day, light sand then another 3 wet coats.
It came out perfectly, nice and smooth, another light sand, then onto the webbing.
I wanted to produce the webbing as close to original as possible, It was originally done by spraygun at the factory, which was the way I ended up choosing to do it, I did practice with the wire brush method and the toothbrush method but both are very messy and very time consuming.
I ended up using unthinned black paint in the gun, set at 40psi with nozzle fan opened right out and paint needle screwed open too. The gun then spits out a web as you move along which just lays on the surface, which I ended up sealing down by applying a couple of coats of clear. I would suggest practicing on some white cardboard or plastic playing around with the gun before letting loose on your cabinet, but it was a lot easier than I thought it would be and if worse comes to worse you could wipe some webbing off (not the paint spots) if you did go a little overboard in one area. But it is not really necessary as if you go slowly, you can always add more as you go until you get a satisfactory job. I chose to use the flyer as a rough idea on how much webbing to apply and a few photos off the net. I had seen some cabs with more webbing and some with less, I chose to go somewhere in between.
So then to seal in the webbing as stated before I lay down two wet coats of clear, ready for stencils, if I didn’t do this the webbing would definitely be removed when I removed the stencils.
Stencil time…
Gav’s stencils are easy to apply, just peel off, line up, apply, press down around paint edges then remove backing paper. The large ones for the body need a helper to support. The stencils for the sides of the headbox were about 40mm to wide so I had to trim 20mm off one edge to line up with the edge of the cabinet. Other than that they were great. Mask off the rest of the cabinet then apply the colour.
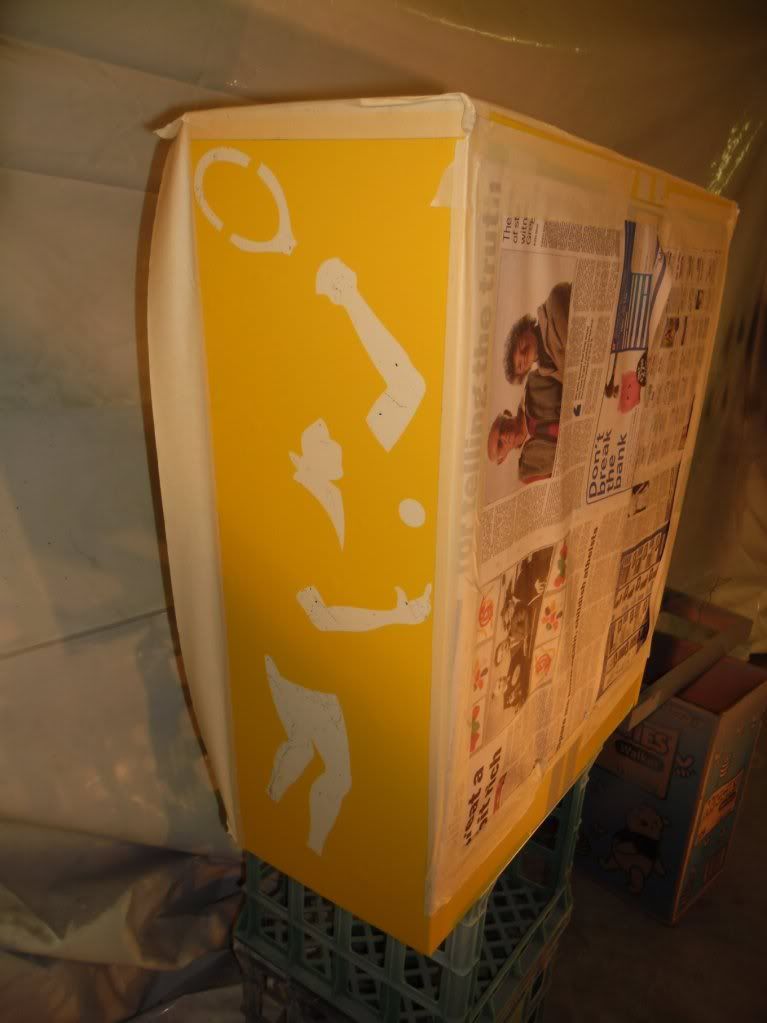
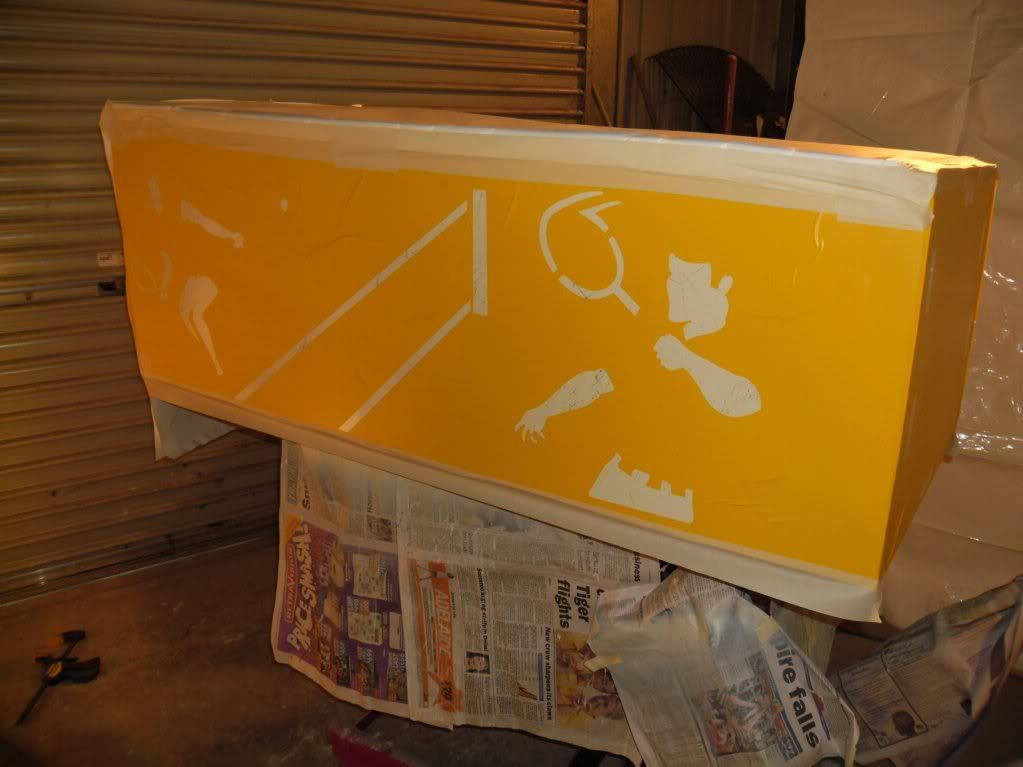
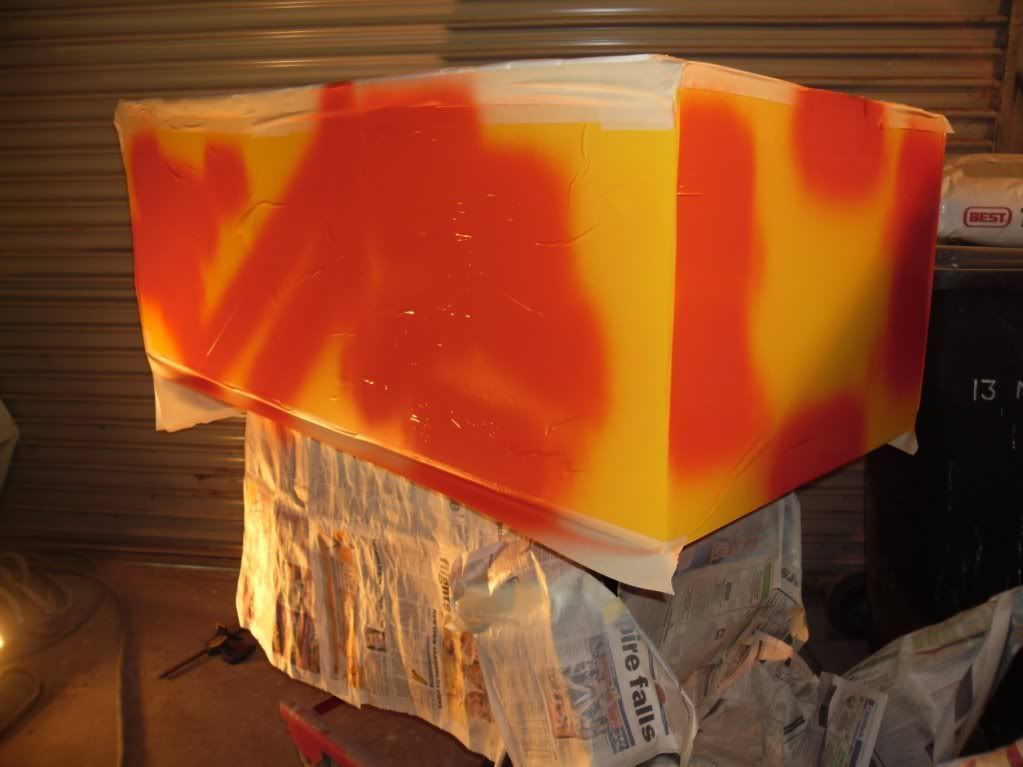
The paint was touch dry in about a minute, so I waited until I had cleaned the gun out, about 10 minutes, before removing the stencils.
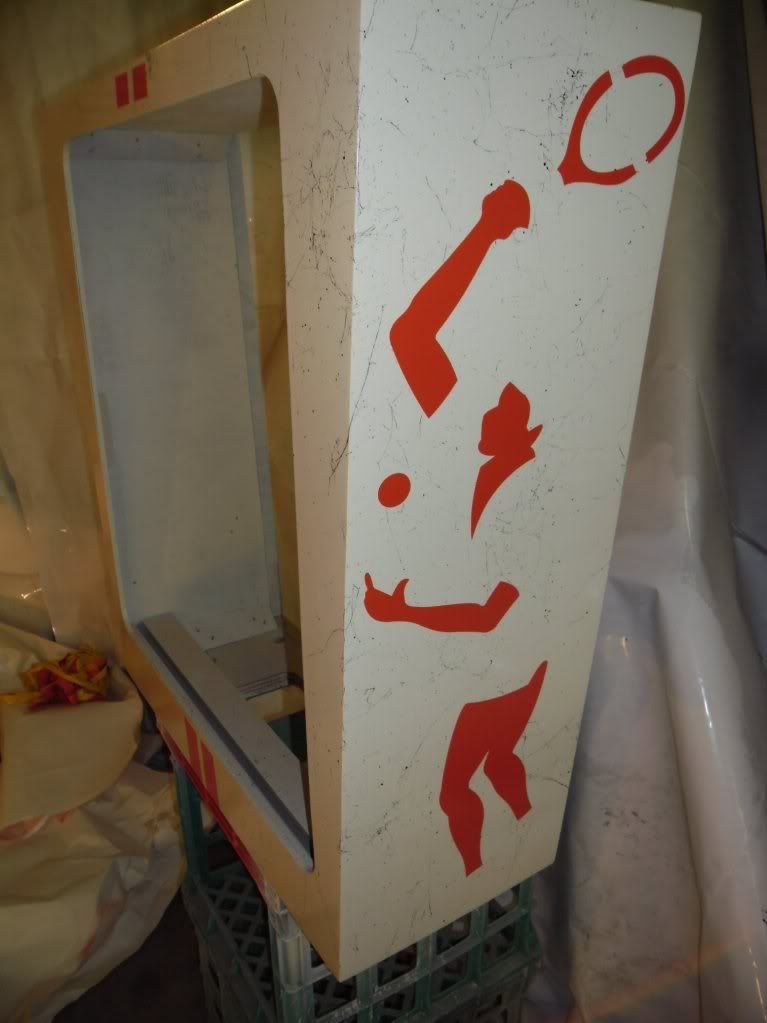
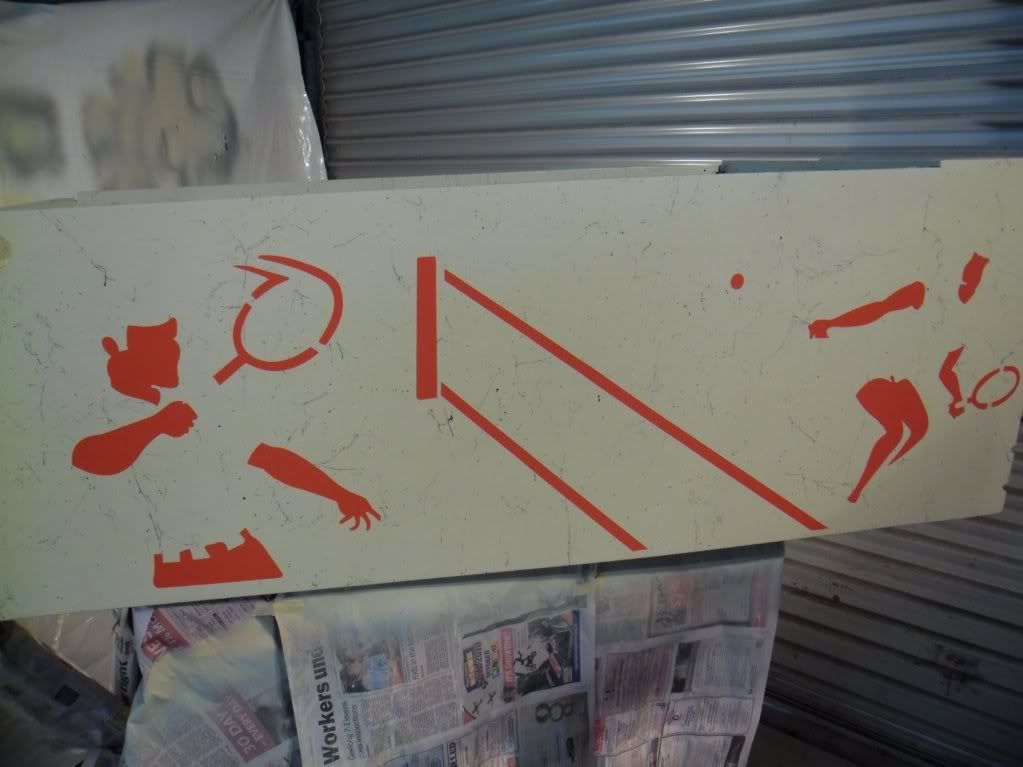
A couple of coats of clear were then applied to get ready for the next stencil. The green took me about 5 hours to do. It was a little tricky lining up the stencils in exactly the correct place, luckly the stencil are very good quality and could be removed and restuck if I had only applied the bottom sections to check alignment. Also the green on the front of the backbox is very close to the edge so it was a little tricky to get the stencil to stop from falling into the area where the glass sits. I ended up taping it from the back.
I then applied 4 coats of clear, I was happy with the result but it was a little too glossy as can be seen in this photo:
I thought I’d see how it would look if I added some satin into the clear to take the edge off the gloss, and make it look more original. Another two coats and here is the finished result:
PLAYFIELD
I considered removing the contact/mylar, touching up the artwork then replacing the mylar, but after a few suggestions not to, and Nino popping over to look at it first hand, he thought removing it would definitely lift the paint, as it was in good condition other than the small dots of missing paint the lifting wood grain would definitely result in more dramas than any good.
I really didn’t have the time for that anyway, I started removing the woodgrain film in the shooter lane, it looked like it had been there since the pin was new! It looks like a ball has never touched the shooter lane.
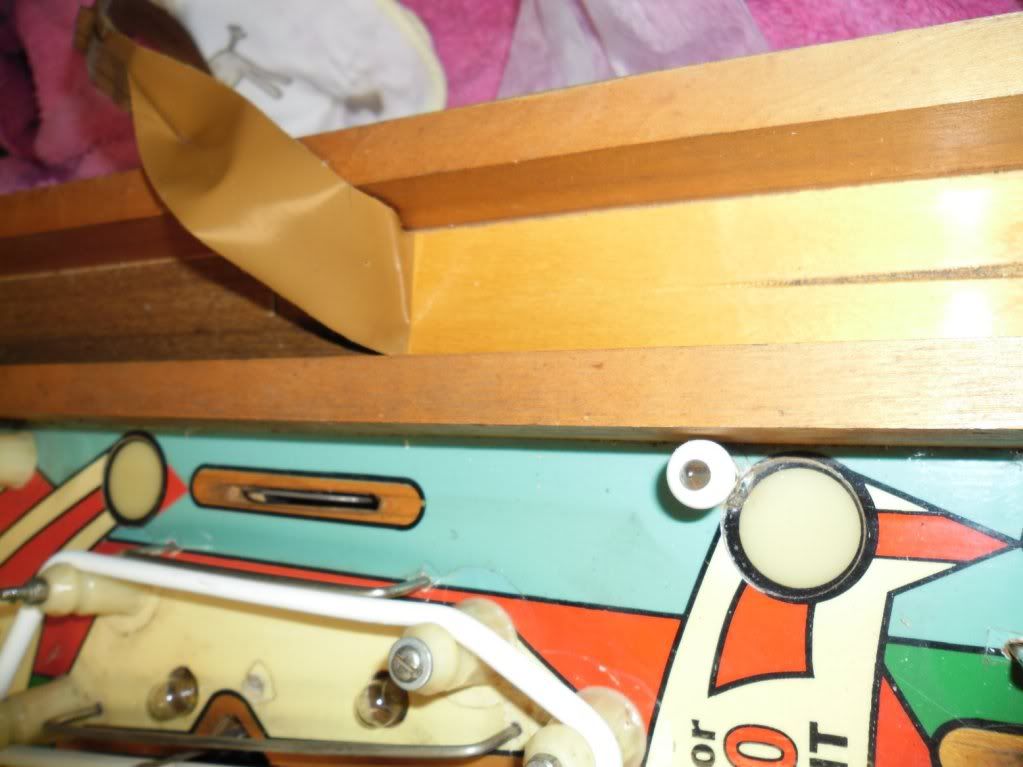
Gave it a good clean and wax to keep it from future wear.
The ball arch area was also good, very little wear before the contact/mylar was put down tiny spot next to the rebound rubber, but amazing for its age.
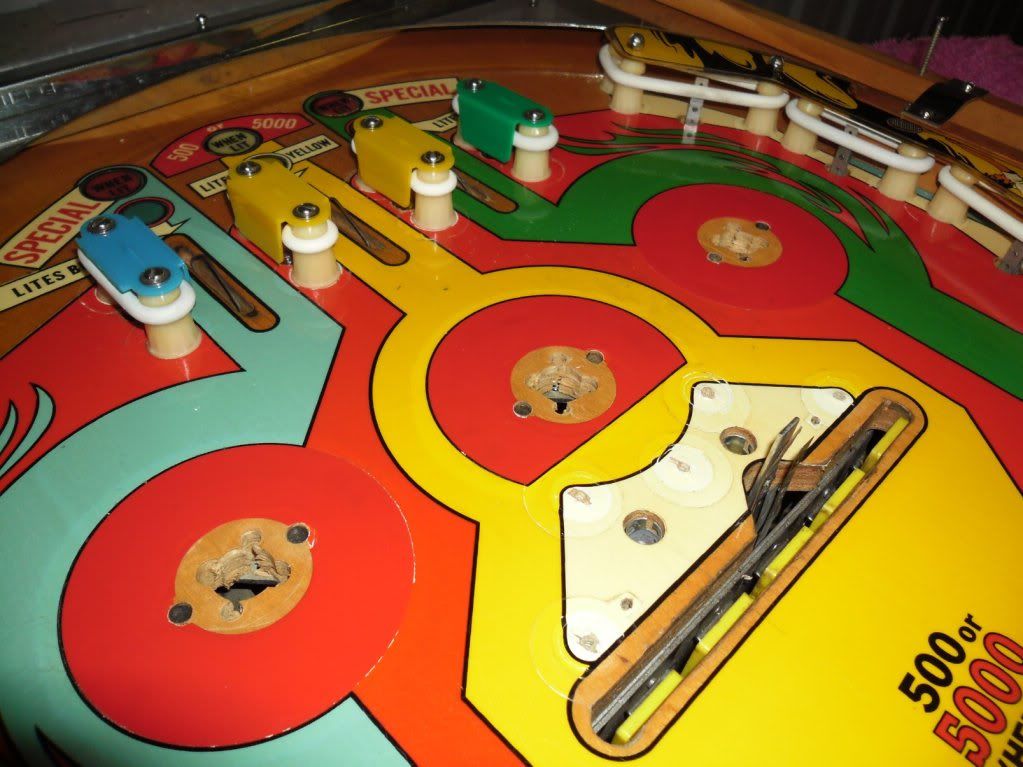
The woodgrain film covering the pop bumper areas was removed uncovering the typical wear
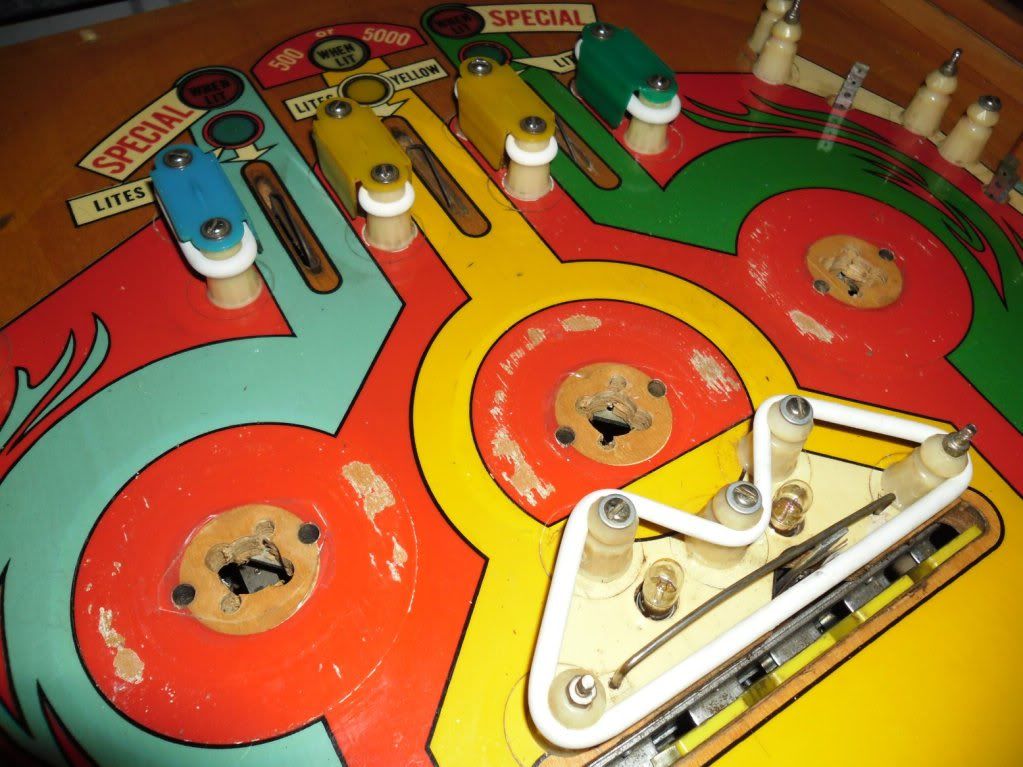
Greg made me up some vinyl rings to cover the wear…
Playfield was cleaned, posts cleaned, metal polished, I flattened plastics out using a heat gun then made some protectors for the lower ones to prevent any damage.
Gave the area under the apron a tidy up whilst it was off.
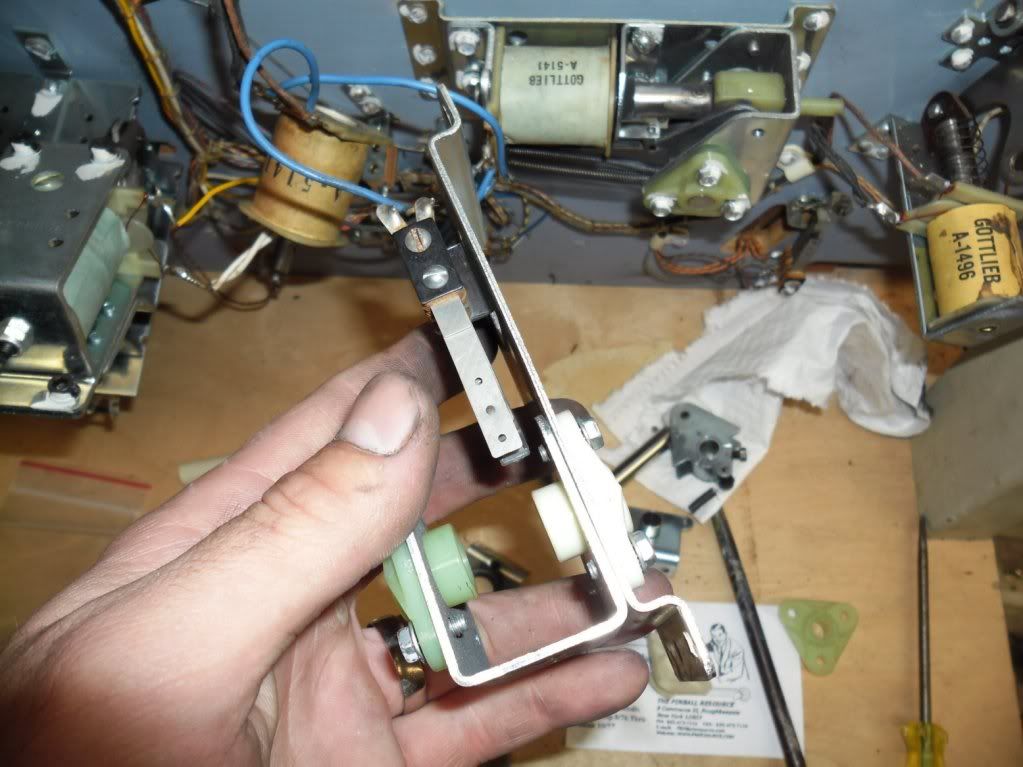
Flippers were rebuilt with a PBR kit, including new end of stroke switches, coil tubing, plungers and tips, return springs and flipper bearings.
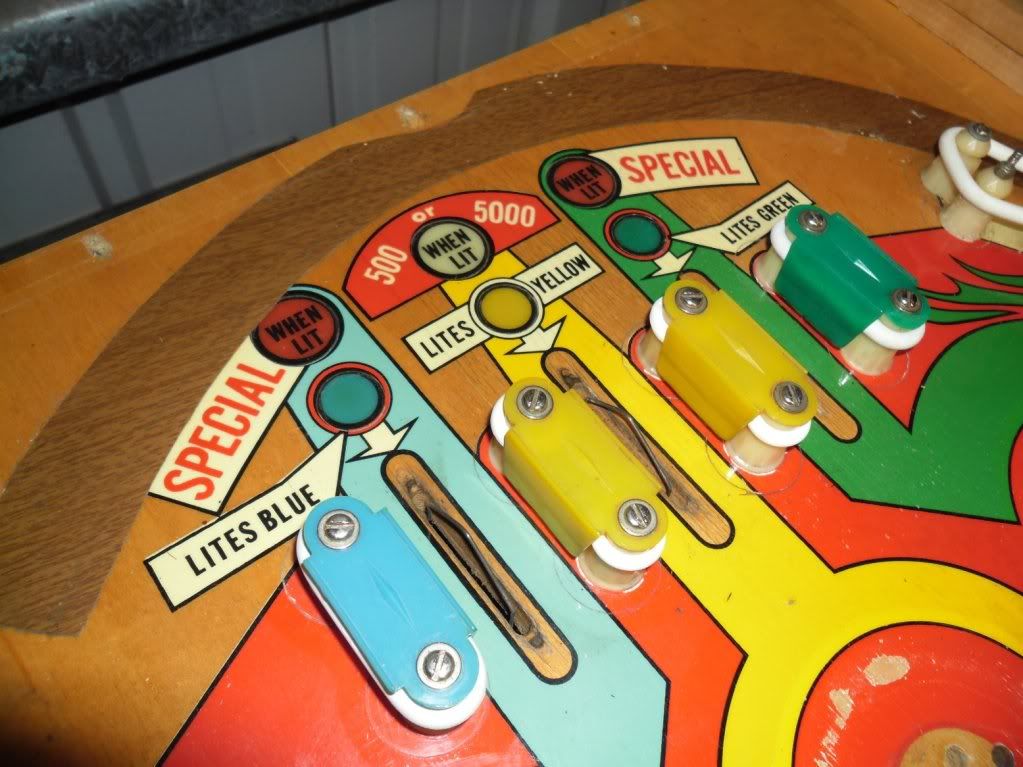
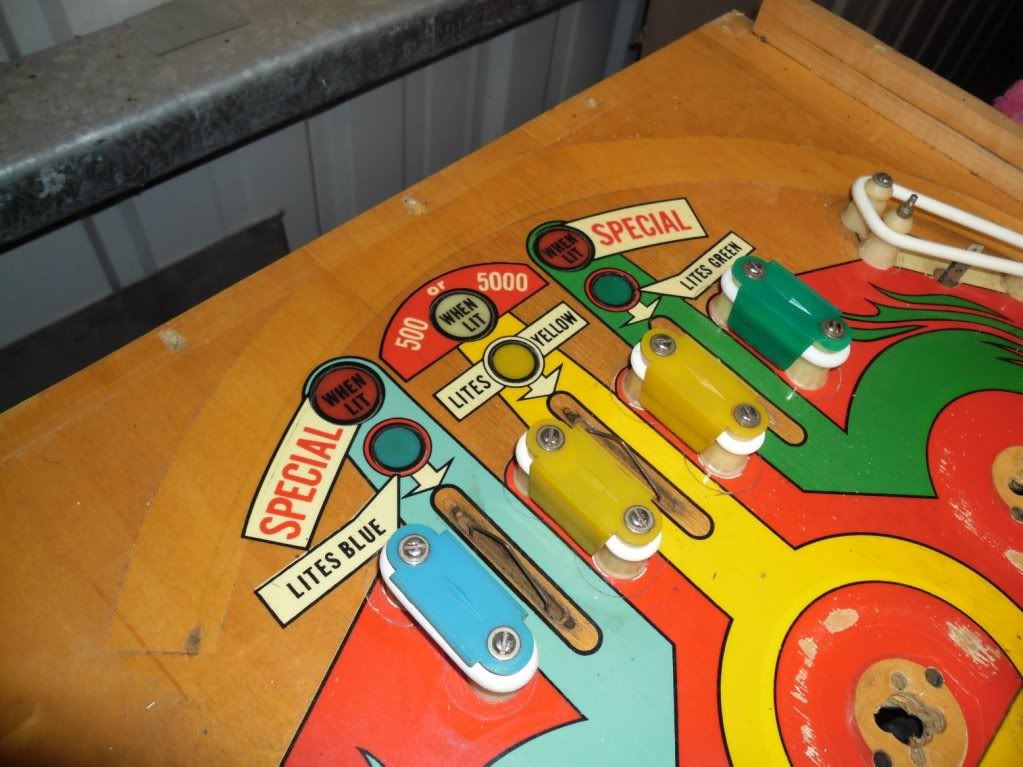
Greg also made me some decals to freshen up the drop targets as you can not clean them the original paint just wipes off as I found out.
He made me heaps of black and white stars and clear mylar covers

They were fiddly to apply but came up great. I just cleaned the targets with Novus 2 which removed all the original paint then I used the outline of the ‘hot stamp’ impression to line up the decal then applied the mylar covers to make future cleaning easy.
Unfortunately during cleaning I snapped the middle yellow target,

obviously brittle after years of hits, luckily Daniel came to my rescue, he had an old yellow target with a blue star, I just novused off the blue paint and put the black decal on. I cant believe what a pain in the butt it is to remove and replace a single target, solid units but not made easy for maintenance. Took about half an hour to swap out.
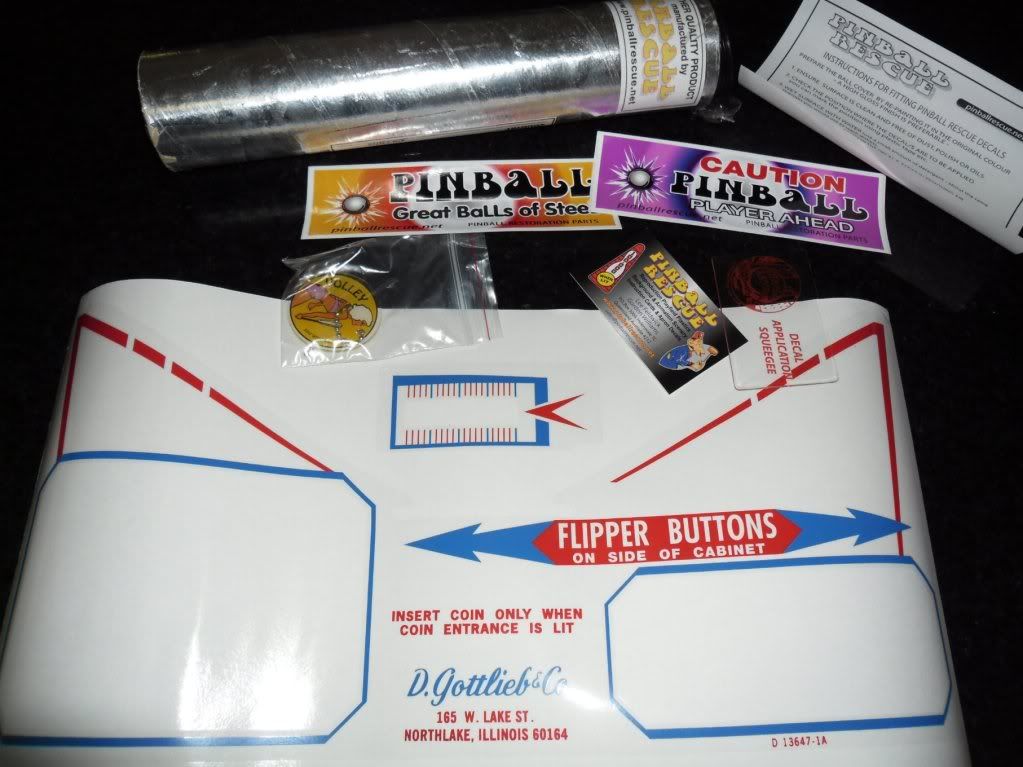
With everything looking so good, I decided I couldn’t very well leave the apron as it was and gave it a freshen up as well. I ordered the decals from Lee at Pinball Resource. They have recently released reproduction Volley Plastics, luckly my originals are in great condition, but I asked Lee if he had a spare key chain to finish the game off, he found one for me and threw it in with my order for free!
Everything arrived nicely packaged, decals, applicator, backing paper, instructions, key chain and a couple of bumper stickers

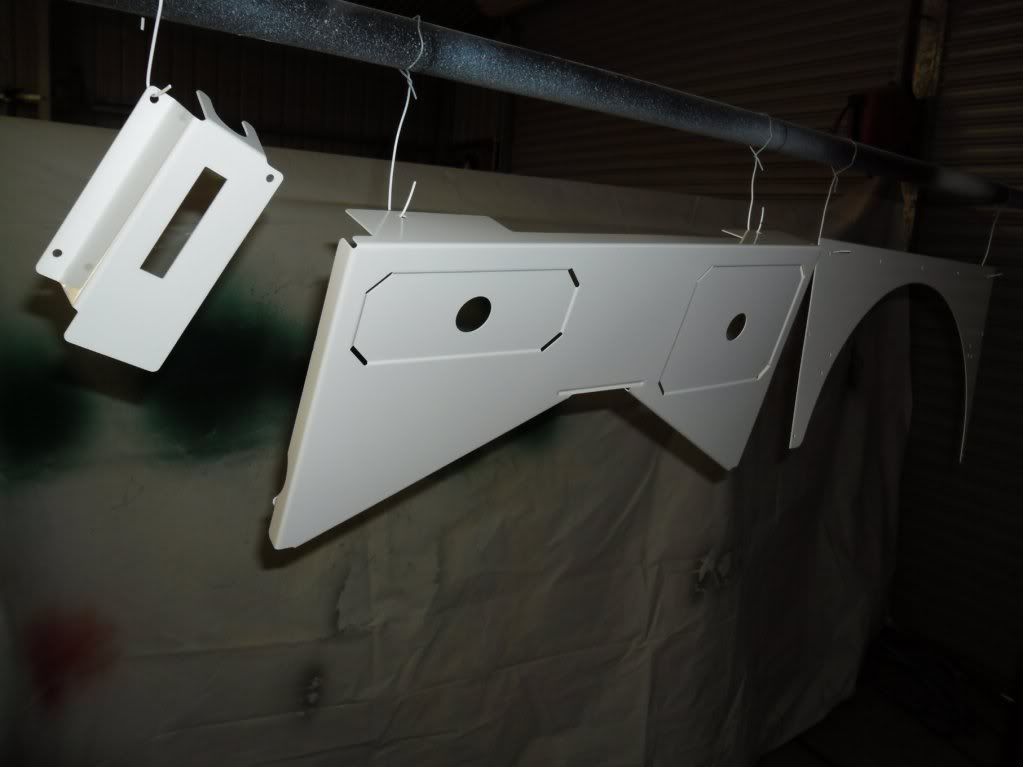
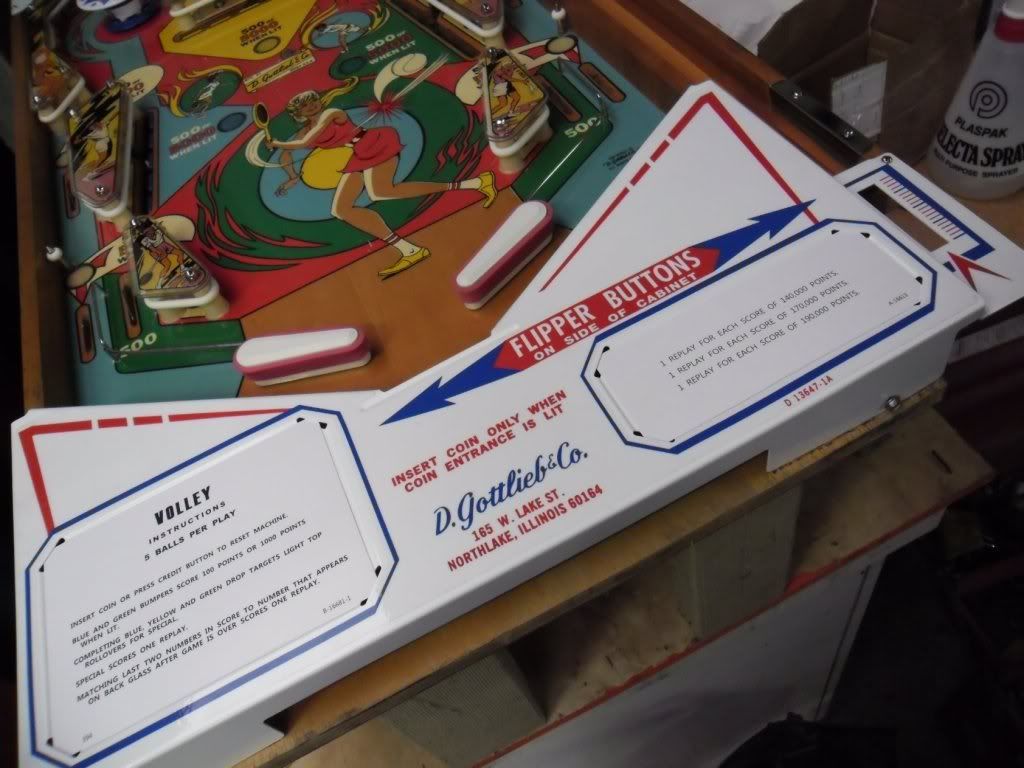
I sandblasted the apron, shooter gauge and ball arch back to bare metal, applied primer, sanded back smooth, applied 4 coats of white and sanded back then 4 coats of clear then let dry for a week and applied the decals.
I had to make up my own score and instruction cards as Peter is yet to do them for a Volley, I printed them on cardstock, cut them to size and popped them in.
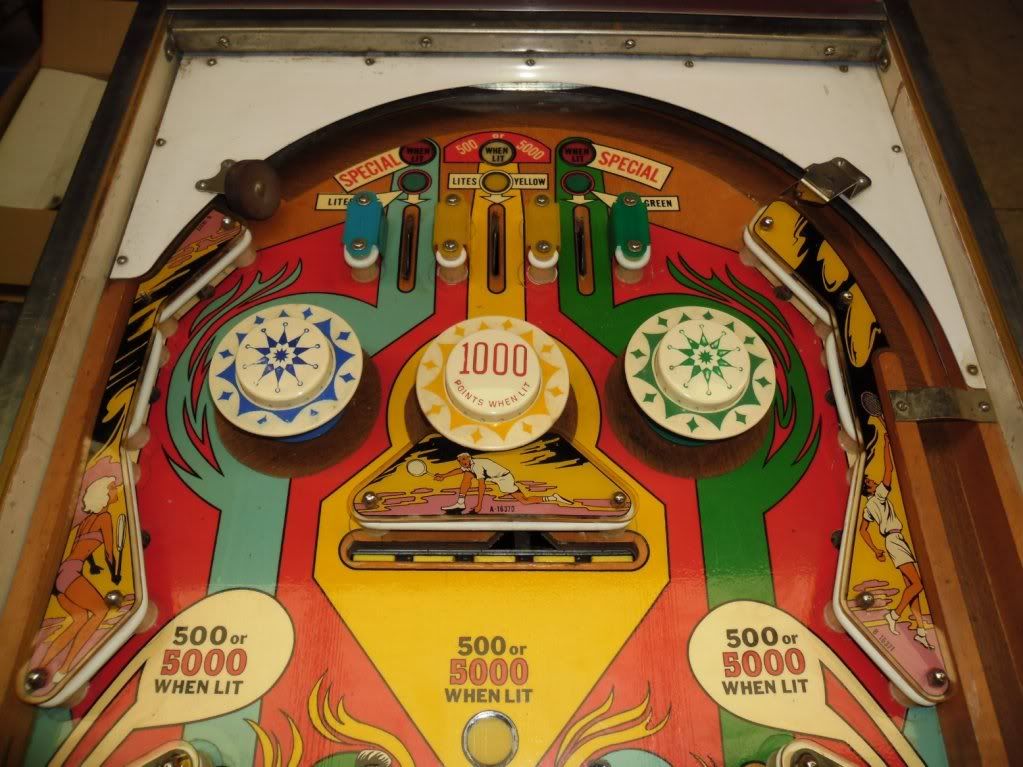
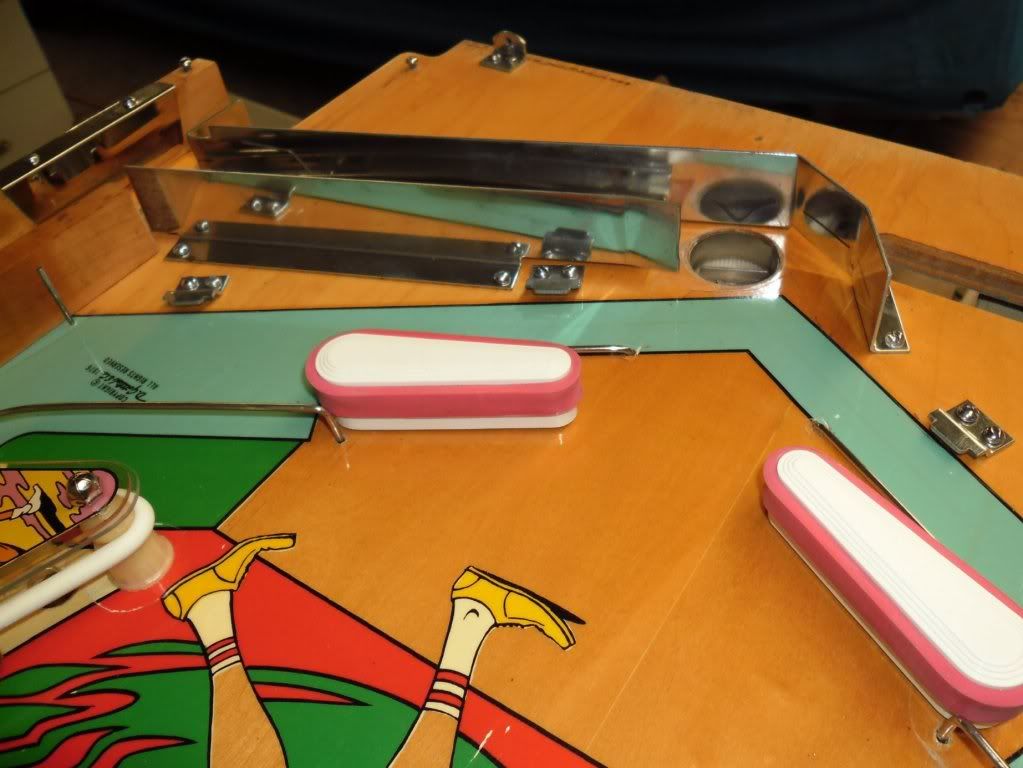
Pop bumpers were rebuilt with new bodies, skirts, coil sleeves and caps.
Lane guide plastics replaced.
Ball arch gate and rebound post polished up and new rebound rubber applied
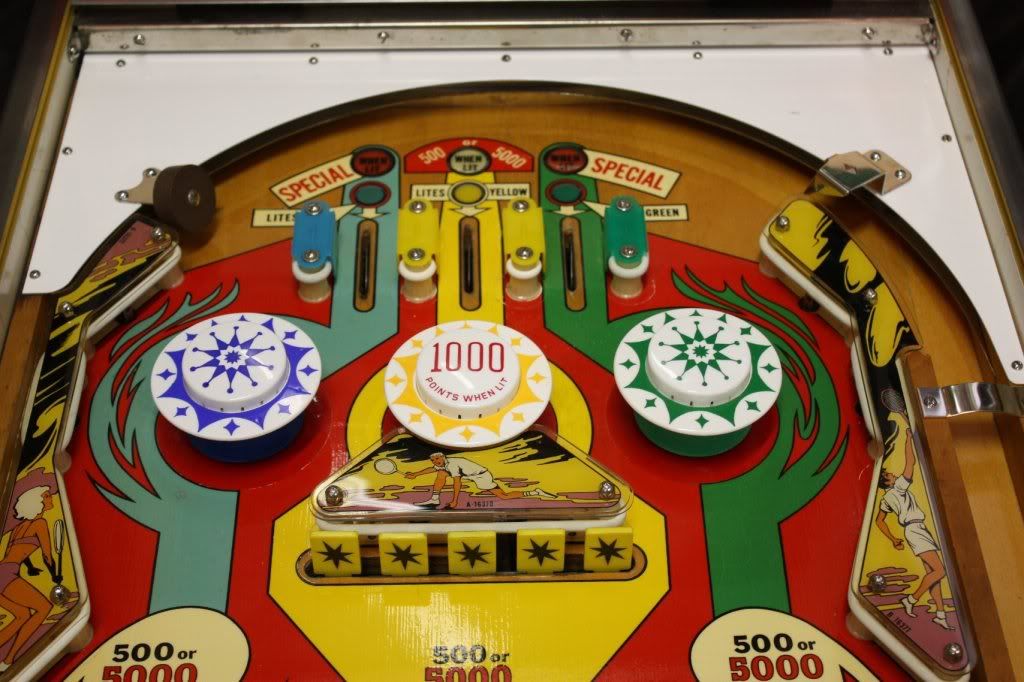
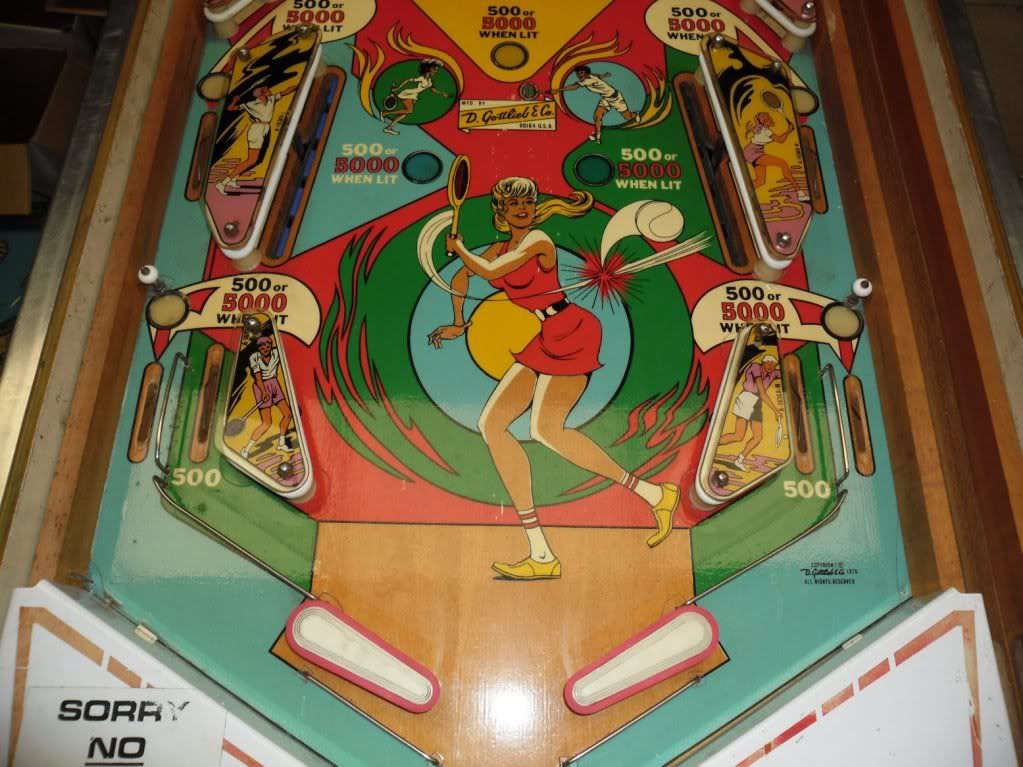
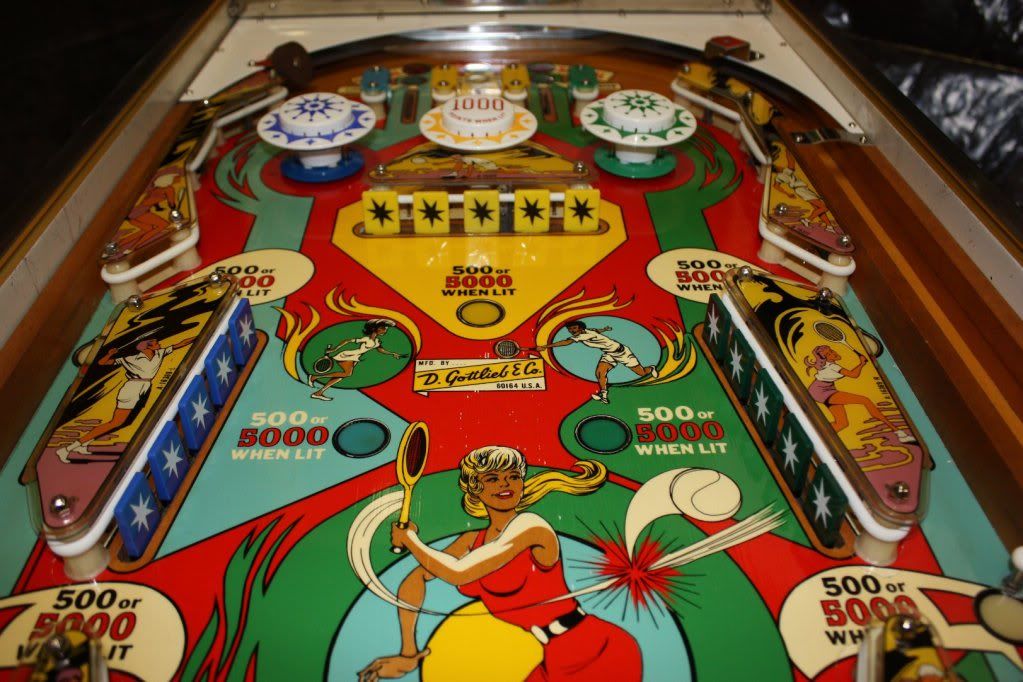
A couple more Playfield shots
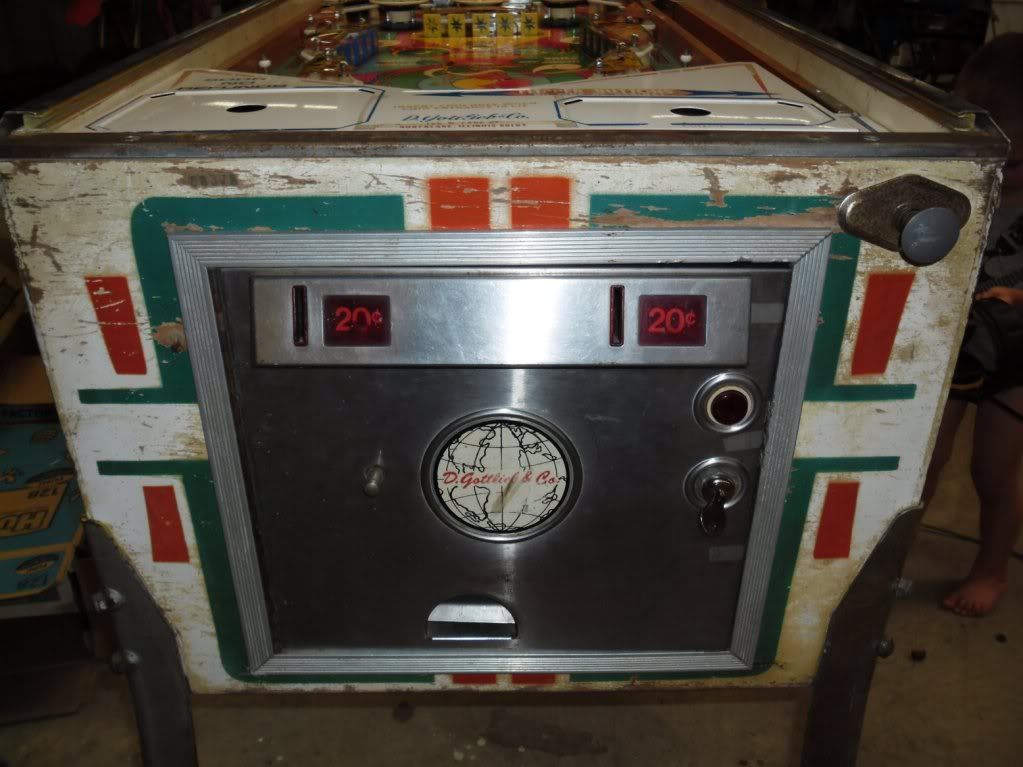
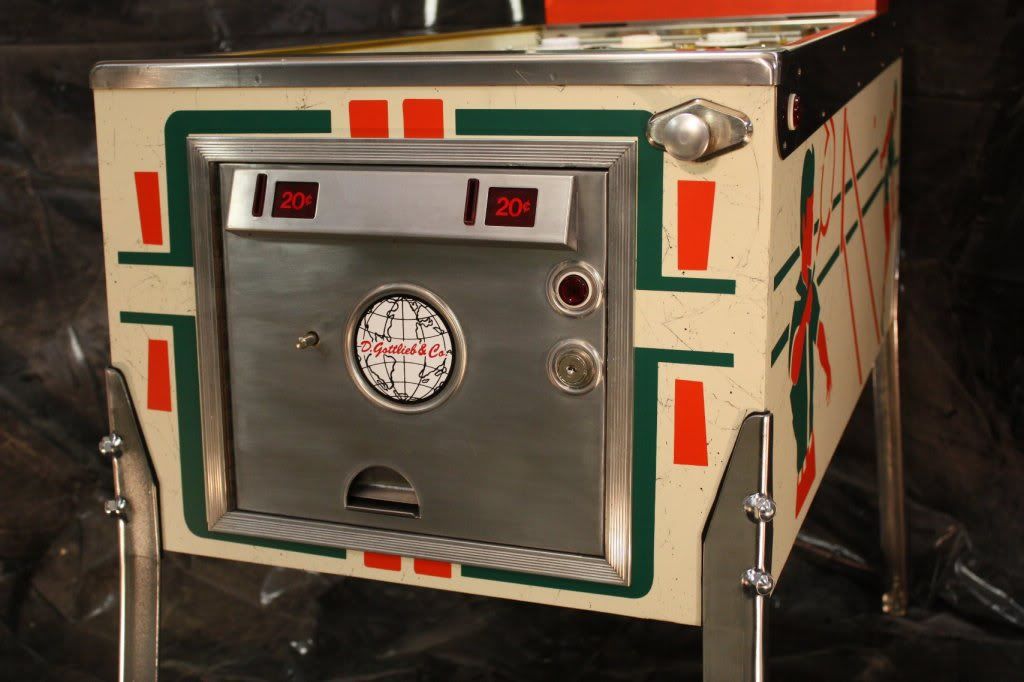
Coin door, lock down bar and side rails were re-grained and replaced, coin door also received new button and decal.
New shooter assembly too.
Head box mechs replaced, new foam applied to pretect the glass and all bulbs were replaced with #47s to keep the heat down a bit, hopefully preventing any future damage to the artwork.
New legs, leg levellers and bolts polished before attaching and the game is complete!


