After visiting with Modders-inc.com at Quakecon 2013; Lockman, MrRed, and I picked up a donor head from DonW in Garland. Don graciously donated this head to the Mirror Universe project. Very much appreciated these guys help in getting this head to Austin.
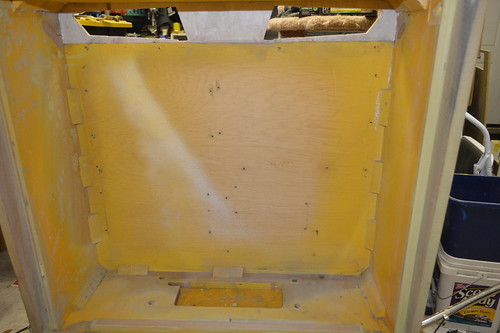
It started life as a Supersonic head... and was a rough from a paint flaking/ding perspective. All of this mattered nothing to me... as it was going to be dye/stained black just like the cabinet. Here are some before shots of the head:
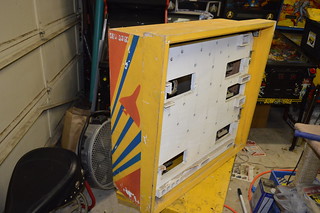
The back vent hole were coming apart; good because I wanted to improve the ventilation anyway...
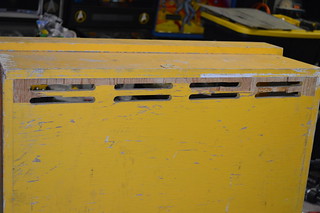
I went about destructing the head... to create new vent holes. Since eventually I plan to put more than just the original boards in the head... I decided I wanted some active cooling (IE DC FANs)... What better way to integrate vents... but using something from the Enterprise.
Using the great work by colosseumbuilders.com, I recreated the Enterprise's impulse engines in CAD using the following as a guideline:

The resultant CAD file yielded the following rendering of the DXF file. In order to practice for the upcoming Playfeild CNC work; I wanted to practice with by CNCing out these vent holes in the Russian Plywood. Ken and I went to Techshop.ws this past Saturday and CNCed the back vents:

Once I got home; Saturday night I began re-assembling the head:
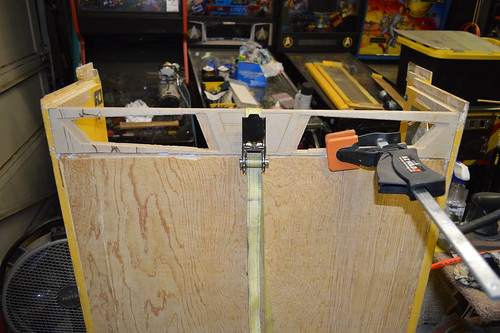
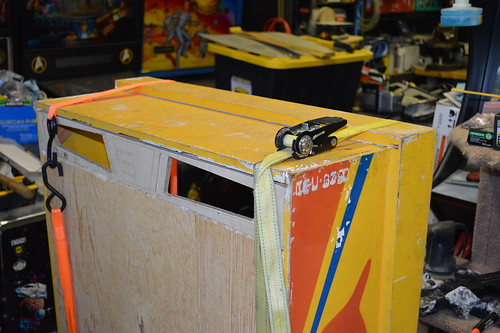

Then I lightly sanded and vacuumed the inside of the head to prep it for interior paint:
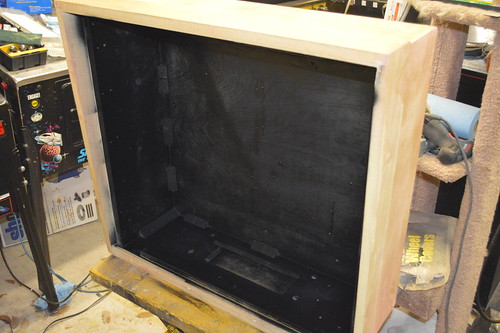
This time I decided to paint the inside prior to staining the outside; so:
After the interior dried; I needed to replace the Veneer which I removed during the deconstruction phase.

I thought about going to woodcraft to get it; but really; I didn't want to drive 30minutes in traffic... so I opted to get the iron-on type from Lowes. It comes in a roll; and you melt the glue with an iron.
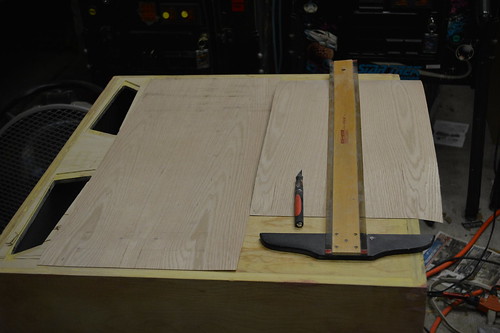
The smaller roll of veneer was on clearance; so I opted for it... but turned out to be a hair short. I filled the seams with Plastic Wood filler so the seams wouldn't be visible on the back without a close inspection.
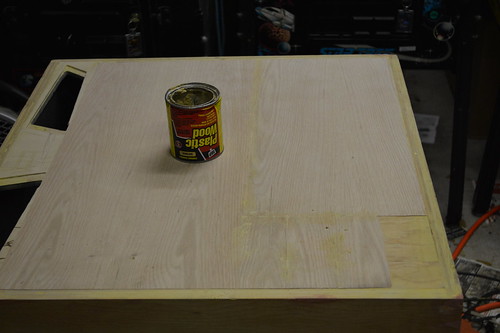
Not sure what I'm going to do about the small section... worst case I'll apply a patch after-the-fact.
After some lite sanding with the orbital sander the back and the head was ready for the Black Dye:
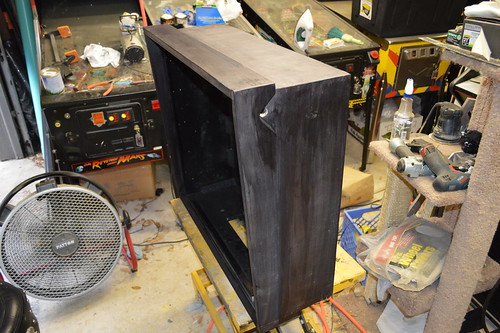
followed by the Black Stain:
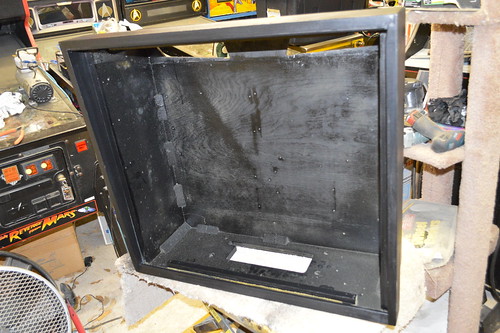
Even the bottom didn't escape the black of space...
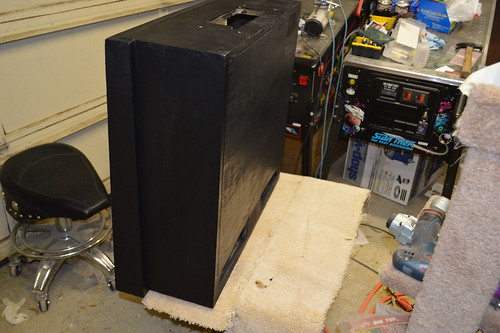
The plan is to let the Stain/Dye cure overnight. Then I'll begin to spray the Polycrlic Satin clear coat over the stain to seal the wood and prep is for future Stenciling.
My head did not come with any of the
metal trays for the displays... if anyone is parting out a early 80s Bally Solid State machine... I'd very much appreciate the opportunity to obtain these trays for my Nixie tube displays. Please PM or email me. Thanks!