This is an interesting restoration that I've been working on recently, but I have had not enough time to post a thread on. I'm quite a way down the track, but the story about the machine needs to be told first.
BackgroundThe machine was part of a container I imported a while ago, with a view to start a full restoration. The cabinet was faded and scratched, and definitely needed a full decal replacement. A friend of mine had a really nice Funhouse "restored" locally, but he was unimpressed with the redecal job. It was horrendous. He wanted the cabinet redone completely. So I struck a deal and swapped cabinets, as the redecal job was of a poor standard, but BETTER than the crappy cabinet I had imported. So when he had his cabinet redecalled professionally, I swapped out the hardware and thus inherited the poorly redecalled cabinet for future use. After all, it was better than a used and scratched cabinet ! So the machine has been sitting in storage until an AP member requested a Restored Funhouse. The cabinet pictures would have looked ok, but there was so much "wrong" that in the end, I could not put my name on this restoration. We already scoped out a repro playfield, plastics etc, but the cabinet was the weakest link. So we decided to redecal the cabinet CORRECTLY and with "Next Gen" authorized cab art. This had become a "High End Restoration".
ObjectiveFrom a reasonably "High End Restoration" to a "Nearly in Box" restoration. New cab decals and playfield is part of the restoration.
ConditionPlayfield - 5/10. Typical container playfield. Worn, planking and faded.
Cabinet - Original 4/10. "Professionally restored" cabinet 5/10
Electronics - 9/10. Really nice boardset for its age
Before PicturesI didn't take pictures before dismantling. The playfield was fully populated and the cabinet was swapped over.
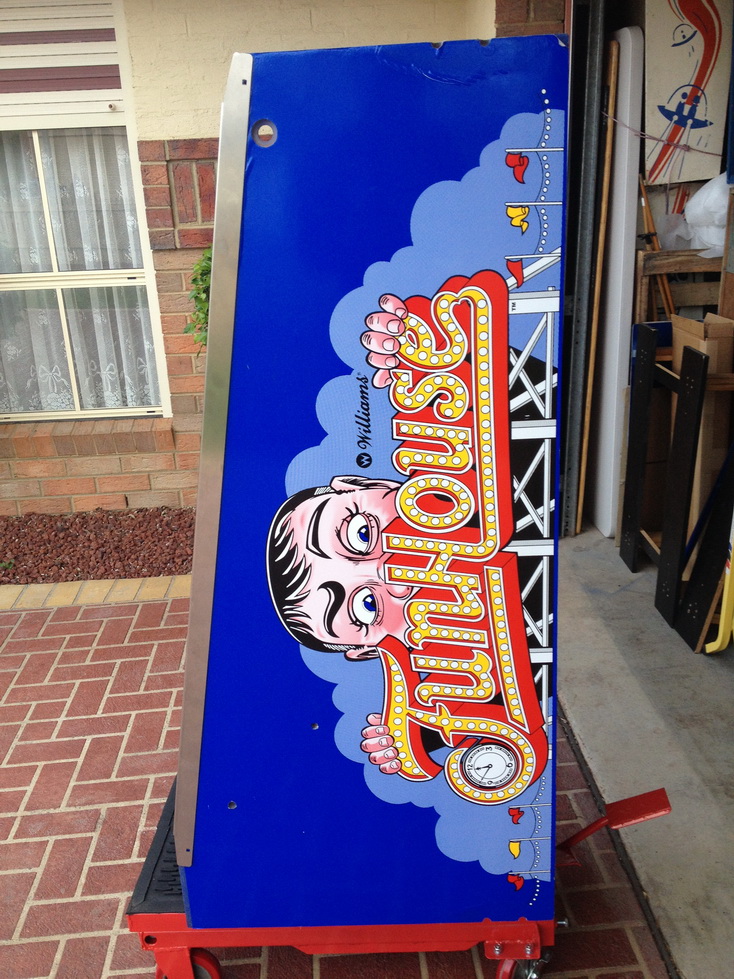
The CabinetThis is the replacement cabinet that was "professionally restored". The decals are not Next Gen or Screenprinted from Phoenixarcade. The decals were supposed to be the supplied Phoenixarcade, but they clearly were not ! There is NO preparation work. There is no repainting other than really poor hand brushing in some areas - and even that is incorrect - wrong color and finish. Inside of the cabinet was not even vacuumed. This is easily the worst redecal job I've ever seen.
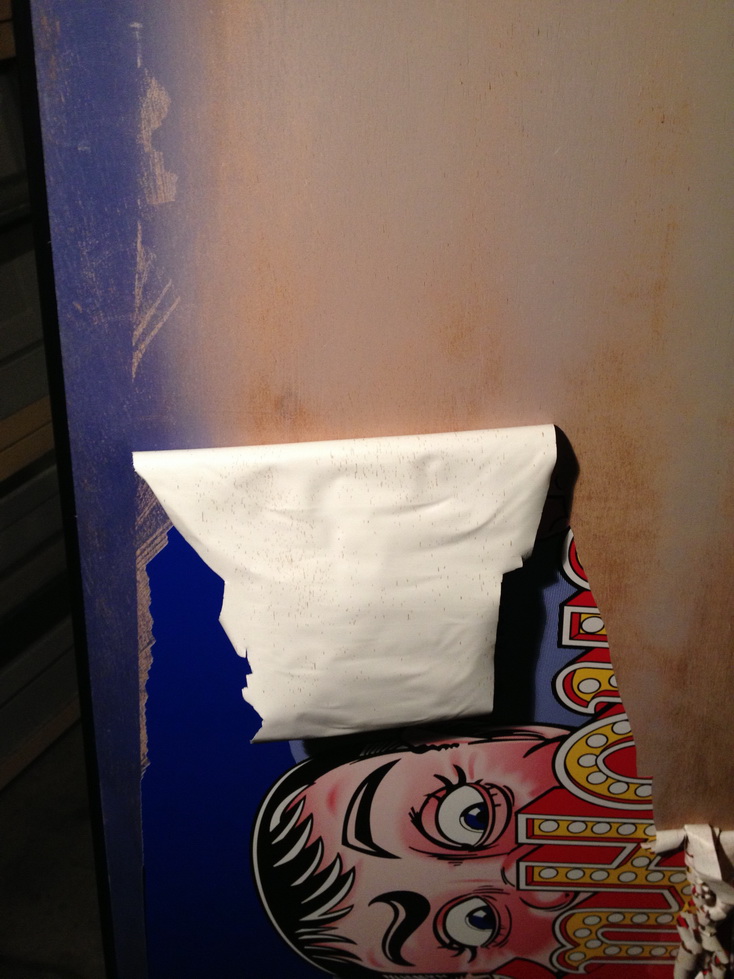
The left side of the cabinet is an example of where this type of work should be left to people who know what they are doing ! The decal is peeling off the section need the front leg holes. There's considerable creasing from around the leg area, and the most alarming parts was the separation of the decal from the cabinet under the siderail. It follows the siderail halfway down !
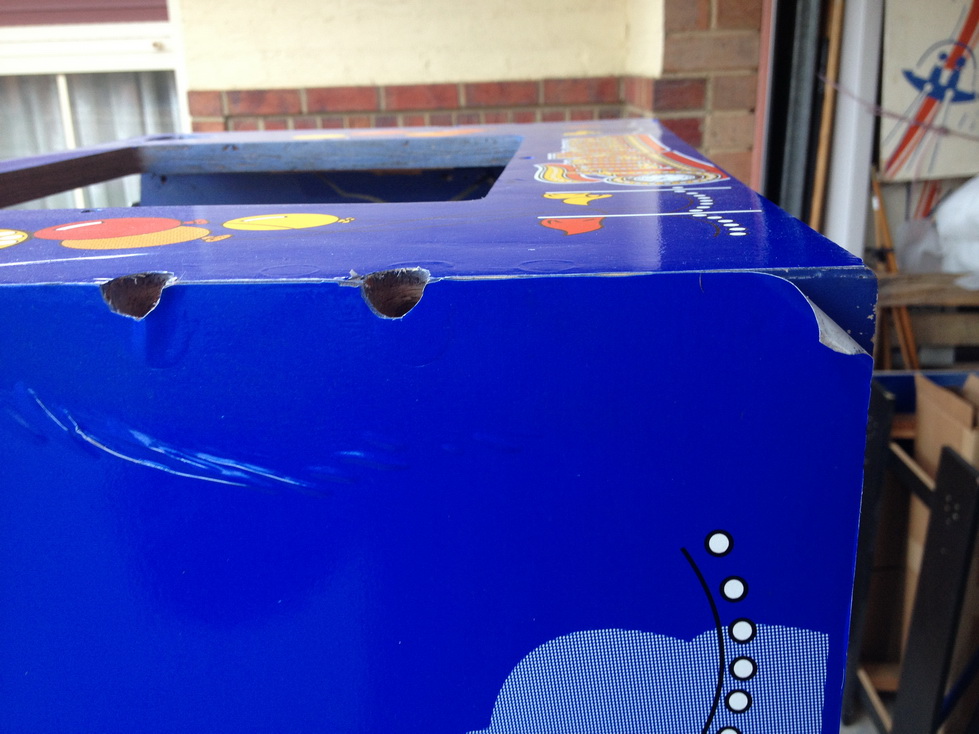
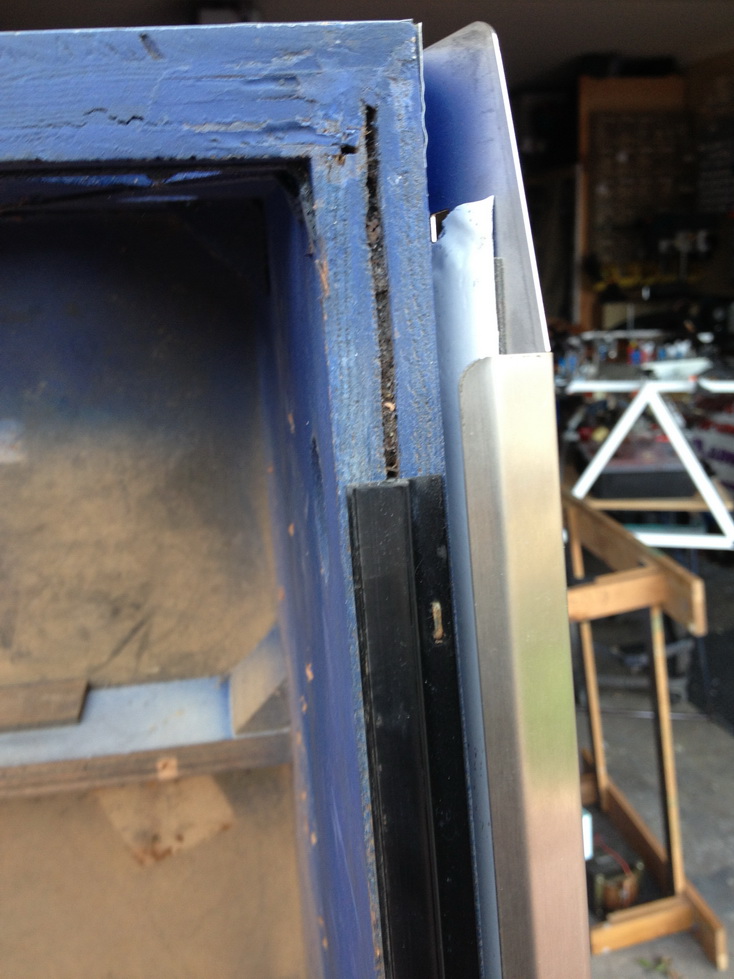
The headbox was a mess. Again, the sticker peals off with ease, and the lack of ability to repaint the cabinet is alarming !
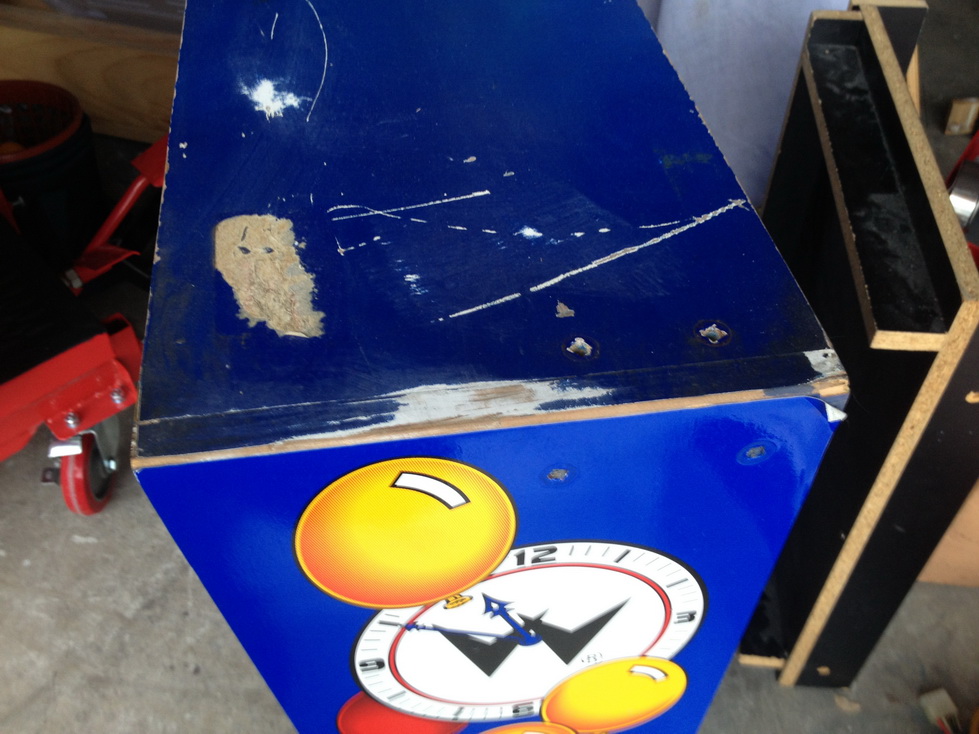
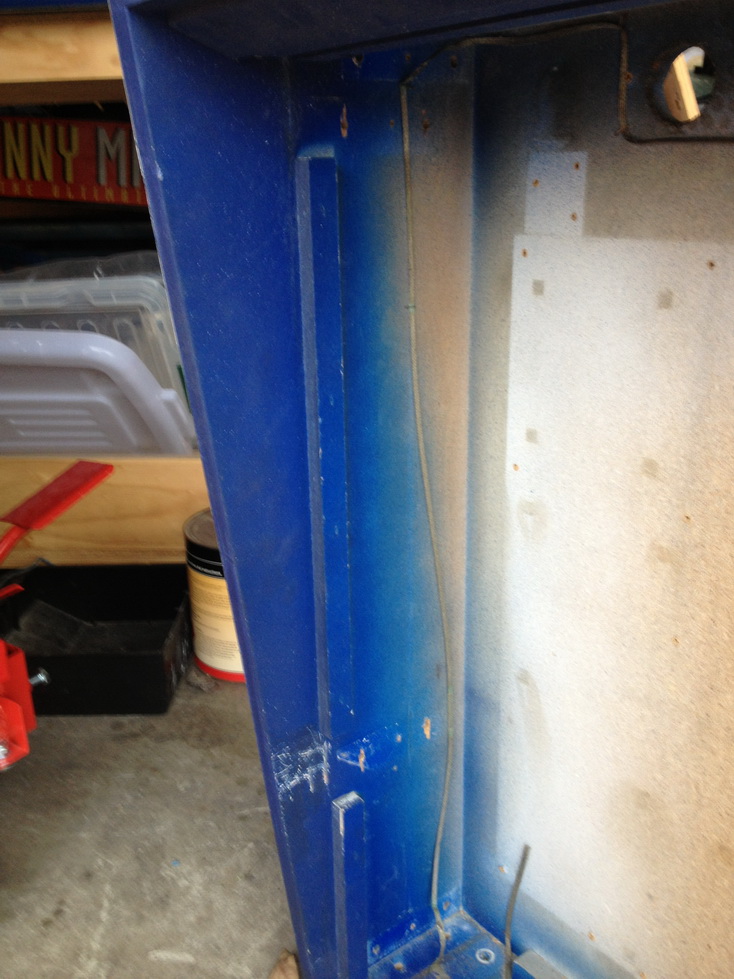
Back to the front of the cabinet. Pictures speak for themselves.
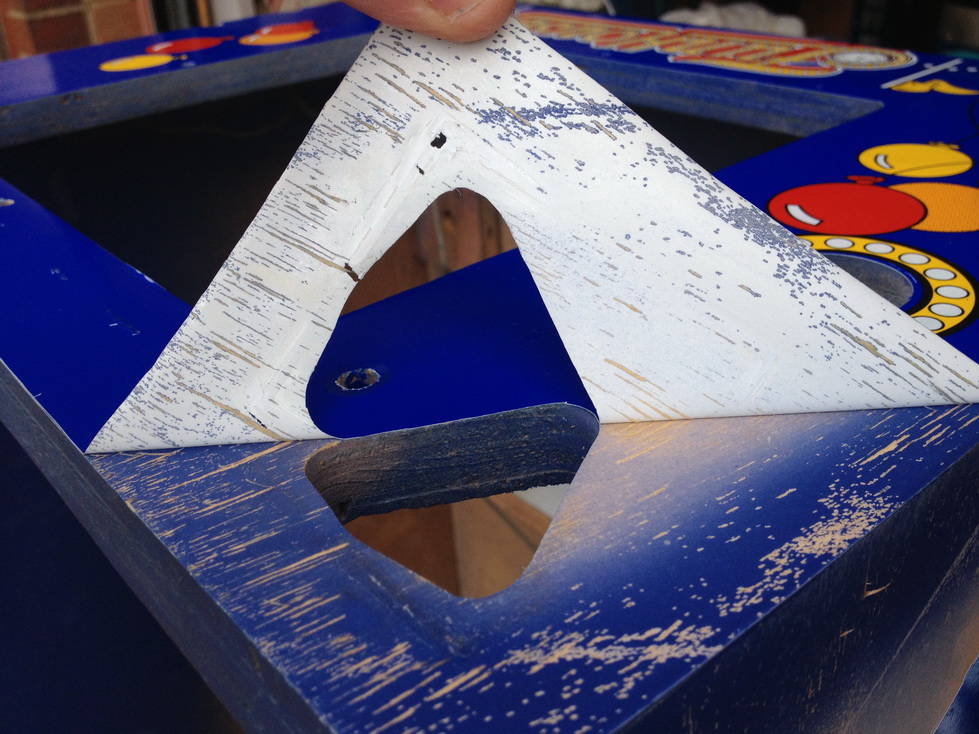
Took around 30 minutes to remove the stickers. Really poor quality !
I spent a few hours repairing the really poor "repairs" to the cabinet. It looks like the cabinet was a "trial and error" for different products. Eventually, I sanded the cabinet and straightened it up.
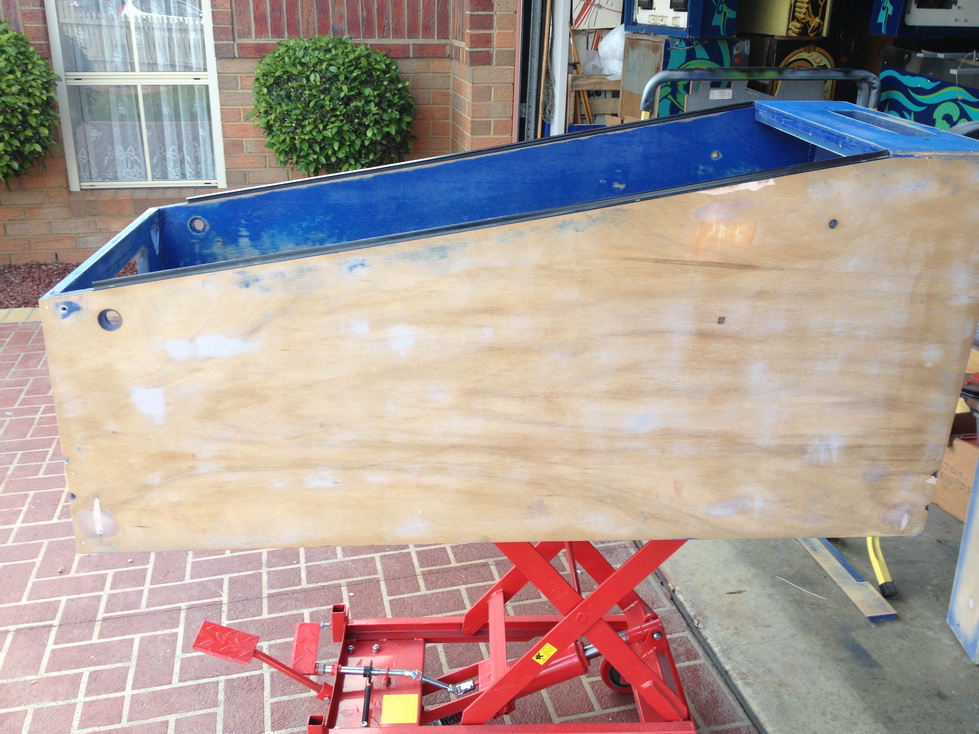
Primer / filler is applied.
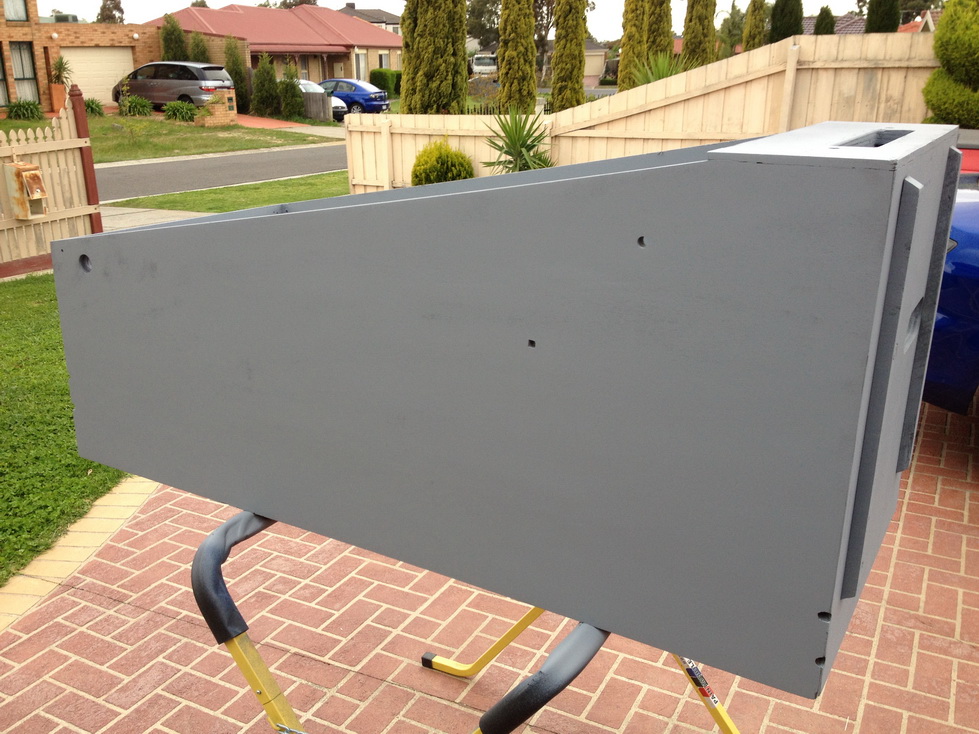
First coat of base is painted correctly. Color was matched from my HUO Funhouse I had years ago.
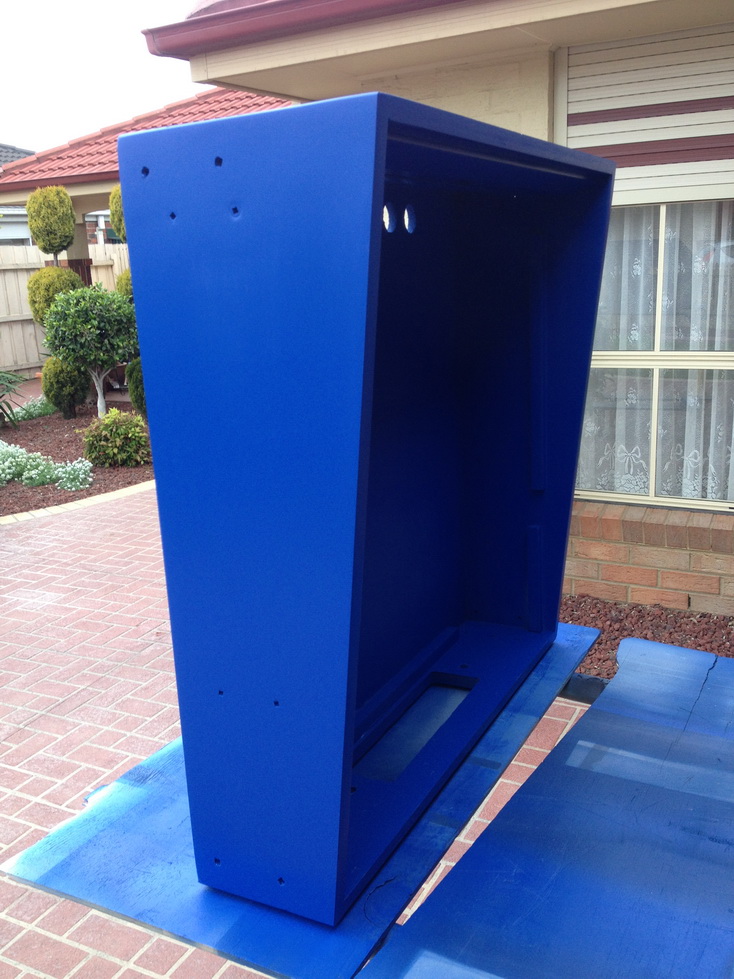
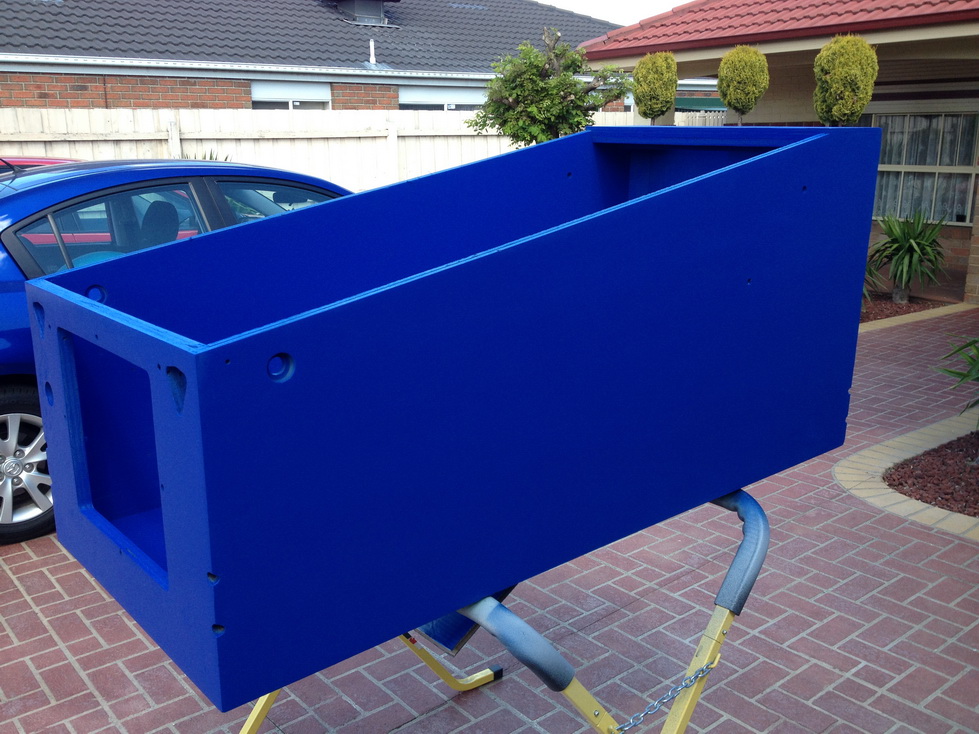
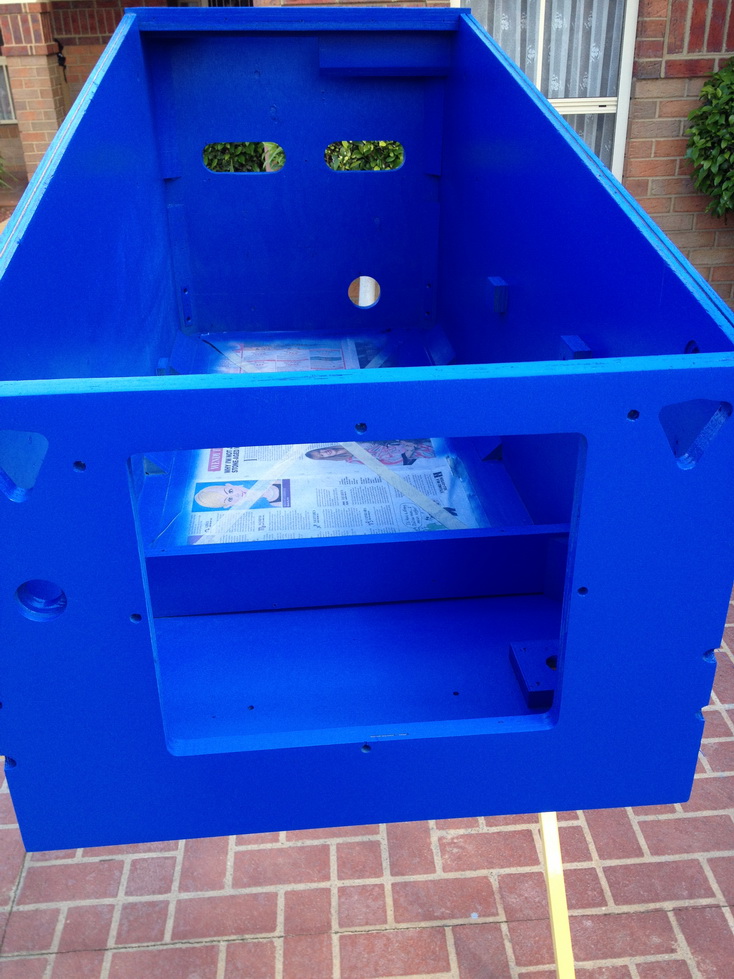
Cabinet is put aside for the moment until the Authorised Next Gen Decals arrive !
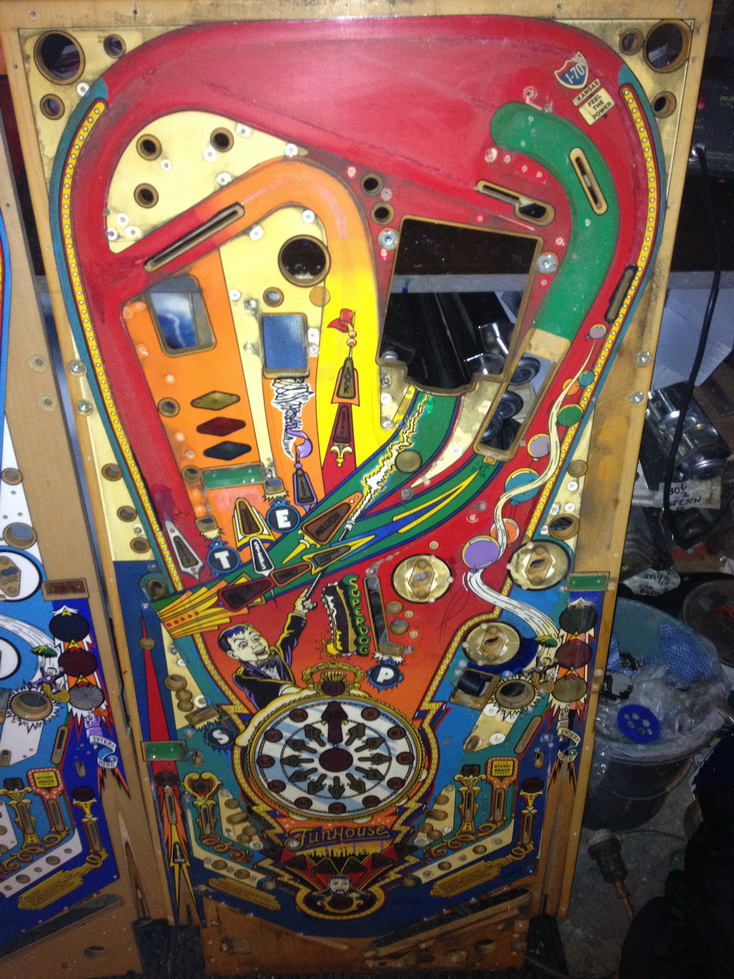
PlayfieldThis is the original playfield which will be replaced.
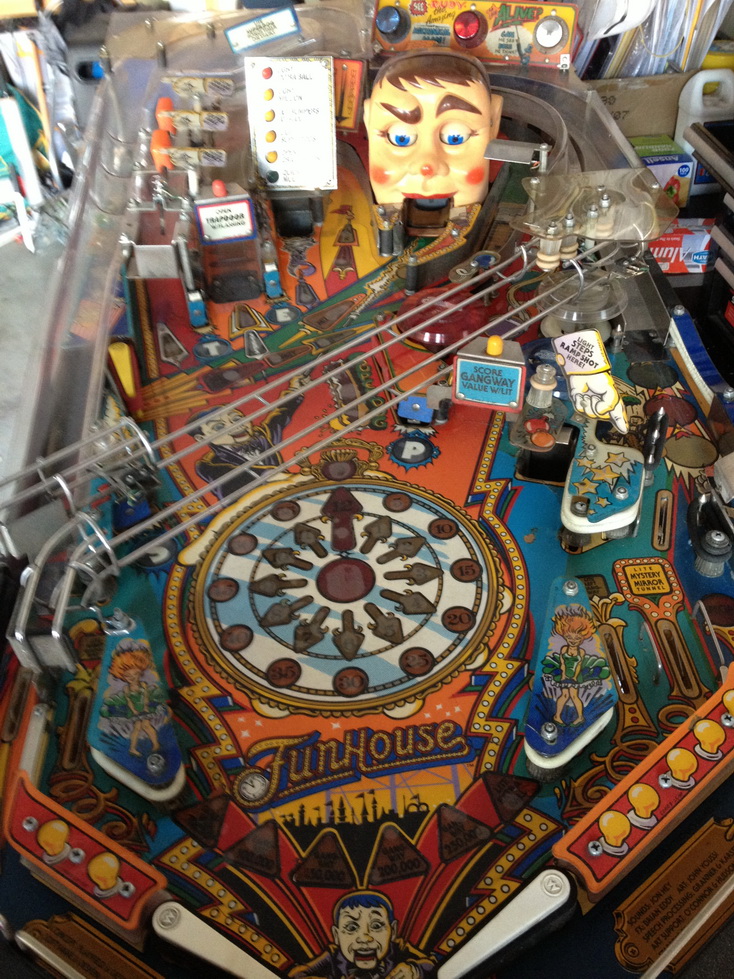
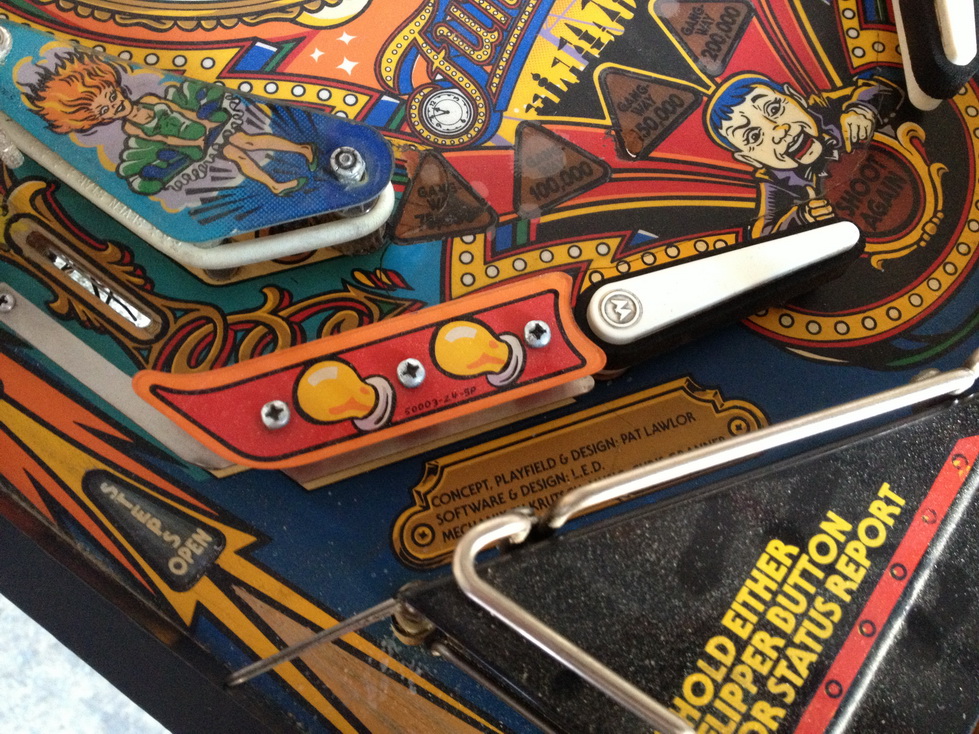
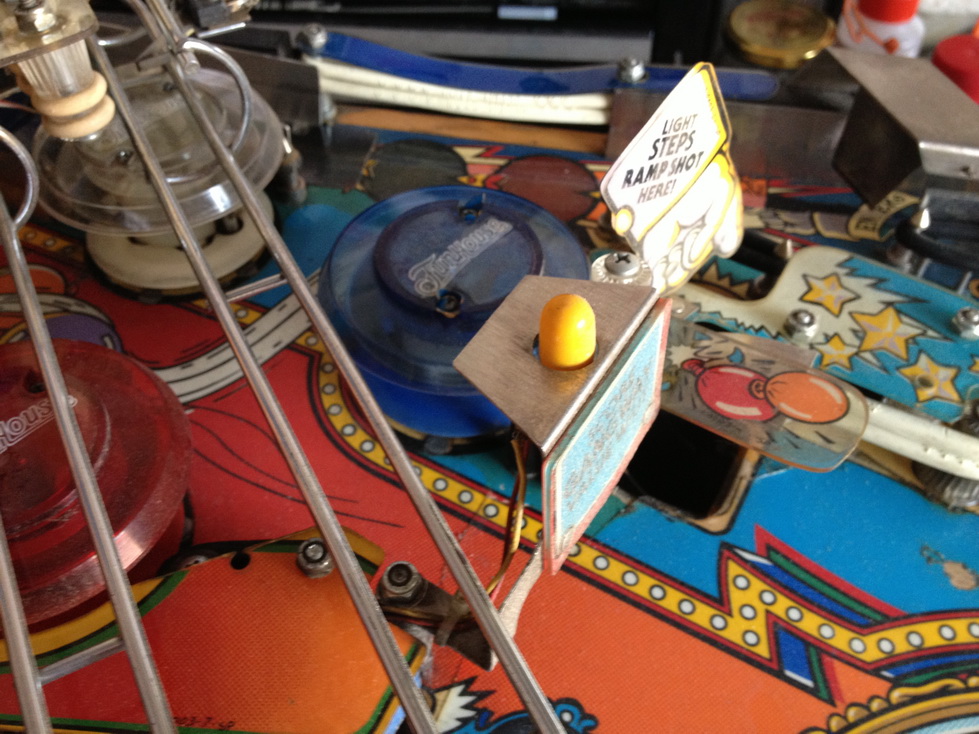
Stripped !
Filthy parts ! Some will be replaced. These are to be cleaned, polished and then checked to see if they are originals sizes etc. In many cases, the wrong parts are used such as springs or other mechanical parts.
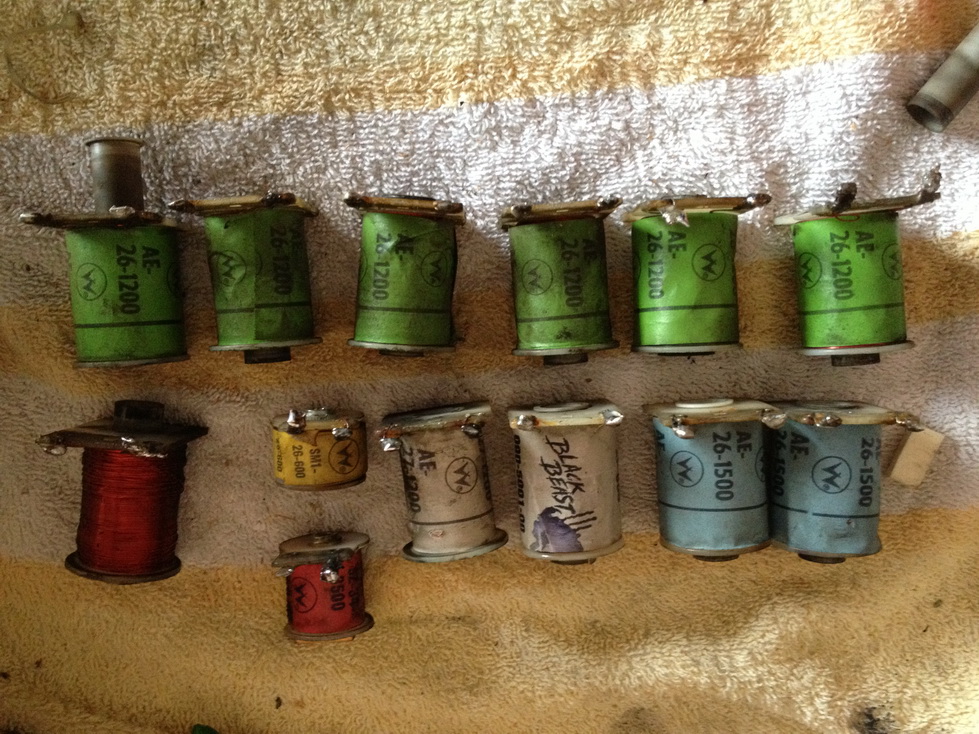
The perfect example. This does not look right !
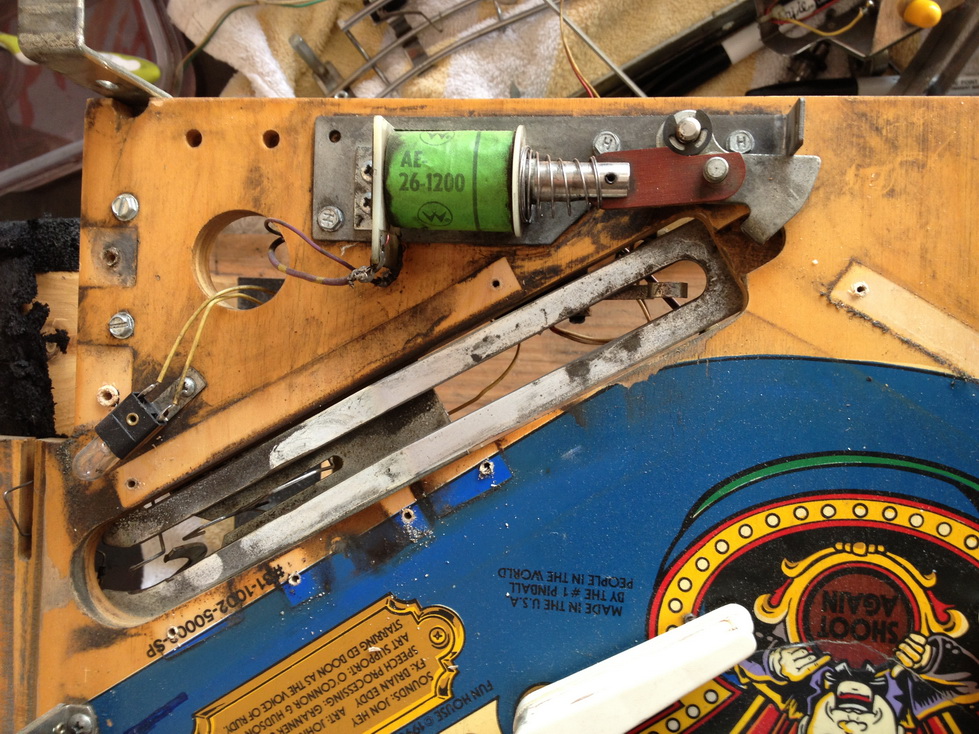
That is a completely worn part.
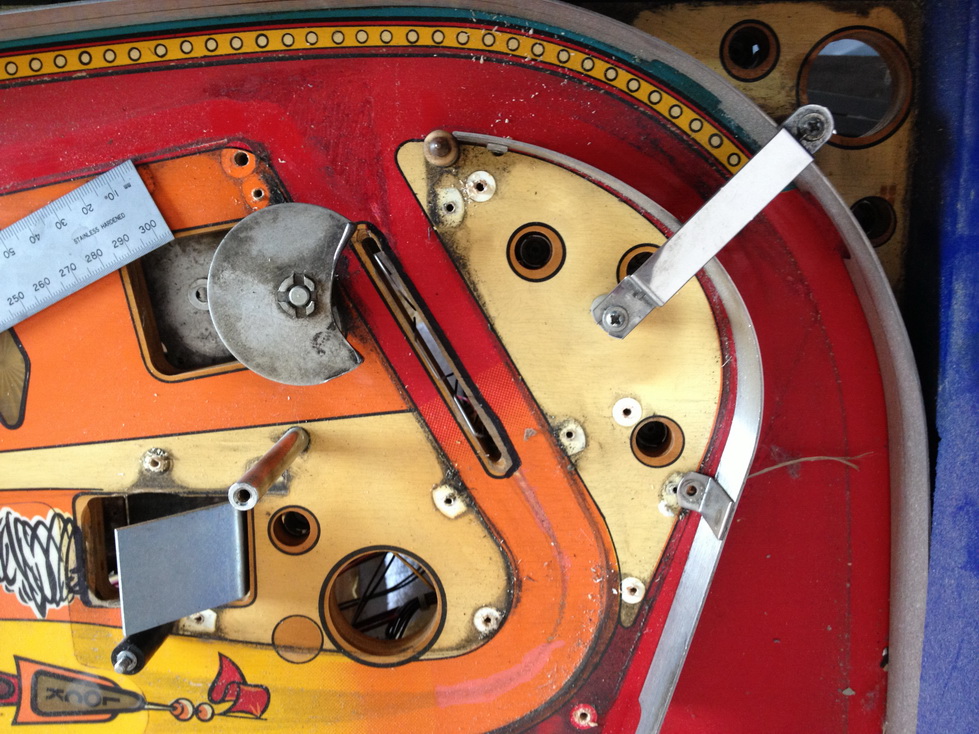
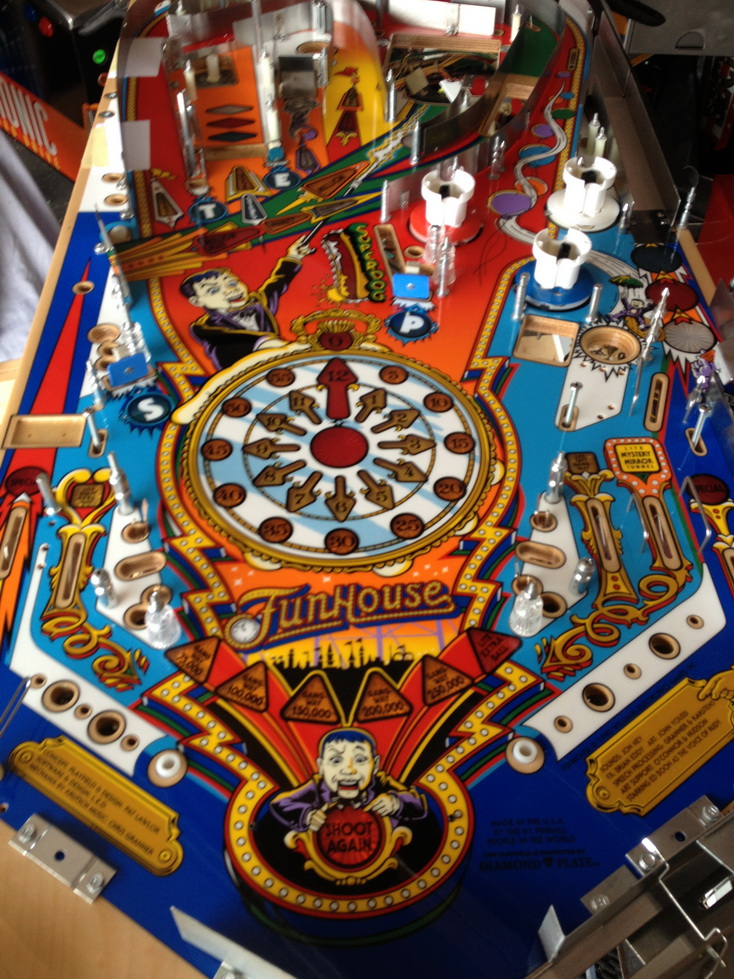
New playfield
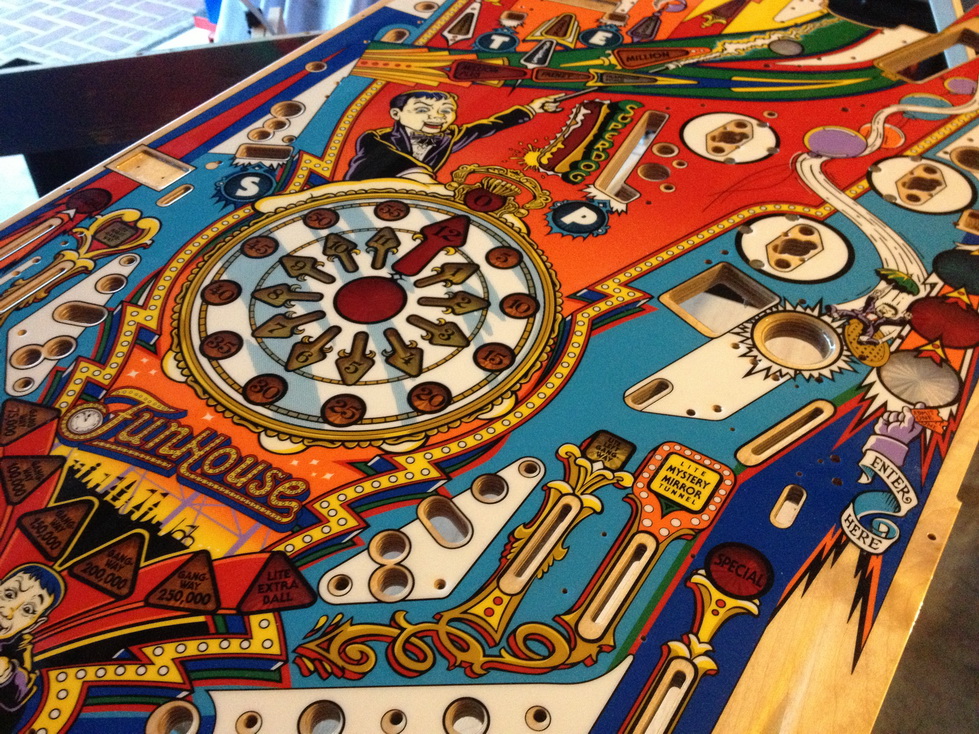
Reassembly commences after cleanings, polishing, tumbling and ordering new parts to replace those that are incorrect, worn or broken.
End of part 1 !