Hi guys,
This is a VERY brief overview of a Guns n Roses we have just completed at work. The game came in and was complete, but generally pretty tired.
The client had begun collecting parts here and there which really helped us out. Tough to find items like the topper and a solid 'R' ramp were supplied along with the base unit for restoration.
I hope the following overview shines a light on a few of the major challenges of the project...
Base game delivered by the client
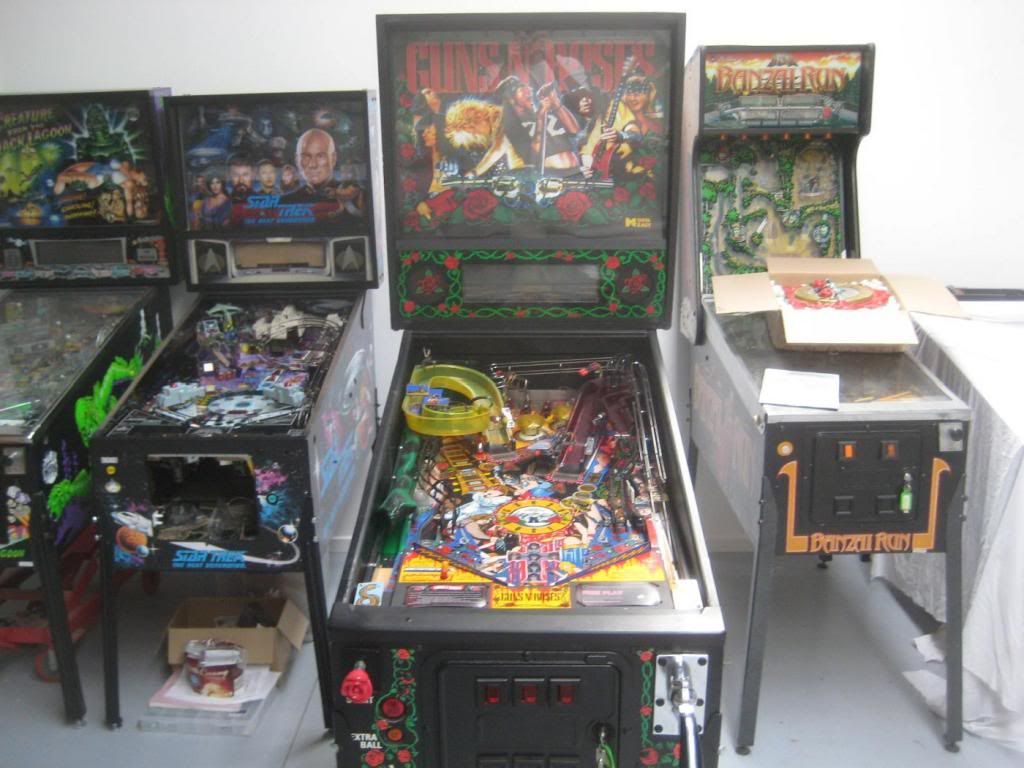
The first thing we do is go over the starting platform. Its great when the client can deliver the game as it serves as an opportunity to talk through the expectations and goals of the
restore. Here are a few of the major issues with the game upon early inspection...
Cabinet is very tired...

Backbox splitting in the corners...

Light corrosion throughout the game...
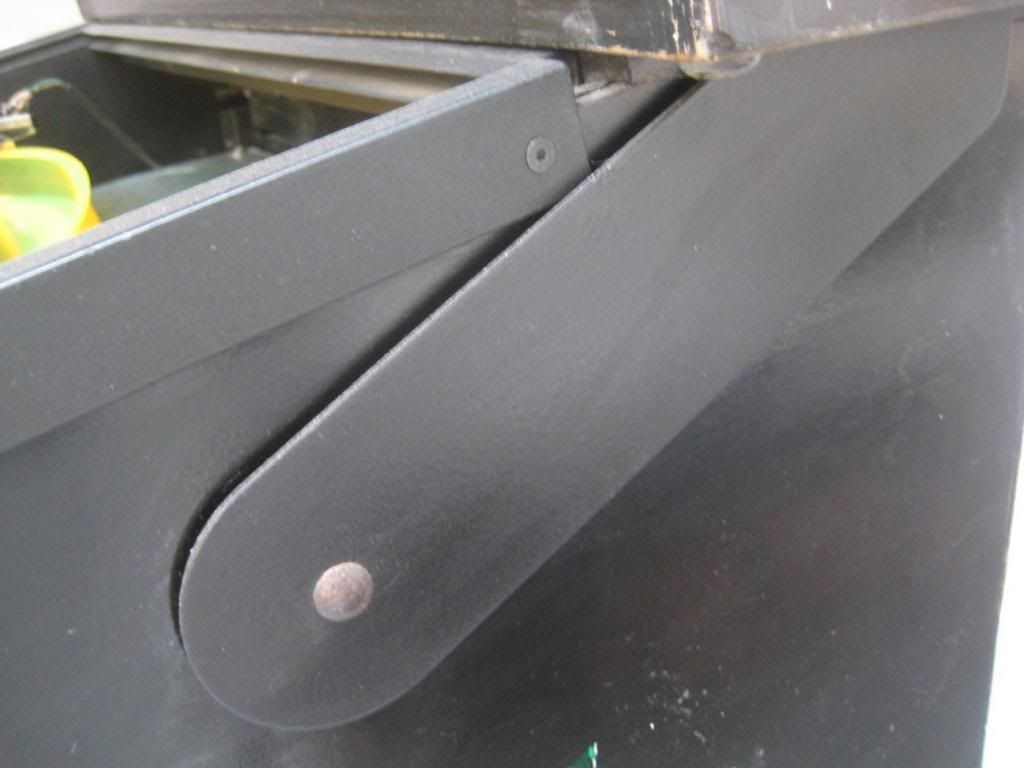
Backside is pretty bad too...
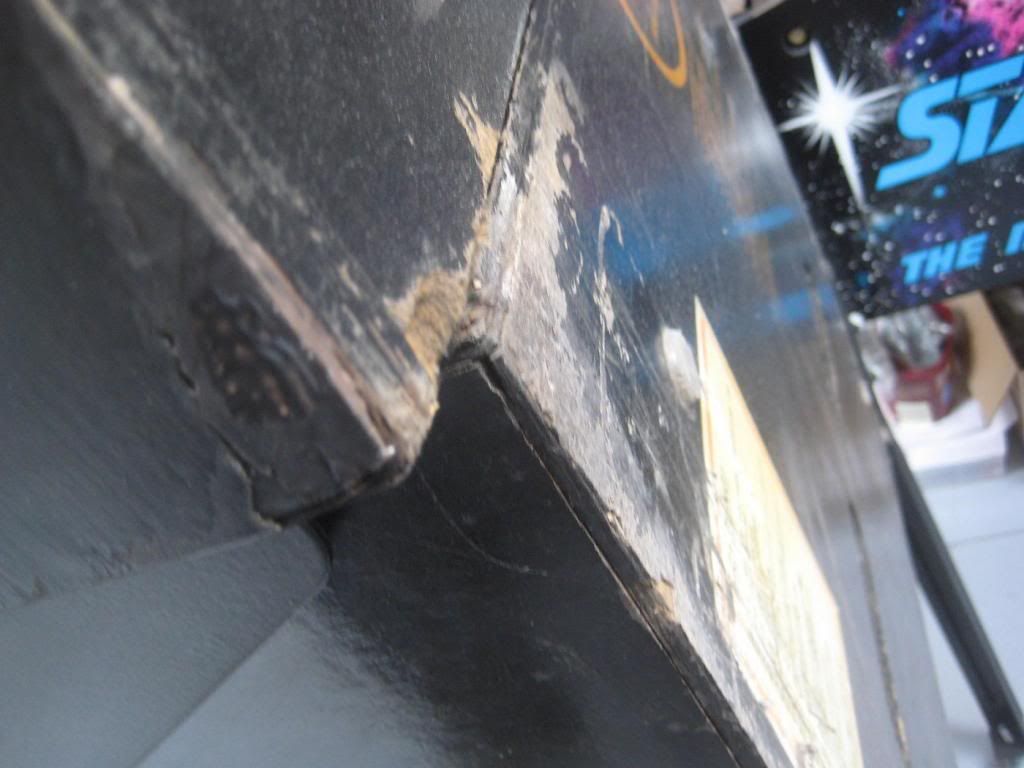
Factory powder was chipped out etc but we are going with more of a gloss look for this example...
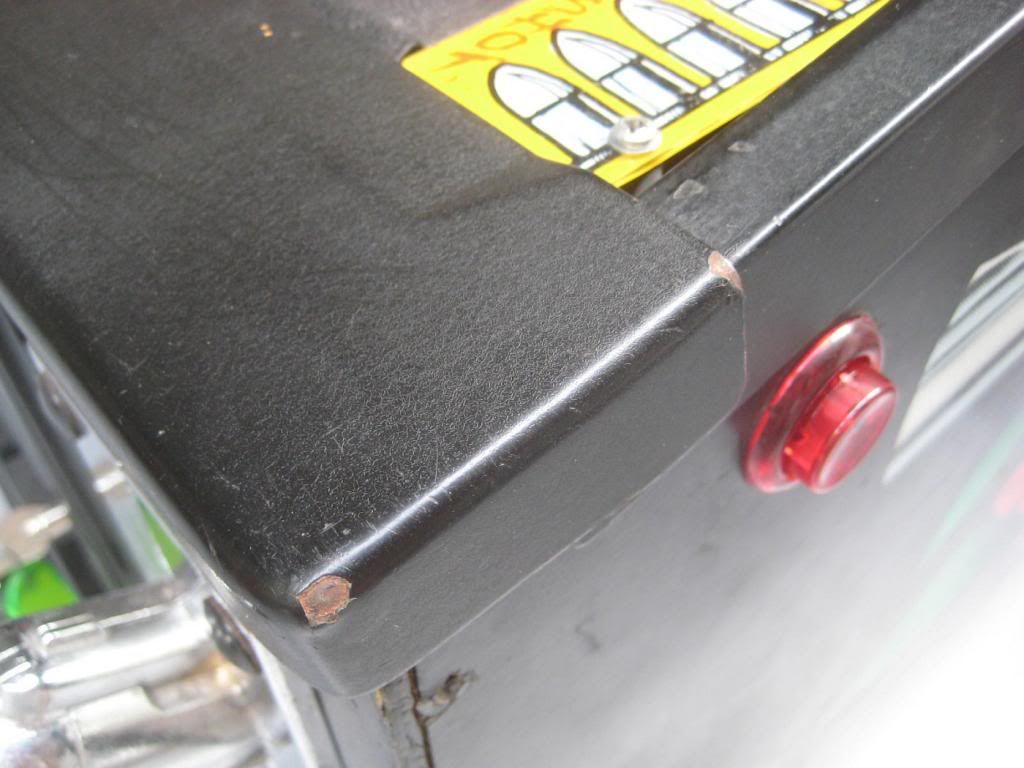
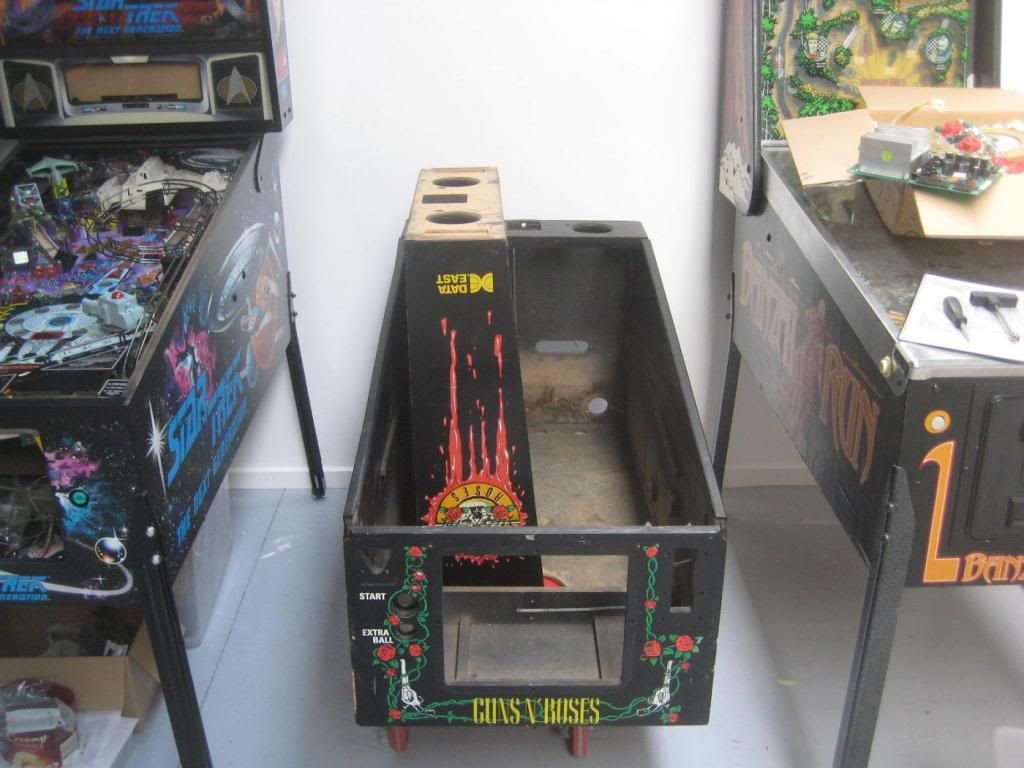
Fast forward through, the cabinet is gutted and moved into the restoration stage...
The playfield is stripped and mechs are broken down to be tumbled, polished or re-plated. Plastic hardware is washed, cleaned and bagged up, and same goes for the wiring harness...
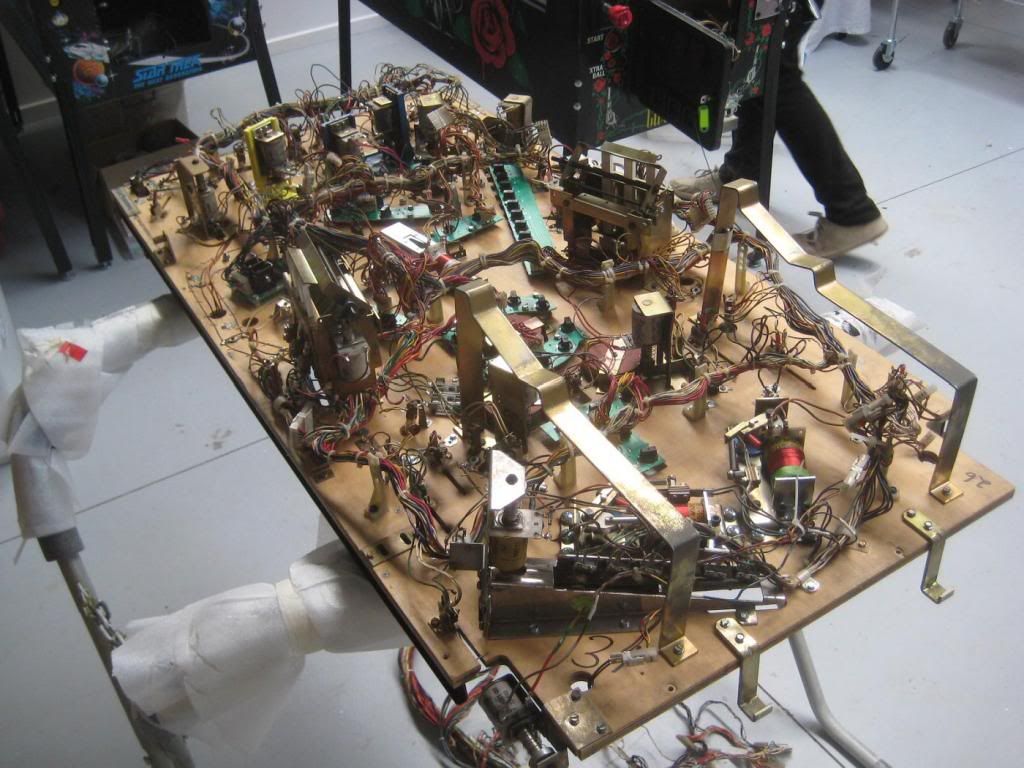
Playfield almost stripped...

Various parts cleaned, refinished and set aside for rebuild...

Taking a look at the playfield, there were a number of problem areas, most notably the GNR logo in the center of the field. It deals with a lot of traffic from the 3 magnets dragging
the ball(s) around the surface, as well as the Axl kick out running the ball right out across the area. Add in the fact that the Data East inserts are notorious for lifting/separating and
you have a nice major repair to take care of.
Here is an overview of the area and damage...
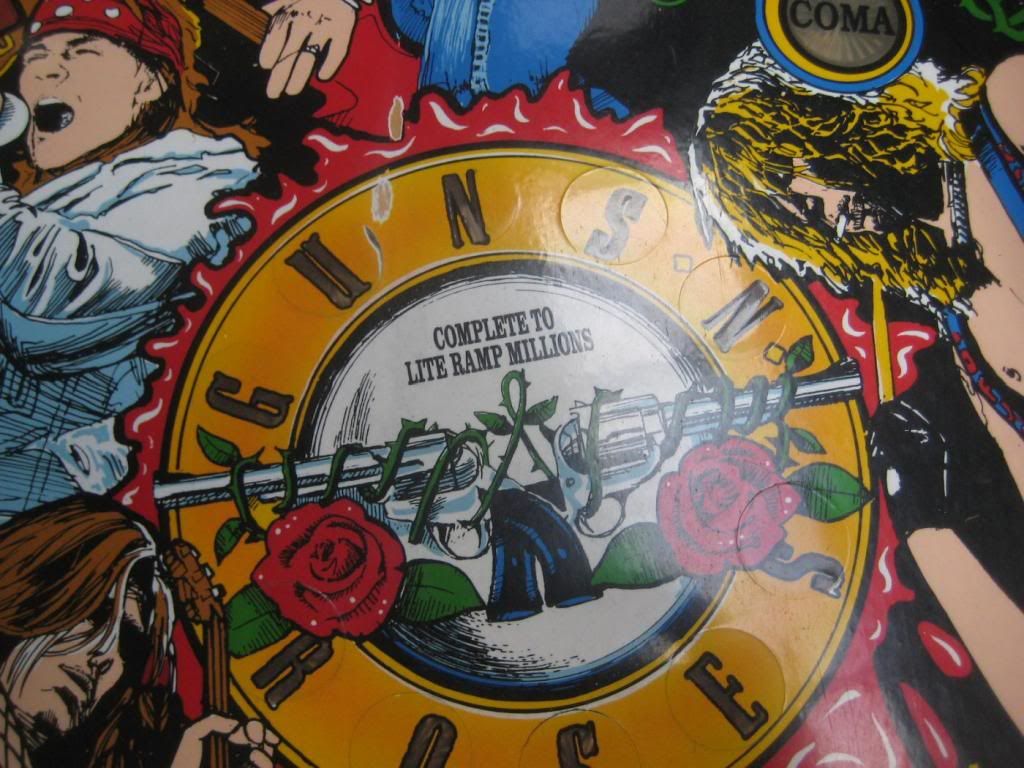
Detail...
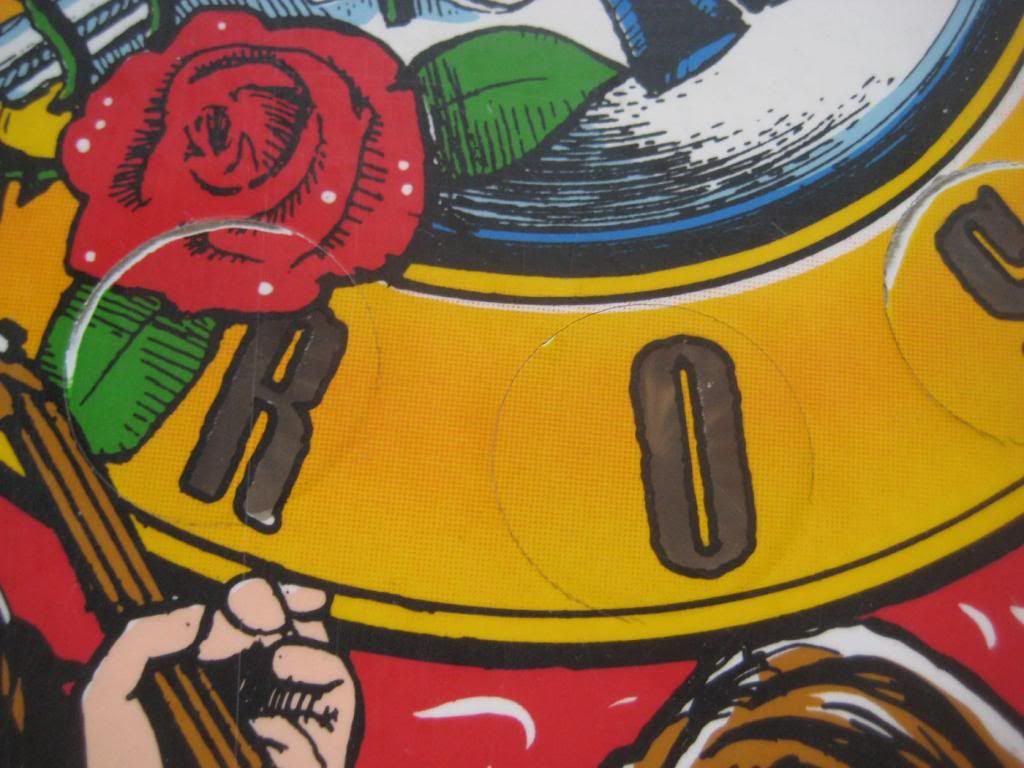
More detail...
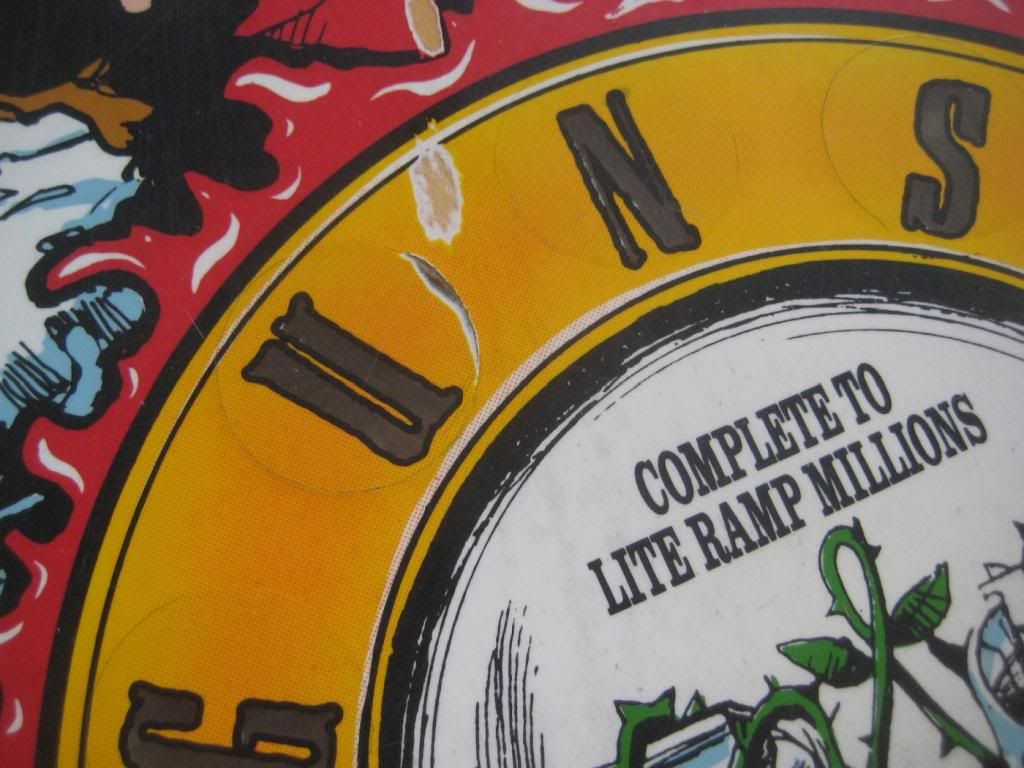
If you look closely the halftone effect gives a deeper yellow in the middle of the logo, and a bright yellow on the outer edges, so this is replicated as closely as possible...
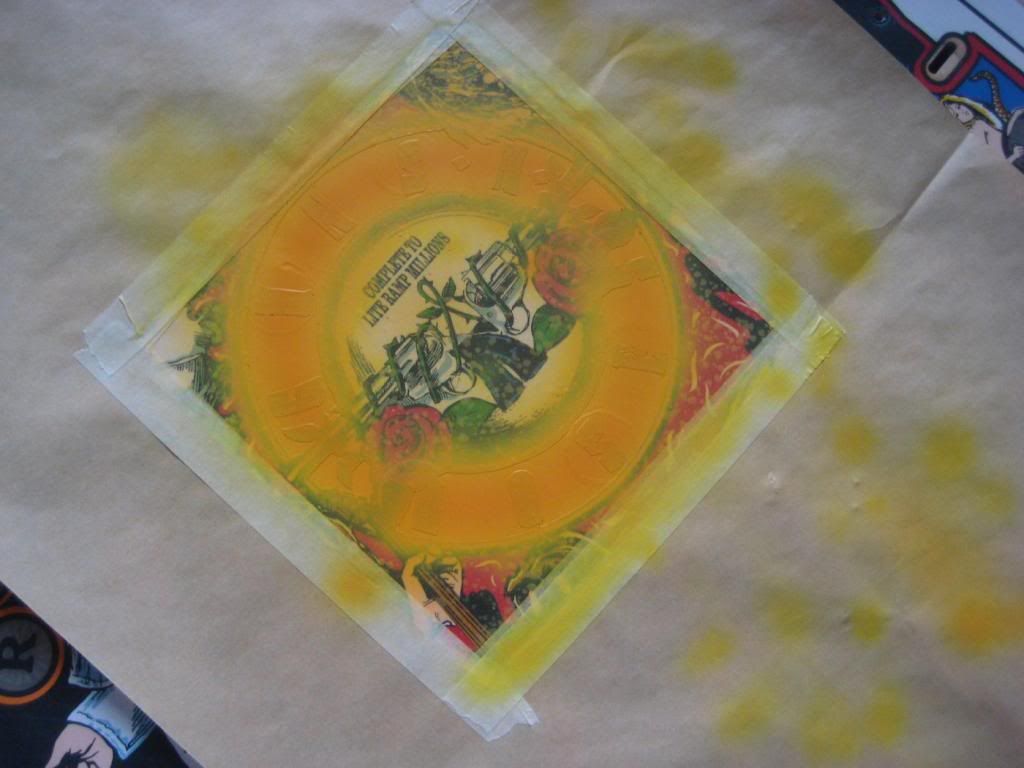
This is the completed repair (before clear)...
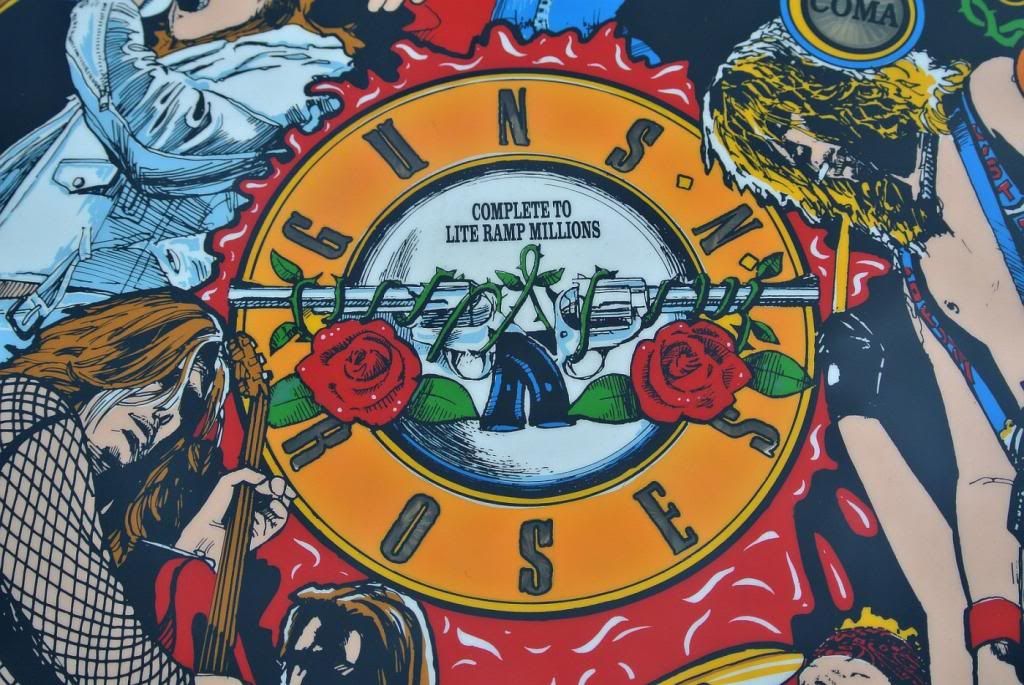
During this time we also repair any structural damage and refresh some minor issues...

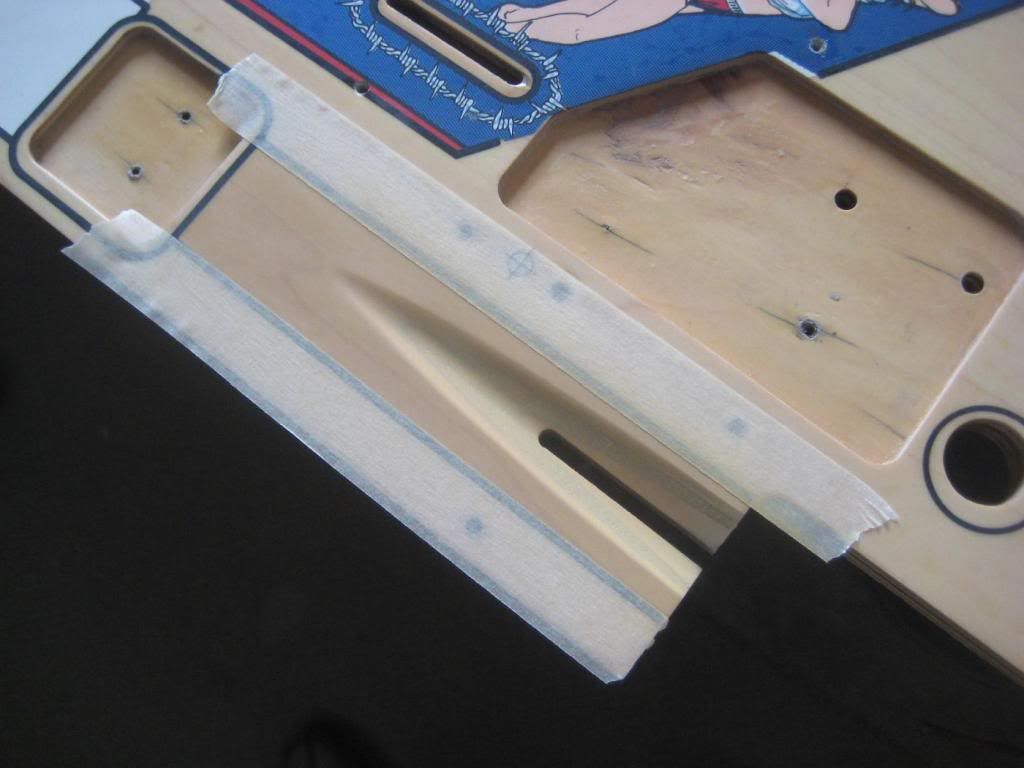
The cabinet restoration continues and at this point the cabinet is ready to be built with the restored components...
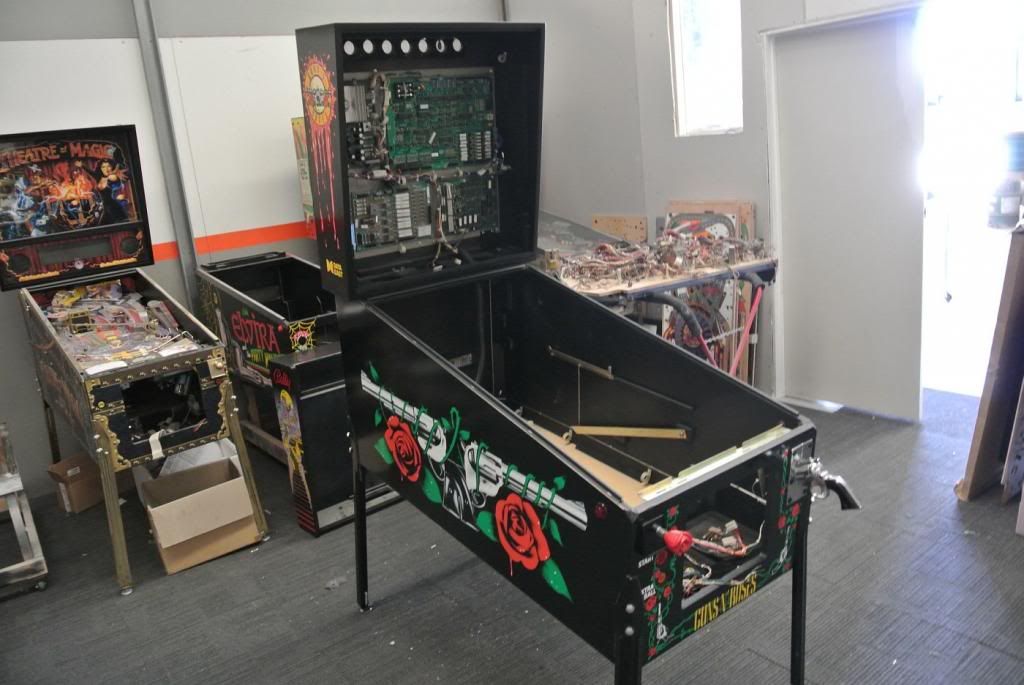
Pictured here...
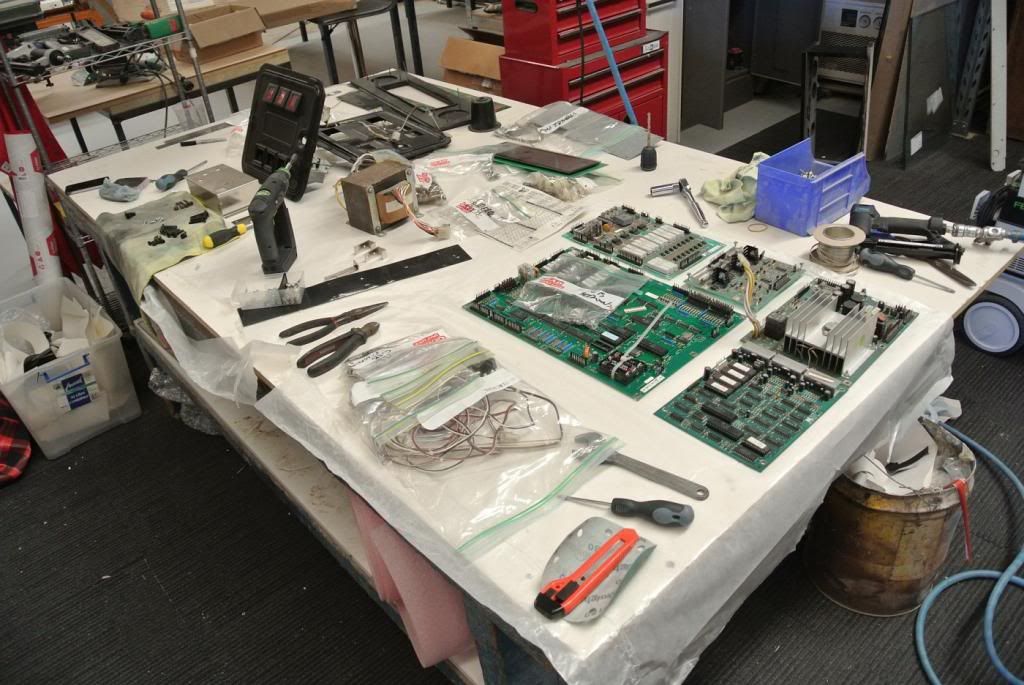
On many of our games, i try to add some better serviceability than what the factory offered. Making small molex looms for many of the 'upkeep' mechs (flippers etc) really makes the process easier down the track for clients. They are also commonly found connections in pinball machines so they can be tucked away into the loom and dont look 'wrong'...

Installed...

Fast forward again the underside of the playfield is built and the playfield is paired once again with the cabinet...
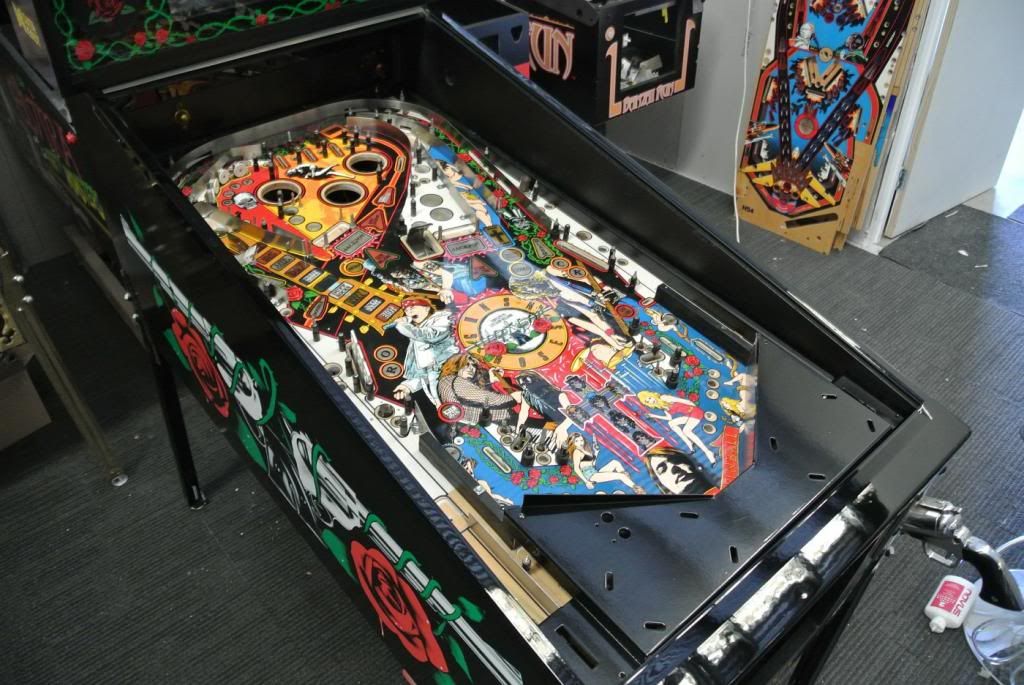
Pictured here the game is almost there...

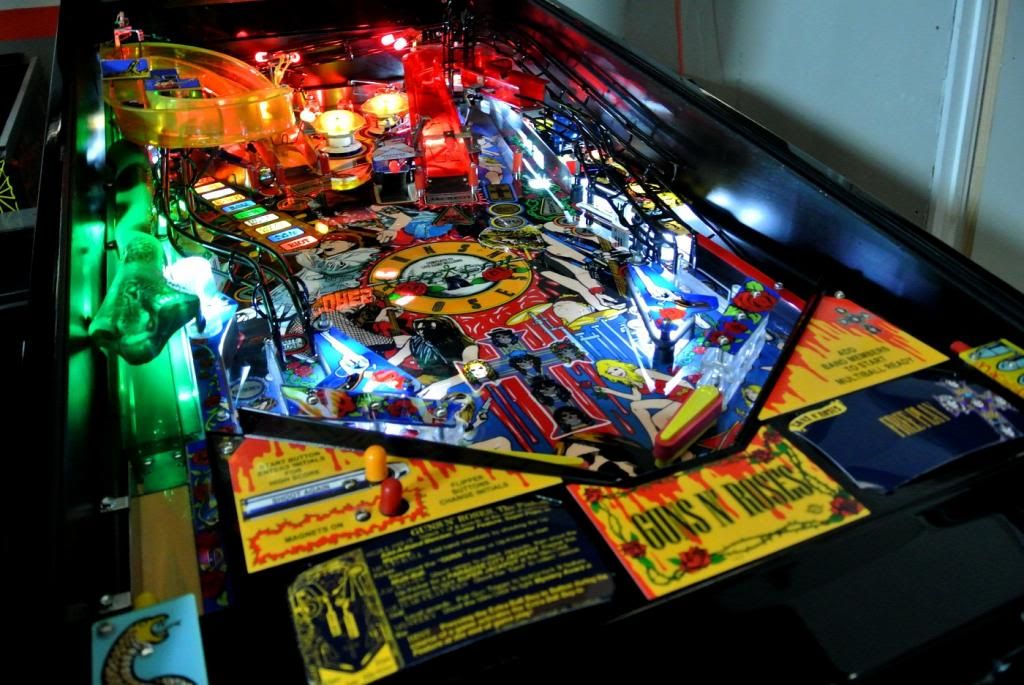
I dont often go the LED route but on some titles i can see the need. I made a small kit up consisting mostly of cool white; while steering away from too many colours etc. The game is powered and we go through the process of dialing the game in. Again, AP favourite and all round nice guy ddstoys needs the credit here, thanks for everything as always mate...

Just to give an idea of the look...

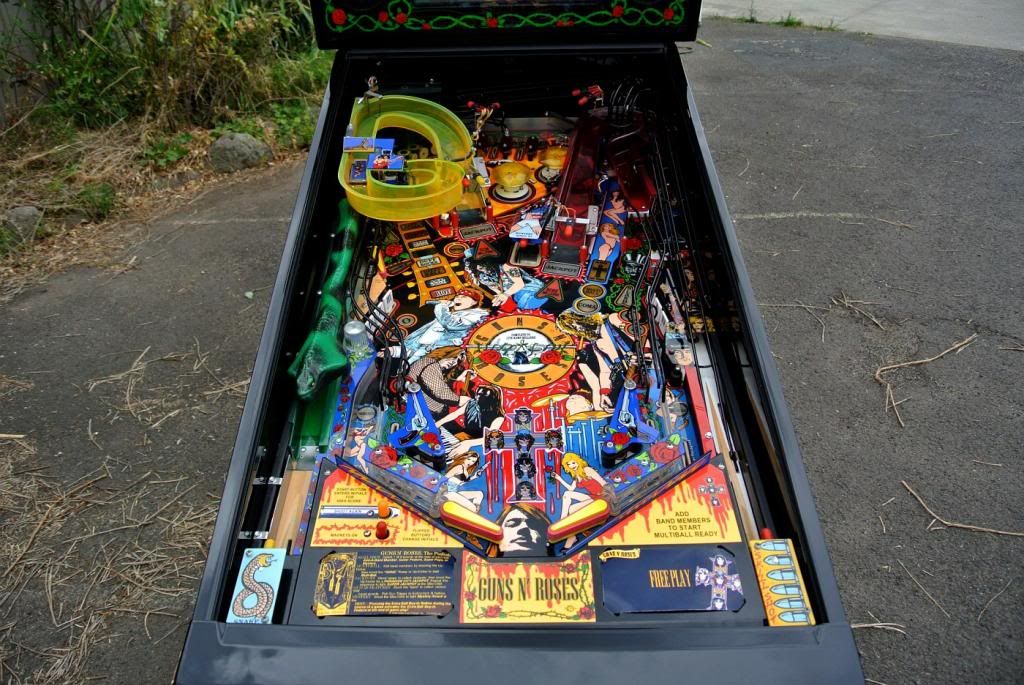
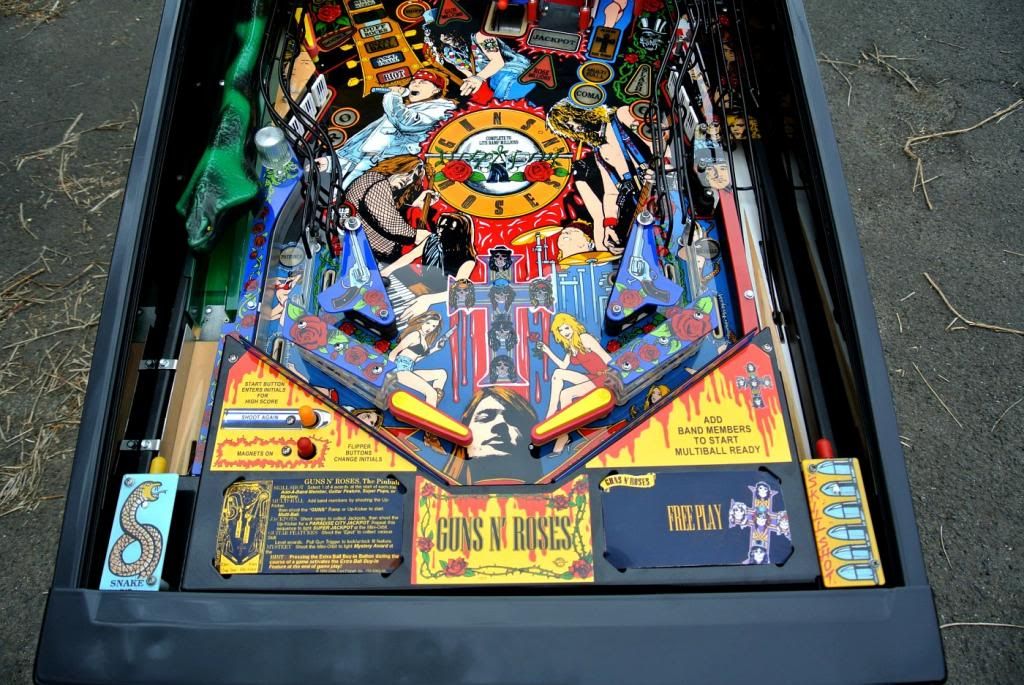
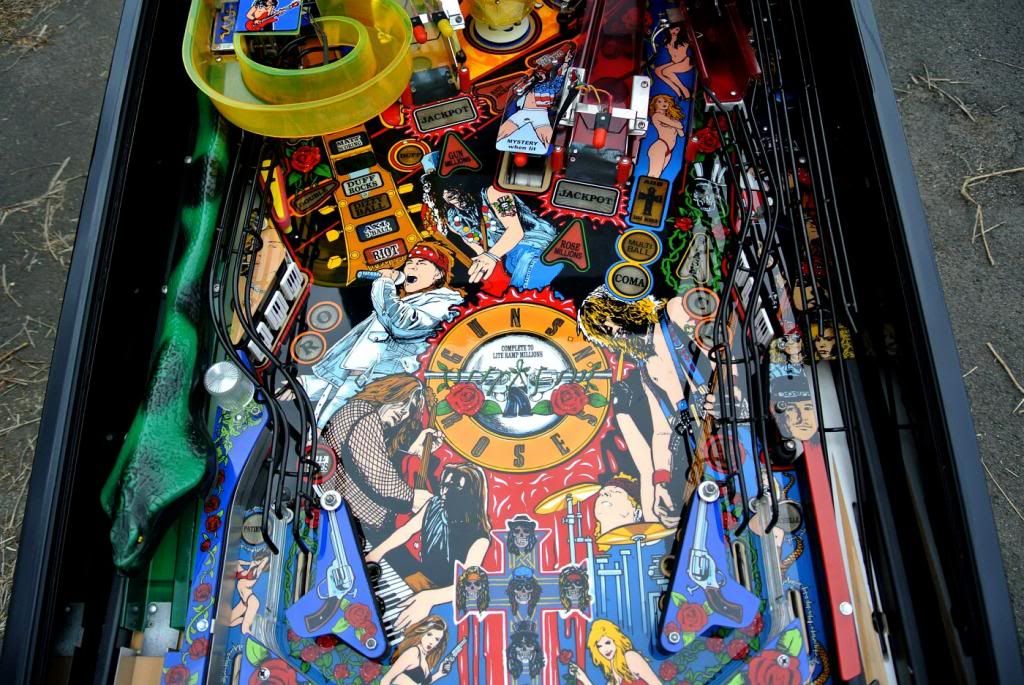
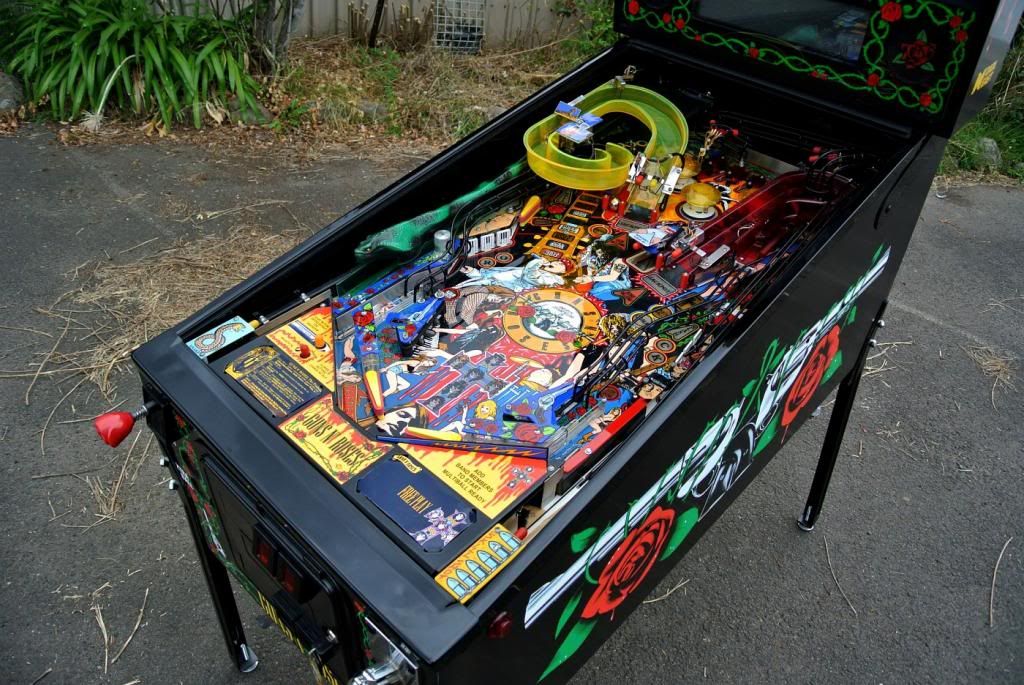
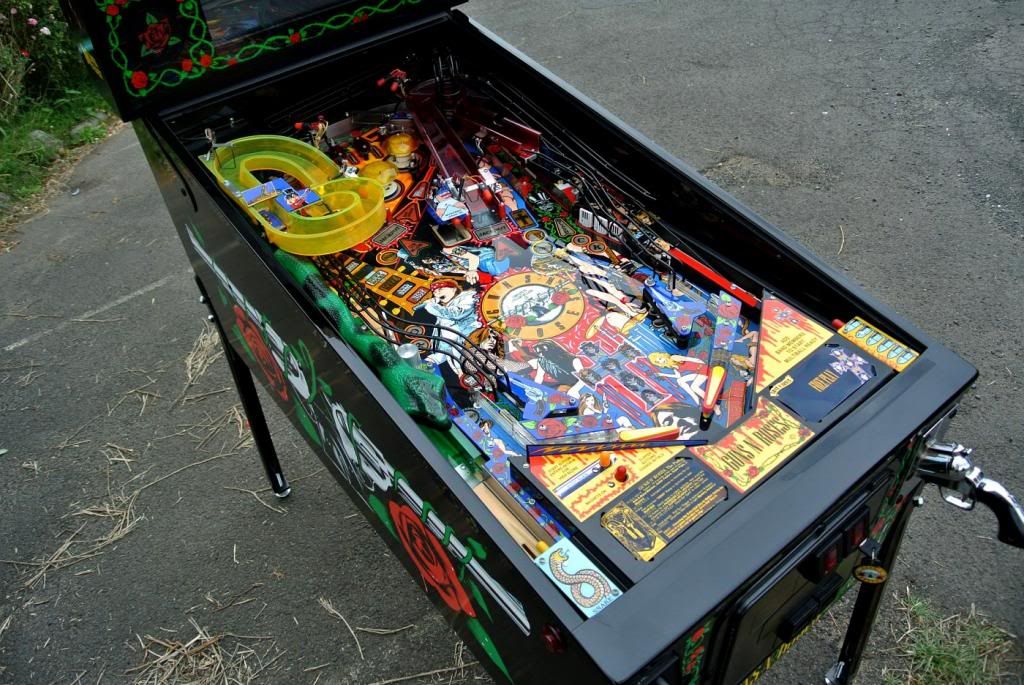
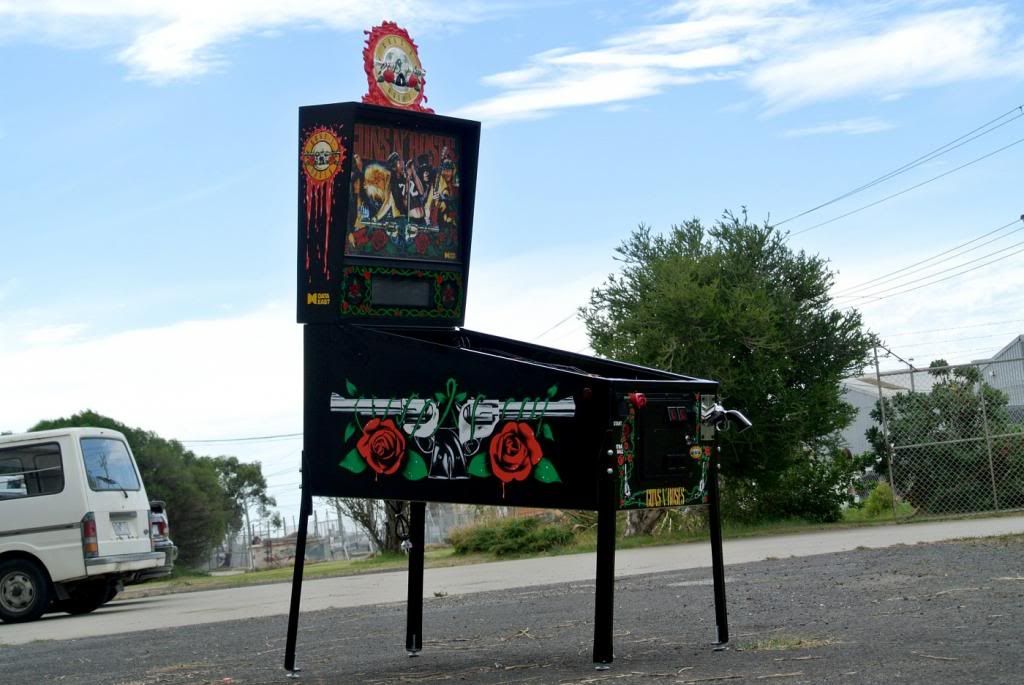
So the following photo set is just our shameless outside photography. Its a good way for us to document the results and it helps close the lid on another job.
Again just a big thanks to all the guys on here that lend a hand and share their knowledge to make these projects possible. Notably...
Stuart
ddstoys
Pinnies4me
Strangeways (APR)
ktm450
MartyJ
Greg - Without RTBB running this business is Australia wouldn't be possible (thanks Greg).
Thanks for reading guys.
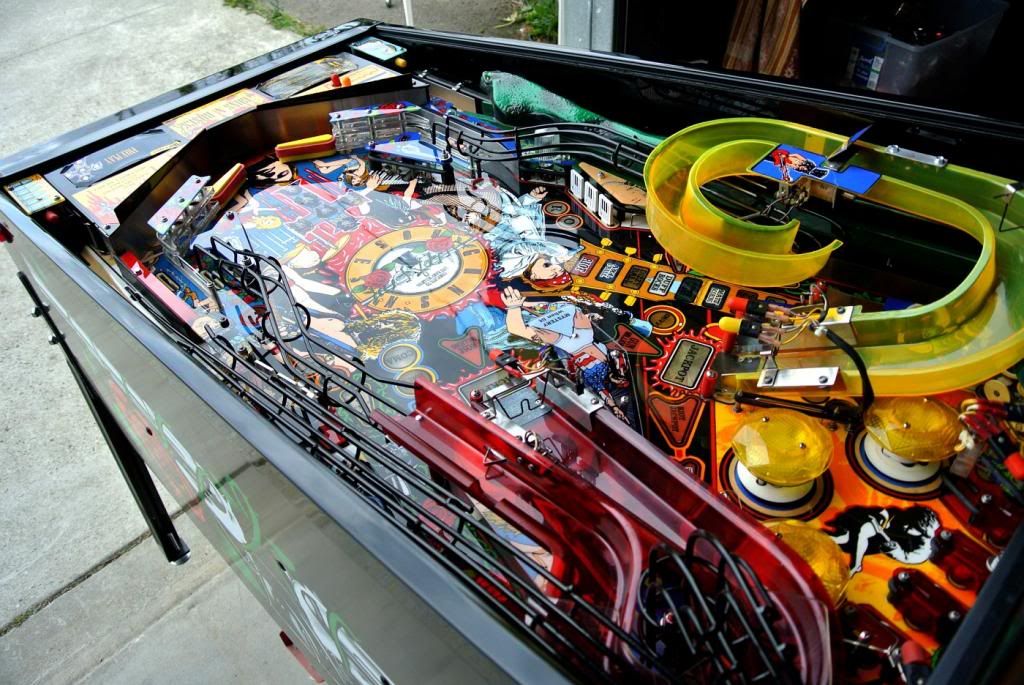
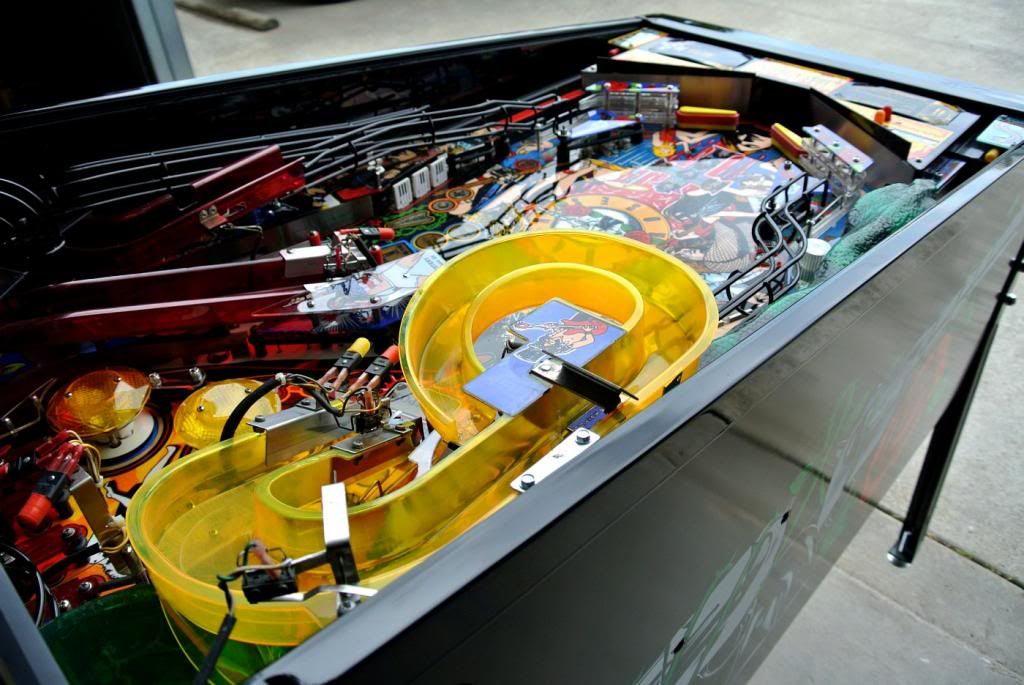


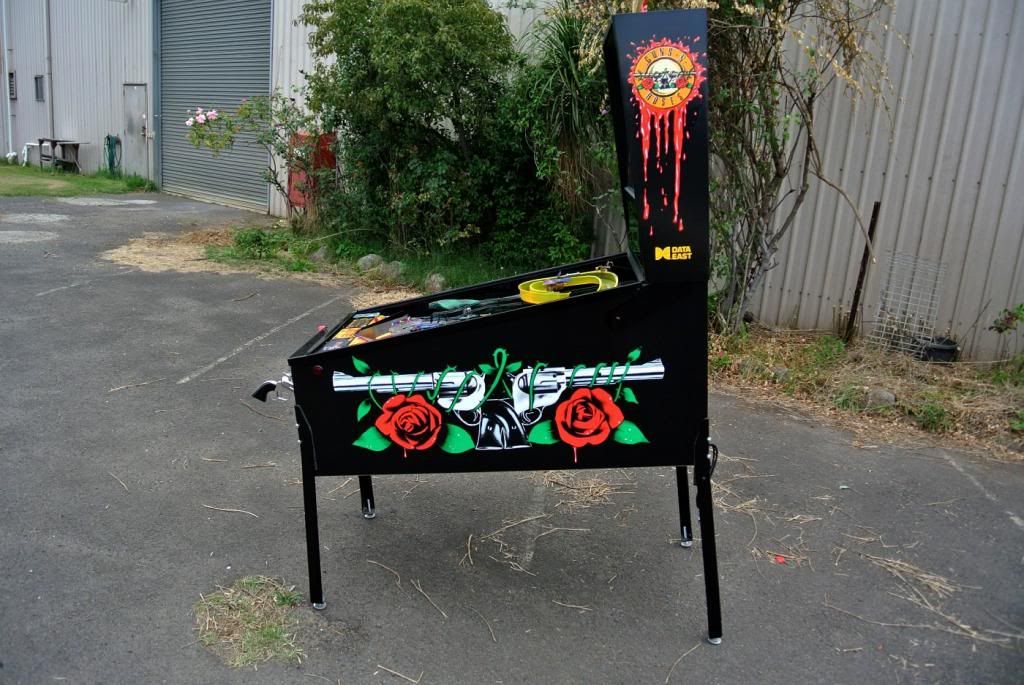
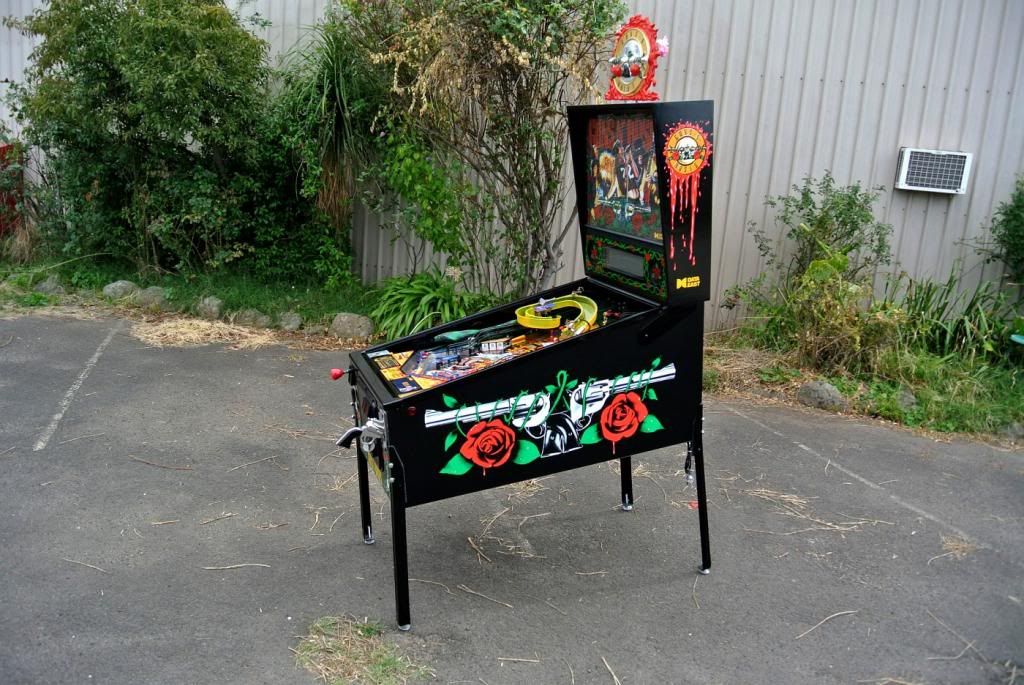

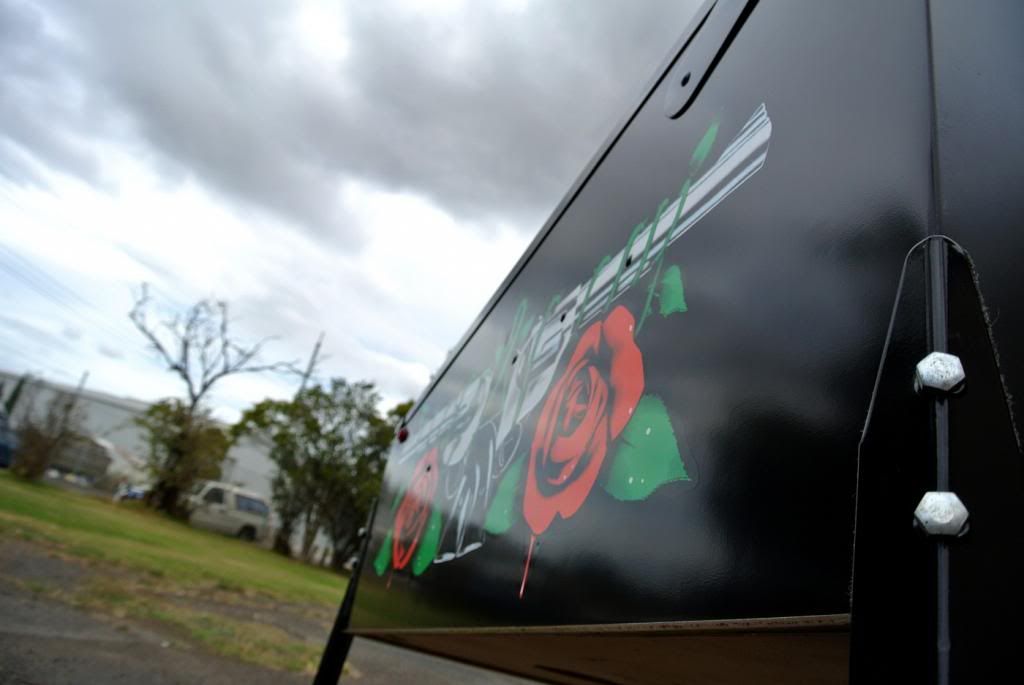
We altered the standard Date East texture apron to gloss to tie in more with the rest of the game...


