Hey Guys,
The following is one from a while ago. I have finally got around to getting a heap of photos off an old hard drive so i will post them here as time permits.
This is the supplied game unpacked from the pallet and up on legs...
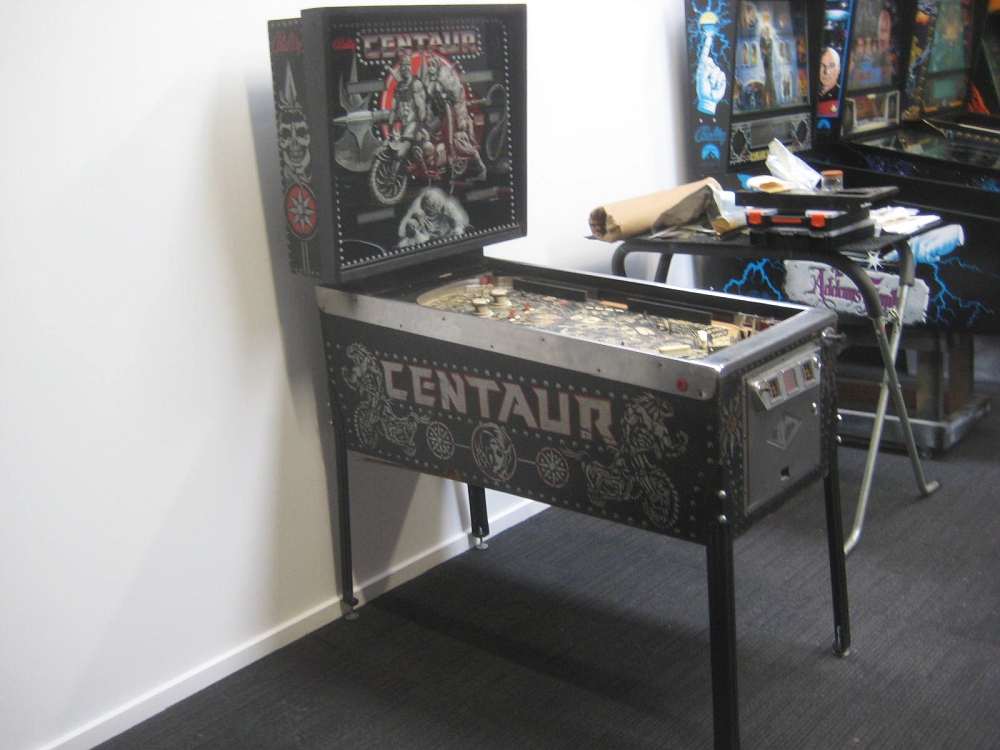
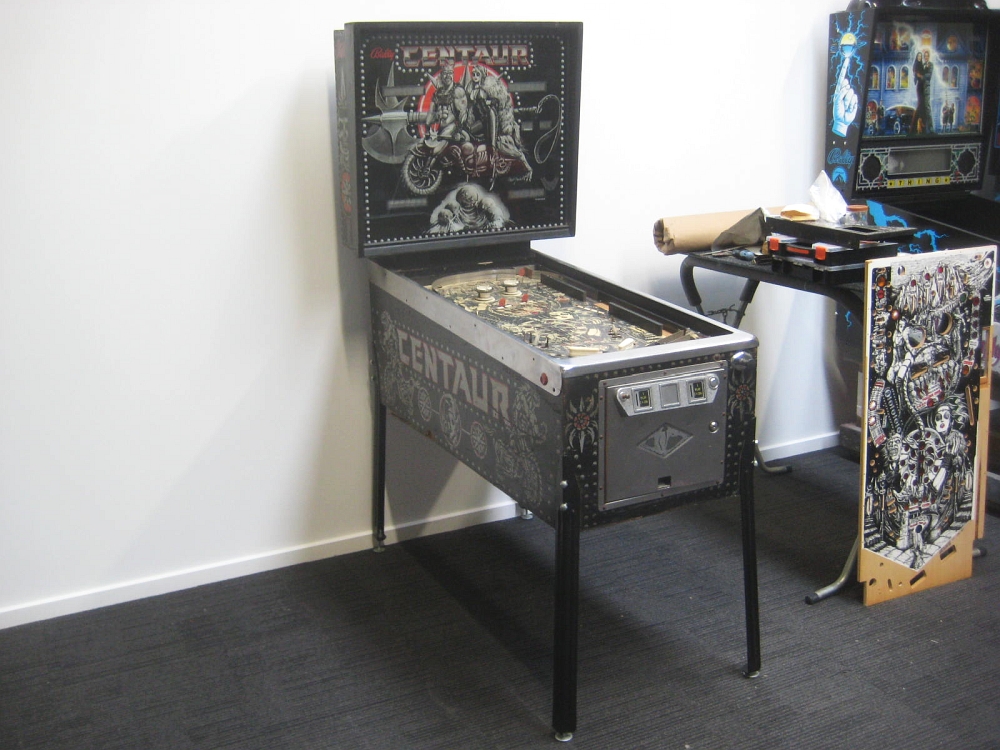
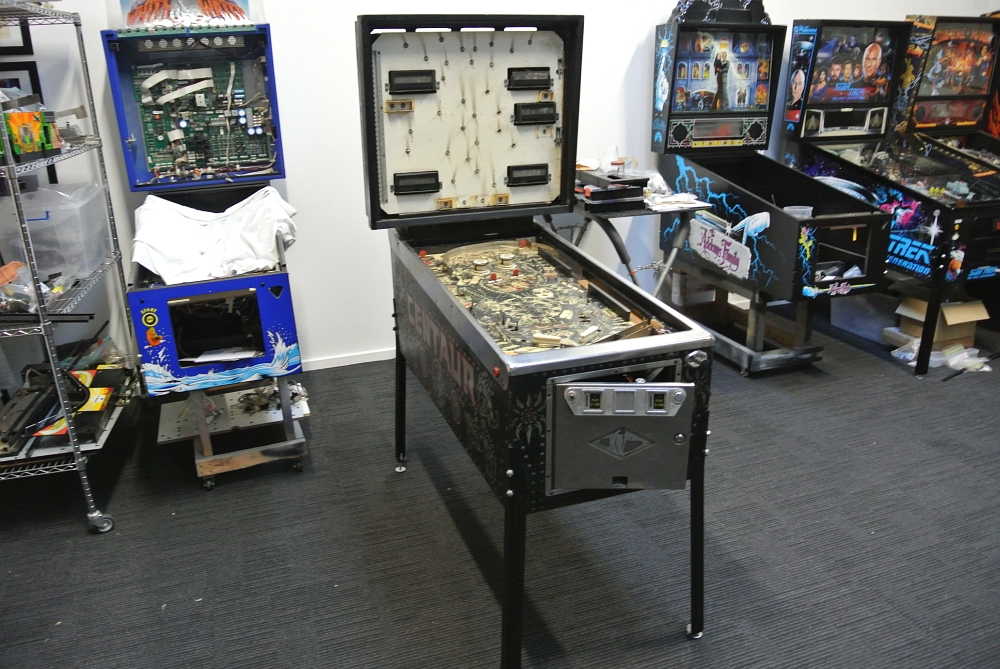
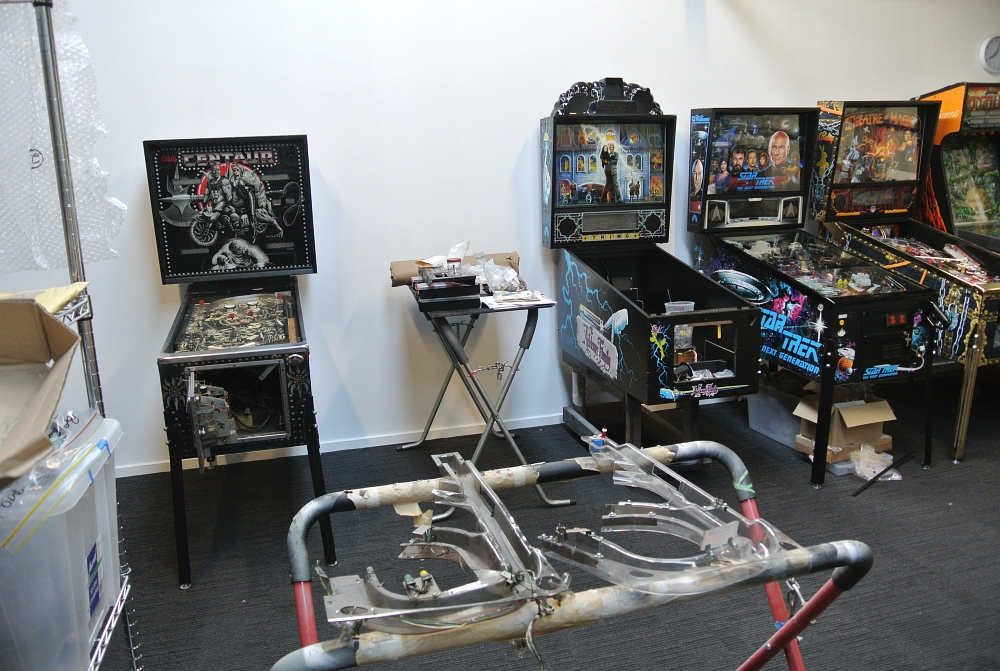
Some detail of the game as received... many of the game parts were already stripped, and supplied in garbage bags... good fun...

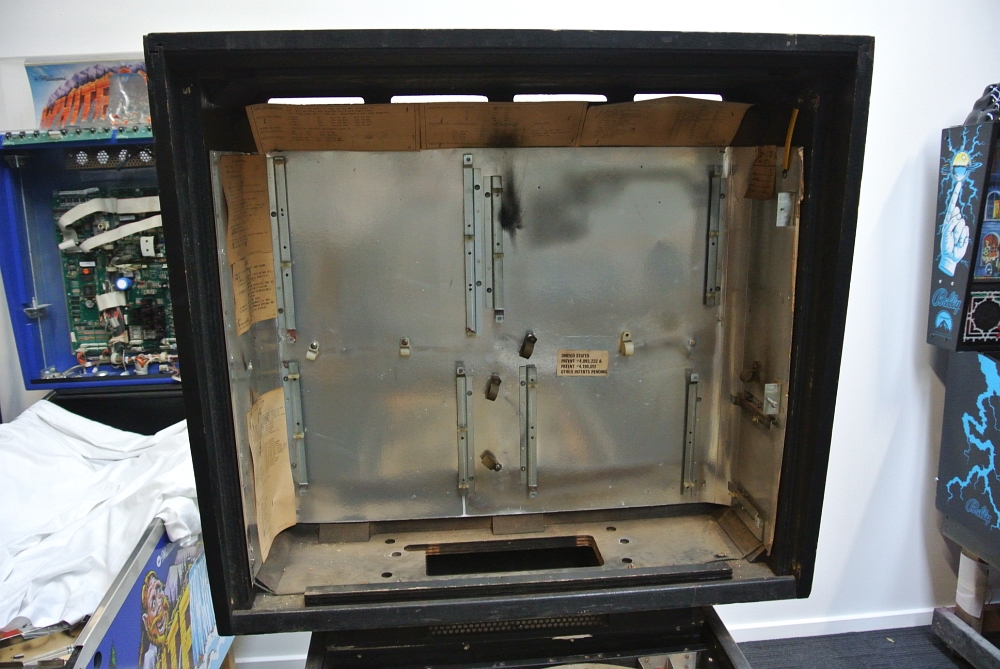
Rust is the obvious one here...So much corrosion on everything. It had been sitting a long time, and somewhere damp...
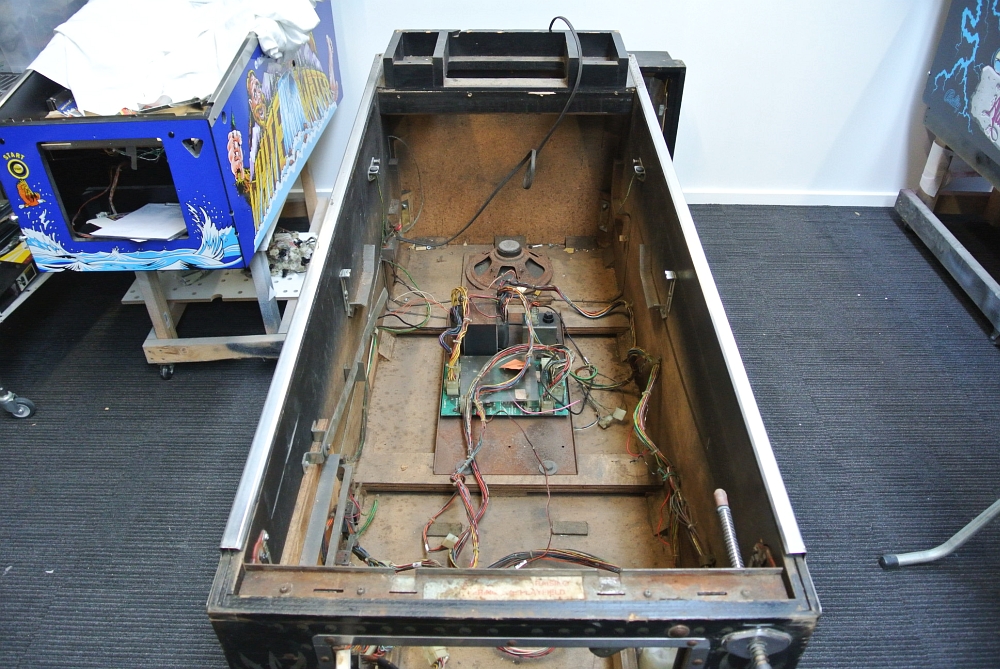
Fast forward a little, and the cabinet is stripped. All metal was sent to be replated, powder coated etc etc Whatever looked factory'ish' was the directive here...
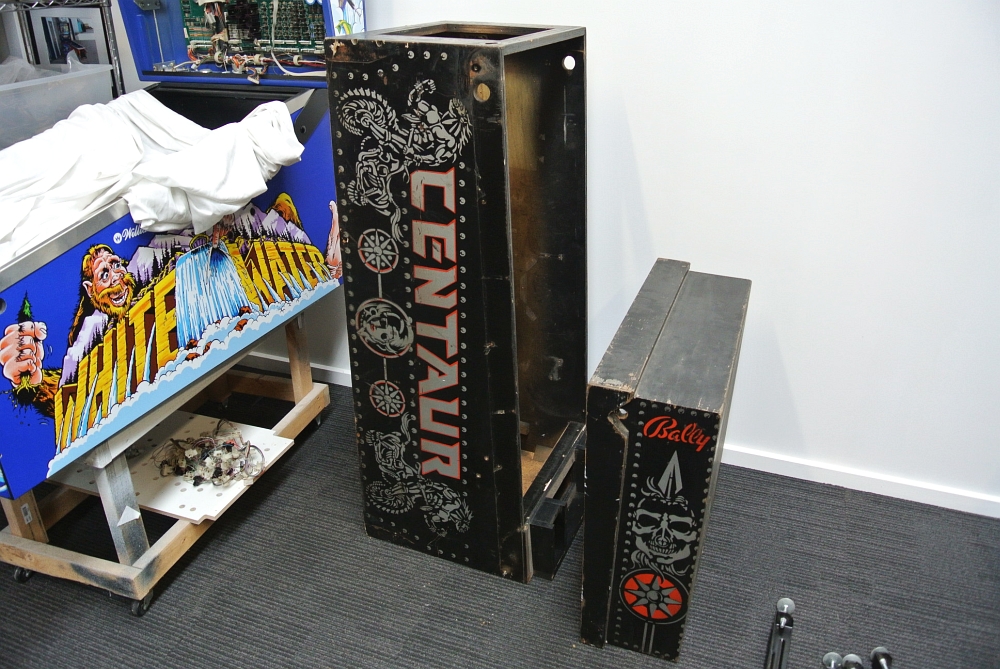
Lower cabinet was trashed, so a replacement was prepared. Here is the original ready for documentation...
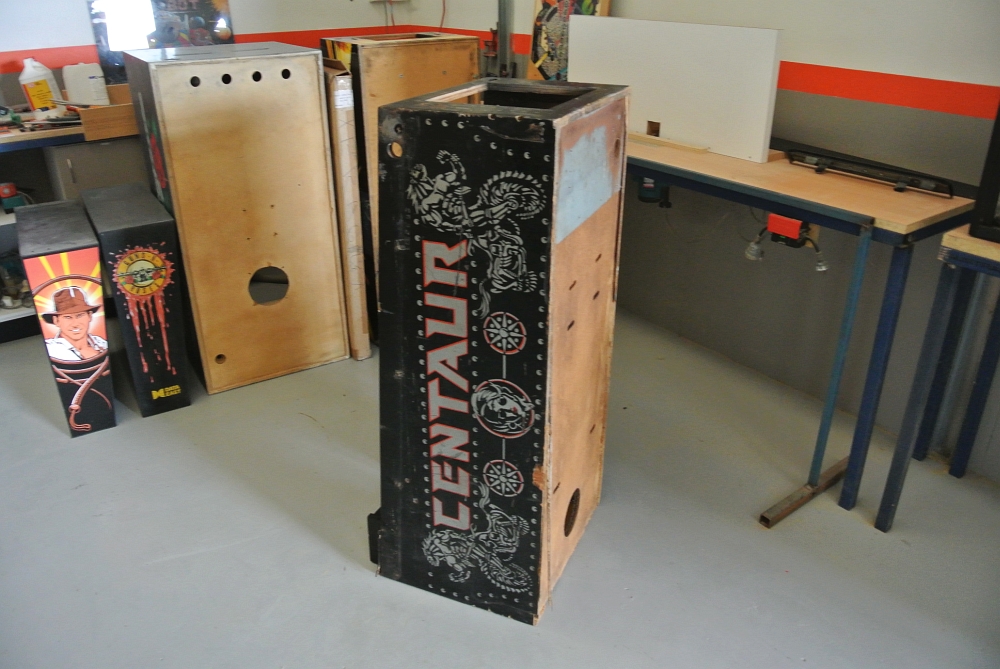
We saved the original back box, re-squared and reset...
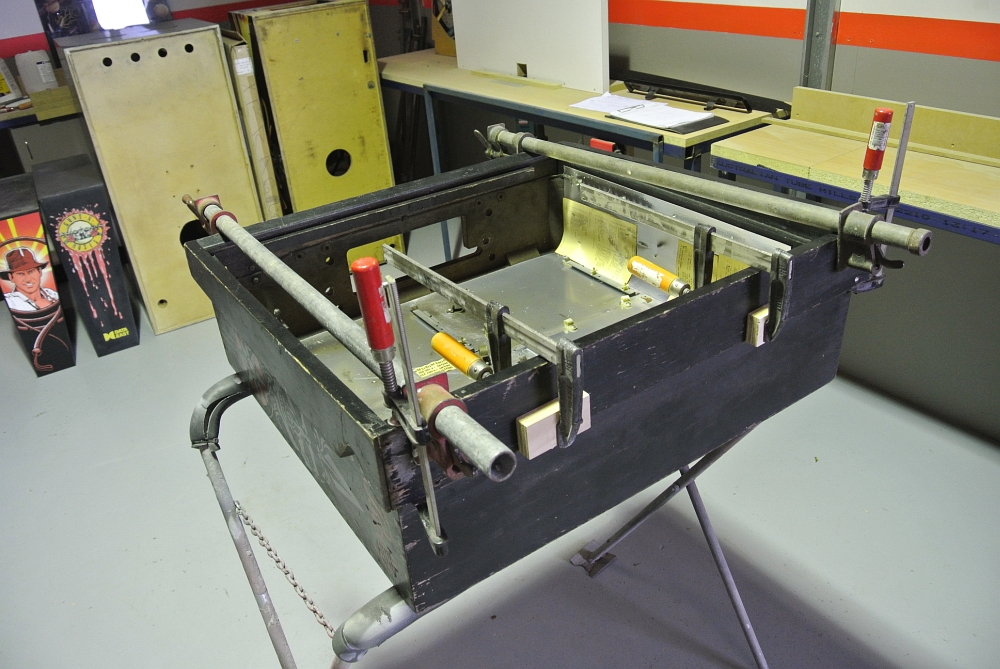
I think at the time we were also doing a cabinet for a Paragon. I think the owner is a member here on AP...
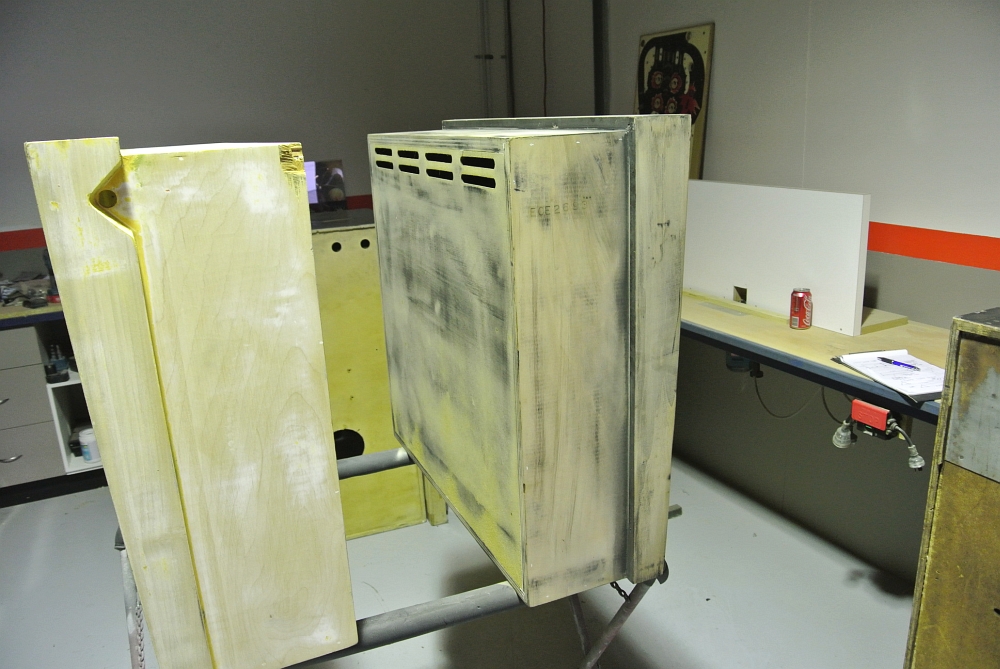
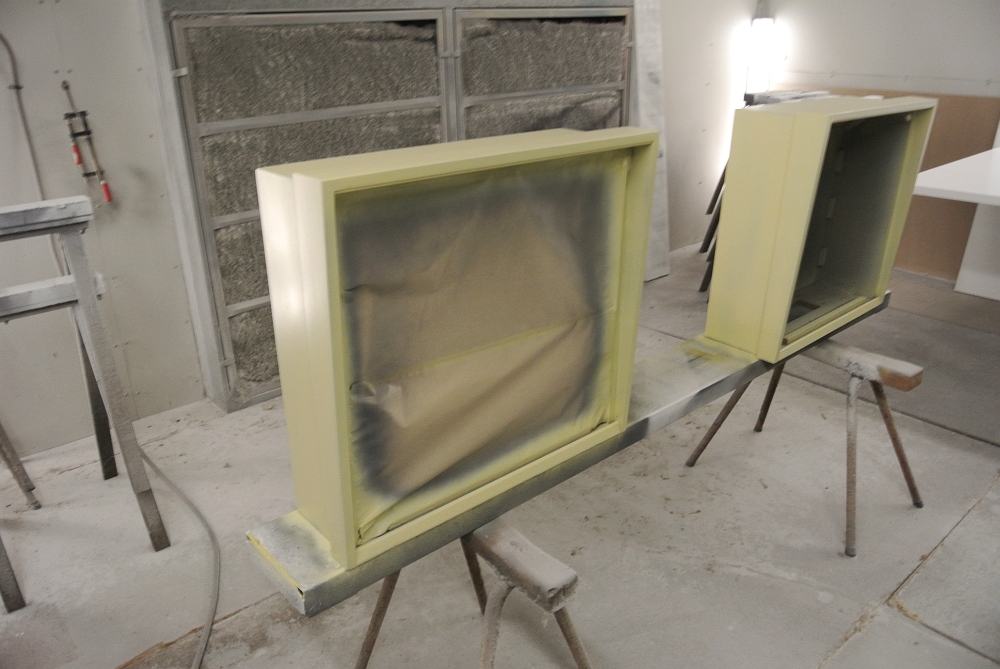
We were lucky enough to be supplied with a reproduction playfield. Without it this really wouldve been a difficult project to commit to.
Here I am stripping the original playfield of parts, and similarly to the cabinet - getting parts out to vendors...
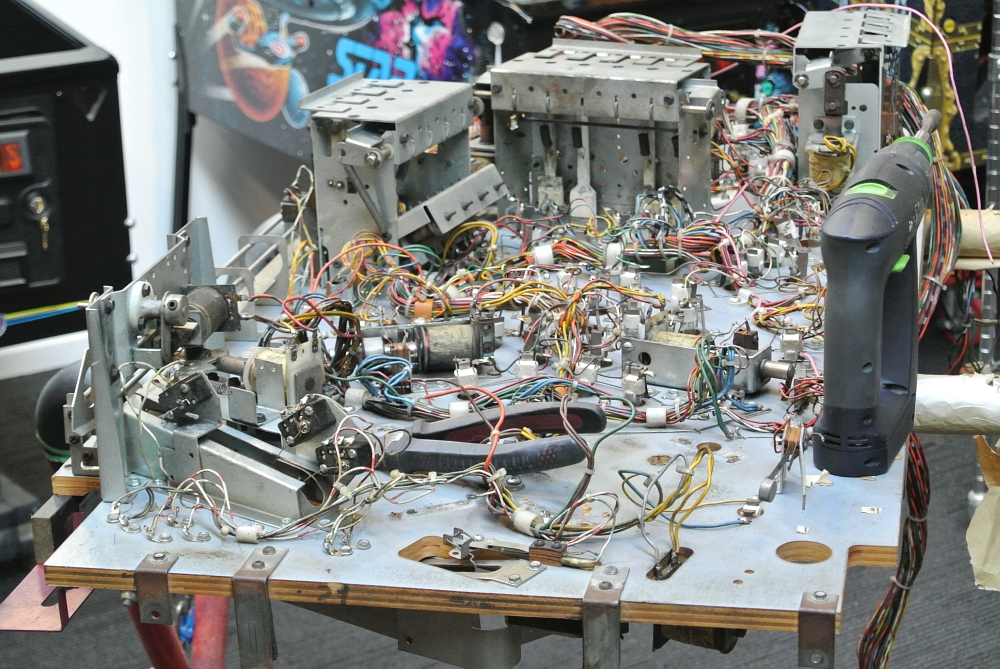
mmmm...plenty of unique assemblies and all the rest...
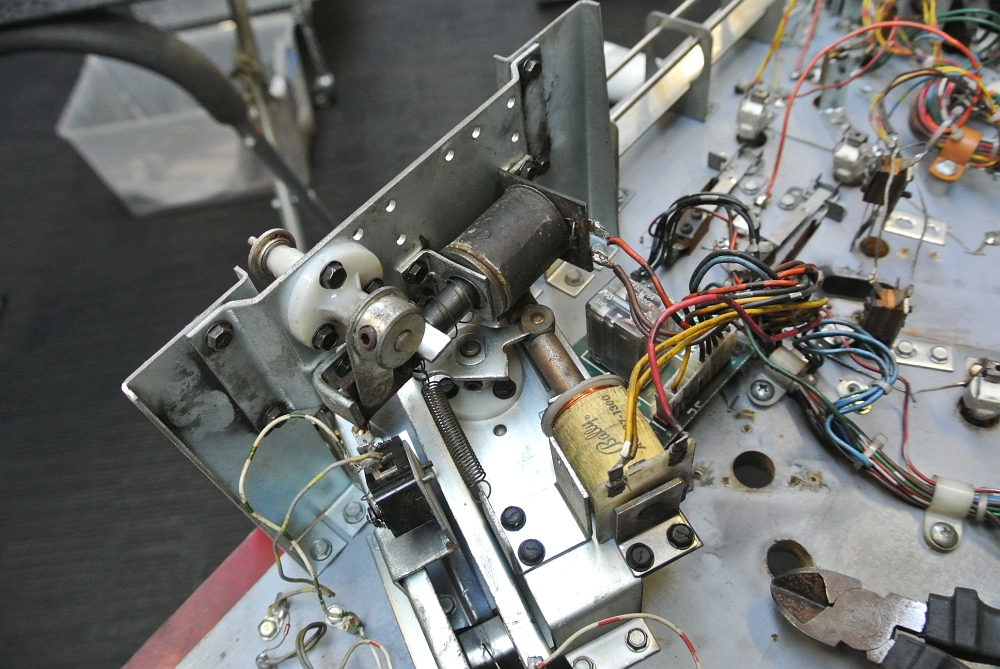
Stripping and documenting the breakdown of the mechs. There is also a big mug of tea to help keep me sane...
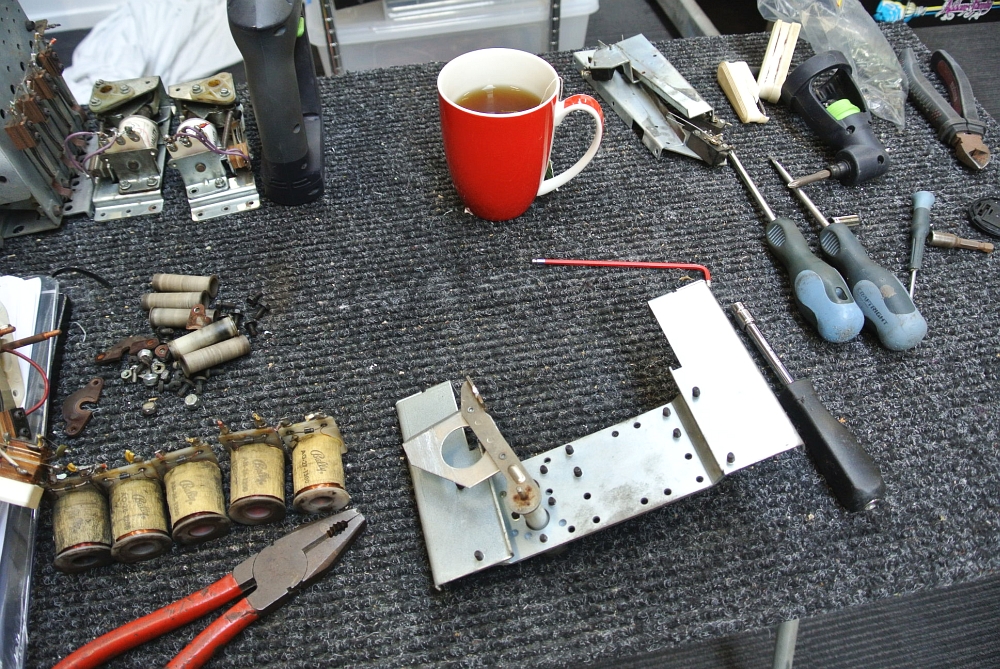
Mechs removed...
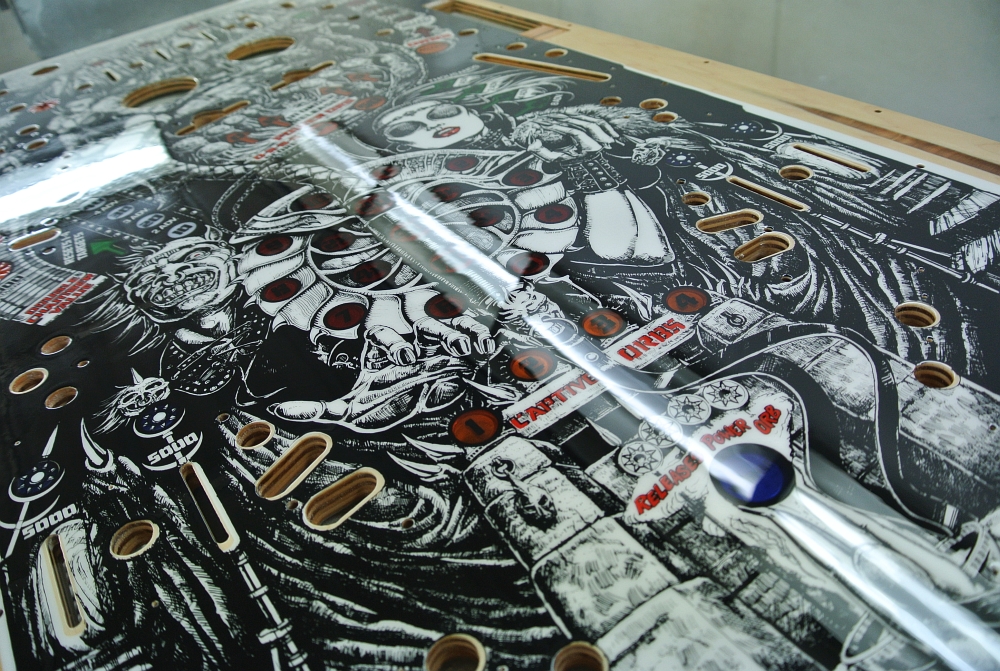
Reproduction playfield was refinished with our own clear coat process and sat aside for a while until we lined everything else up...
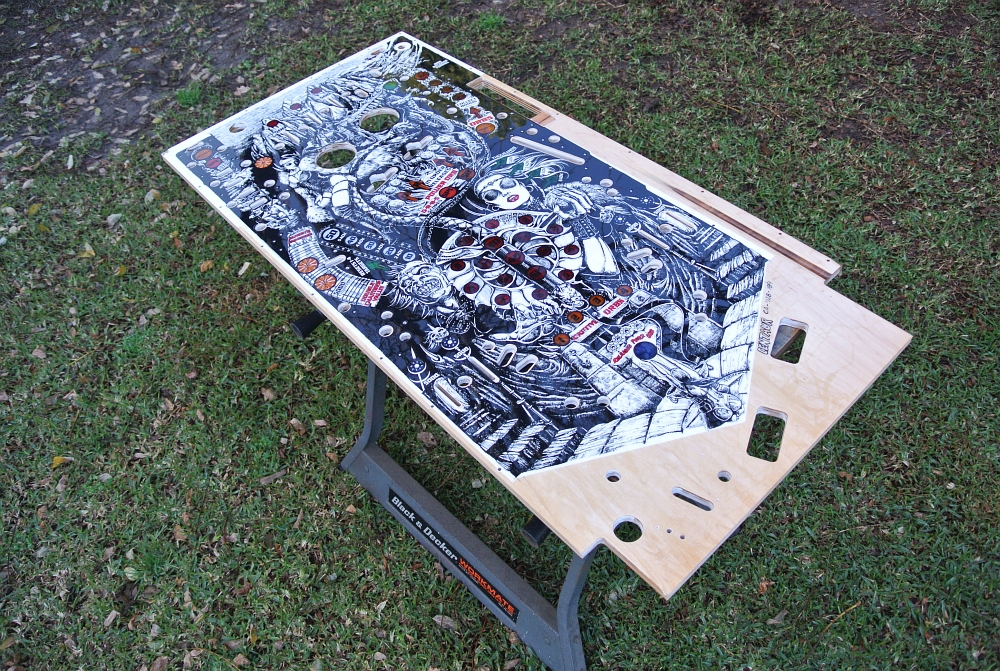
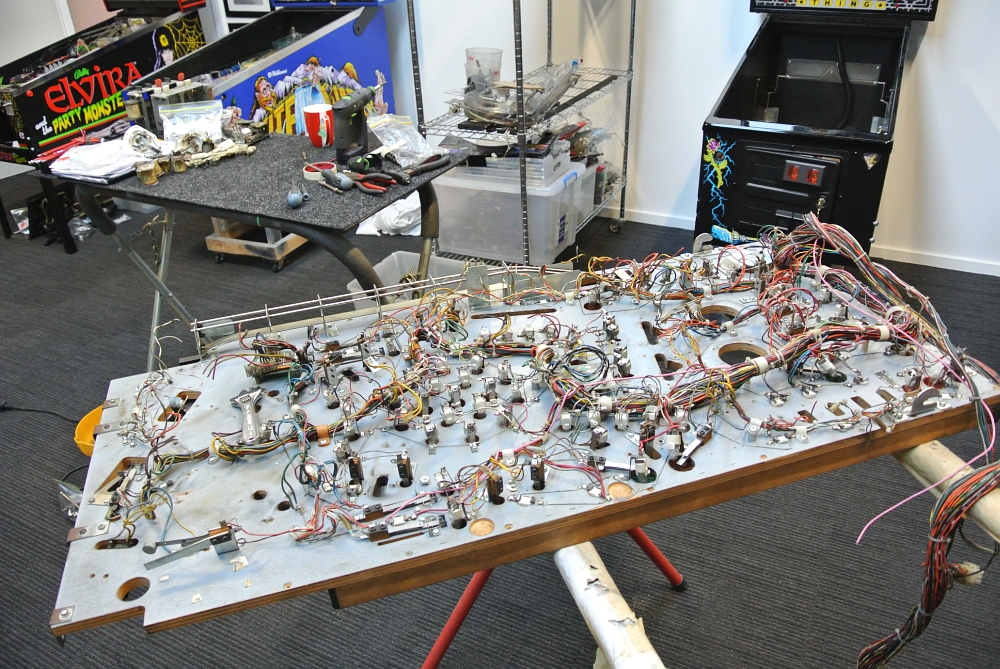
Breaking down more sub-assemblies, they seem to be never ending on games of this era...
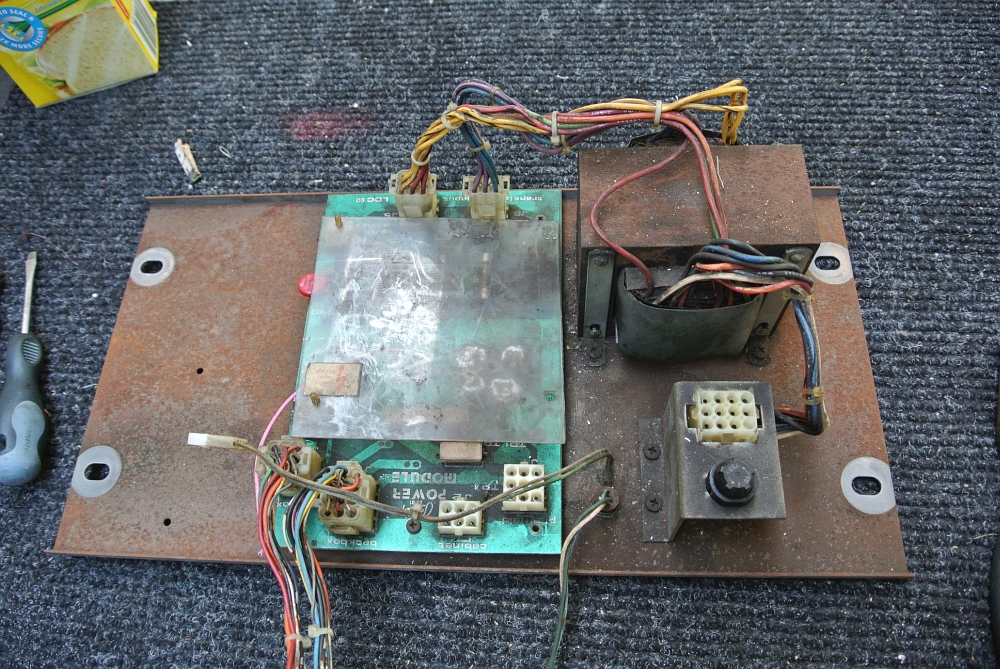
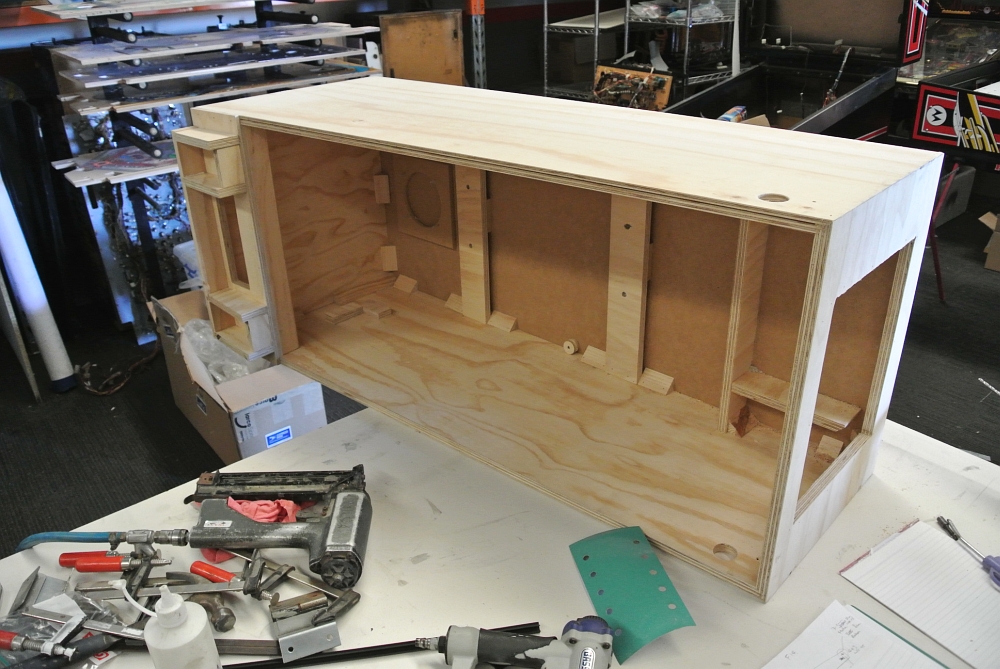
Skipping over to this part of the project and a replacement lower cabinet has been built...
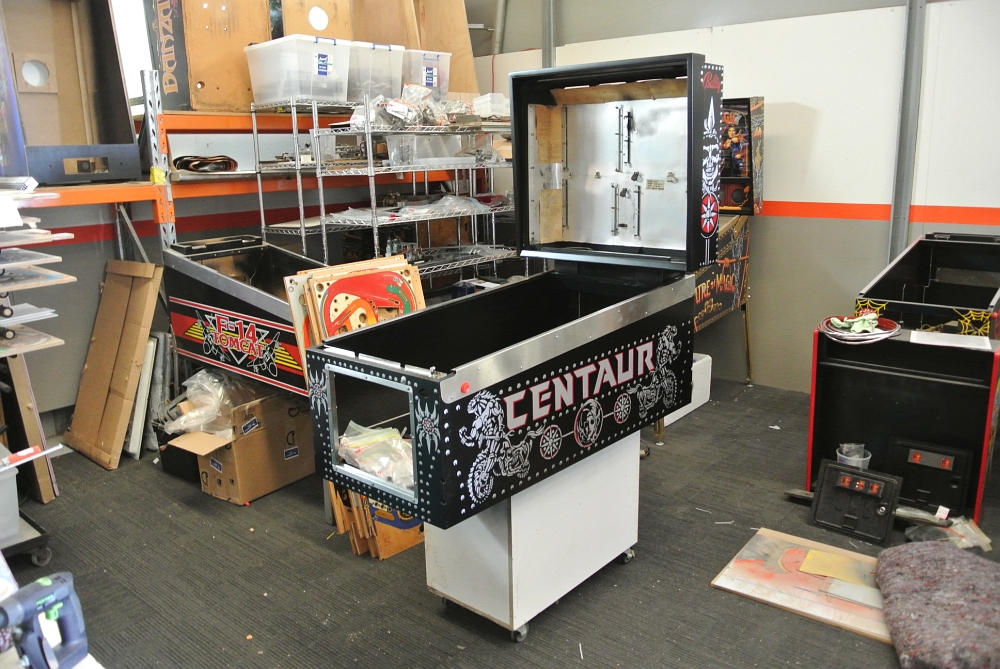
I'm really bummed i dont have much between then and this point in the project, but the cabinet has been stenciled and assembly has begun...My Elvira waits patiently in the corner for some free time (yeah right)
Playfield assembly begins. All new sockets and braid, connectors etc anything to get this thing back to some sort of reliable state...
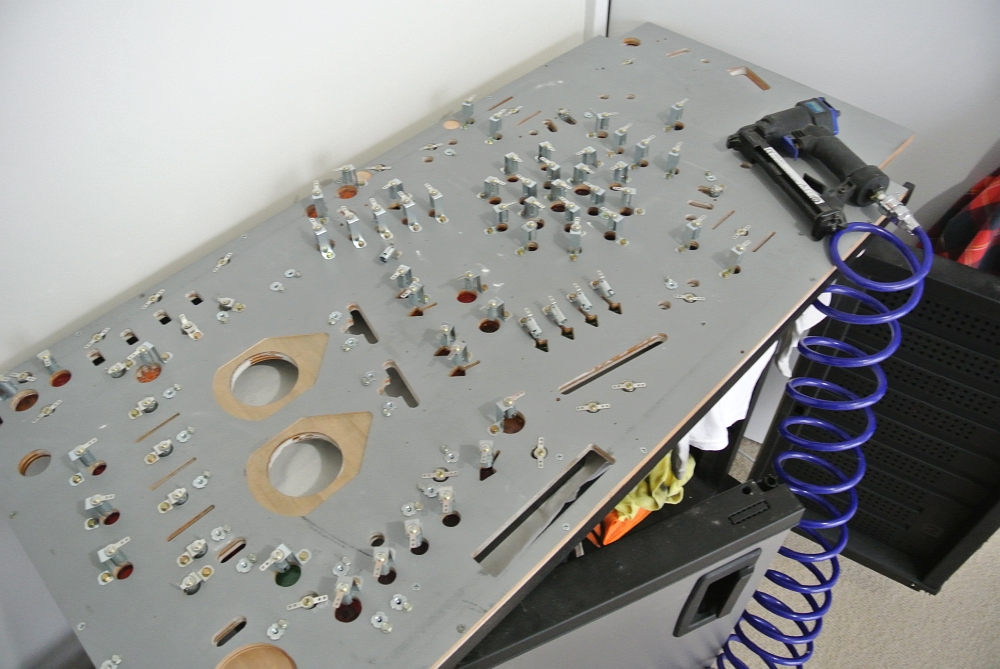
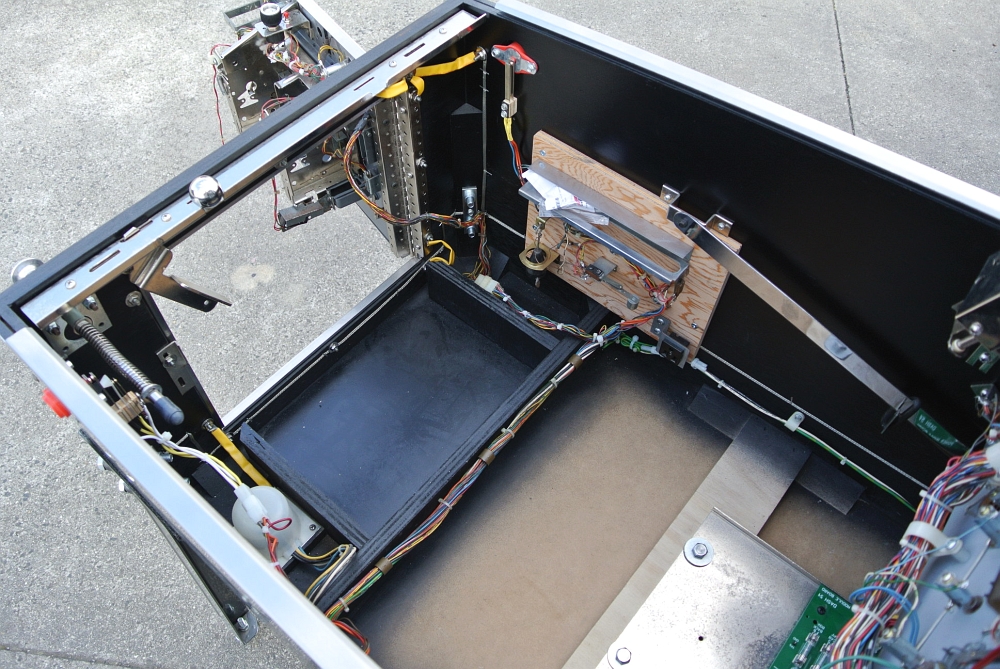
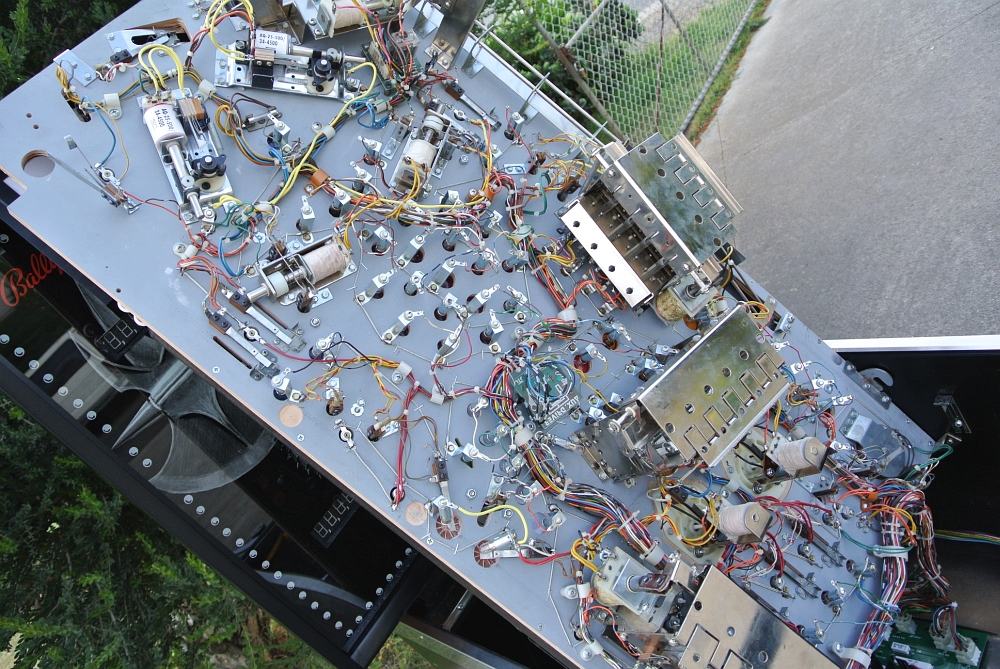
Fast forward again, wiring going down...
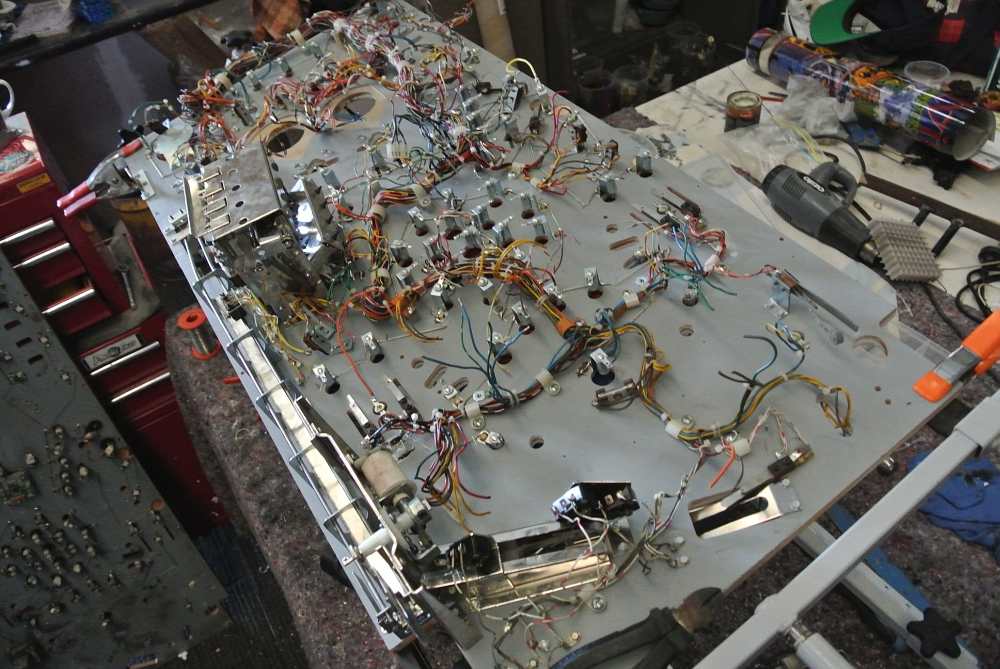
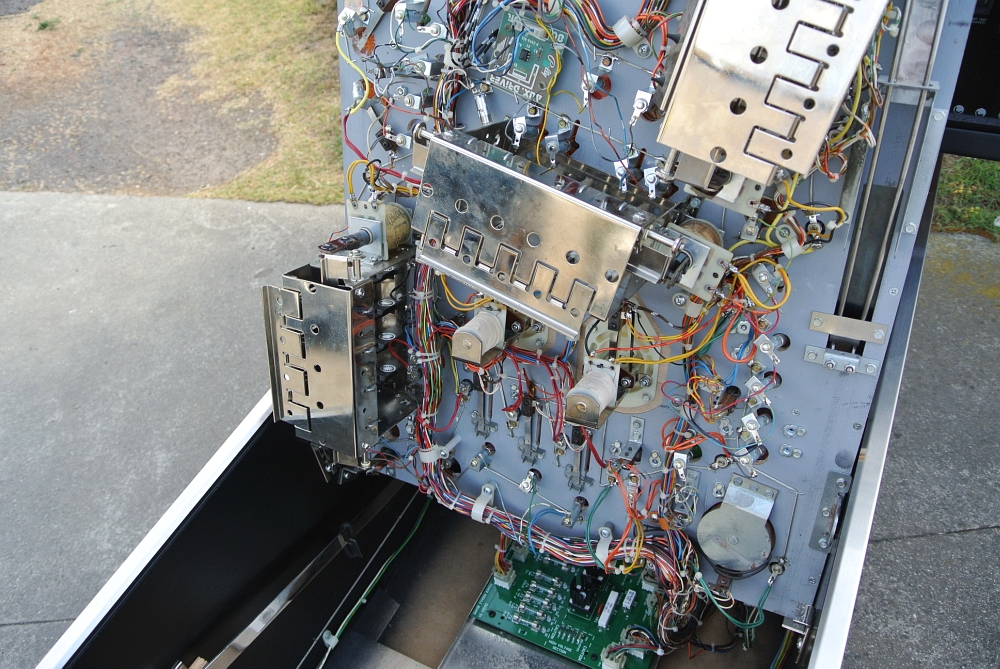
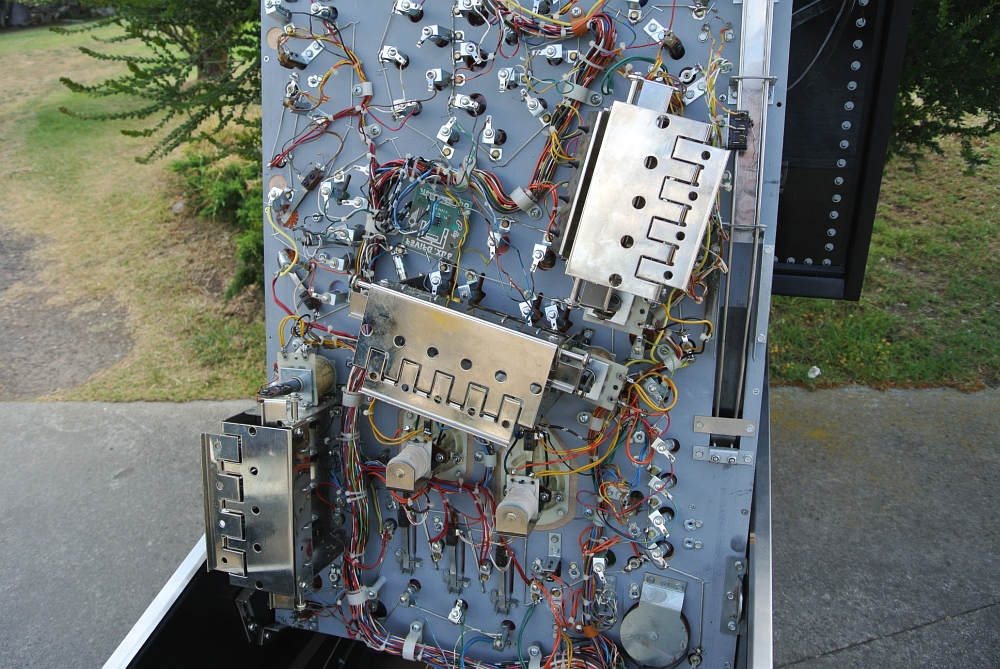
Mechs going in now...
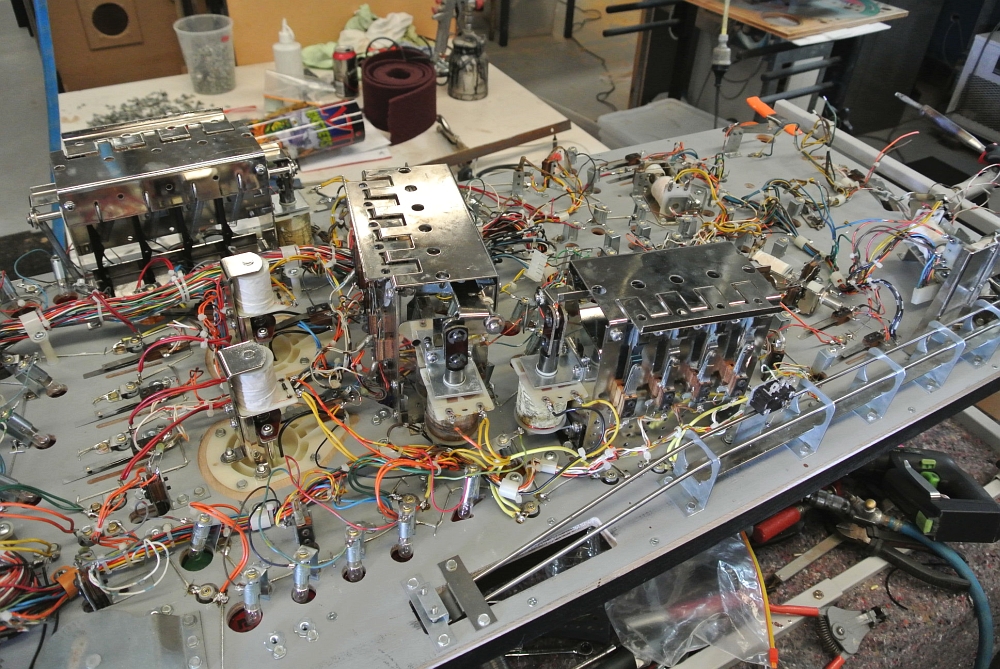
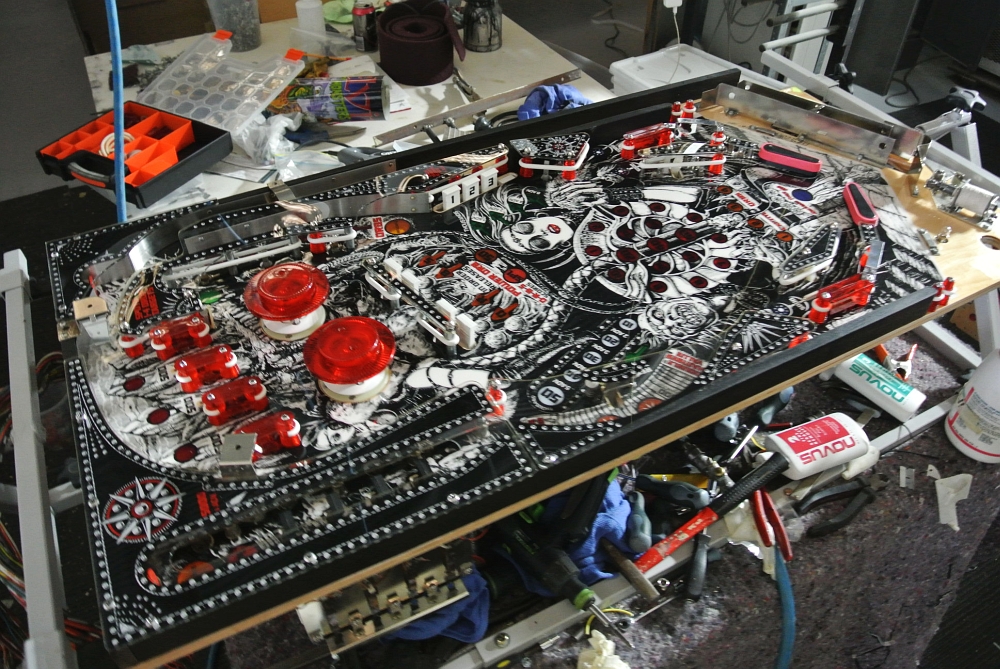
Topside coming back together with its share of new components...
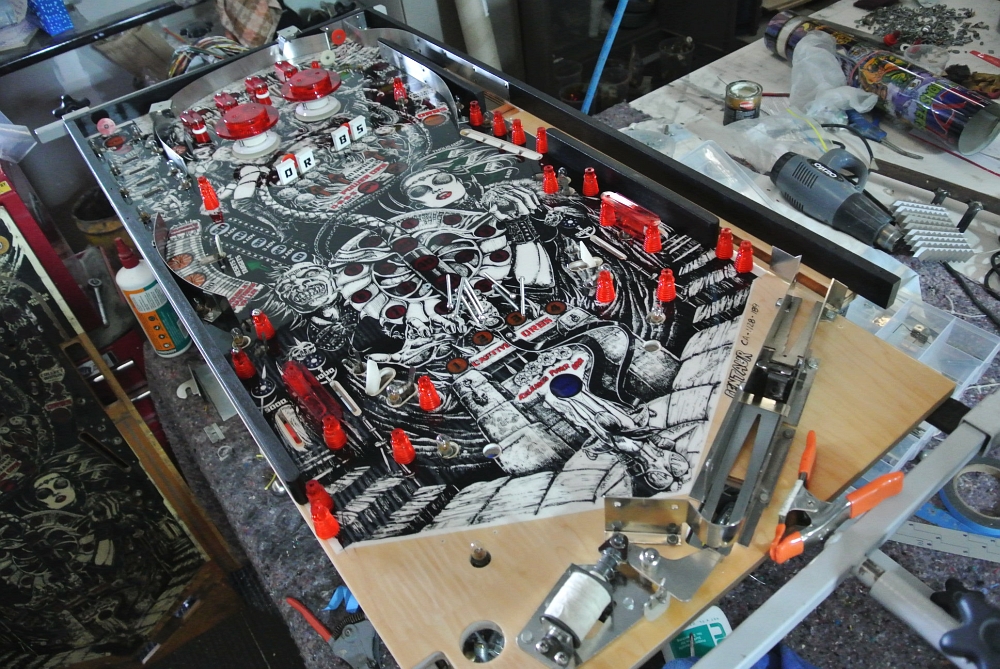
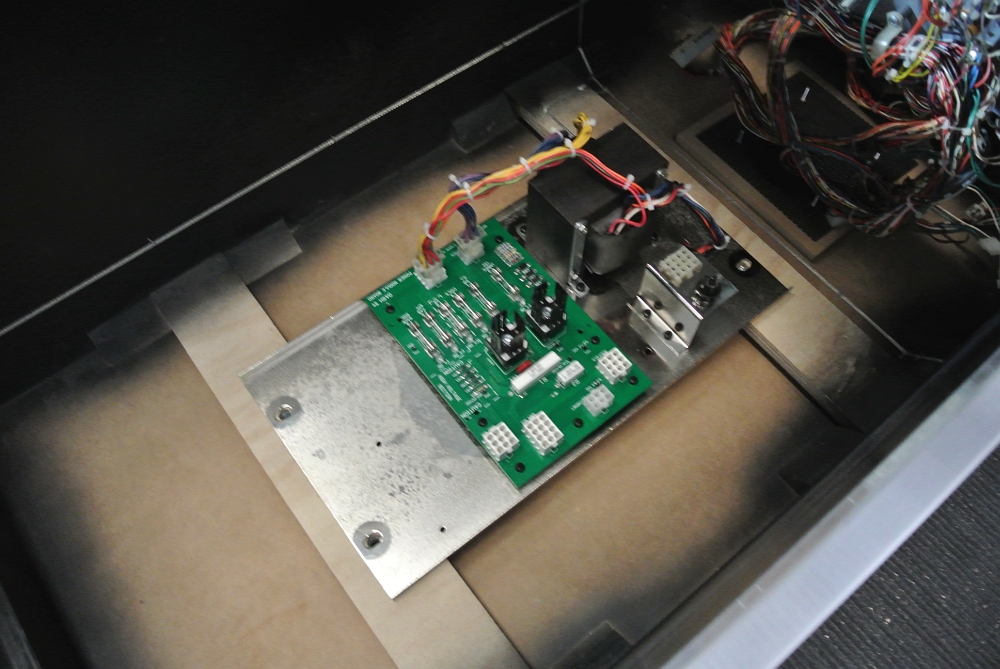
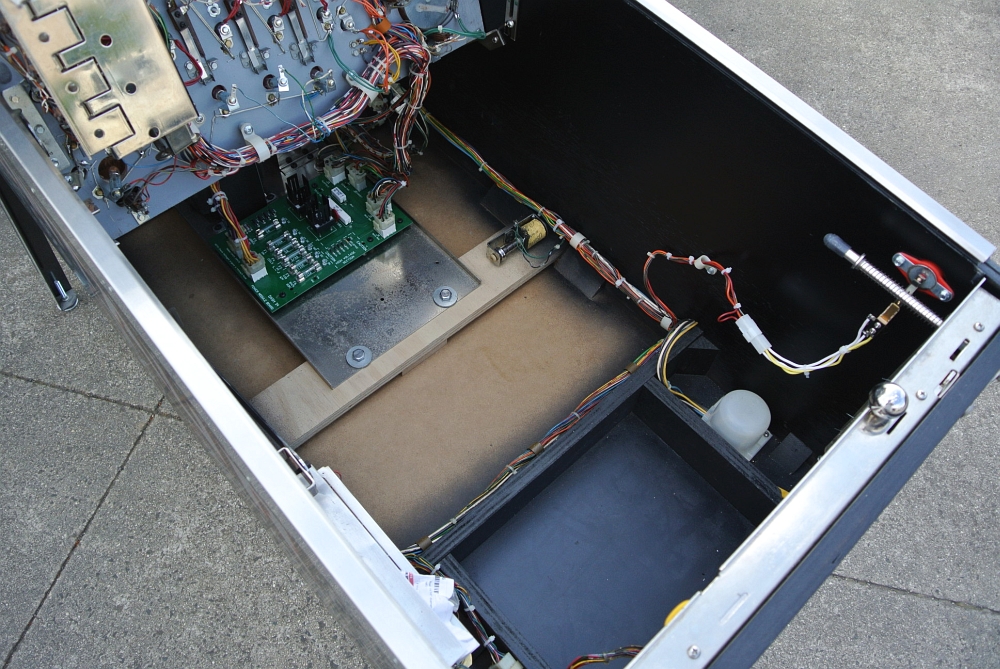
New boards, and transformer components refreshed...
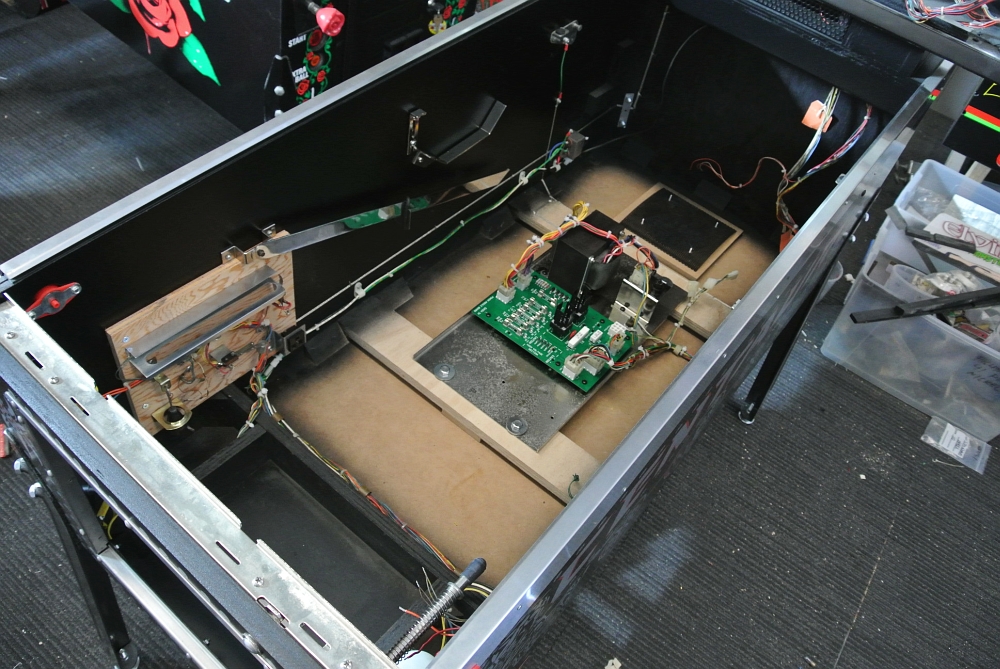
Cabinet is going through final stages of assembly...
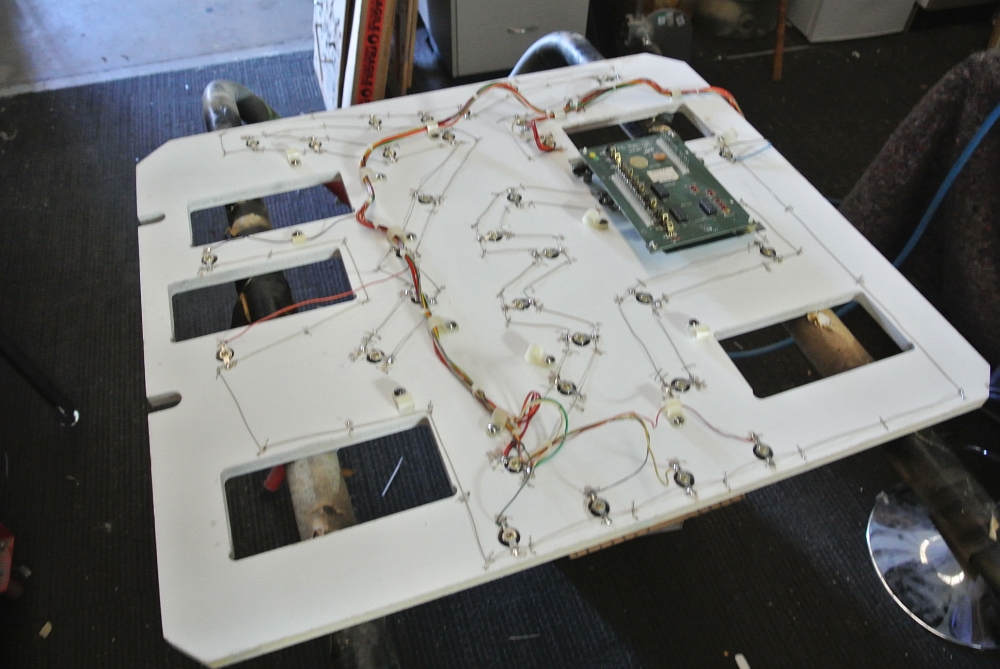
Lamp panel restored and new components fitted out...
Door...enough said...These are a restoration feat in themselves, I know Crashramp has done a number of these...well done man

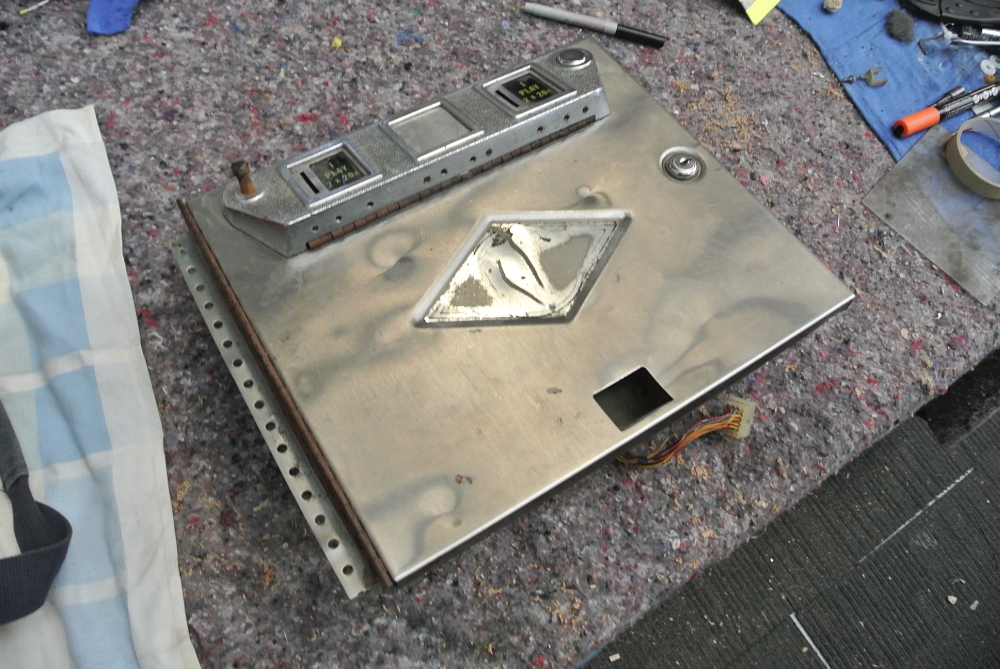
Rebuilt, re-plated and installed. I left the sticker off as I thought it looked cleaner without it. Personal preference, easily installed...
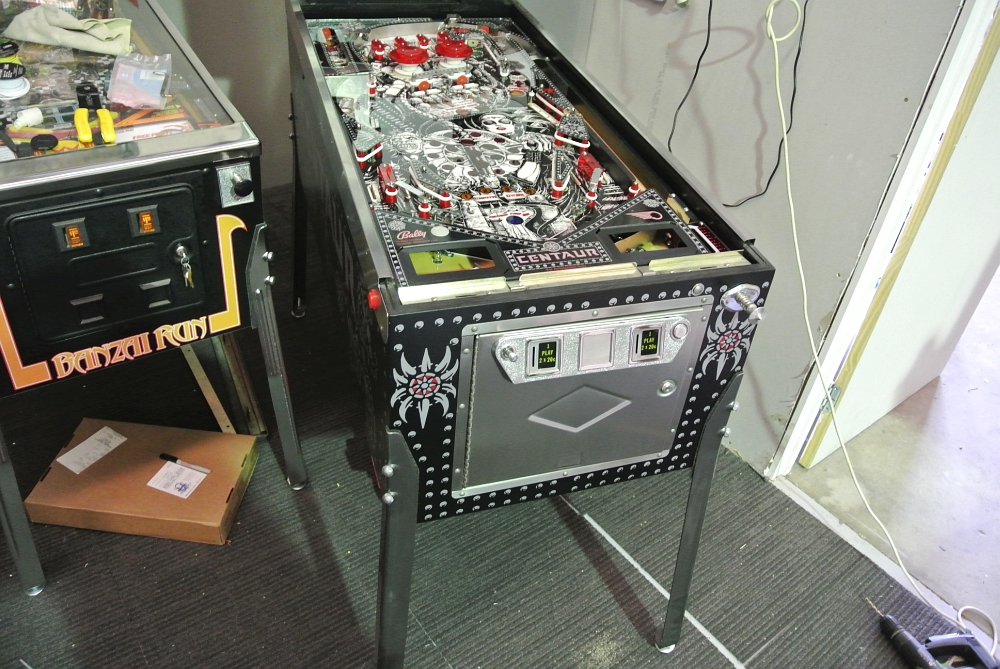
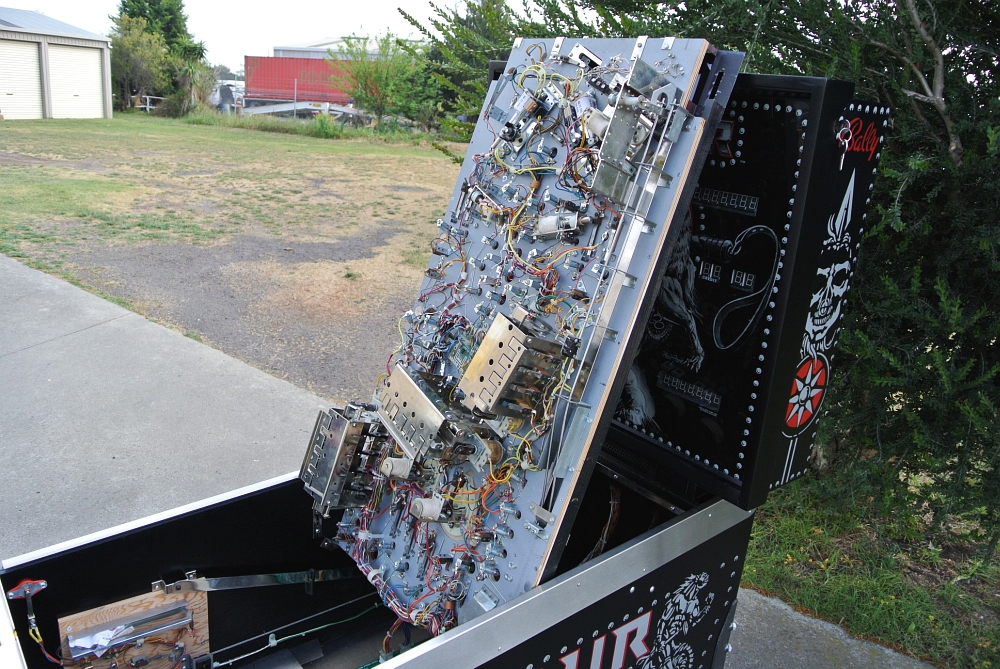
Nearly there...
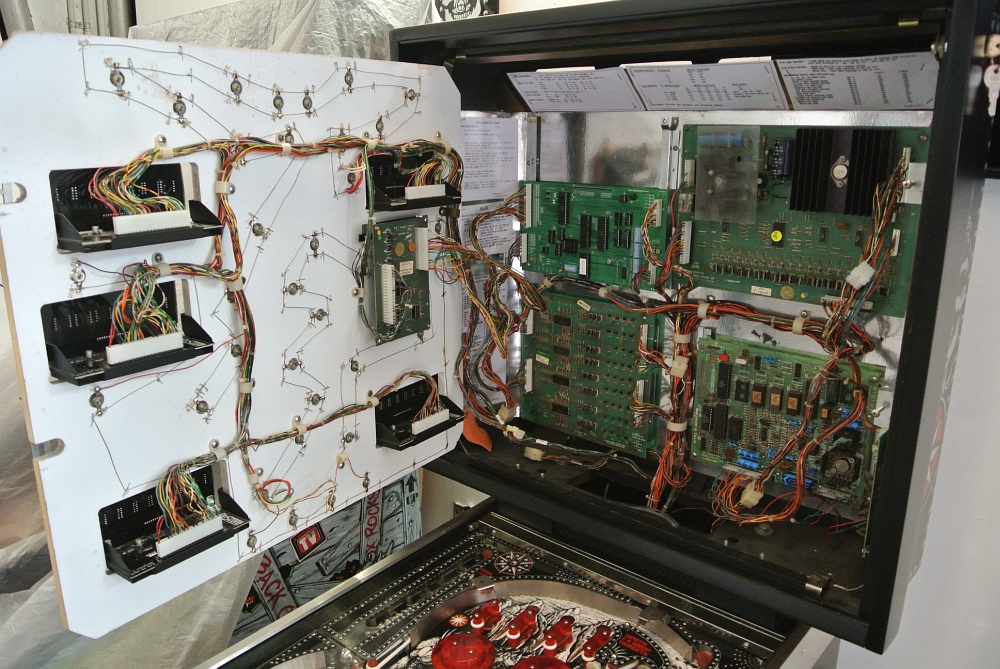
Powered on...
NOTHING


'Nothing' is probably a little dramatic - but the game was riddled with problems. I didnt have the opportunity of powering the game up on arrival as it was delivered mainly stripped to me.
As most of you know, Hot Rodded Pins works closely with Nino at Australian Pinball Restorations - and this era of game is without a doubt his specialty. He puts a massive amount of trust in HRP to deliver on his playfield work etc, and it was great to be able to explain our situation, and have him welcome our project with such confidence.
The decision to have APR take over for this final stage of the project was discussed with the client, signed off and the game was delivered to APR for final testing and adjustment.
As for the specifics of what the game needed, Nino may chime in here.
I would also like to give a thank you to the great ddstoys for his role in this area of the project. He gave so much time to fault finding on Centaur - thanks so much man

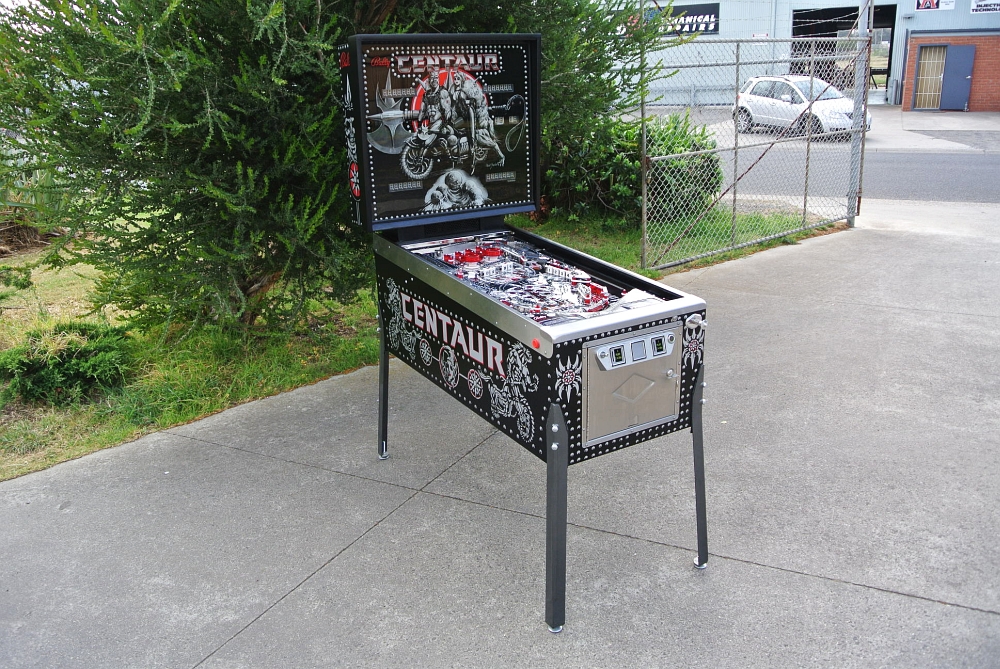
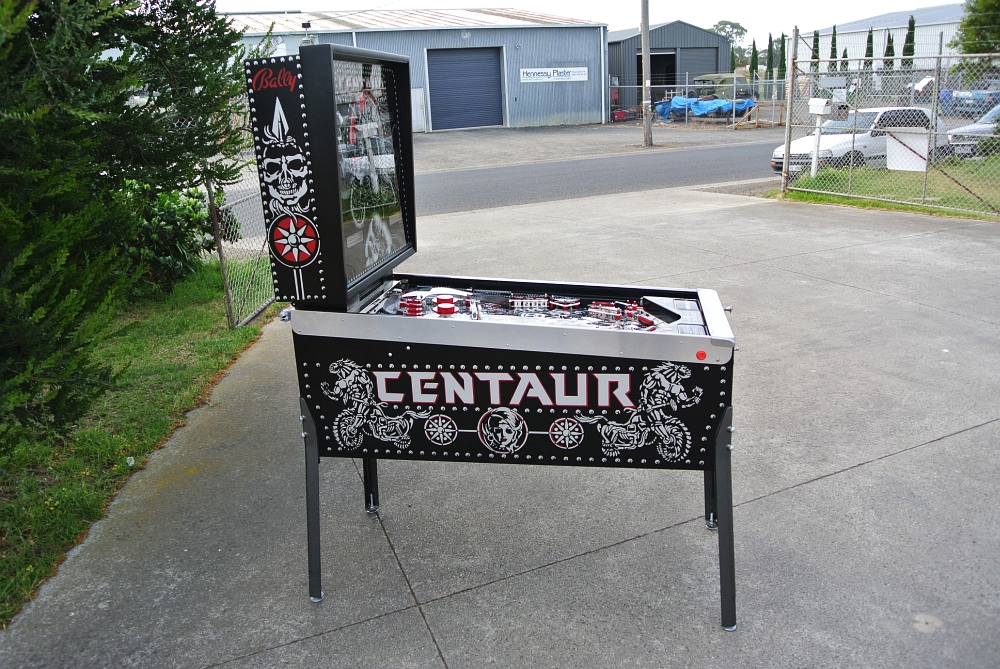
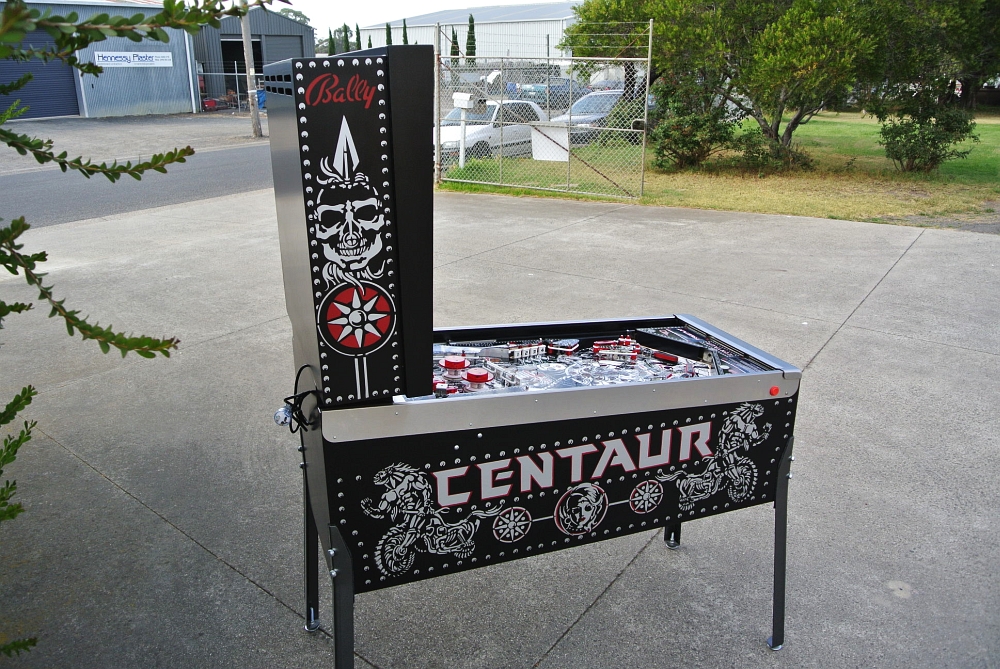
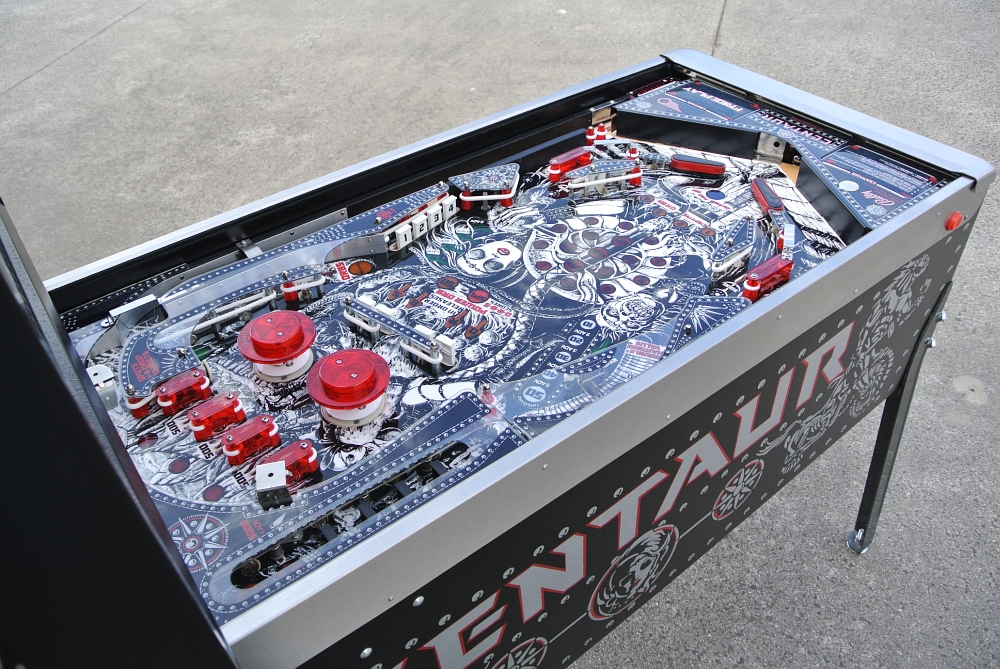
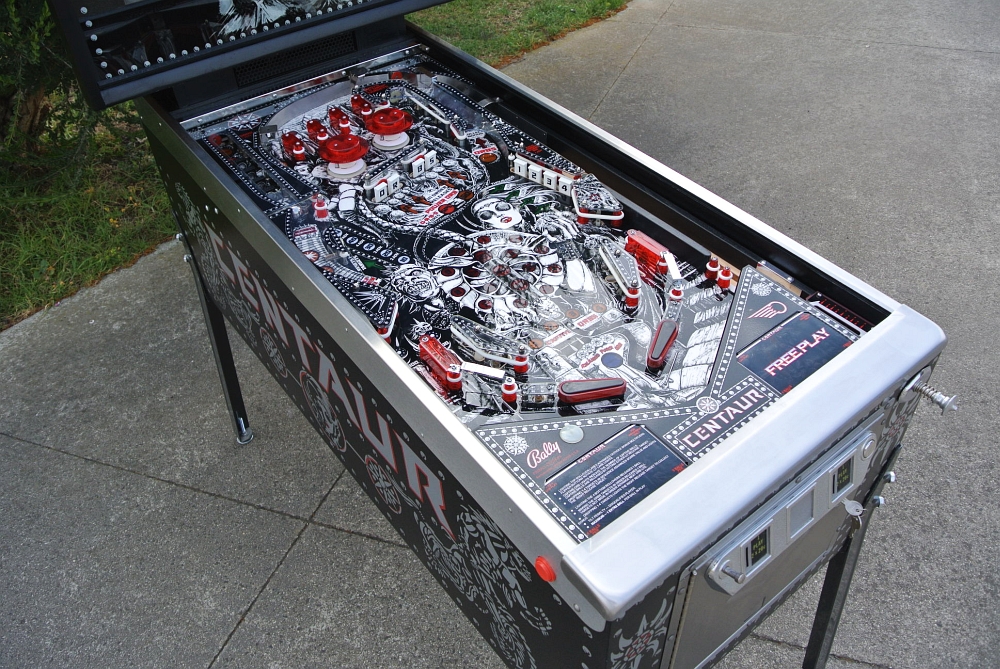
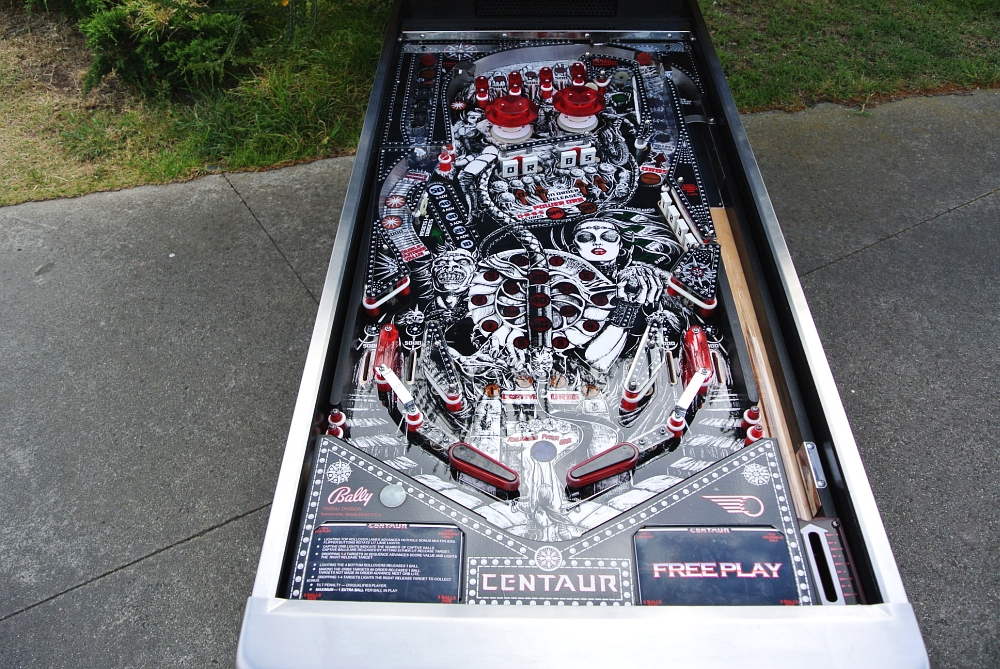
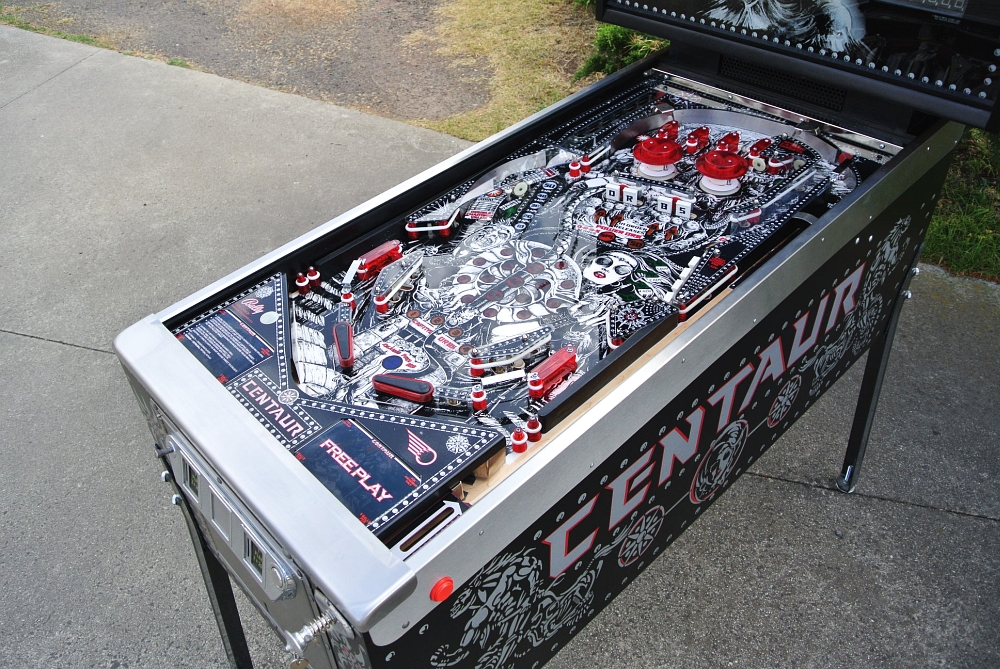
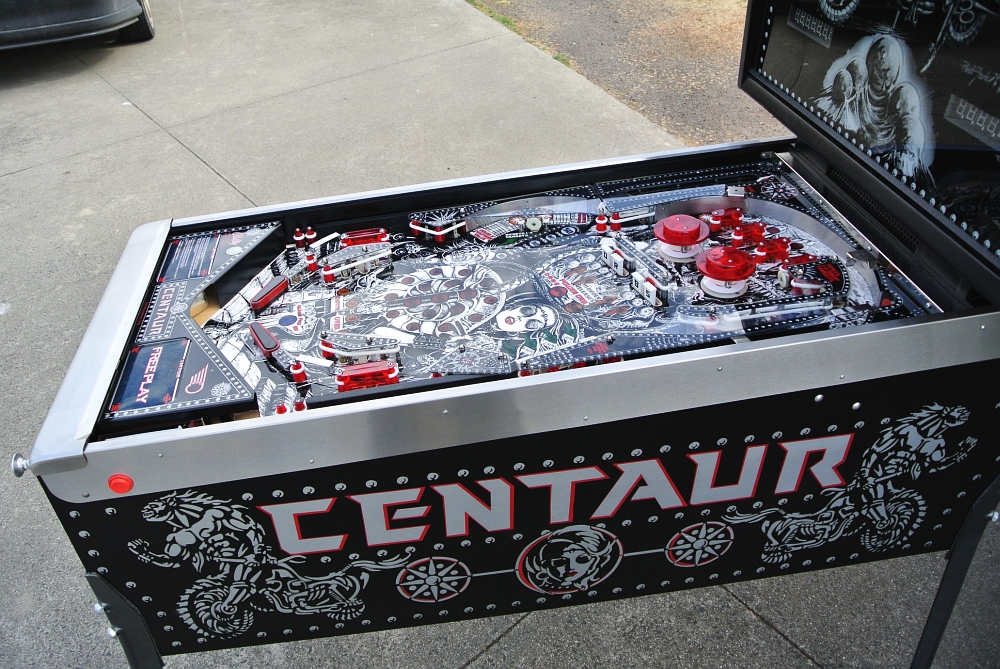
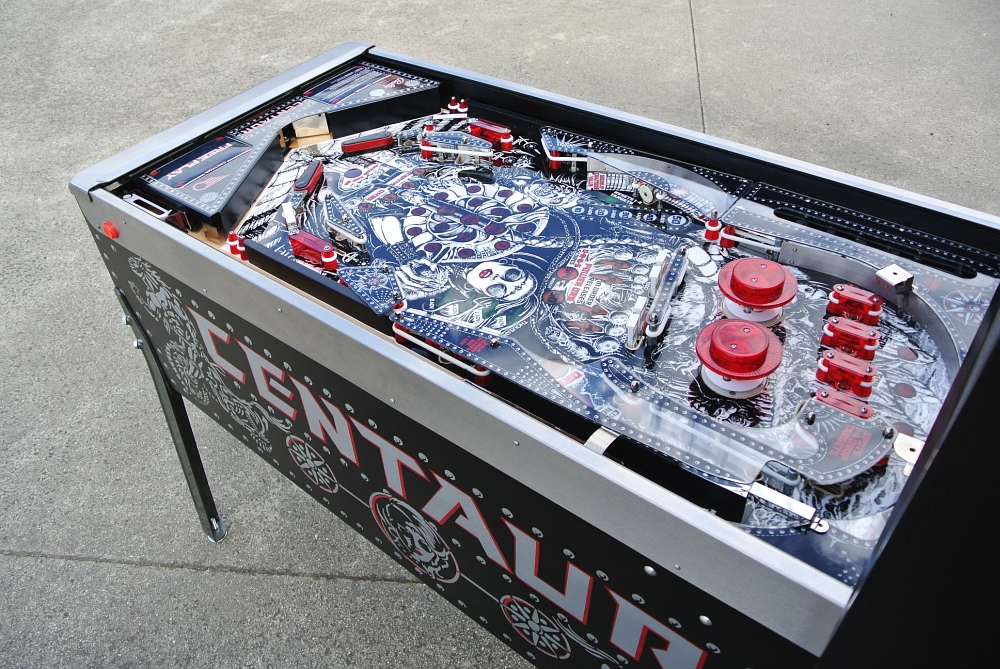
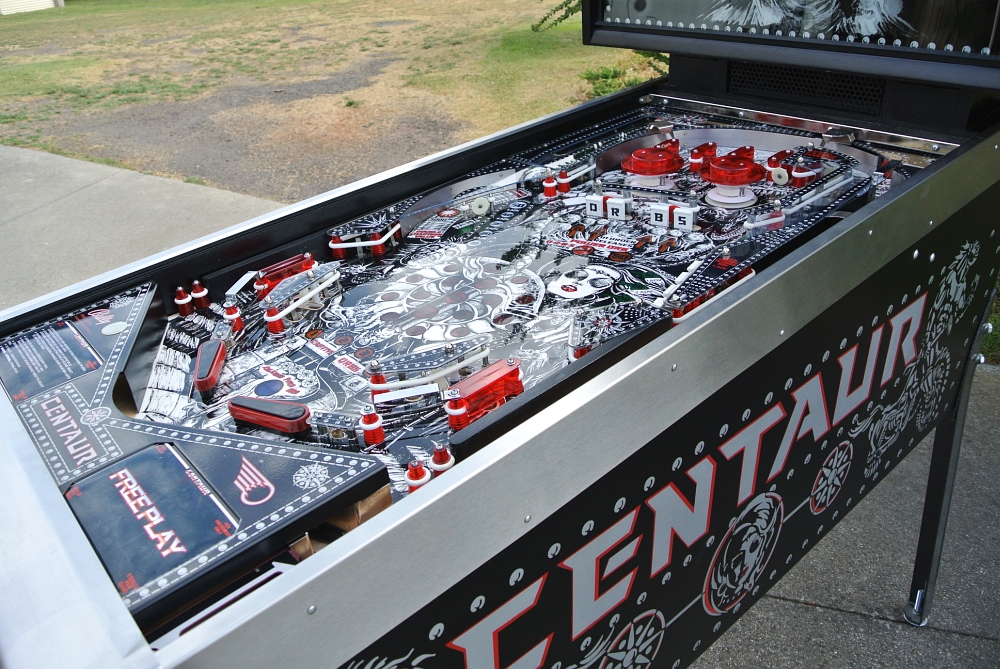
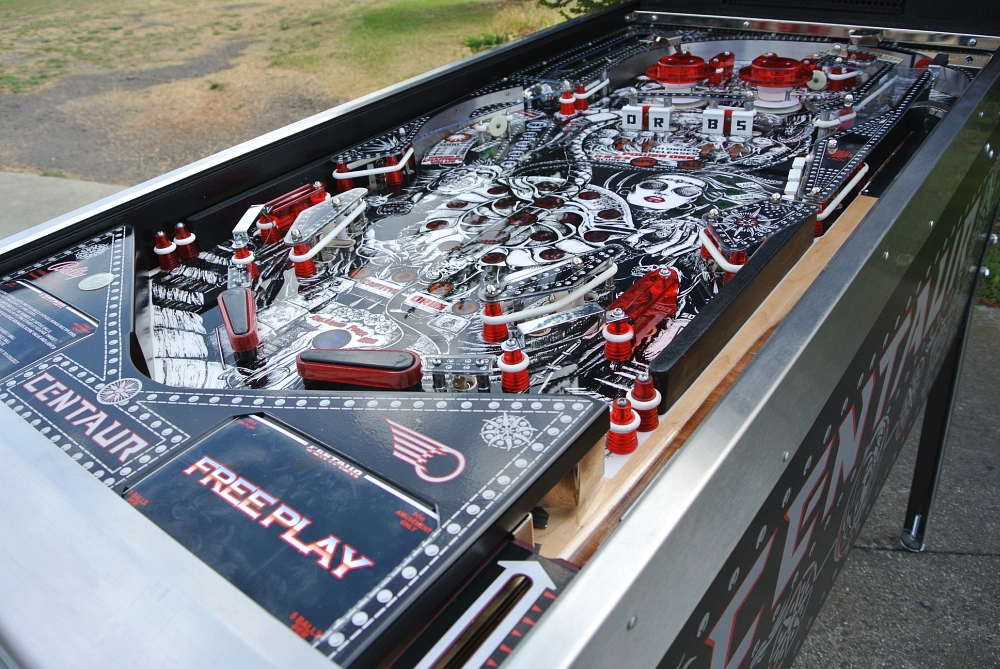
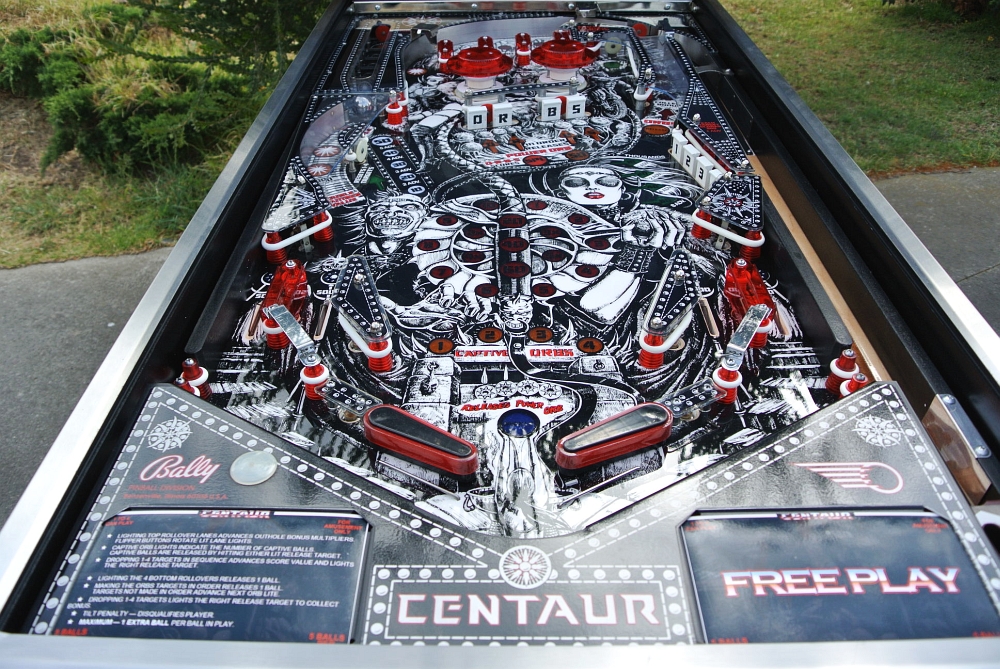
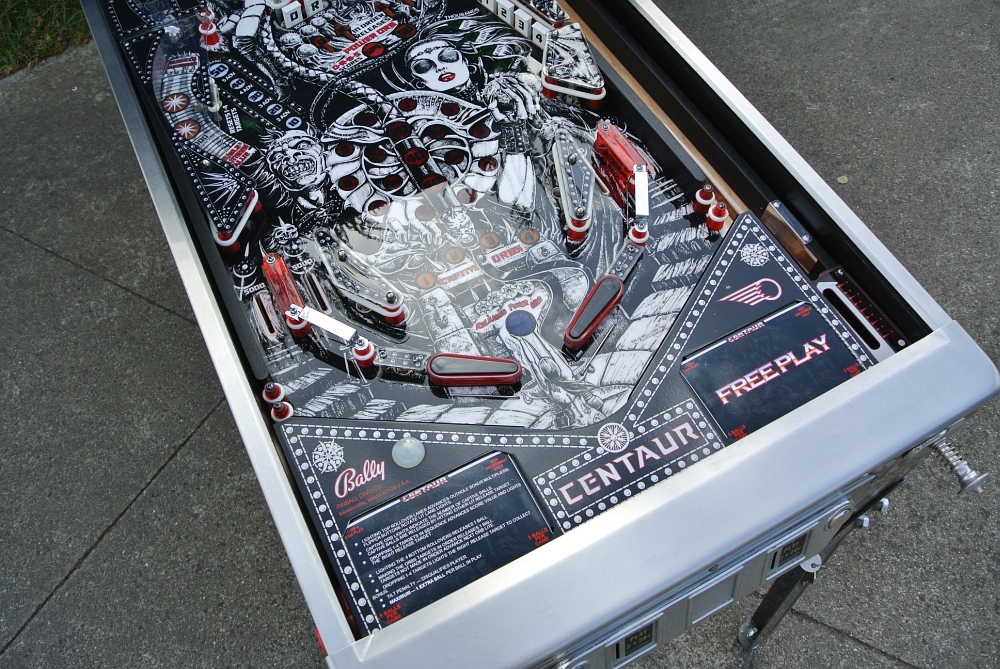
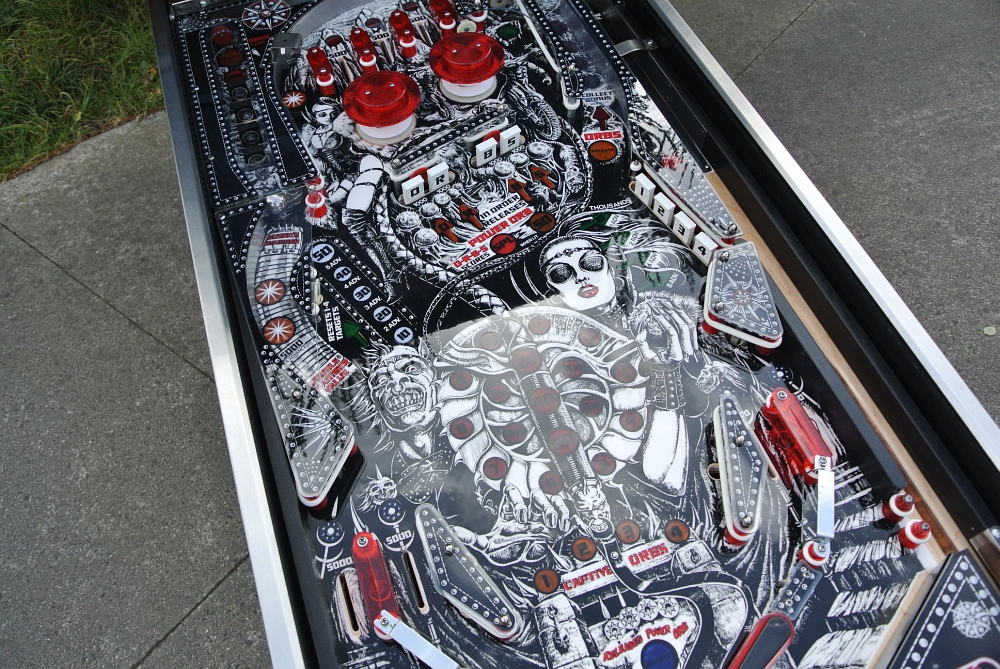
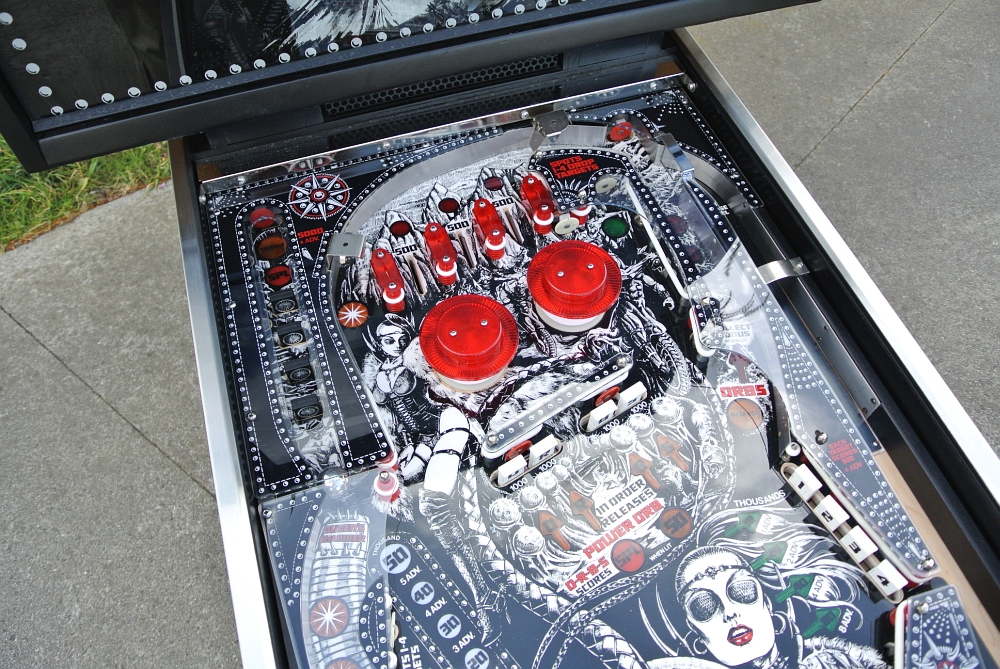
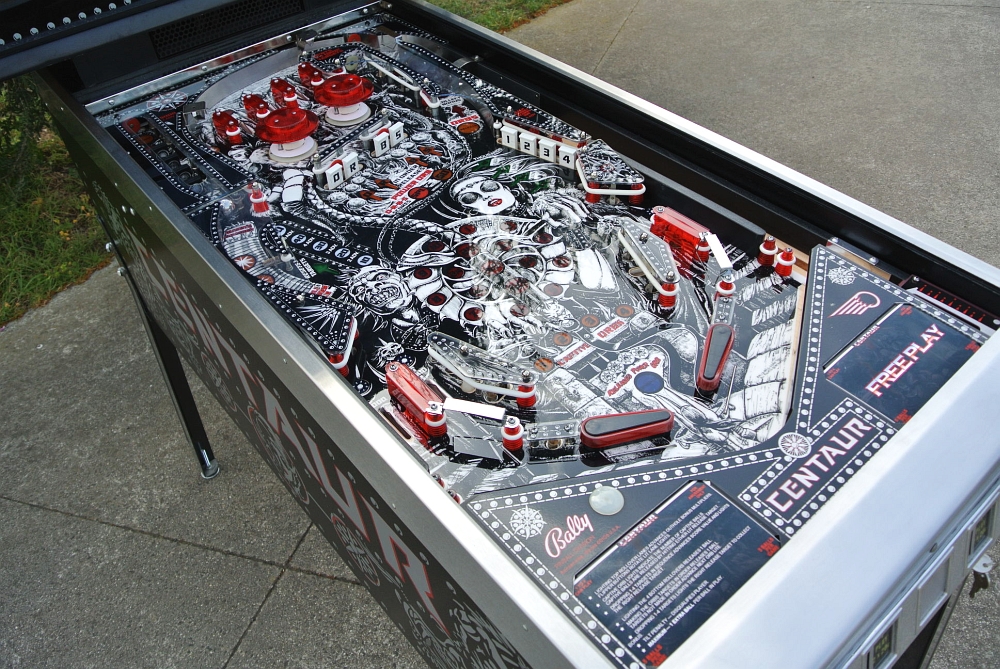
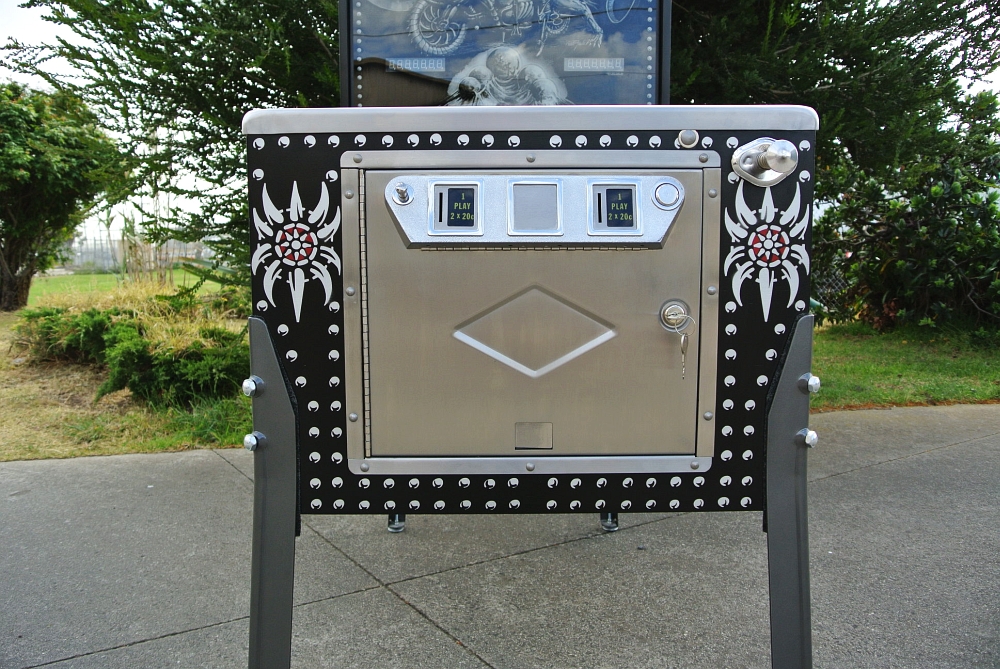
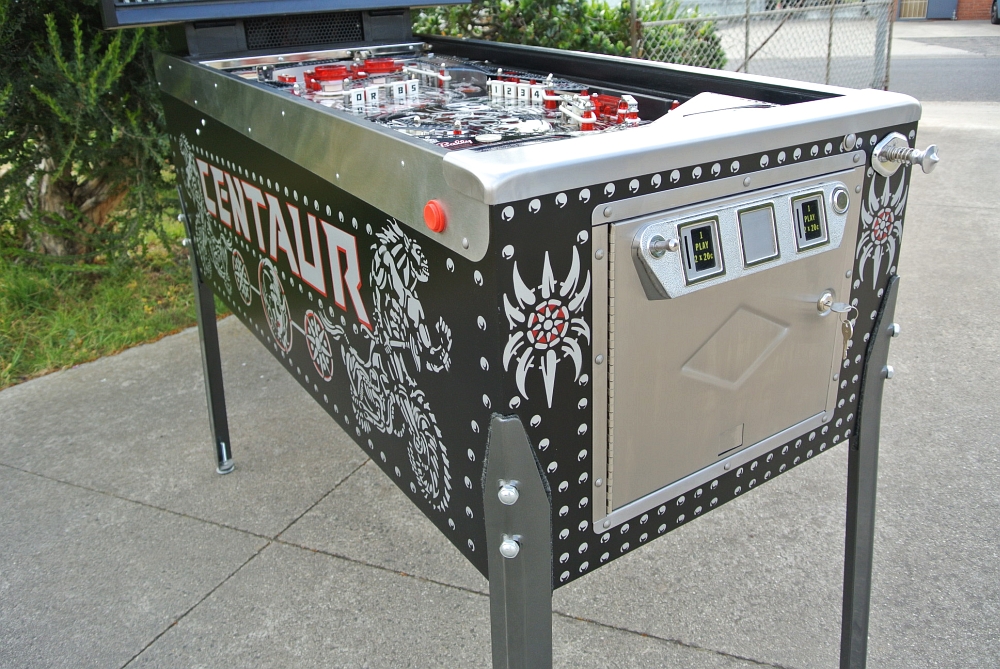
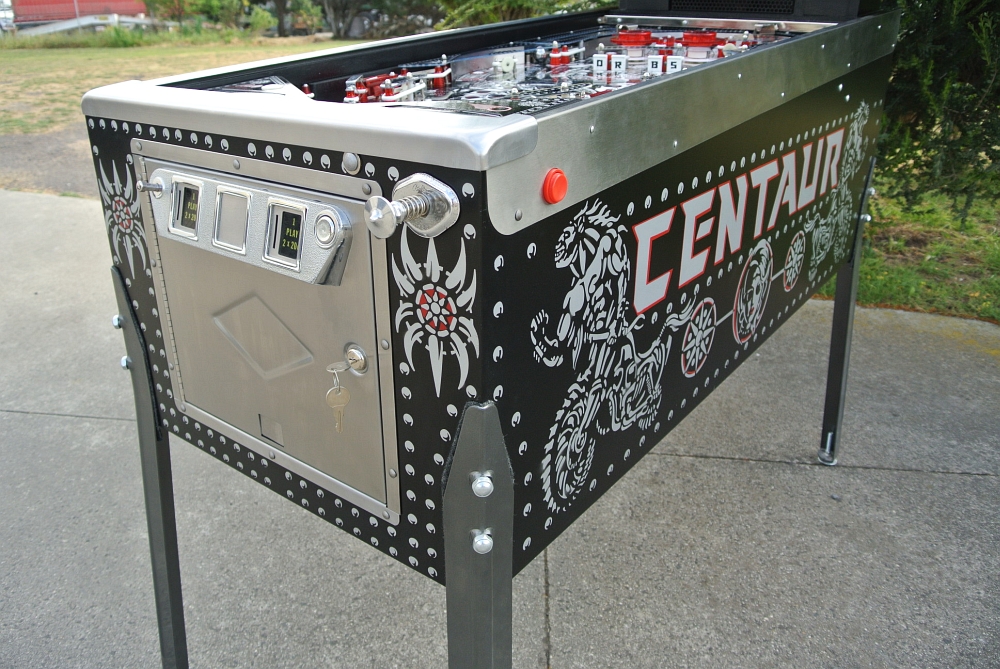
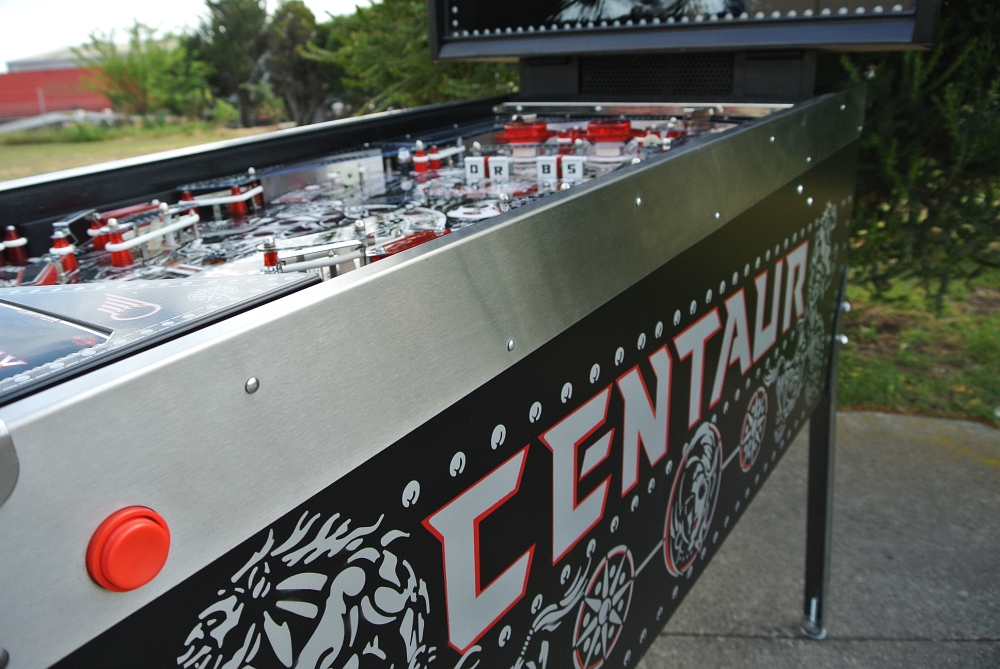
APR advised that the job was done, and ready to collect... I made the trip to collect and set the game up for final photos when we got it back to the shop. I played it too, its an AWESOME game with some very hard rules to beat!
Thanks again to everyone who helped on this one, certainly a very very tough project but extremely rewarding at the same time. Thanks again guys...
Tim
HRP