Hey Guys,
The following is a visual diary of a Fishtales restoration I have recently completed. I havent gone into as much detail with this thread as I have done on my previous work, as they all essentially show the same process. If you have any questions though, feel free to ask

Starting out with the base game received from the client...(Yes this game started in my garage/workshop)
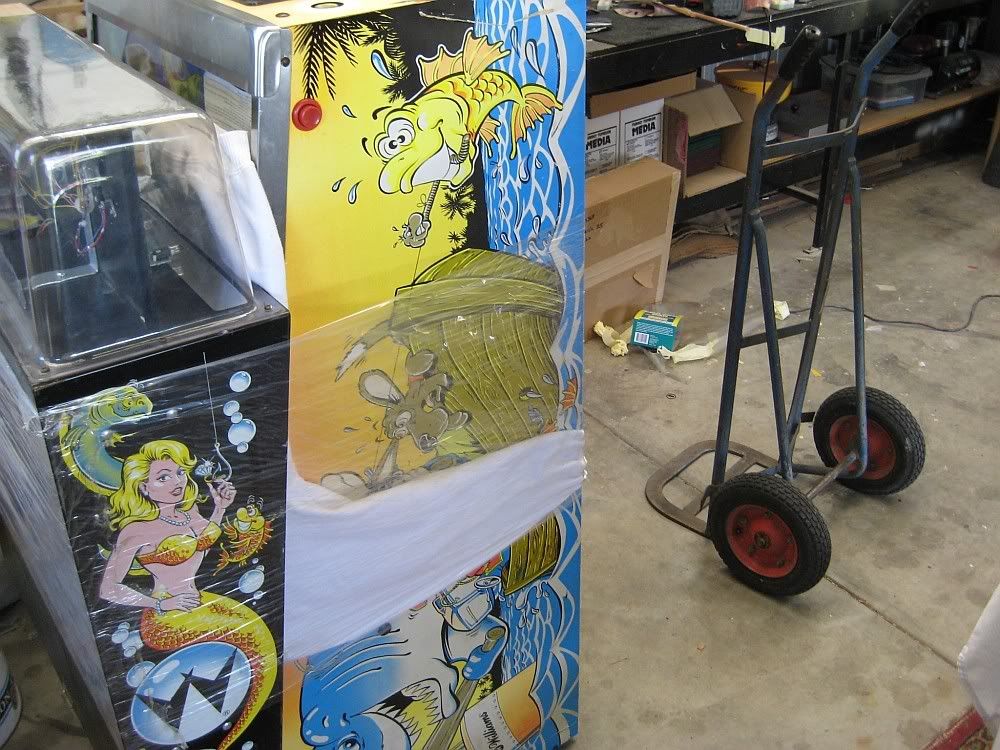
Typical fade/problems, but overall a solid base game...
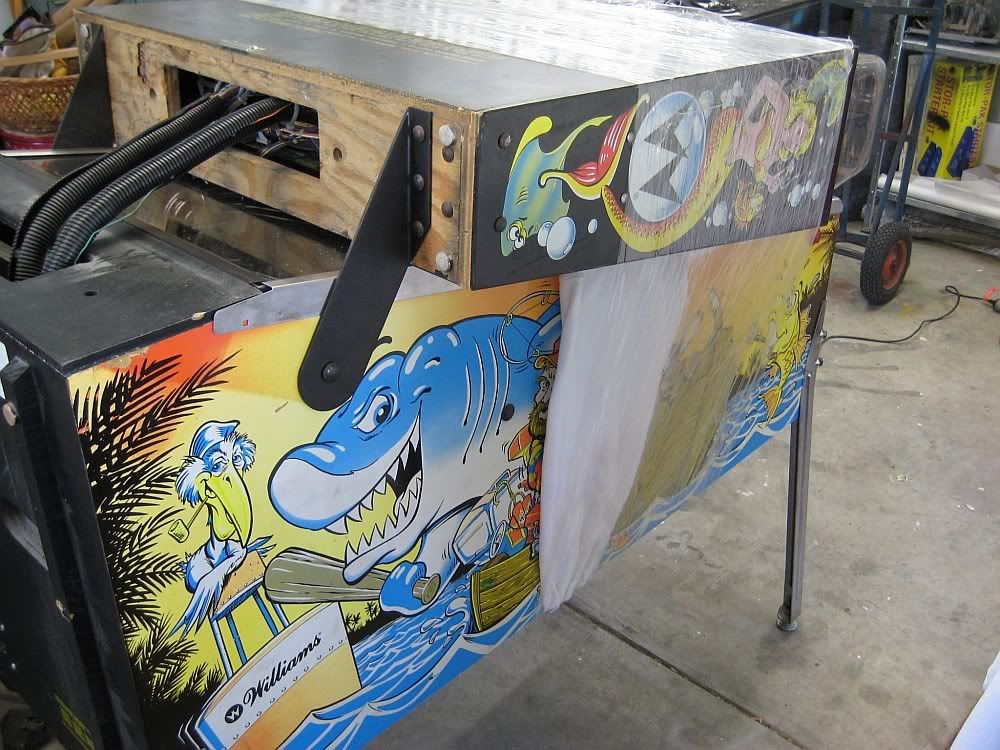
This game was imported from Japan. These snaps are just to give you an idea of what the machine looked like BEFORE...
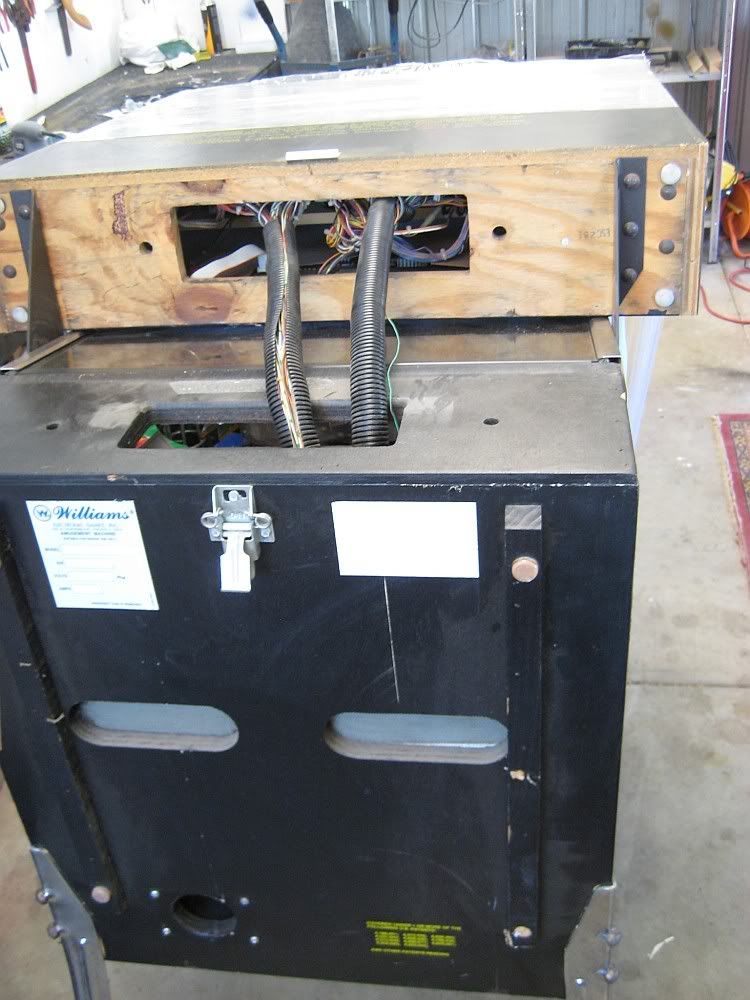
Again...
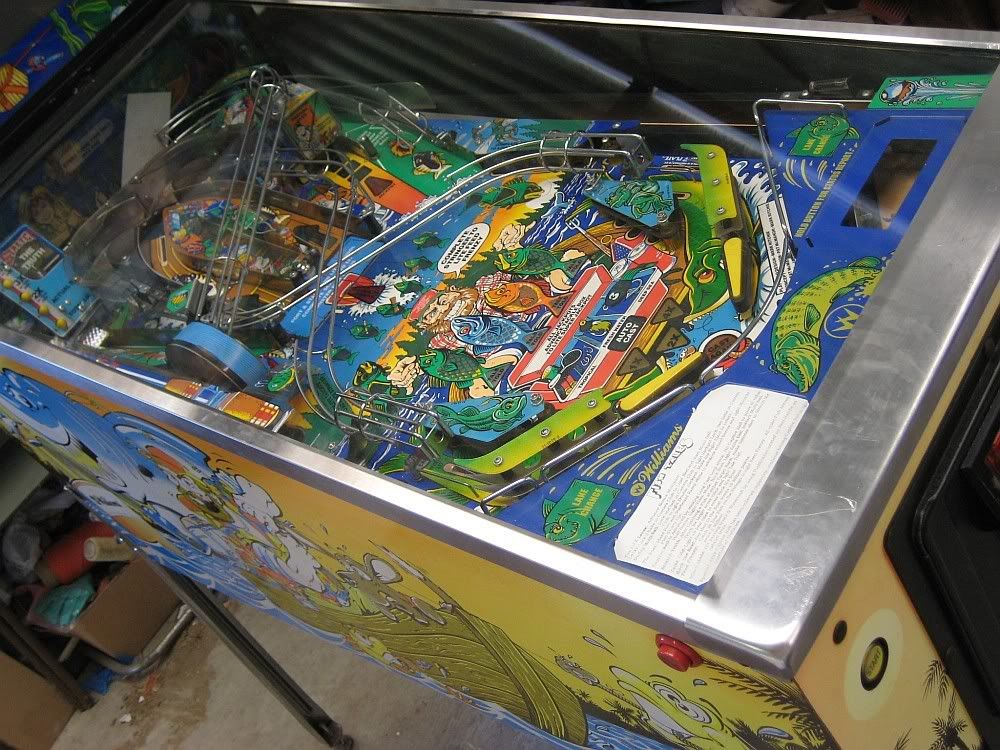
Again...
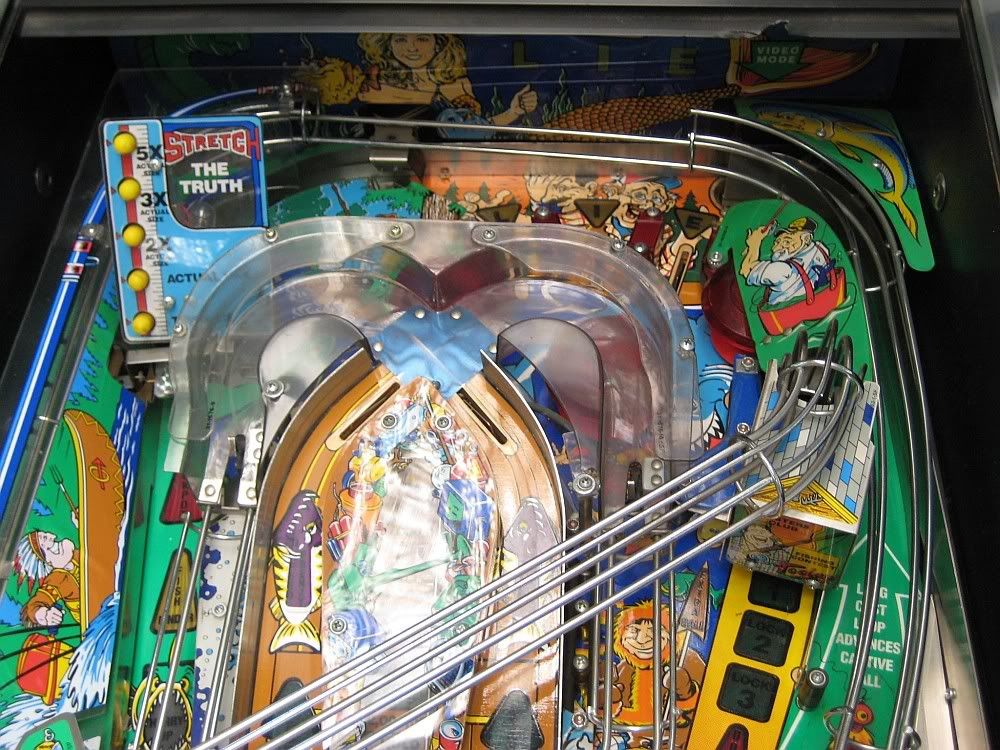
Fastforwarding a little here, game is torn down - parts will be organised into various categories - and sent out for specialised plating etc...
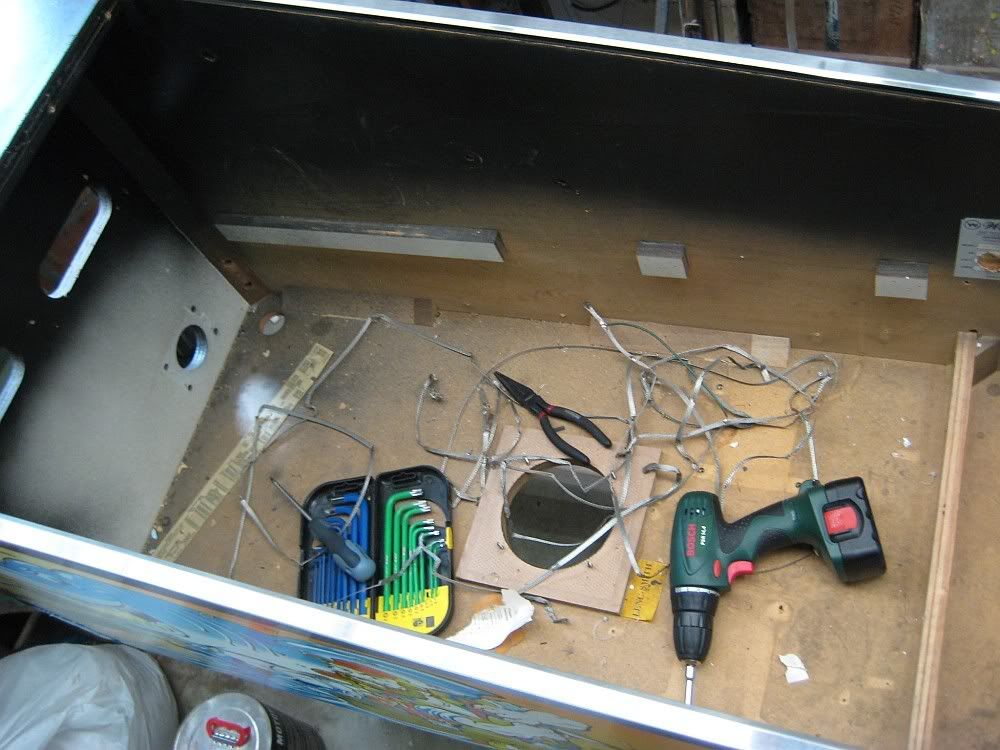
Cabinet is ready for refinishing...
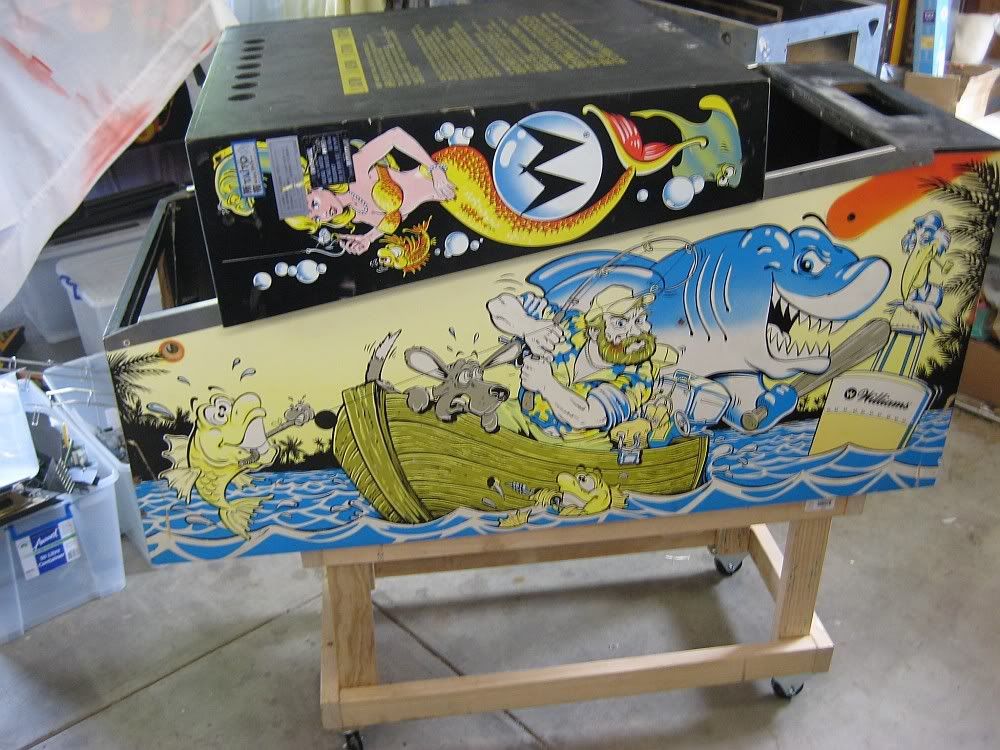
Detailed below...
Refinishing...
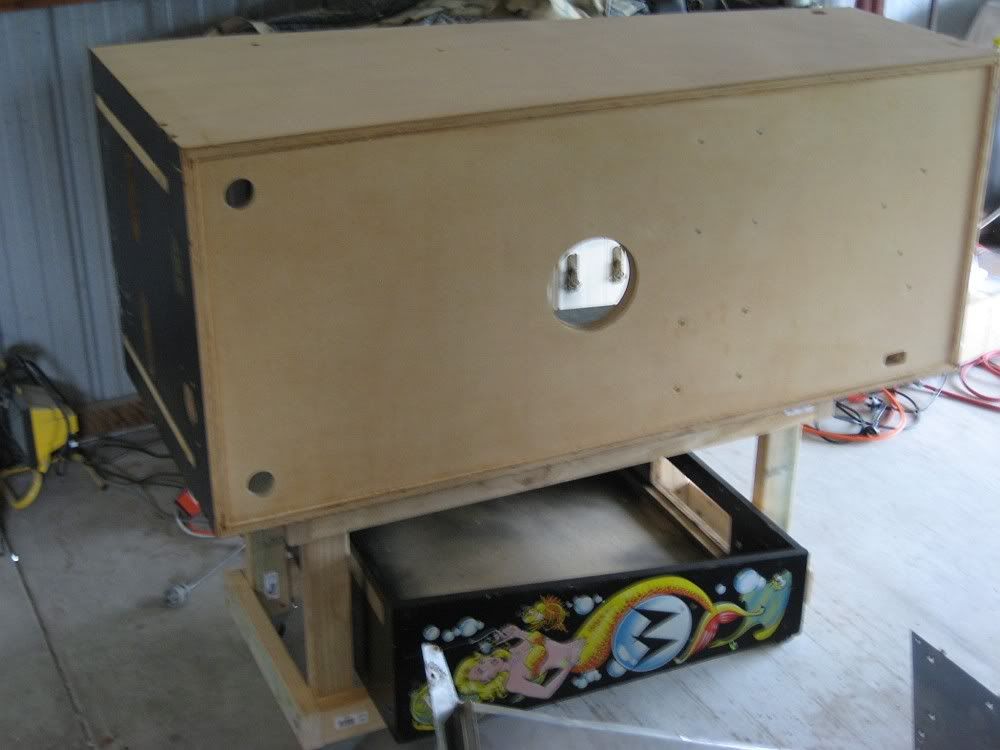
Refinishing - i replace the nylon glides as well as the timber chocks as it has usually been pushed far beyond its limits...
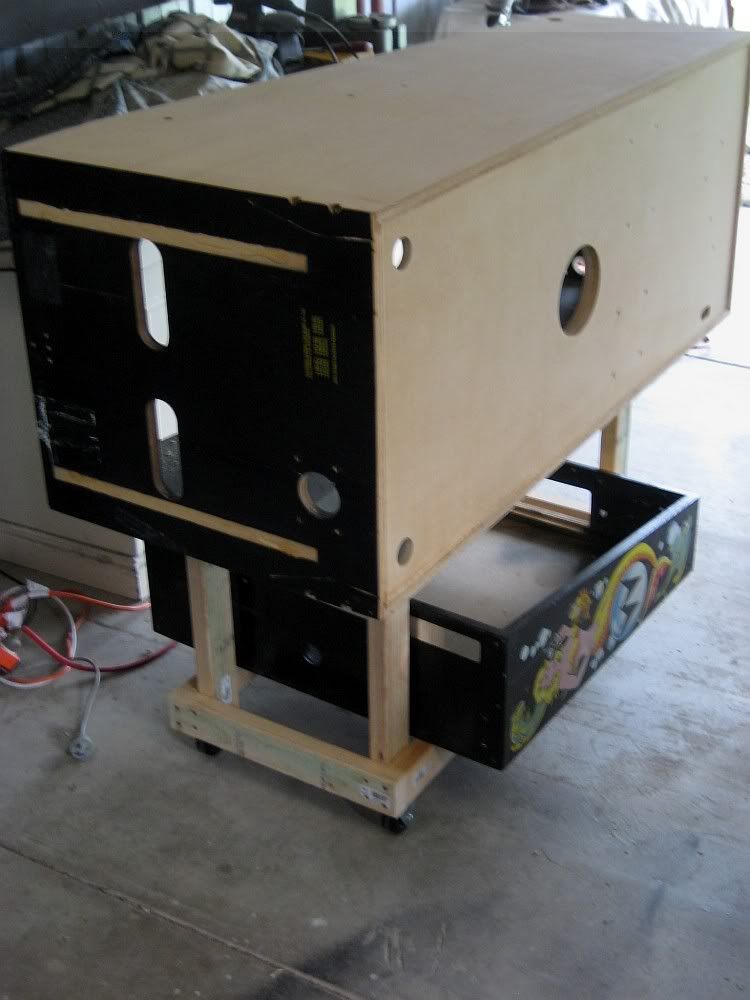
Underside masked...
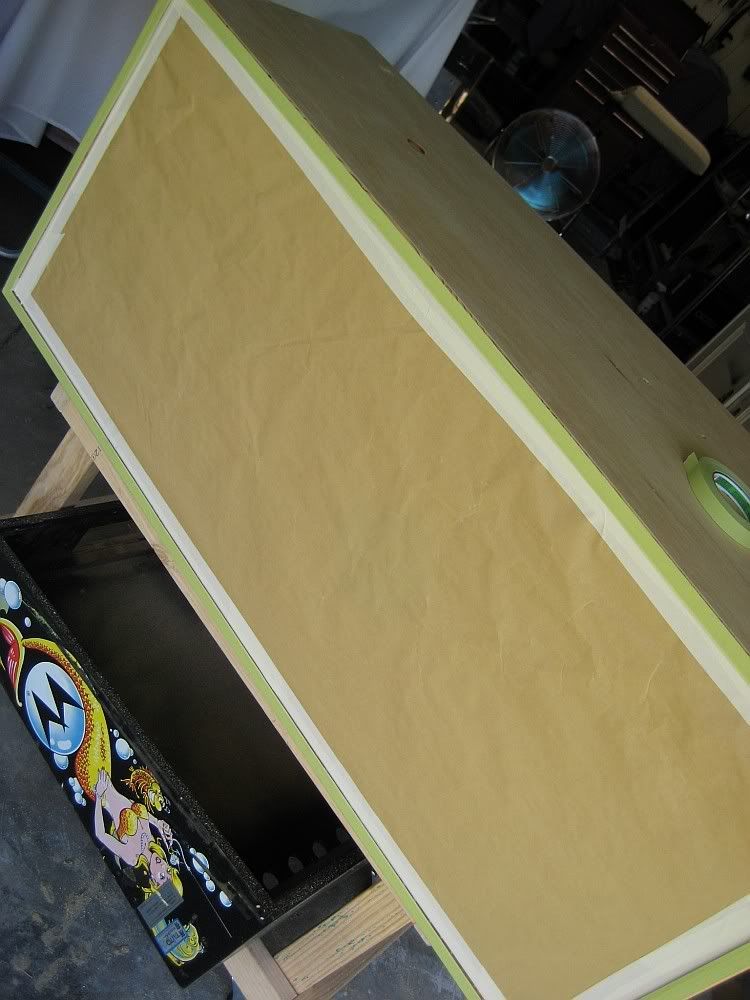
Cabinet is painted...
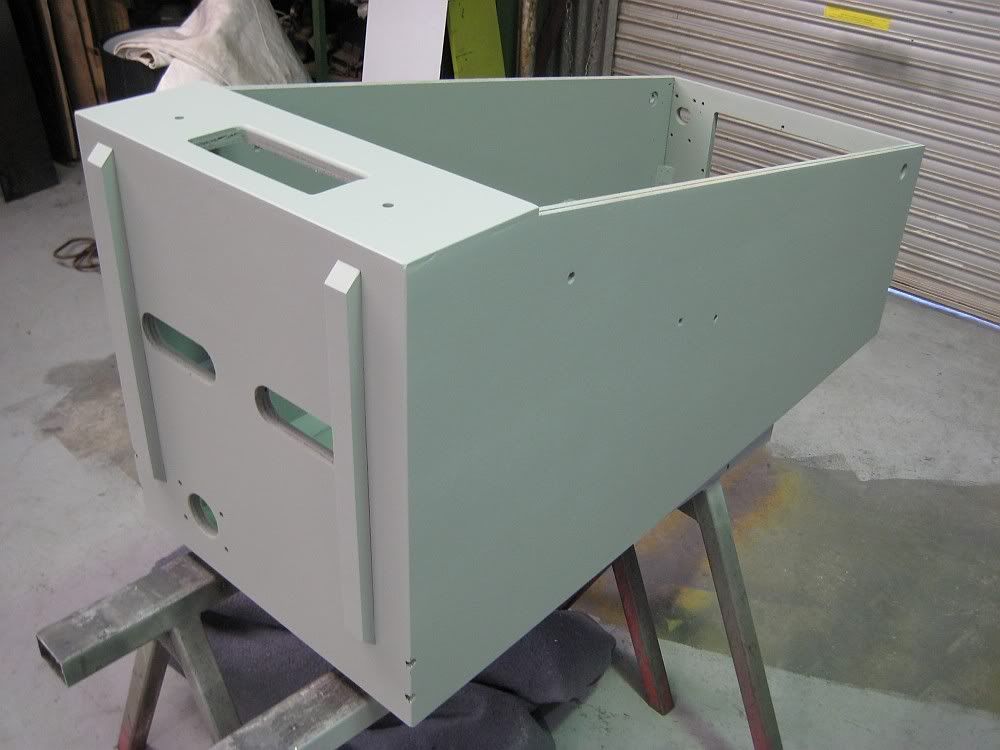
Again...
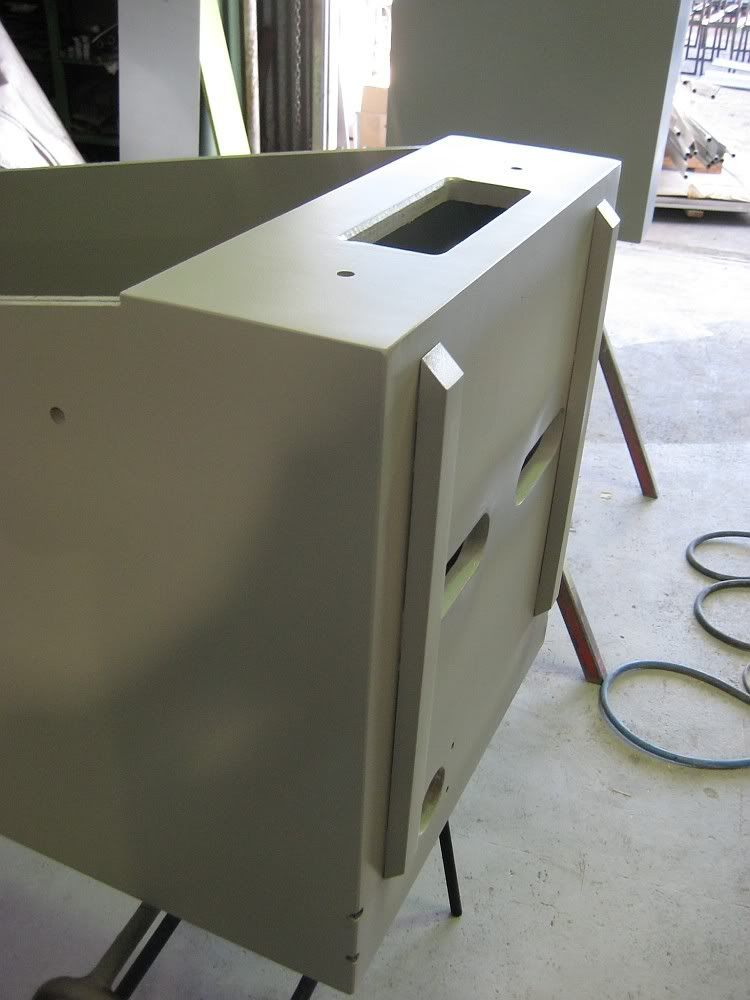
Again...
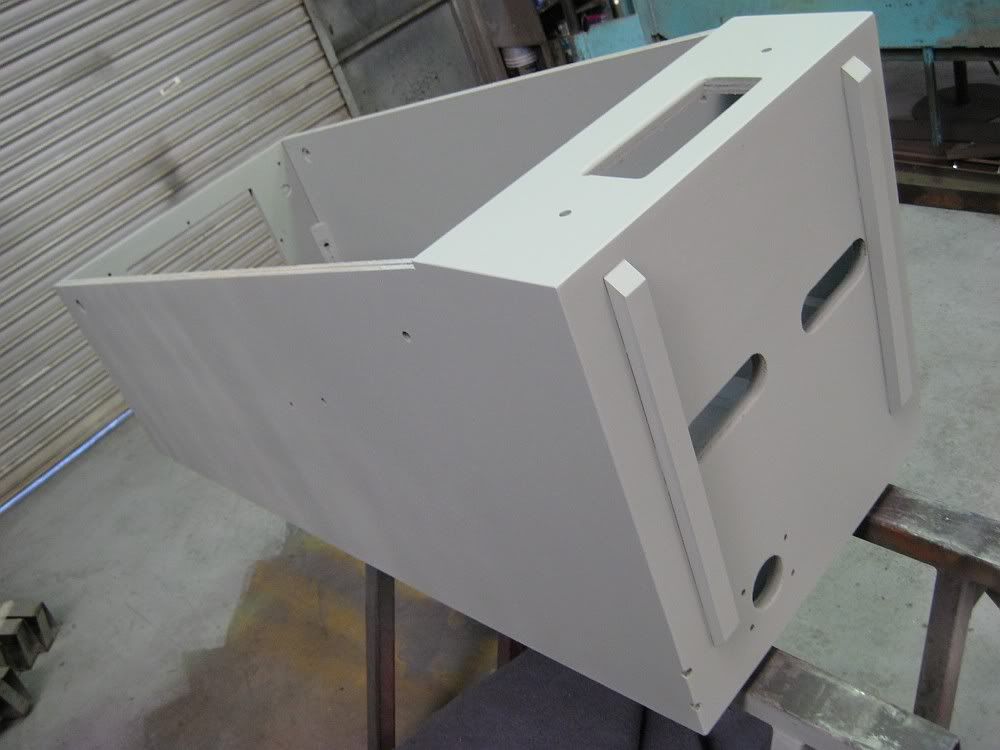
Again...
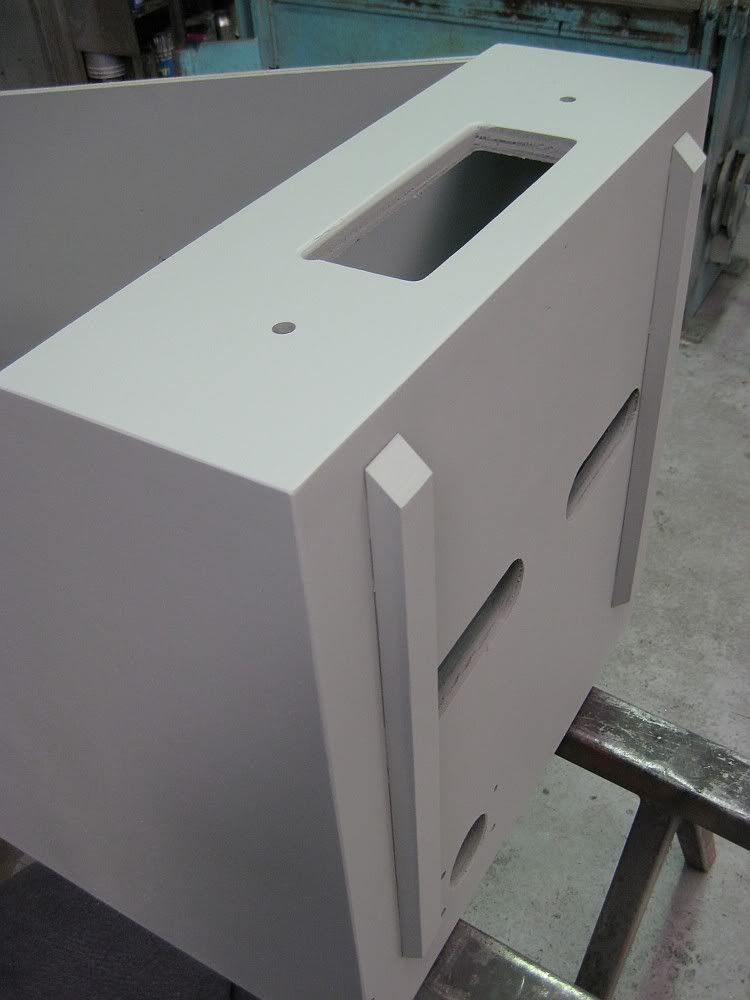
Black base is applied, i chose to flatten the gloss so as to not take the game too far from its original glory...
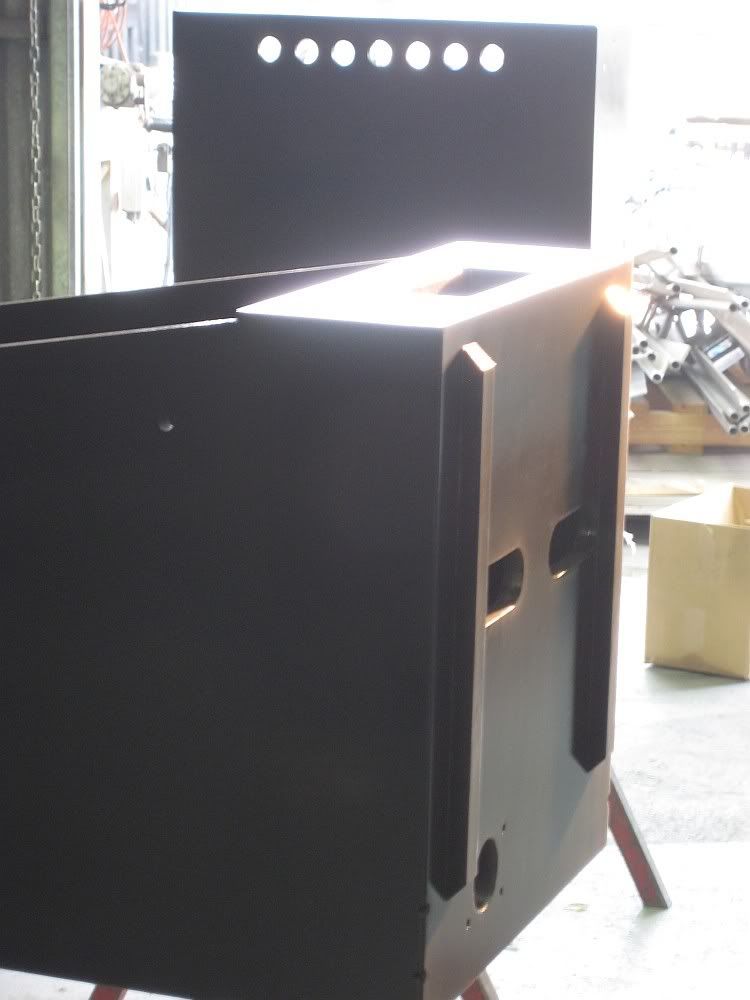
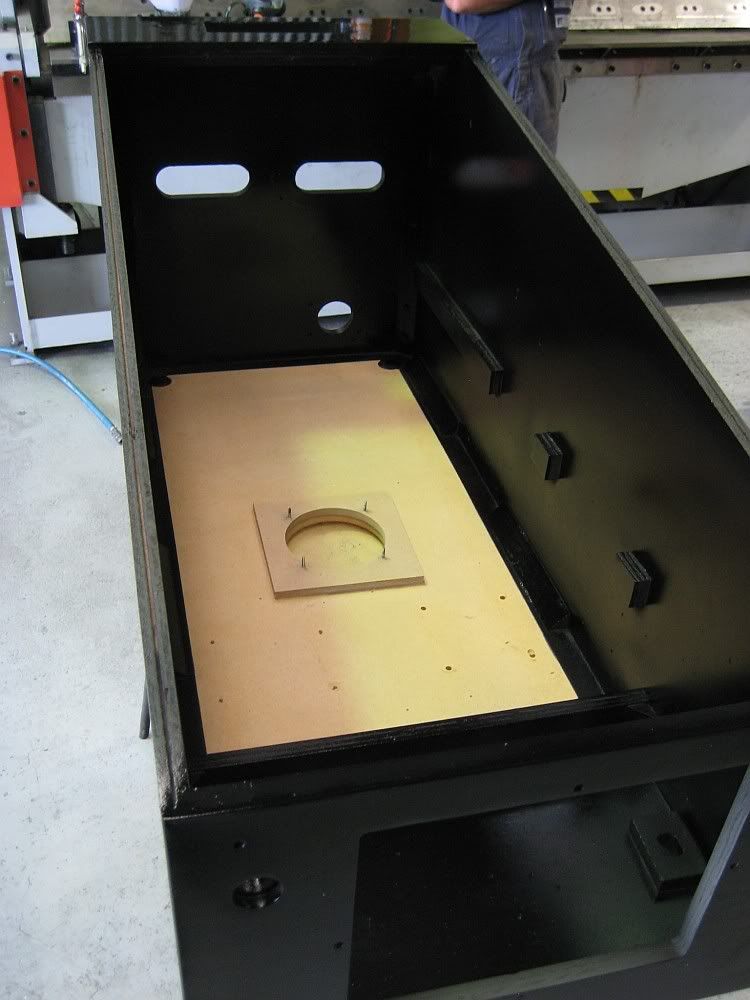
Inside detail...
Backbox gets the same finish...
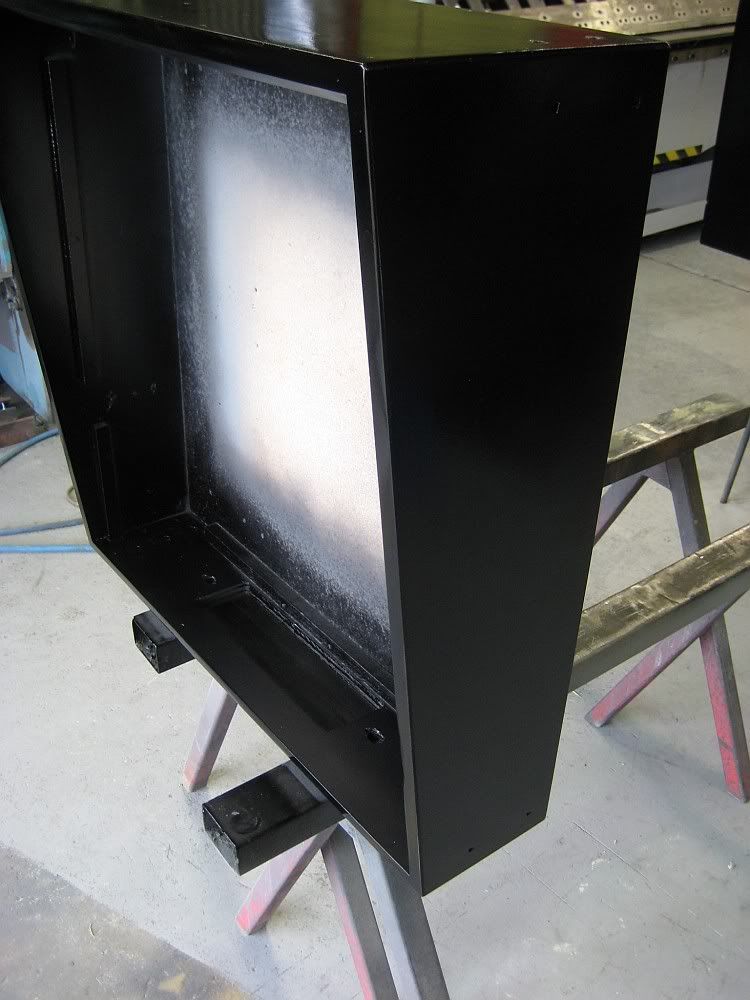
Front on...
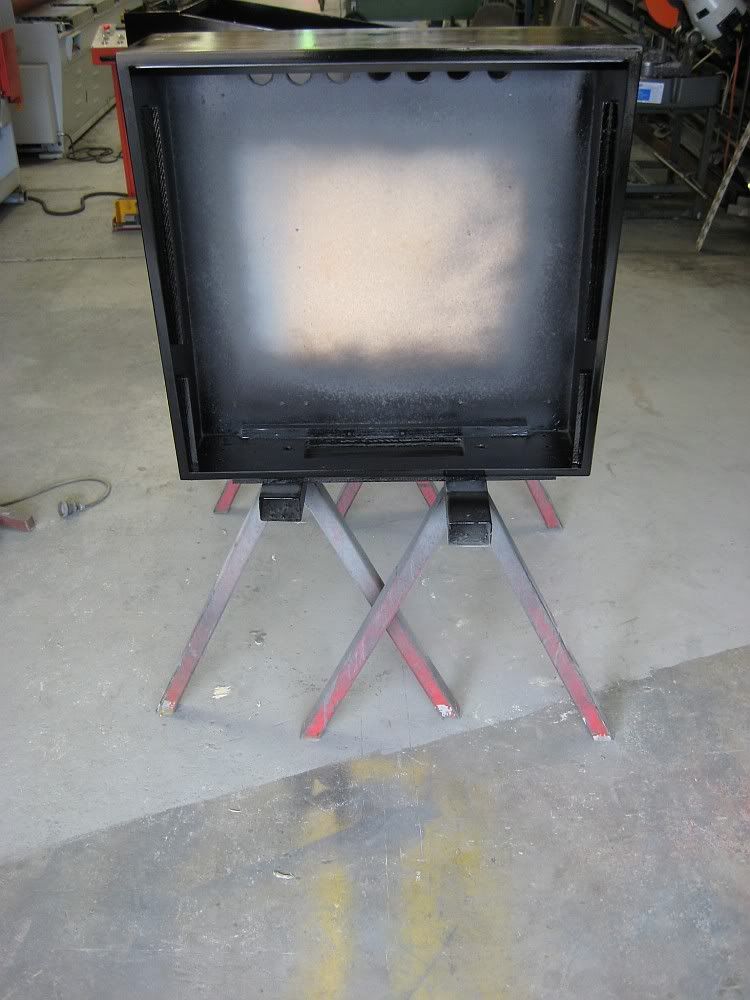
Just highlighting the satin finish on the backbox...
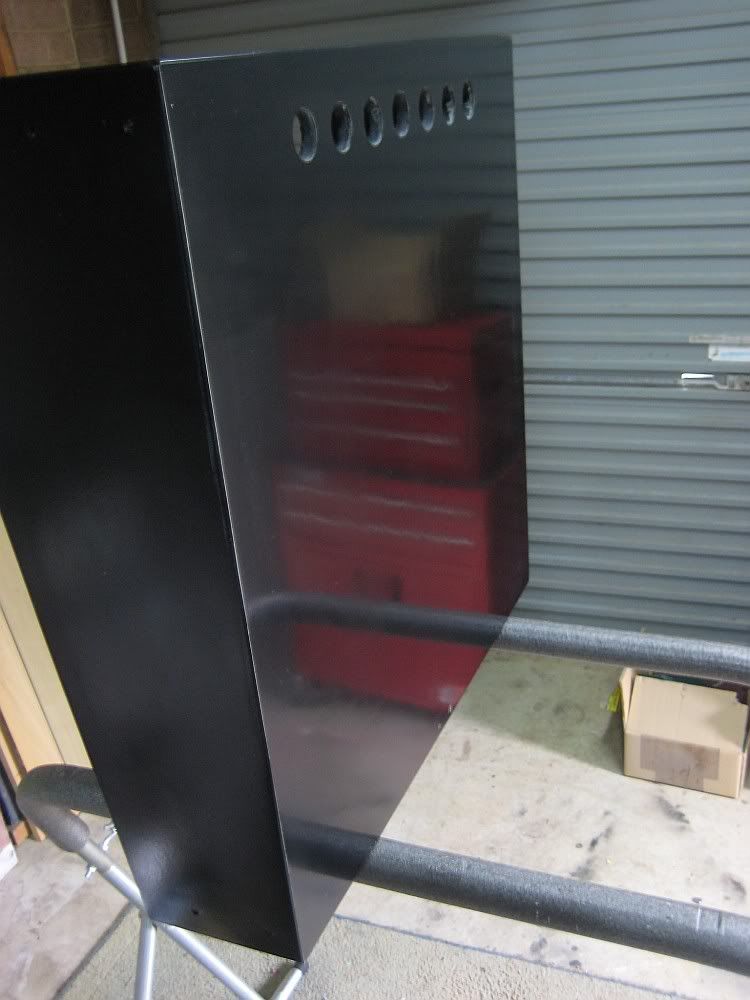
Again...
Getting into the playfield too...
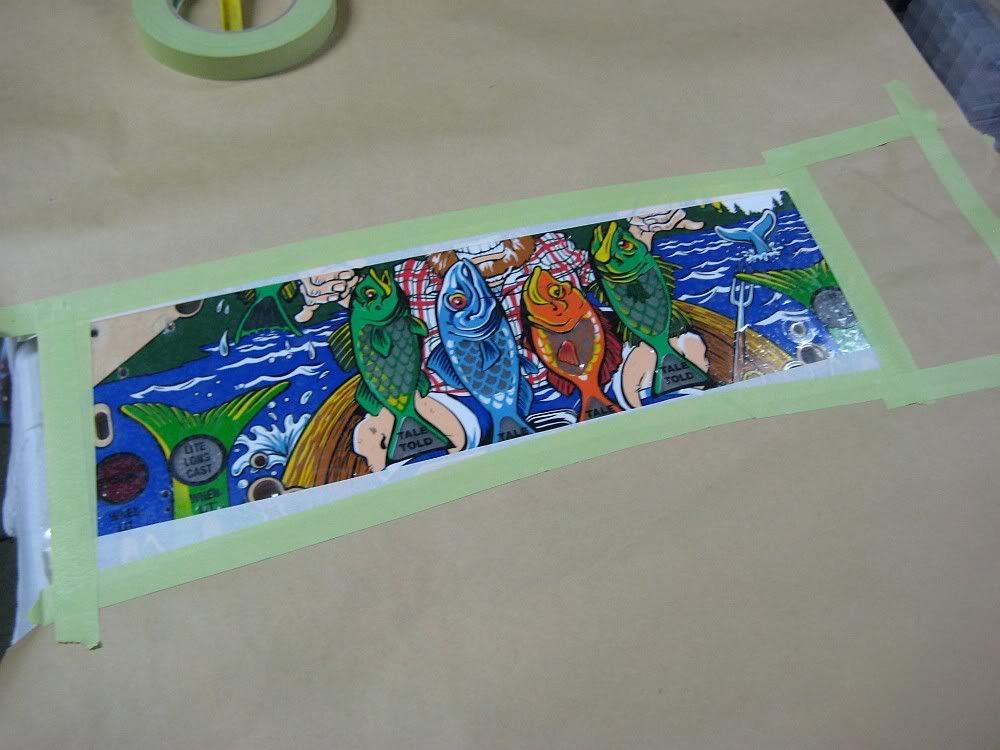
Addressing the common insert problems...
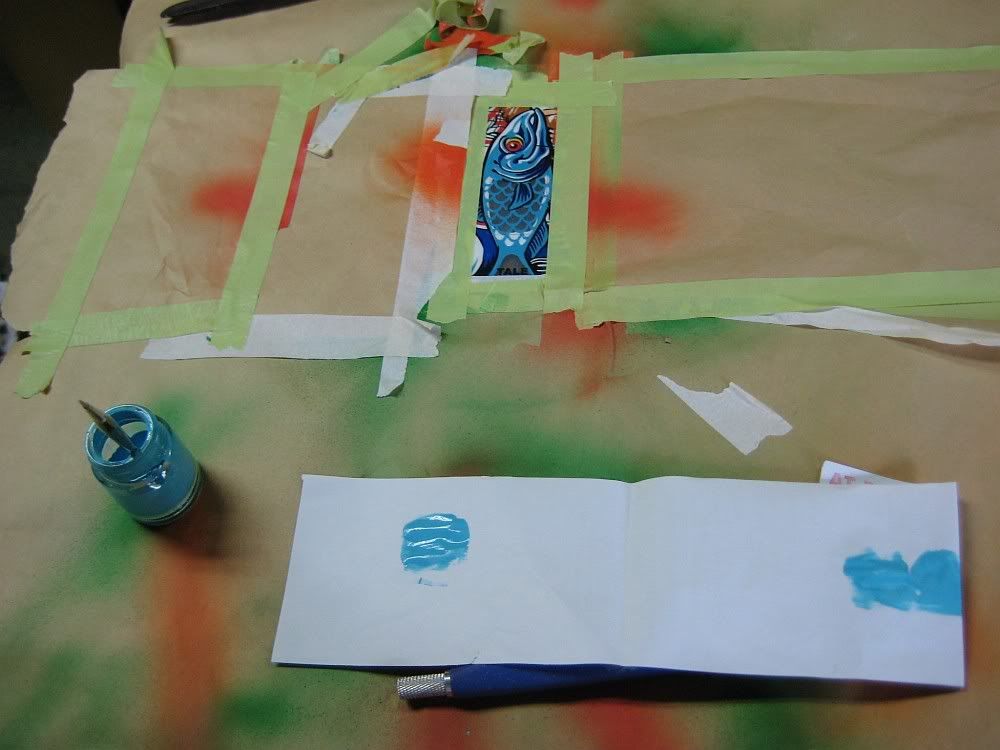
I often clear the field at various times to lock up my reworks...
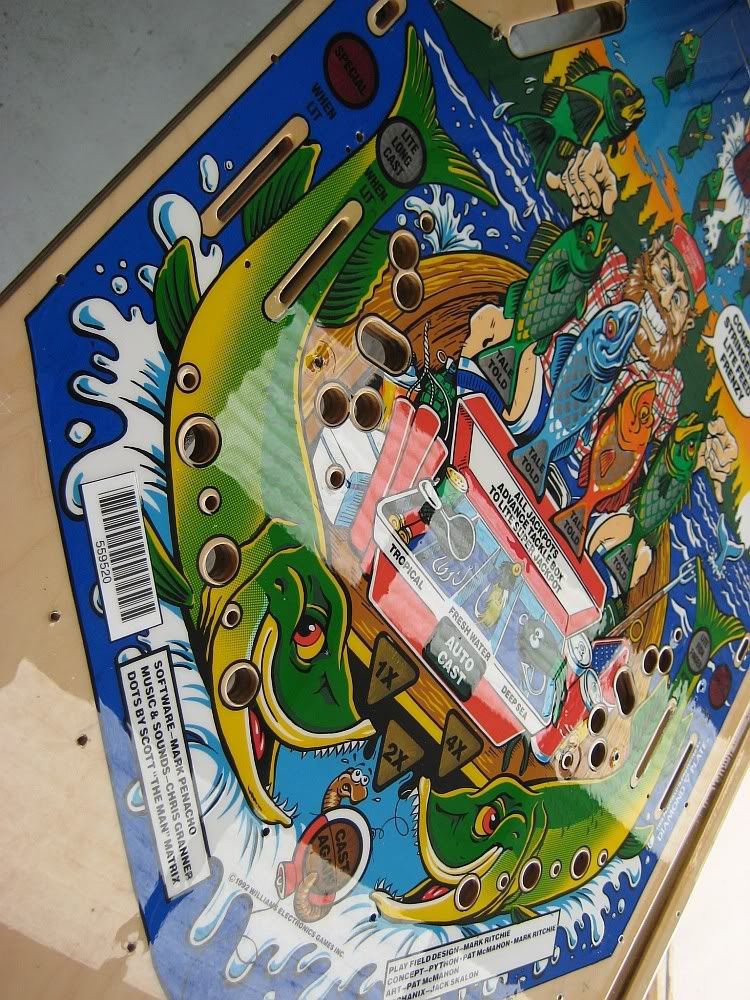
Nearly done with the playfield...
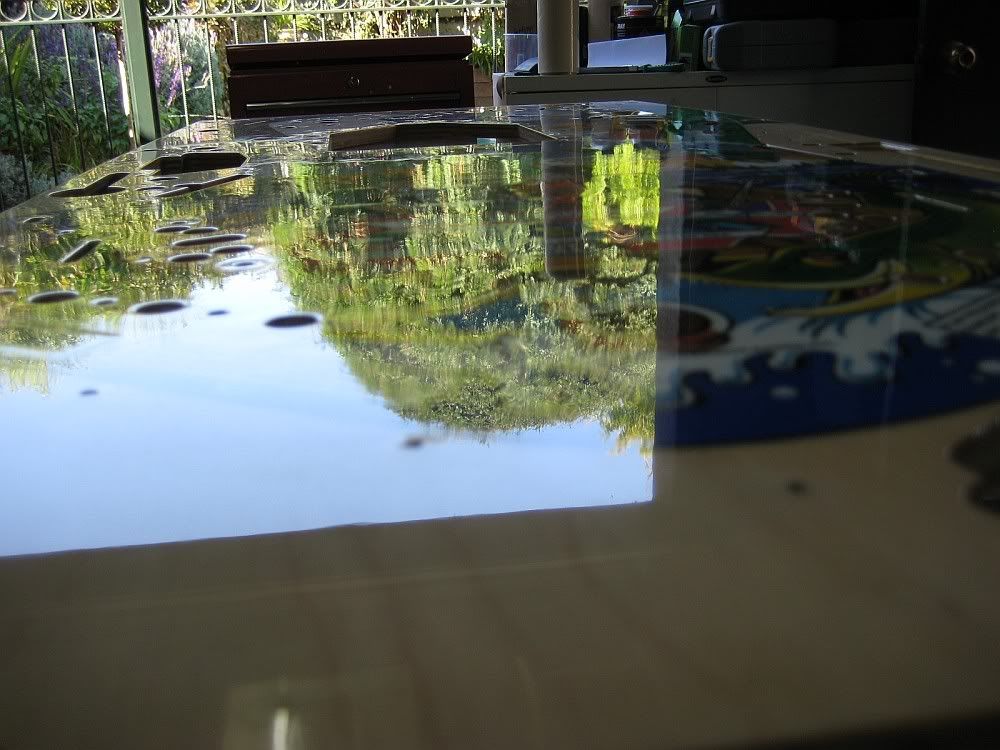
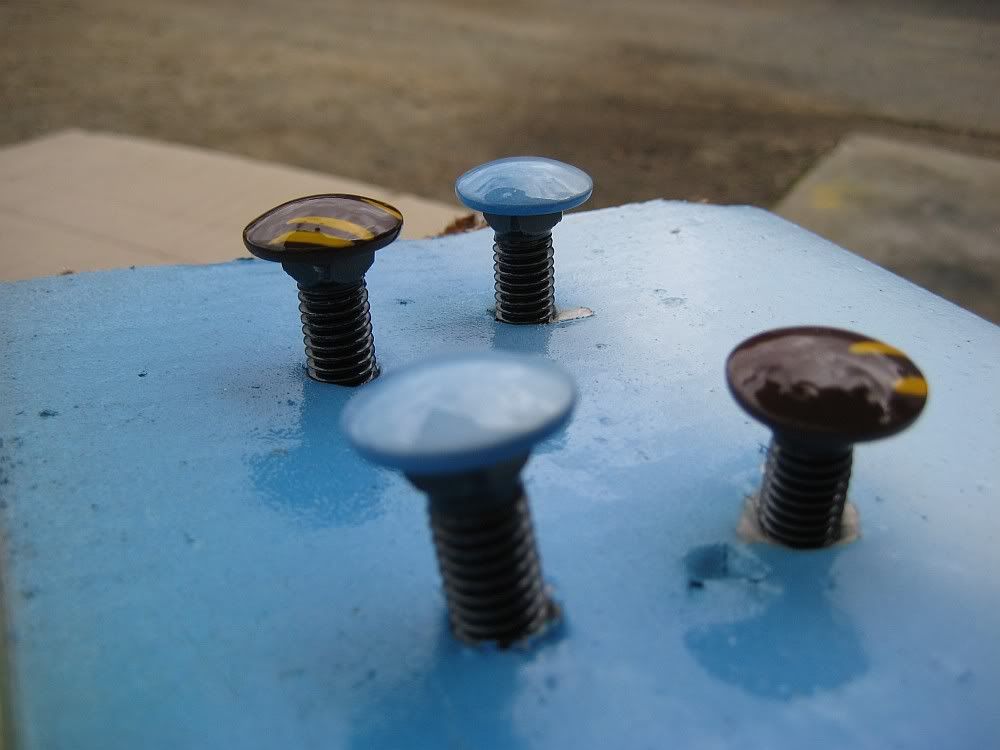
Cabinet bolt heads were matched to the surrounding art and 2k cleared...
Parts ready to assemble...
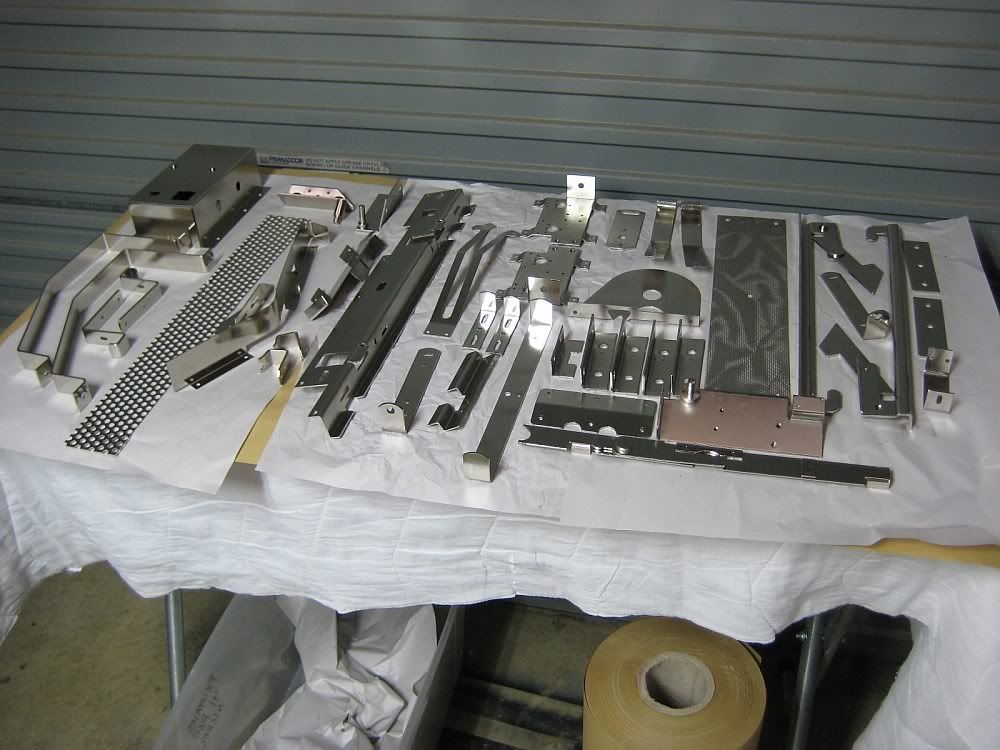
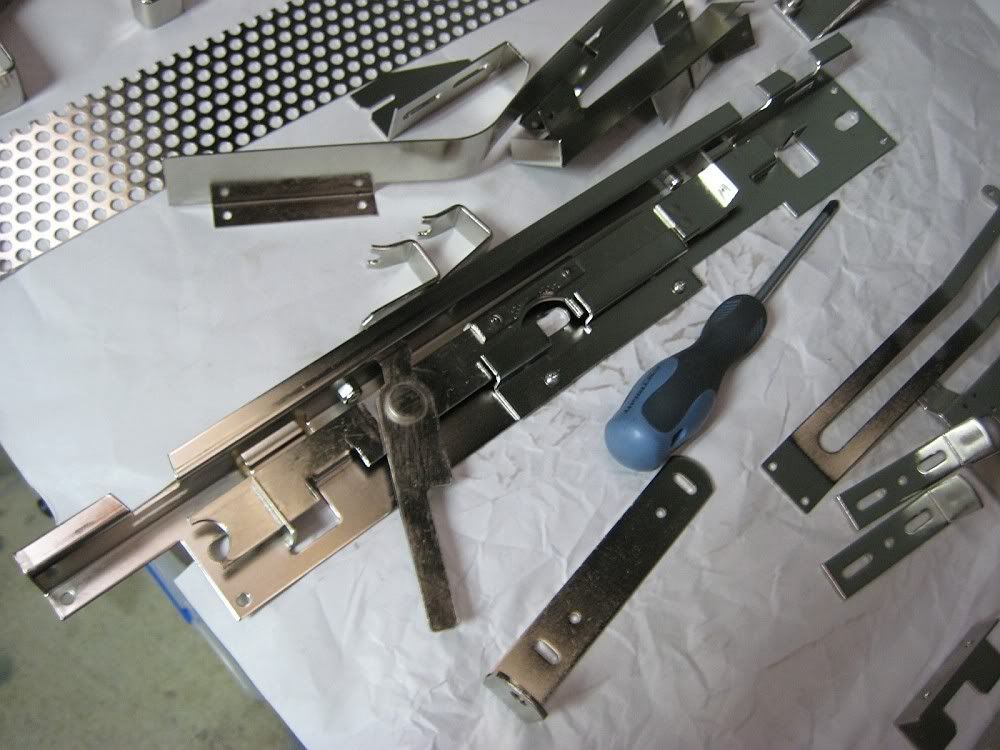
Parts BEING assembled...
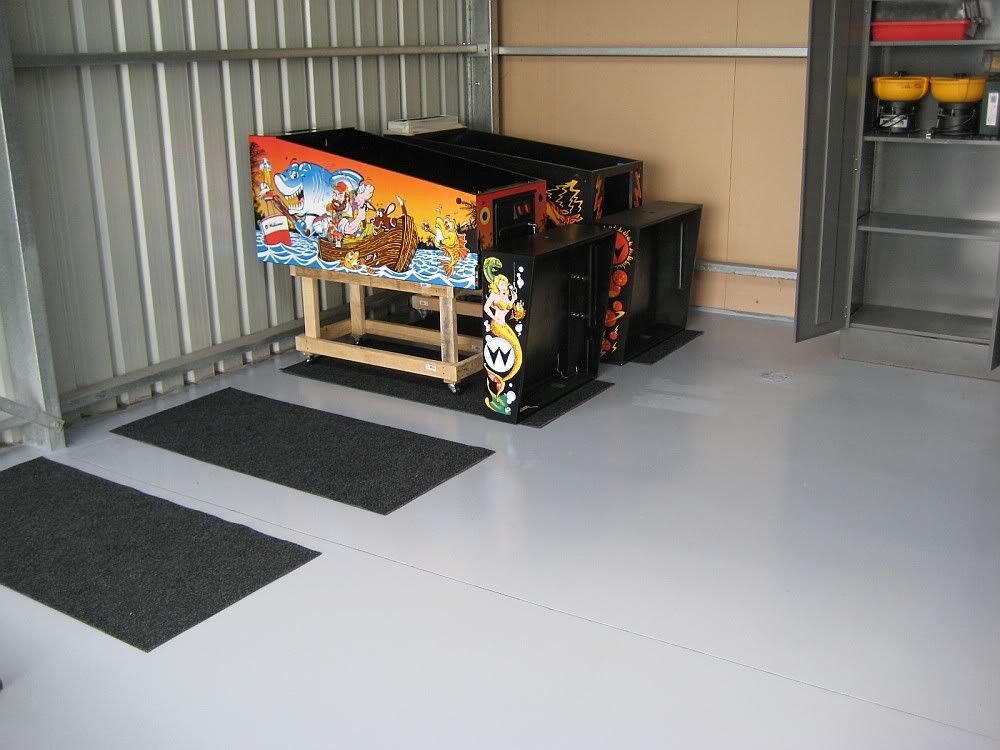
Games were moved into my commercial premises...
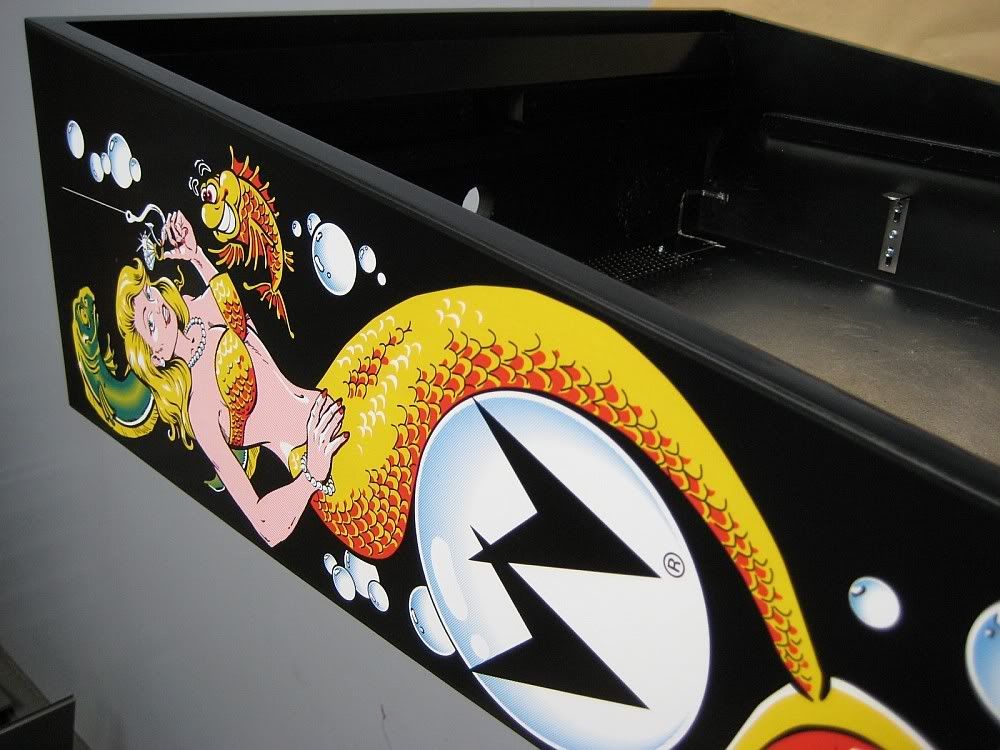
Cabinet edges seamed correctly...
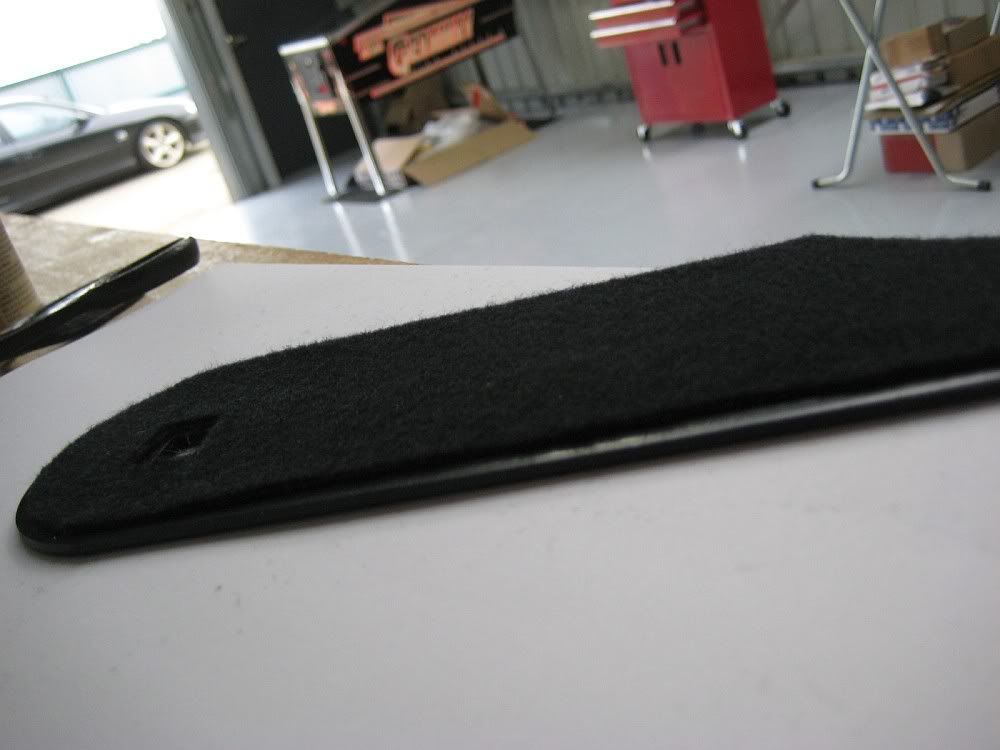
Added protection so as to avoid any nasty nicks/scratches when the head is folded...
Refinishing various cabinet/playfield components...
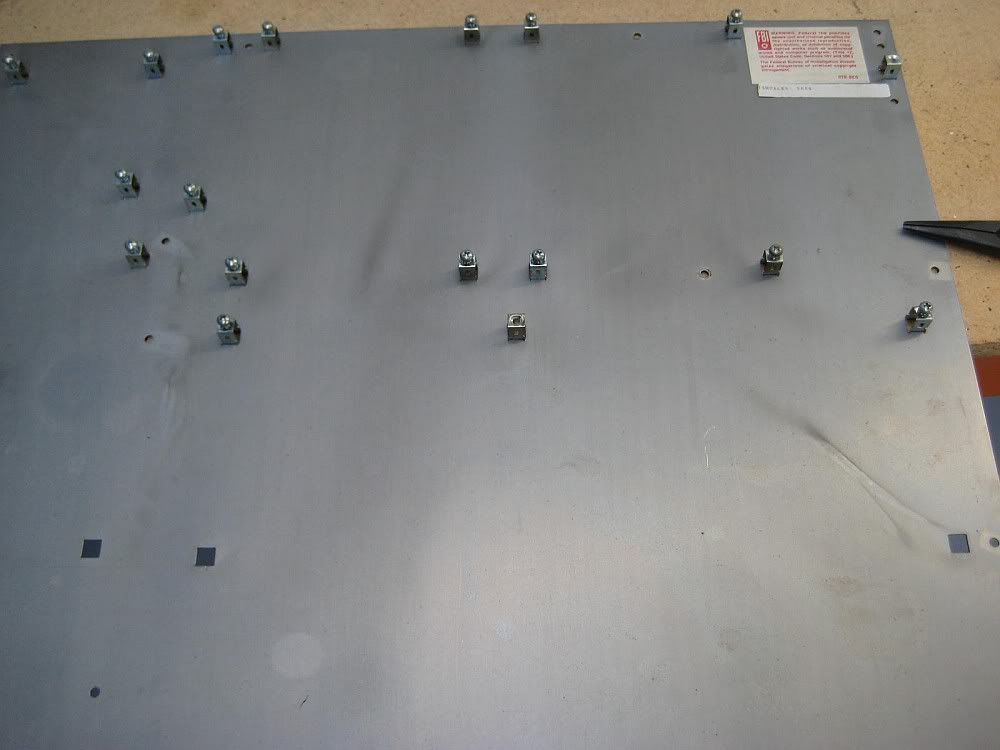
Complete...
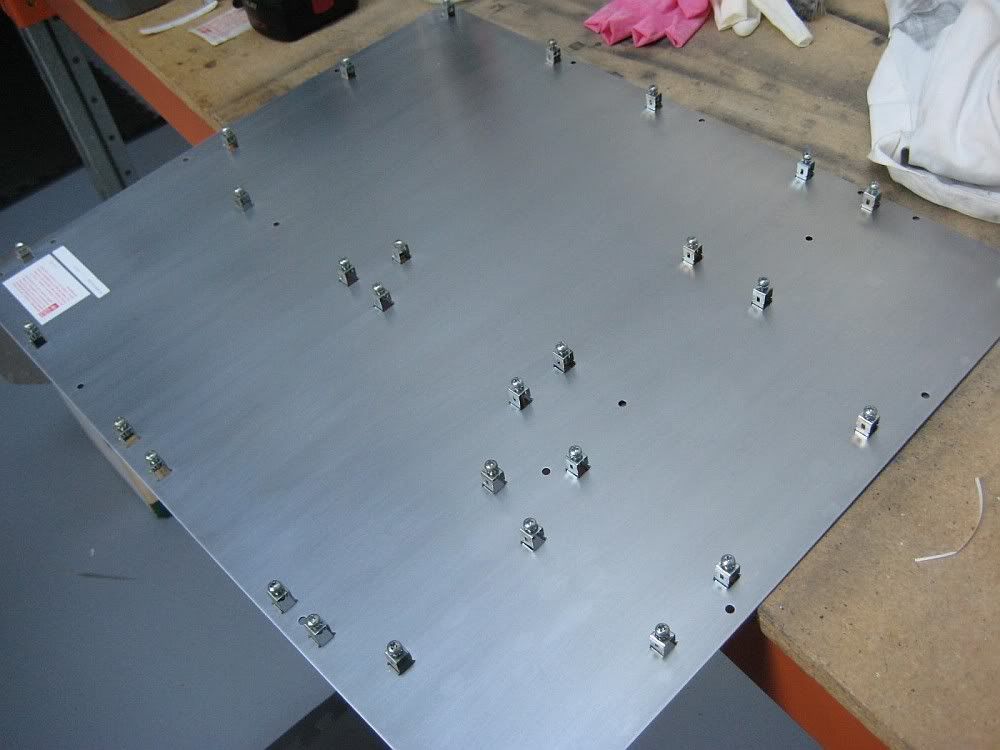
Detail...
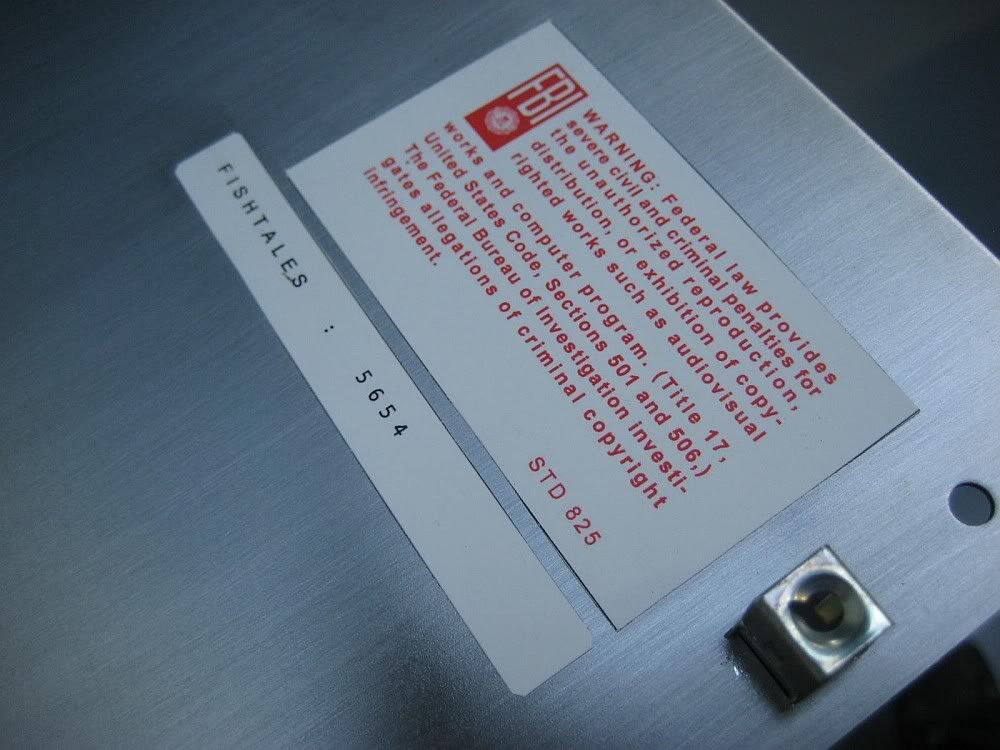
Game is progressing as i fit out the cabinet with its hardware...
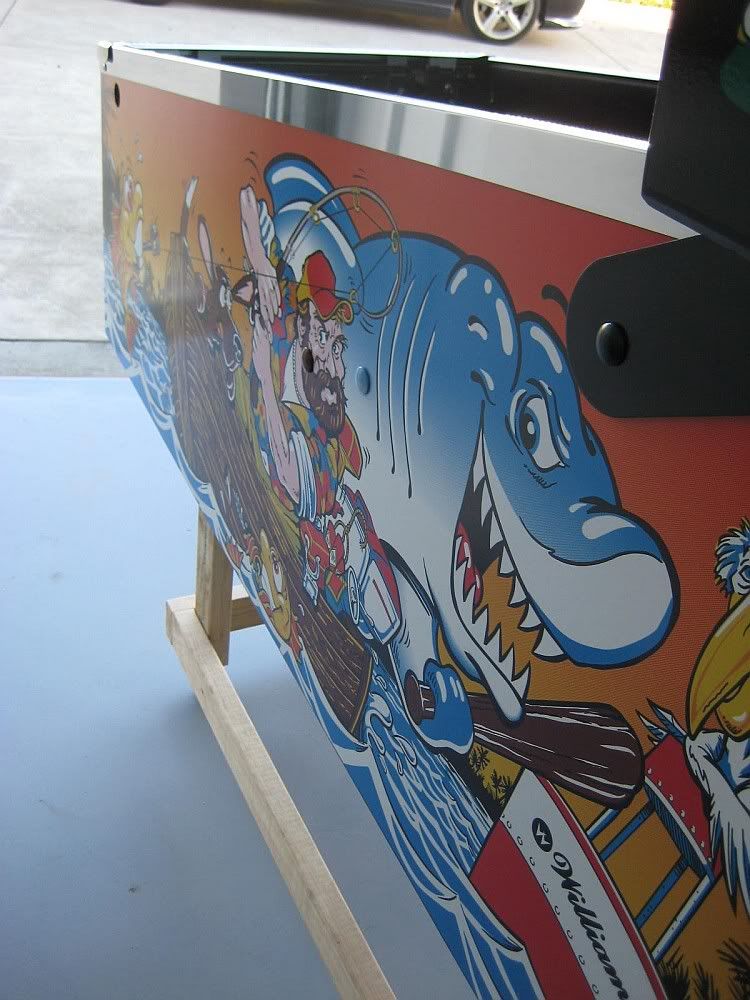
Overview...
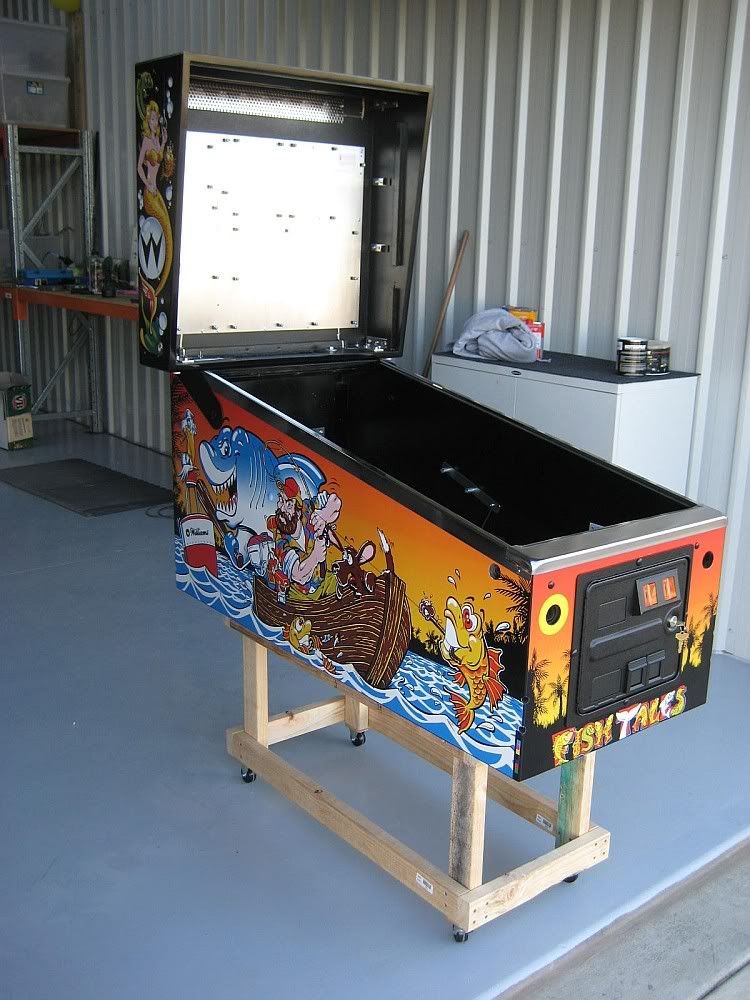
I polished all stainless parts as i felt chrome would not suit this particular title as well as others...
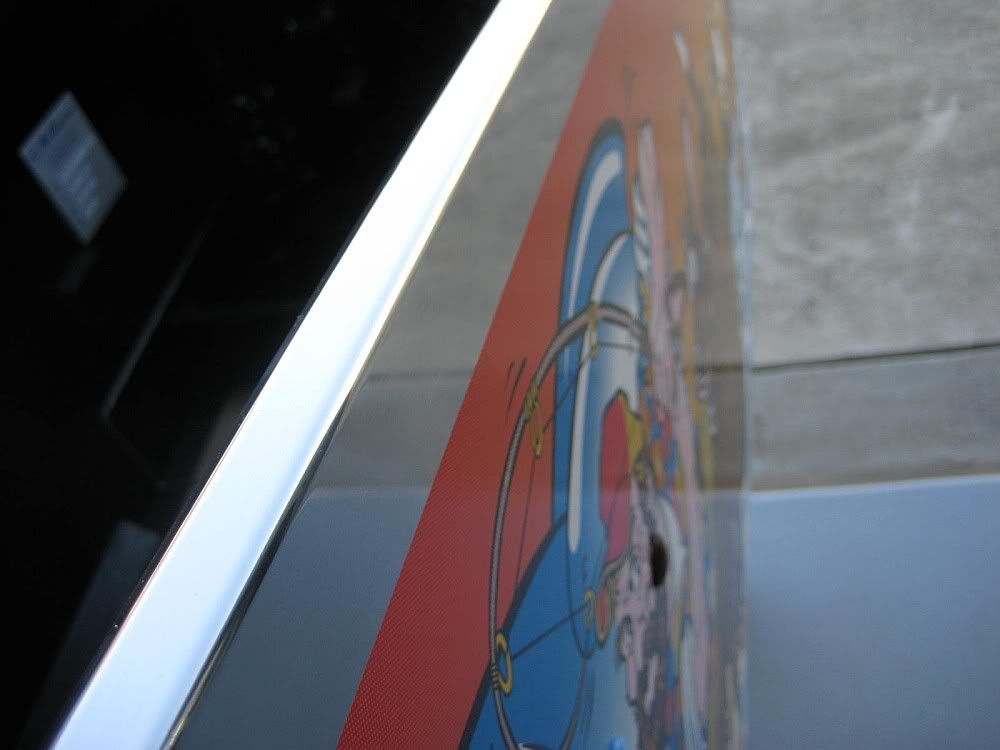
Speaker panel teardown...Upgrade to Pinball Pro along the way...
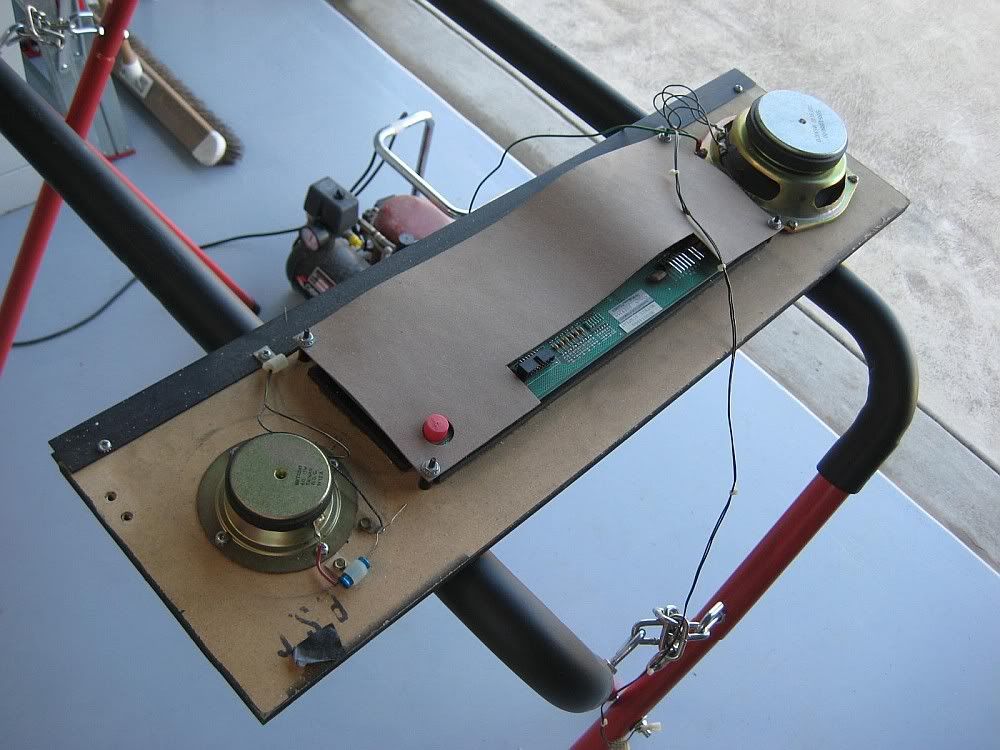
Detail...
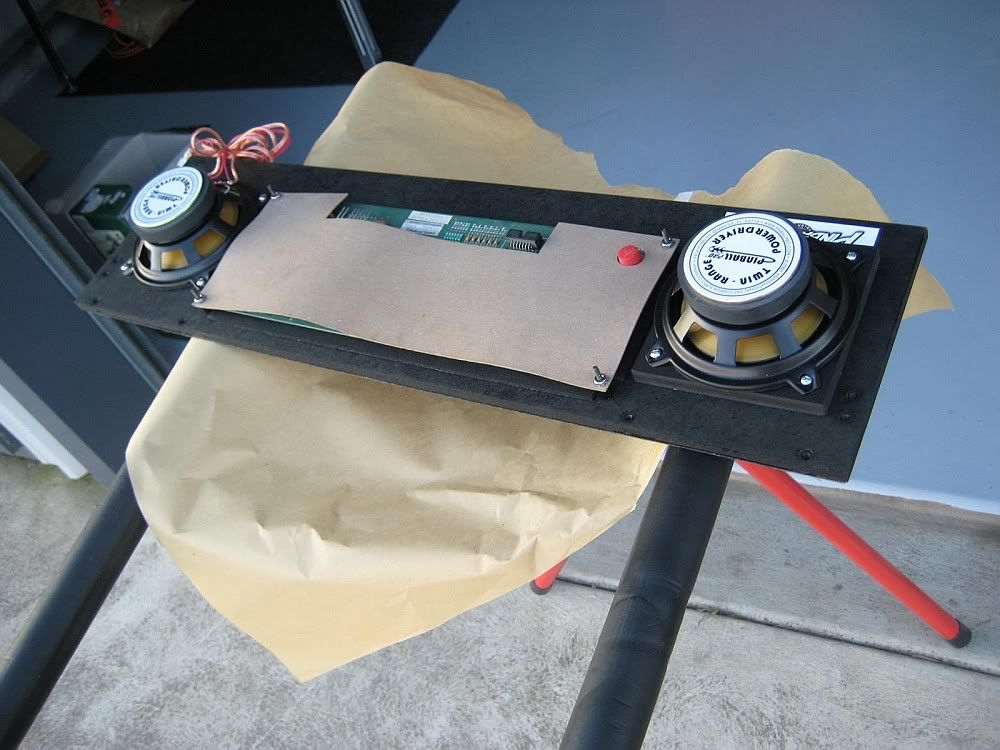
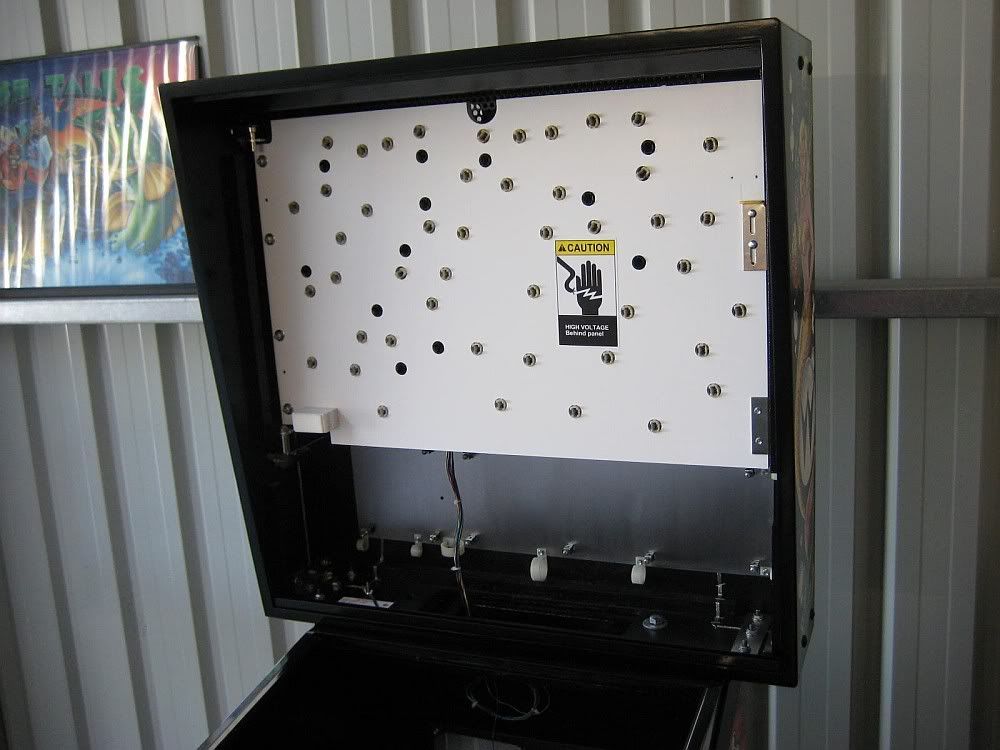
Refinishing light panel...
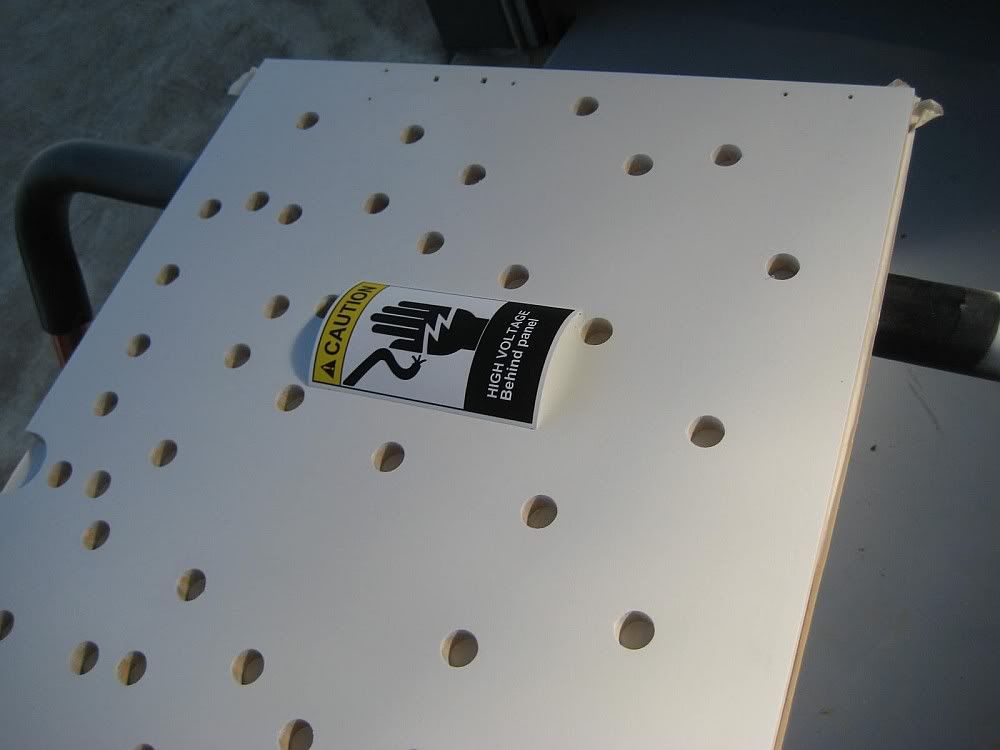
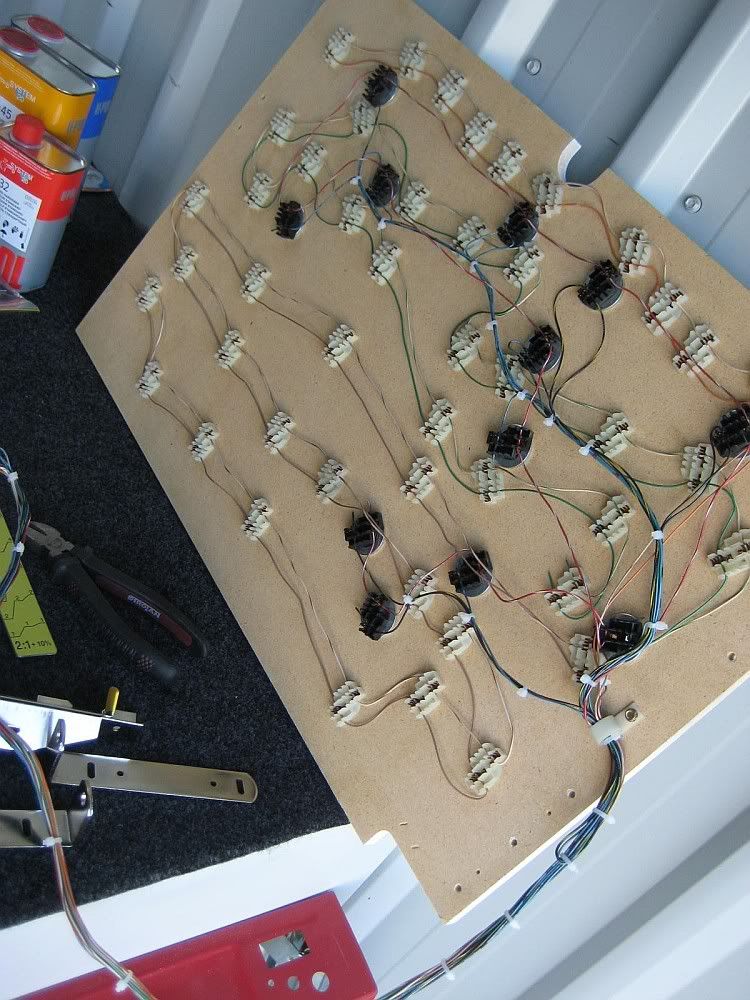
Refinished, loom had a few hacks which were resolved too...
Installed...
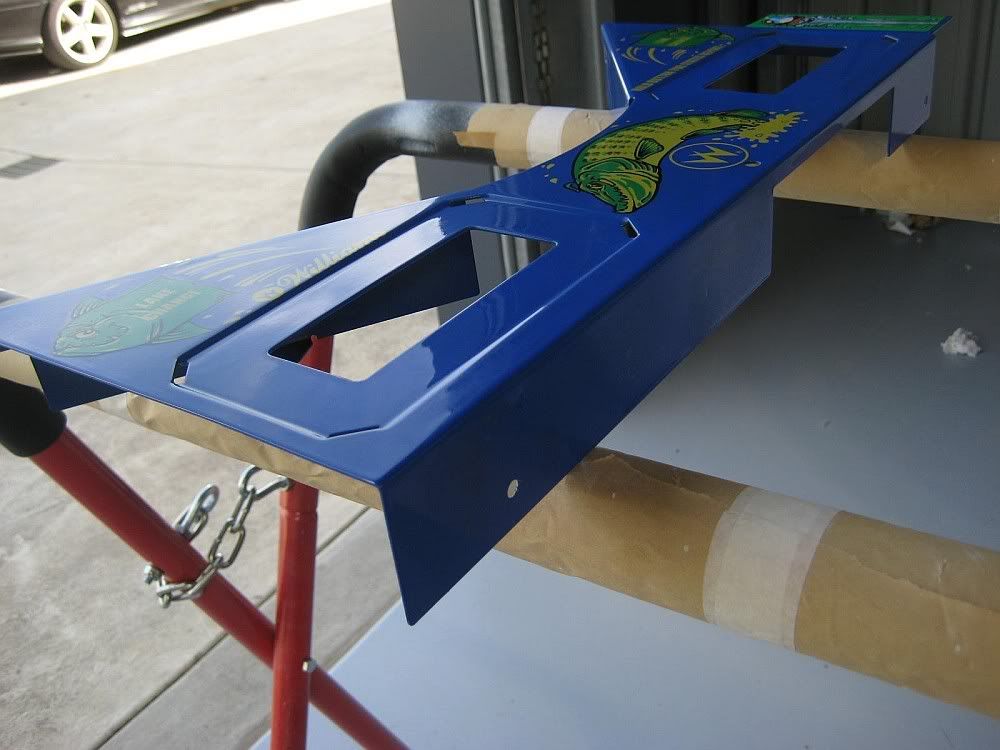
Apron cleared as well...
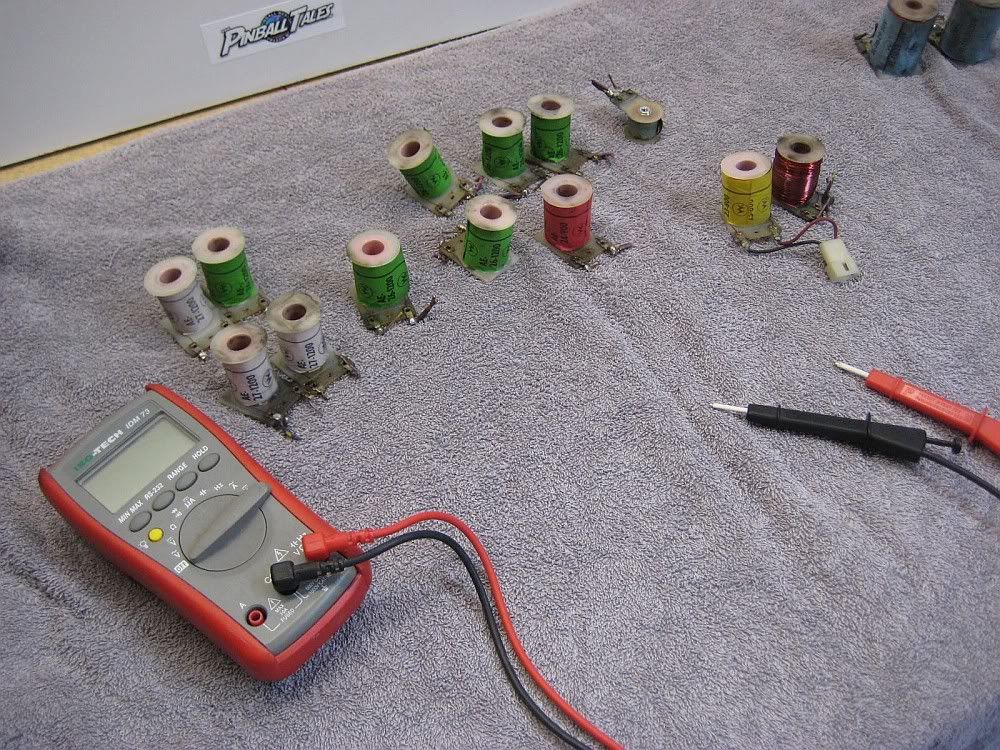
Coils tested, cleaned and re-wrappered. Flipper and sling sols are replaced new...
iPad makes things easy to access quickly, such as game manuals and reference photos...
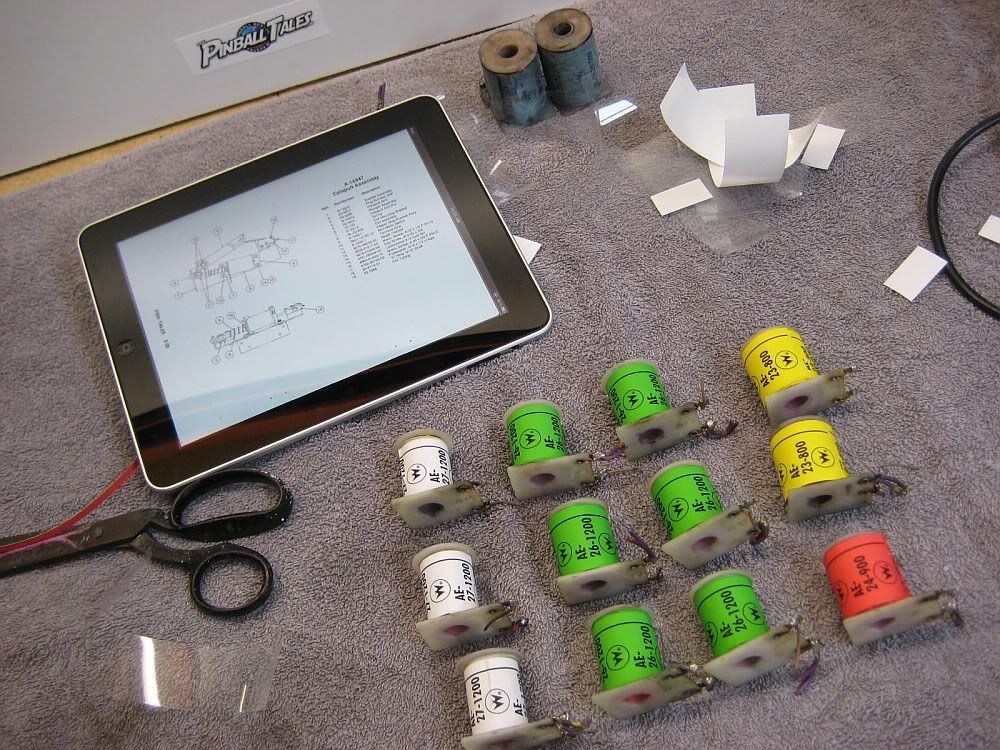
Rebuilding assemblies...
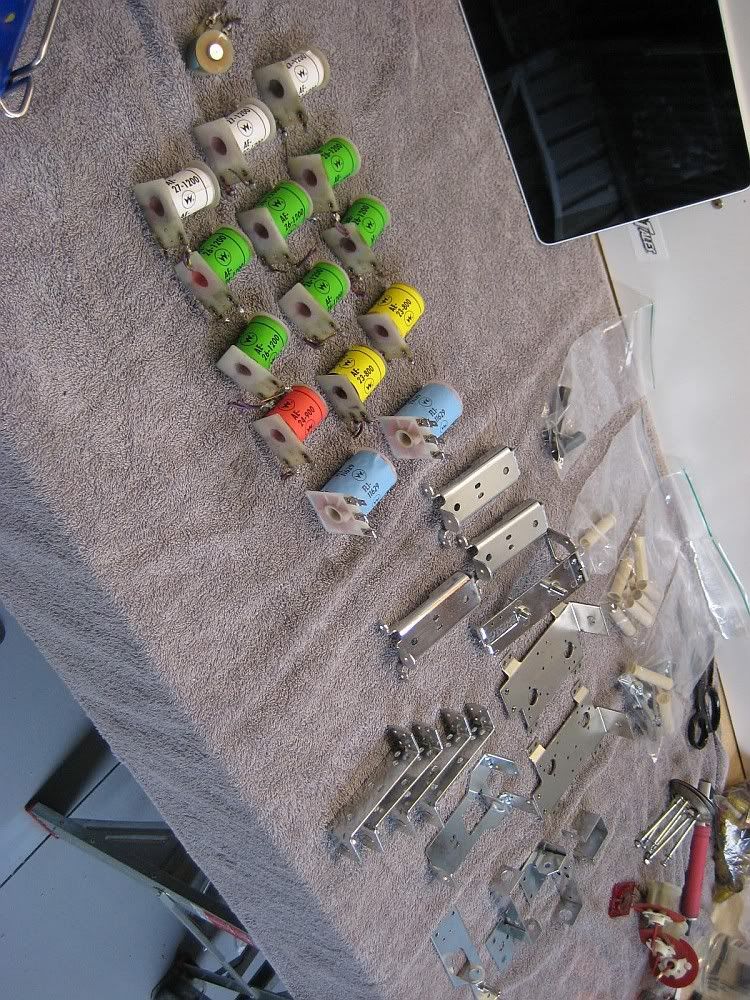
Done...
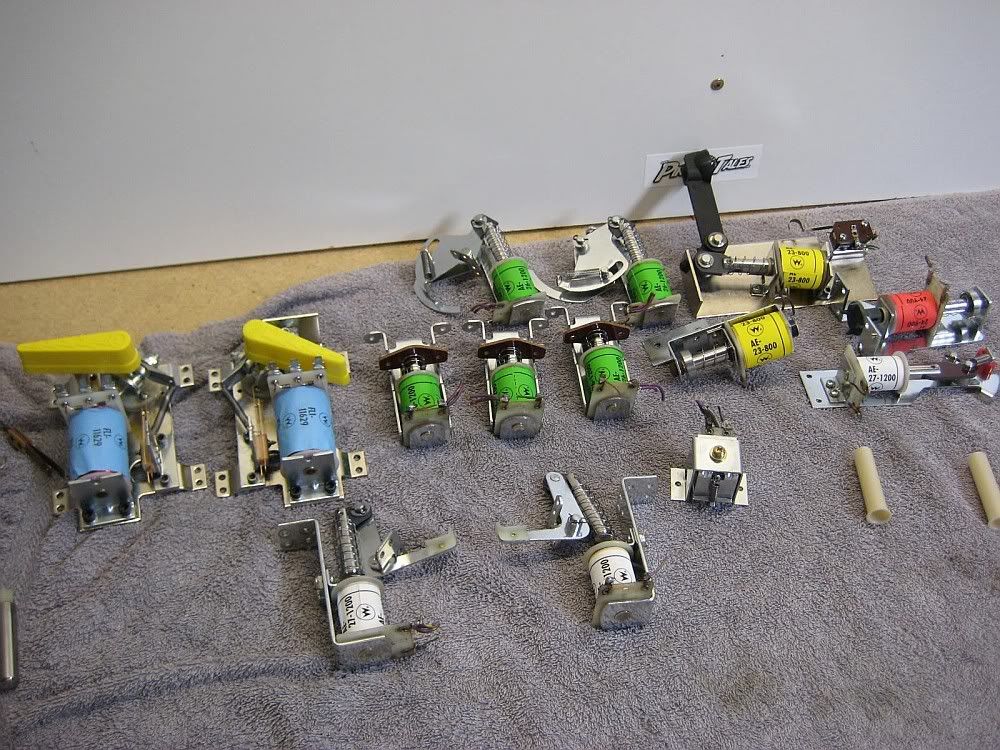
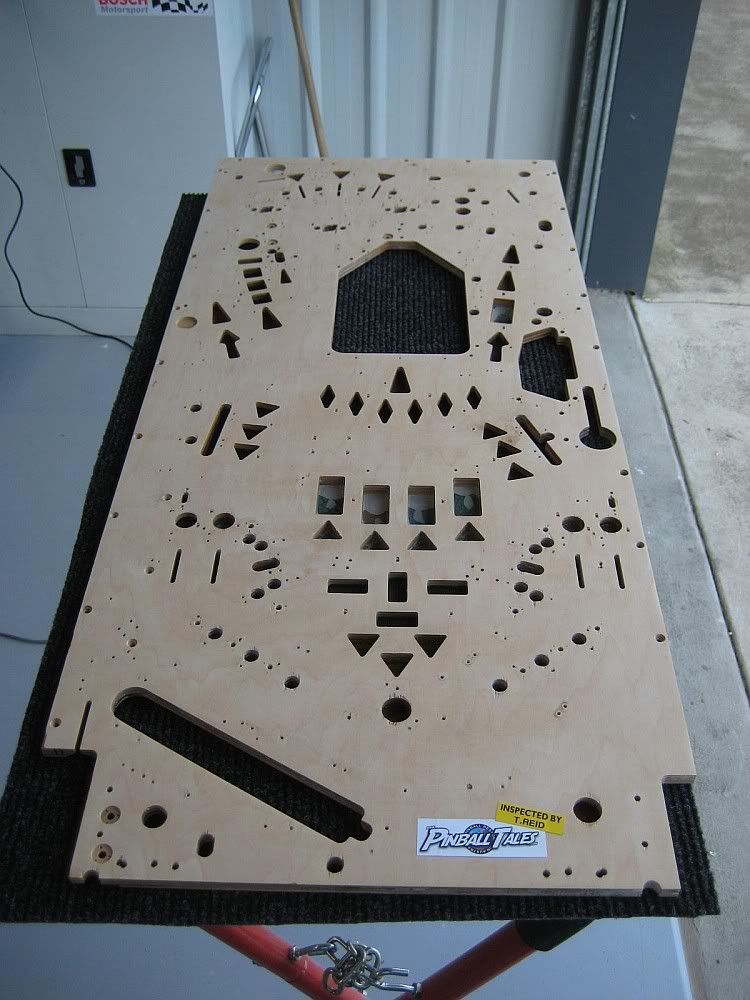
Playfield ready to rebuild...
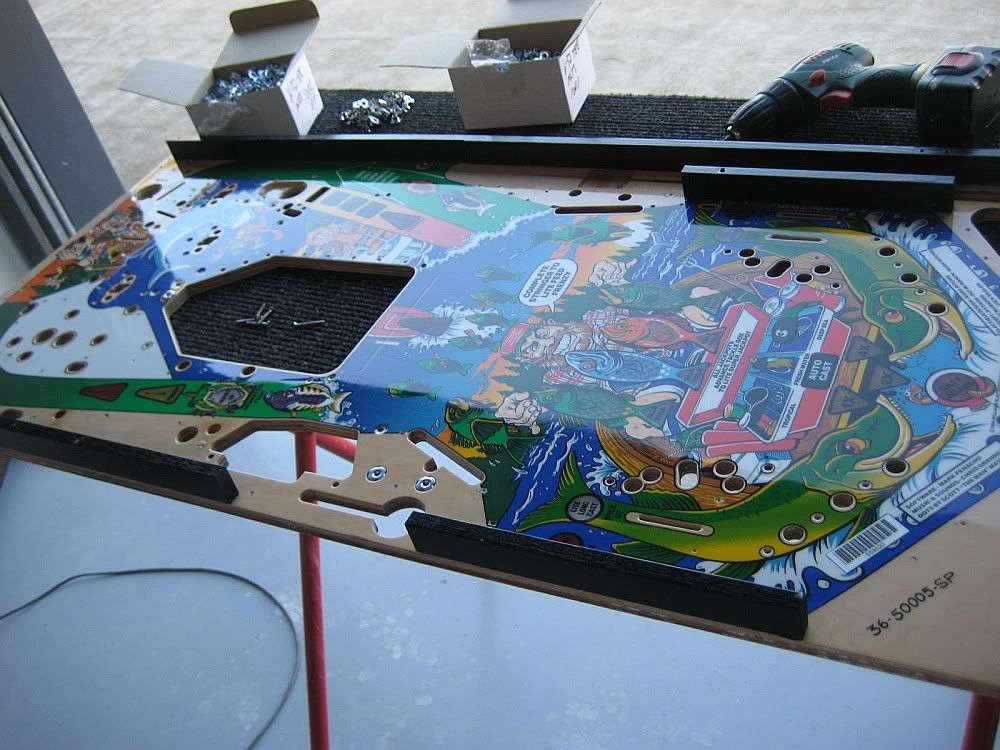
Starting...
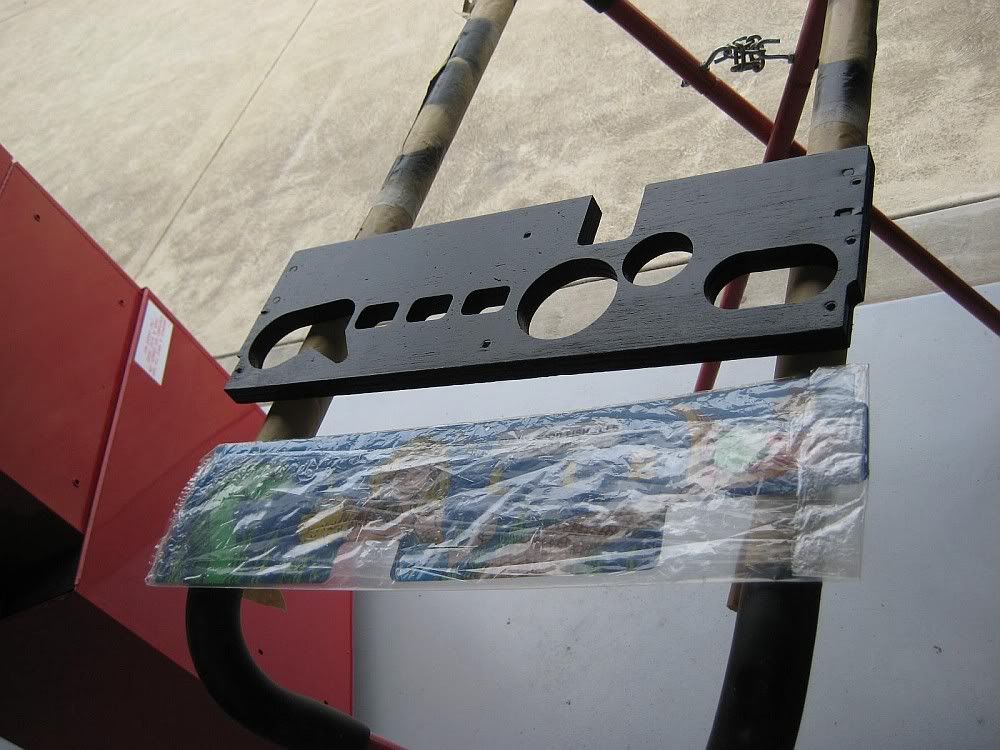
Rear light panel refinished, the client tracked down a handful of NOS parts which was great...
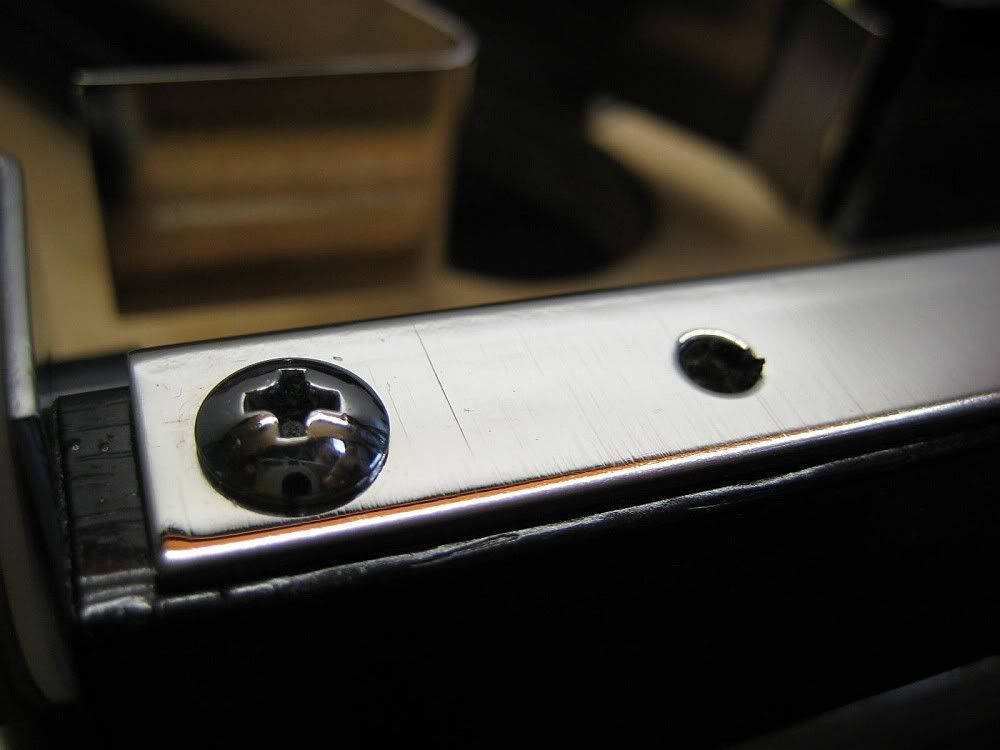
Client also commissioned to mirror polish all topside hardware, which looks great...
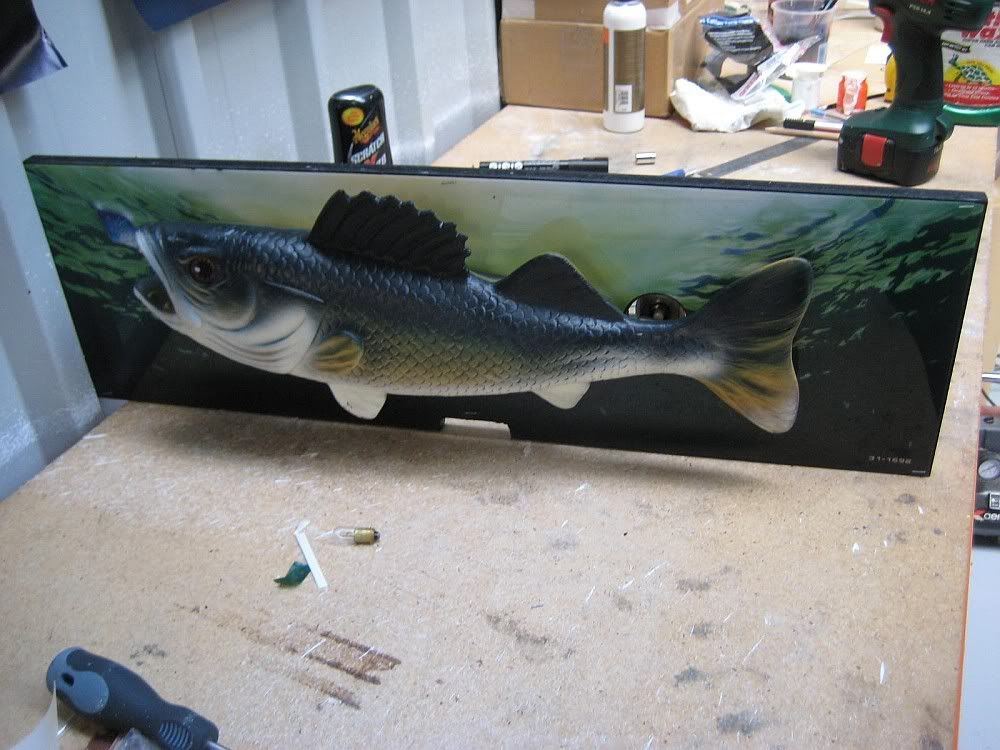
Fish rebuilt...I changed the assy slightly so that he doesnt make so much noise in a HUO environment
Little details...
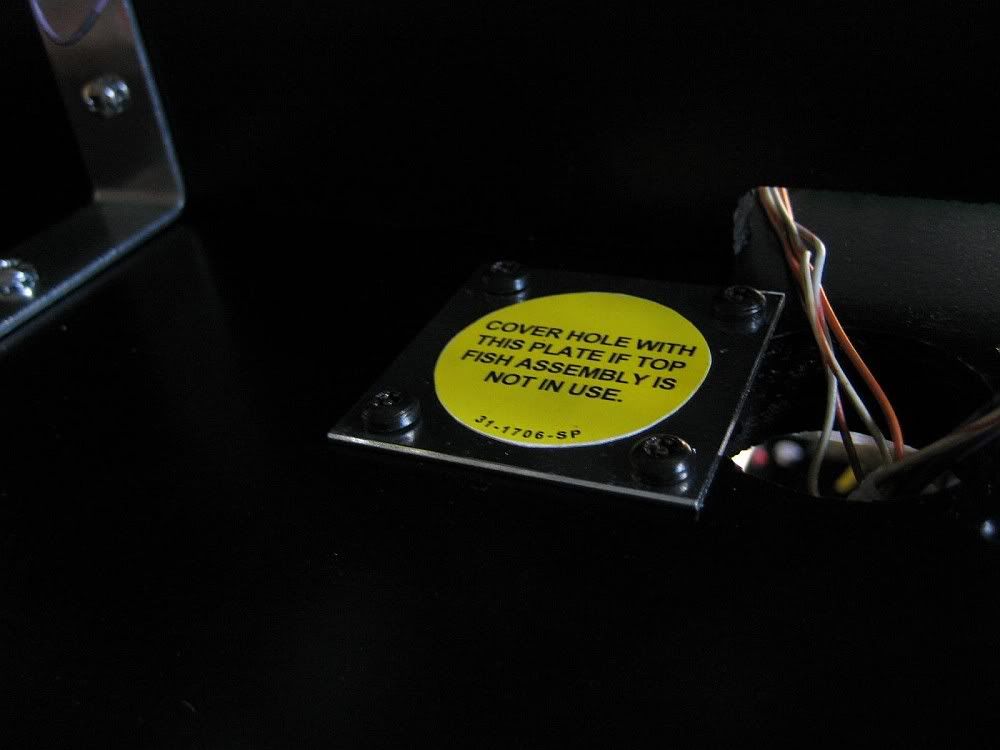
GI strings re-wired...
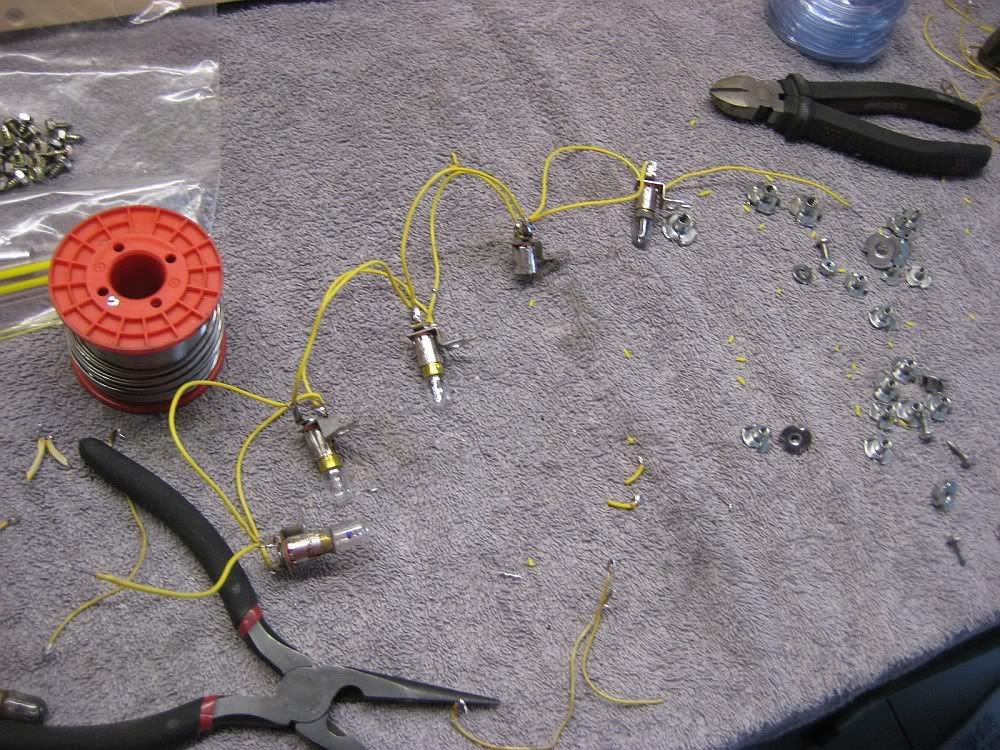
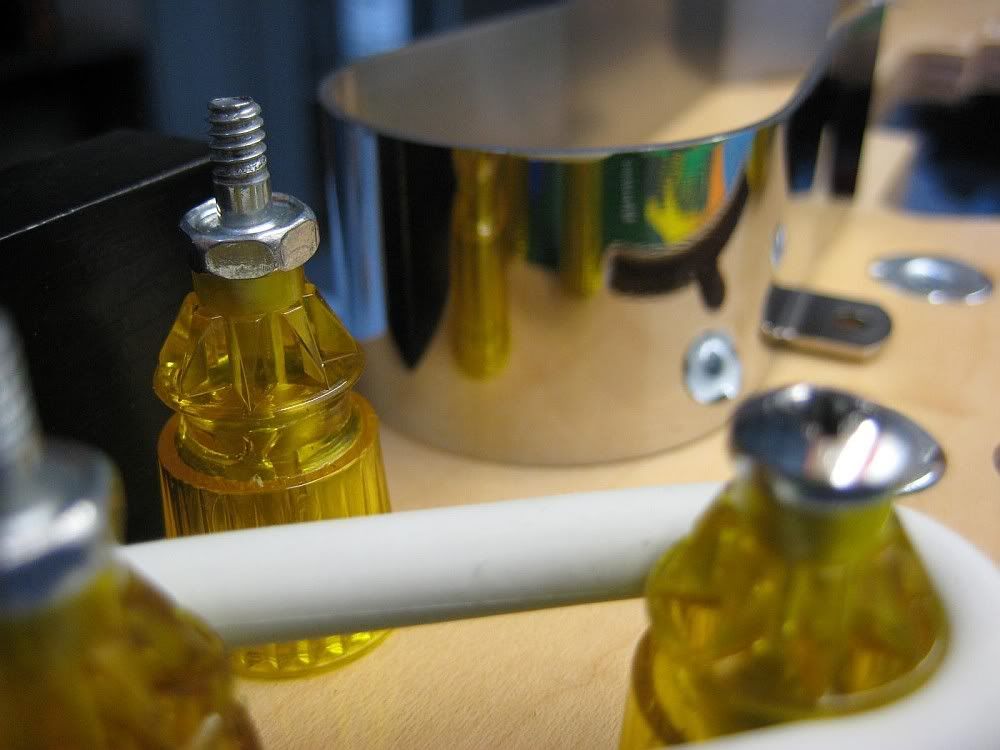
Meanwhile topside is still being populated...
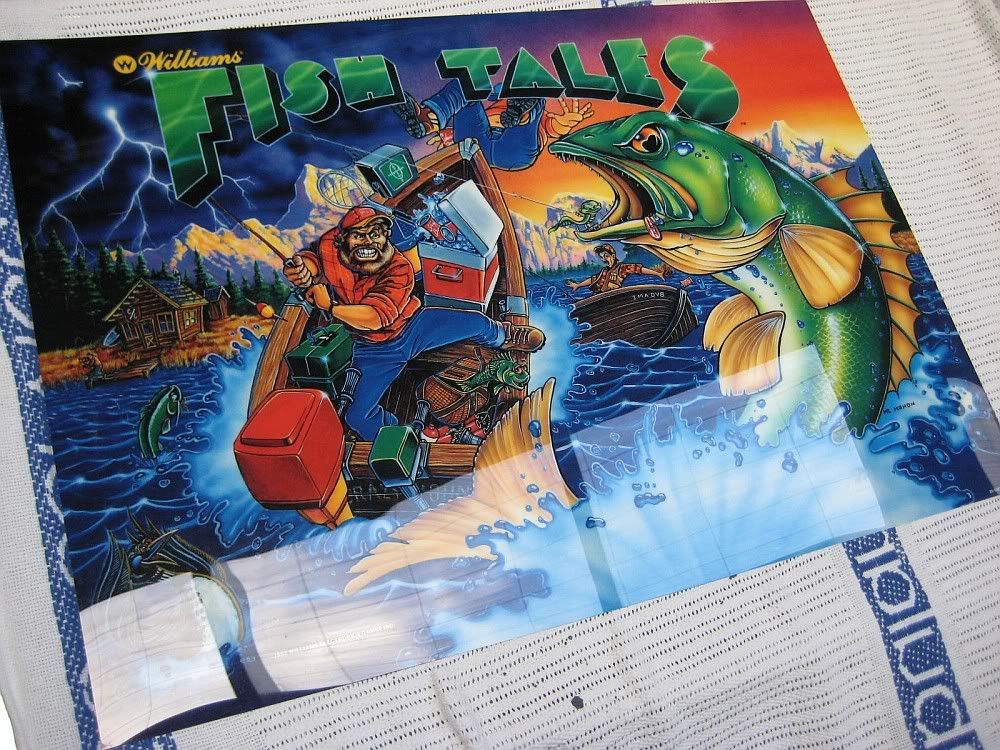
Translite reworked, new glass etc...
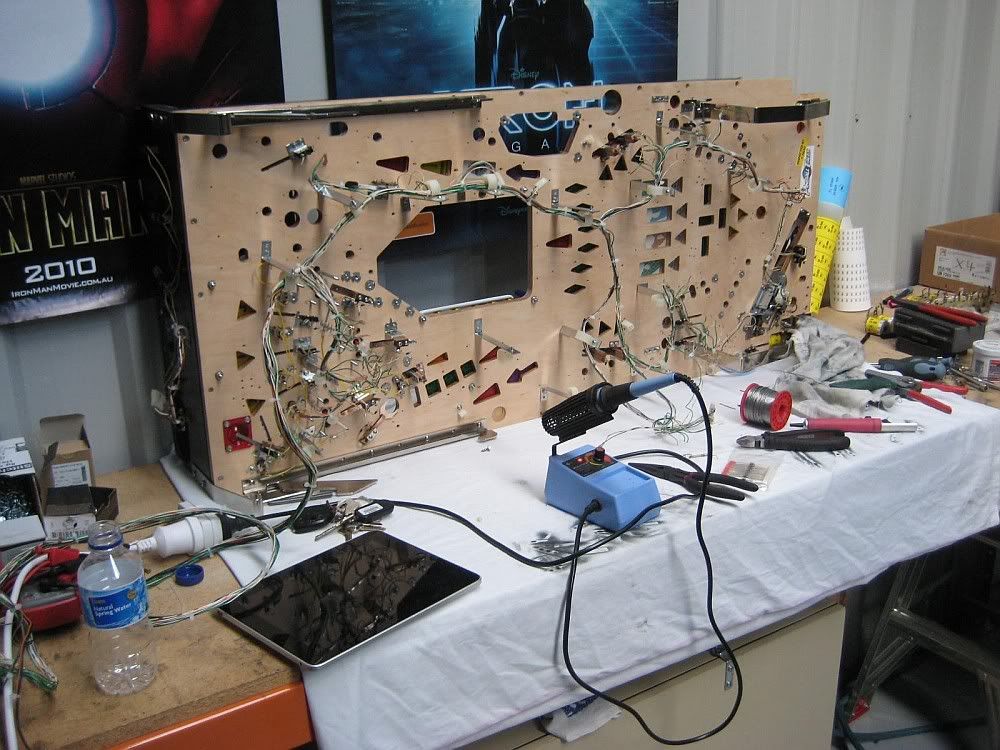
Looms are going back now...
I also repin notorious connectors, new housings where req.
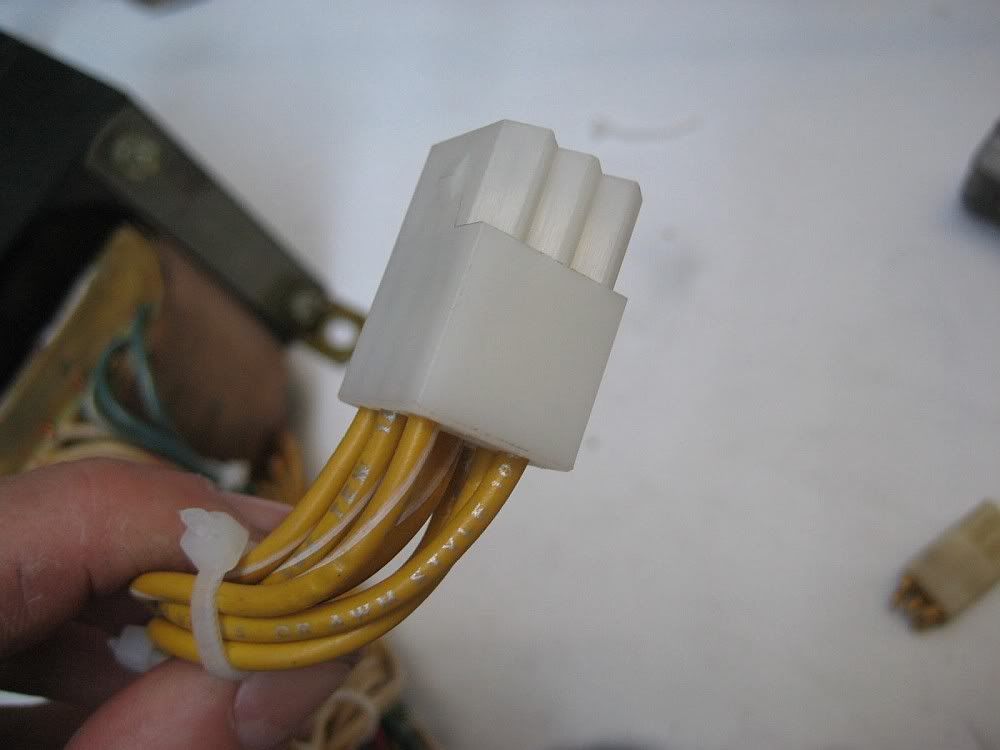
Again...
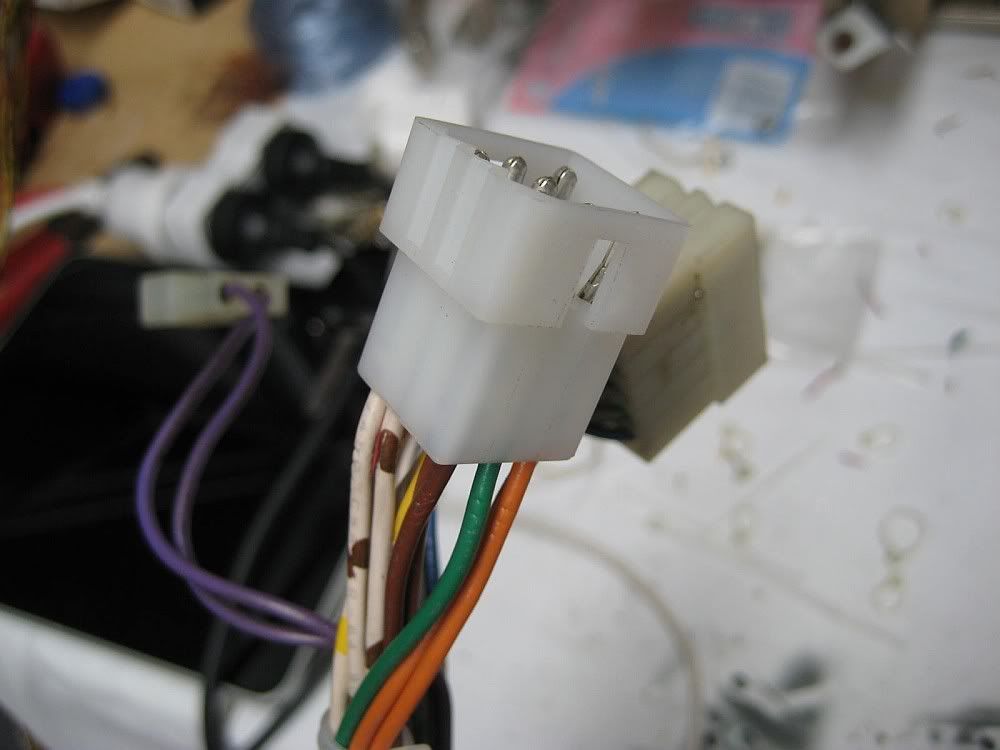
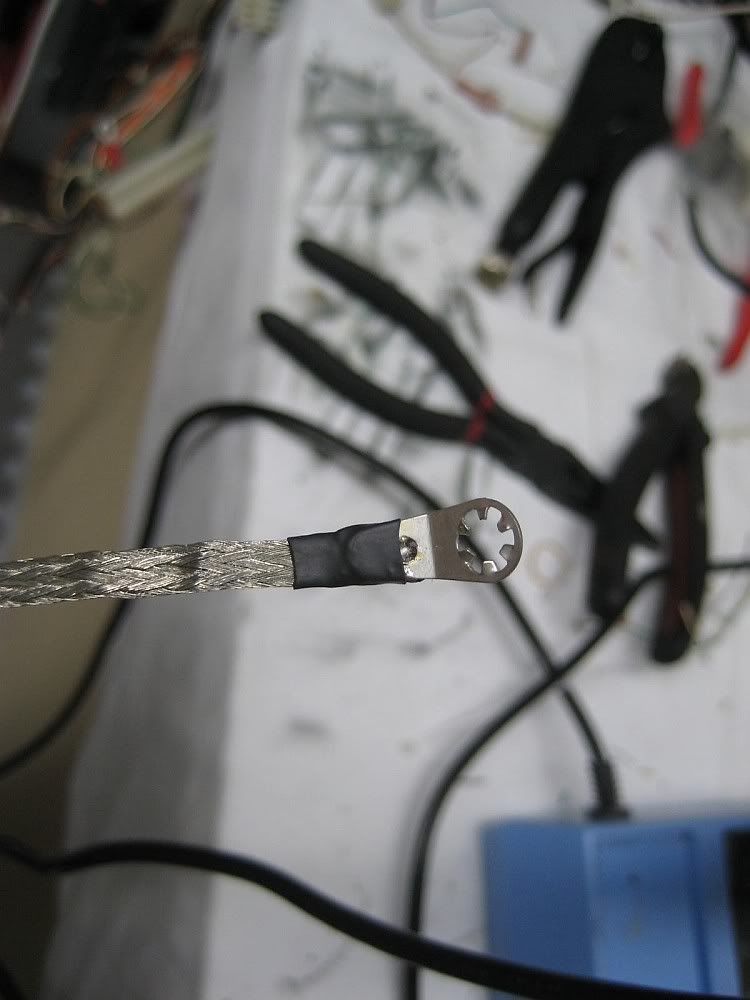
Add a few extras to make the game look nicer...
Boatramp rebuild...
Cleared...
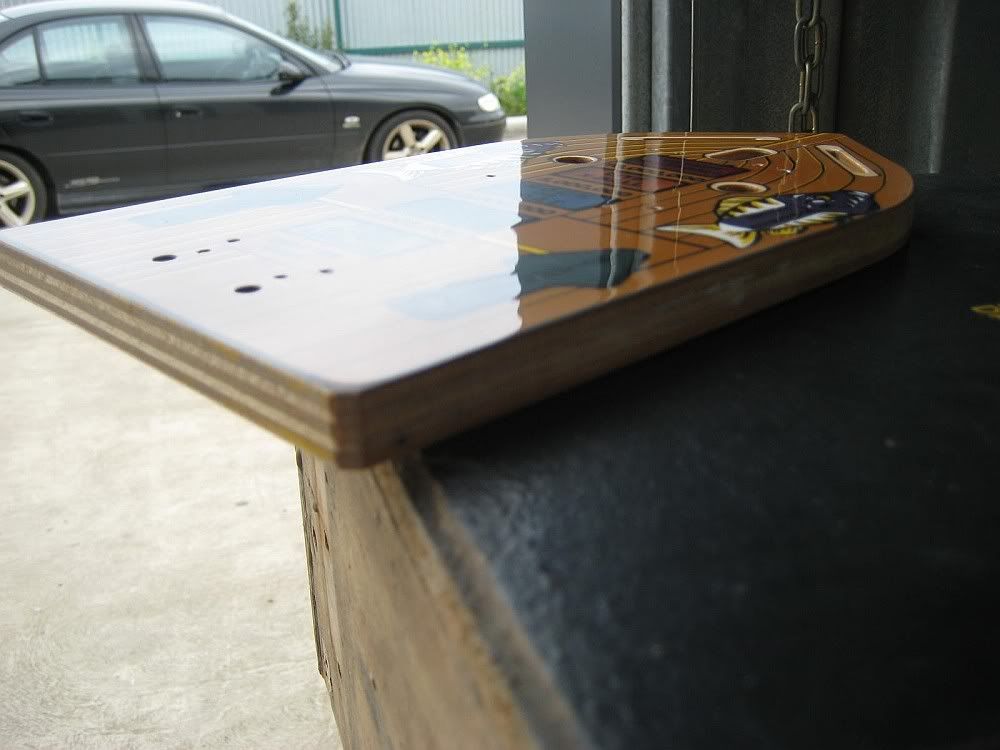
Underside refinished...
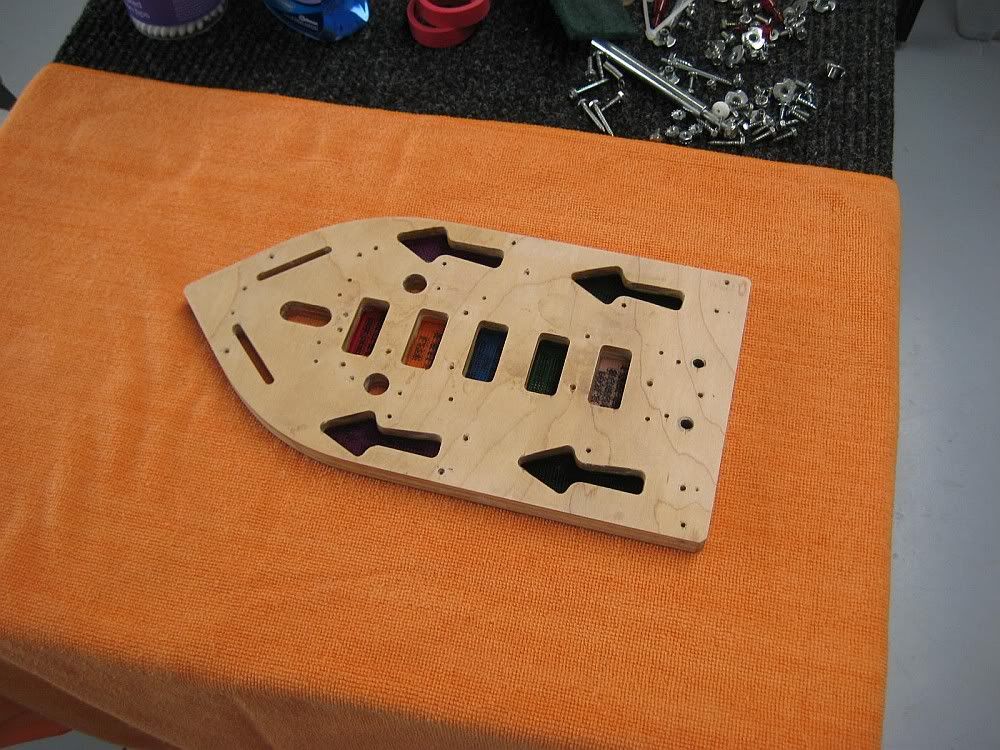
Nearly...
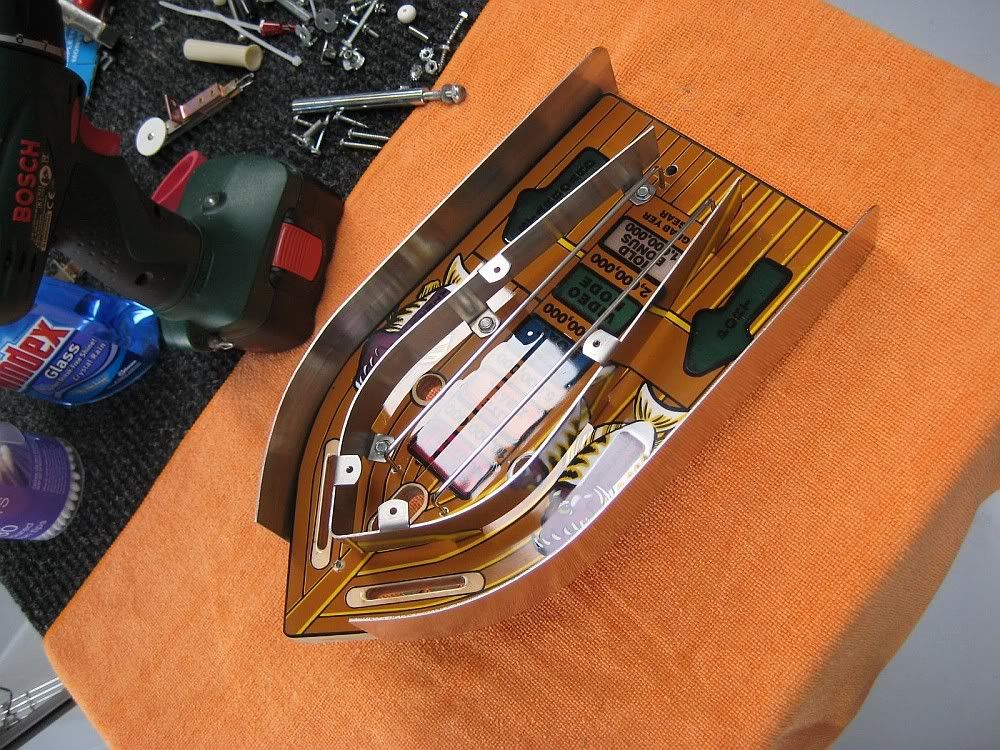
Ready to go...
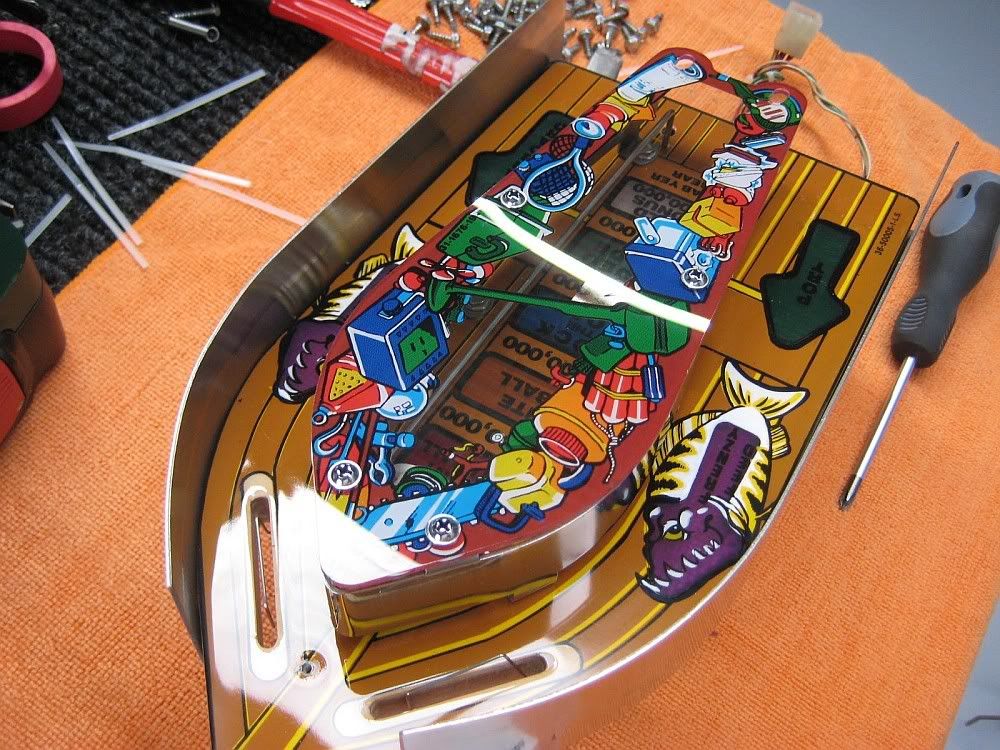
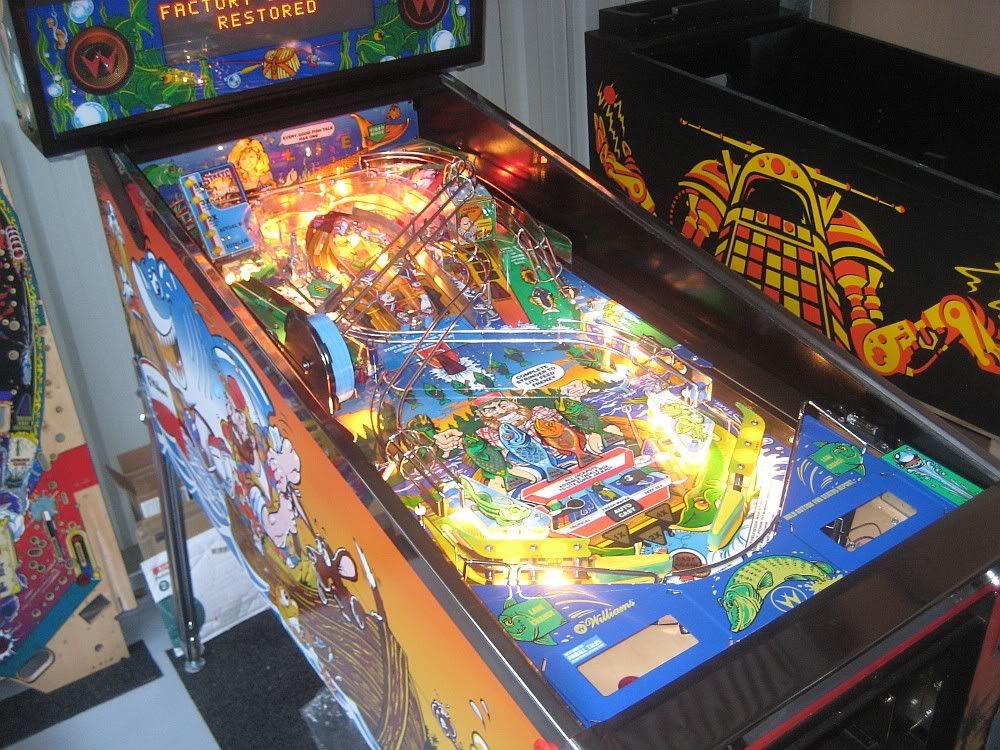
Game is powered for testing...
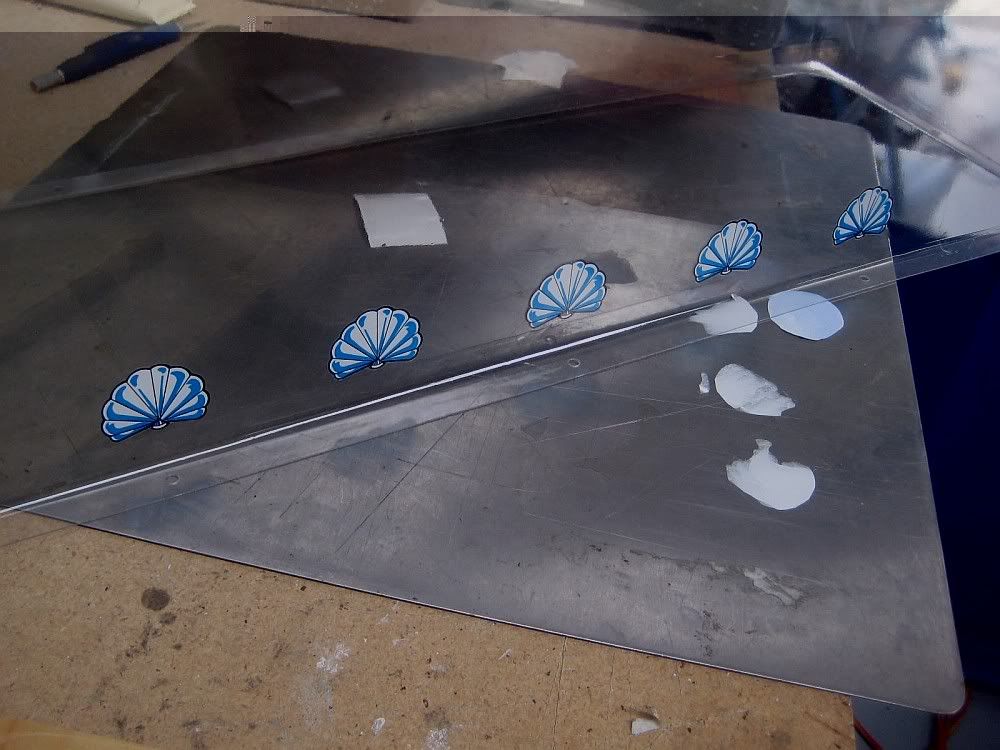
The decal for the topper is clear and spans the row of shells - i stenciled out each shell so you wouldnt have the clear backing...
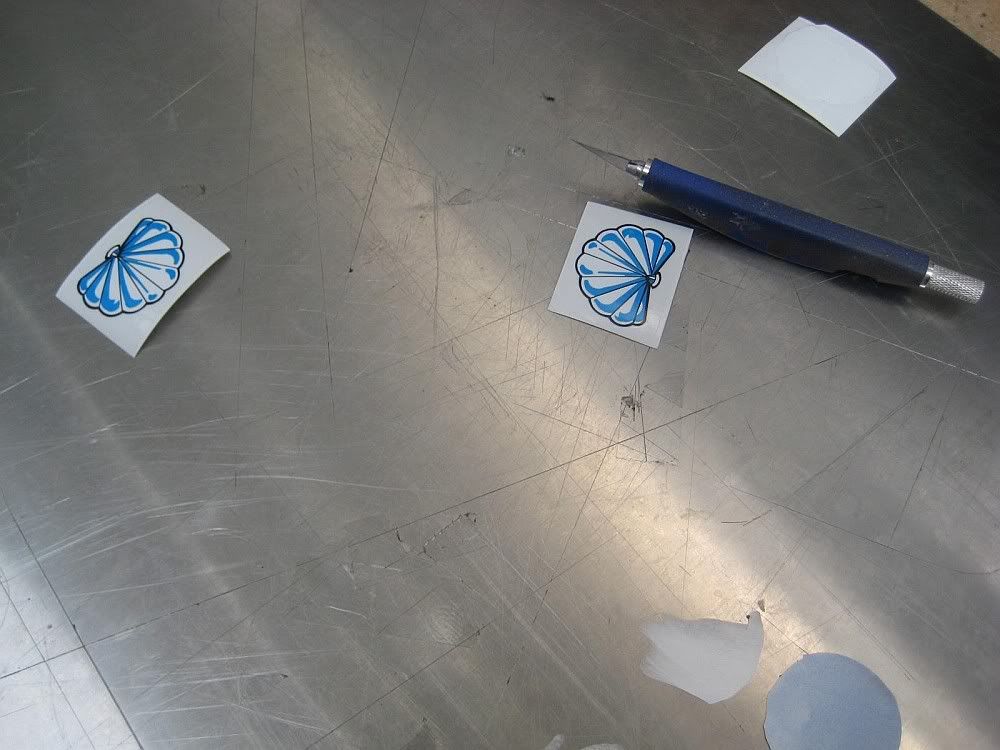
Result...small but i think it looks nice...
Game is run through its tests and dialled in - ready to go back home...
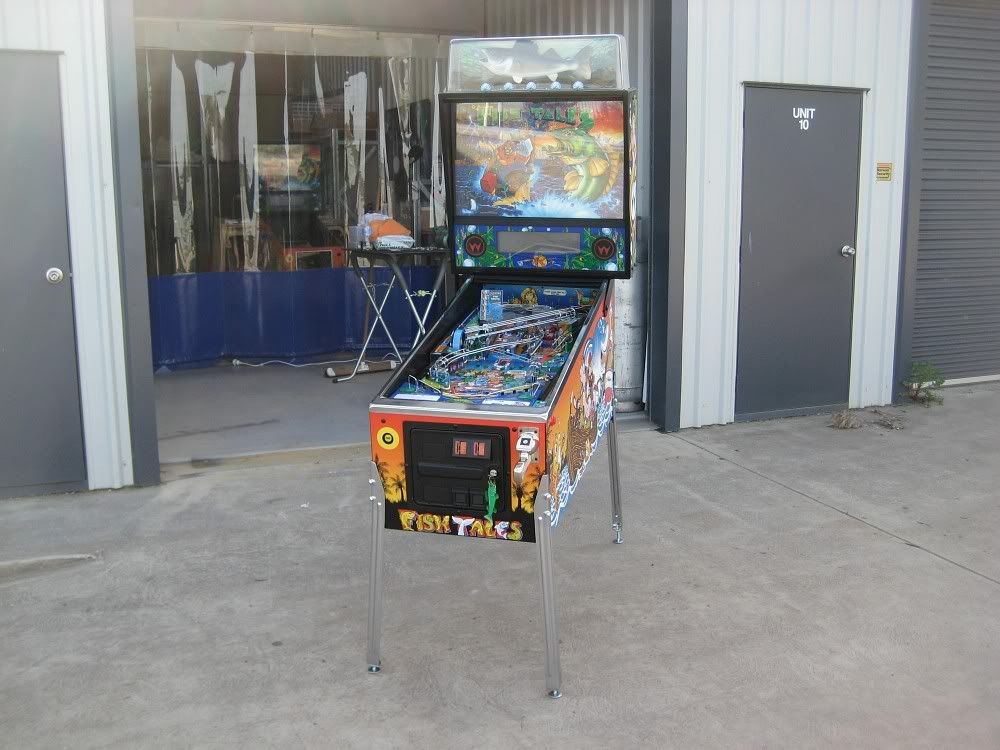
After a few MORE photographs believe it or not

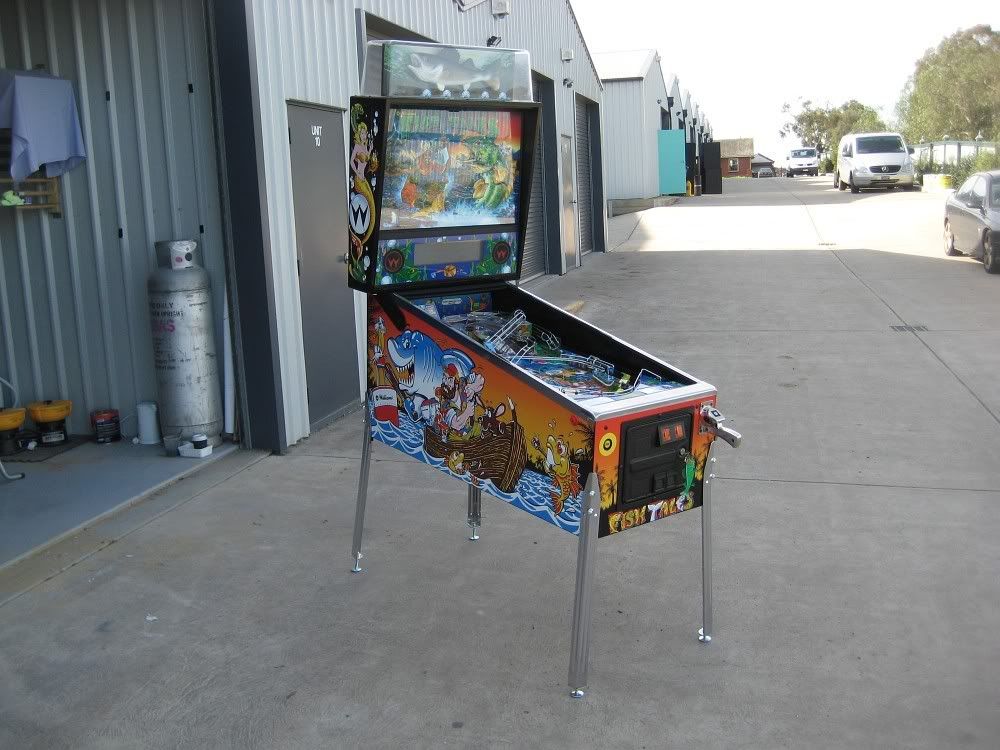
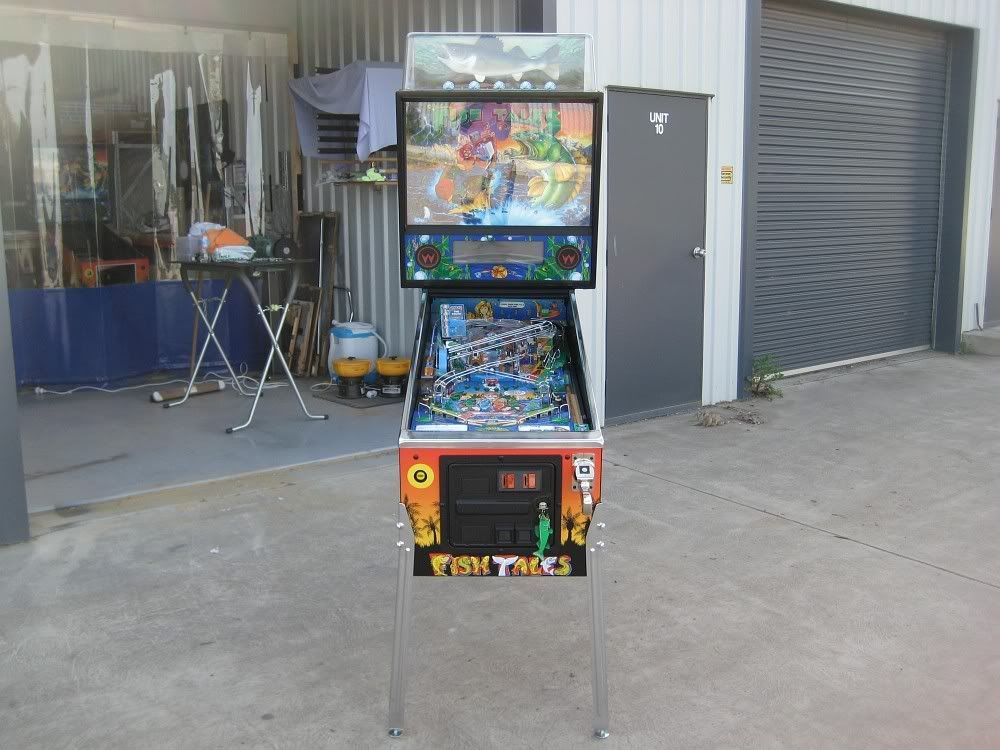
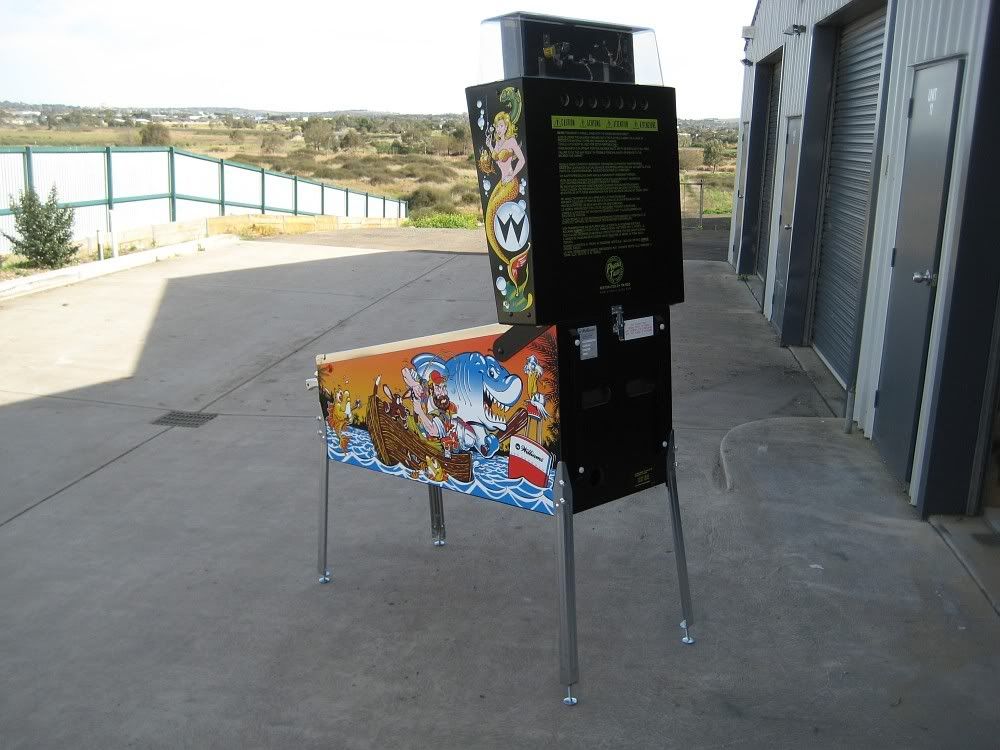
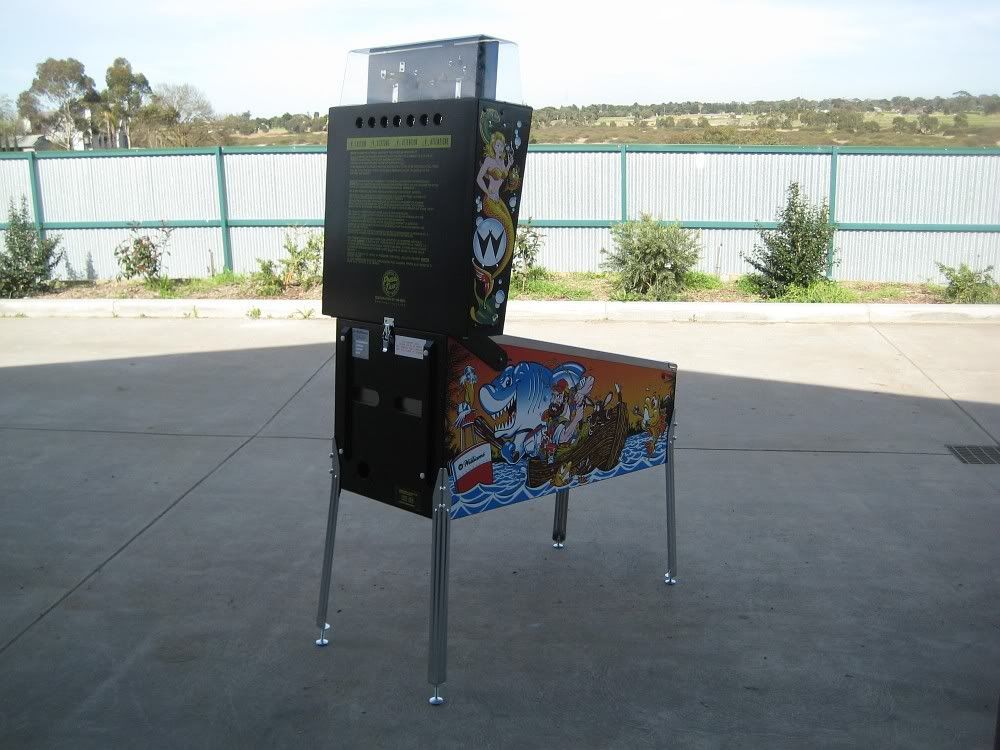
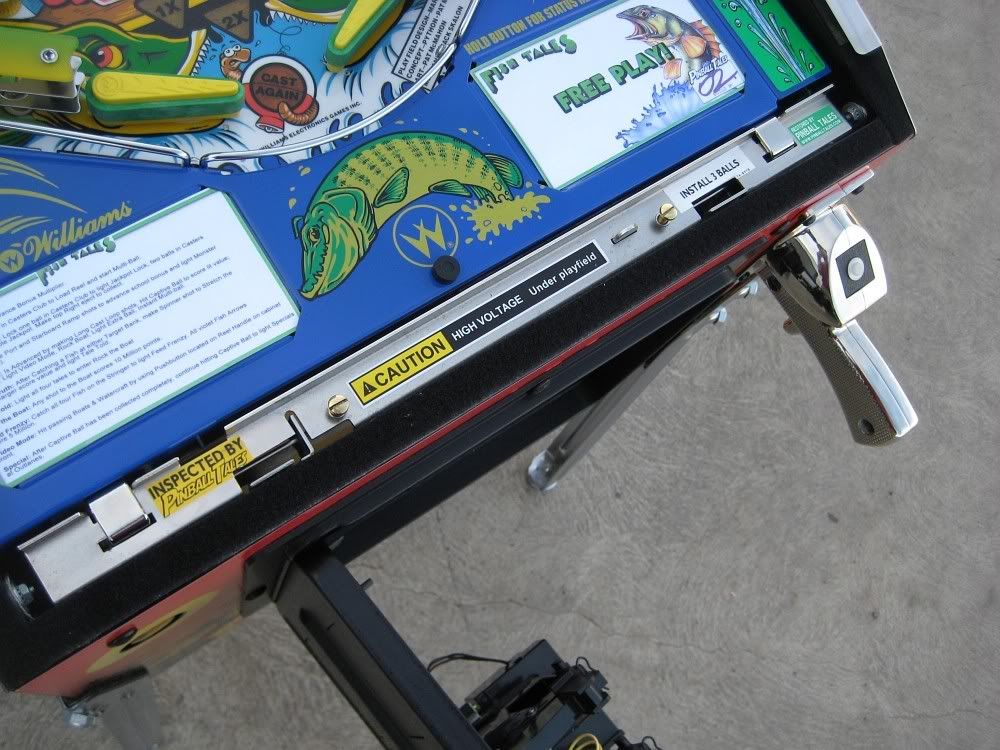
Silkscreened warning also contains 'restored by' information...
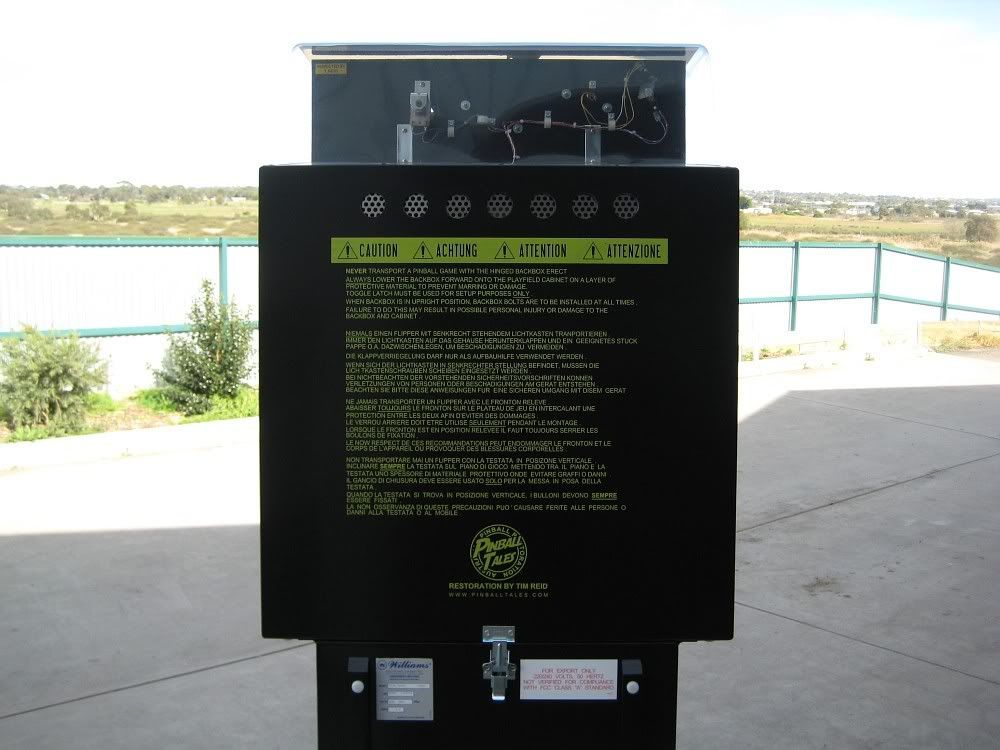
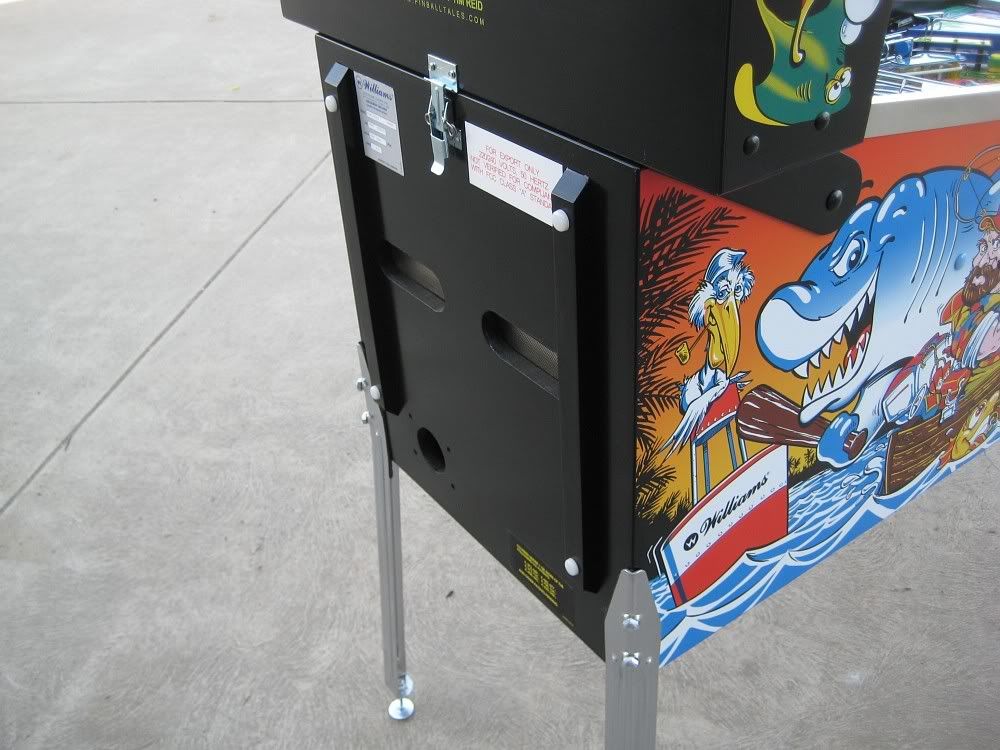
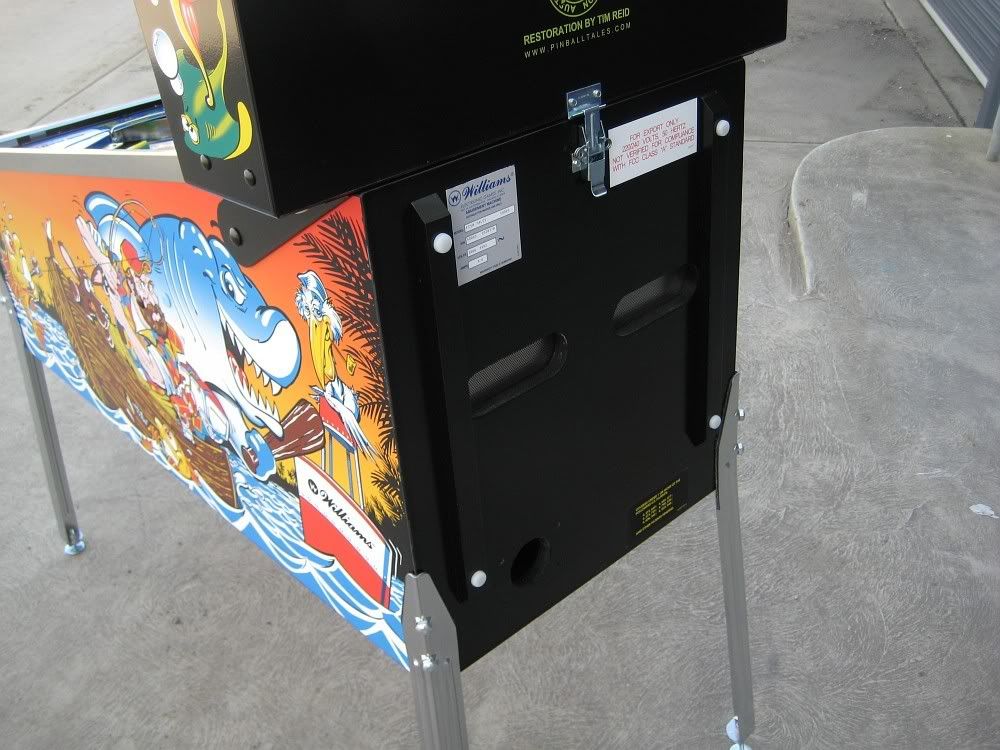
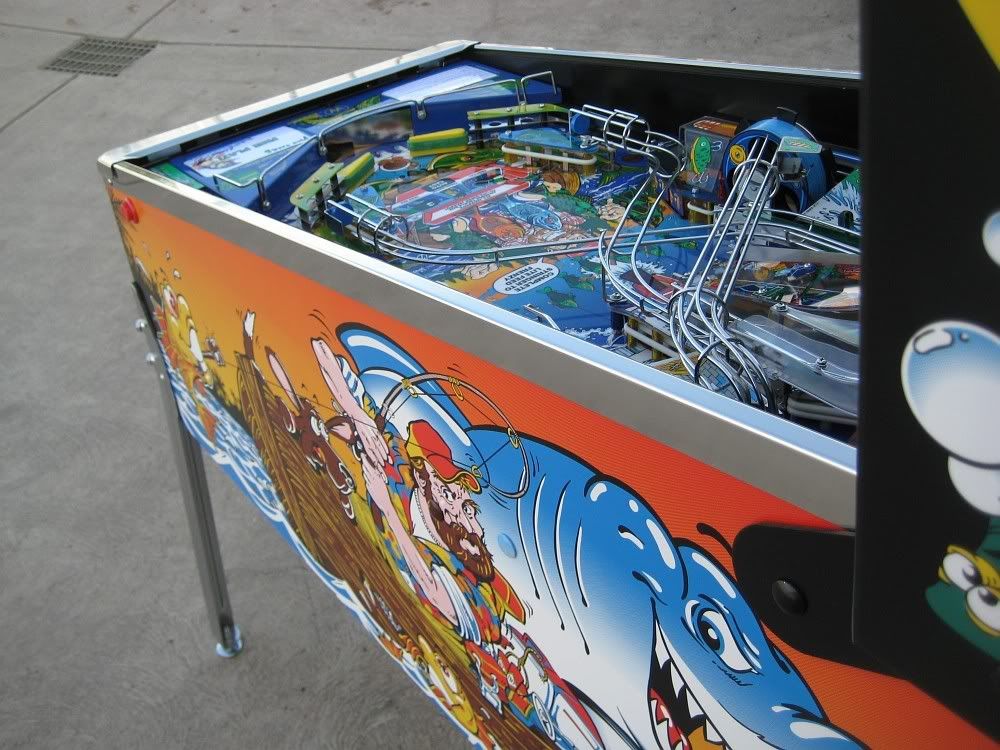
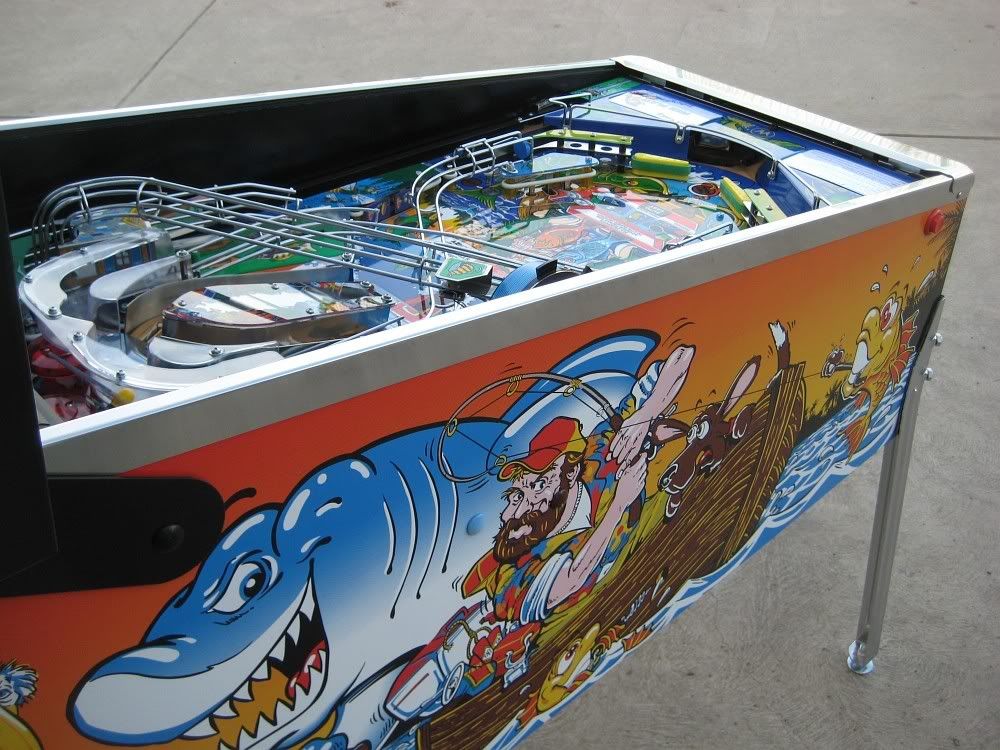
A few other games in the background moving through the same process (Firepower, Creature, T2)
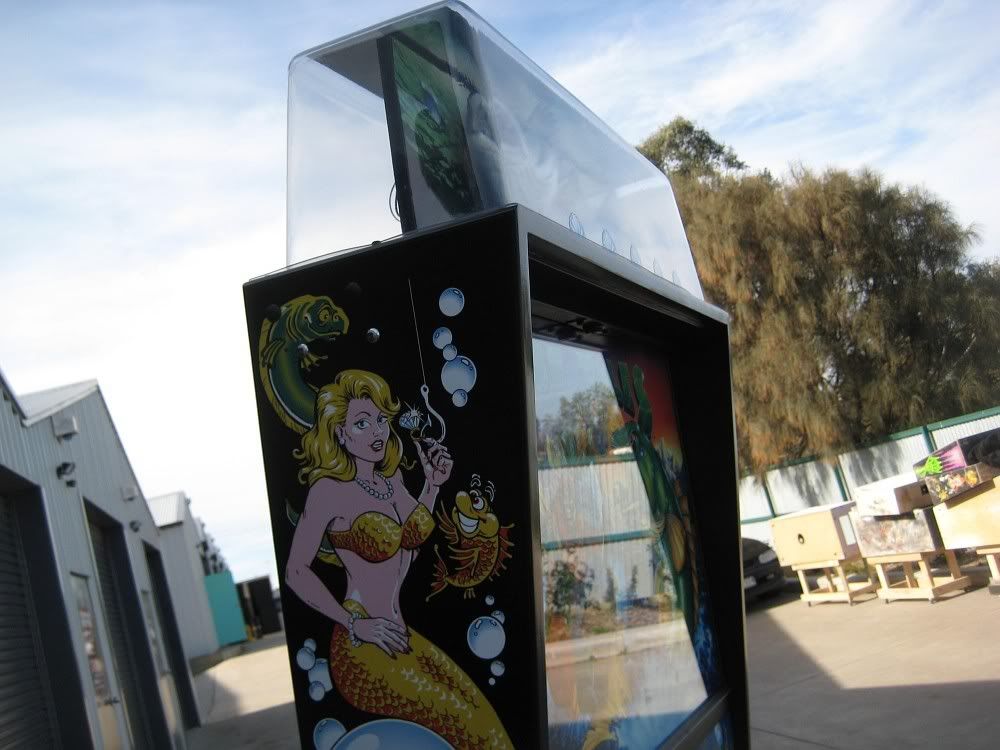
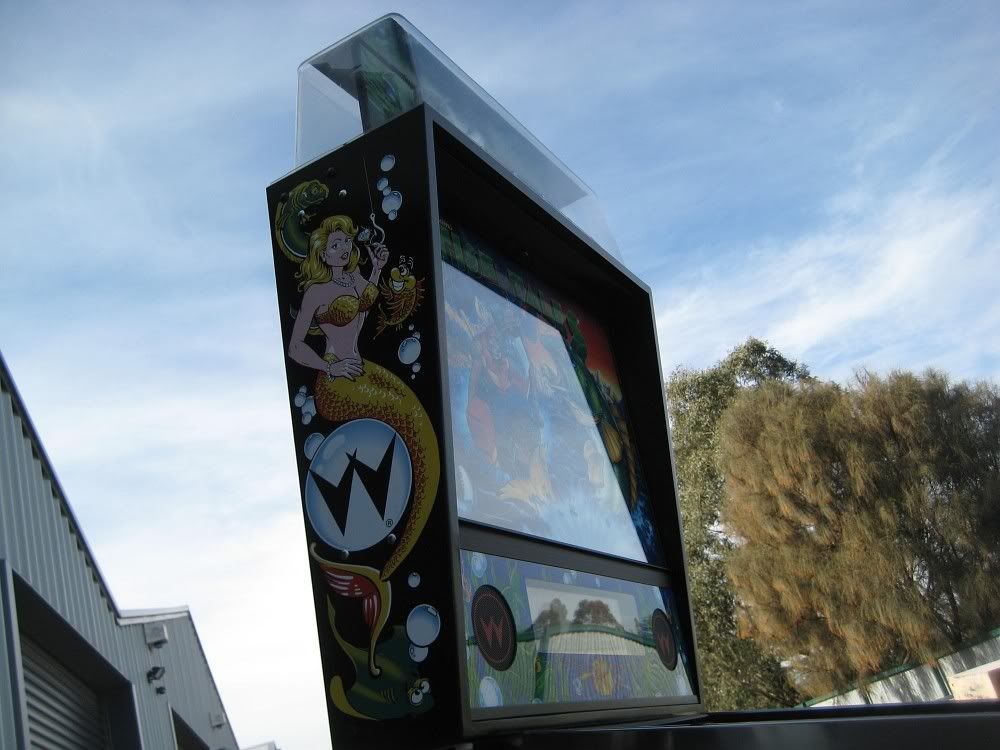
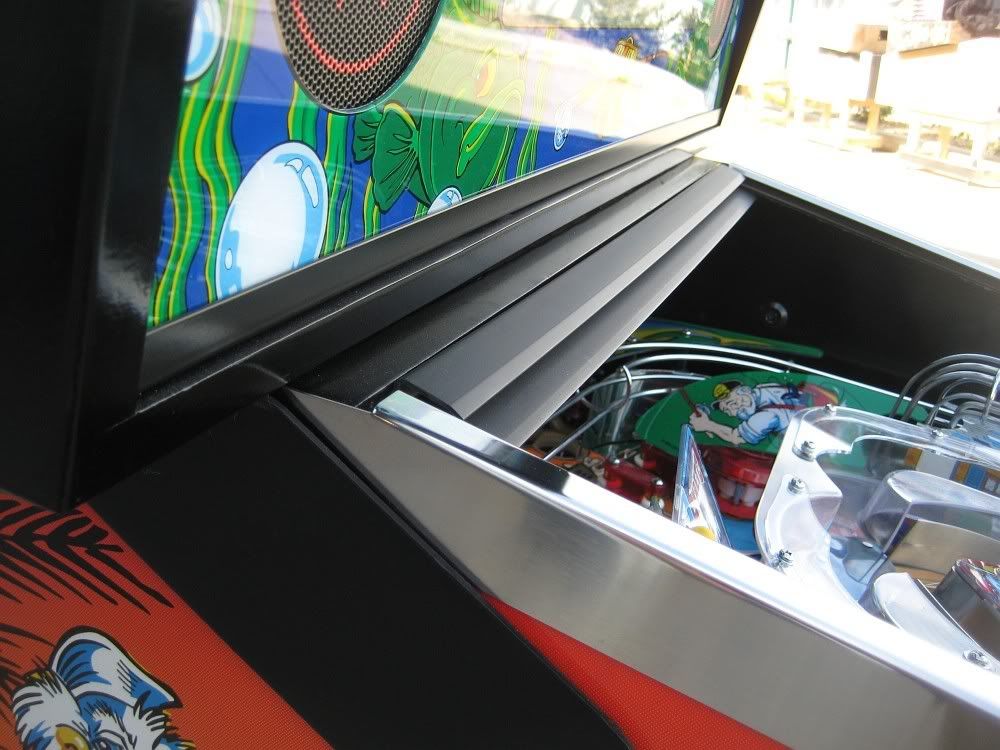
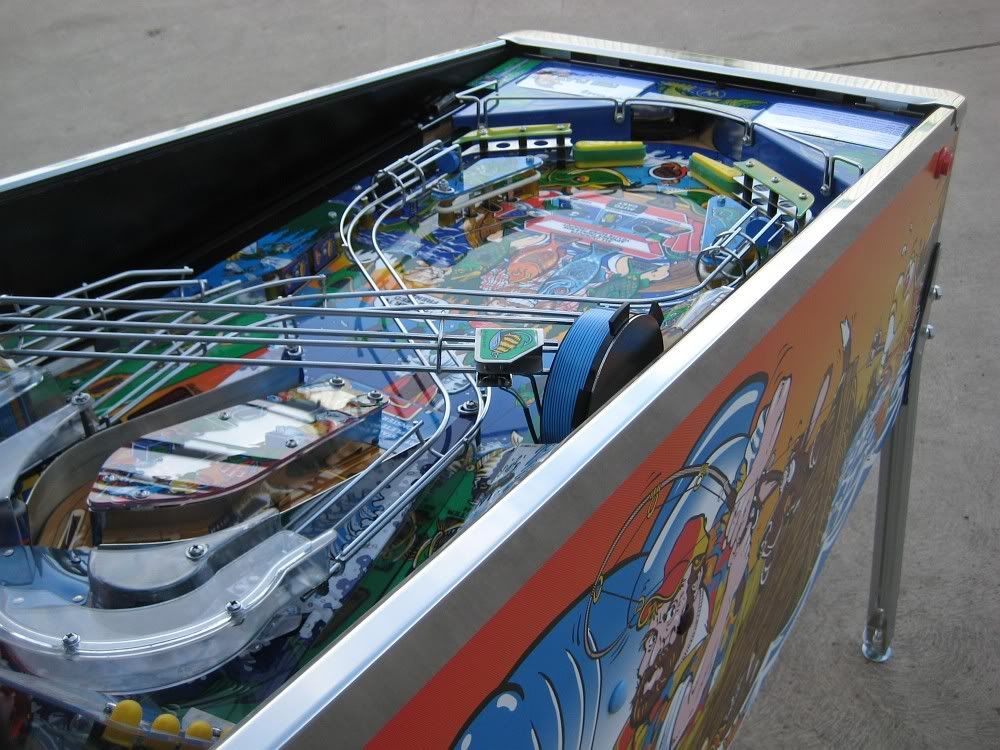
This particular plating will darken down over a few weeks.
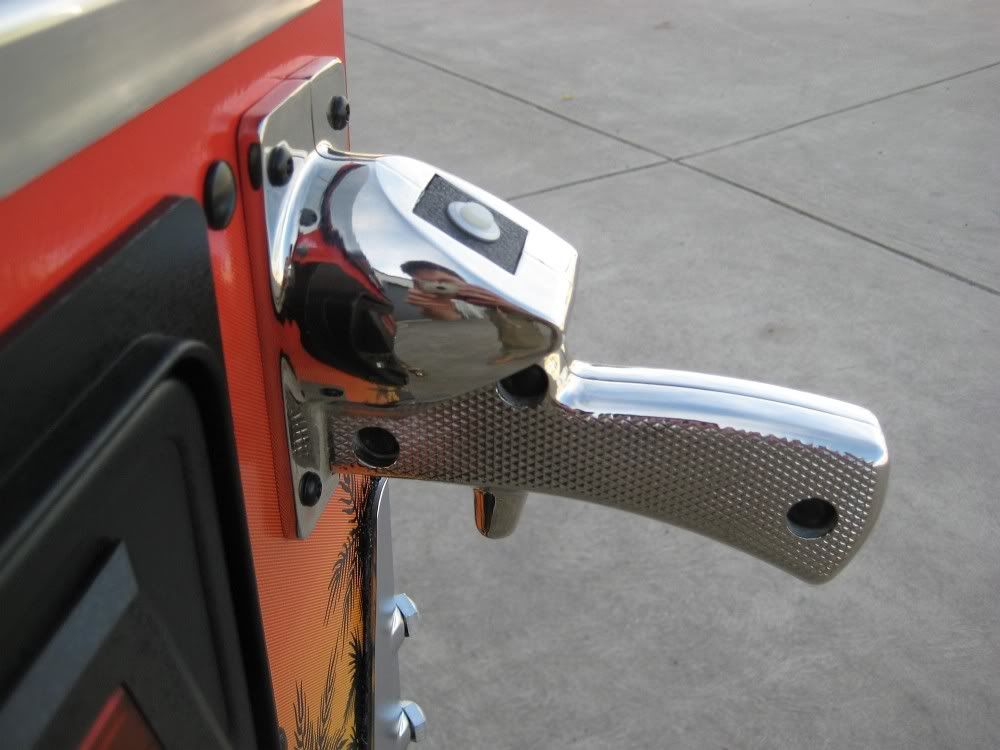
IC's made per game and numbered...
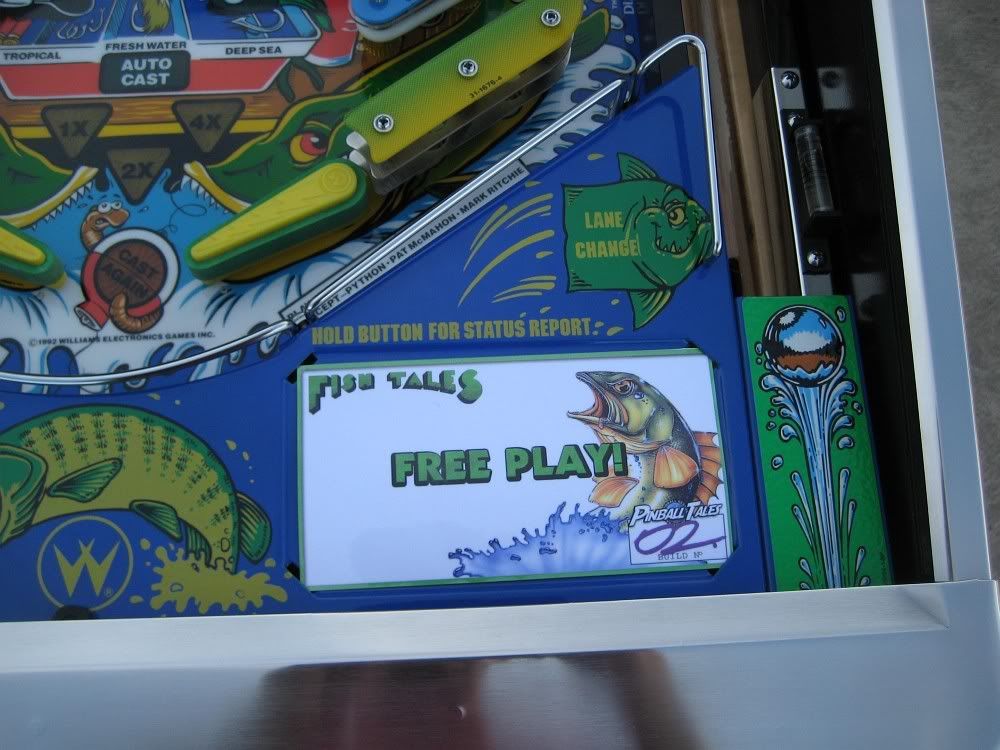
Seamed decals...
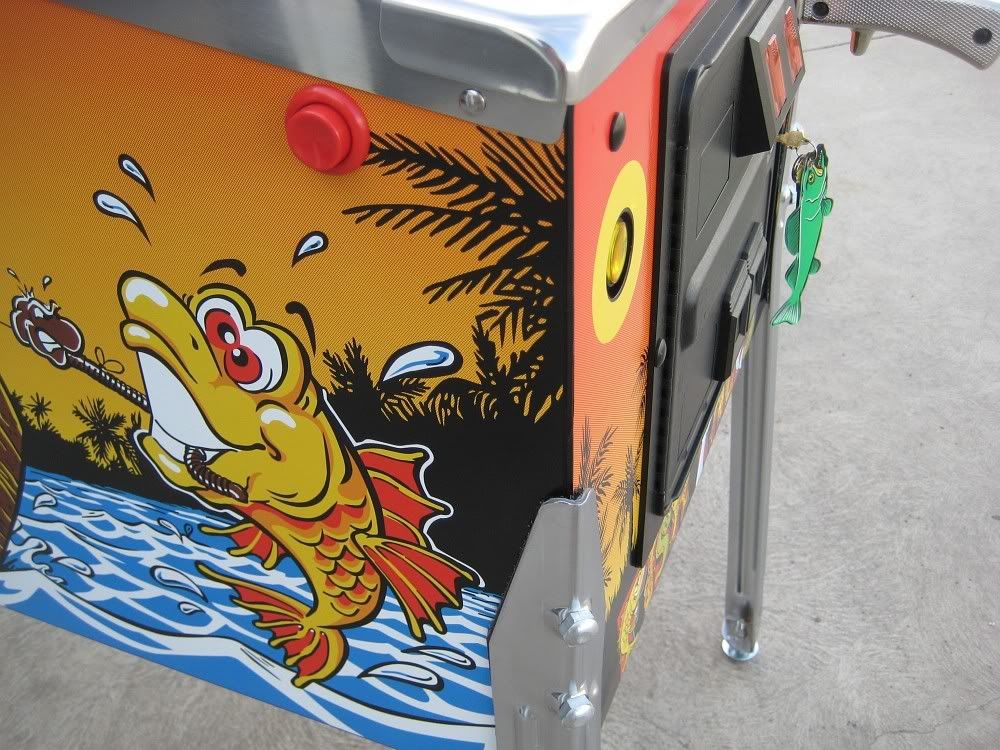
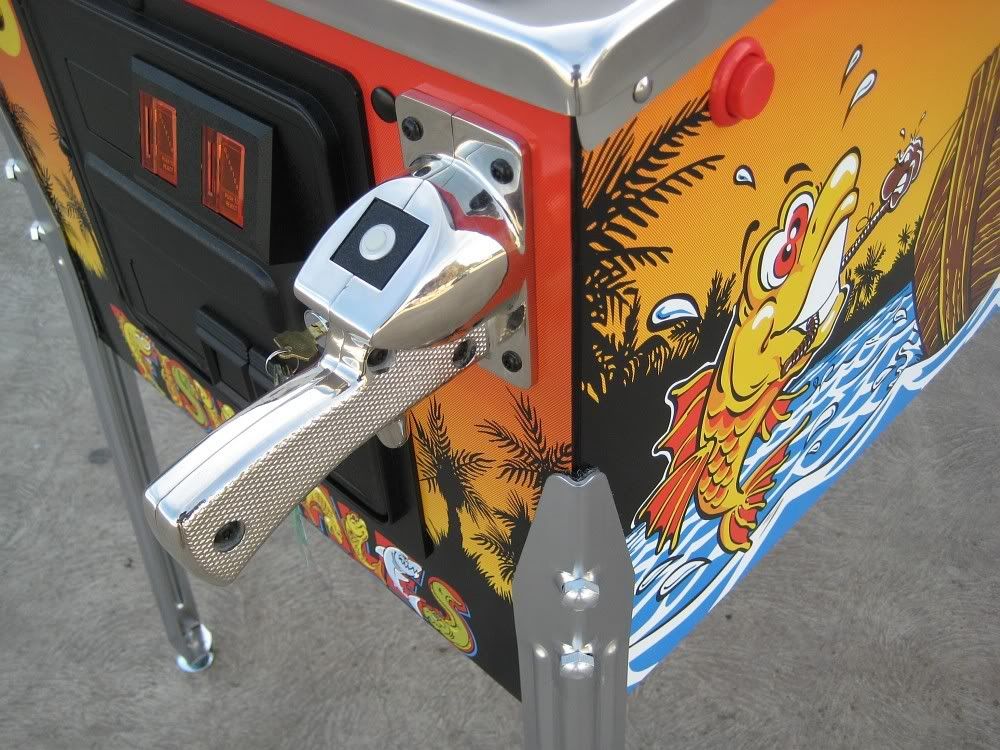
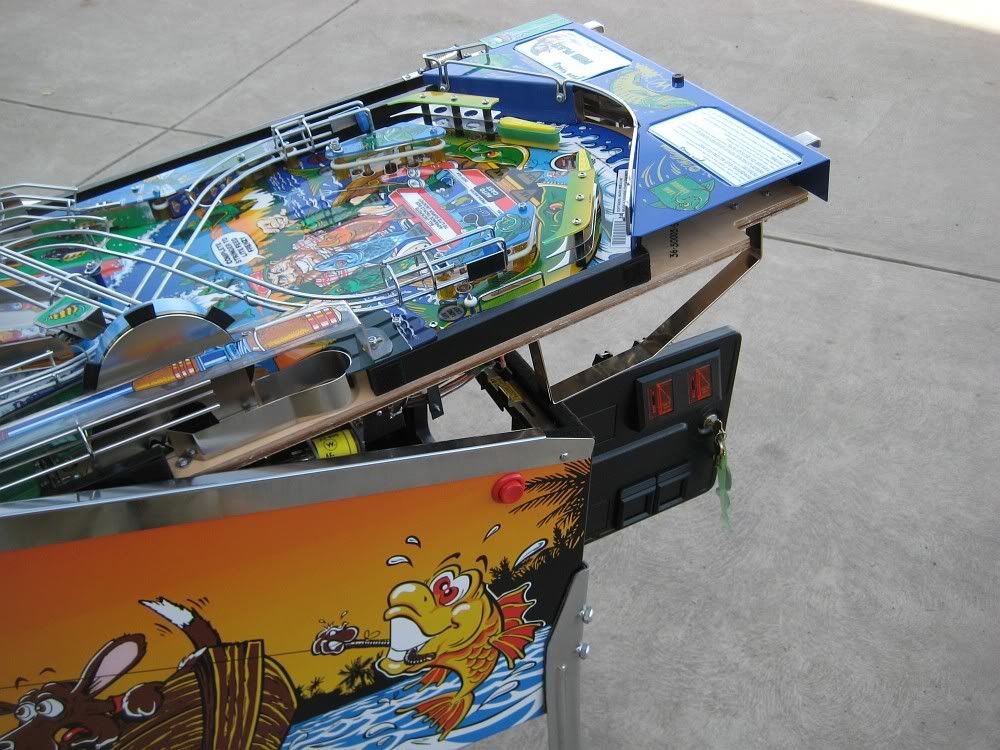
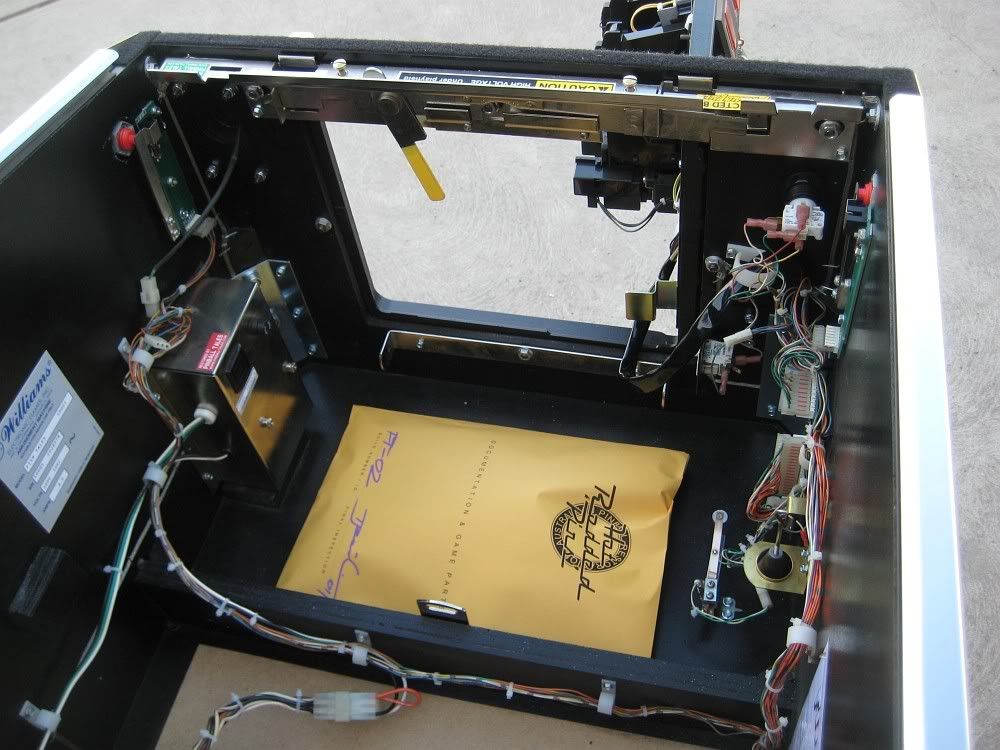
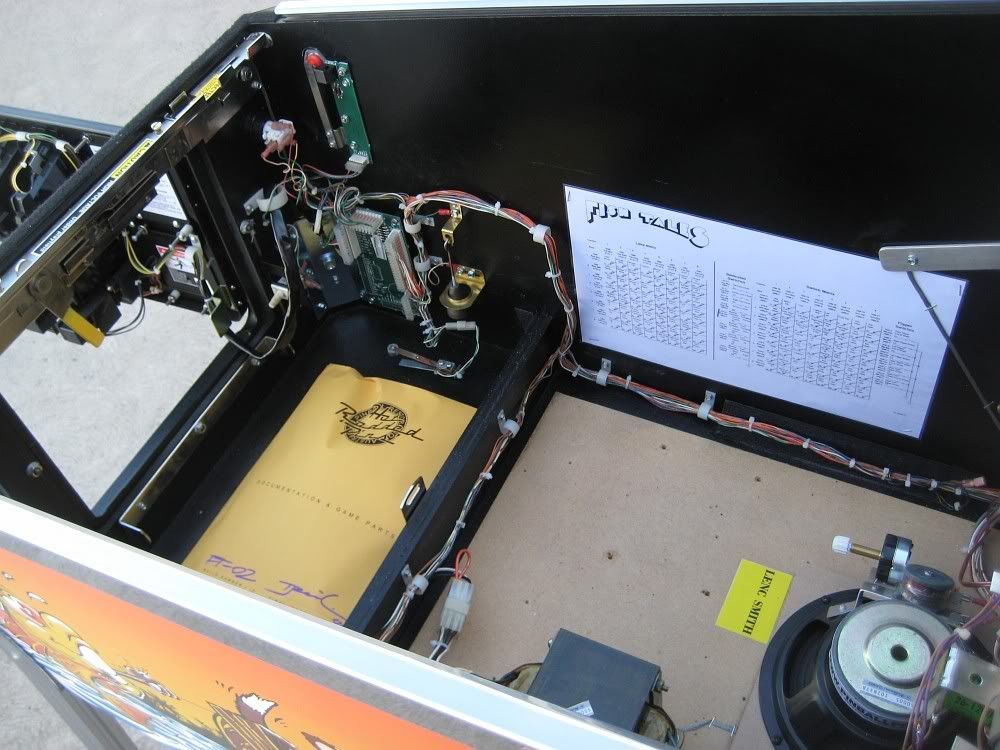
'Under the hood'
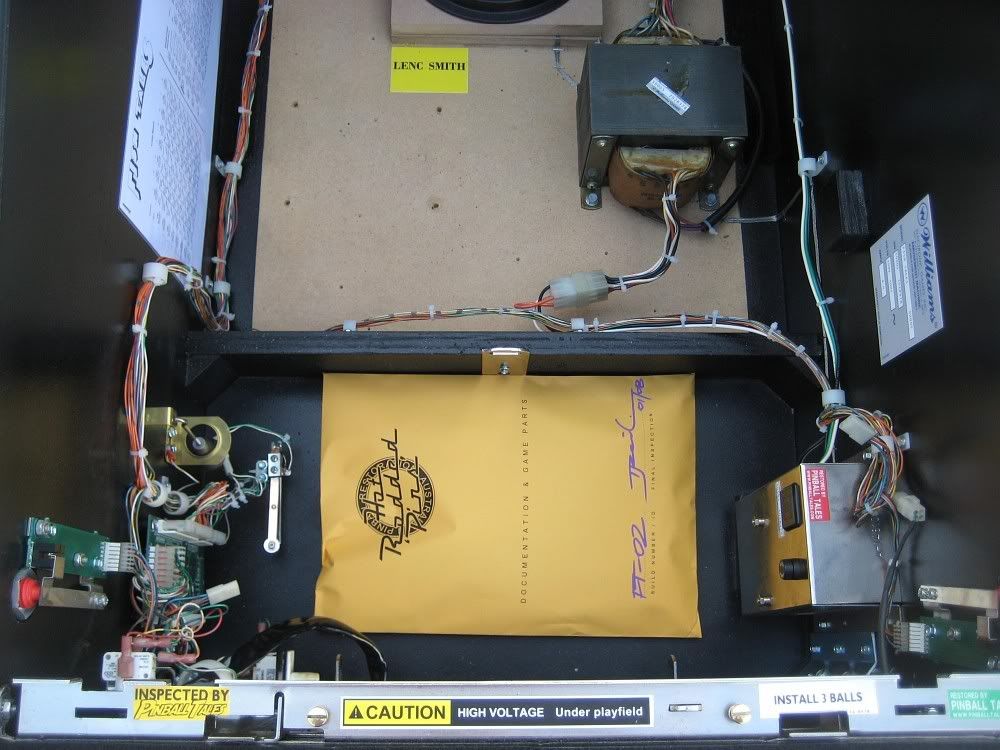
Yellow envelope contains setup information, parts, invoicing etc...
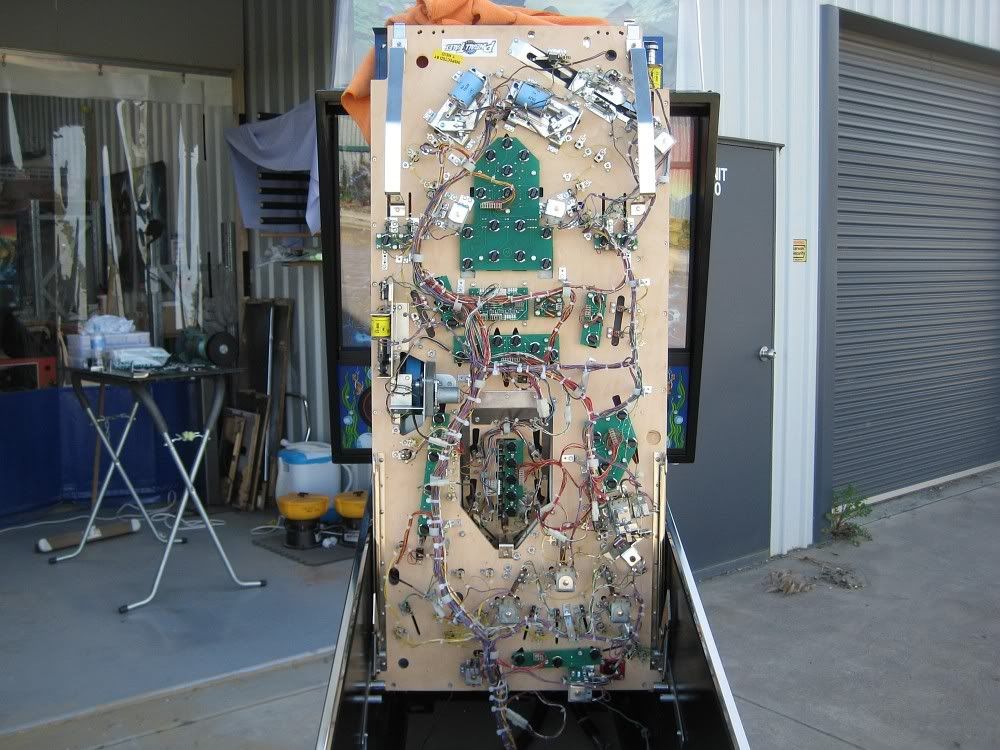
Overview...
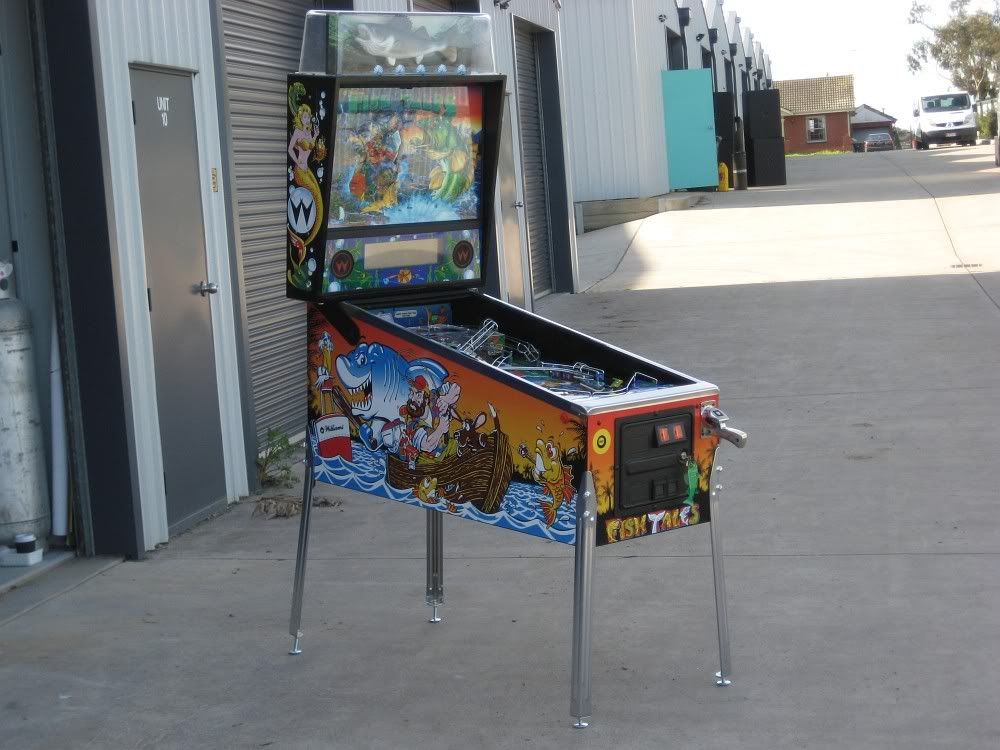
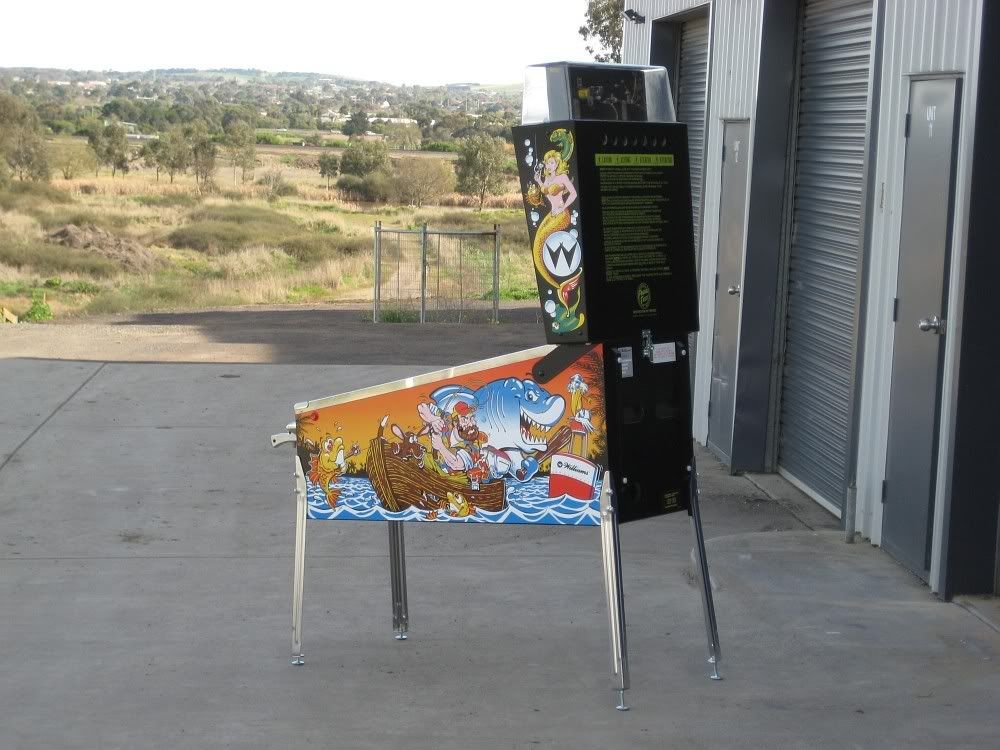
Hope you enjoyed the rebuild pics guys,
Tim
EDIT - Would also like to thank all the forum guys who contributed to this build, be it a tech problem, a flaw in my work

, a history question or a parts list (Daniel

) everyone was MORE than happy to help out. Thank you very much.