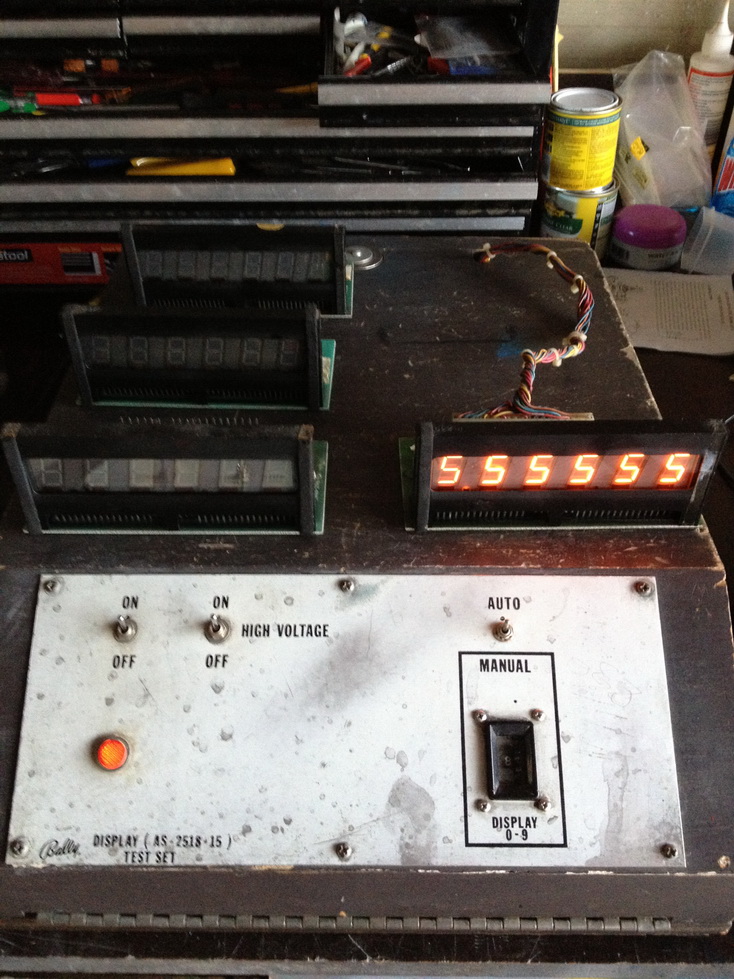
The boardset from this game are the next part of the process. I started with the displays. All 5 are in very good condition. All i needed to do was upgrade the digit resistors to 100K 1/2 Watt resistors as the old ones were oly 1/4 Watt and they will "go open" in time. I used my Bally Factory Test Fixture for the first time and ended up repairing around 20 displays at the same time !
Next was the Solenoid Driver - I cover my repair and upgrade process here -
http://aussiepinball.com/index.php?topic=158.0Whenever a pinball is advertised for sale, this process is ignored, yet it is the first sign of short cuts in reconditioning or restoration. I've seen 30 year old original capacitors in machines with Alteks installed ! This is a HUGE problem. C23 HAS to be replaced - and I usually replace C26 as well. For this board, there was a previous attempt at repairing the HV section (displays), and it simply was a poor attempt. I've rebuilt the entire section. All the connectors are replaced. The pins will also be replaced (repinned) - Not just the 0.156, but also the .100.
Before (just the upgrades done - not the connectors - yet) ;
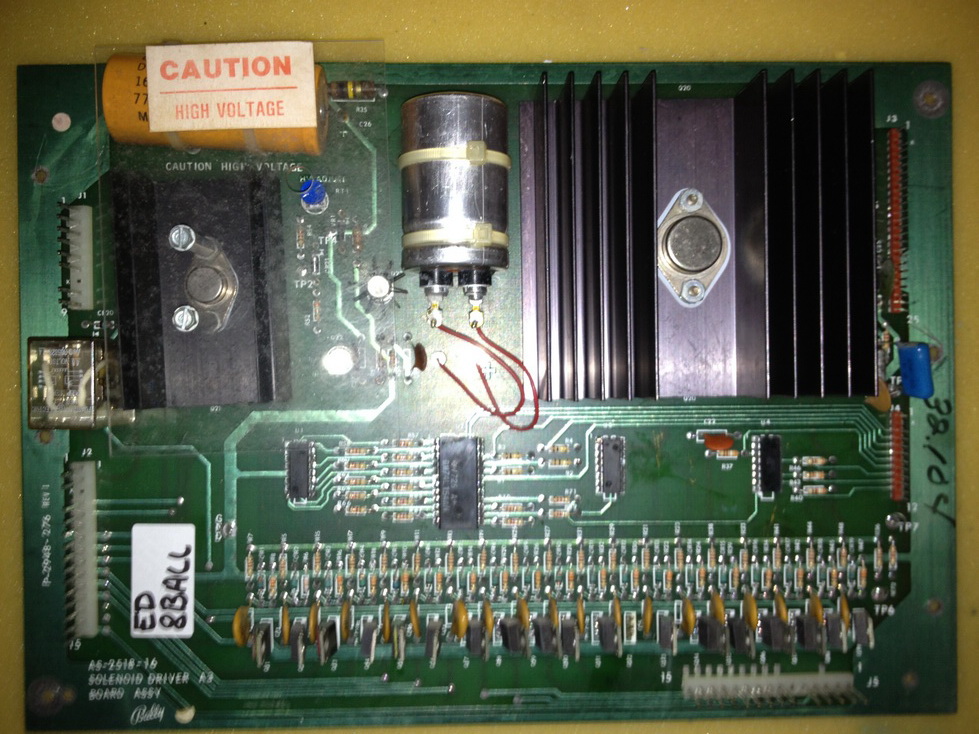
After ;

Unfortunately my Ball Factory SD tester is not working properly at the moment, but it was easy enough to test in the game.
I've used the Homepin Power Supply Board - which was a breeze to build and install ! -
http://www.homepin.com/rectifierpcb.html
I purchased an Altek board from Pinball Resource to complete the boardset. The Lamp driver was in excellent condition.
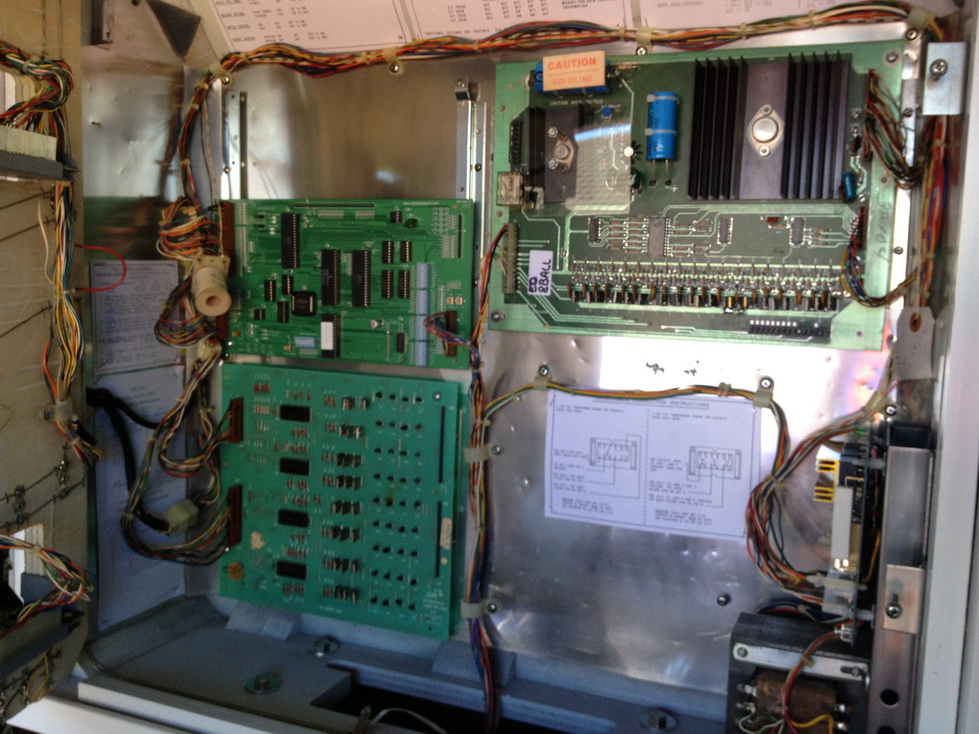
Displays installed. ALL the lamp sockets have been replaced. Tedious work, but some were corroded. Best just to replace ALL of them while the lightbox panel is out of the game.

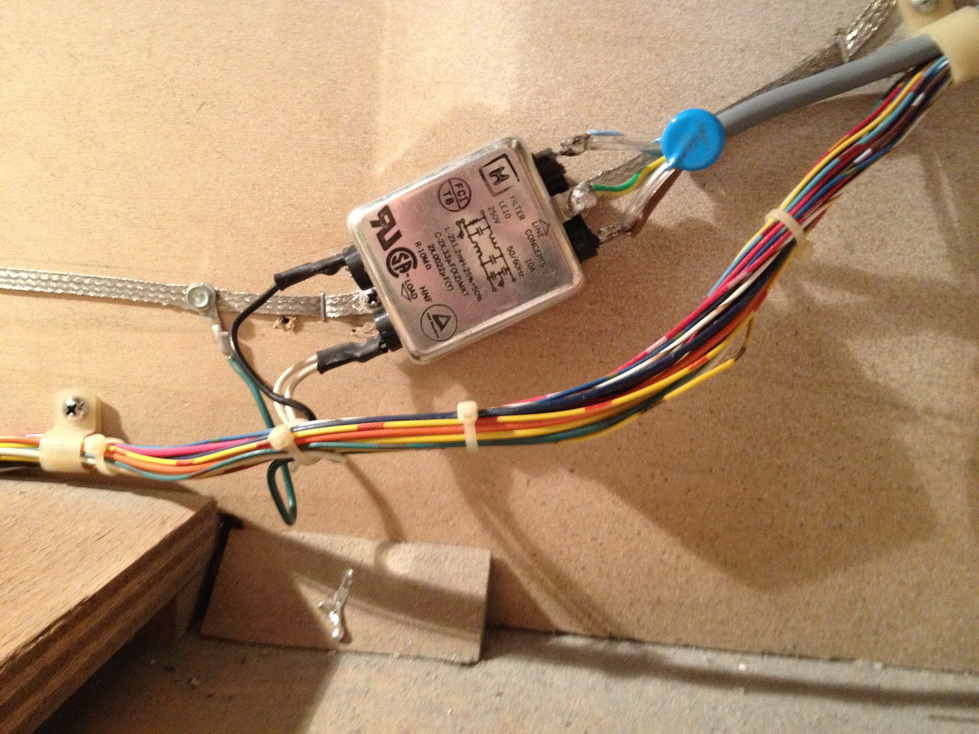
I always replace the noise filter when installing a new power cable. I've seen so many hack jobs recently with second hand machine sales. The "easy" and "cheap" method is to buy a $2 extension cable from bunnings and cut one end off and solder it into the game. This is electrically unsafe unless a professional Tag and Test is completed. I buy metal case noise filters as they are more robust and also retain the original look.
Repinning a SS Machine
All machines from this era need to be checked properly. No use in replacing the power supply headers and pins and claiming the game has been repinned. I have never seen corrosion om these connectors. They are always stressed, burnt or hacked. Replacing these connectors, housing and pins is mandatory. If it is not done, the buyer is looking for trouble !
What is often overlooked is the MPU board connectors and pins. Secondly, the Solenoid Driver needs to be repinned as well. Not just the obvious connectors. I replace ALL pins. This is time consuming, but this will ensure the game has trouble free operation for years to come. To do the job properly, it takes 3-4 hours. That's the ENTIRE machine. In this restoration, I've replaced all board connector pins and repinned all connectors. The housing are retained because they were all in excellent condition.
Here's an example of "why" this step needs to be done ;
Corrosion has traveled across the MPU to J3. Visually, you can see the old pins are tarnished, but you won't know how bad they are until you start to remove them. Then the full picture is that some of the pins are corroded and are green. ALL the pins need to be removed and checked. There's no use in simply checking them and then refitting them if they look good. I've seen "repinned" games, with brand new Alteks installed. Yet there is VISUAL evidence of corrosion on the pins (in the connectors). In time, this corrosion will travel to the Altek board. This is a common short cut with these games, and one of the biggest reasons they have intermittent problems.
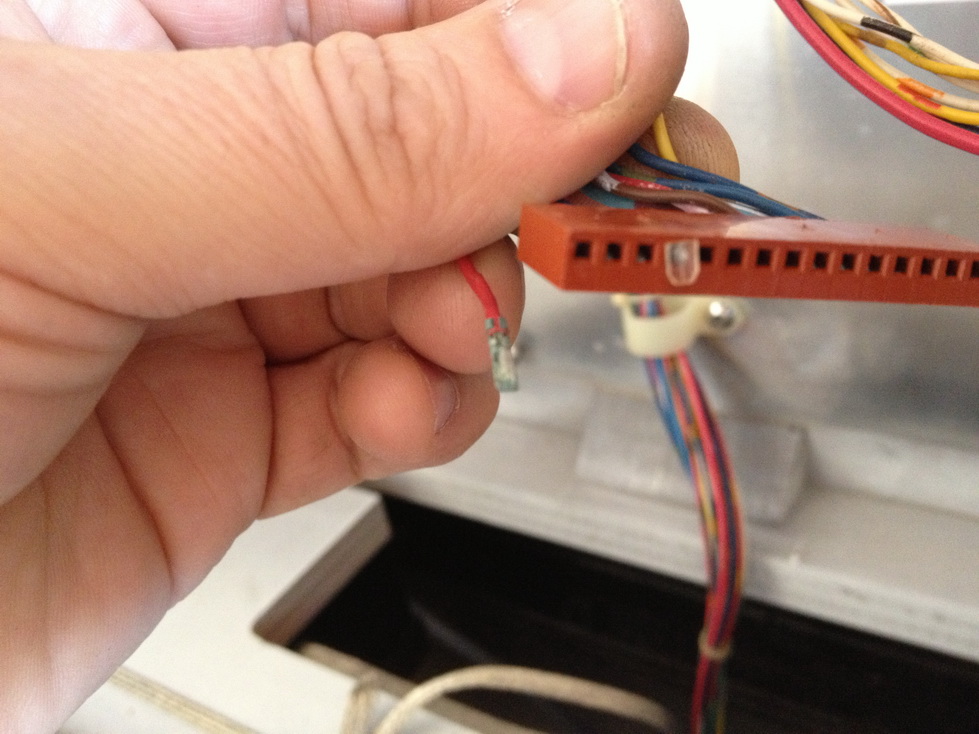
Sorry about the focus - but clearly this pin is GREEN and furry !

This game won't have any connector issues for another 25 years. Basically, the game is testing perfectly without the playfield - which is the next step in the restoration.