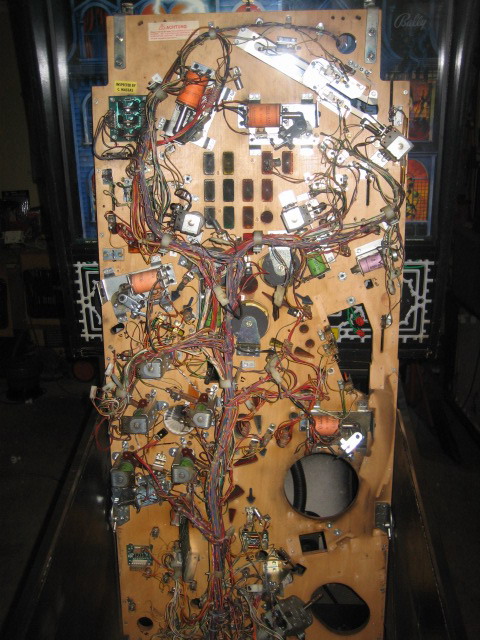
The TeardownAs with all restorations, reconditioning or just repairs - it is vitally important that you document the process by taking notes, or pictures. You can refer back to these during the rebuild, and you can also work out why you have so many screws left over ! DMDs sometime look daunting - but if you take your time, and plenty of pictures, then the process of re assembly is so much easier.
Buy a good automatic screwdriver and socket set - it will save you HEAPS of time. I use my 1/4 socket with extension and Ryobi Lithium driver I bought from bunnings for $70 - lasted 2 years and a few pinballs !
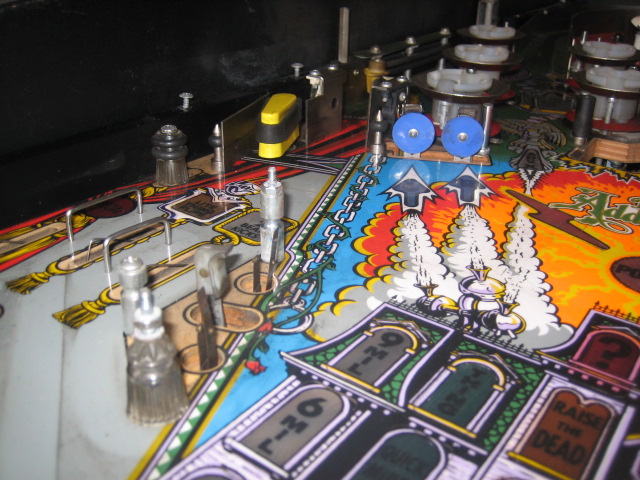
"Before" Pictures - Typically - these are pictures I will refer to later on..
Here's a tip - Wonder why your shopped pinball has dirty rubbers after 10 games ? The subway ramps have not been cleaned !
 Topside
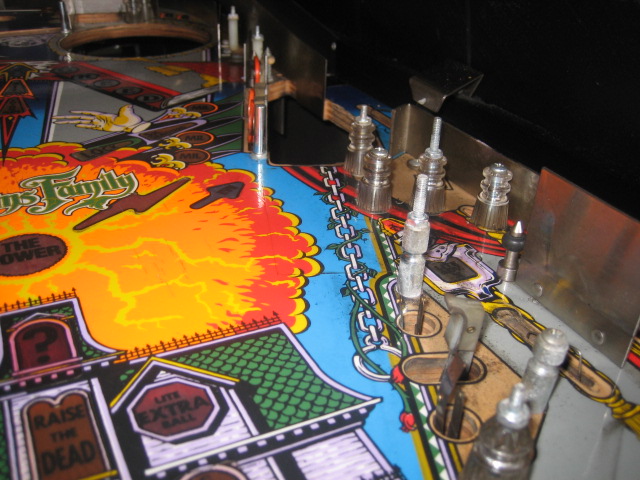
After and hour or two..

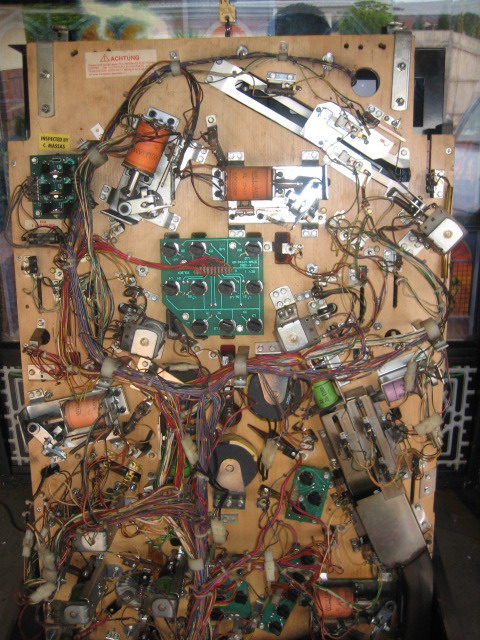
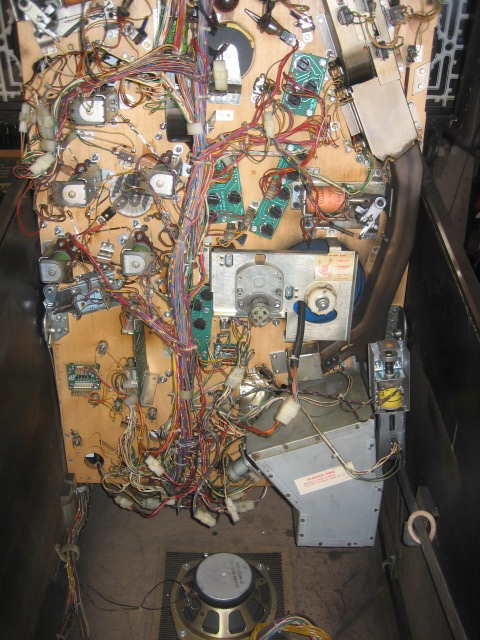
Everything removed from under the playfield
