Thats all for the kind words.
After staring at the "success" of the pop bumpers, I dropped my eyes and look what I have before me ;
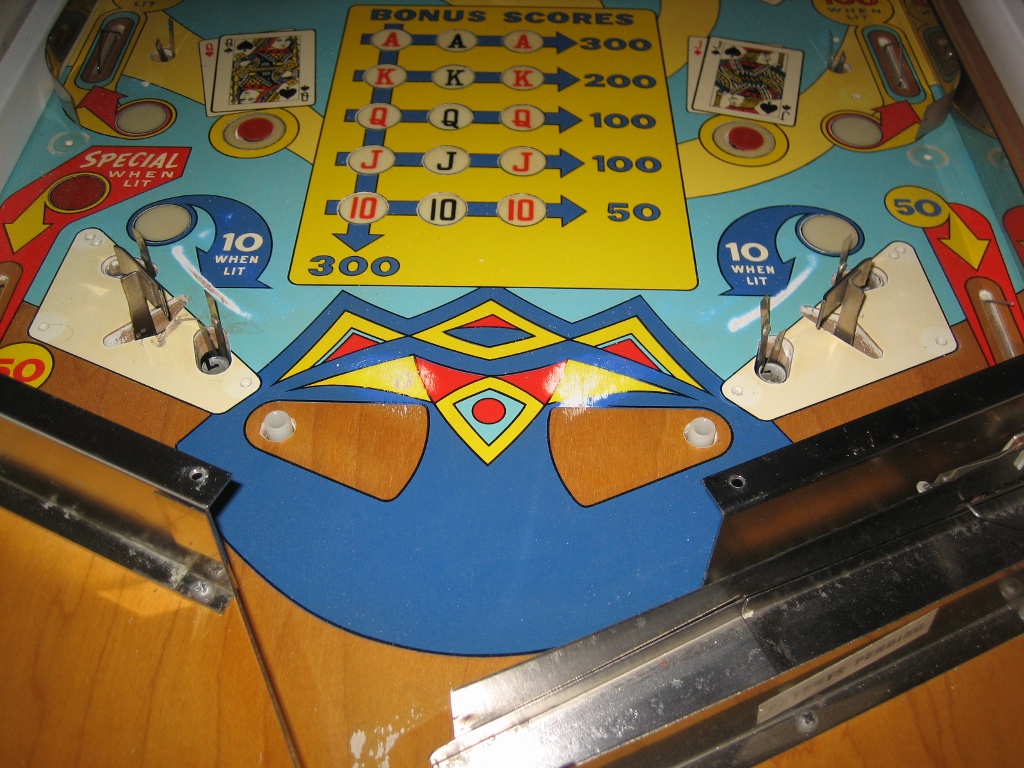
The areas in front of the flippers are of major concern. So I'm going to "have a crack" at repairing this section. I will use the same technique as I have learnt from the pop bumpers. It will be touched up and clearcoated. I'm sure if this works out well, I will be attempting the sections in front of the slingshots. Problem there is that the light blue has yellowed, whereas the section where the flippers are has vibrant colors intact.
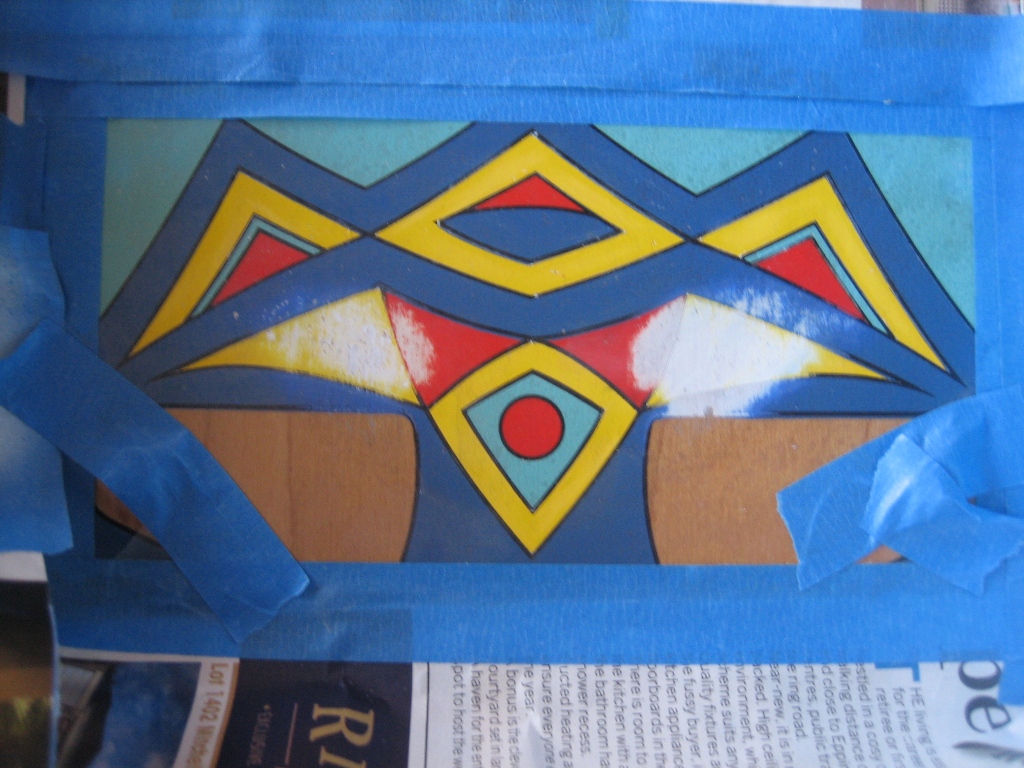
I've prepped the area and placed the frisket in position. I use a scalpal to cut around the yellow areas where I want the paint to flow through. I took me 5 minutes to match the yellow on a scrap piece of wood and prep the airbrush. The white area on the left is mainly the white undercoat / primer from factory. I only needed a drop of primer mixed with water to bite the exposed wood. The right hand side is only the white layer. This was exposed during the cleaning and polishing of the playfield.
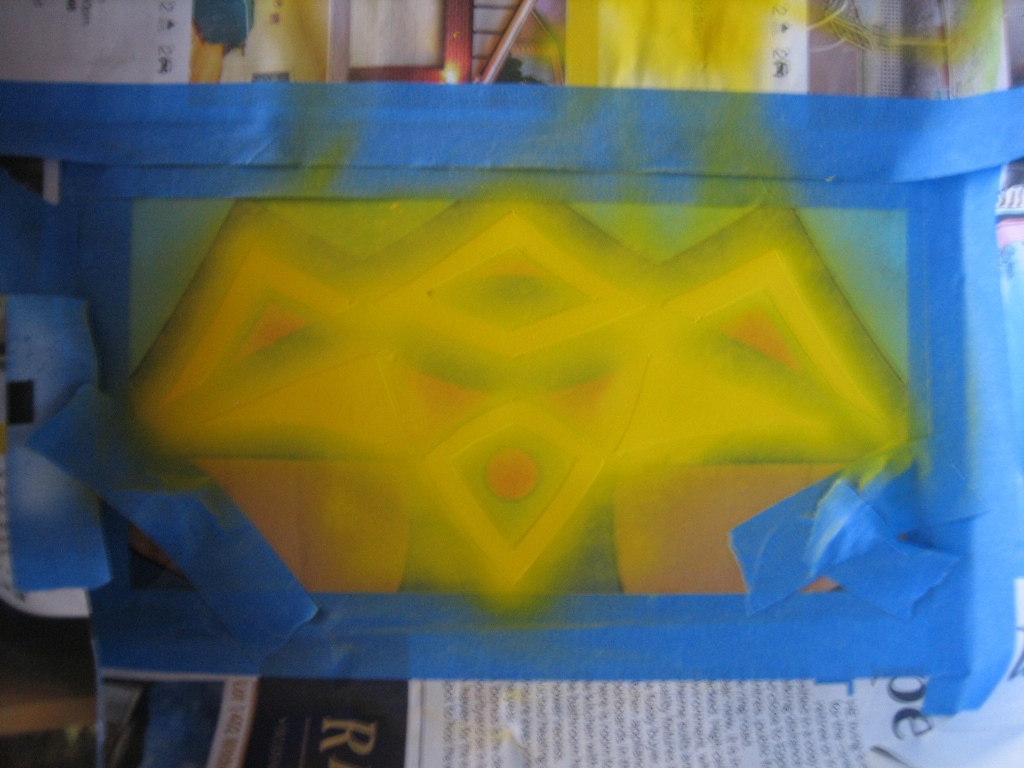
"Mist coat" - wait a minute or two and then two thick coats, but the first thick coat concentrates on the exposed areas., then the second coat evens it all out. Takes around 5 minutes to complete. While I wait, I clean out the airbrush ready for the next color.
I remove the frisket and it looks great. I usually wait a day, and then sand it back to level out the imperfections. I ended up painting another light coat on the left hand side as it was not uniform.
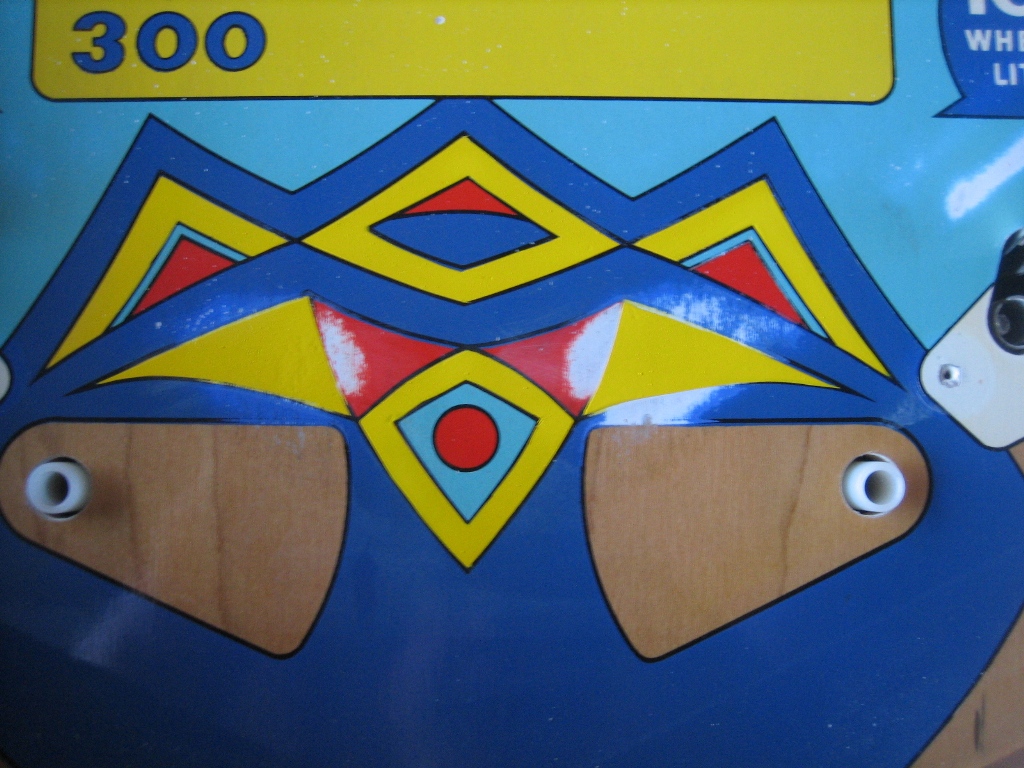
After a couple of days, I repeat the process for the red. took around 5 minutes of fiddling to match the red. The camera angle and light make the paint look glossy and thick. It won't dry like that at all. This paint is SO EASY to work with !
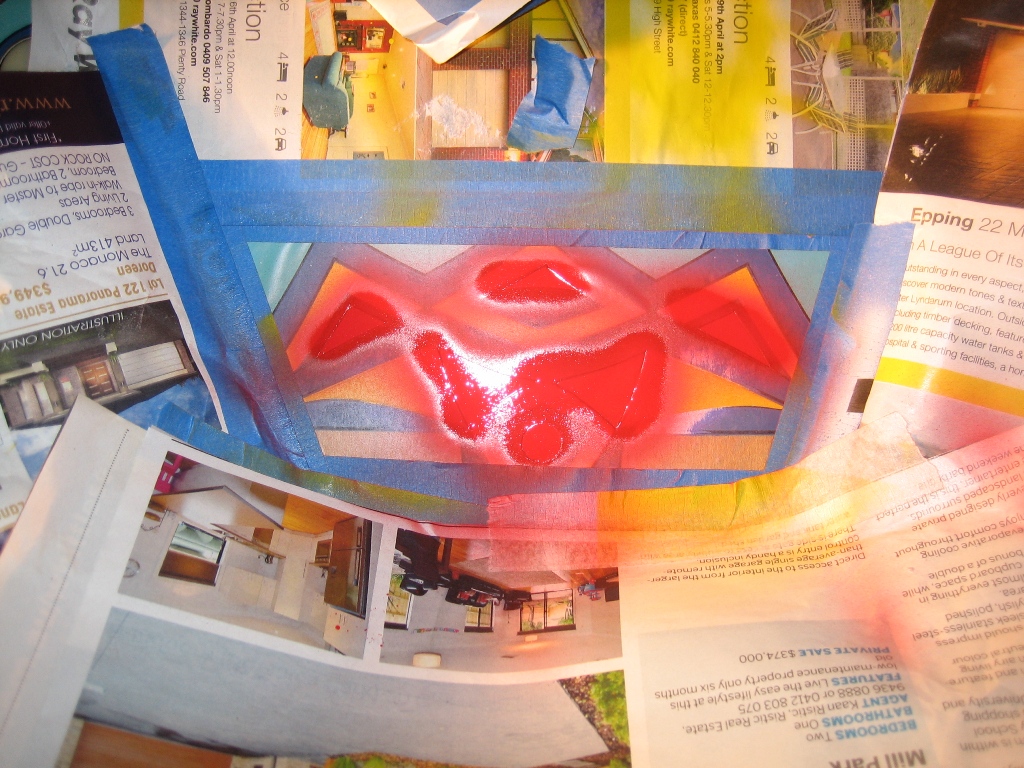
Here's the RED completed. There is a little bleed of the red into the area where the black lines are. This is because the yellow is slighly raised and the paint can bleed into the "channel" between the red and yellow - this is where the black lines are, so ti will be completely covered anyway.
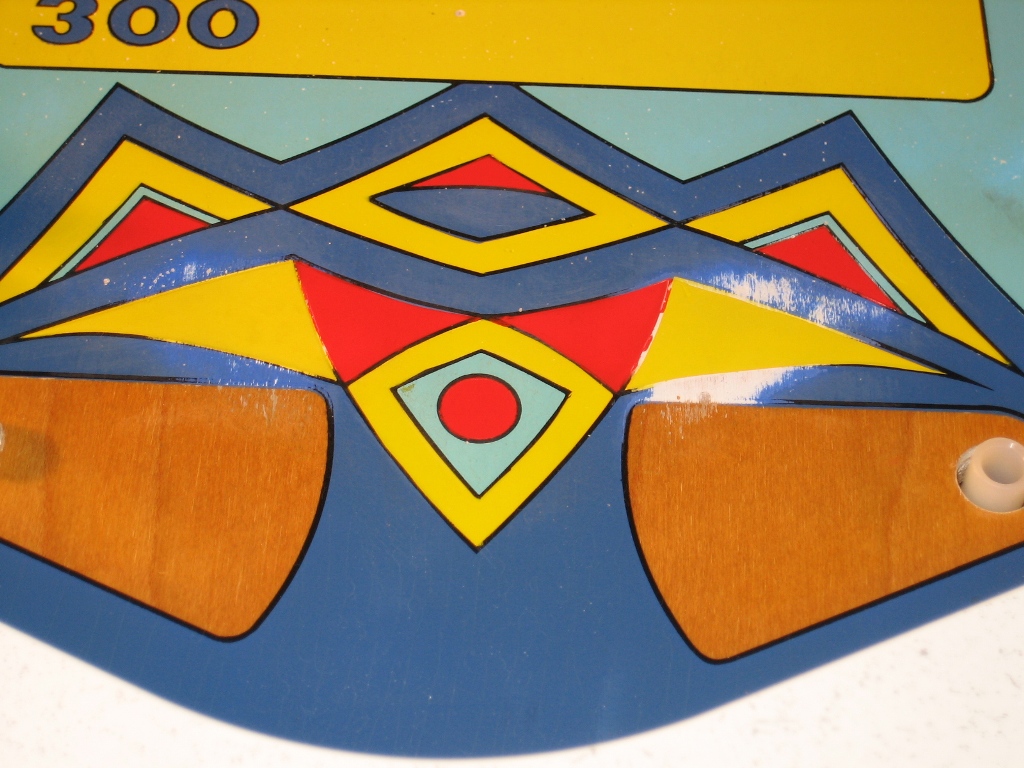
I'll let this settle and move on to the light blue in a couple of days. Then the dark Blue and lines to finish it off. VERY time consuming, but I have plenty of other work to do. If you were doing only one playfield at a time, you would go NUTS waiting for paint to dry etc.
Now I FULLY APPRECIATE the time and the work the professional guys put into playfield restorations. But it is rewarding and I get a great deal of satisfaction as I progress.


