Author Topic: Bally Paragon and MPU35 Redesign  (Read 652 times)

0 Members and 1 Guest are viewing this topic.

Offline RA40Peter

  • Trade Count: (0)
  • *
  • Forum Posts:
Bally Paragon and MPU35 Redesign
« on: May 08, 2011, 04:28:49 PM »
Hi All,
I have finally got around to posting something on the site.
I have been a member for over 2 years but not posted anything yet.

I had a mate call me about 18 months ago and ask if I knew anyone who could look at a pinball he had picked up.
Having worked in the electronics field for the past 20 odd years, I said I would give it a go.
Anyway he dropped the machine off and I said I would have a look.
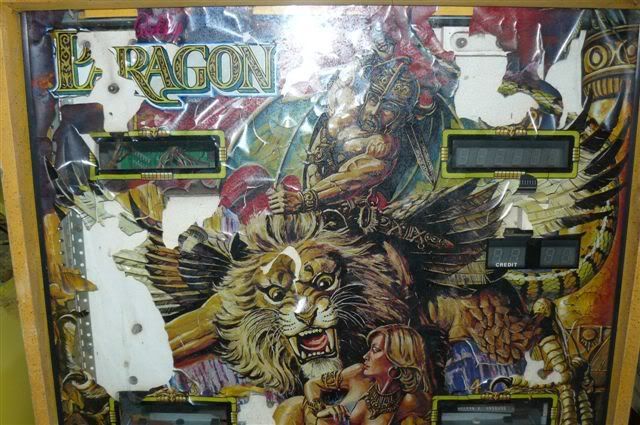
The machine was a Bally Paragon. I started my search and found all of the manuals etc required.
I have known Mike at Homepin for many years so thought if I get stuck, I could always call on him as I knew he had a lot of experience with these machines.

The machine looked to be in pretty poor condition with the cabinet very faded and the backglass screen print was coming off the glass.
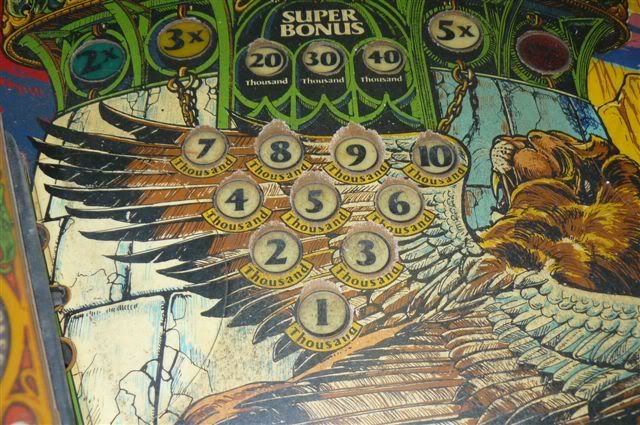
The playfield was also in very poor condition with wear marks all over place. All of the inserts have also sunken. Some with a 1mm lip in places.


Anyway After finally getting around to looking at it, I discovered quite a few problems with the machine. There was the usual problem with corrosion on the MPU, but it had been left for so long that there was also corrosion on every other board as well.
I thought I could fix the MPU and started to remove components to clean under them, but soon discovered that as soon as I touched some of the pads with a soldering iron, the pad just disintegrated.

I spoke to Mike about it and he told me it was a common problem and I should try and find a replacement on ebay or look at the new boards like the Altek or Rottendog. I spoke with the guy who owns the machine and he didn’t want to spend too much money if he could avoid it, so that ruled out the new boards.
Talking with Mike some more, he floated the idea of redesigning the MPU and selling the bare board.
So off I went. I got hold of the software Mike uses to draw pcbs and started drawing the MPU. I soon discovered there was far more to it than I first thought.
Anyway after many many nights and questions from my wife about what I was doing, I finally had something that looked a little like an MPU.


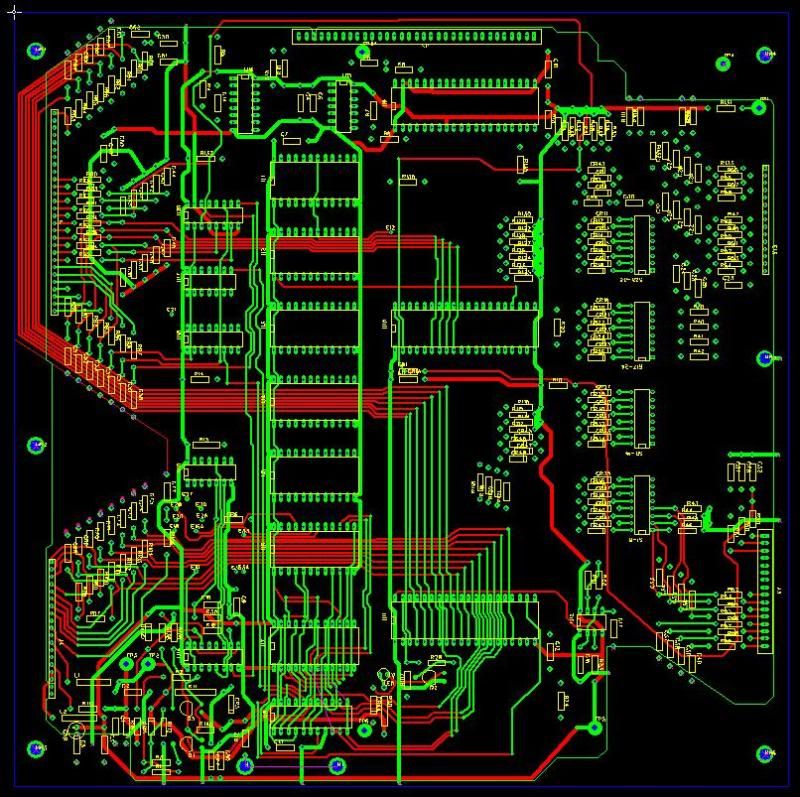
This is an early shot of the board as it was starting to take shape.
At first, All I did was copy the original board but Mike had the idea of making it more versatile by allowing the use of other parts such as the 6802 etc etc.
We got together and redesigned a few areas of the board and I left it with him to do the final checking and tweaking.
In the mean time, Mike had a couple of old MPU boards he had picked up but needed work so I got hold of one of them and started the repair work. Managed to get it working and put it into the machine.
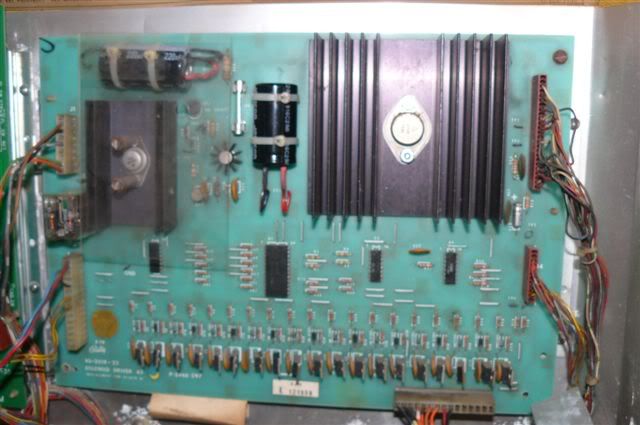
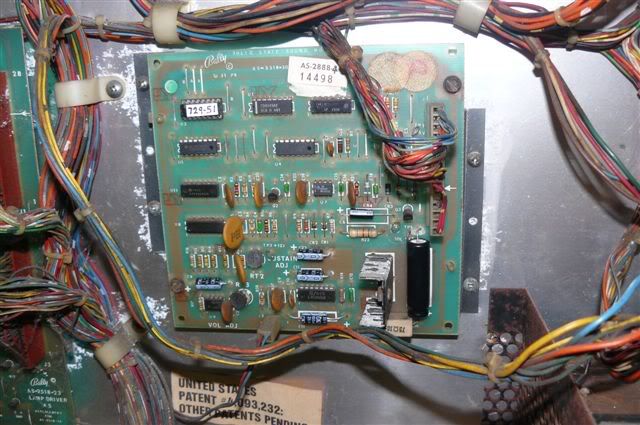
Before turning it on, I also reworked the power supply and replaced caps on the solenoid driver board.


7 flashed later I found no sound, 3 faulty displays and only the knocker solenoid working.
Removed the sound board and replaced all caps and couple of the really badly corroded ICs including the PROM I got from Skybeaux


While I was doing this, Mike had finished the MPU layout and organised for the boards to be manufactured in China and he also sourced all of the parts to assemble the complete boards.
Over Easter we assembled 2 of the boards in different configurations and crossed our fingers. We started with the 6800 version and ......nothing, no flashes or flicks, nothing.
Anyway we started checking and finally found that during the addition of the 6802 option, I had left out an earth track on one of the pins. A quick jumper and hold our breath again.
1..2..3..4..5..6..7.. Flashes woohoo! It works. Connect a display and yep it works as well. Things are looking good.
A bit more testing then on to the 6802 version, 1..2..3..4..5..6..7.. flashes straight away, perfect!
Pretty happy with only 1 small mod required on the whole board.

Mike has a thread going already here;
http://aussiepinball.com/index.php?topic=5733.0

and here
http://aussiepinball.com/index.php?topic=6398.0


Returned home with my brand new MPU and plugged it into the machine,
7 flashes and all is working well.


Found the playfield fuse blown, replaced, so now I have the solenoids working.
The inline drop targets are a bit sluggish so they will need a rebuild,
Might also have to look for another playfield.
I will strip it, clean it and see what we can do. I have seen the clear stickers you place over the inserts to build them up again but not sure I want to go down that path.


This photo makes it look a lot better than it is.

Anyway I will keep the updates coming as it progresses.

Peter

Offline ktm450

  • Trade Count: (+1)
  • ******
  • High Score Initials:
  • Forum Posts:
  • Geelong, Victoria
Re: Bally Paragon and MPU35 Redesign
« Reply #1 on: May 08, 2011, 04:46:50 PM »
Nice work on the boards, should be a good project  ^^^

Offline Pop Bumper Pete

  • Trade Count: (+4)
  • ******
  • Forum Posts:
  • Ballarat
Re: Bally Paragon and MPU35 Redesign
« Reply #2 on: May 08, 2011, 04:56:46 PM »
The playfield I could live with
to see a Backglass that flakey makes me  !!!

Offline ddstoys

  • Trade Count: (+23)
  • ******
  • High Score Initials:
  • Forum Posts:
  • Geelong
Re: Bally Paragon and MPU35 Redesign
« Reply #3 on: May 08, 2011, 07:12:04 PM »
It amazes me what people can do if they set their mind to it.   I sure if you can create your own MPU with a little help i sure with our help you could finish the whole machine ^^^

Offline Redback

  • Trade Count: (0)
  • *****
  • Forum Posts:
Re: Bally Paragon and MPU35 Redesign
« Reply #4 on: May 08, 2011, 07:14:48 PM »
Great work,

Nice to see common problems removed with modern solutions,

Red
Found hobby, now need coin

Offline Strangeways

  • Pinball Restoration is my passion
  • Administrator
  • Trade Count: (+9)
  • *****
  • High Score Initials:
  • Forum Posts:
  • Melbourne
  • ABN 68 283 634 461
    • Ride The Boney Beast
Re: Bally Paragon and MPU35 Redesign
« Reply #5 on: May 08, 2011, 09:11:06 PM »

Thats the most TIRED Paragon I've seen ! Great to see you put your mind to restoring it rather than parting it out. The playfield is worn, but that backglass is easily the worst I've seen. CPR are reproducing both the playfield and the backglass, so it would be great to have the machine playable and then offer the playfield and backglass later on.

Great work with the MPU  ^^^
Aussie Pinball - Proud to be Australia's Premier Pinball Forum

http://www.australianpinballrestorations.com.au/

http://www.rtbb.com.au/catalog/

We carry the largest range of NEW Ramps in Australia

Offline studley67

  • Trade Count: (+7)
  • ******
  • Forum Posts:
  • adelaide hills
    • facebook
Re: Bally Paragon and MPU35 Redesign
« Reply #6 on: May 08, 2011, 09:19:49 PM »
when are cpr doing the playfields??
Life is too short to spend time with people who suck the happiness out of you

Offline Homepin

  • Trade Count: (+15)
  • ******
  • Forum Posts:
  • Not a business - A Passion!
Re: Bally Paragon and MPU35 Redesign
« Reply #7 on: May 09, 2011, 12:40:14 PM »
Go on Pete - tell 'em about the new backglass......well, translite now  <.>

Peter sent me a link to a guy who had photographed a backglass and fudged it together - it was OK, about 90% but there were a lot of camera flash marks etc and the windows for the displays were in the wrong place by around 20MM

I had my girl in China sort out the artwork and had a print made on translucent plastic to see if that would be a better option than the backglass with the machine (pretty hard for it to be worse!!).

Here is the print ready to cut the windows in and put behind a piece of glass. It will need a mask cut to fit behind to best manage the lamps.


Replacement Pinball PCBs that remain faithful to the originals

Offline ktm450

  • Trade Count: (+1)
  • ******
  • High Score Initials:
  • Forum Posts:
  • Geelong, Victoria
Re: Bally Paragon and MPU35 Redesign
« Reply #8 on: May 09, 2011, 02:36:30 PM »
That is nice work Mike, looks 100 times better than the original  ^^^

Offline humpalot

  • Trade Count: (0)
  • *****
  • Forum Posts:
  • NSW
Re: Bally Paragon and MPU35 Redesign
« Reply #9 on: May 09, 2011, 05:06:08 PM »
Thats the most TIRED Paragon I've seen !

Mines a VERY close second  %.%

Offline RA40Peter

  • Trade Count: (0)
  • *
  • Forum Posts:
Re: Bally Paragon and MPU35 Redesign
« Reply #10 on: May 09, 2011, 05:46:01 PM »
Thanks for the support everyone.
Thanks again to Mike for his help and for the translite.
I have seen  on CPR that they are doing artwork for the backglass and playfield but not seen any other details.
Wait and see what happens

Peter

Offline punter

  • Trade Count: (0)
  • *****
  • Forum Posts:
  • illawarra
Re: Bally Paragon and MPU35 Redesign
« Reply #11 on: May 09, 2011, 05:58:56 PM »
when are cpr doing the playfields??
They told me around 2014,but that was before they stated their output was to be increased.Who knows it may well be before their original reply to me.

Offline 63wizz

  • Trade Count: (0)
  • ******
  • Forum Posts:
  • Tasmania
    • My Pinball Collection
Re: Bally Paragon and MPU35 Redesign
« Reply #12 on: May 09, 2011, 06:10:24 PM »
Go on Pete - tell 'em about the new backglass......well, translite now  <.>

Peter sent me a link to a guy who had photographed a backglass and fudged it together - it was OK, about 90% but there were a lot of camera flash marks etc and the windows for the displays were in the wrong place by around 20MM

I had my girl in China sort out the artwork and had a print made on translucent plastic to see if that would be a better option than the backglass with the machine (pretty hard for it to be worse!!).

Here is the print ready to cut the windows in and put behind a piece of glass. It will need a mask cut to fit behind to best manage the lamps.


Fantastic job on the translight.

Ian

Offline RA40Peter

  • Trade Count: (0)
  • *
  • Forum Posts:
Re: Bally Paragon and MPU35 Redesign
« Reply #13 on: October 03, 2011, 11:27:43 PM »
No real progress on the rebuild but now finally, I own it! $#$

Will be working on the drop targets and then playfield. Still deciding what to do there but will probably fill the inserts in with glue. Will start with some of the smaller less visable ones and then on to the larger ones in the middle.

Offline RA40Peter

  • Trade Count: (0)
  • *
  • Forum Posts:
Re: Bally Paragon and MPU35 Redesign
« Reply #14 on: November 28, 2011, 12:14:07 AM »
Have been working away on the playfield.
Started by stripping everything off and knocking out the inserts, then sanding the inserts flat and glue back into place.

Here you can see the insert has sunken and shrunk.


Removed insert


I started sanding with 400, then 600 and 1200 to finish off


Finished insert


I then cut new vinyl letters and numbers and will stick them back onto the inserts when they are glued back into place.