Author Topic: HRP Pinbot Restoration...  (Read 3283 times)

0 Members and 5 Guests are viewing this topic.

Offline el_timbo86

  • Trade Count: (+1)
  • *****
  • High Score Initials:
  • Forum Posts:
  • Geelong, Victoria
    • Hot Rodded Pins
HRP Pinbot Restoration...
« on: December 23, 2011, 12:02:45 AM »
Hi guys,

The following is a set of photos highlighting the stages of a Williams Pinbot restoration completed at my workshop this year.

While i recommend viewing the entire start to finish gallery on my website, i understand that clicking your way through 200 or so photos with comments is not for everyone. I have condensed what i can, and have picked out some of my favourite snaps. Hope you like what you see. It was alot of work to get the game to this point but i heard somewhere that that's meant to be half the fun? Anthony who works down at the shop may add a little once he sees this post which would be nice.

Anyway, have a safe Christmas break, and thank-you to everyone on the Aussie Pinball forum that has supported me this year.

Starting with the base game, this is what i had. Not much to look at, but it was relatively complete and i had my own parts Pinbot which was a bonus...

Rust...
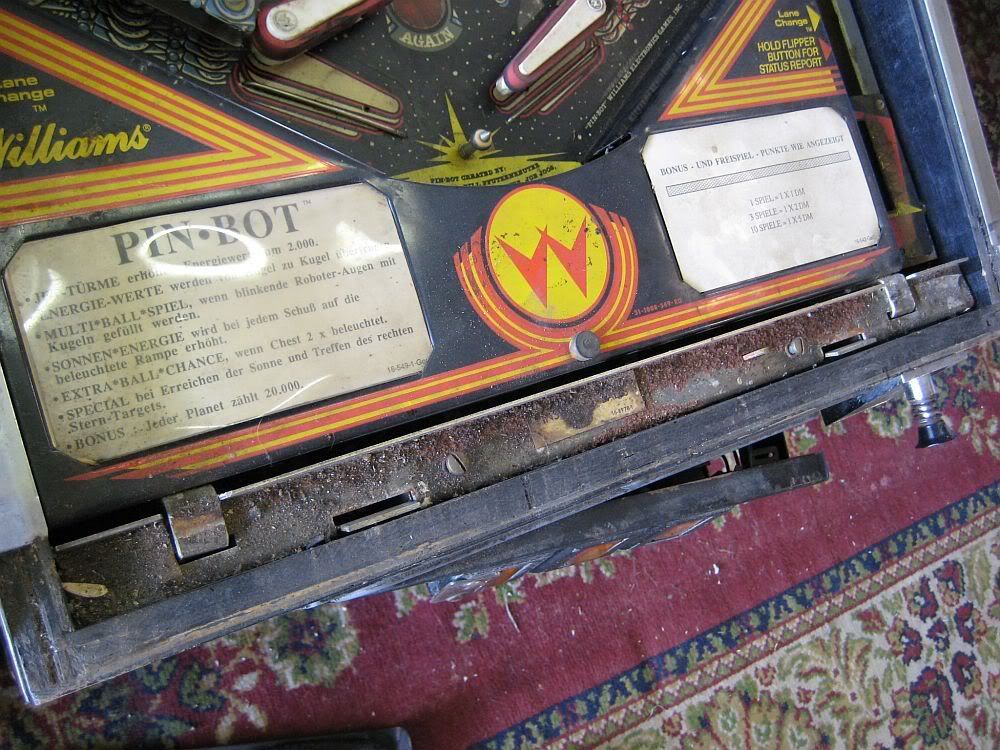

Overview of starting condition lower...
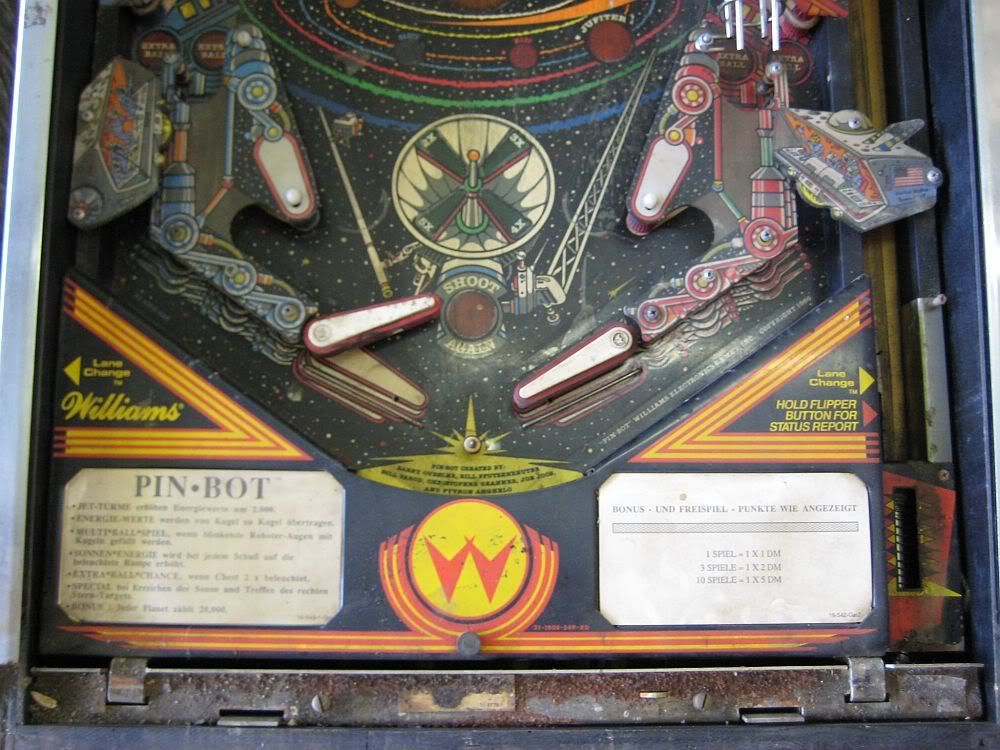

Middle...
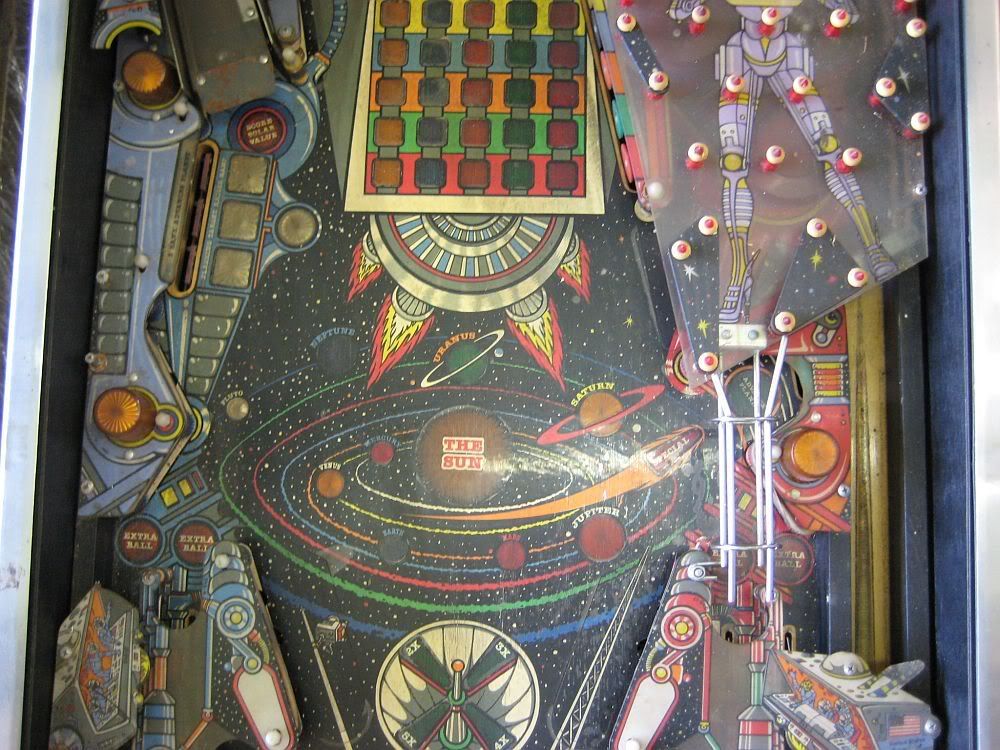

Upper...
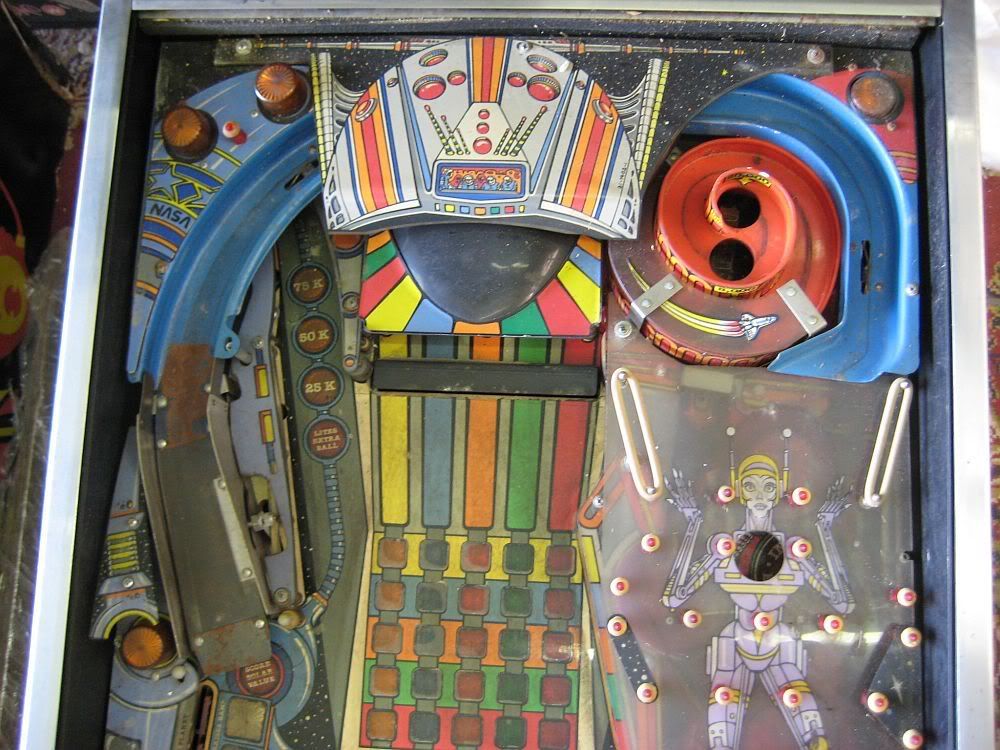

Some details of the other problems...
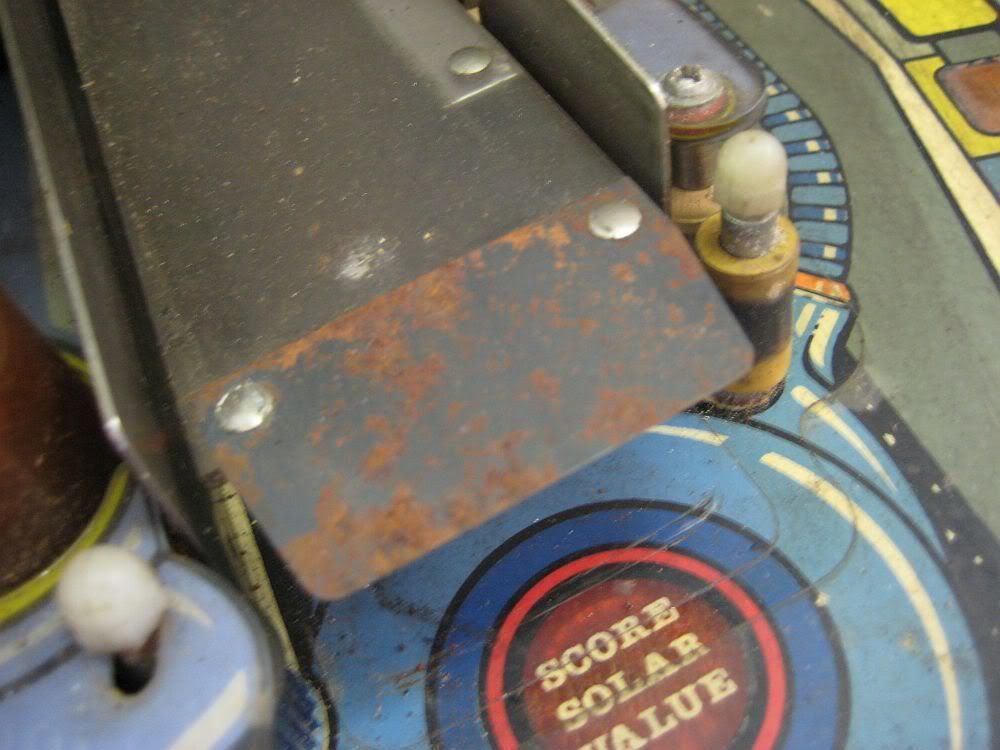

Generally pretty scrappy...
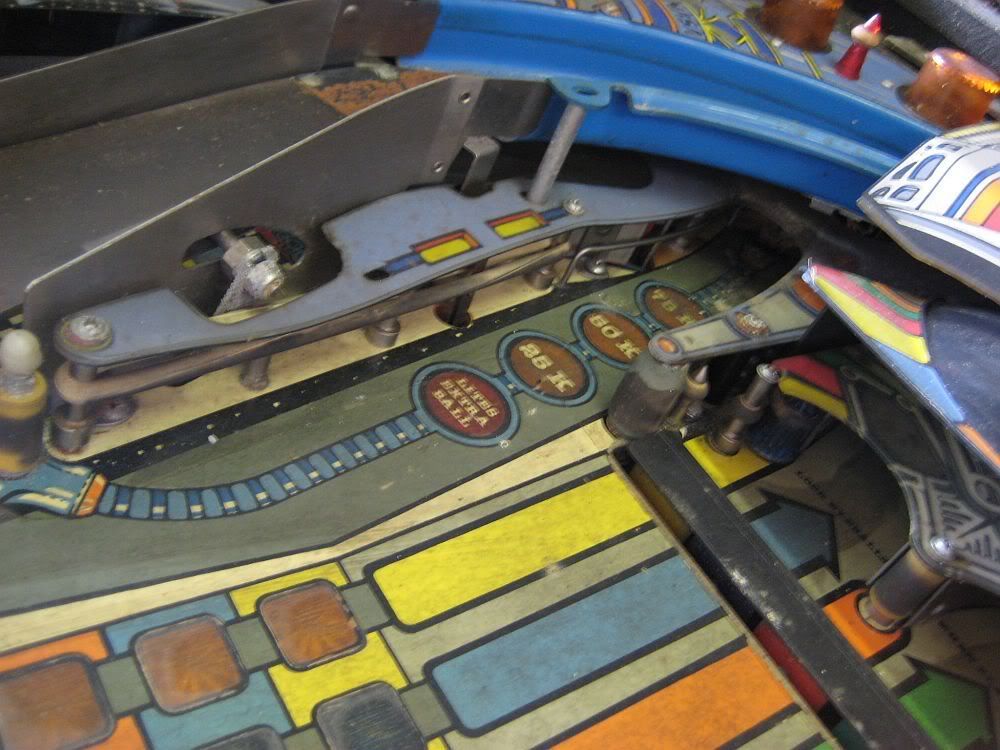

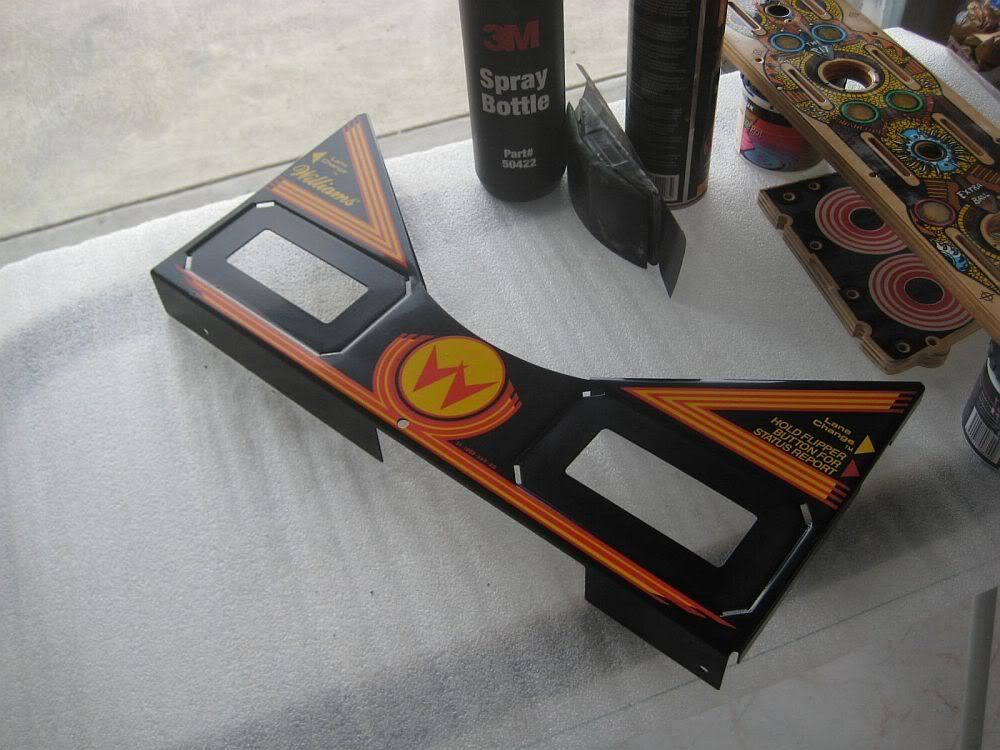
Dull art, mylar etc...
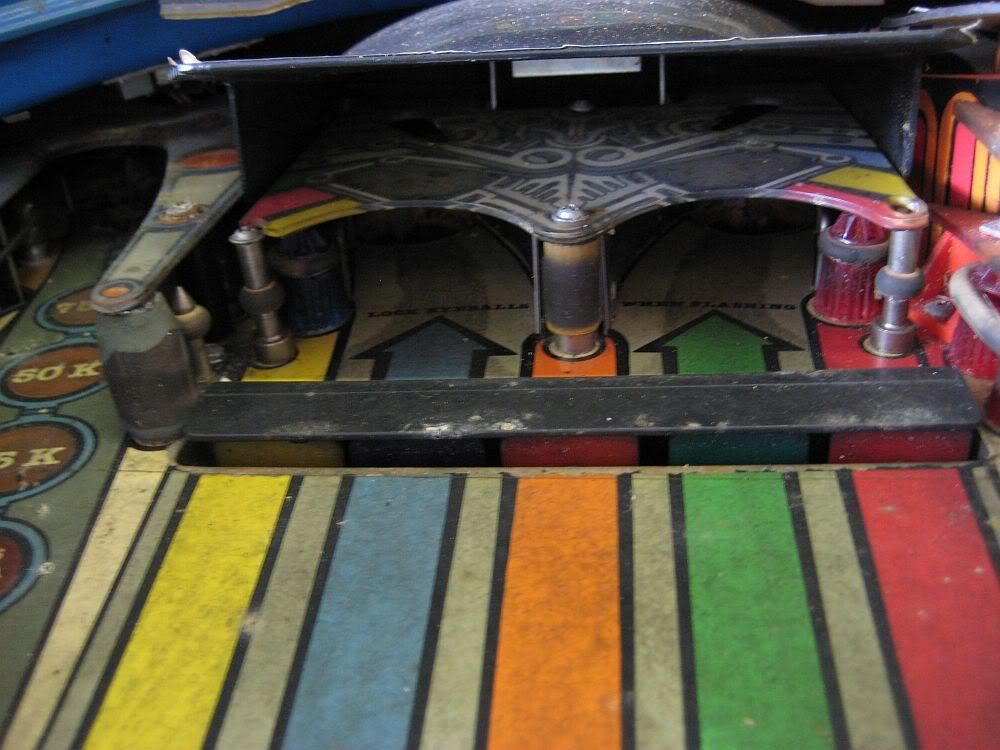

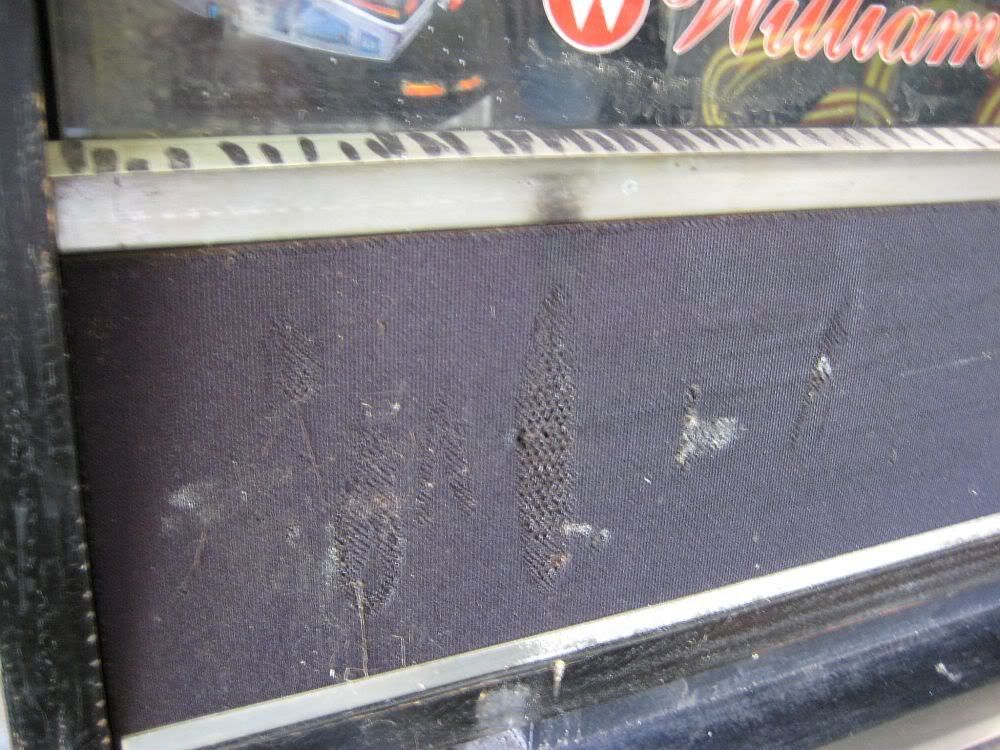
Speaker panel...with bonus texta marks which look pretty cool :) NOT

Starting to document the machine and strip it down...
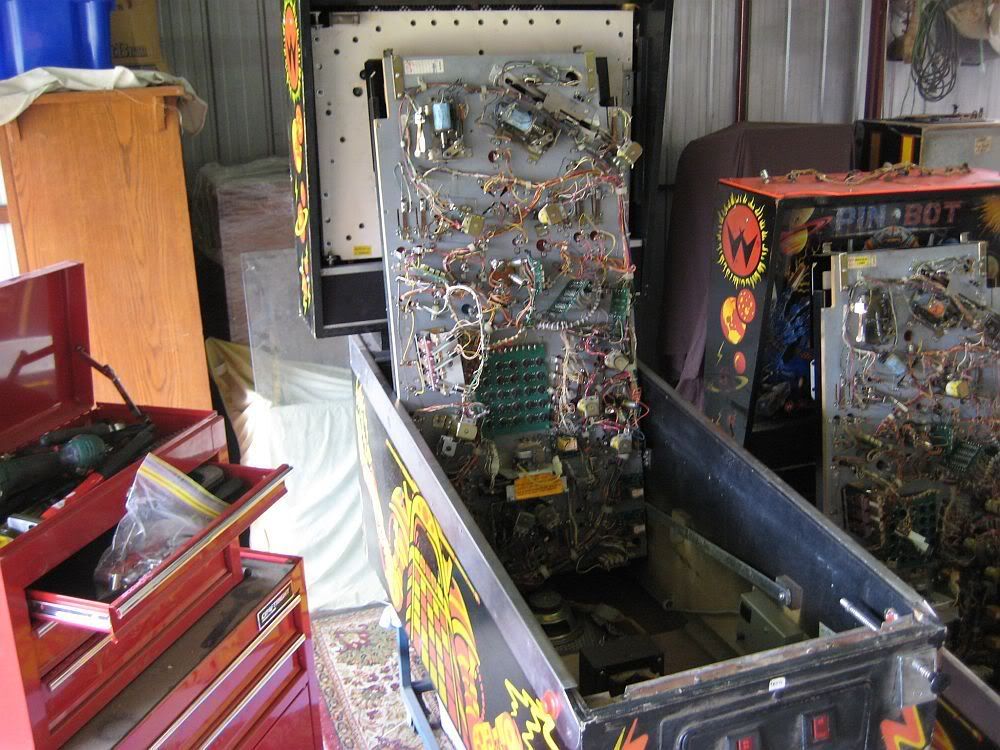

First thing i wanted to do was get straight into the playfield. That was i could get that sealed up, and then chip away over the early stages of the build. I have included some detail of how it came out of the game...
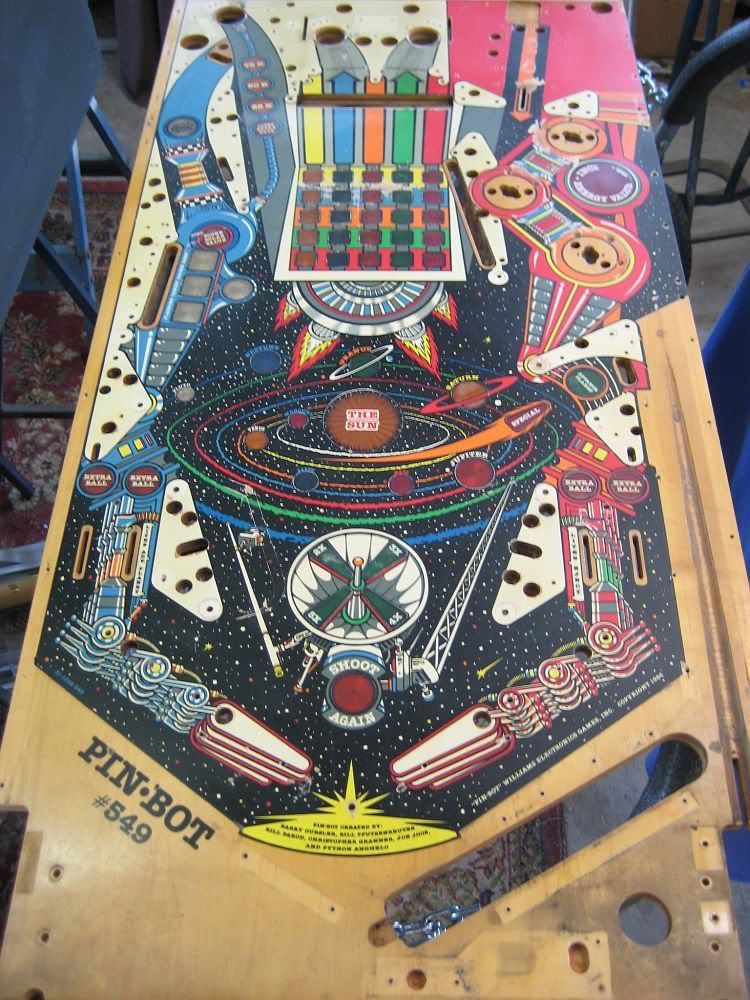

Loaded with grit...
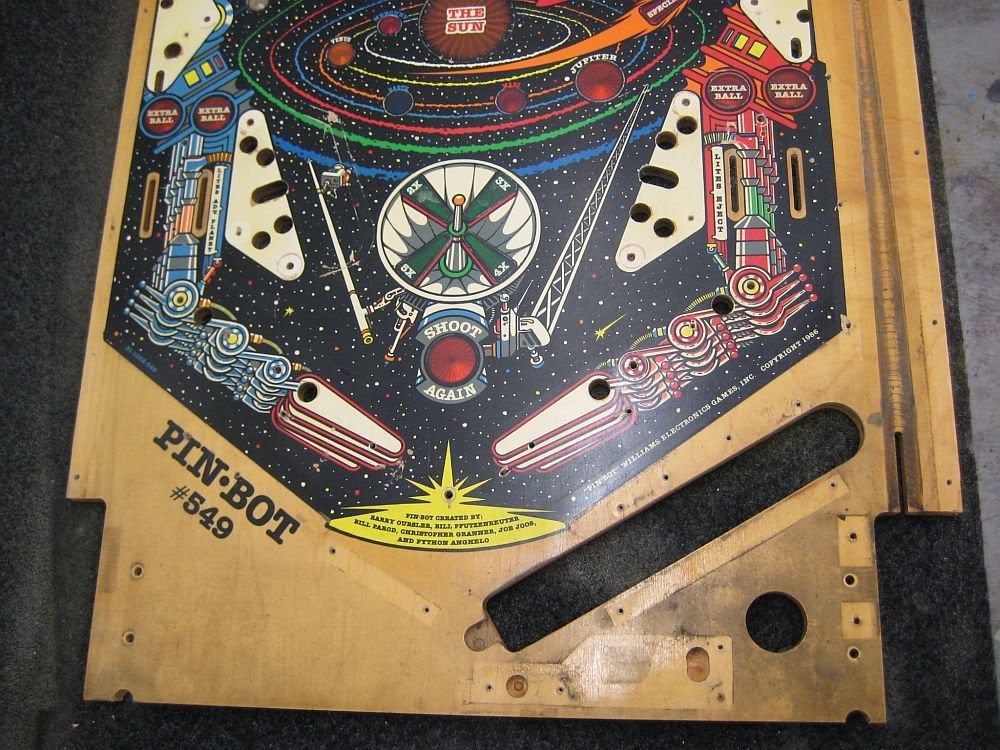

Shooter is bad...
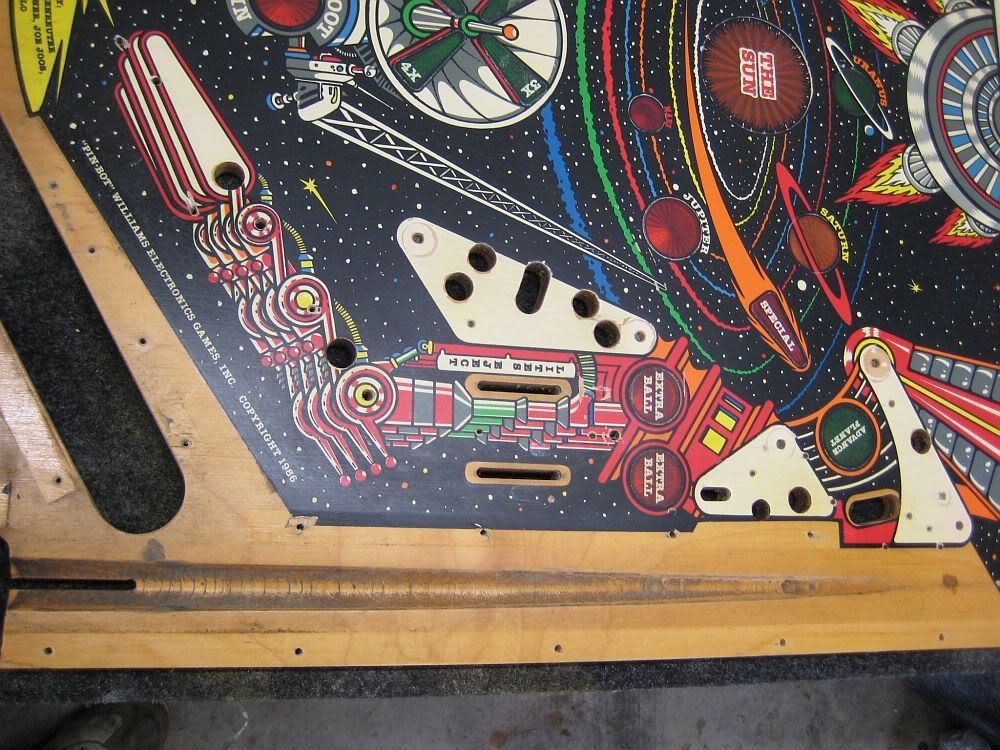

Removing grit...last thing i want to do is lock it all under the clear...
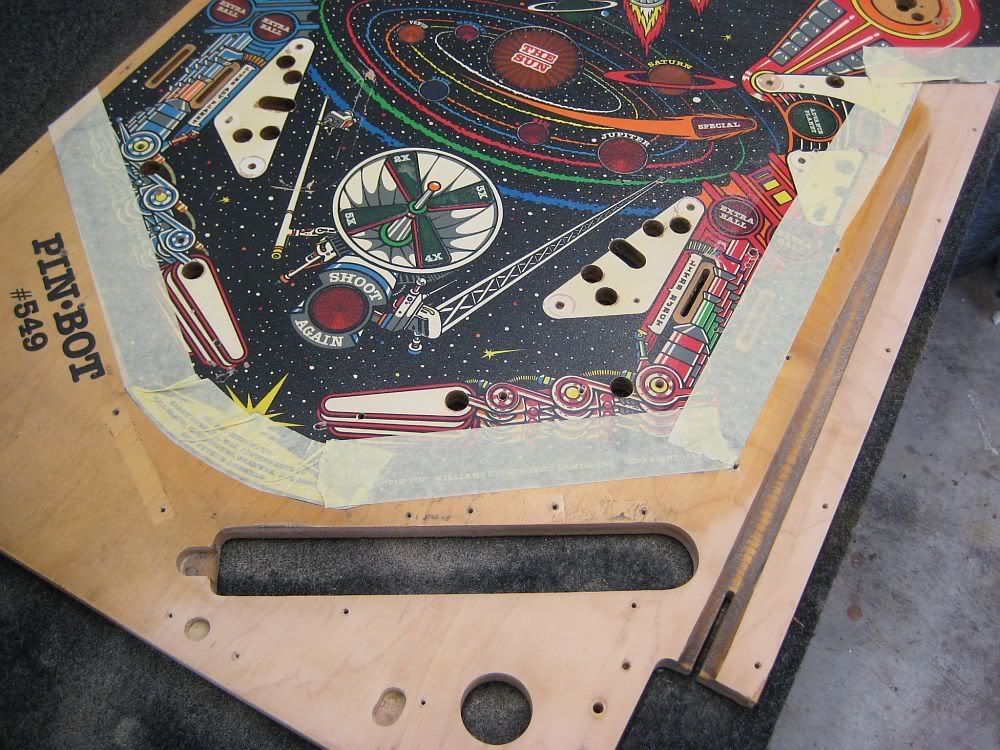

Fast forward a little...looking better
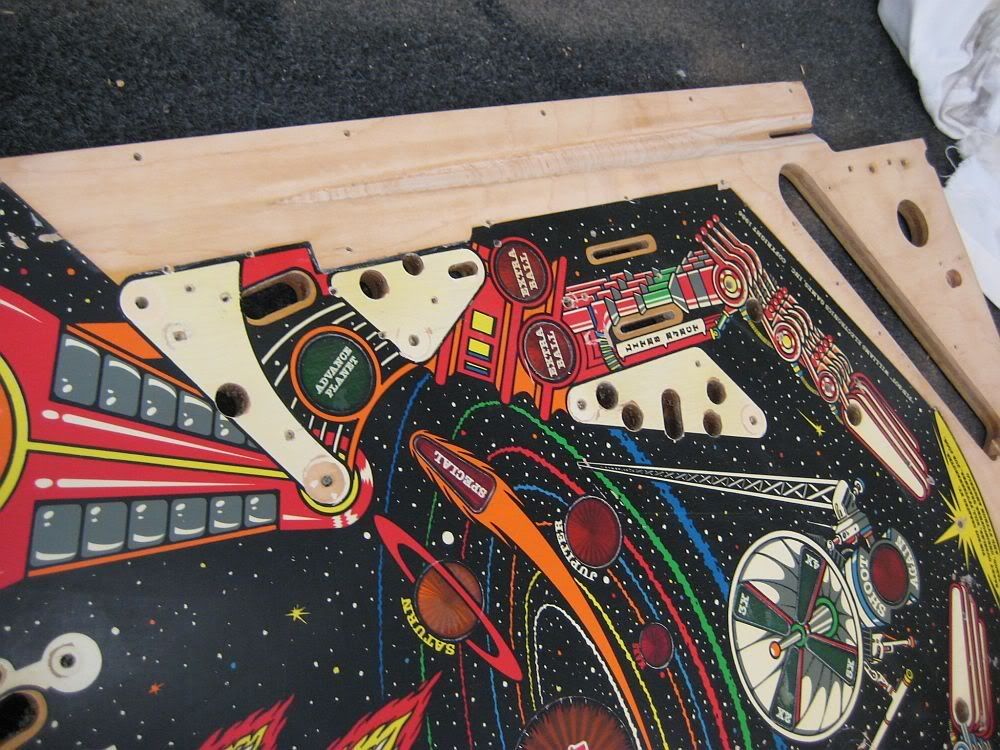

Prepping system11 inserts for clear. No fun...
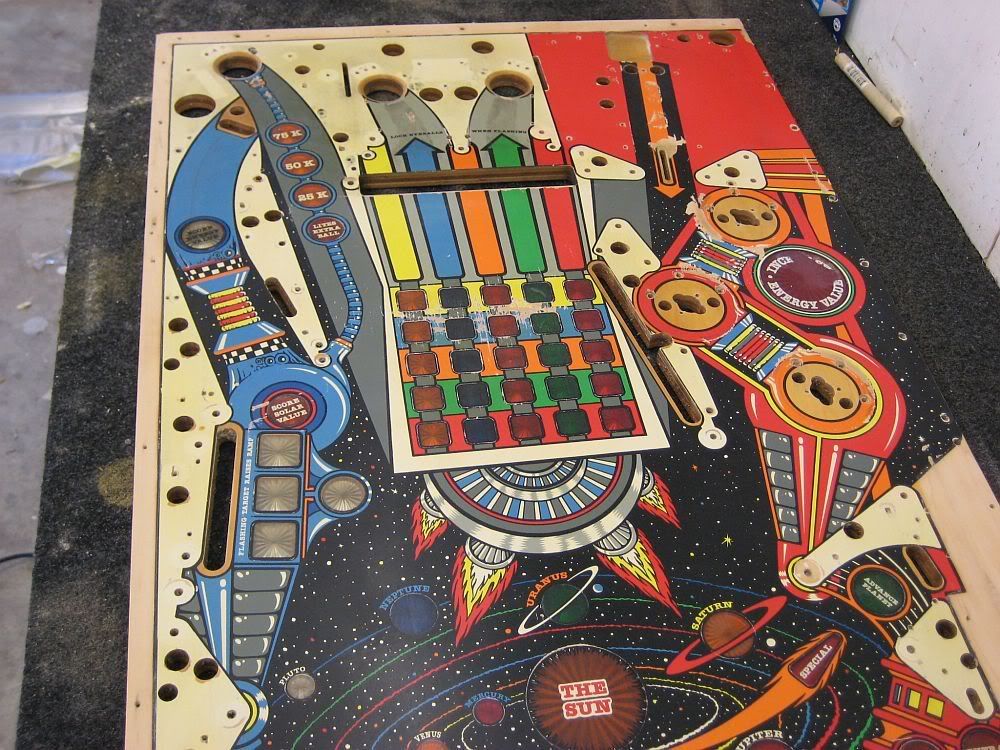

Shooter lane is getting there...
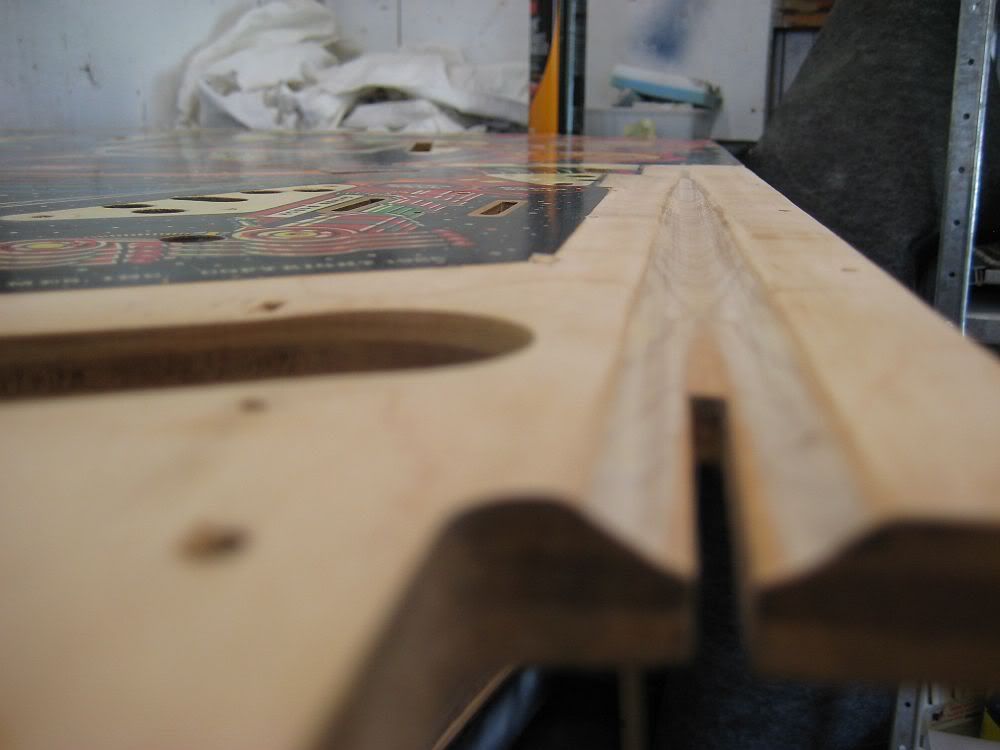

Started on the cabinet, floor was just hanging in there - and the steel was corroded so i fabricated a stainless replacement...
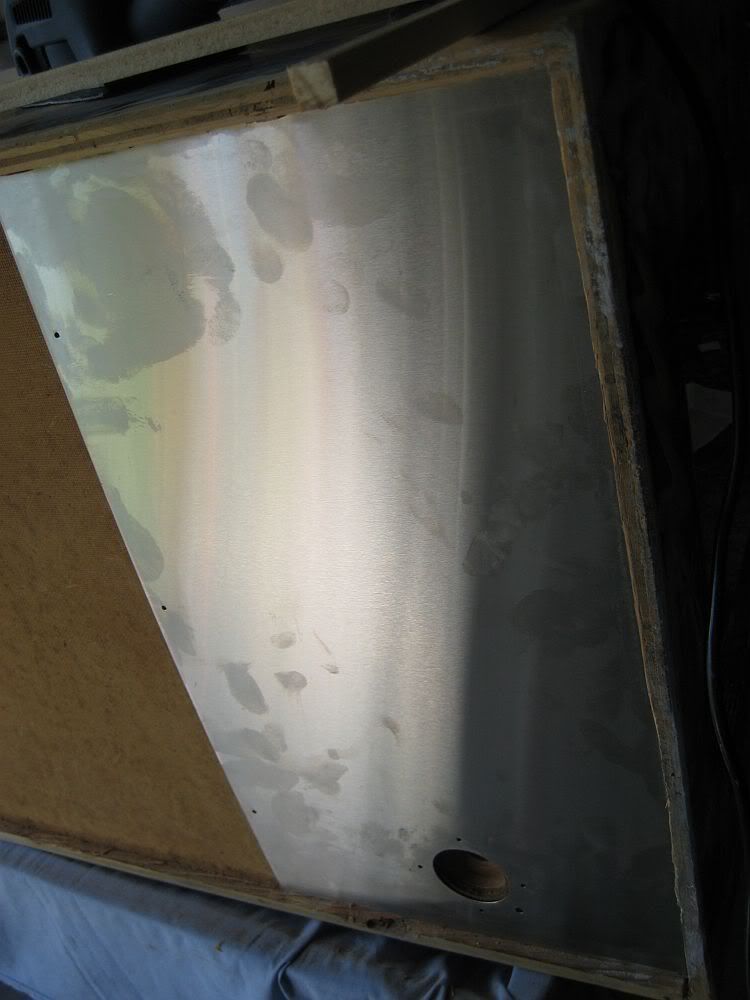

Lined up...
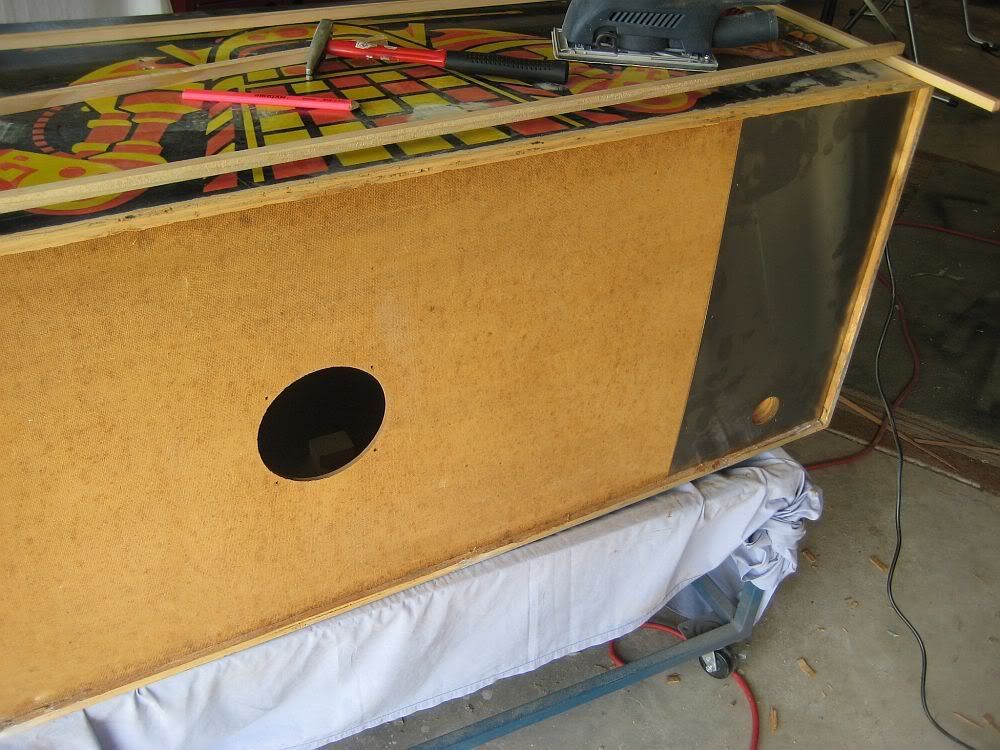

Highlighting the corners...
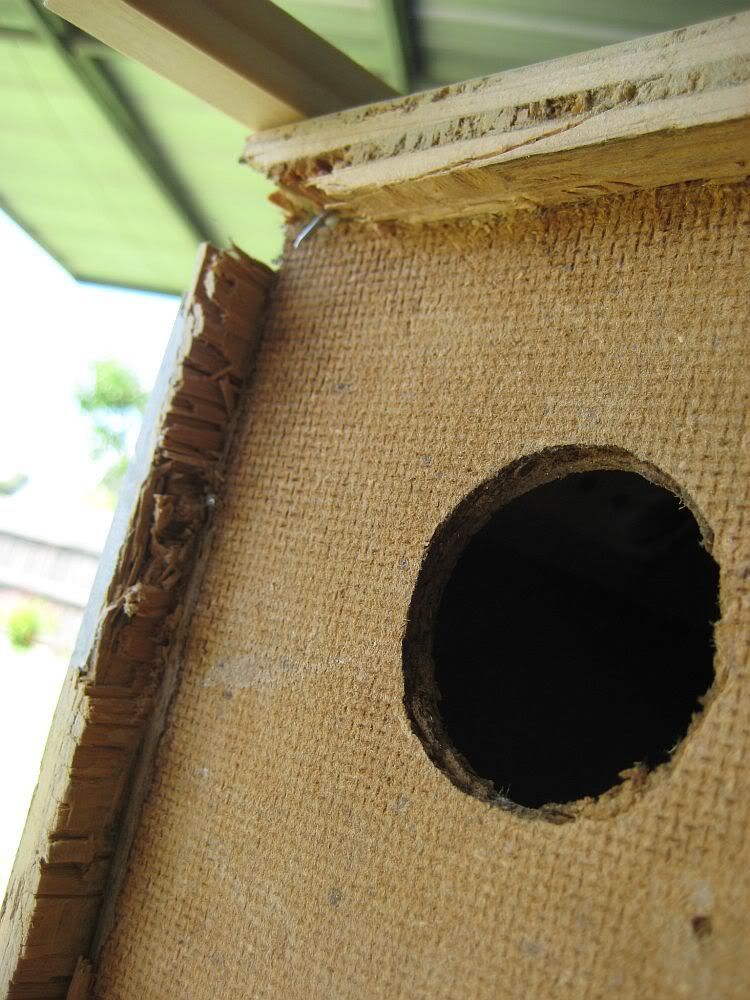

Added a fatter bead around the cabinet. Not overly pretty, but functional and that is the main thing here...
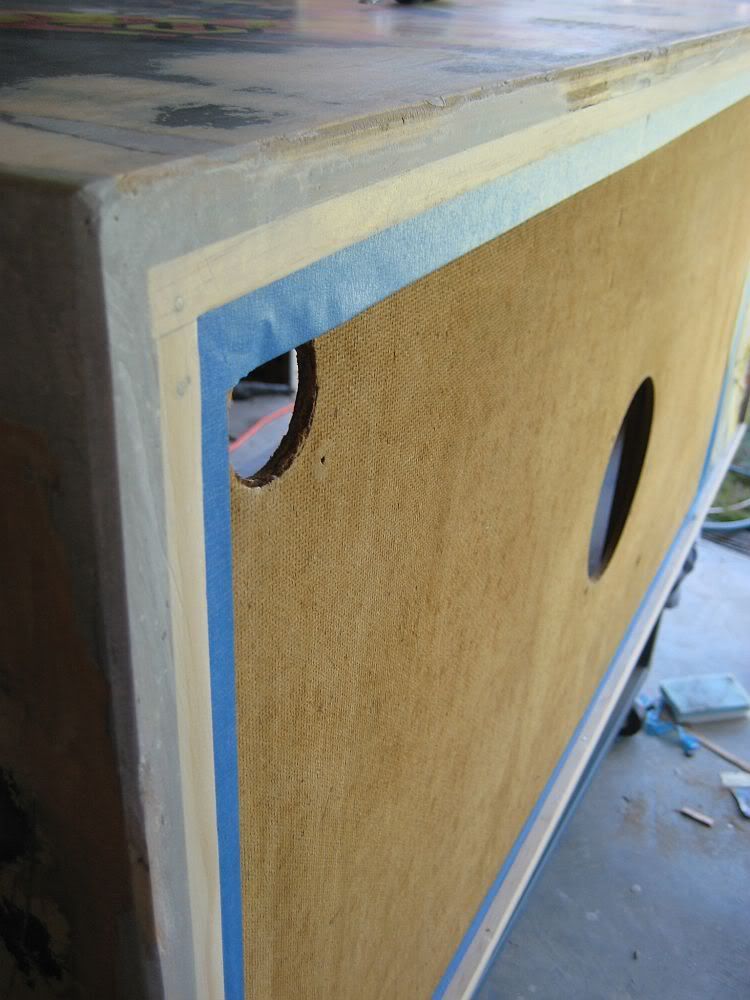

Taped off before paint...
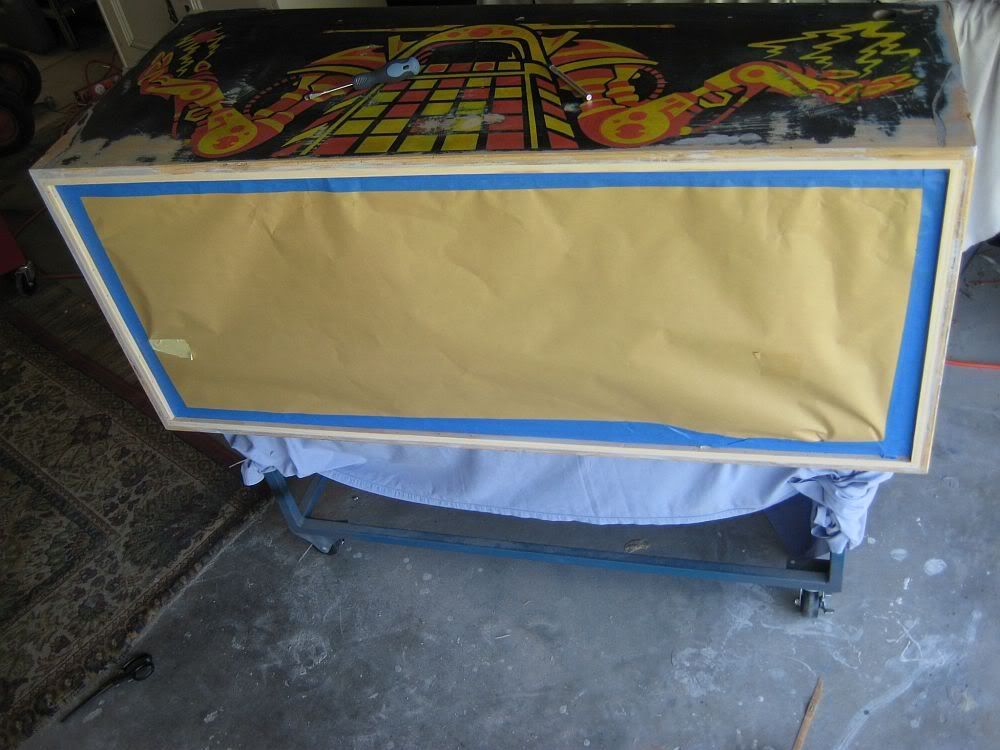

Same for the backbox...
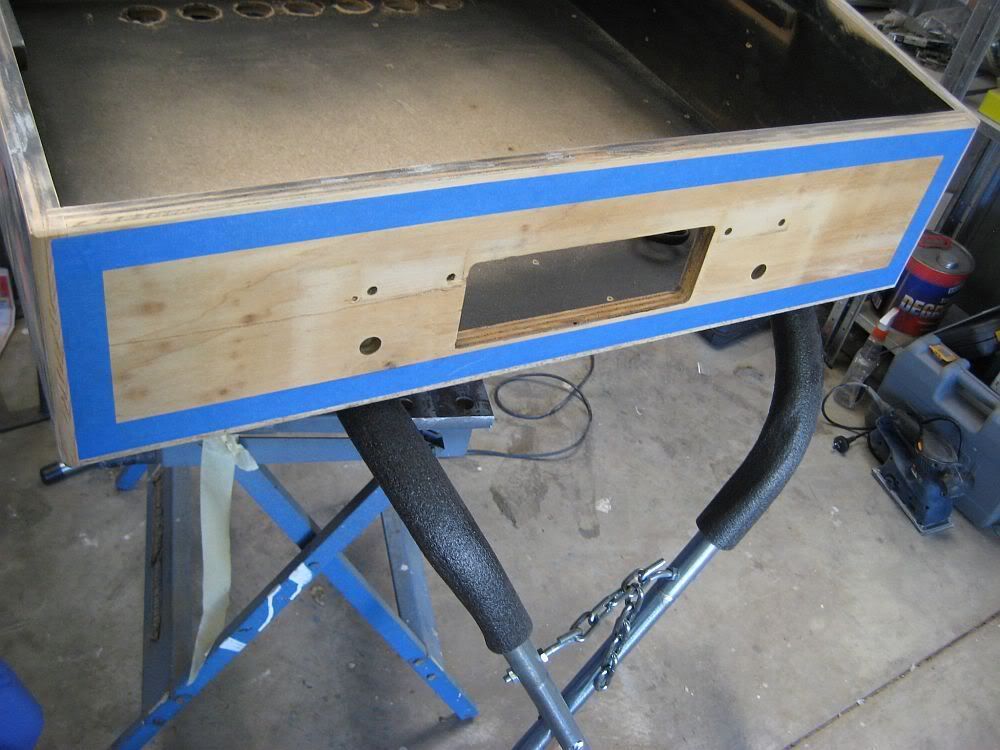

Skipping through a little here. Based in black anyway...
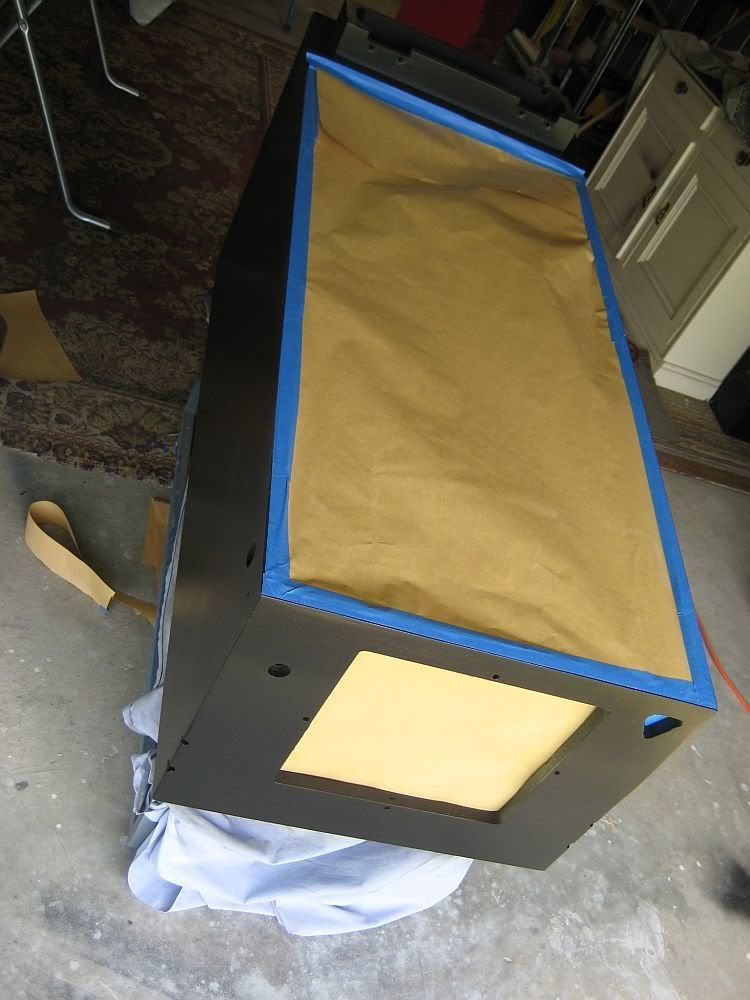

Getting back to the playfield only one insert needed to be replaced. Its in a covered area which in nice...
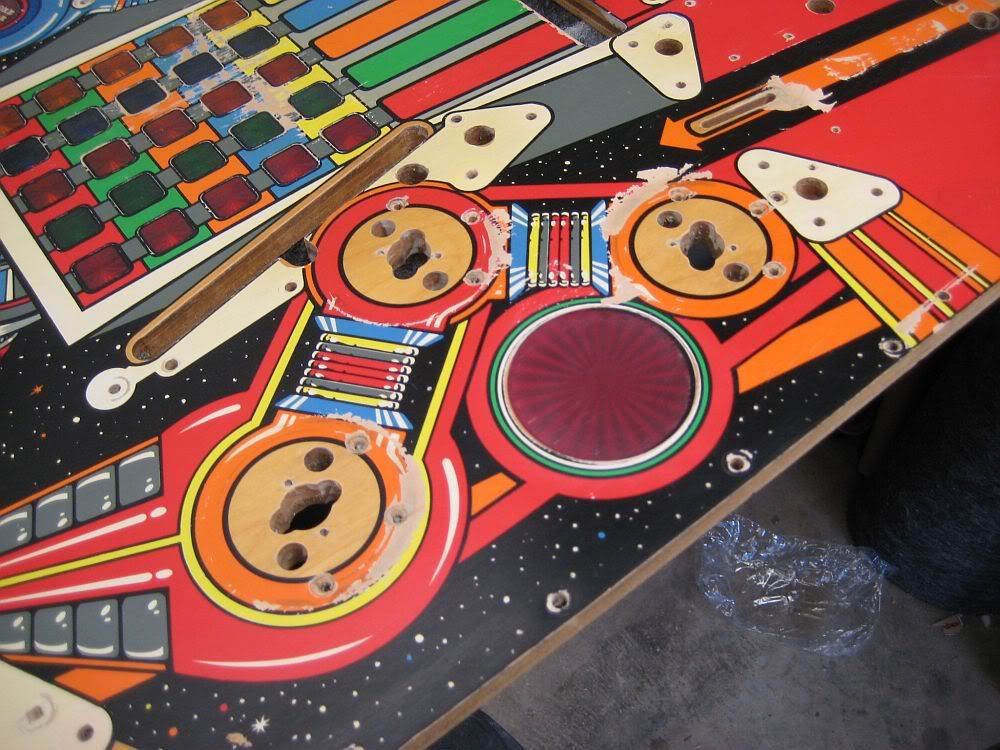

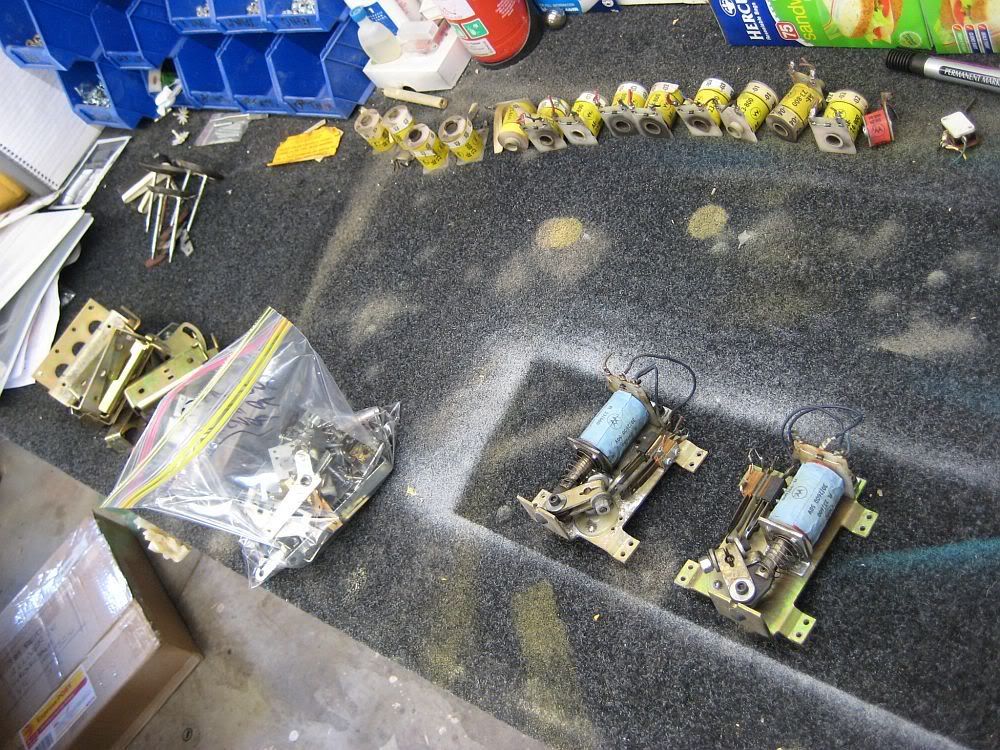
Stripping down and rebuilding sub assemblies etc while the cabinet and playfield progress...
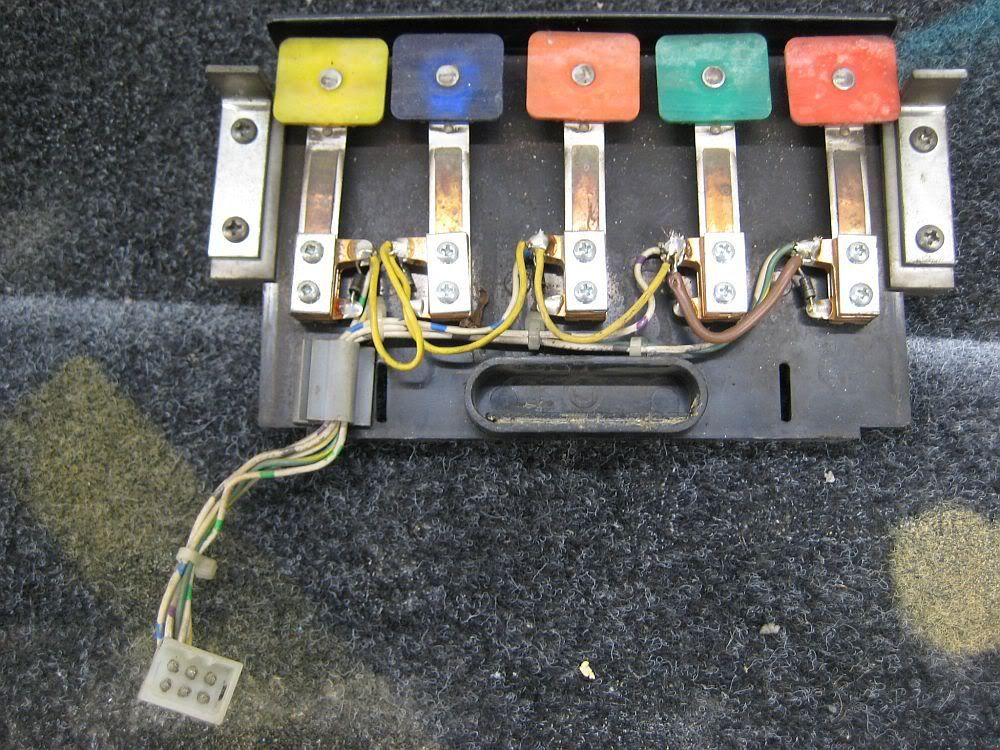

Sorting parts to be plated, refinished, cleaned etc...

Small hardware is tumble polished...
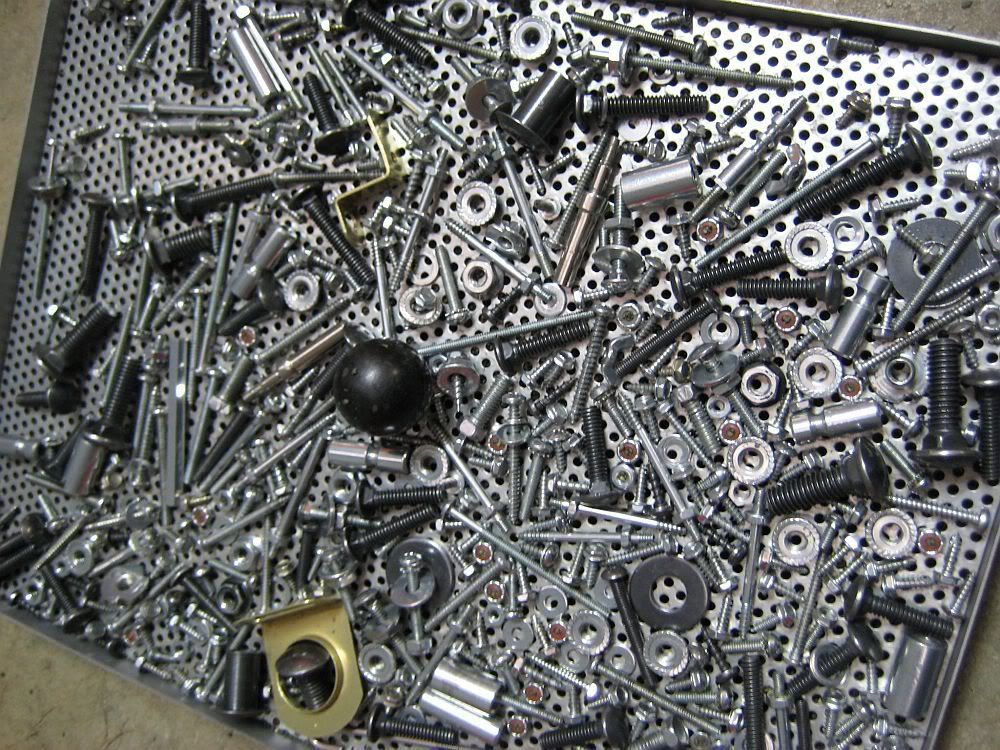

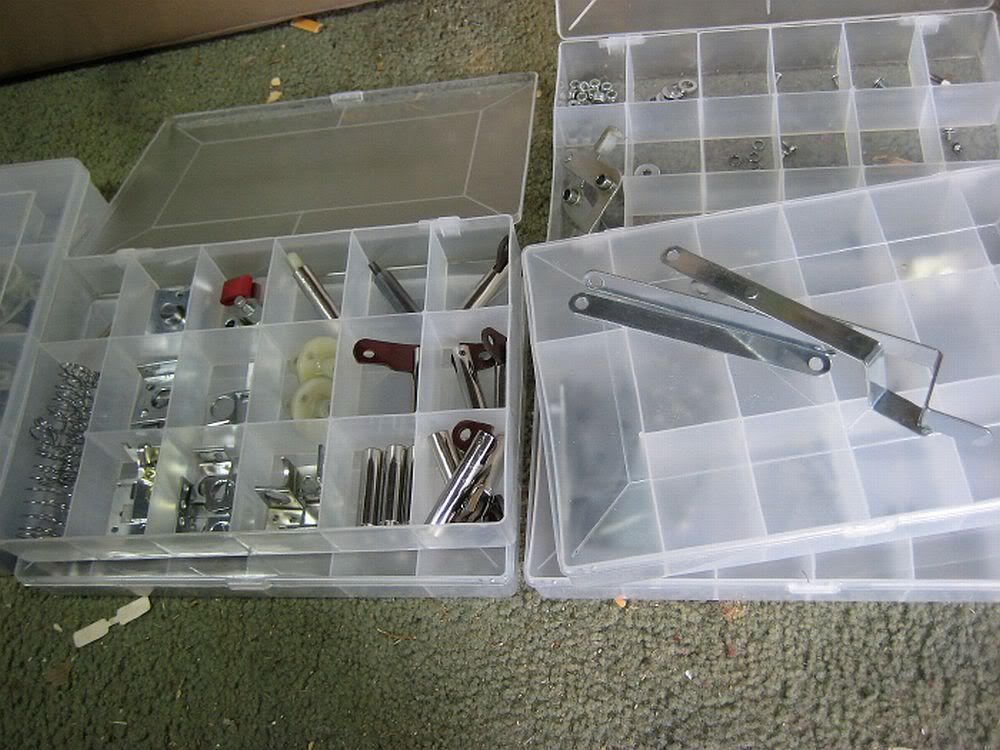
And sorted...

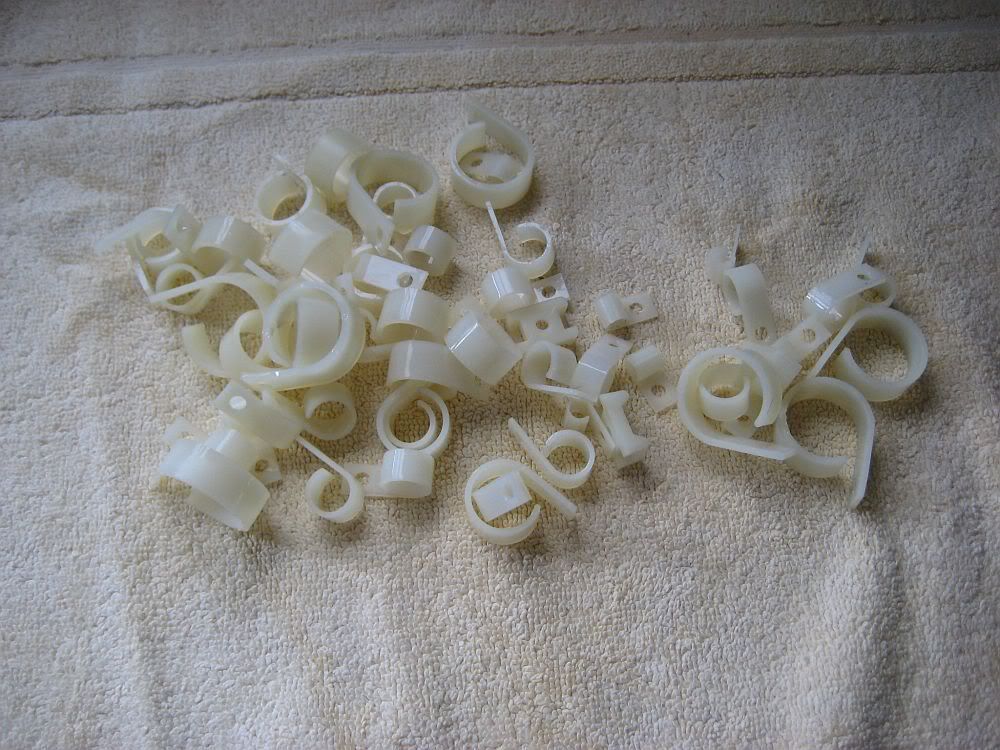
And plastic is washed...

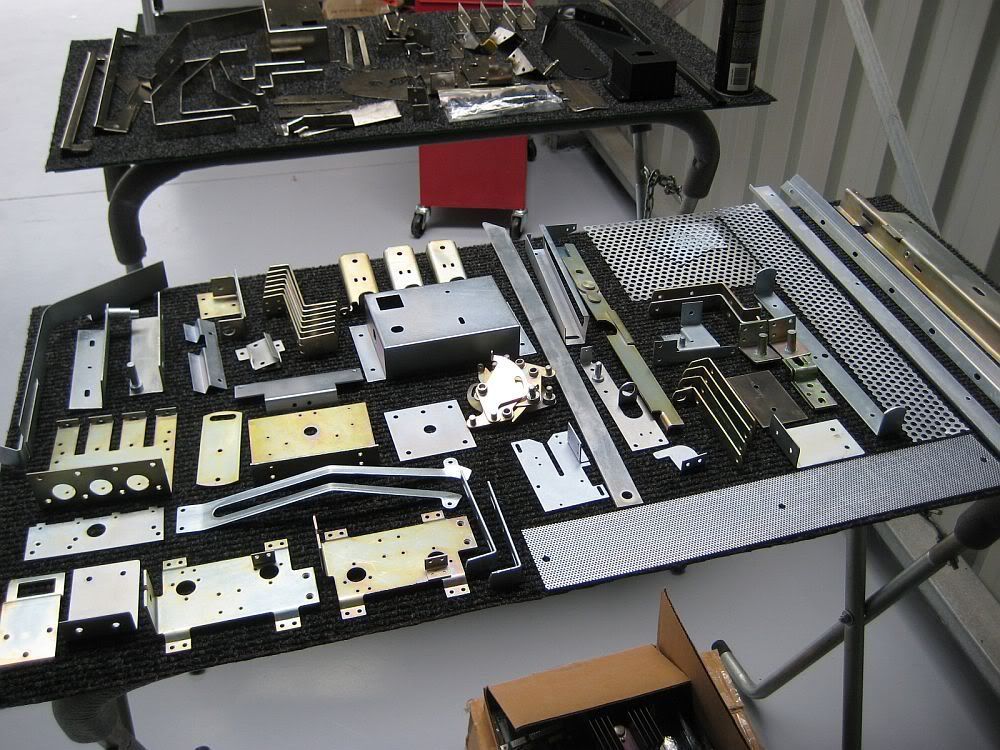
Plating is back and i was in the stages of setting things up over at the shop...

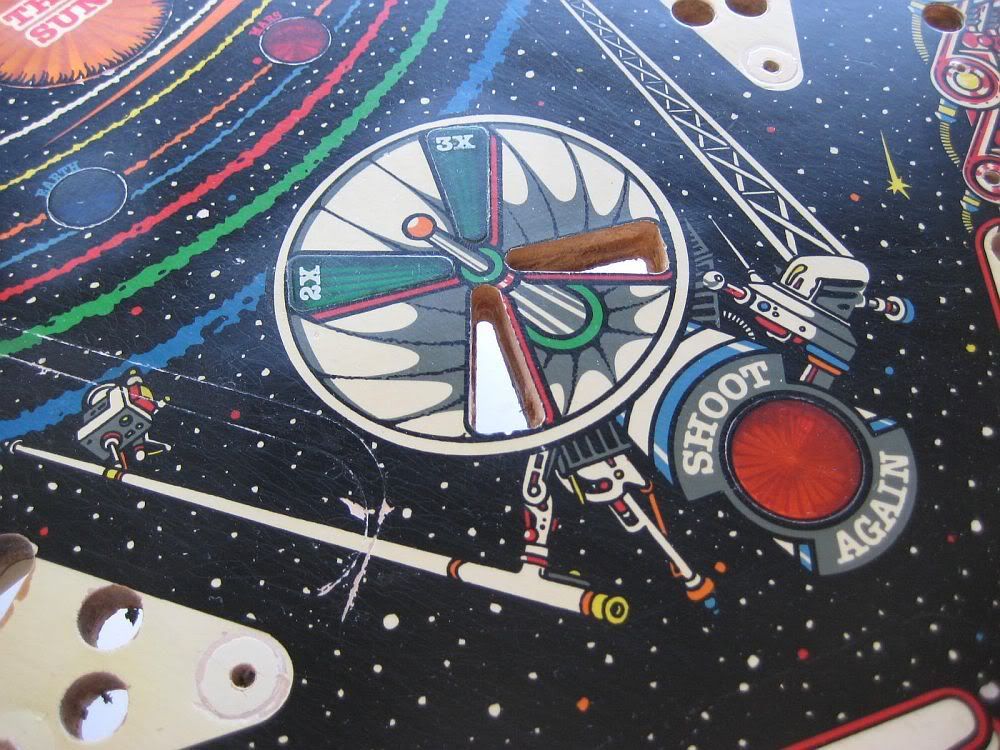
Levelling some inserts. Most are fine but some were just too far gone...

Initial clear to lock up what i have, i can start the repaints after this has setup...
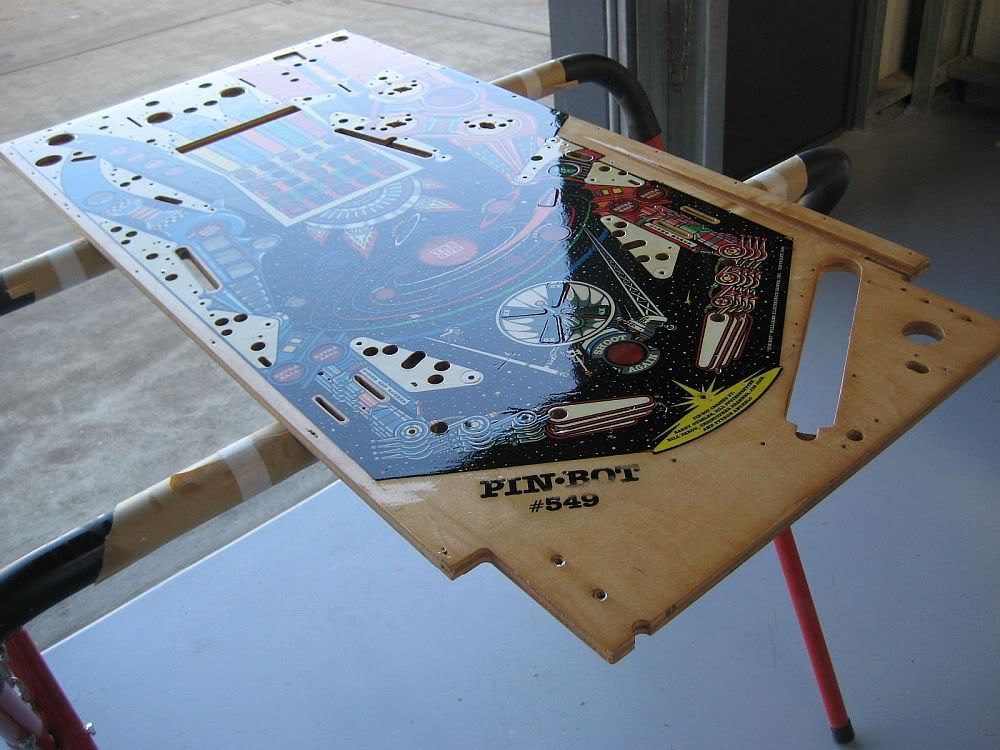

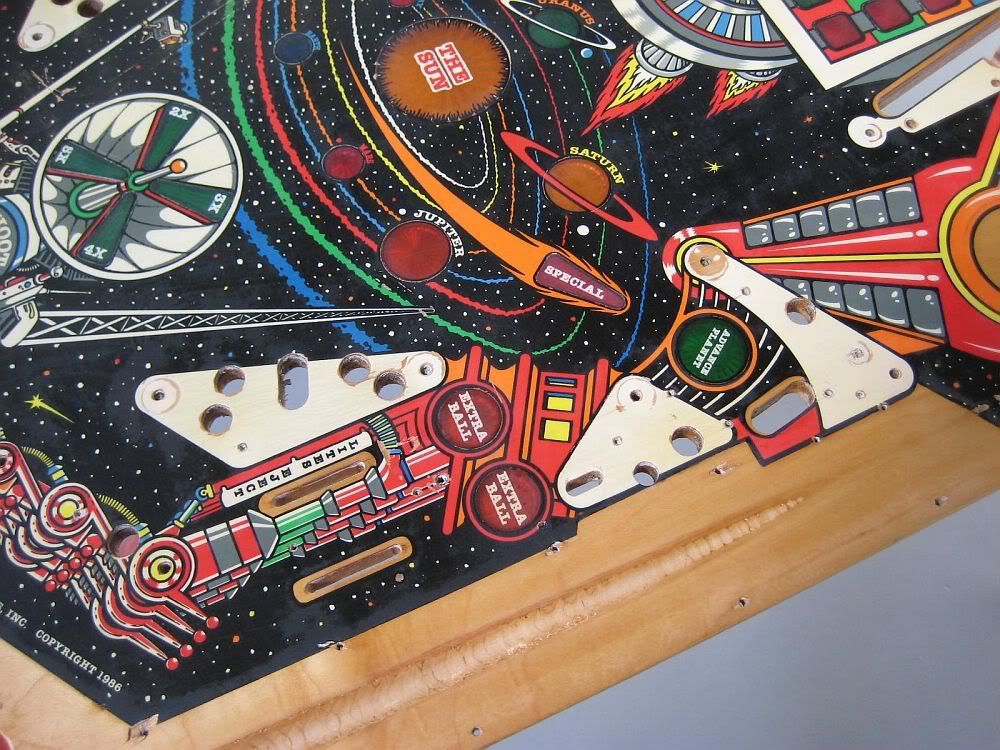
Overview of what i have to repair...

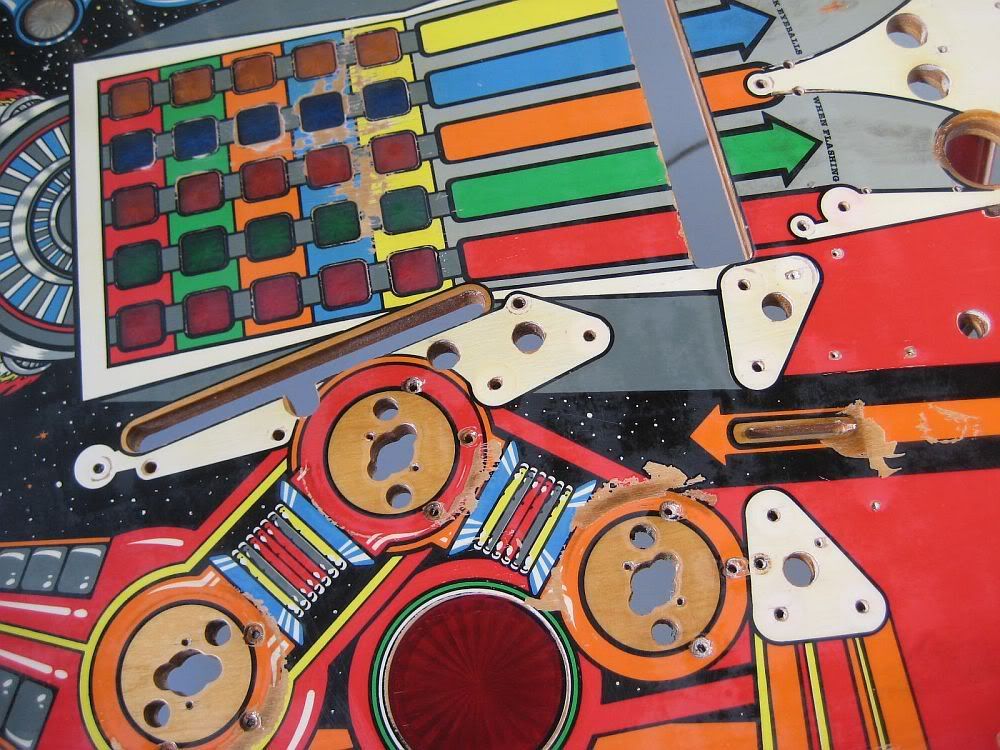
The lamp grid/matrix is probably the most significant area...

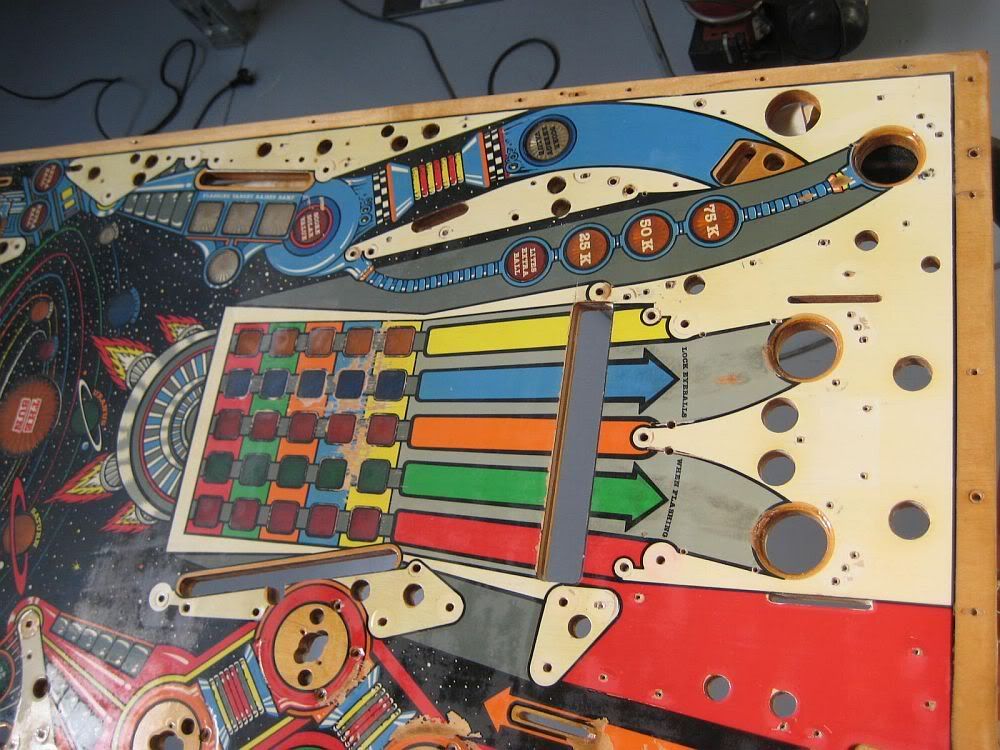
And the white really needs to be refinished...

Masking begins, long road ahead...
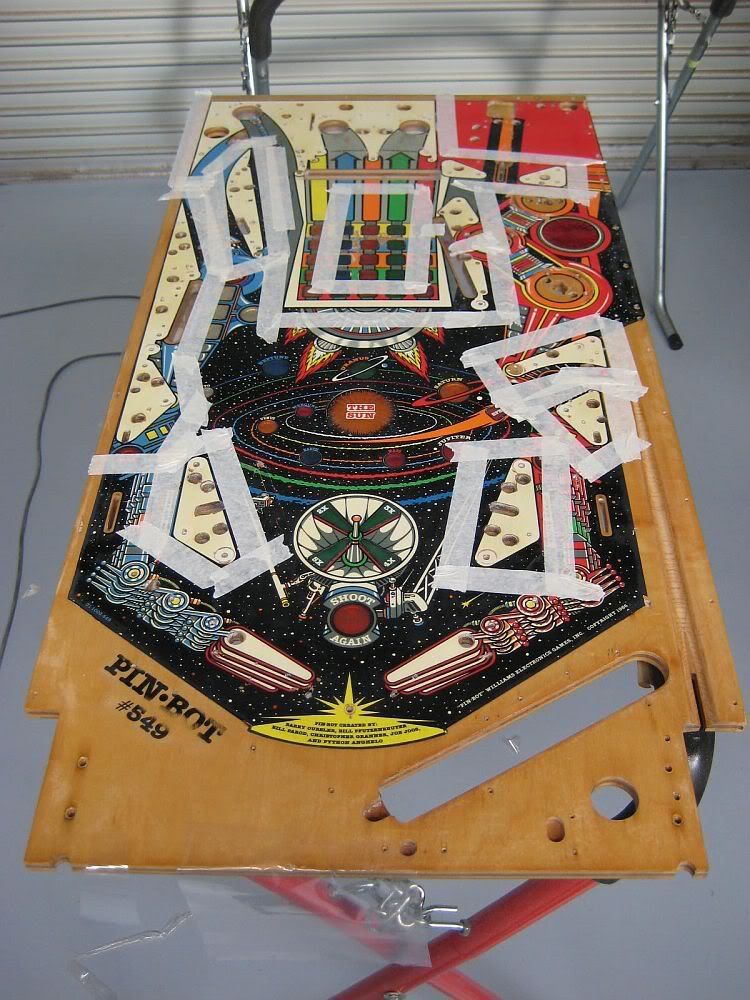

One colour at a time...
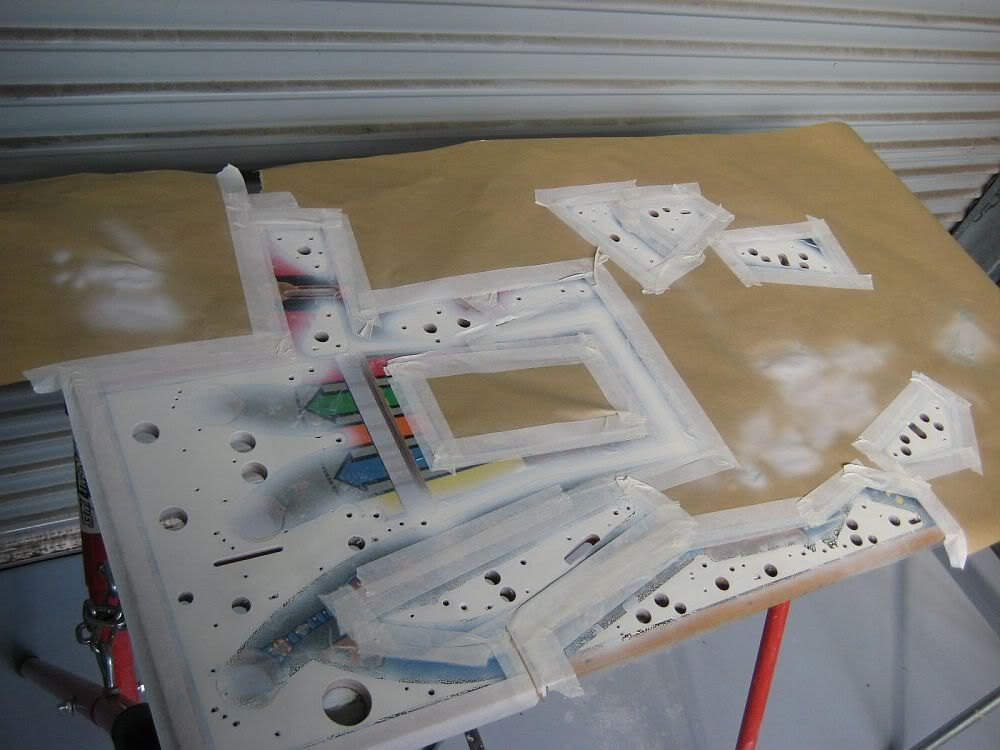

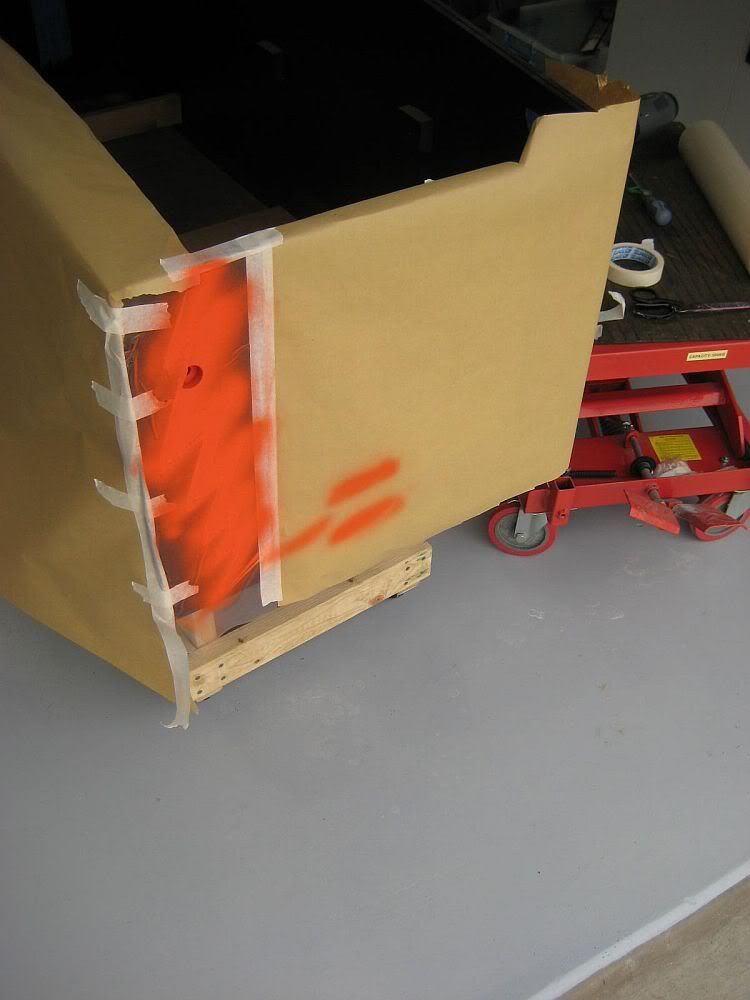
Cabinet stencils were incorrect in some areas so i addressed them as i went along...

Whites...
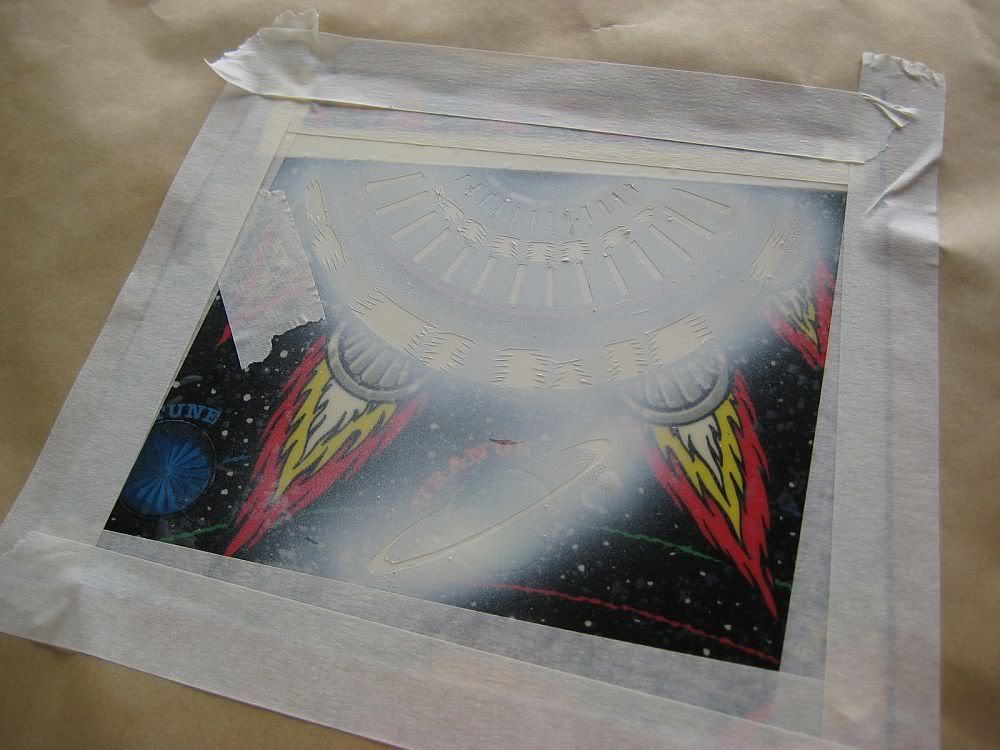

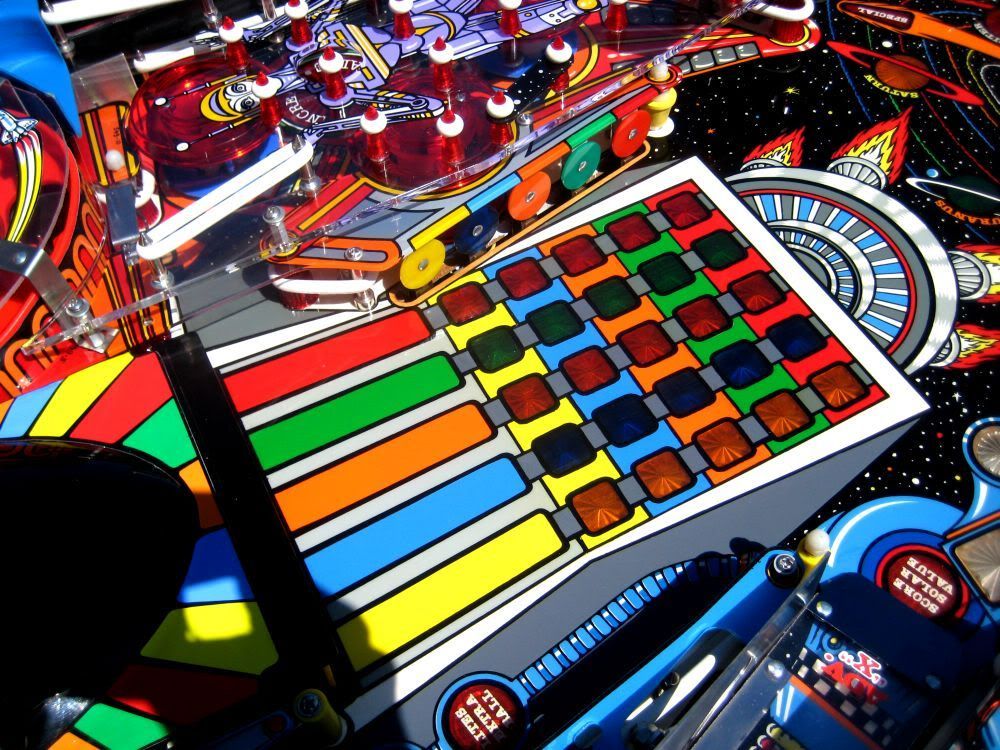
Looks much nicer with the white refinished...
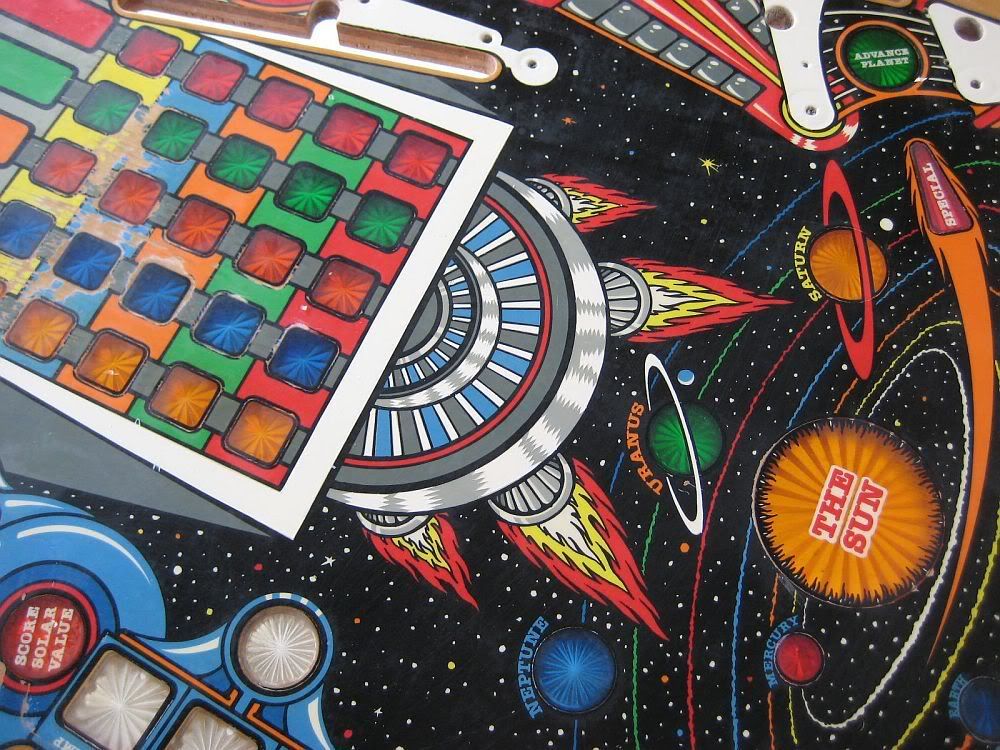

Some parts need to be put back in by brush...
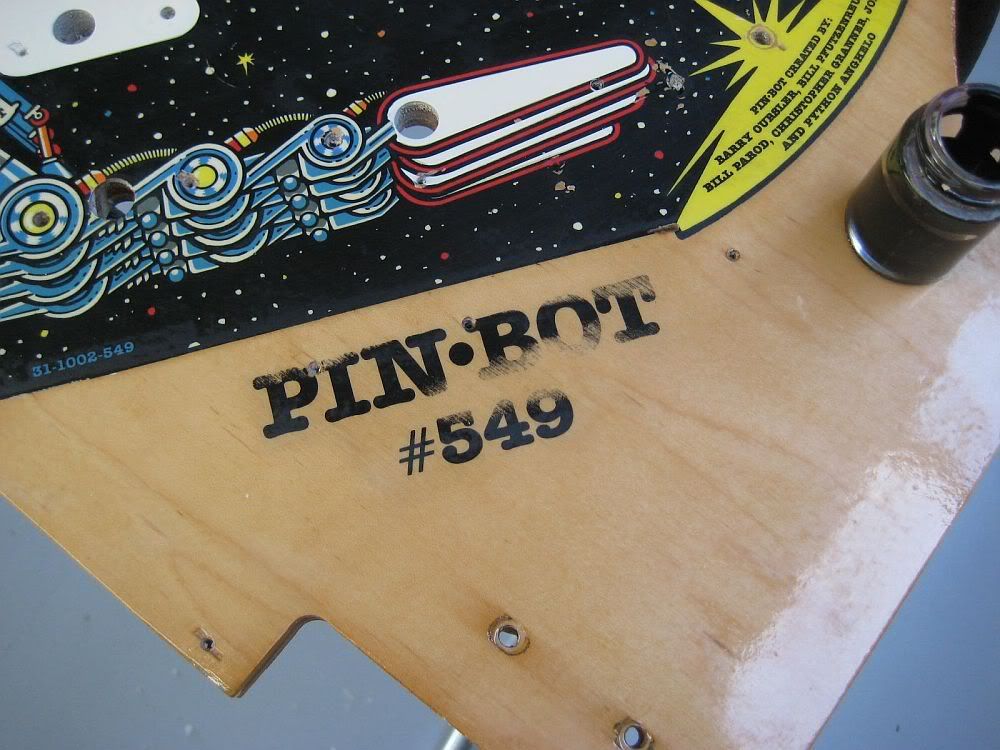

Repaired...
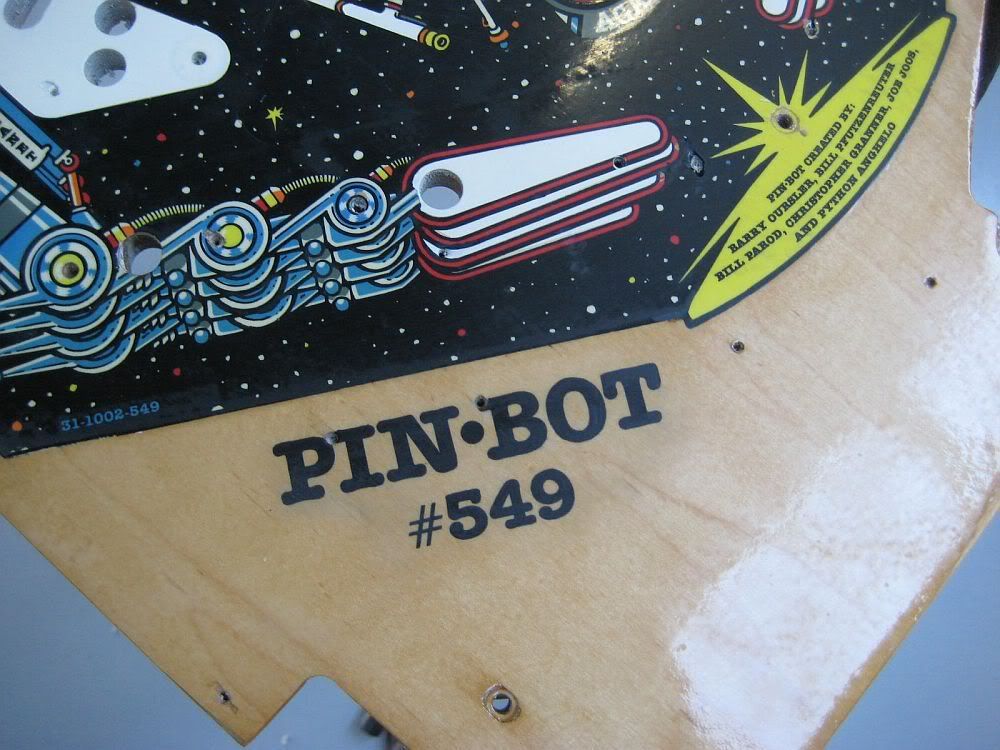

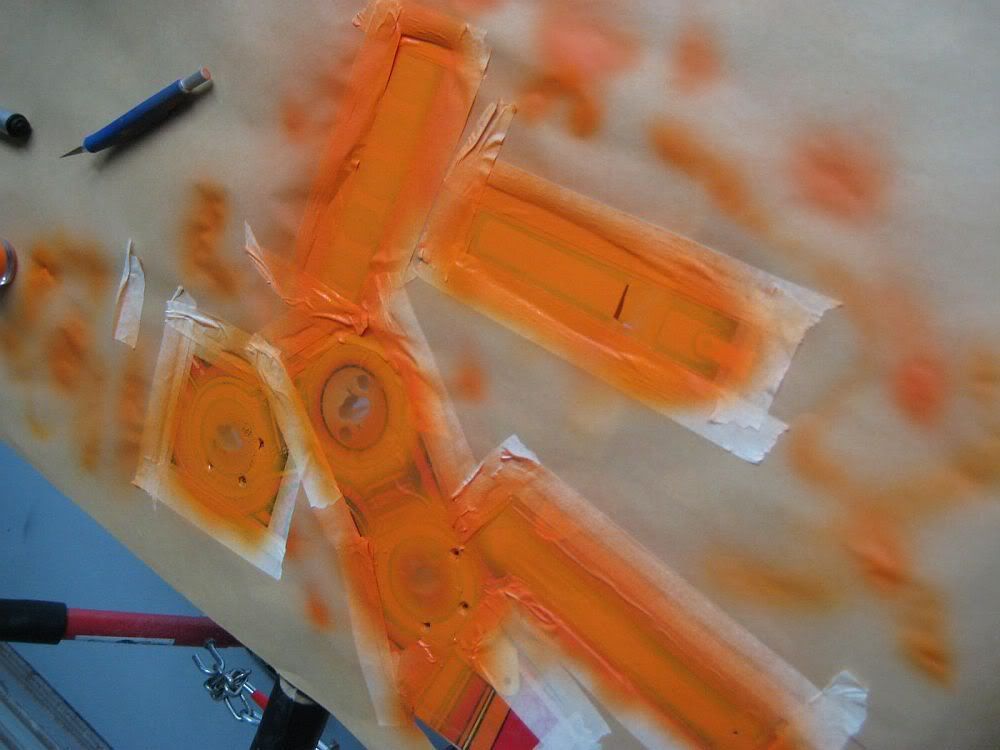
More colour work...
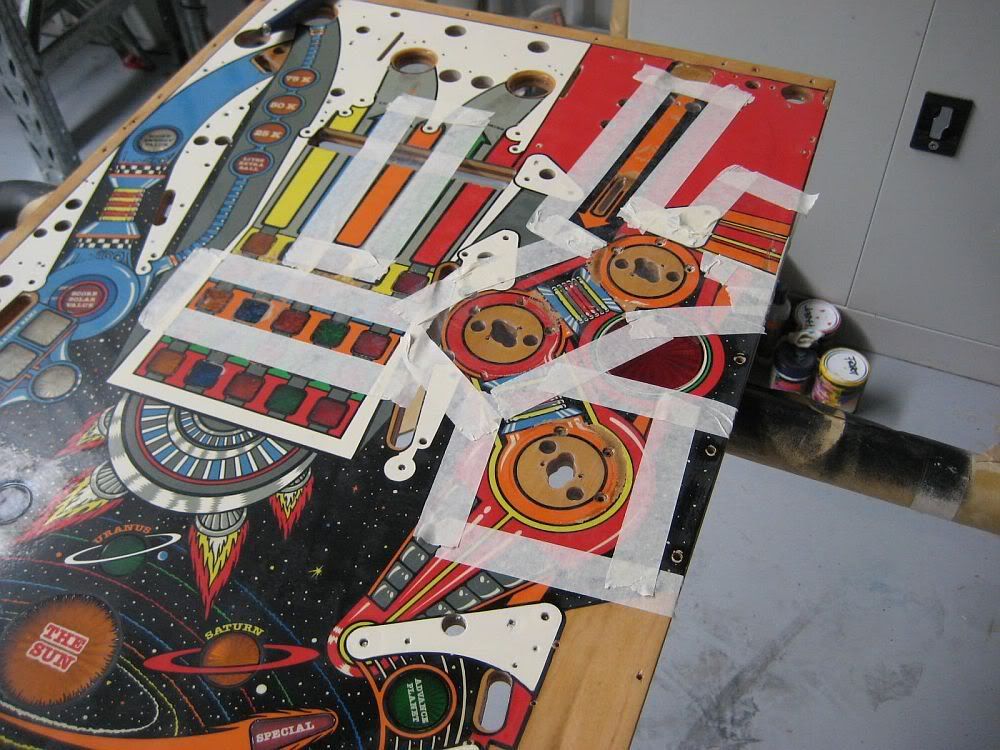

Orange...

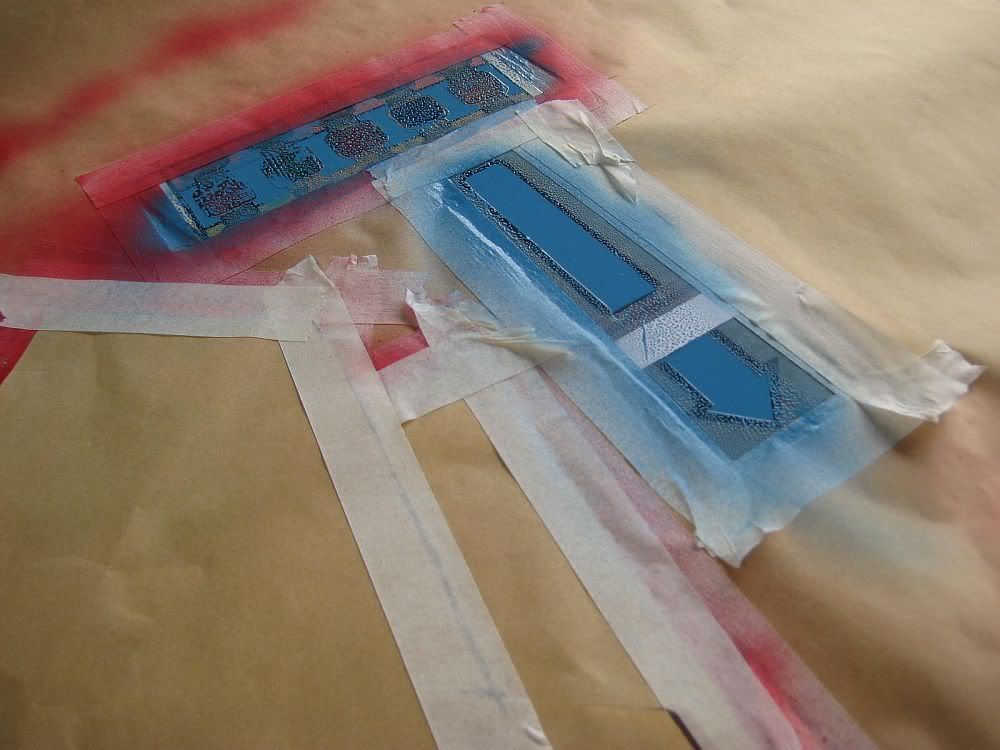
Blue...

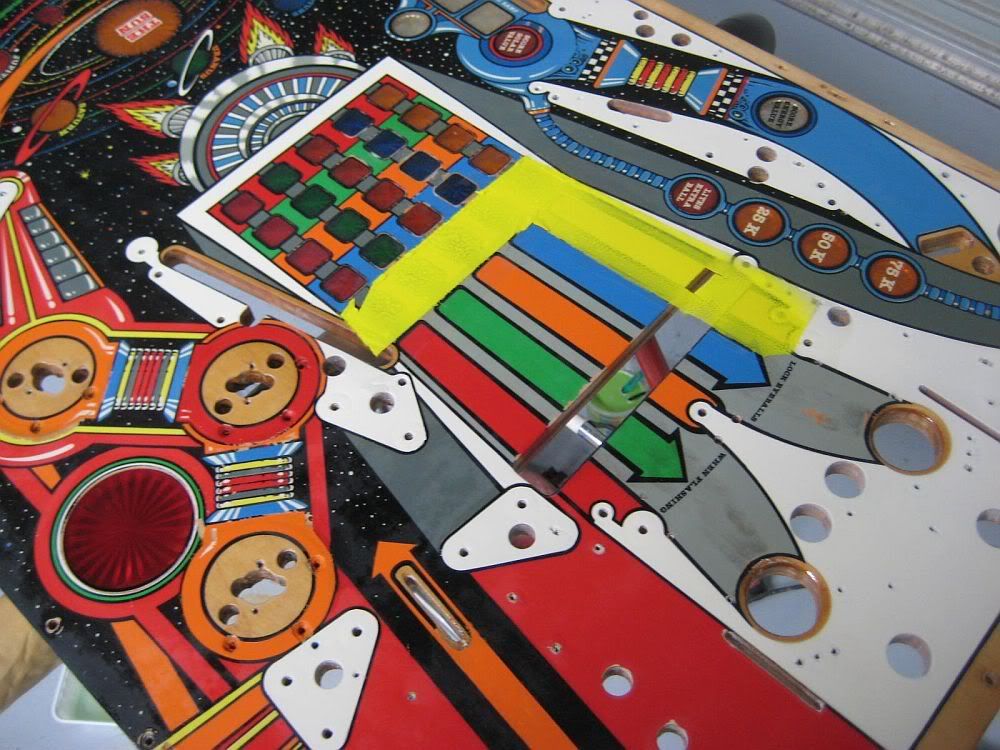
Yellow...

This is much nicer than using one of these...
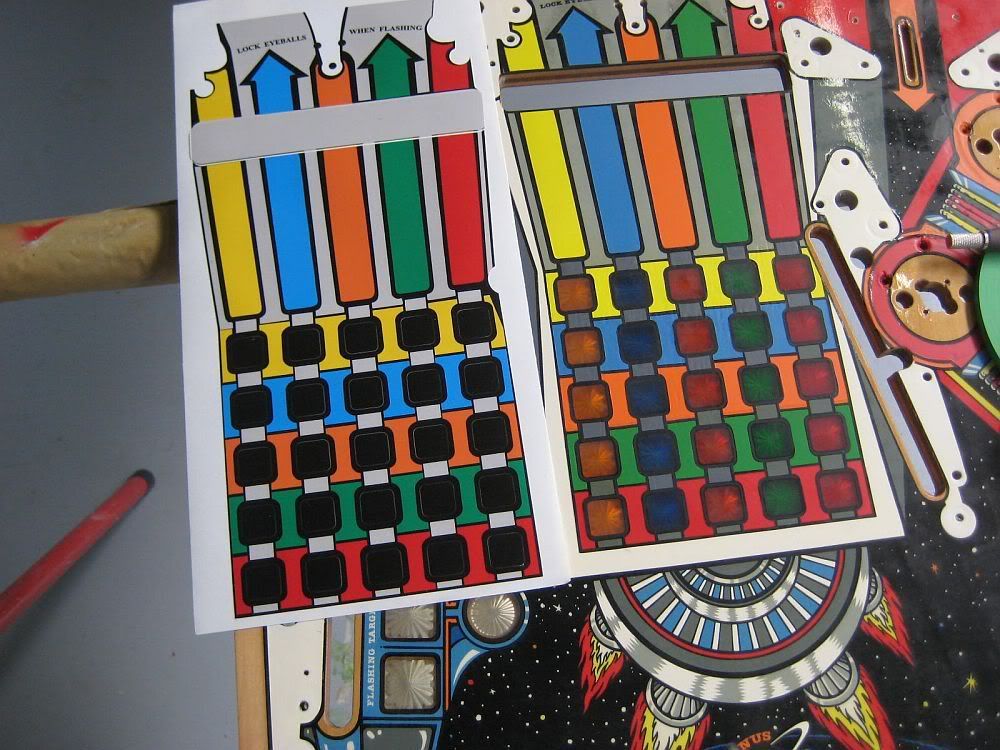

Looking much fresher now...

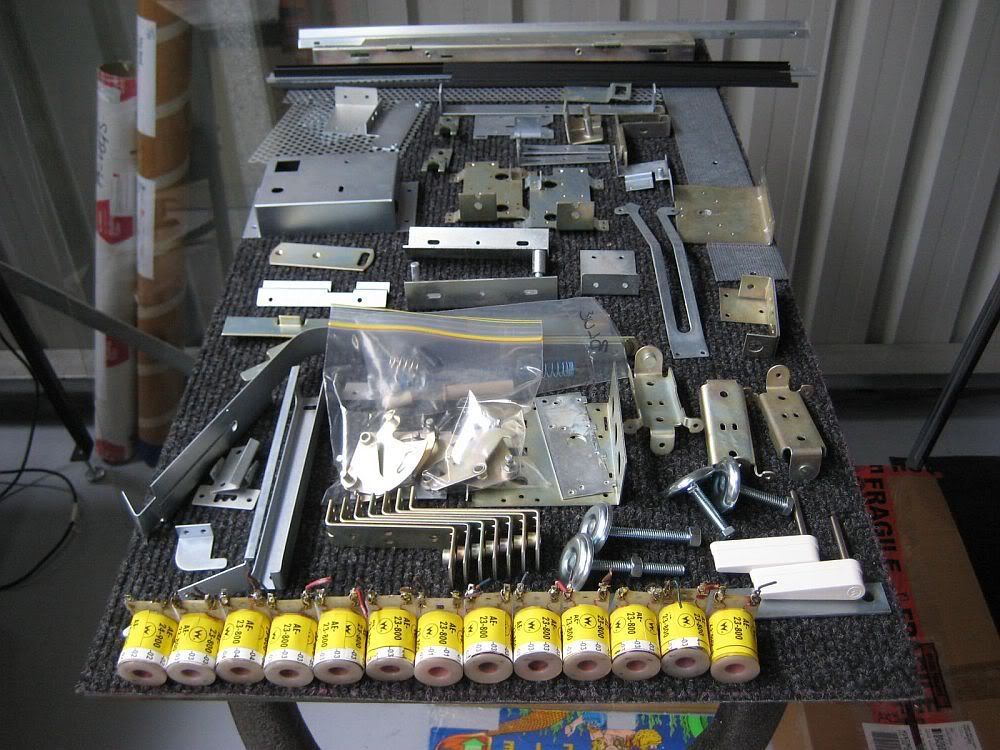
Coils cleaned and wrapped...

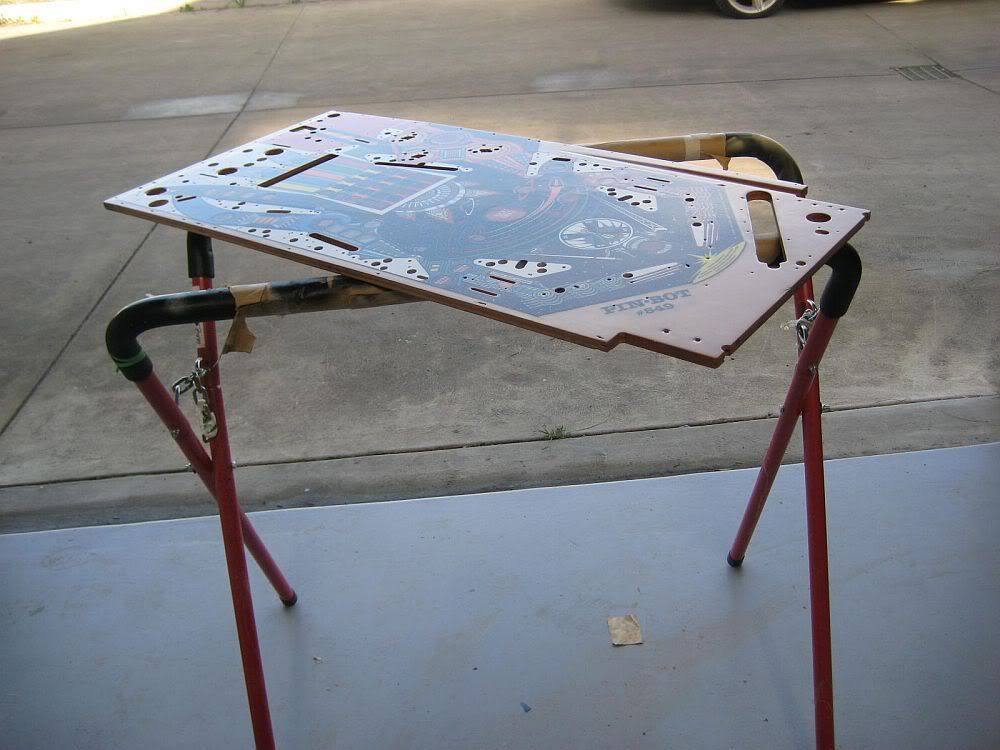
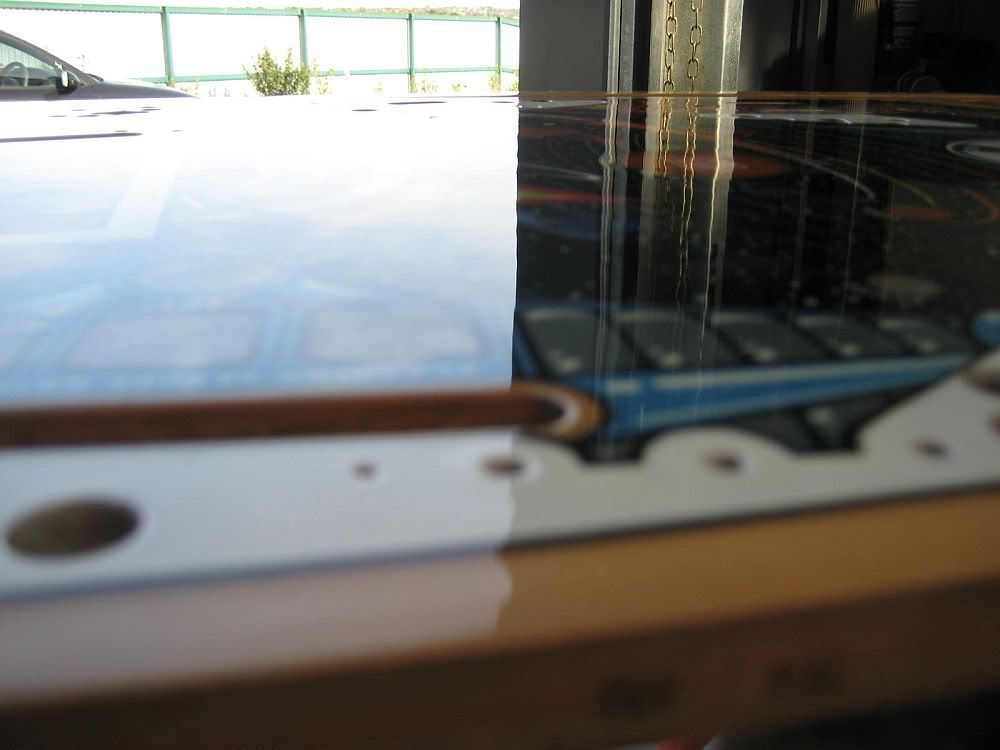
Playfield cleared, and is at a point where i can polish it out...

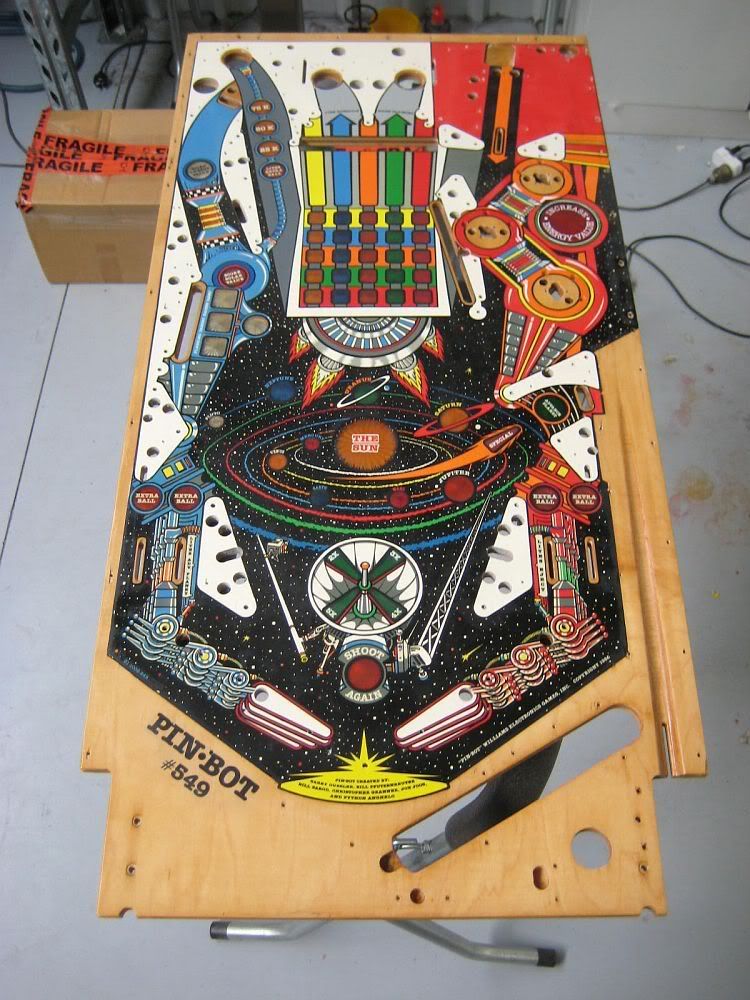
Finally finished...

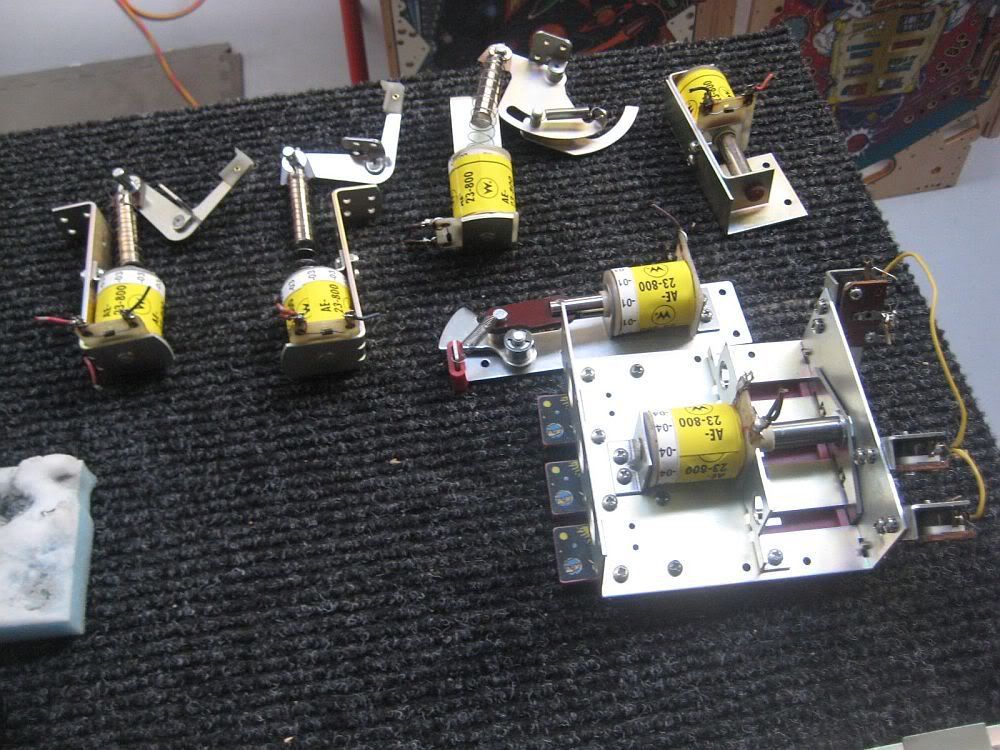
Rebuilding assemblies and mechs...

Cabinet is compelte, gloss will die down...
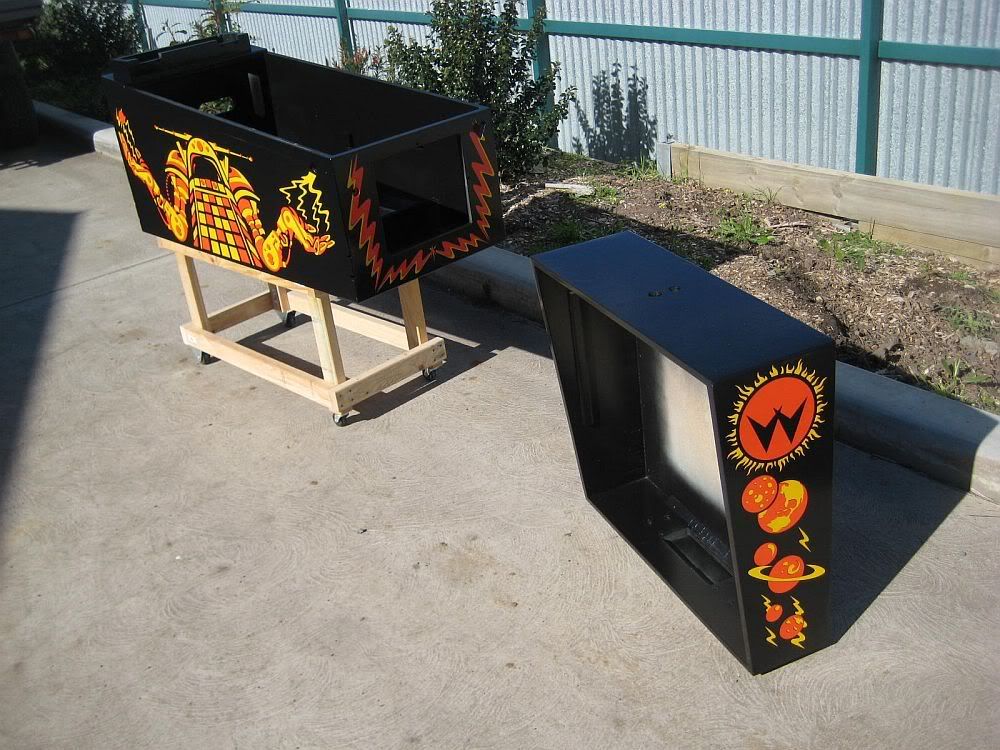

Correct gloss is achieved...

Fitting out the cabinet...
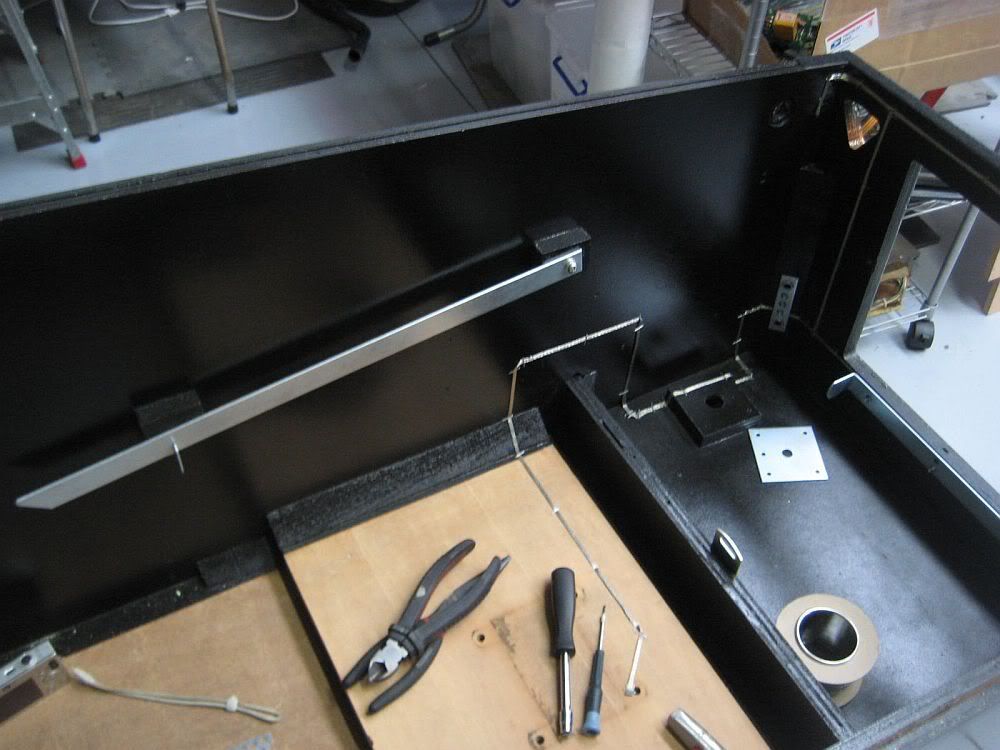

Again...
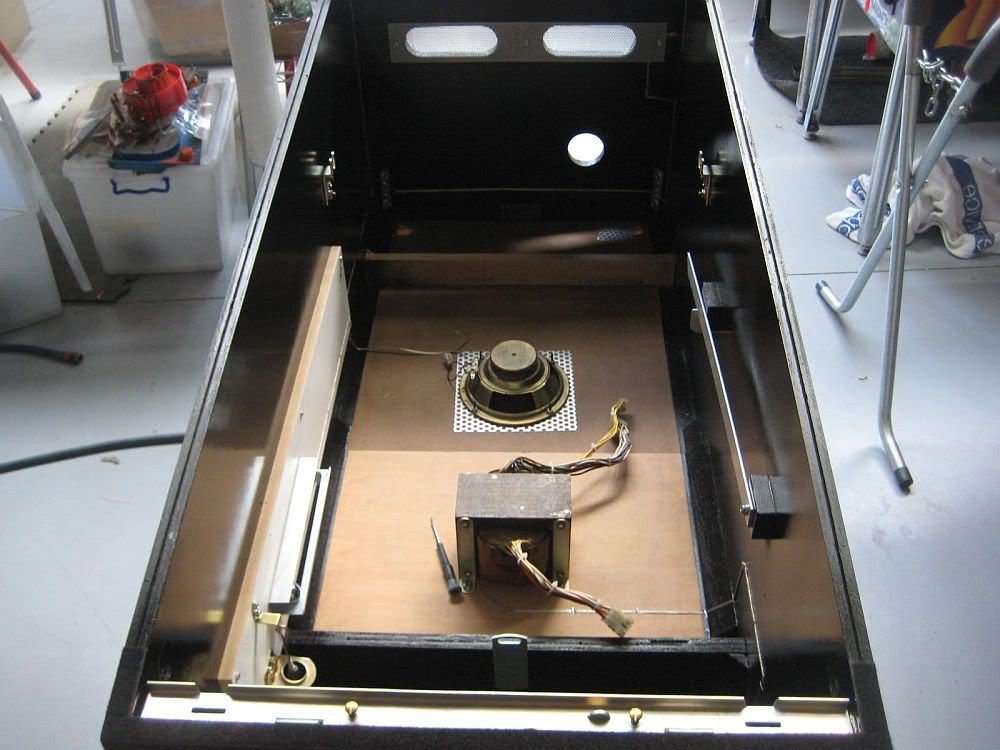

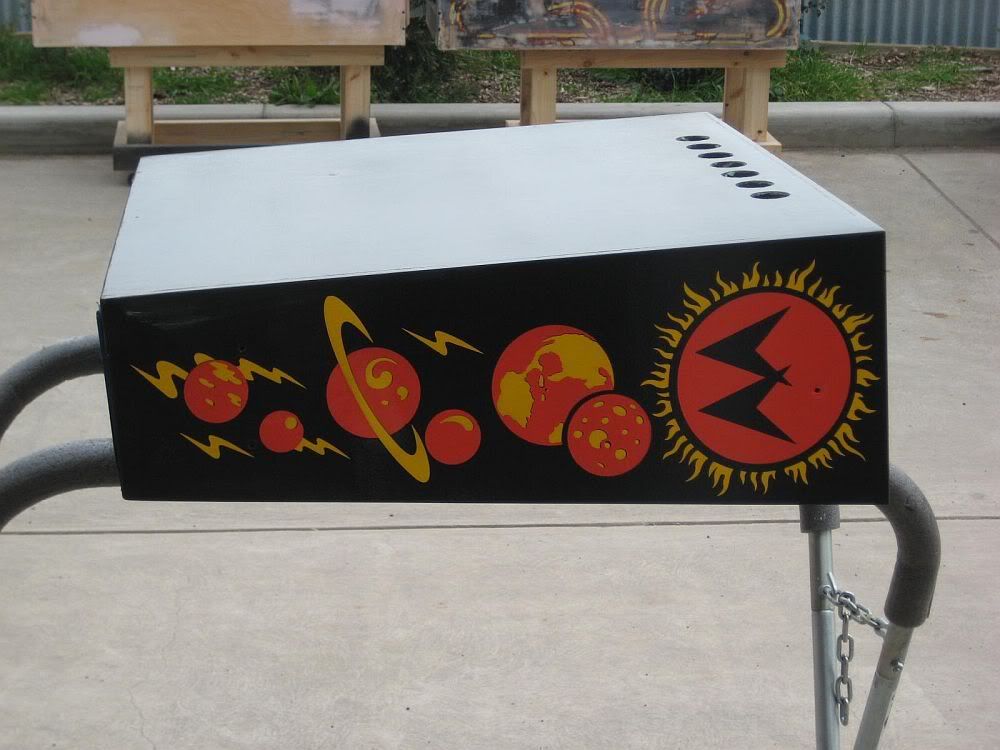
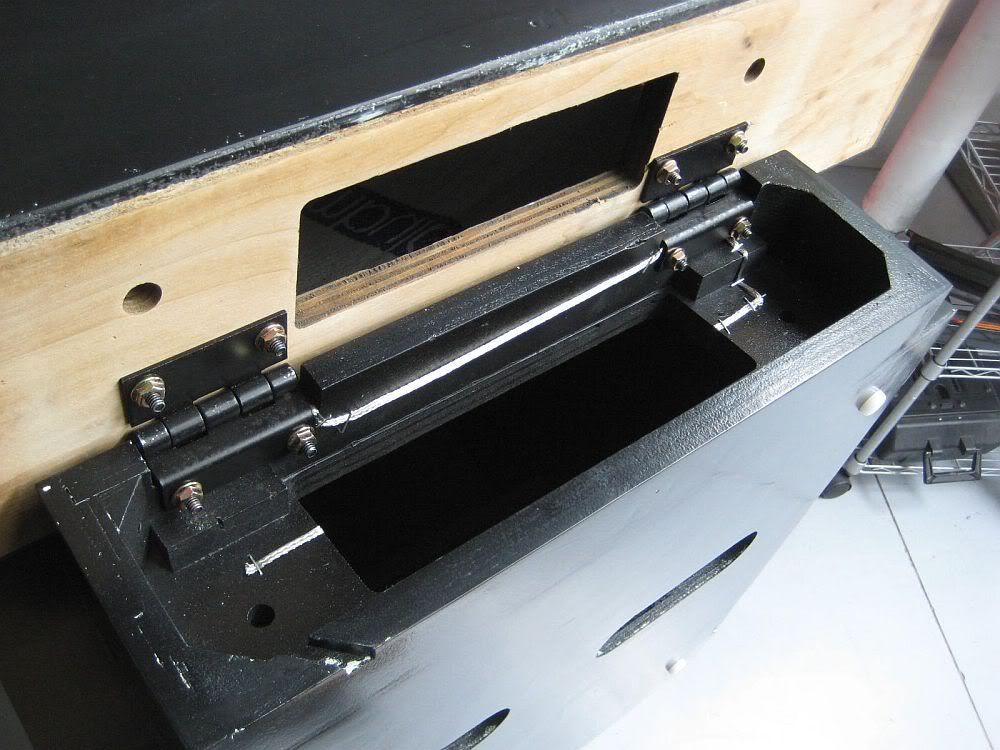
Head and body are paired...

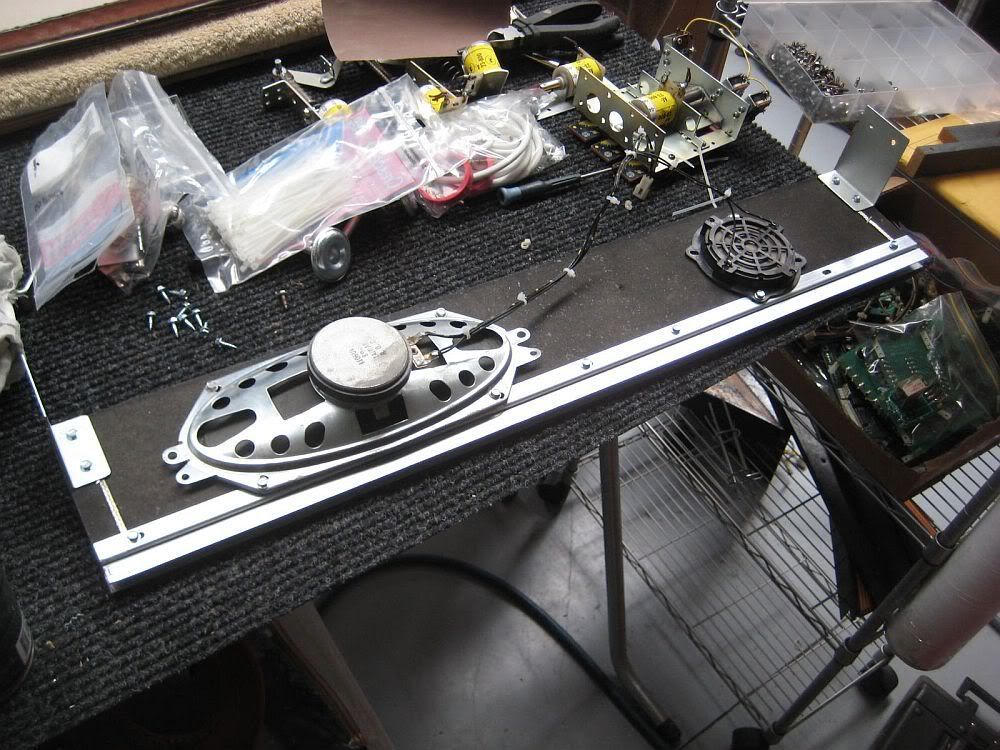
Speaker panel rebuilt with new cloth...

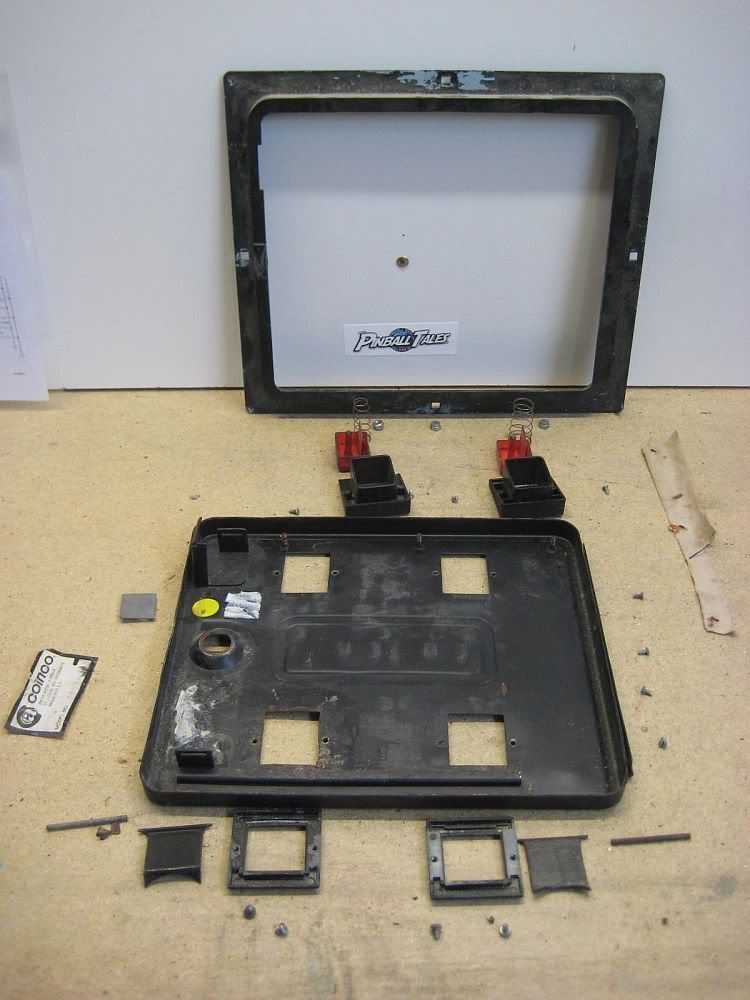
Coin door stripped for restoration...

Apron restored...

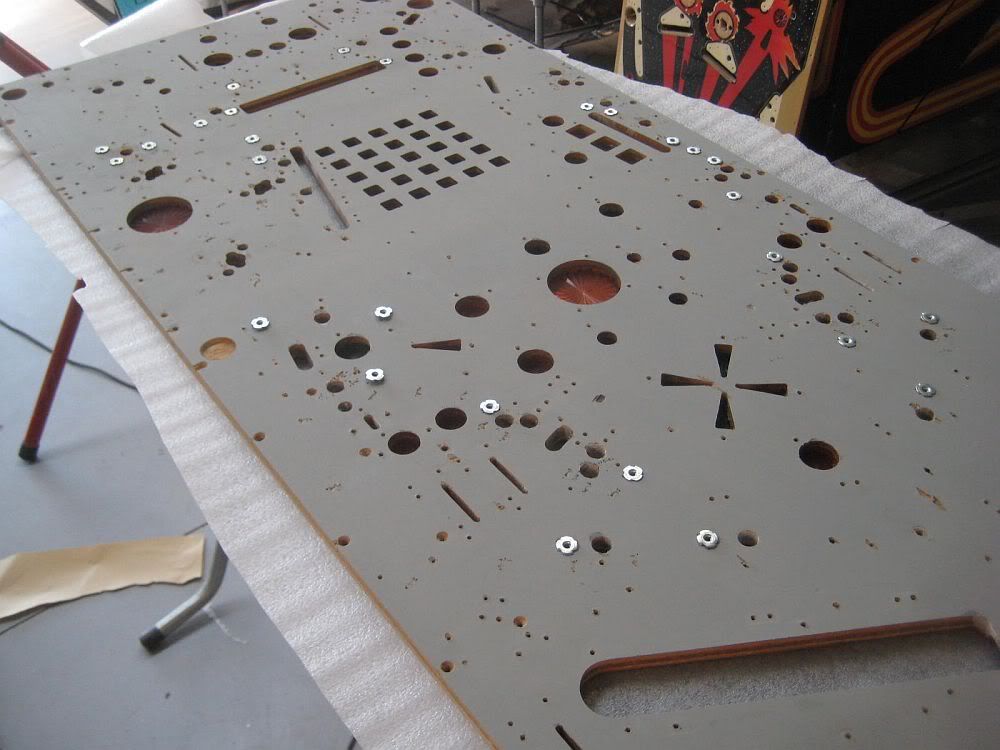
Underside of the playfield is refinished grey and has been t-nutted...

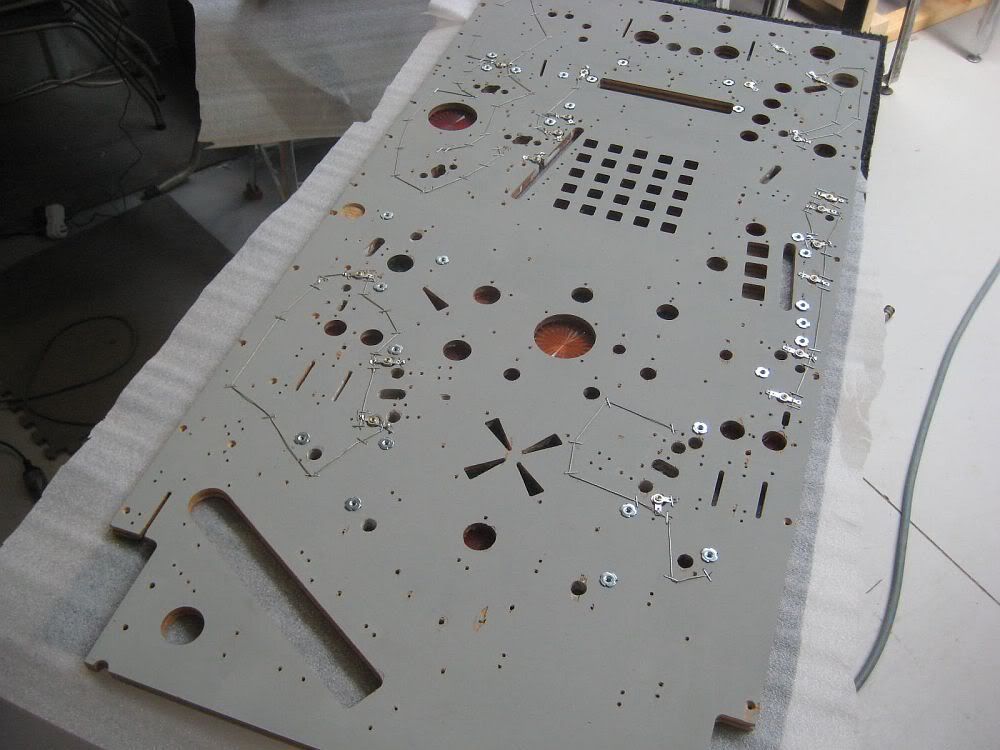
Stapling down the GI strings...

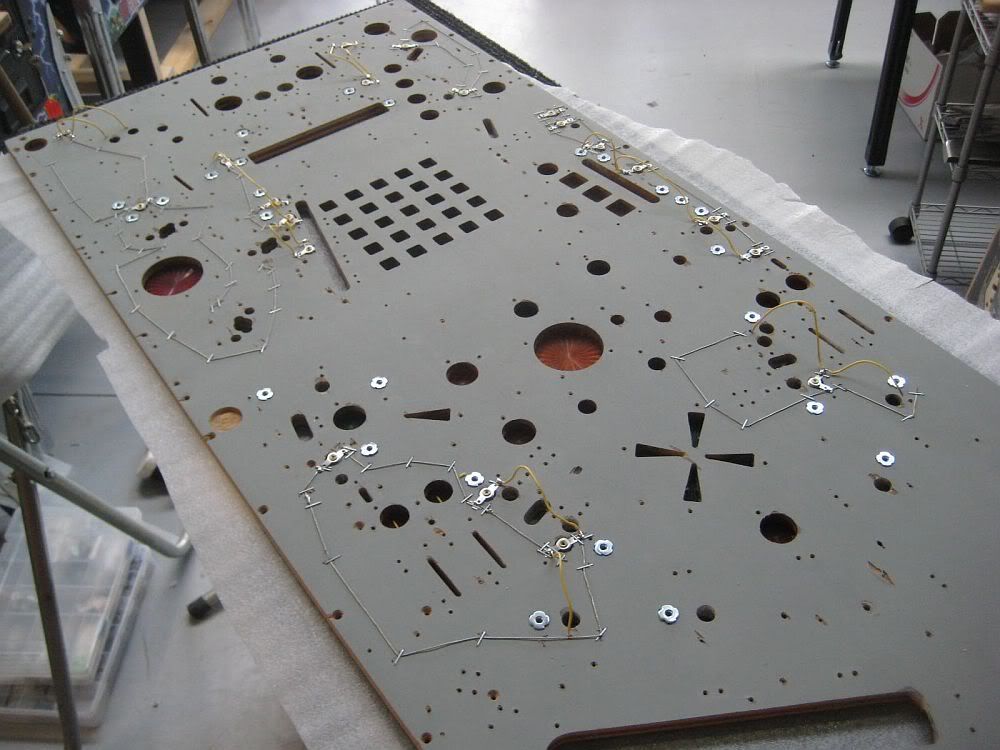
Nearly there...

Cabinet is nearly trimmed out...

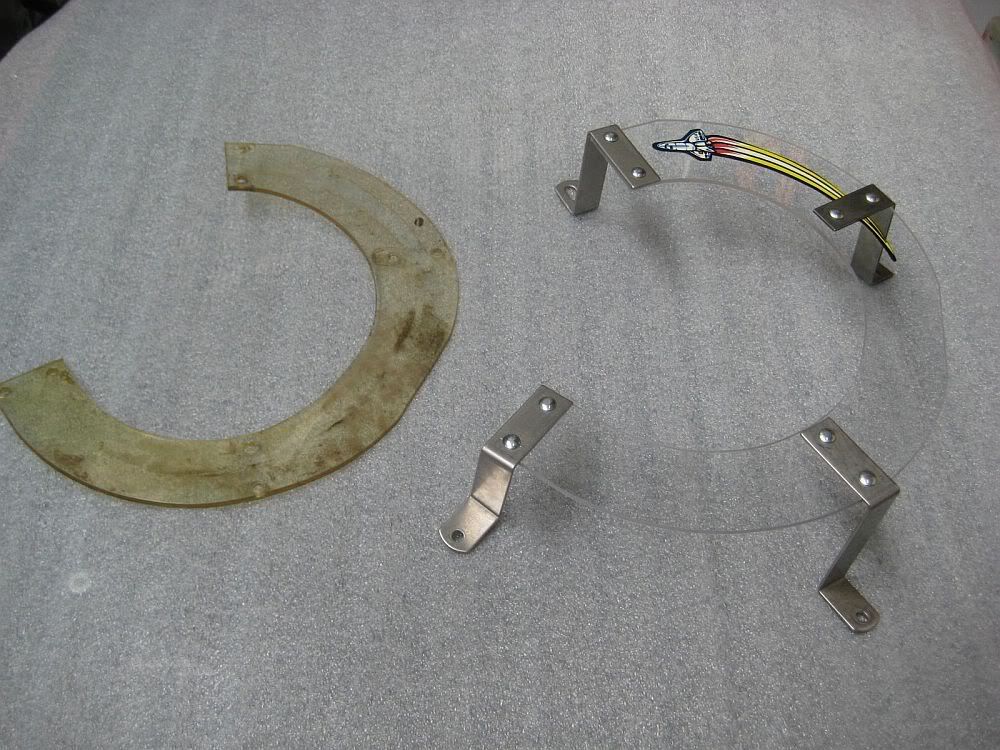
Anthony made a heap of clears for this game as the yellowed ones would only suit the old playfield tones. They just stood out too much against the white on the playfield...

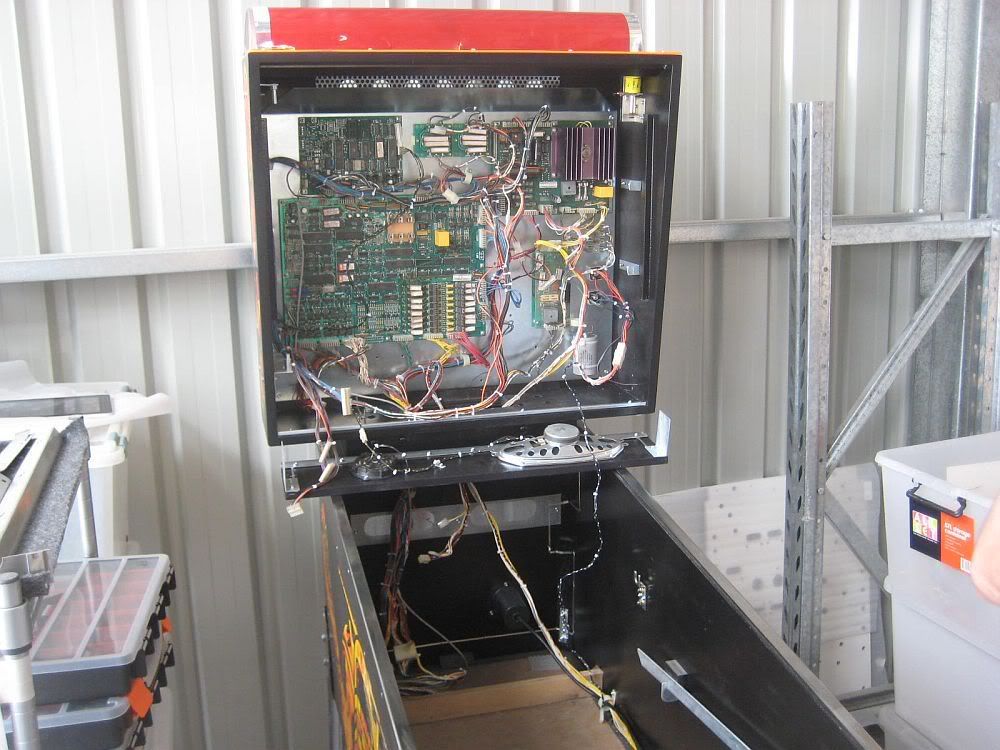
Light panel was rebuilt with new light sockets etc...
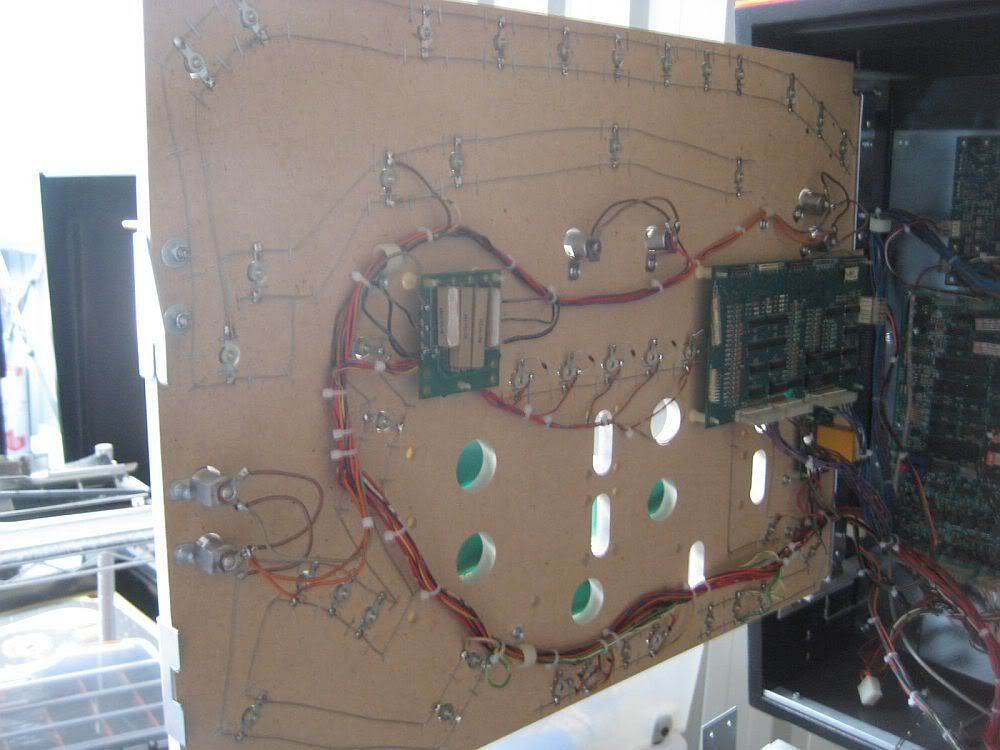

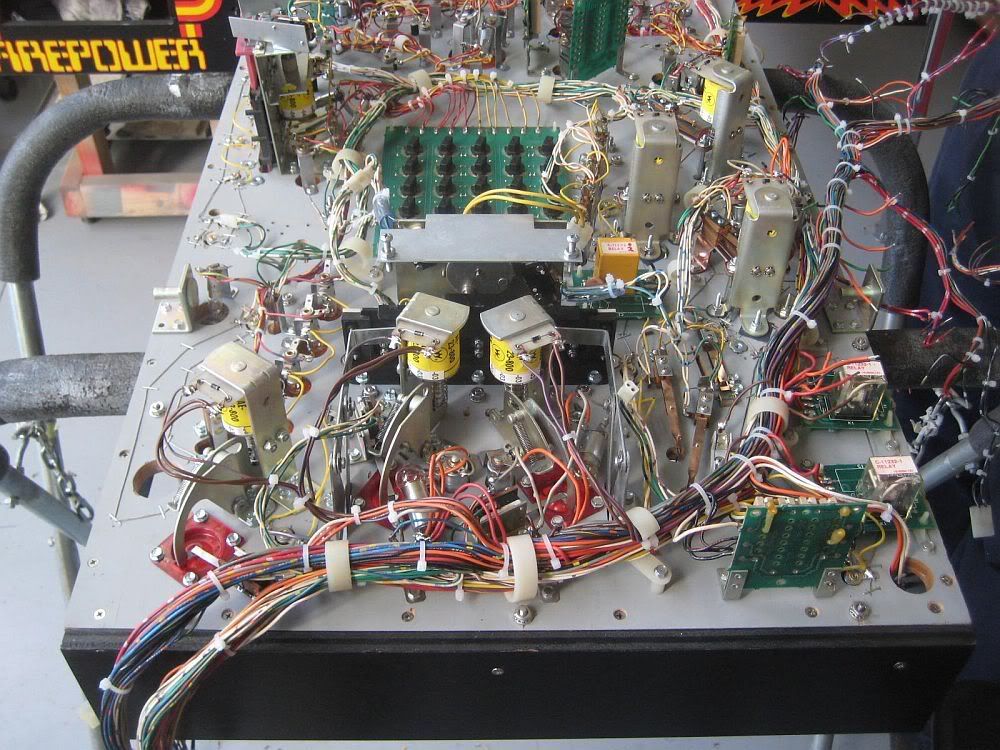
Rebuilding the playfield, this game was incredibly busy bottomside...
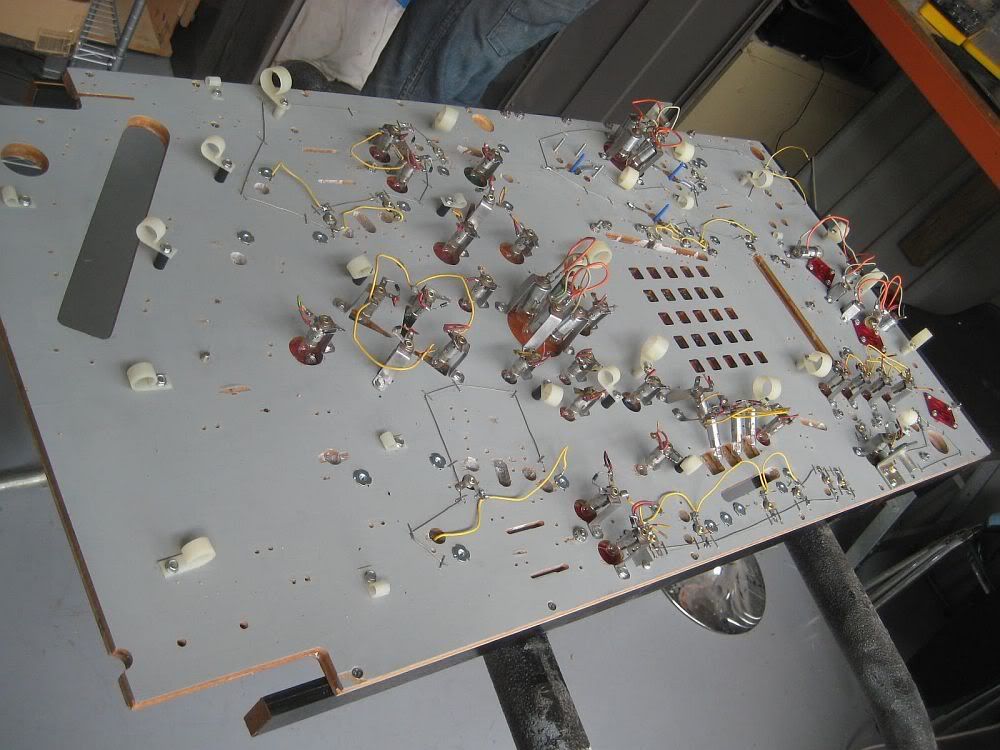

Fastforward another handful of hours...

I will build the rest of the game in its cabinet...
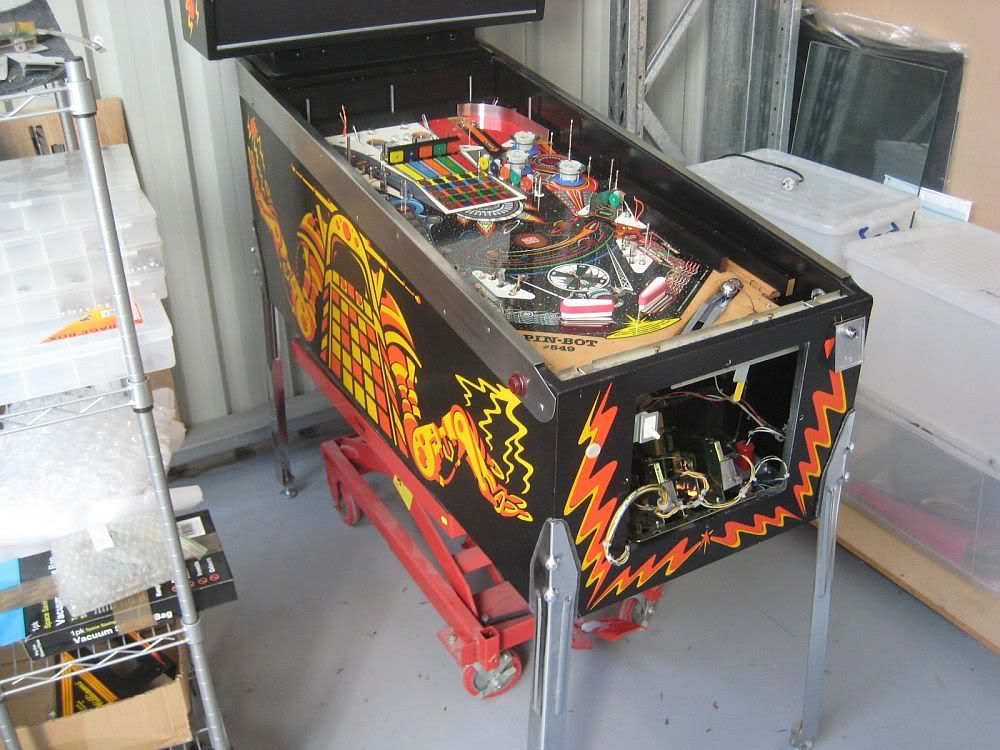

Looks much nicer compared to the early photos...
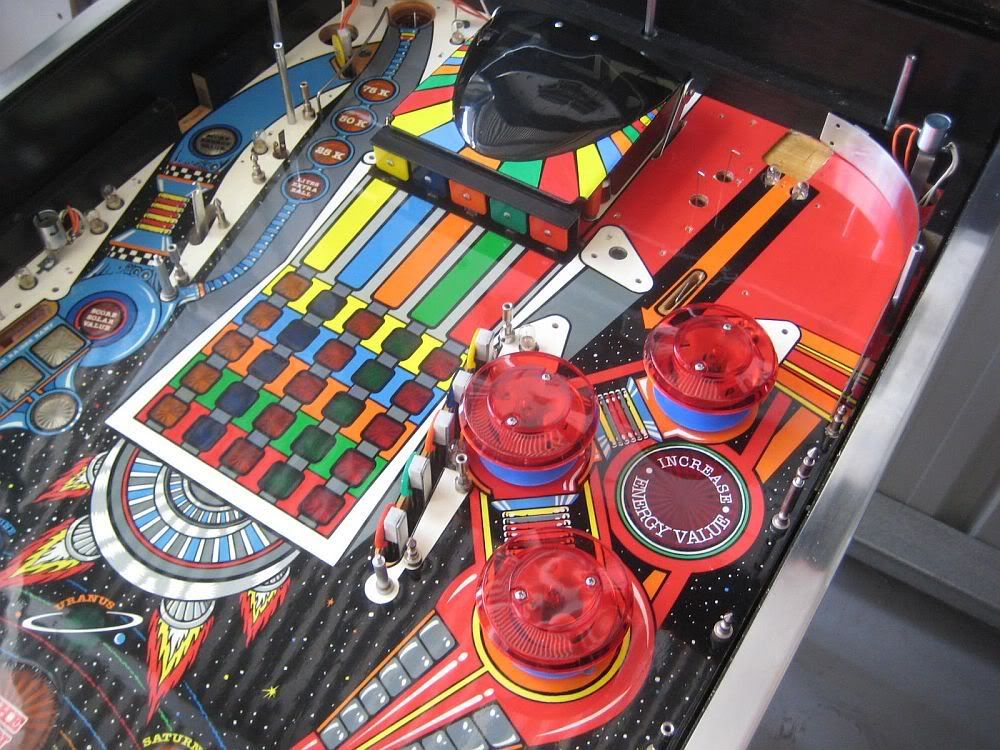

Test fitting ramps etc...
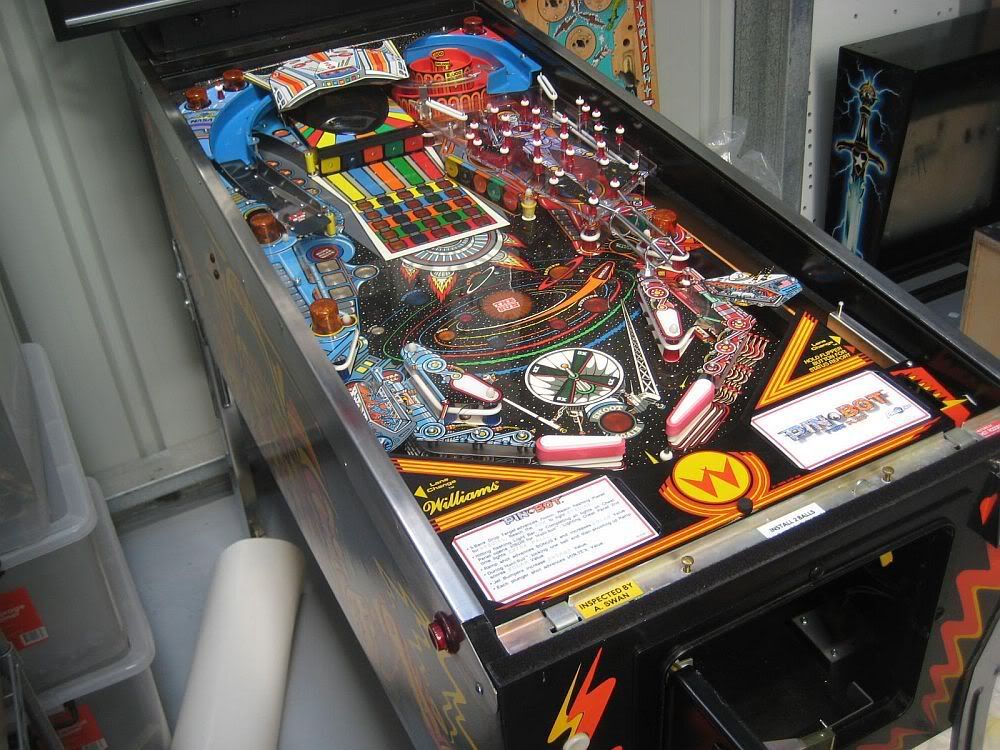

Anothy putting some final details on the game...
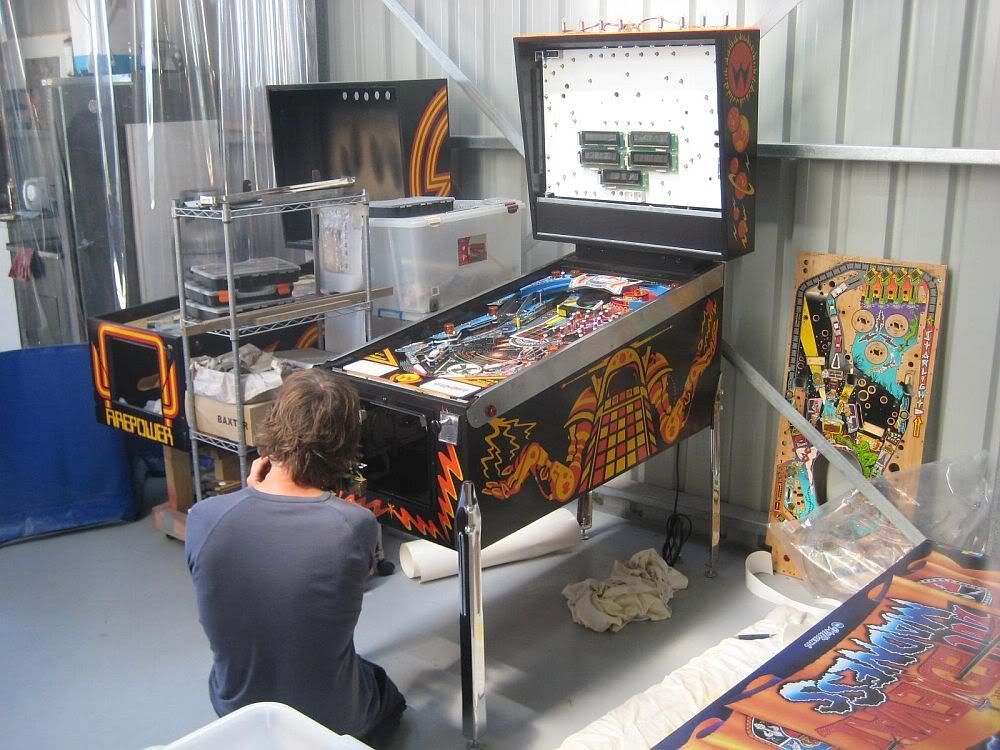

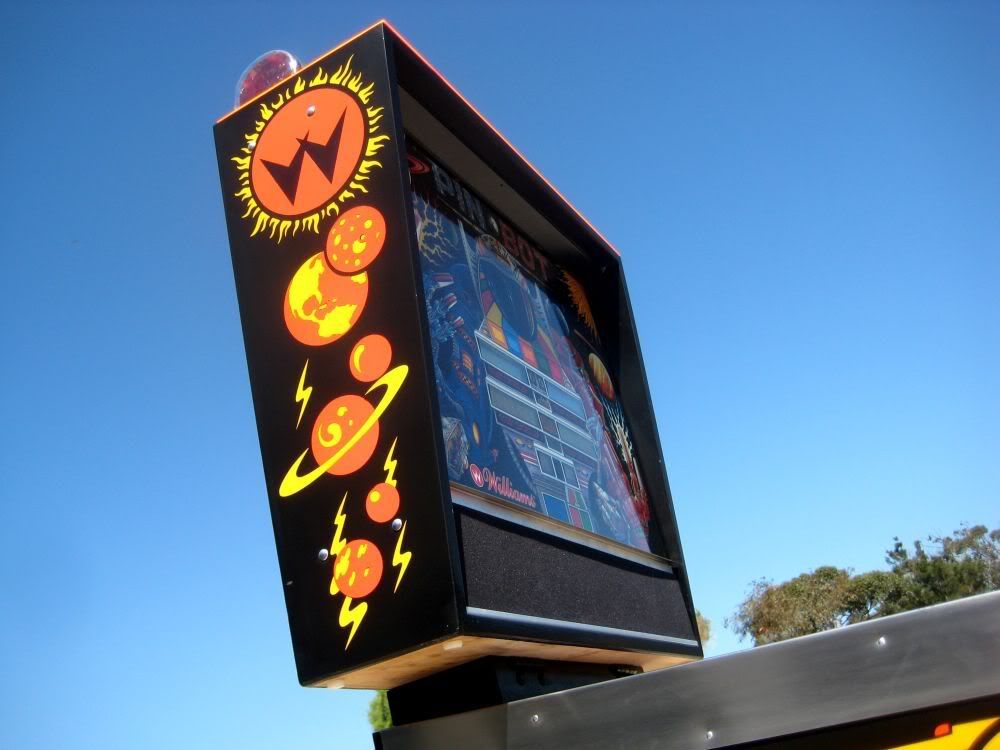
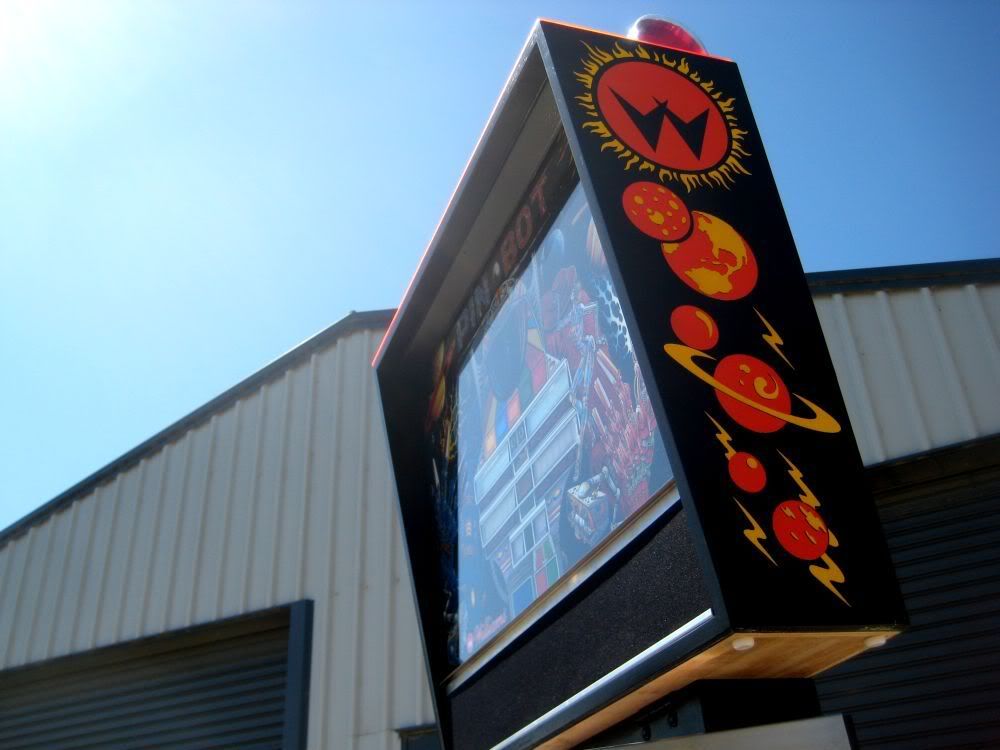
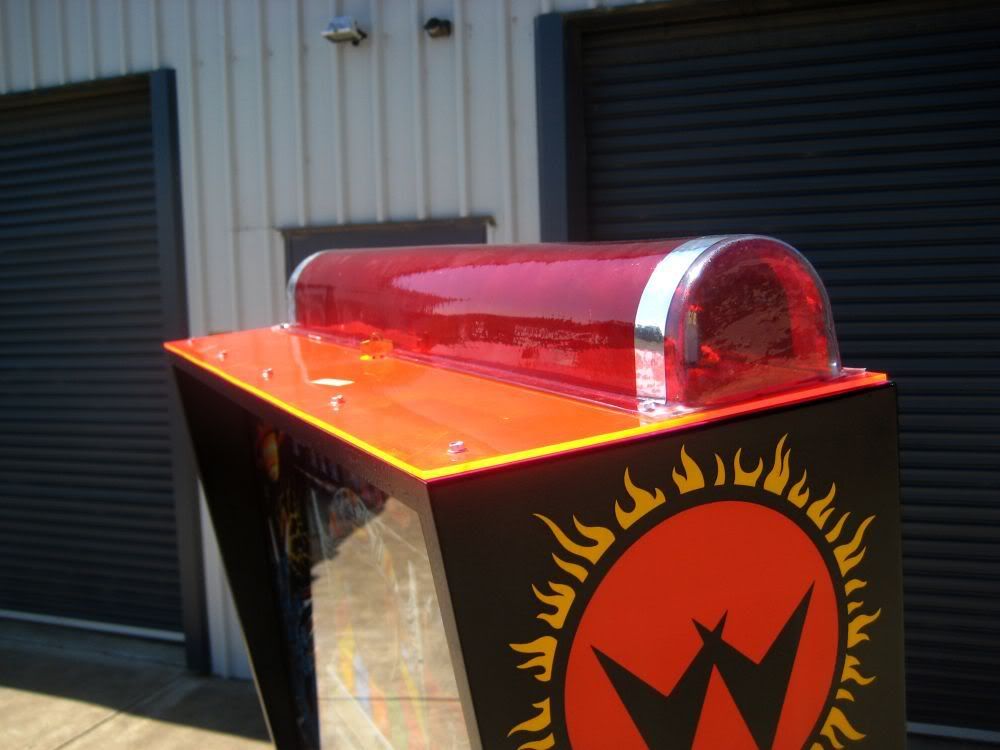
Anthony also produced this topper; the one with the machine was cracked out everywhere and he managed to make a mold and form a new one. I hope he posts on this topic as i was blown away with the result...

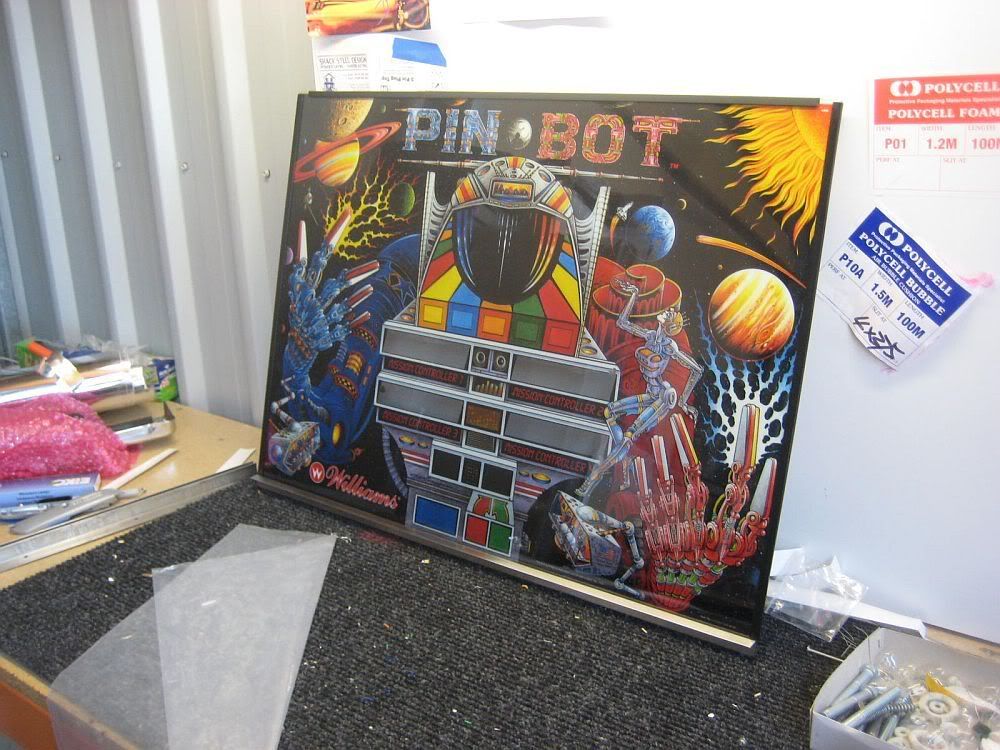
Translite refinished and new trim installed. Stainless bottom channel as per flyer...

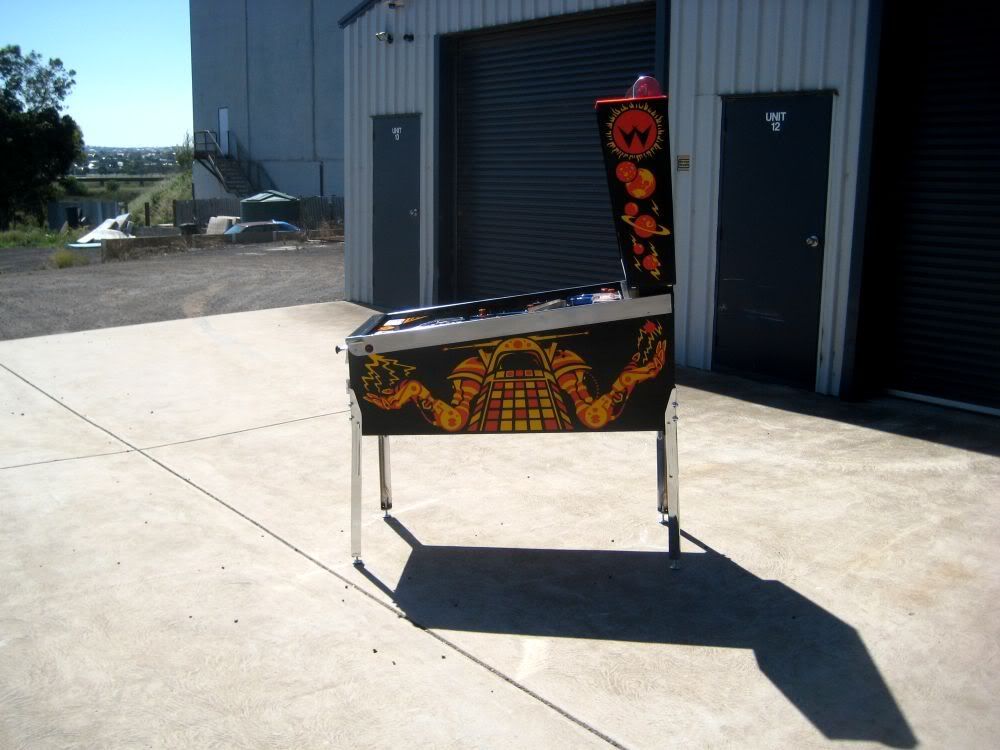
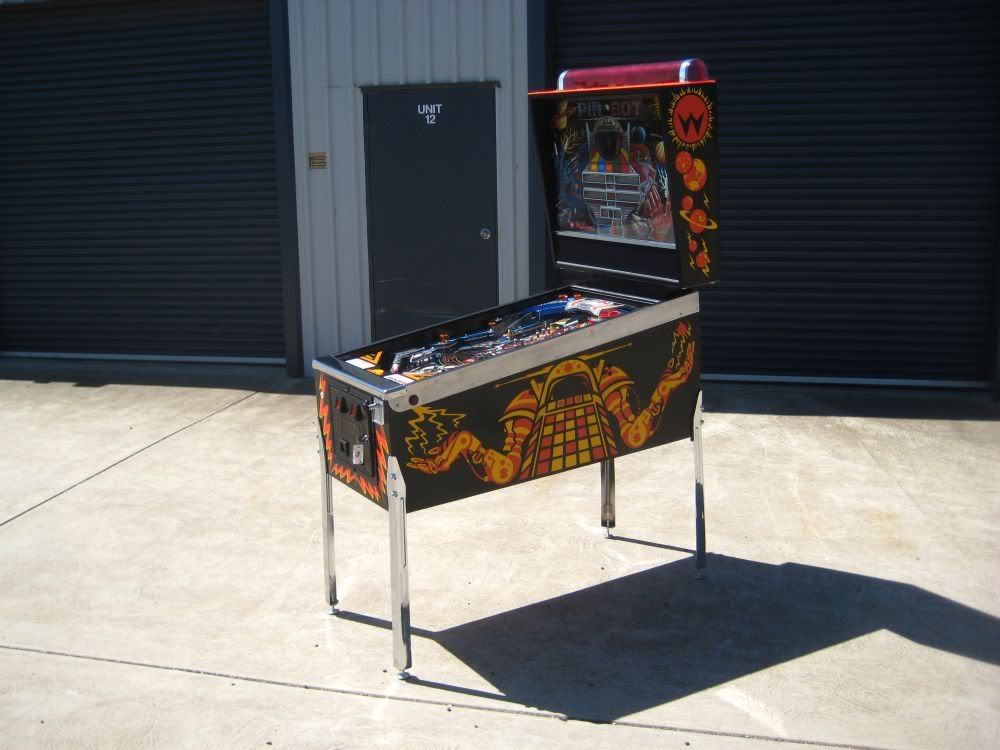
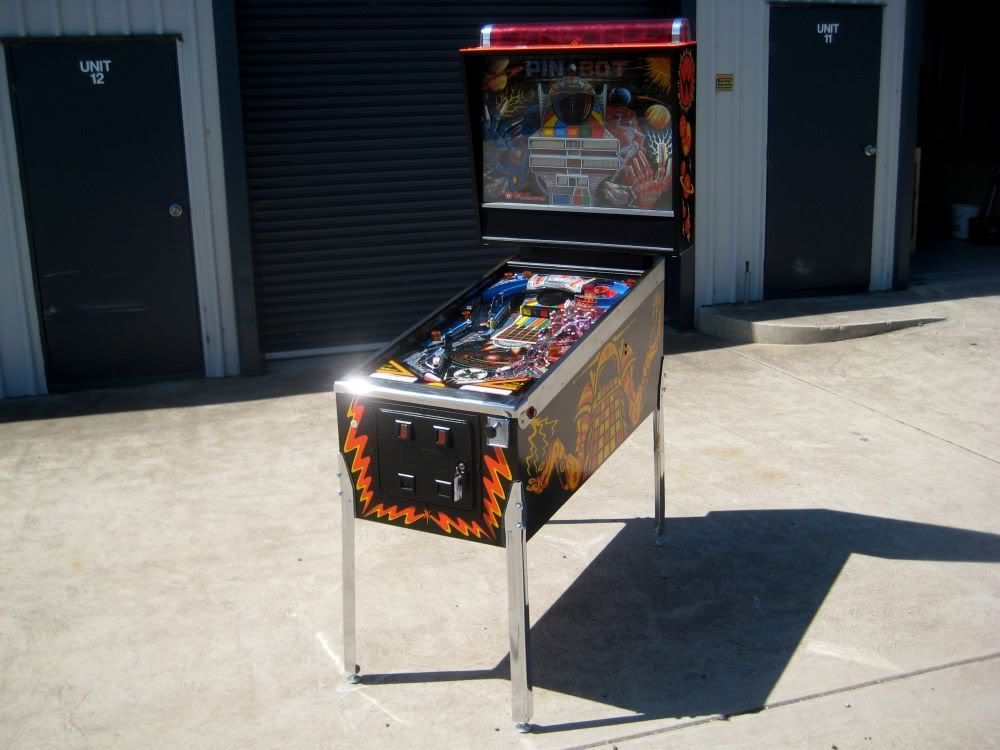
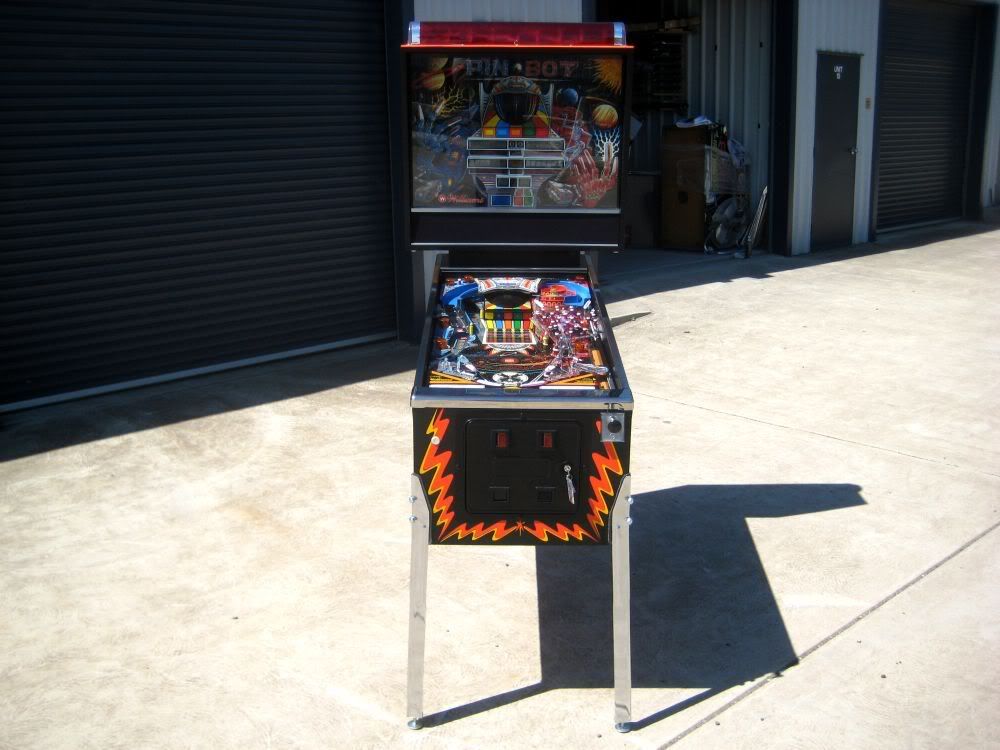
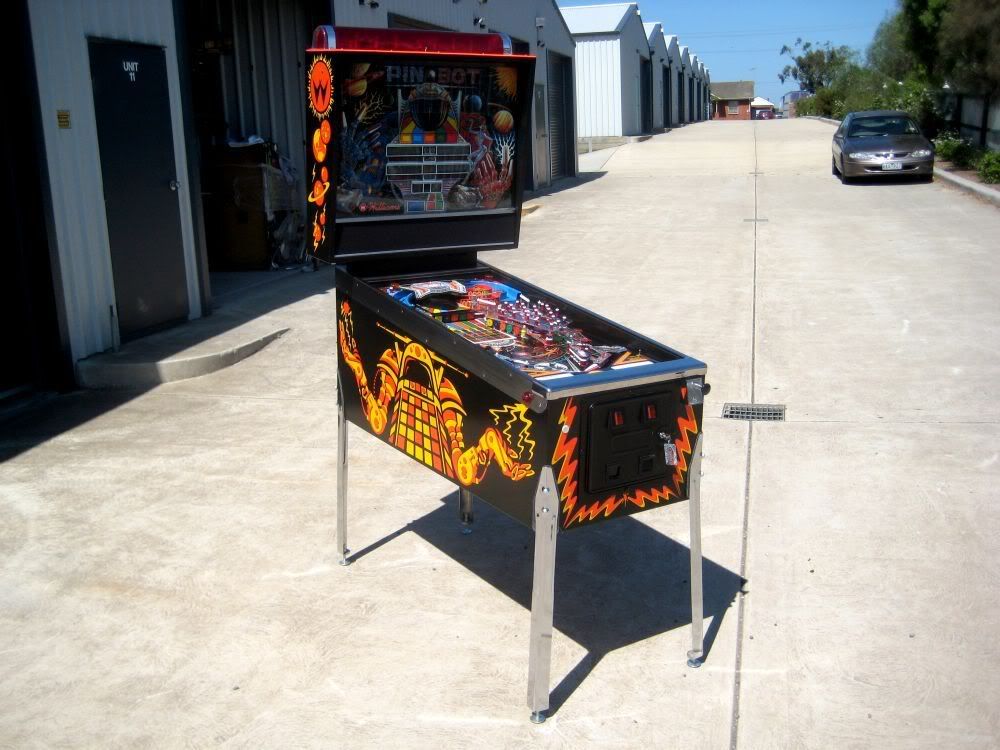
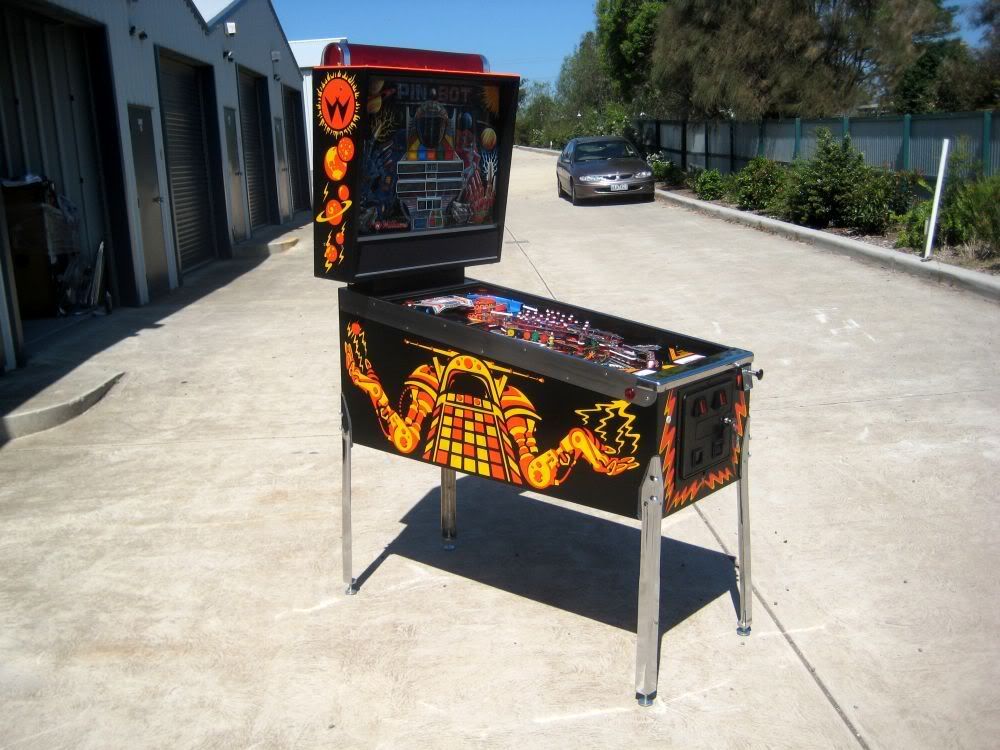
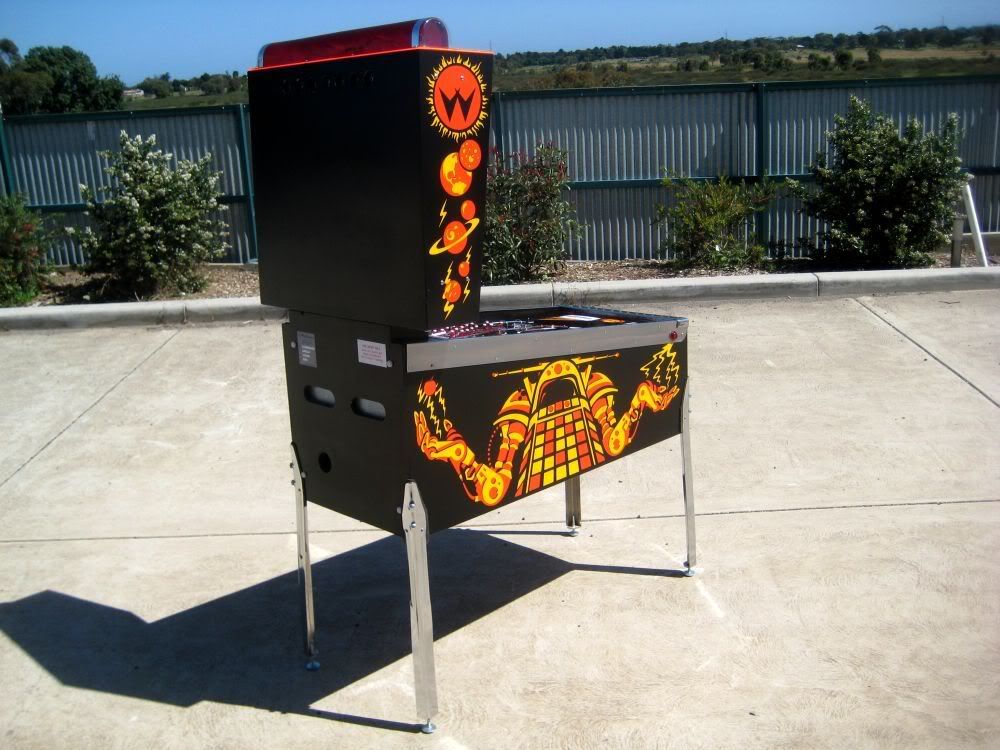
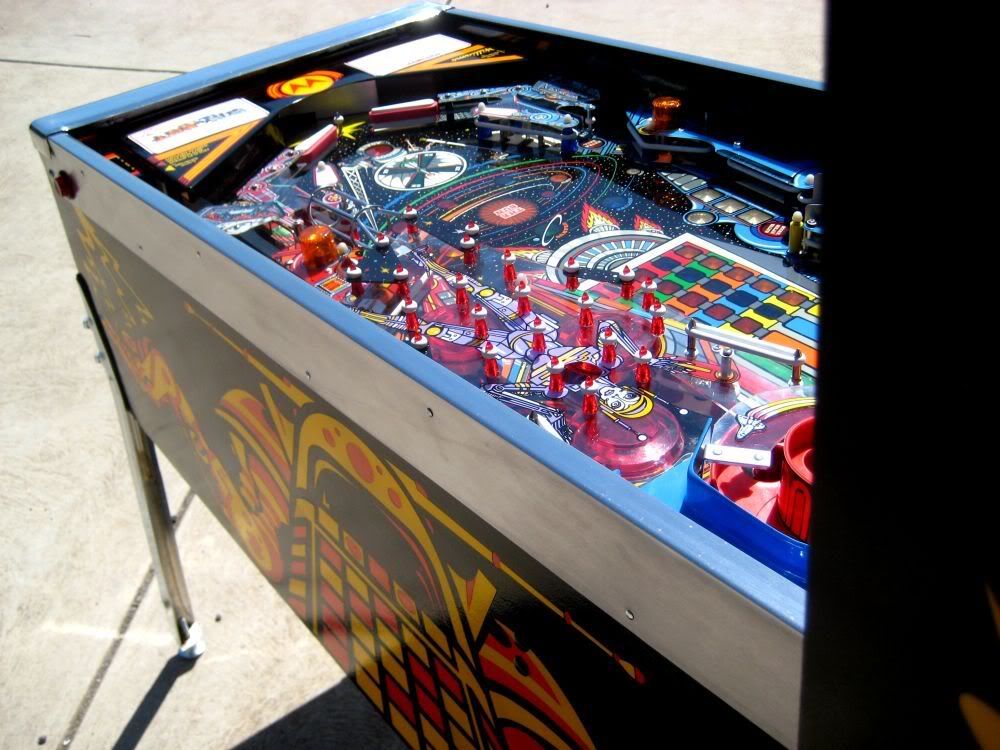
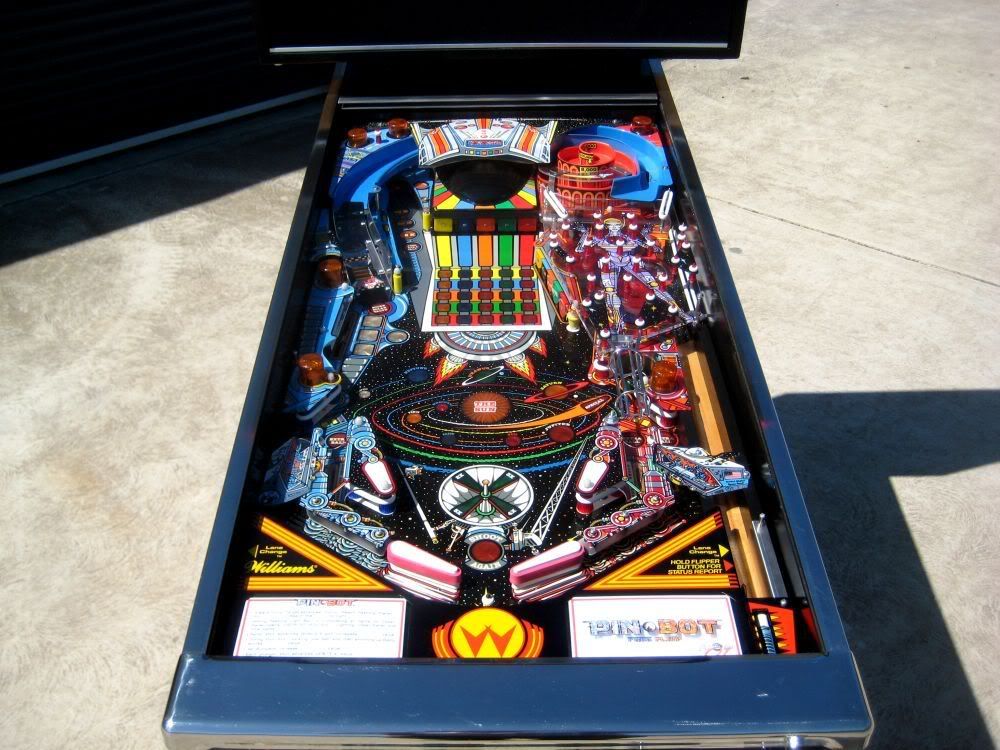
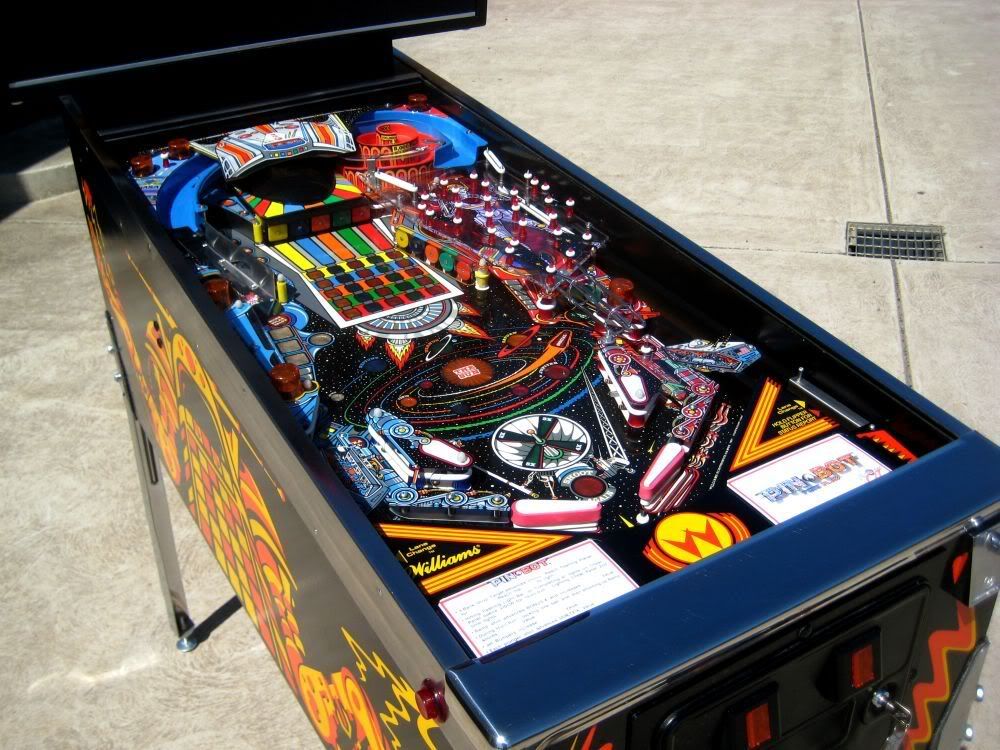
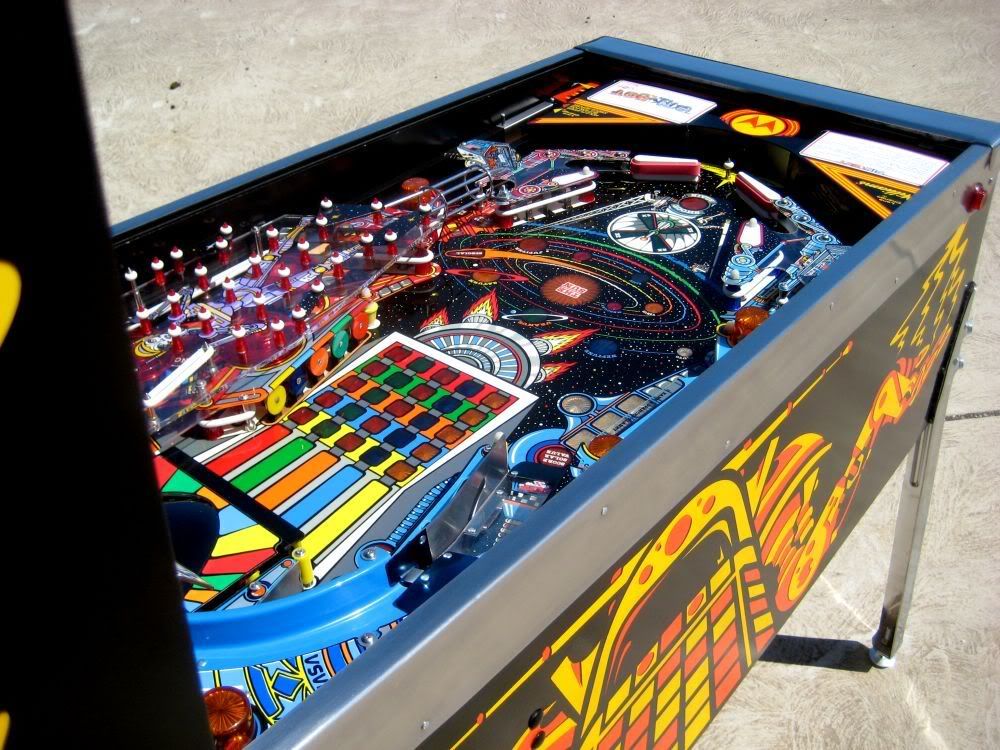
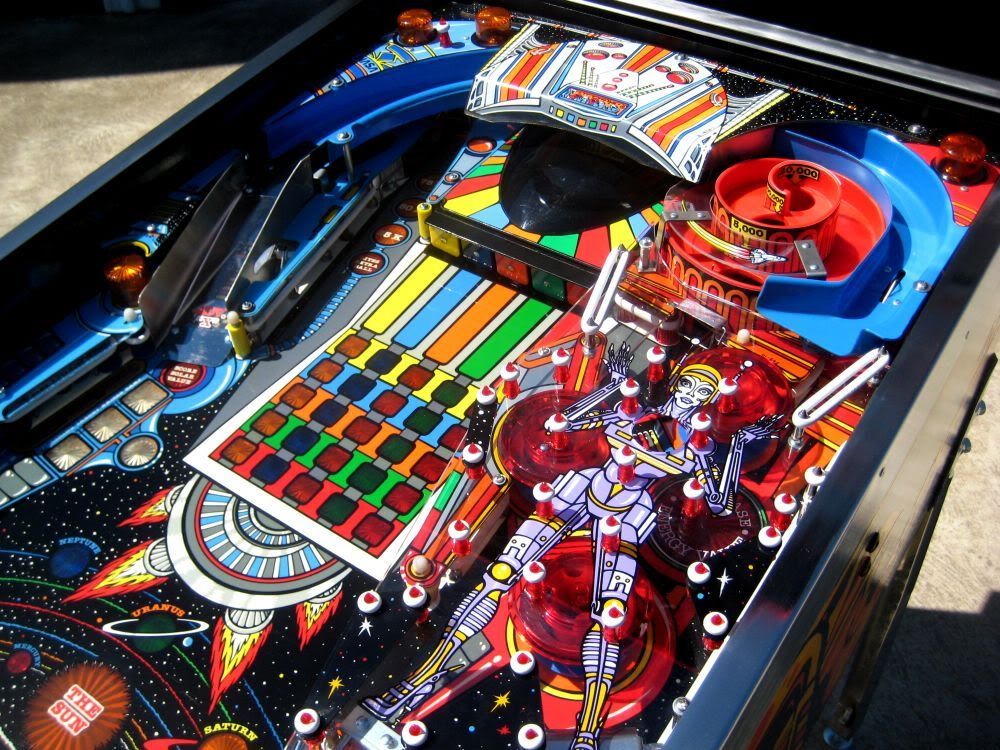
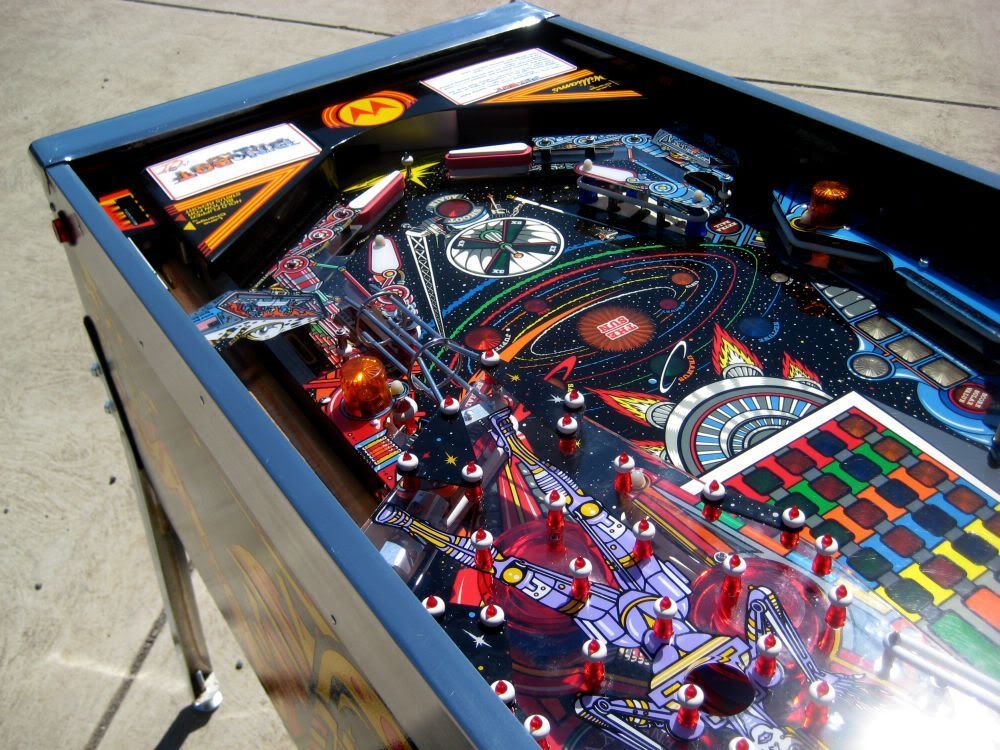
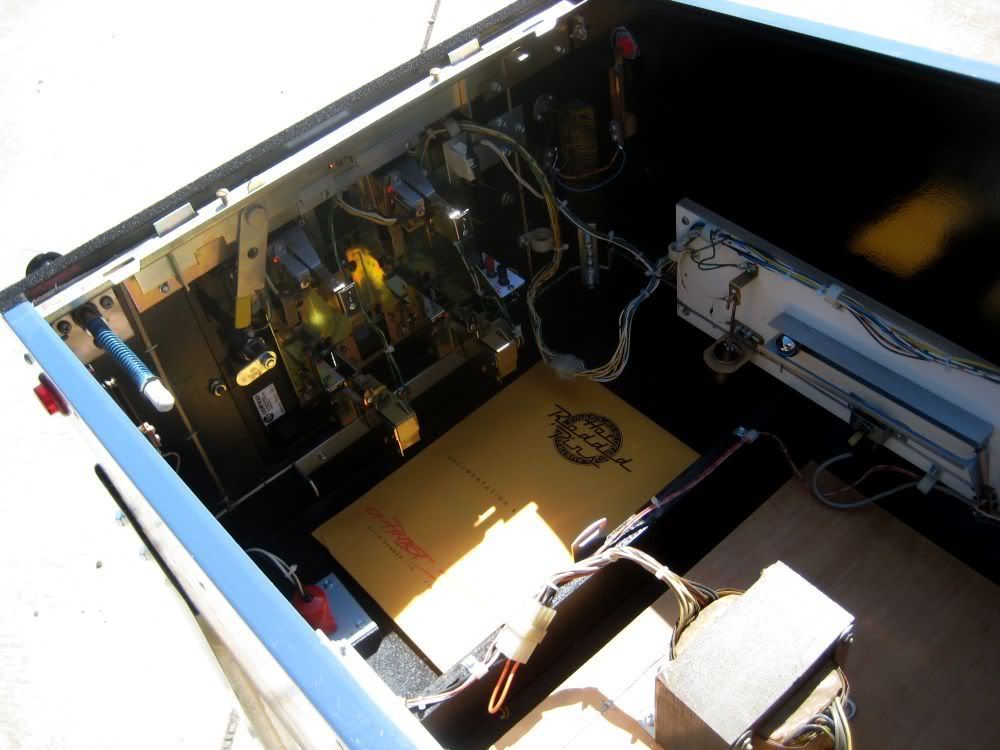
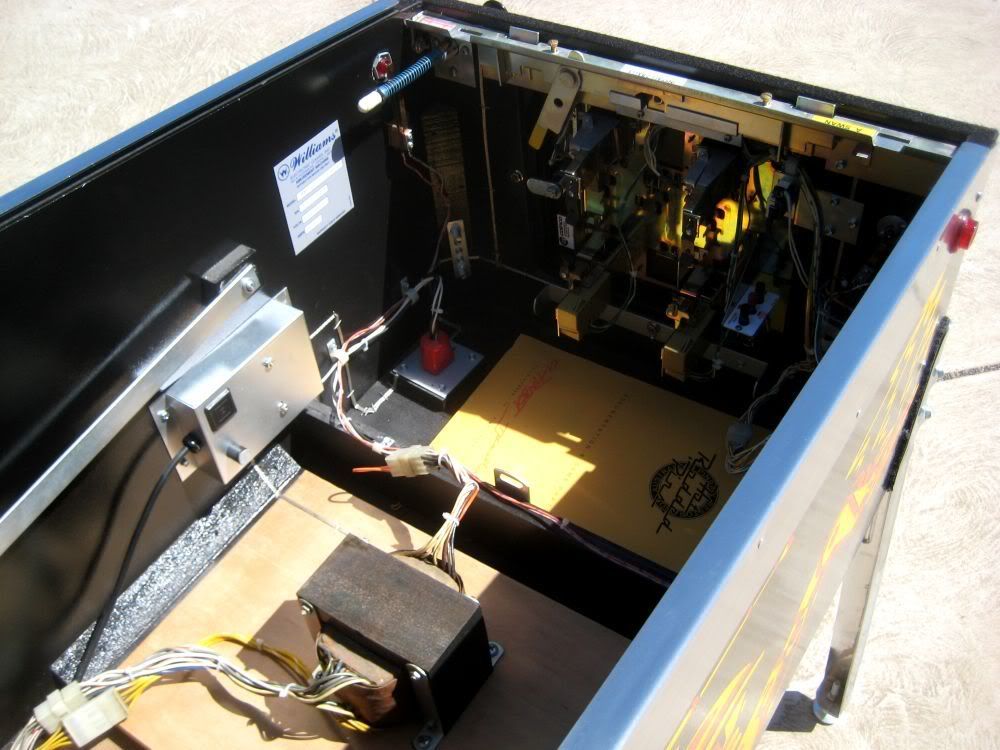
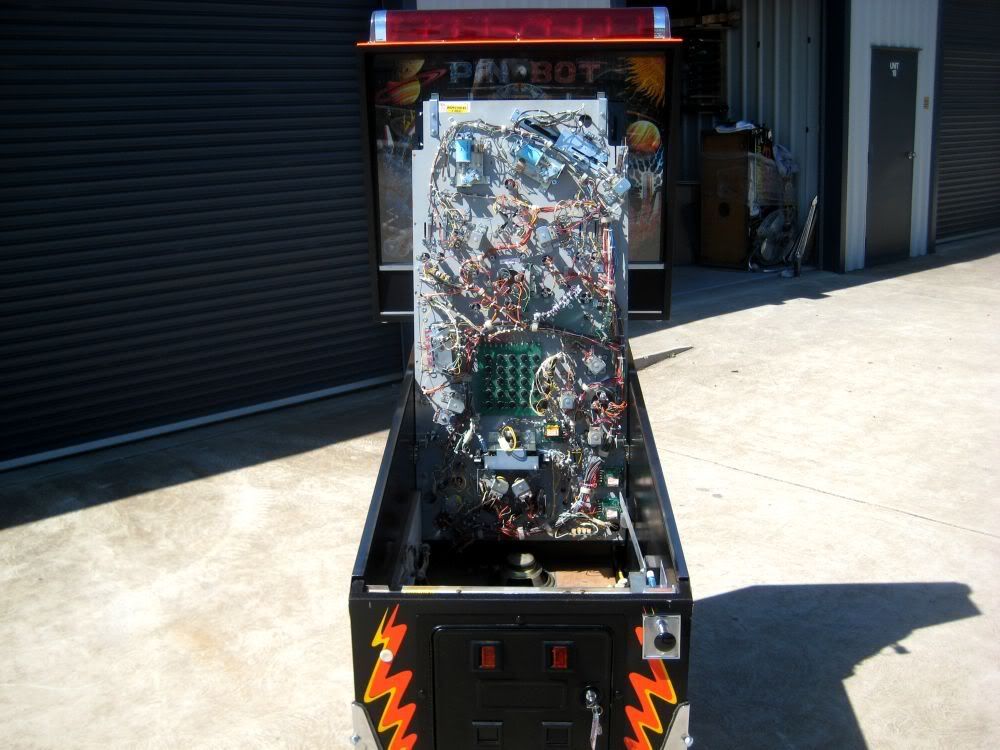
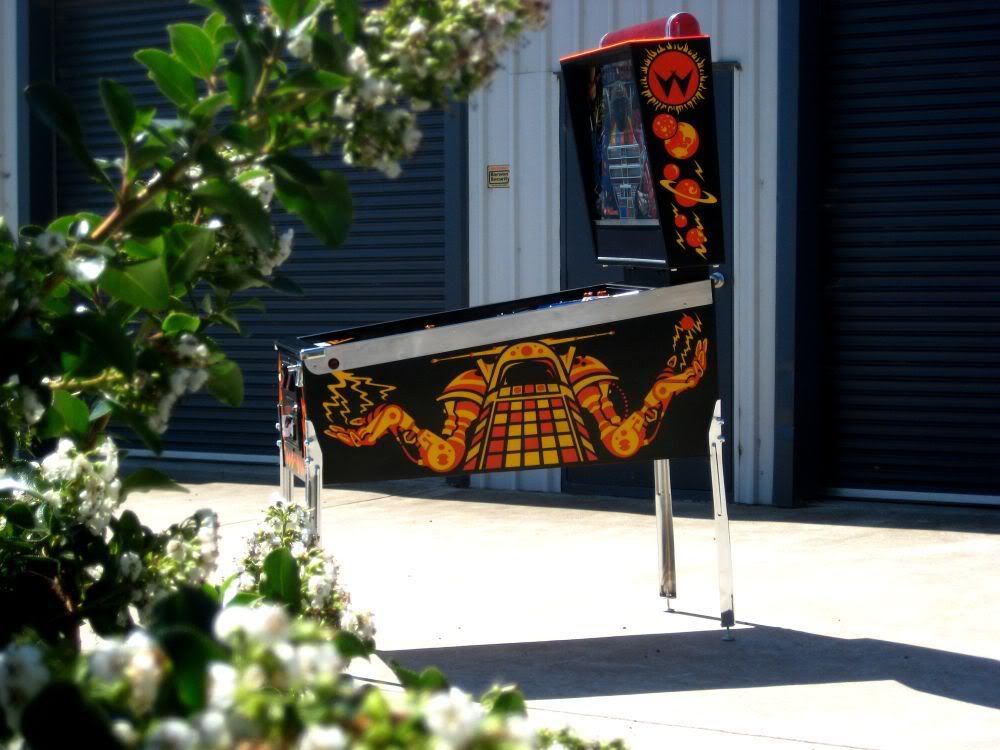
The photos from here are nothing more than my standard final glamour shots. Perfect day to get the game outside though!!

here we go...
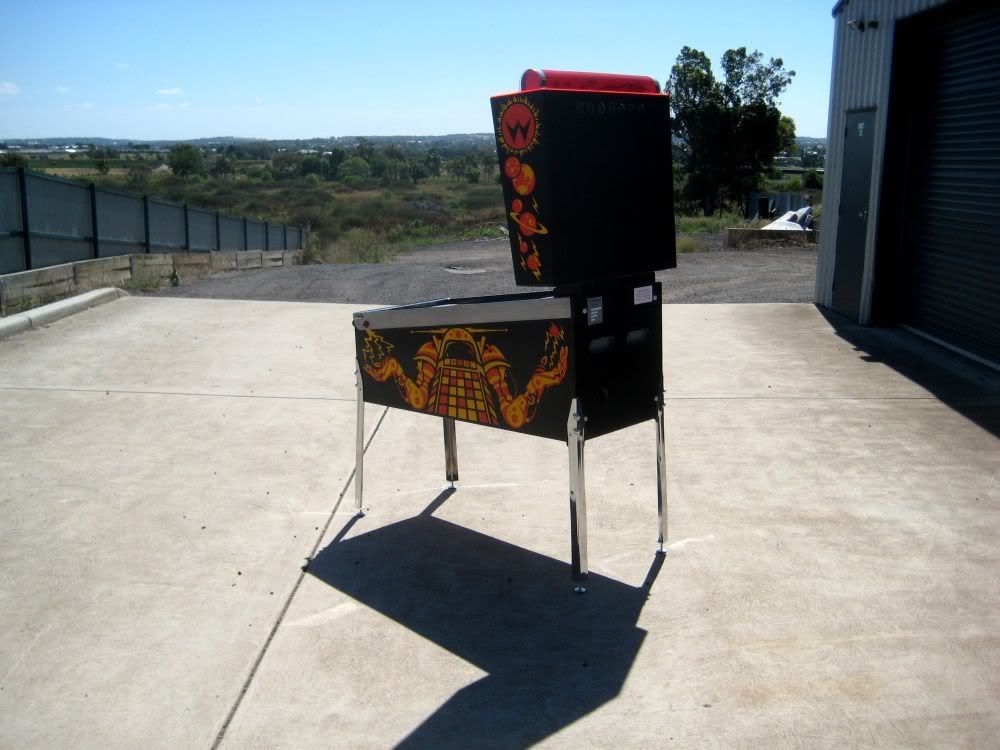


Thanks for reading guys, and hope i didnt kill your monthly internet data usage. I tried to make the photos as small as possible without losing too much detail.

Timbo

Offline Caveoftreasures

  • Trade Count: (+16)
  • ******
  • Forum Posts:
Re: HRP Pinbot Restoration...
« Reply #1 on: December 23, 2011, 12:20:36 AM »
I am speechless. That transformation is amazing.

How long are u booked up for Tim ?
Behind every garage door could be a pinball collectors
"Cave of Treasures" 55 in my collection

Into  Stern -JJP - Cars , Road Bikes- Jet Skis - Star Trek n Sci-Fi & Electronics    
Beware of Stalkers & Walkers when playing The Walking Dead

My 7yr old son Hunter is my best mate in the world !

Offline swinks

  • Trade Count: (+18)
  • ******
  • High Score Initials:
  • Forum Posts:
  • Lake Macquarie, NSW
Re: HRP Pinbot Restoration...
« Reply #2 on: December 23, 2011, 12:38:38 AM »
Awesome work again... Thanks for sharing.
« Last Edit: December 23, 2011, 10:11:30 AM by swinks »
https://swinks.com.au

for pinball parts (reproduction & mods)
for pinball t-shirts

Offline millsy

  • Trade Count: (+2)
  • ******
  • Forum Posts:
  • Illawarra
  • pinballaustralia.com
    • Pinball Australia
Re: HRP Pinbot Restoration...
« Reply #3 on: December 23, 2011, 12:45:58 AM »
Faaaaaaaaaaaaark
Speechless - Awesome Work  ^^^
pinballaustralia.com

Offline Olivia_jason

  • Trade Count: (+2)
  • ******
  • Forum Posts:
Re: HRP Pinbot Restoration...
« Reply #4 on: December 23, 2011, 12:57:53 AM »
your a freak, that is just awesome, wow  #*#

Offline spook

  • Trade Count: (+1)
  • ***
  • Forum Posts:
  • Brisbane, QLD
Re: HRP Pinbot Restoration...
« Reply #5 on: December 23, 2011, 01:32:39 AM »
Crackin' job again Timbo (and Anthony).  Awesome stuff.  One day, my Flash might need that sort of love and it's good to know that fantastic businesses like yours exist.  I love reading your resto threads!  Have a great Christmas!
Wanted: Another Williams Flash

Offline Strangeways

  • Pinball Restoration is my passion
  • Administrator
  • Trade Count: (+9)
  • *****
  • High Score Initials:
  • Forum Posts:
  • Melbourne
  • ABN 68 283 634 461
    • Ride The Boney Beast
Re: HRP Pinbot Restoration...
« Reply #6 on: December 23, 2011, 09:00:01 AM »

Your restoration work never fails to amaze me ! Pinbot is not an easy game as they are always well worn, but you have achieved the results of what the game would like like straight off the assembly line. Well done guys !
Aussie Pinball - Proud to be Australia's Premier Pinball Forum

http://www.australianpinballrestorations.com.au/

http://www.rtbb.com.au/catalog/

We carry the largest range of NEW Ramps in Australia

Offline Cow Corner

  • Trade Count: (0)
  • ******
  • Forum Posts:
  • Brisbane
Re: HRP Pinbot Restoration...
« Reply #7 on: December 23, 2011, 09:25:11 AM »
Amazing, stunning, brilliant...I am running out of plaudits for these guys.

" It's not the right time to be sober, now the idiots are taking over"

Offline Mr Pinbologist

  • Trade Count: (+5)
  • ******
  • High Score Initials:
  • Forum Posts:
  • Wauchope NSW
Re: HRP Pinbot Restoration...
« Reply #8 on: December 23, 2011, 10:04:19 AM »
 $$( $$( WOW!! looks sweet as, dude!! wot more can i say  @@* @@*

Offline MartyJ

  • Trade Count: (+4)
  • ******
  • High Score Initials:
  • Forum Posts:
  • Melbourne
Re: HRP Pinbot Restoration...
« Reply #9 on: December 23, 2011, 10:07:02 AM »
Great work Tim & Anthony.   *%*

Offline ktm450

  • Trade Count: (+1)
  • ******
  • High Score Initials:
  • Forum Posts:
  • Geelong, Victoria
Re: HRP Pinbot Restoration...
« Reply #10 on: December 23, 2011, 10:36:01 AM »
Absolutely stunning work again mate, well done, better than new  ^^^

Offline solar value

  • Trade Count: (+1)
  • ******
  • Forum Posts:
Re: HRP Pinbot Restoration...
« Reply #11 on: December 23, 2011, 12:56:34 PM »
Hi everyone,

Tim has documented this restoration beautifully but I will add to this a brief account of the process involved in re-making the Pin*Bot topper for those interested.  The basic philosophy we followed with this restoration was to restore as much of the game as possible, rather than replacing parts.  We wanted to bring the machine as close as possible back to its original state rather than modifying things or "blinging it out".  With that in mind most of the parts were cleaned or repainted but anything that was broken we just "couldn't live with" and had to be replaced rather than patched up. The topper we had was basically there but cracked around the edges:


So we set about making a new one. The original was almost certainly vacuum-formed, so to achieve an authentic result we decided to use the same method. There is a lot of information and videos about this technique on the internet so I won't go into it in too much detail but I'll show the various steps involved in making this particular part.  Firstly, a positive plaster mould was made of the original topper.  I believe the original mould was probably made of wood but plaster was chosen for our mould because it was a lot quicker and easier to produce.

The mould being poured:


The finished mould:


The basic vacuum-forming process is to heat a piece of plastic in a frame and then to place the molten plastic over a mould.  The mould sits on a vacuum box and the air trapped between the plastic and the mould is sucked out through the vacuum box, thereby slumping the plastic over the mould as it cools.  So we needed a piece of plastic and in a frame. We used PETG, which is the same stuff that they make ramps out of and probably what the original topper was made from (the blue protective contact is still on the plastic here):


And a vacuum box:


The original plan was to heat the plastic in the oven but we couldn't find one big enough, so we had to make one out of an old filing cabinet and the elements out of a bar radiator:


The plastic in the frame was heated by the elements:


And then placed over the mould on the vacuum box (sorry, no pics of that, got caught up in the action.)

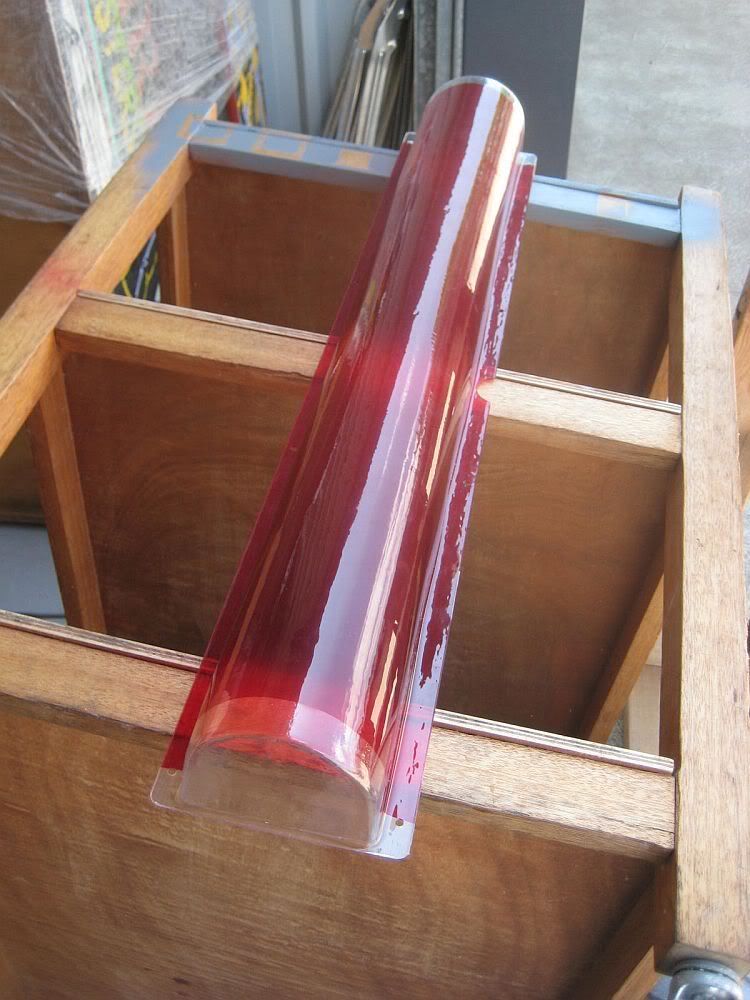
Here's the final topper after it had been taken out of the frame and trimmed:


That's about it.  We then masked off the ends of the topper and painted it with transparent red paint and added the reflective trim, Tim has already posted photos of the results. It's a pretty good match for the original.  The paint we used was a little less opaque but I actually like how you can just see the lamps through the topper even when they are not lit.

Here's a link to more detailed info about the vacuum forming process:

http://www.pinrepair.com/vacuum/

I've had a lot of fun doing this restoration with Tim. Making the topper was quite a big project in its own right.  Hope everyone enjoyed the write-up and have a good Xmas.

All the best, Anthony.

Offline swinks

  • Trade Count: (+18)
  • ******
  • High Score Initials:
  • Forum Posts:
  • Lake Macquarie, NSW
Re: HRP Pinbot Restoration...
« Reply #12 on: December 23, 2011, 01:52:03 PM »
Thats awesome, you see it on Mythbusters but what a simple little system - thanks for sharing.
https://swinks.com.au

for pinball parts (reproduction & mods)
for pinball t-shirts

Offline Pinballer

  • Trade Count: (0)
  • *****
  • Forum Posts:
Re: HRP Pinbot Restoration...
« Reply #13 on: December 23, 2011, 04:58:01 PM »
Absolutely brilliant work, well done!  The vac forming is very interesting on its own.  That's one very nice Pinbot as a result of all your hard work, well done fellas.

Where do you buy your ground braid for the cabinet and the thinner stuff for the playfield & backbox light circuits?  Do you source if locally, within Australia, or from overseas?  Reason I ask is I'd like to buy a roll of each for my restorations.

Offline ktm450

  • Trade Count: (+1)
  • ******
  • High Score Initials:
  • Forum Posts:
  • Geelong, Victoria
Re: HRP Pinbot Restoration...
« Reply #14 on: December 24, 2011, 02:41:37 PM »
That is very cool, lot of mucking around but the result is fantastic, I remember doing something like that on a smaller scale at Tech school