Hi guys,
The following is a set of photos highlighting the stages of a Williams Pinbot restoration completed at my workshop this year.
While i recommend viewing the entire start to finish gallery on my website, i understand that clicking your way through 200 or so photos with comments is not for everyone. I have condensed what i can, and have picked out some of my favourite snaps. Hope you like what you see. It was alot of work to get the game to this point but i heard somewhere that that's meant to be half the fun? Anthony who works down at the shop may add a little once he sees this post which would be nice.
Anyway, have a safe Christmas break, and thank-you to everyone on the Aussie Pinball forum that has supported me this year.
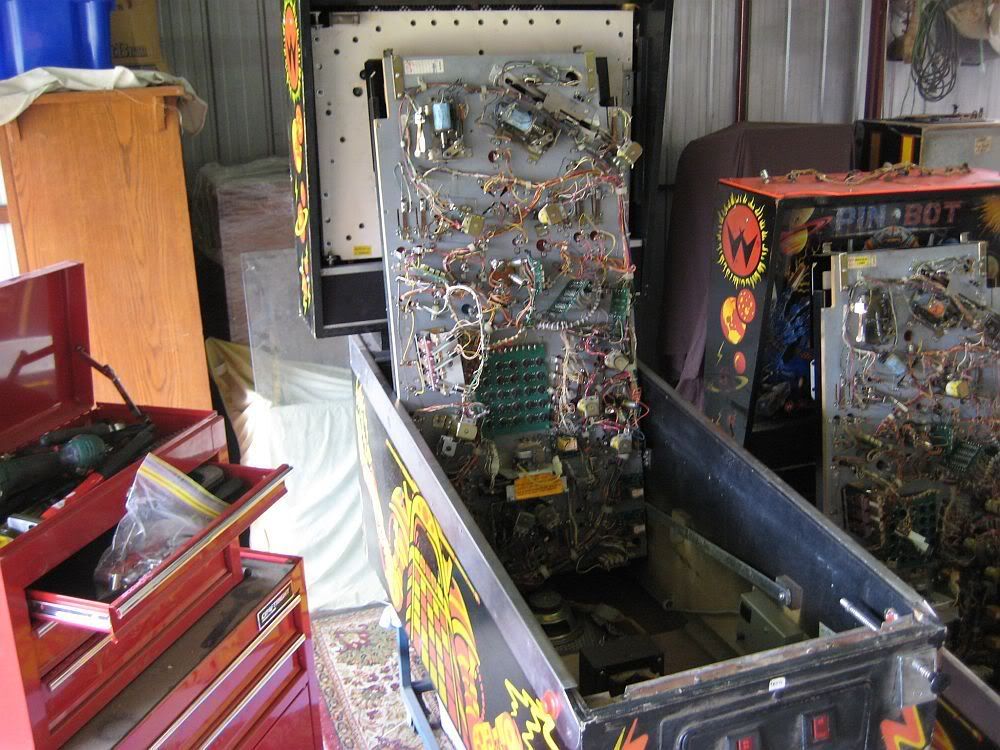
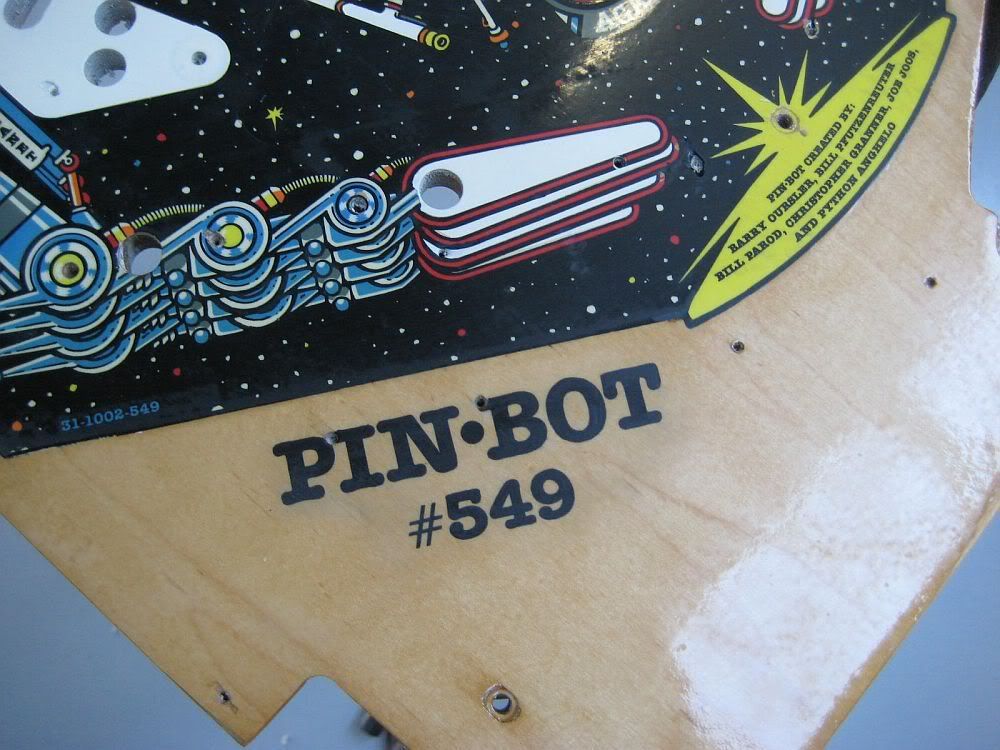
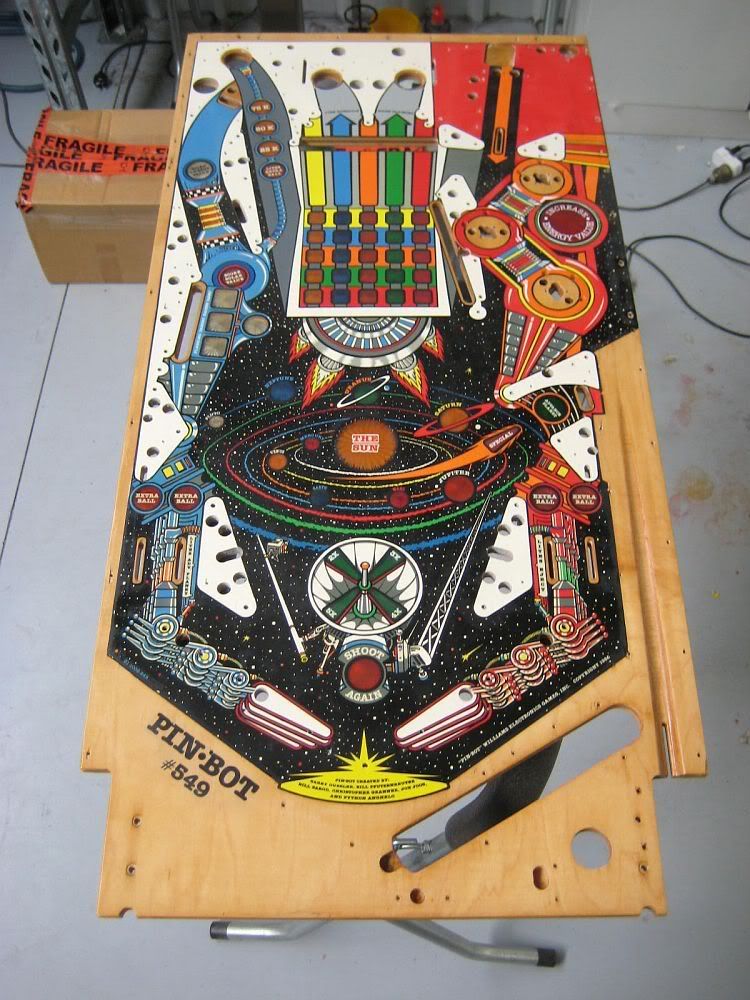
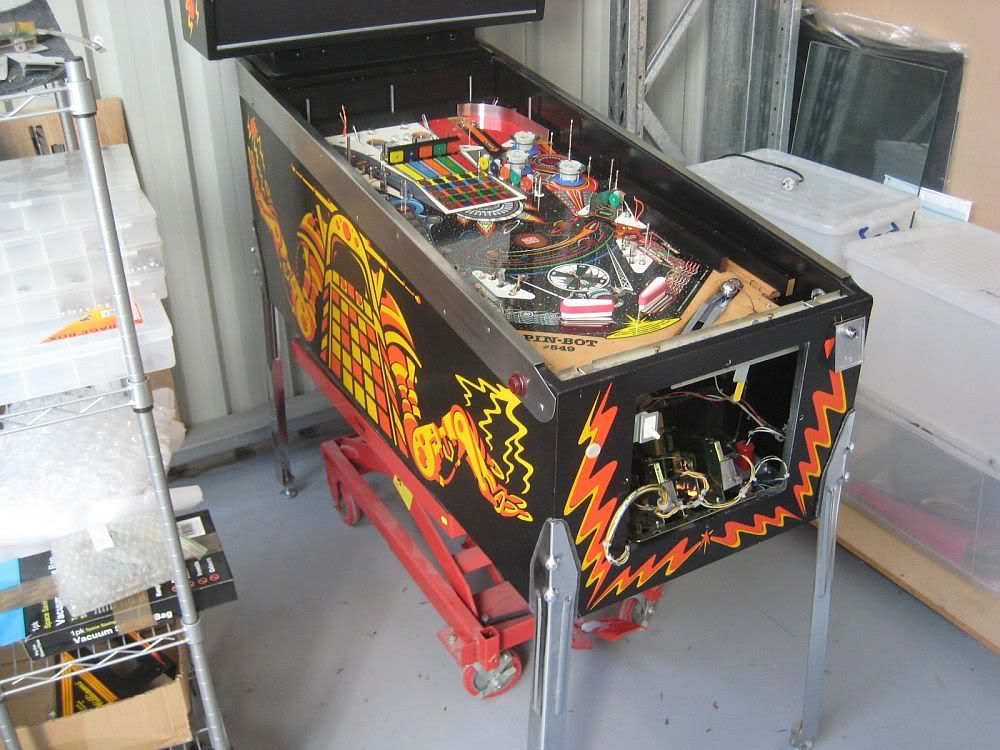
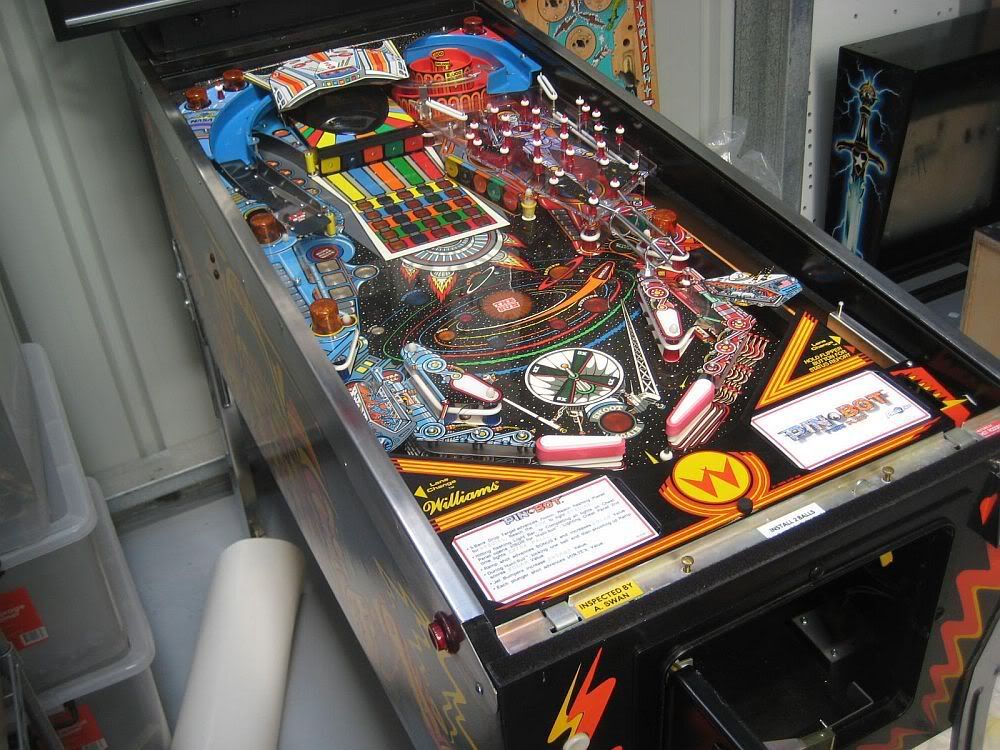
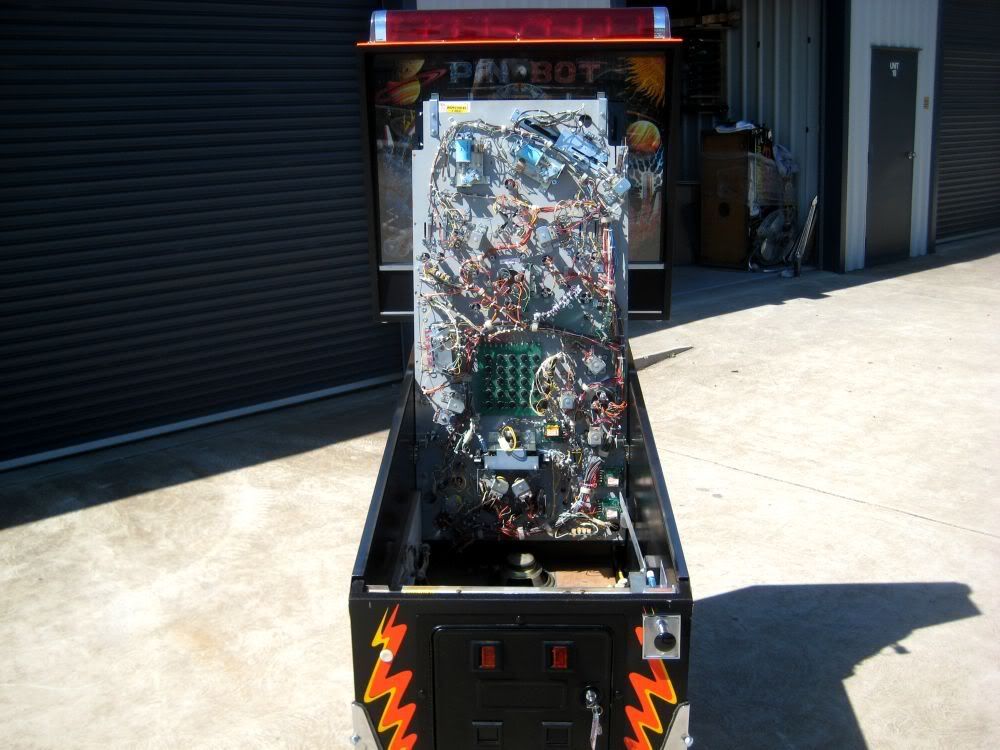
Starting with the base game, this is what i had. Not much to look at, but it was relatively complete and i had my own parts Pinbot which was a bonus...
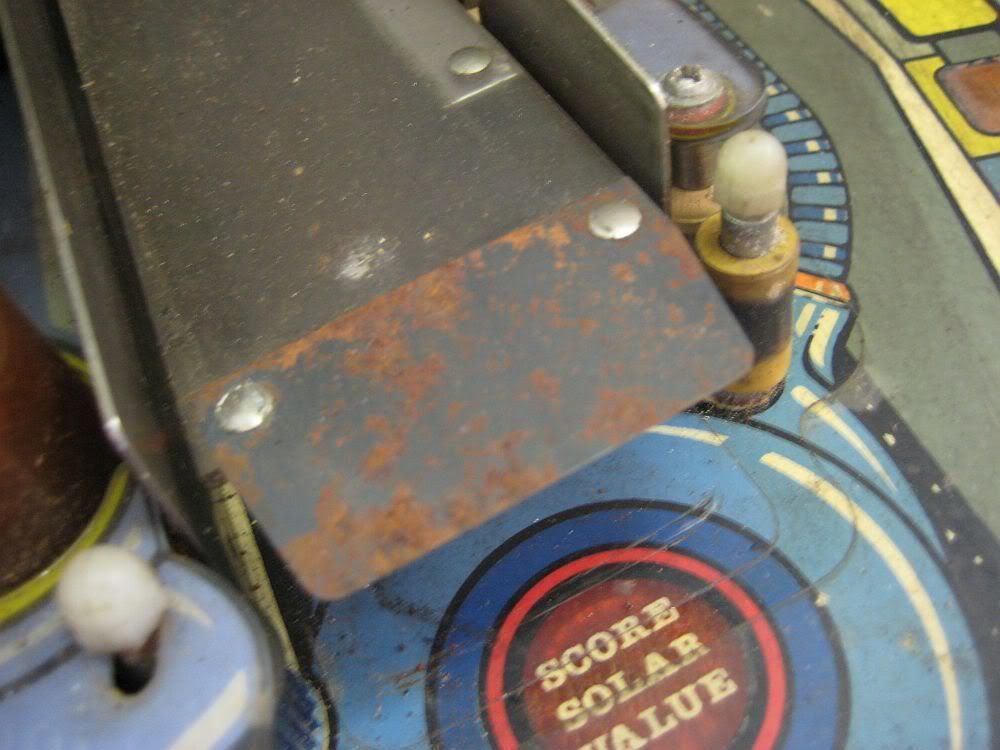
Rust...
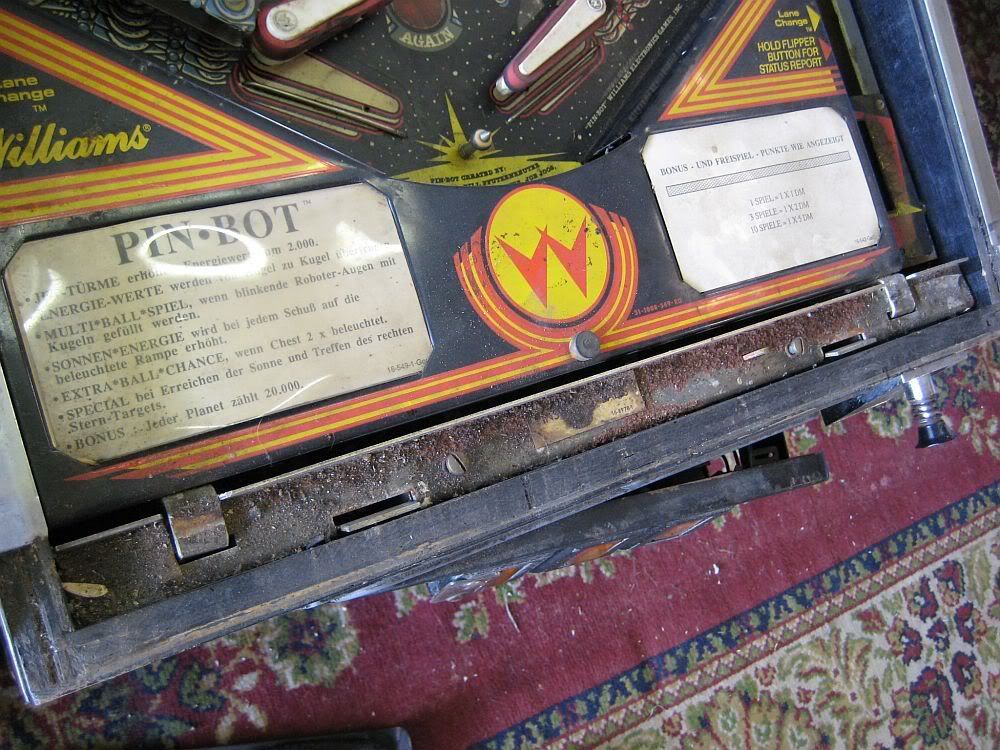
Overview of starting condition lower...
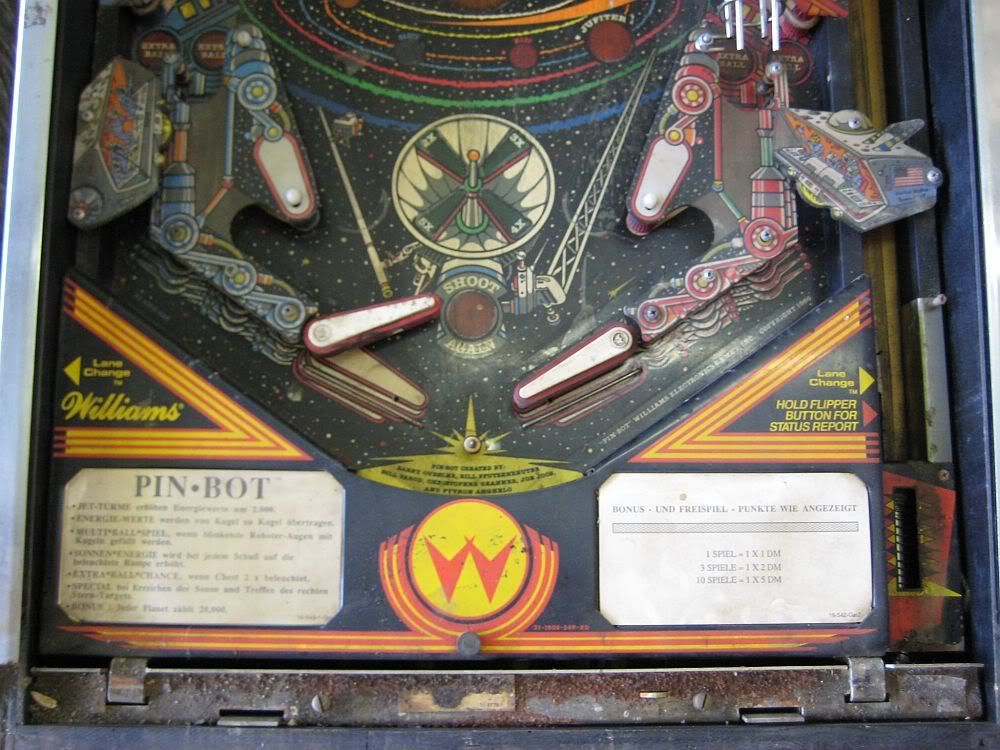
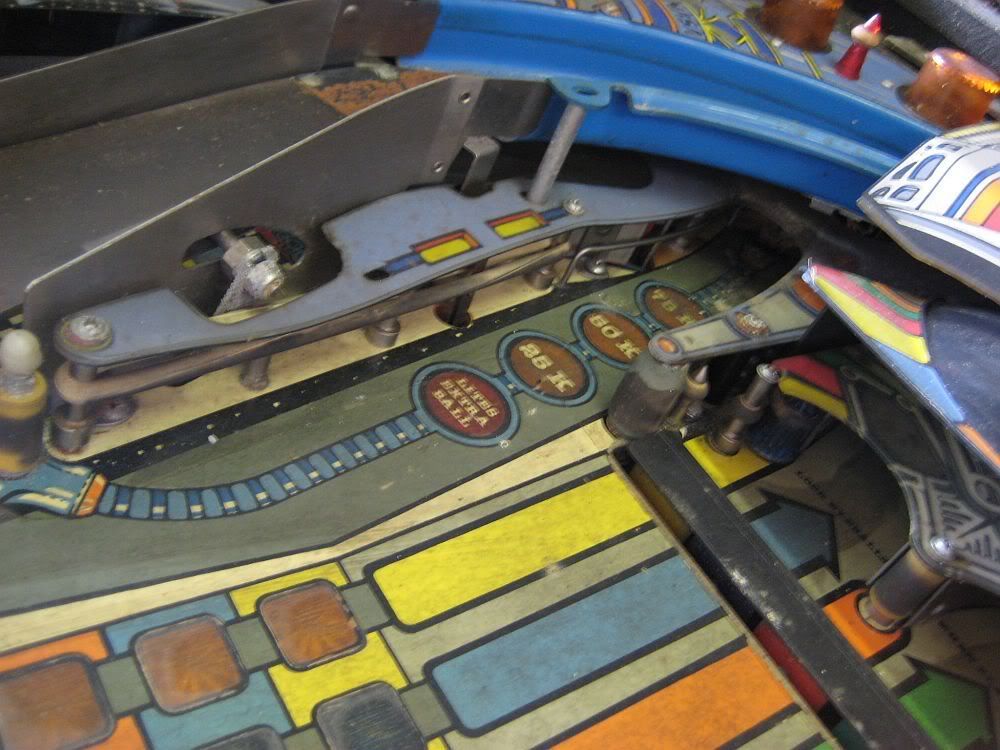
Middle...
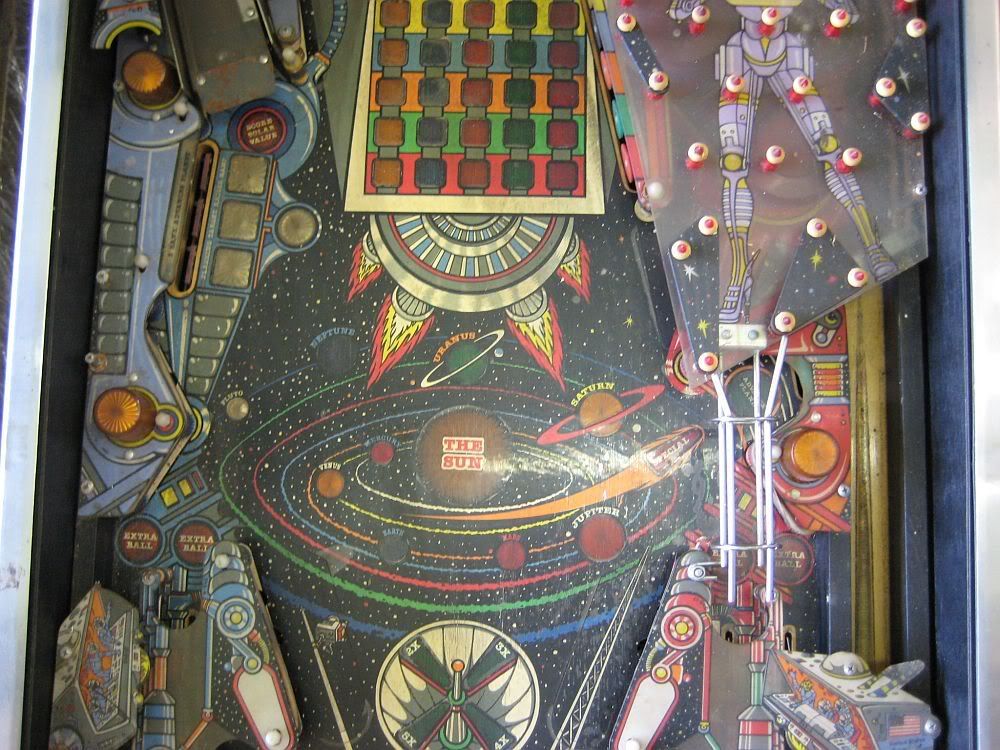
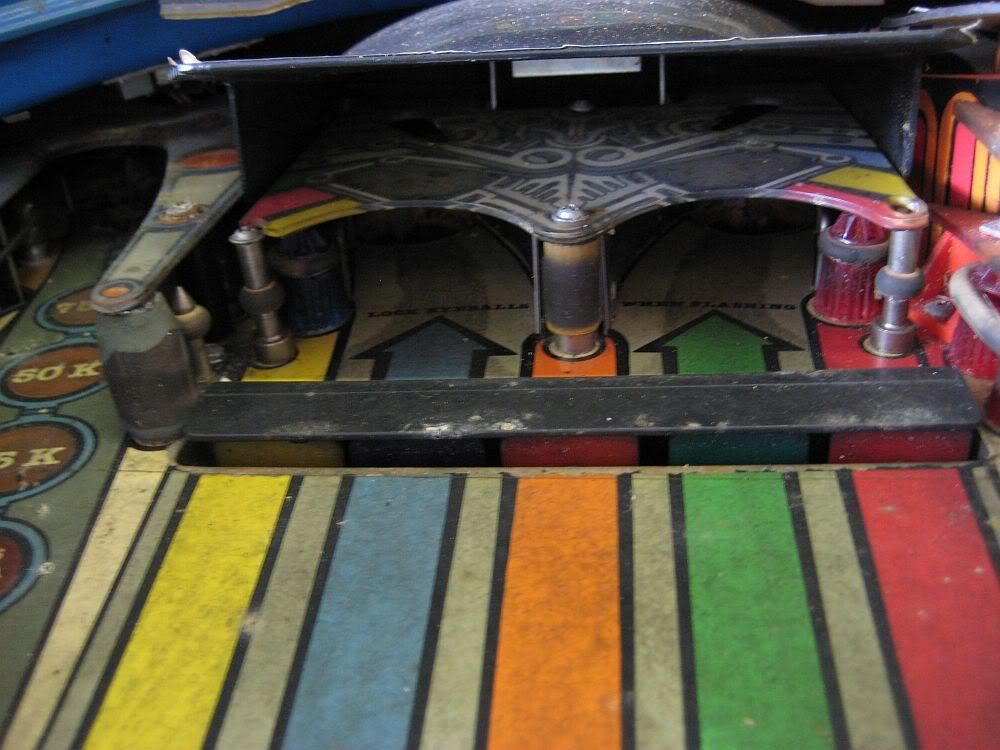
Upper...
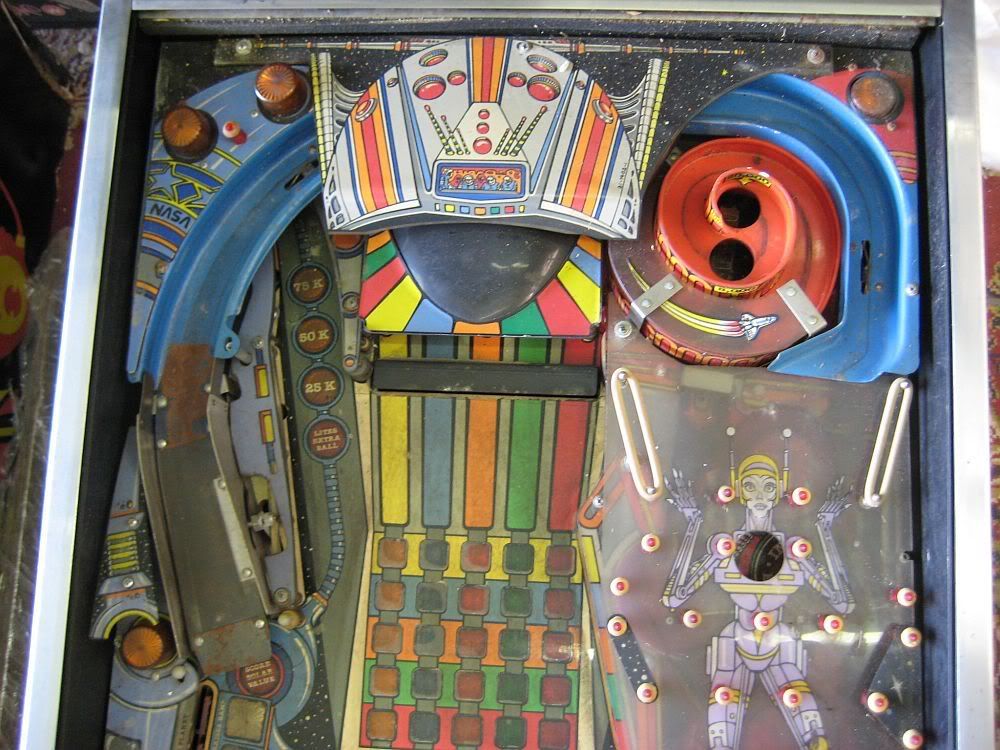
Some details of the other problems...
Generally pretty scrappy...
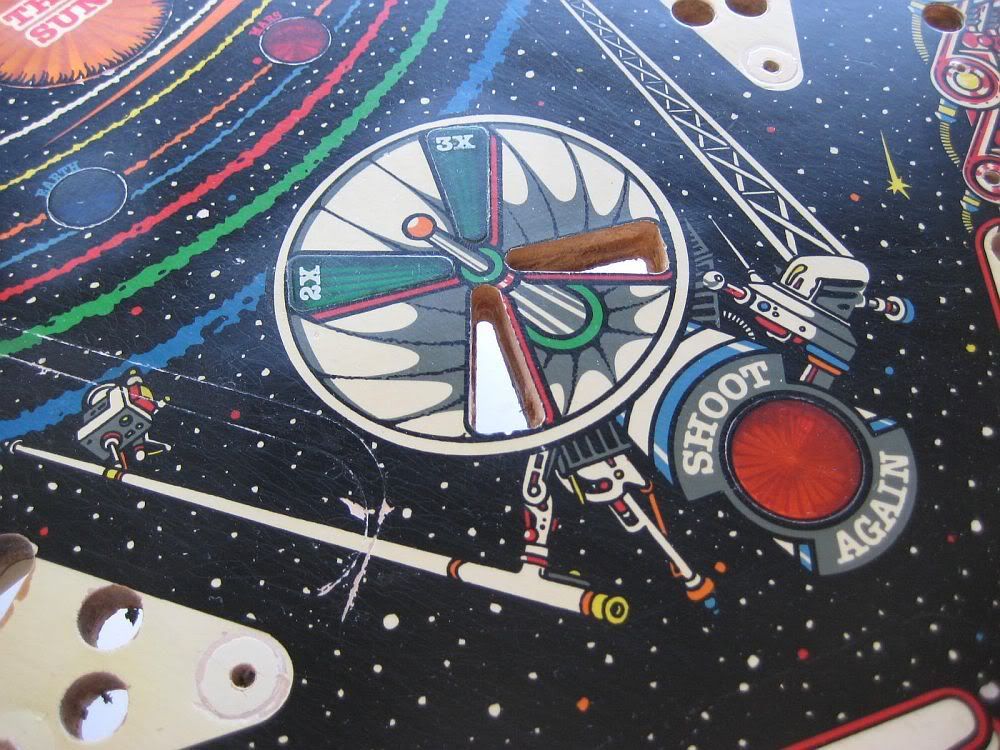
Dull art, mylar etc...
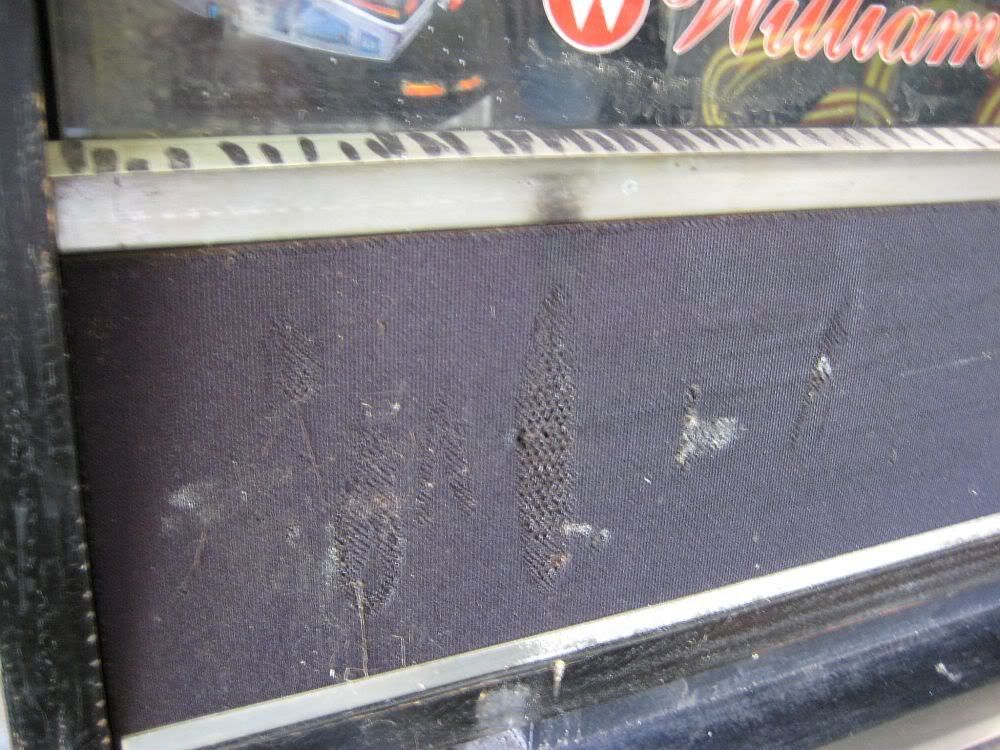
Speaker panel...with bonus texta marks which look pretty cool :) NOT
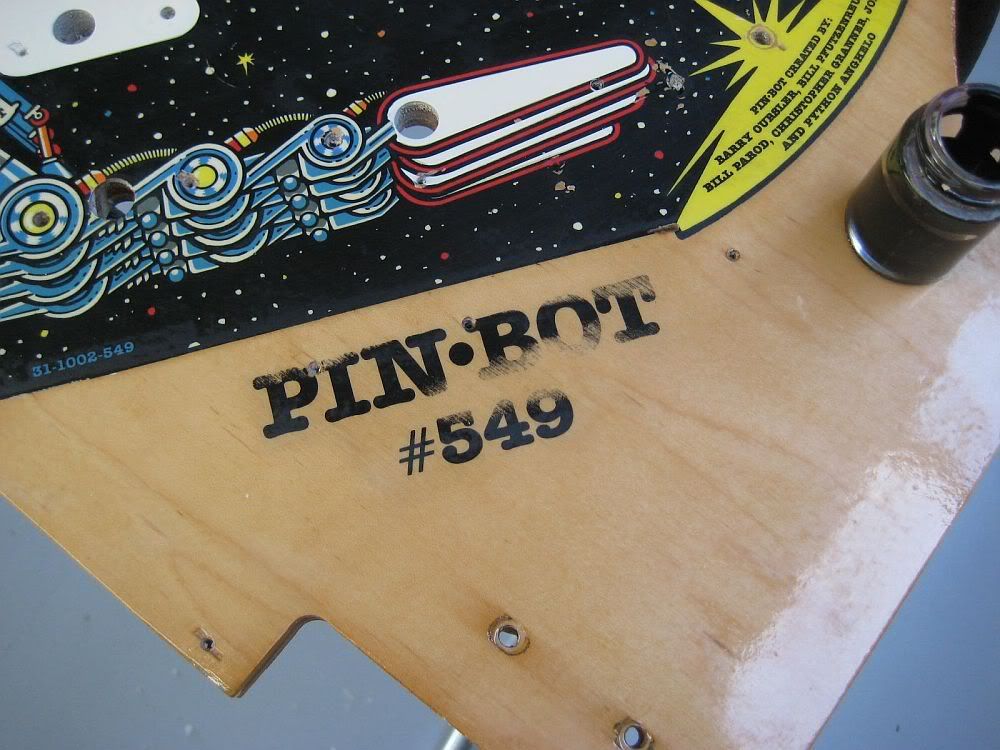
Starting to document the machine and strip it down...
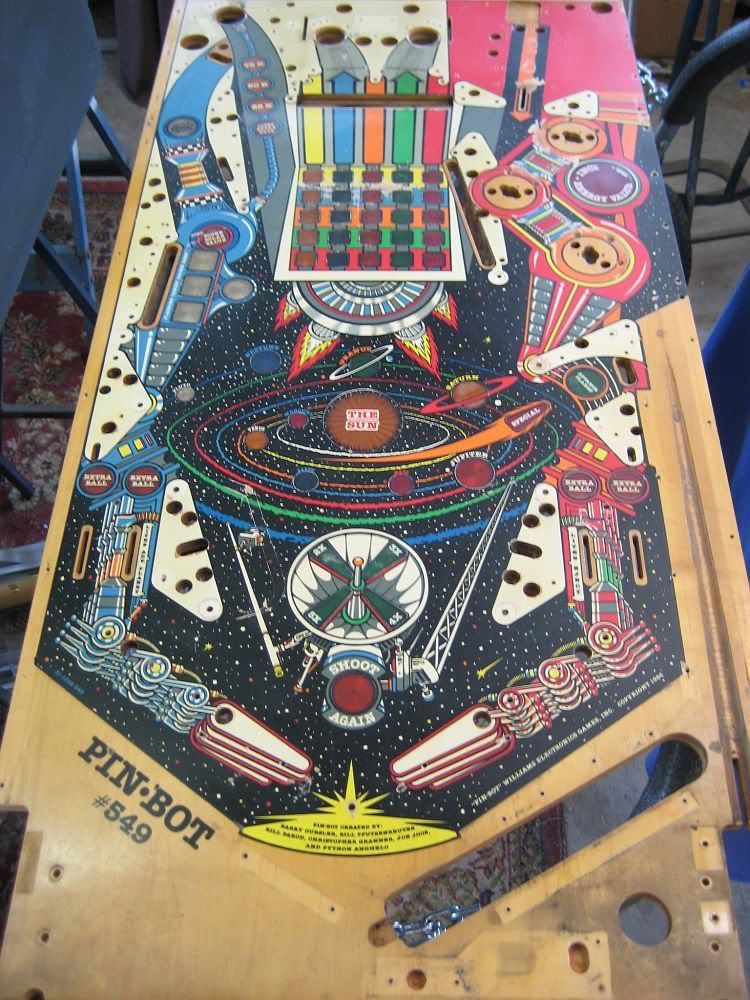
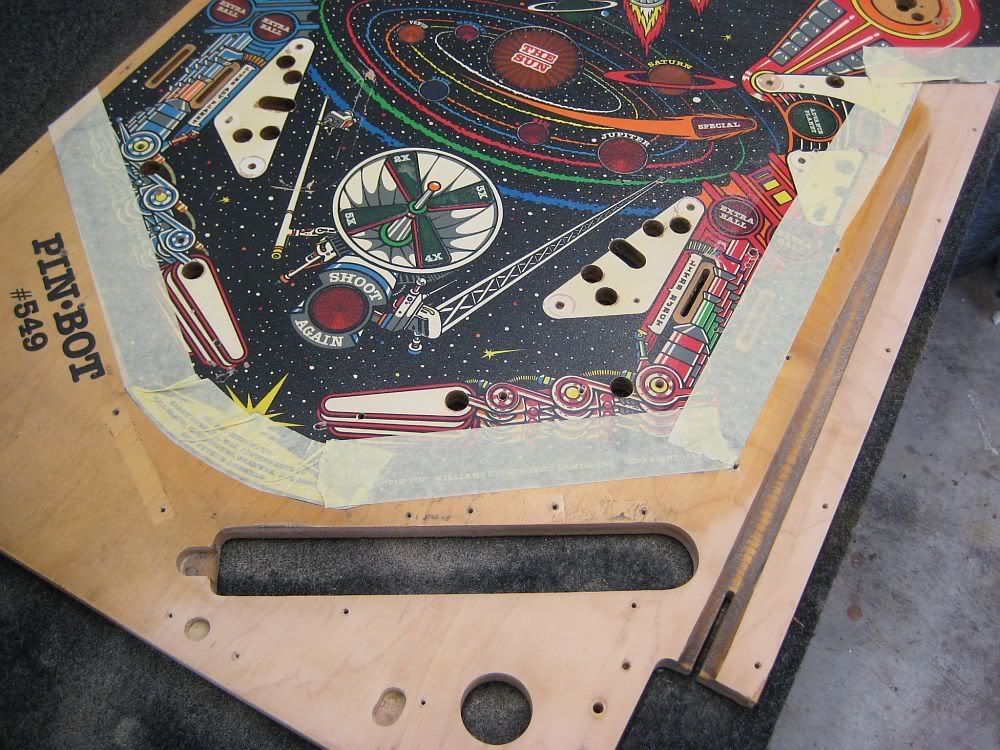
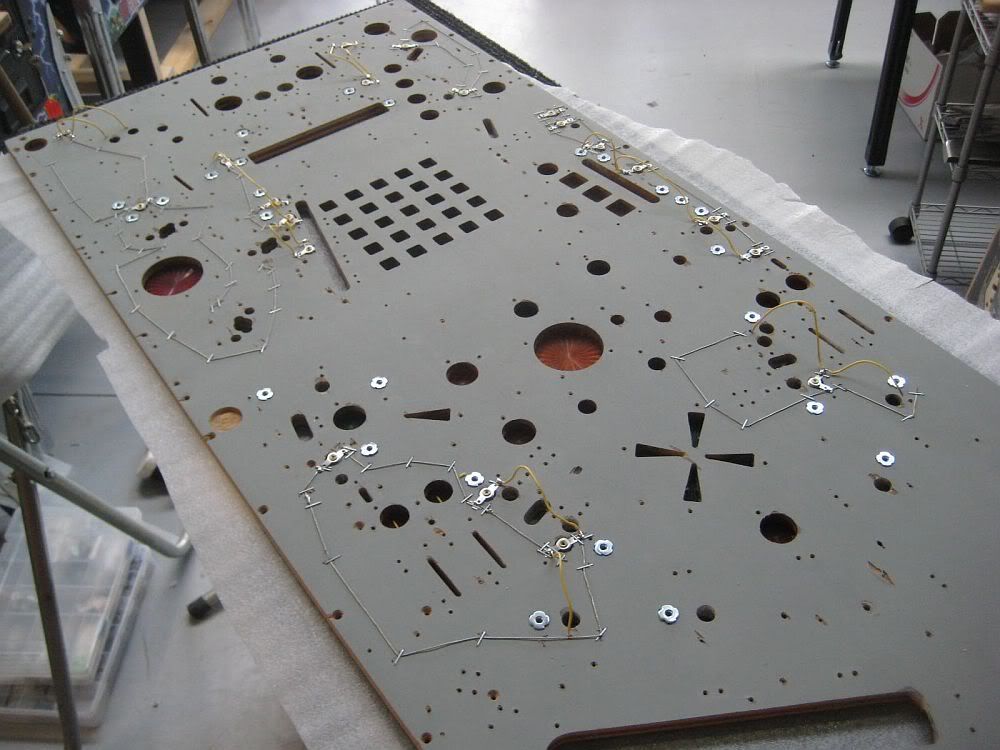
First thing i wanted to do was get straight into the playfield. That was i could get that sealed up, and then chip away over the early stages of the build. I have included some detail of how it came out of the game...
Loaded with grit...
Shooter is bad...
Removing grit...last thing i want to do is lock it all under the clear...
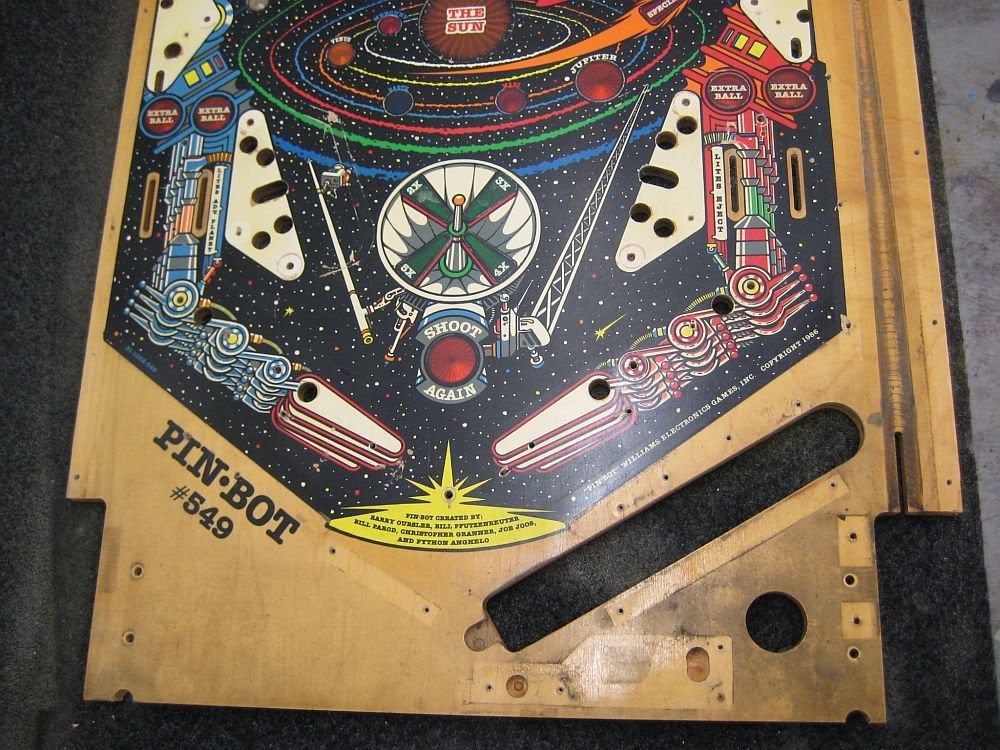
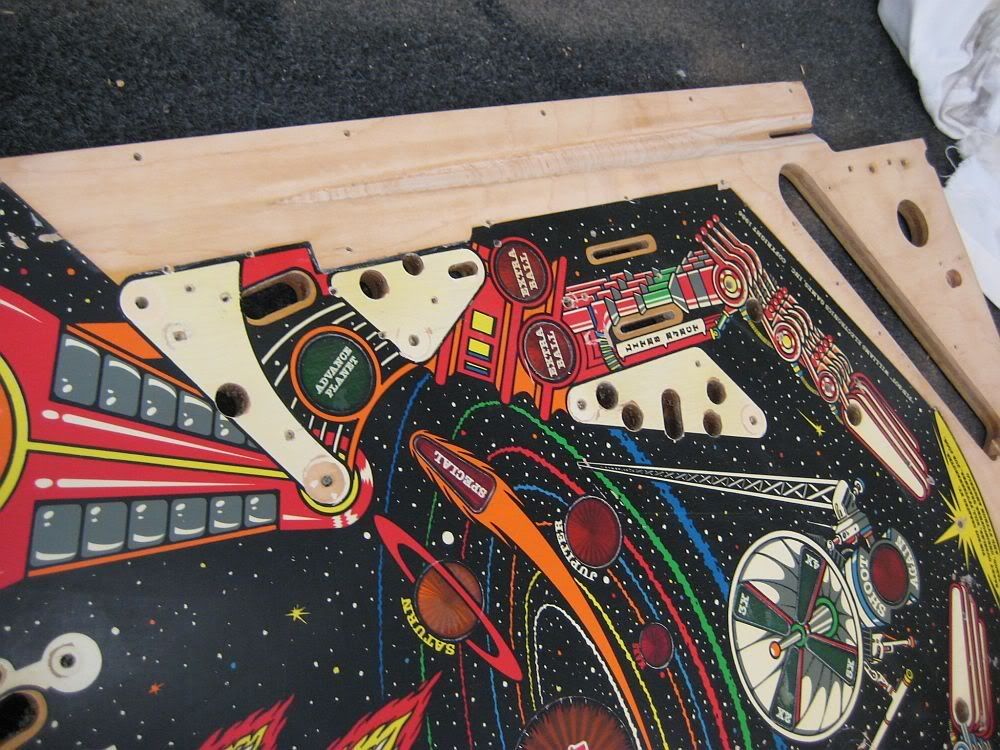
Fast forward a little...looking better
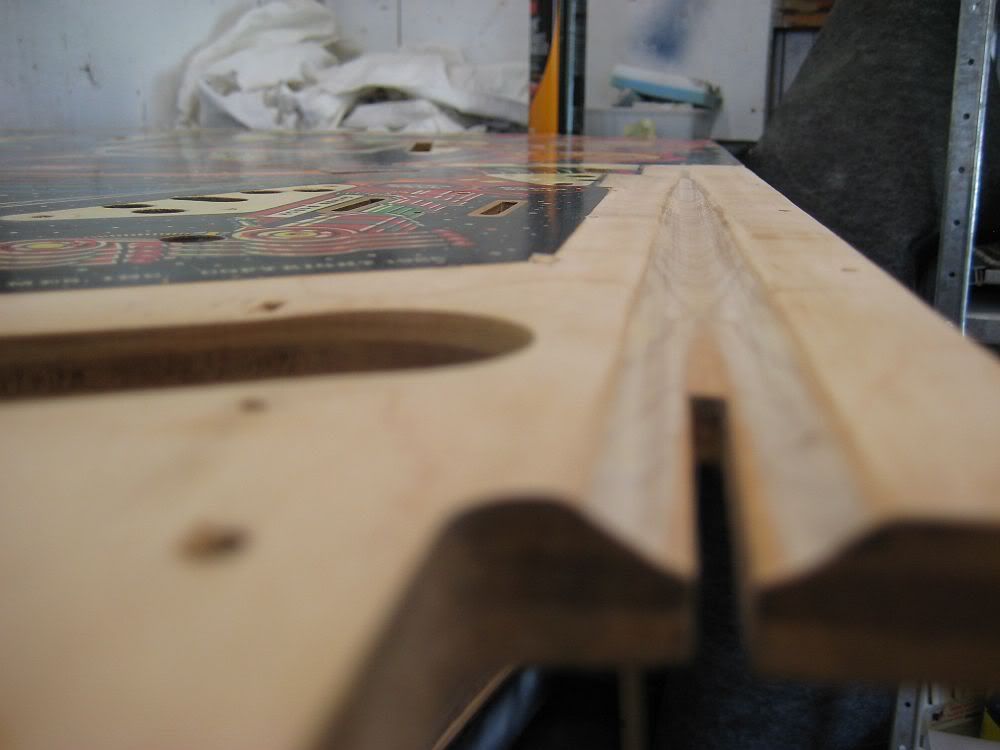
Prepping system11 inserts for clear. No fun...
Shooter lane is getting there...
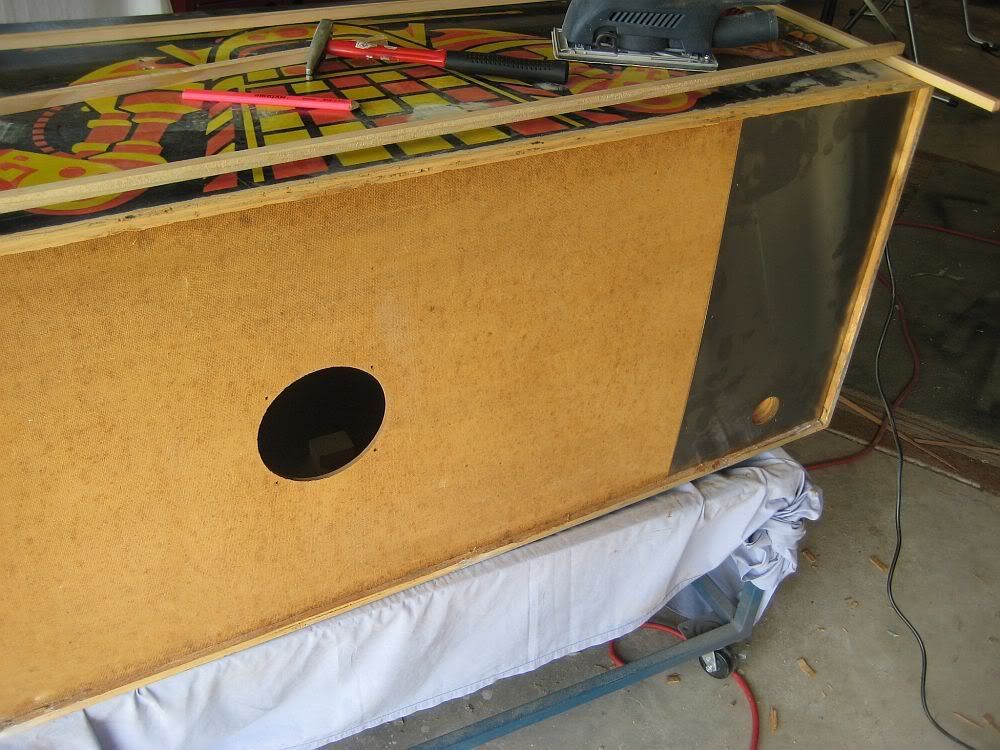
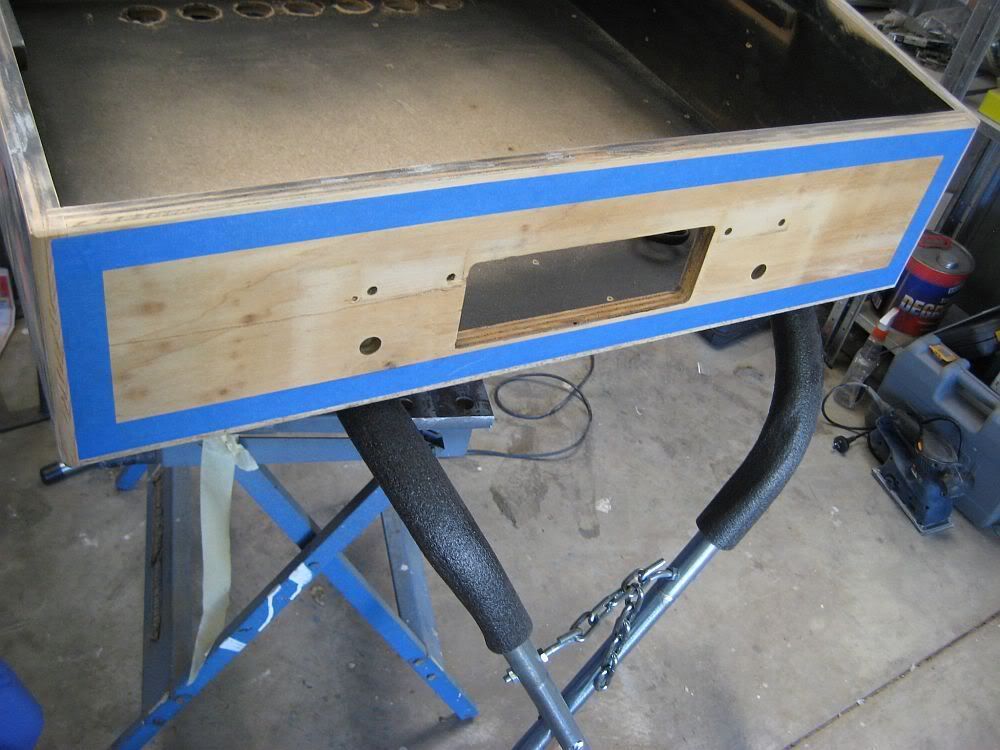
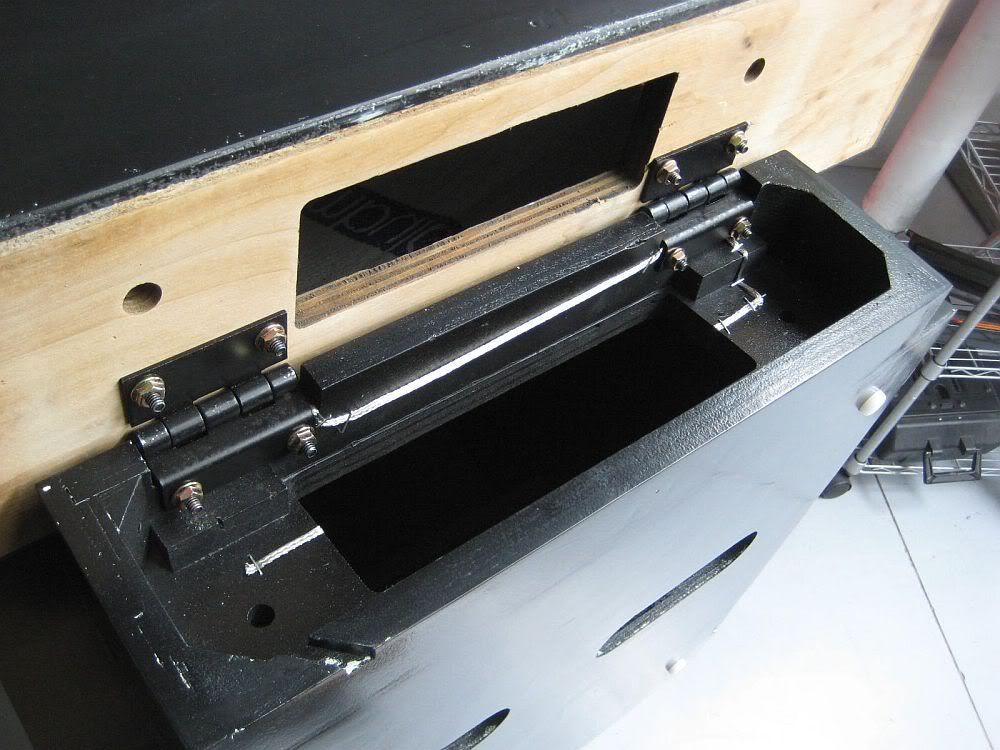
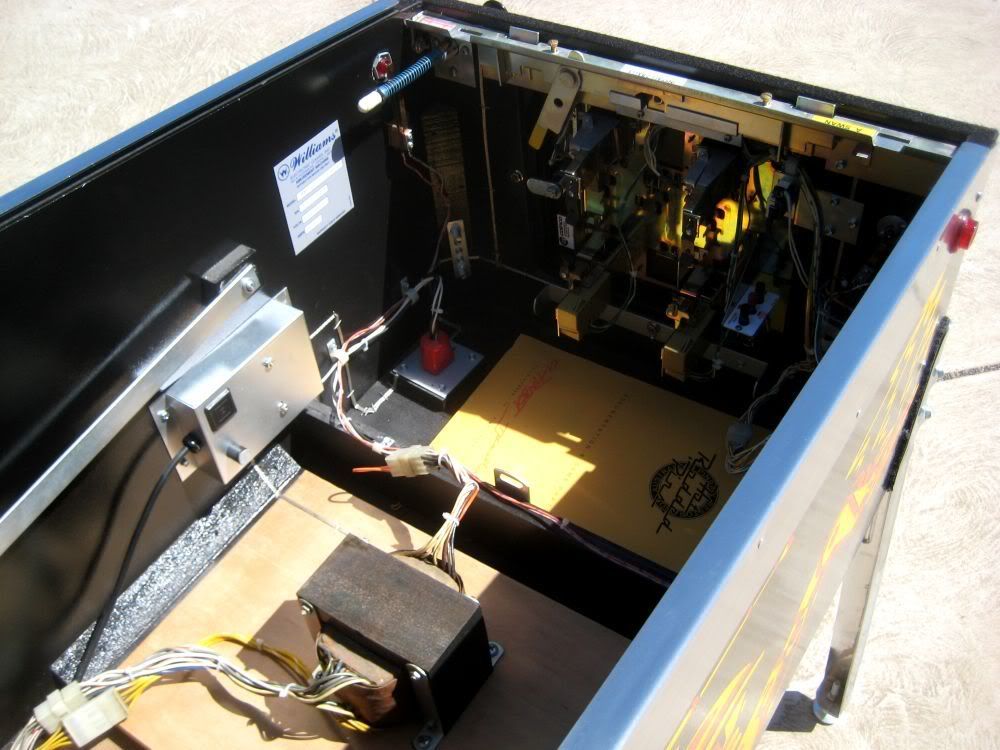
Started on the cabinet, floor was just hanging in there - and the steel was corroded so i fabricated a stainless replacement...
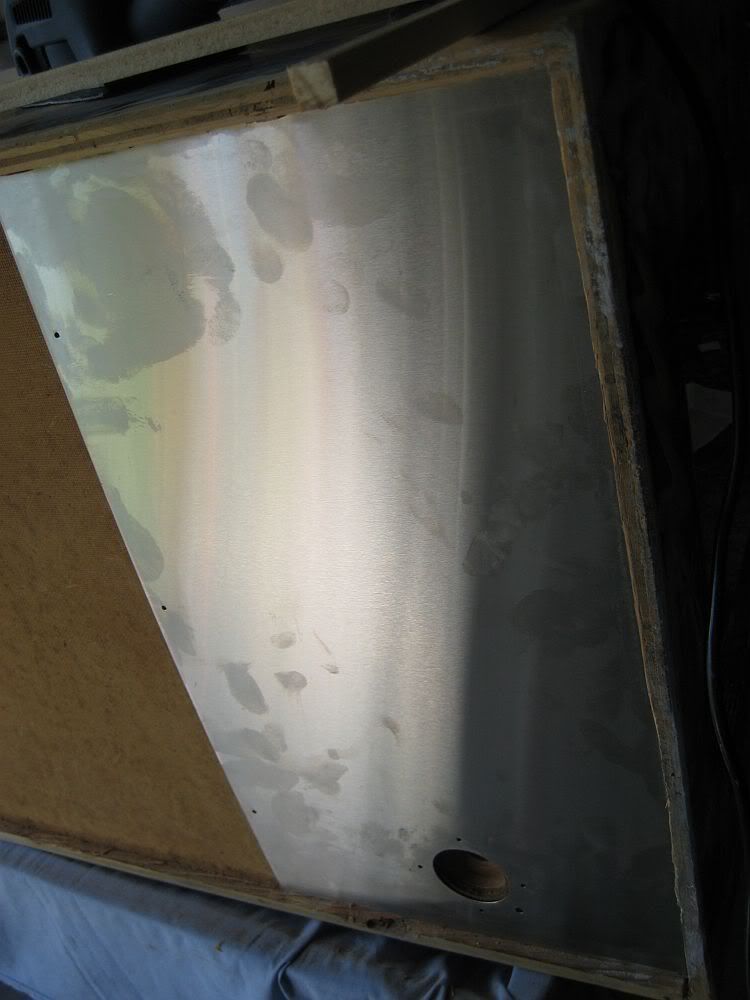
Lined up...
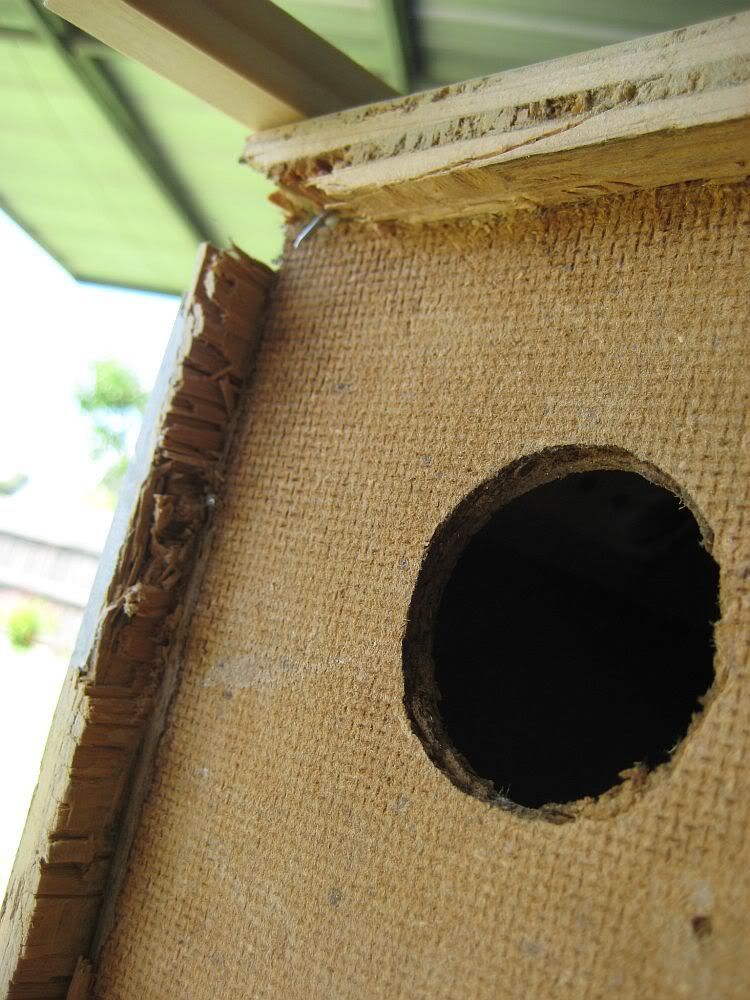
Highlighting the corners...
Added a fatter bead around the cabinet. Not overly pretty, but functional and that is the main thing here...
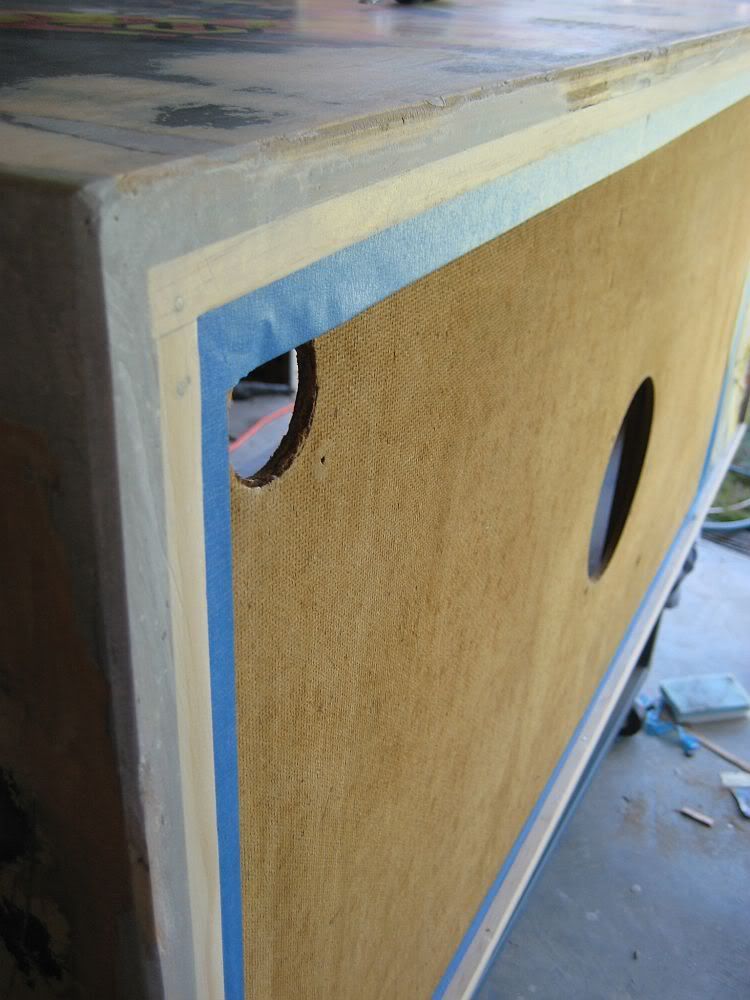
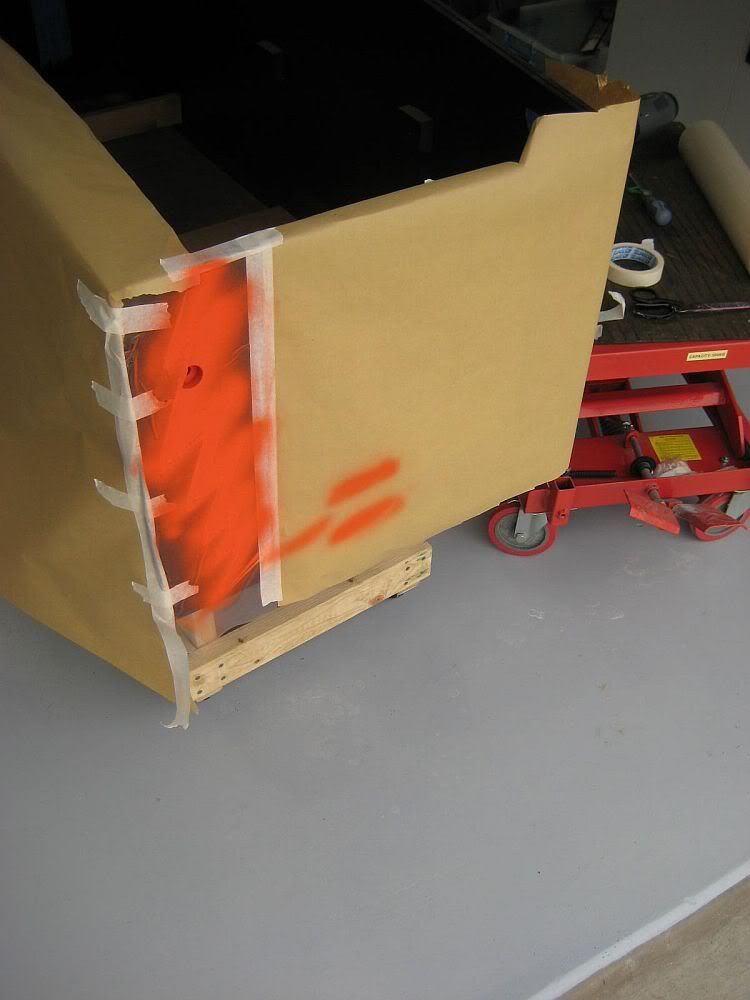
Taped off before paint...
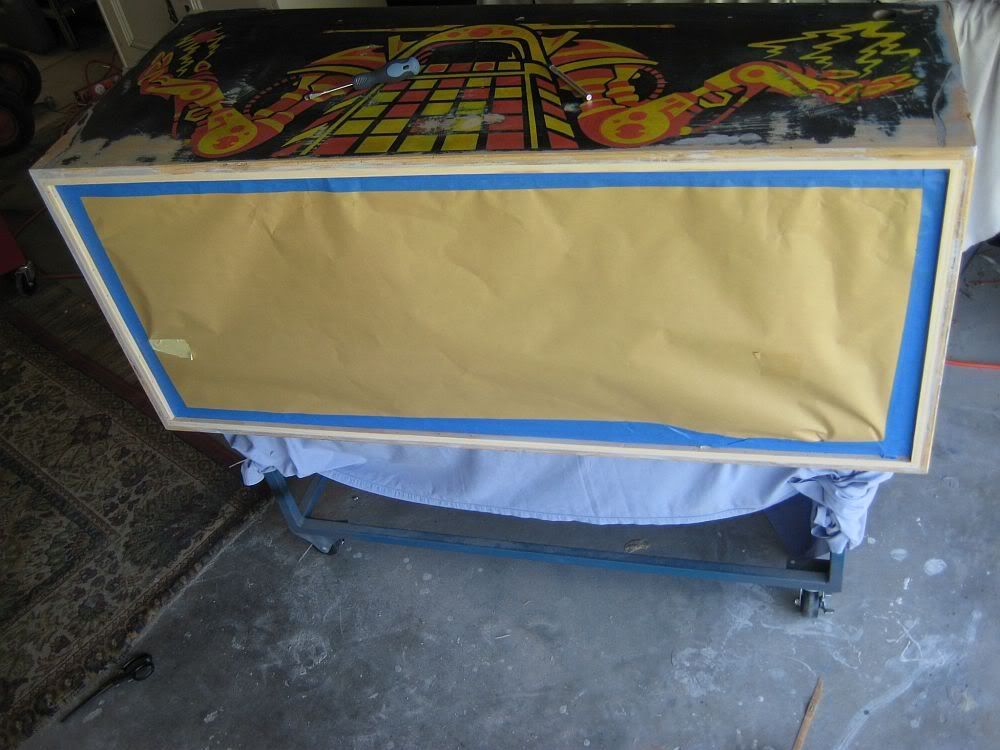
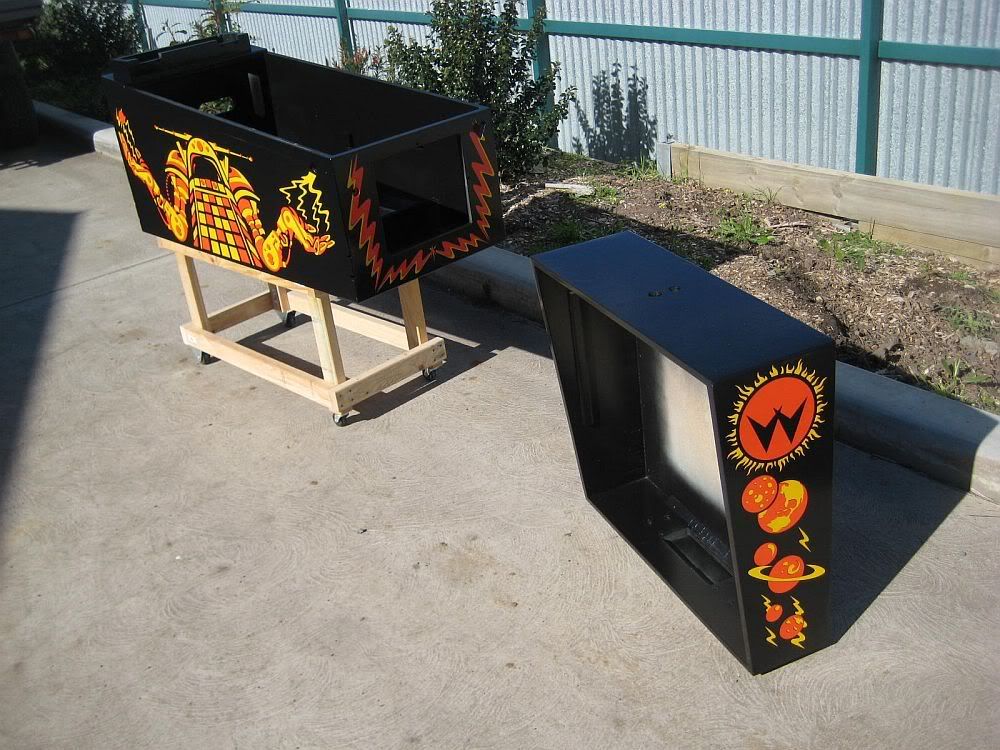
Same for the backbox...
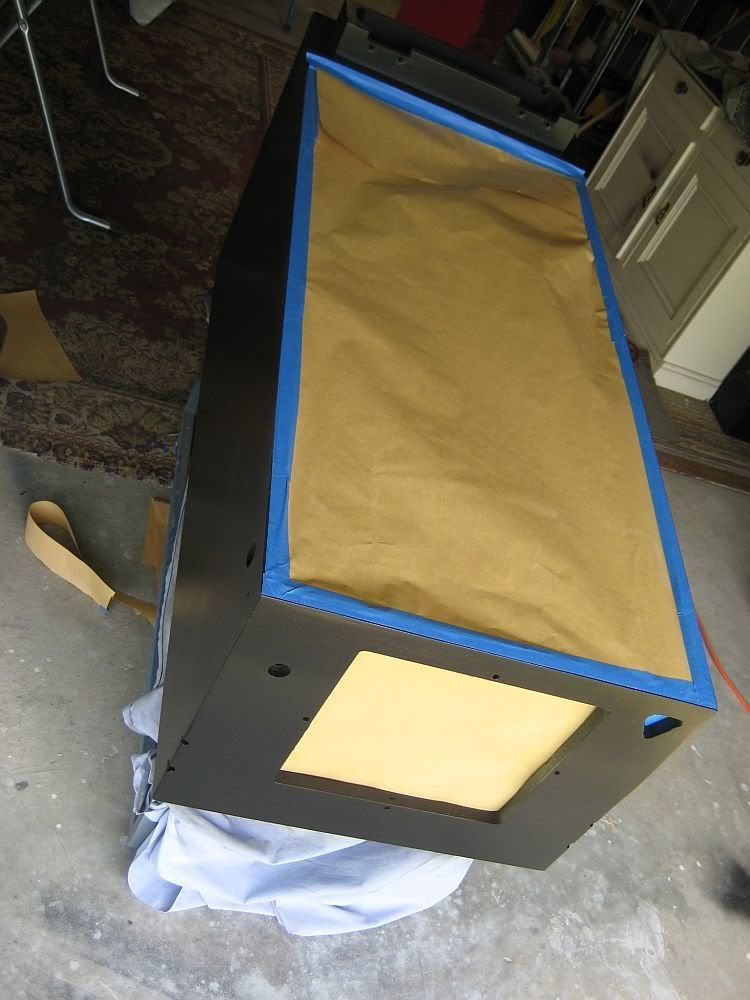
Skipping through a little here. Based in black anyway...
Getting back to the playfield only one insert needed to be replaced. Its in a covered area which in nice...
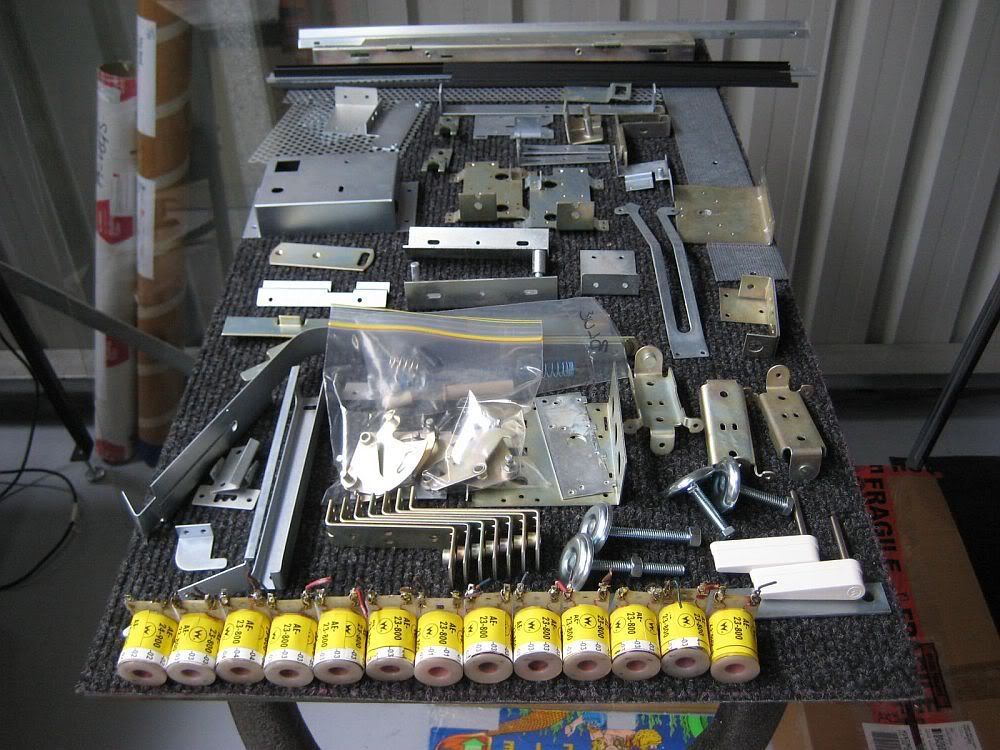
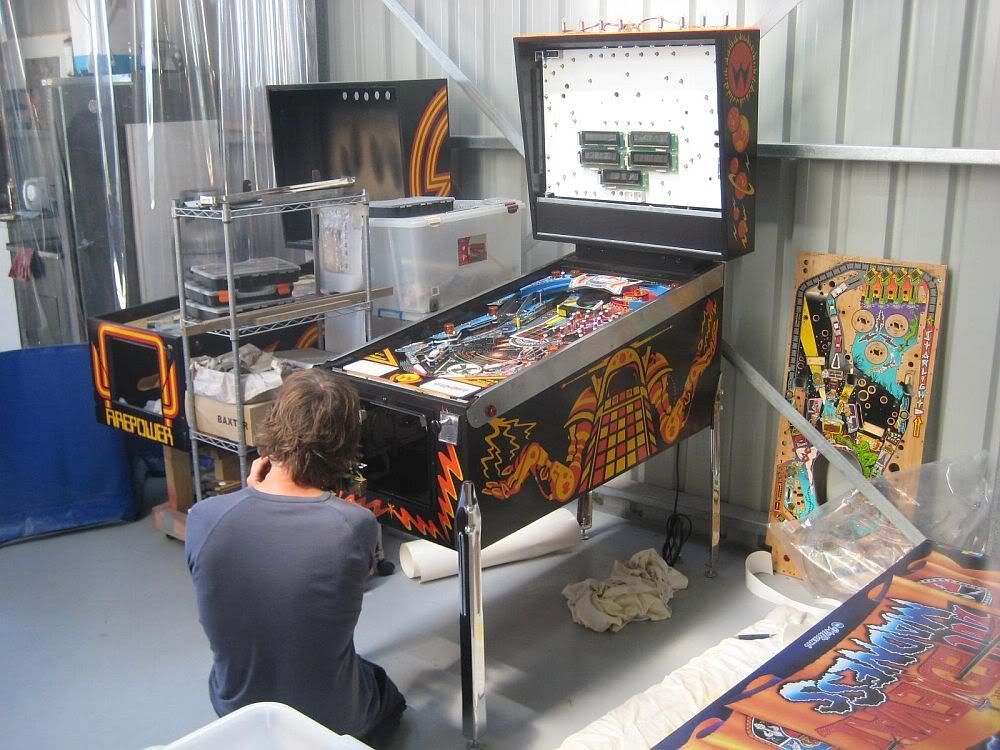
Stripping down and rebuilding sub assemblies etc while the cabinet and playfield progress...
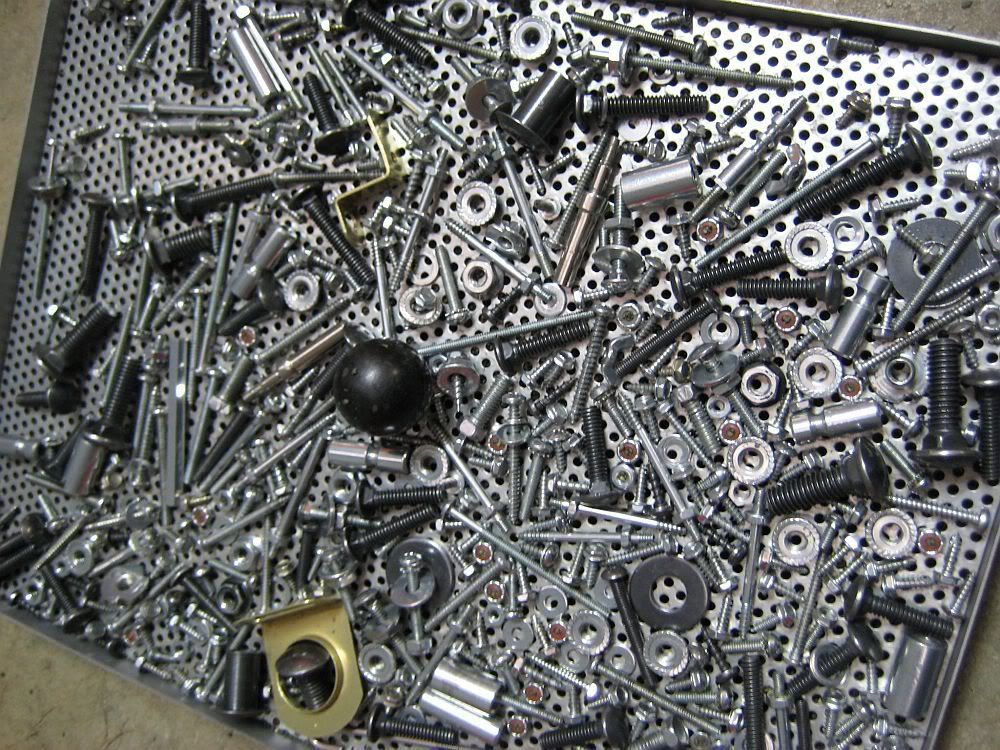
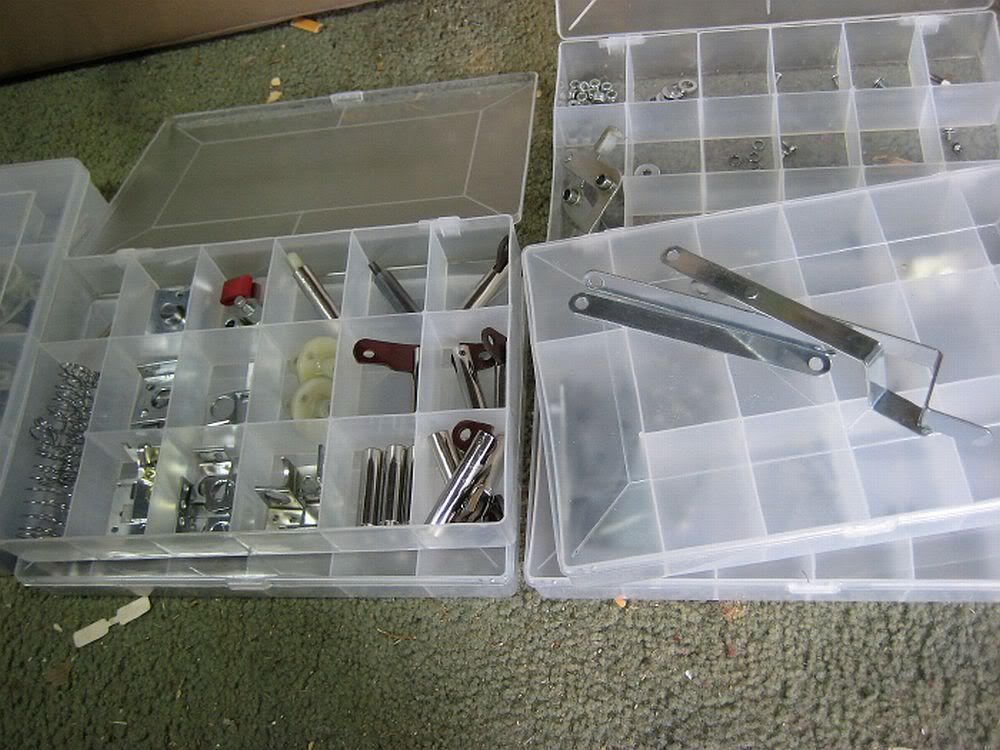
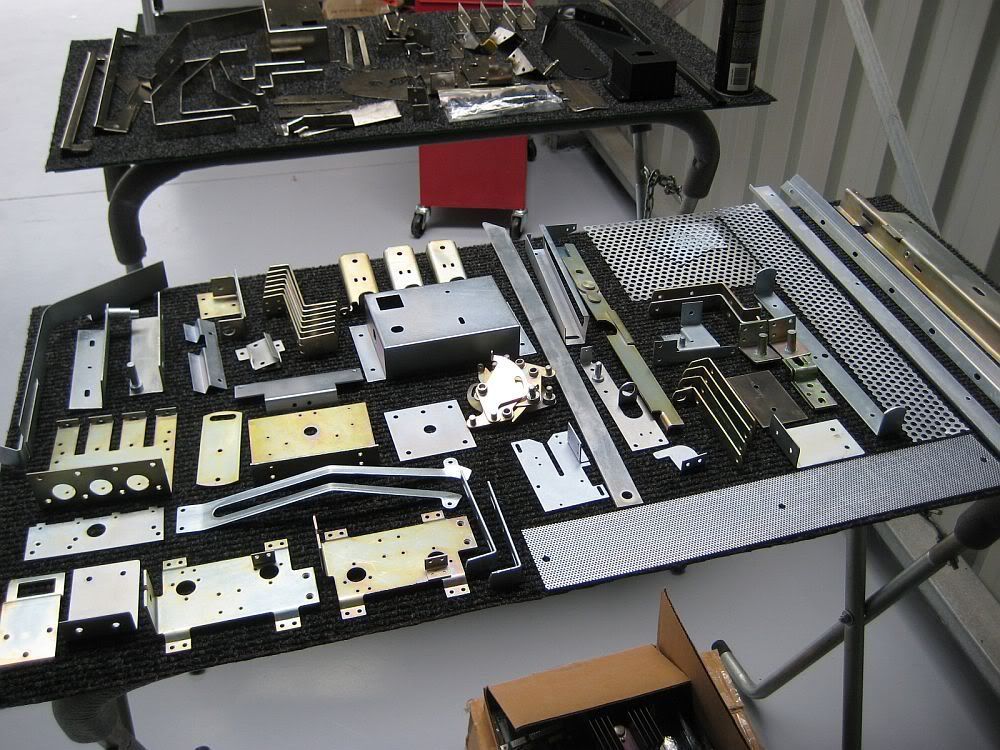
Sorting parts to be plated, refinished, cleaned etc...

Small hardware is tumble polished...
And sorted...
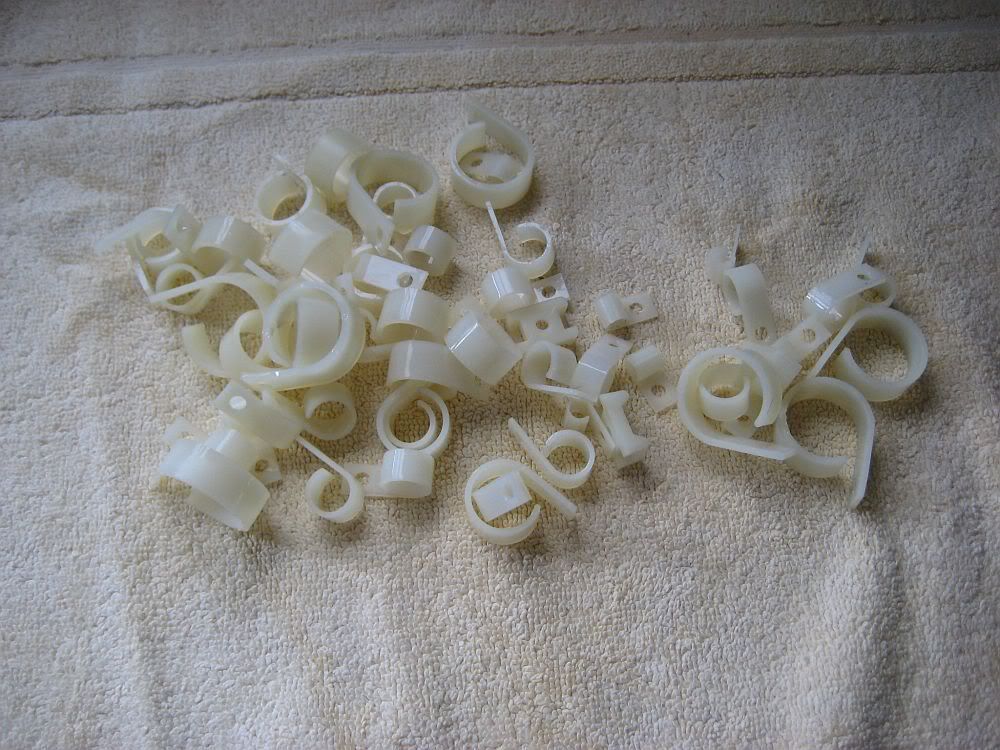
And plastic is washed...
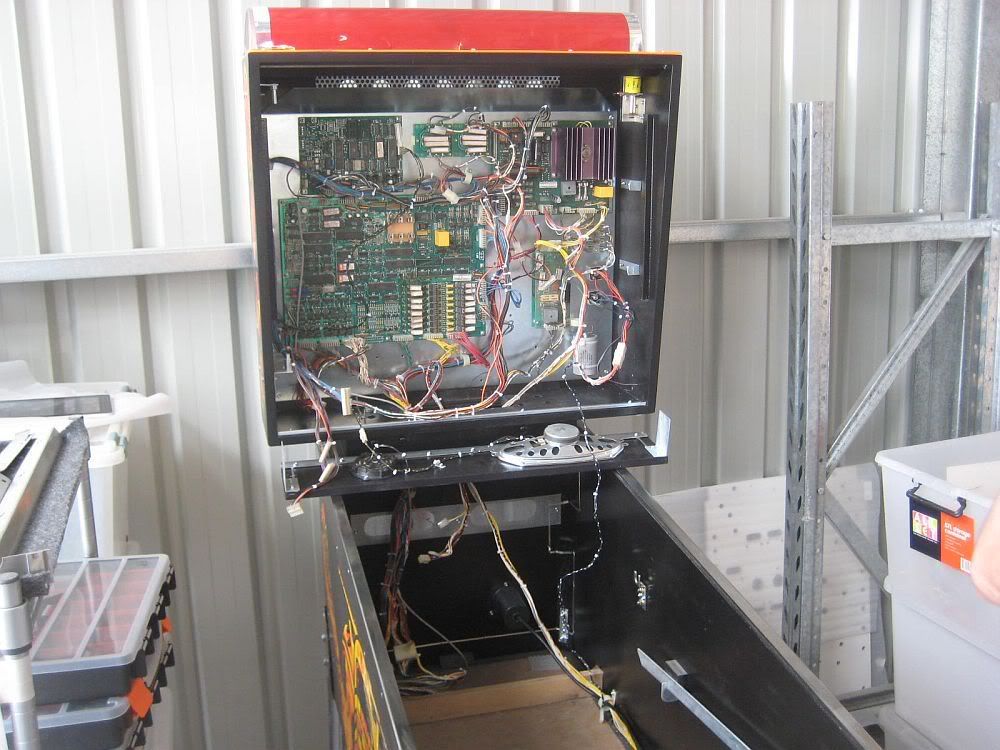
Plating is back and i was in the stages of setting things up over at the shop...
Levelling some inserts. Most are fine but some were just too far gone...
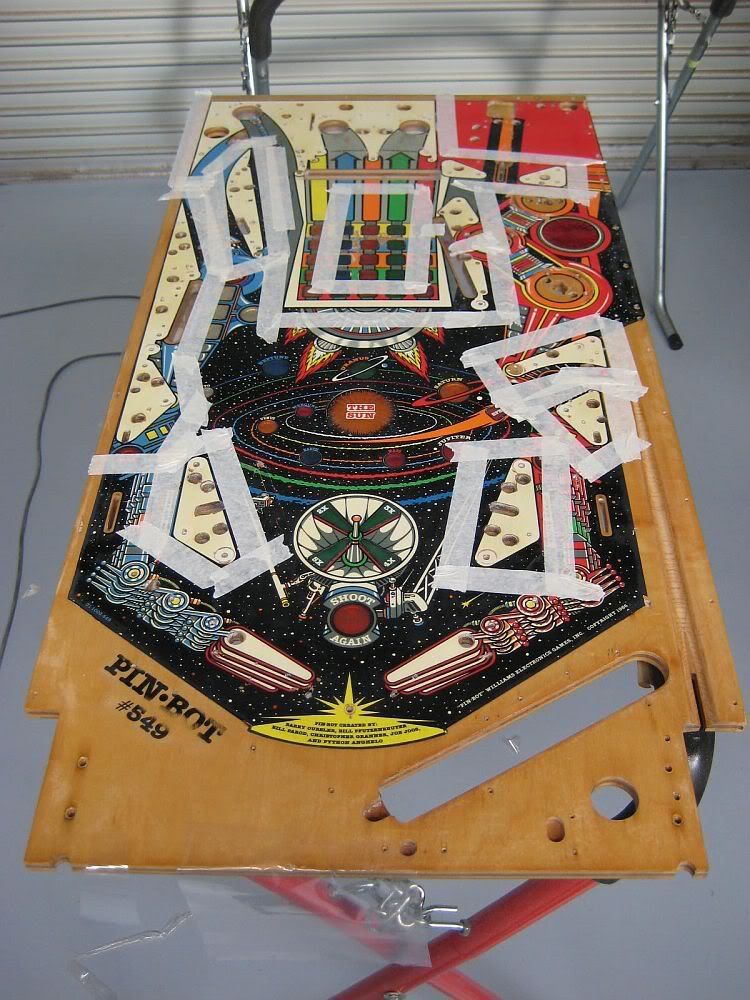
Initial clear to lock up what i have, i can start the repaints after this has setup...
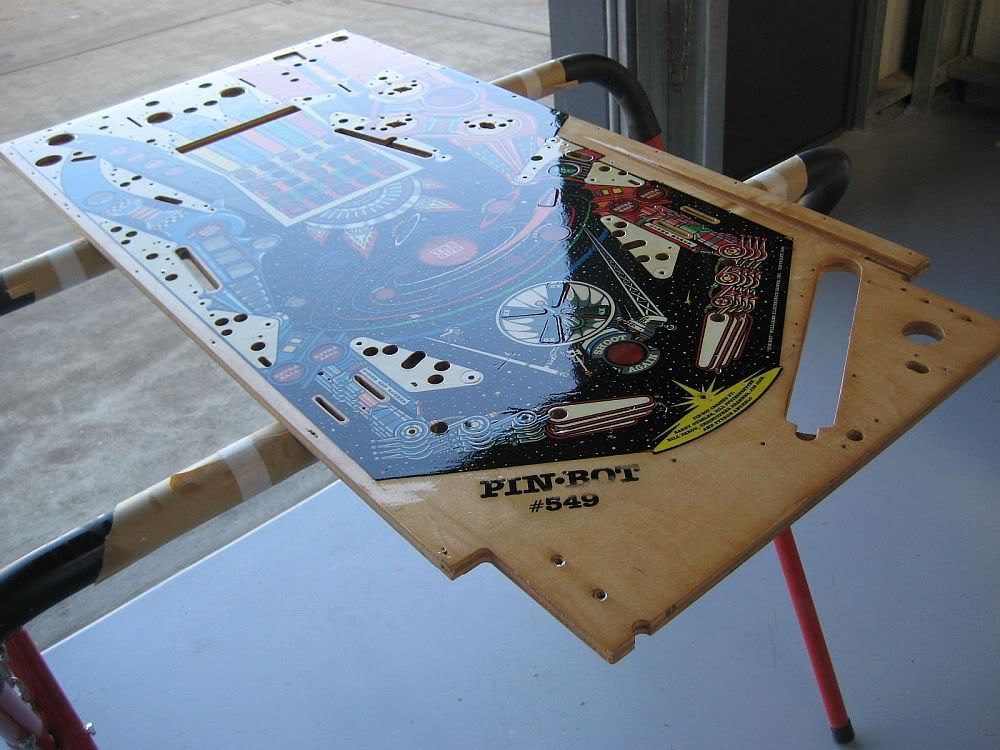
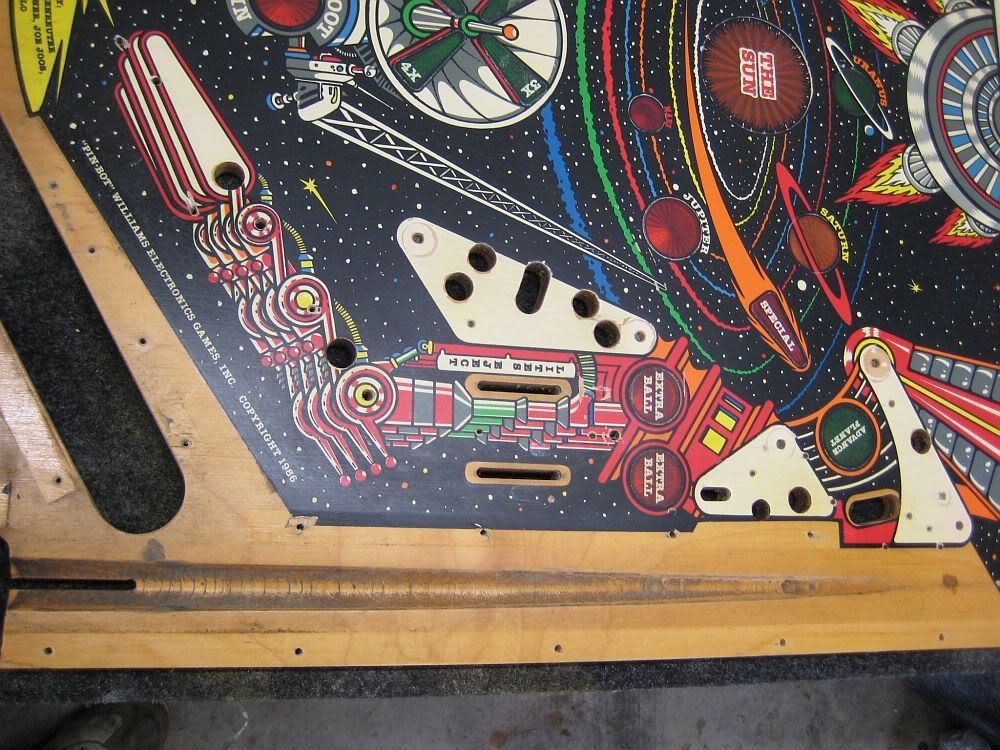
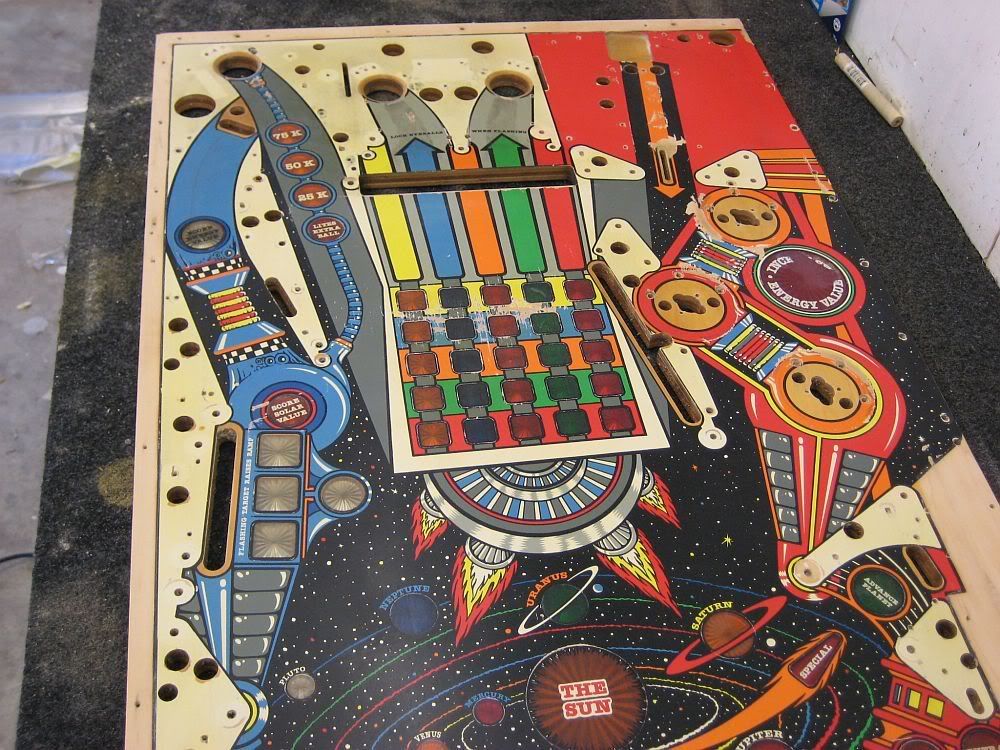
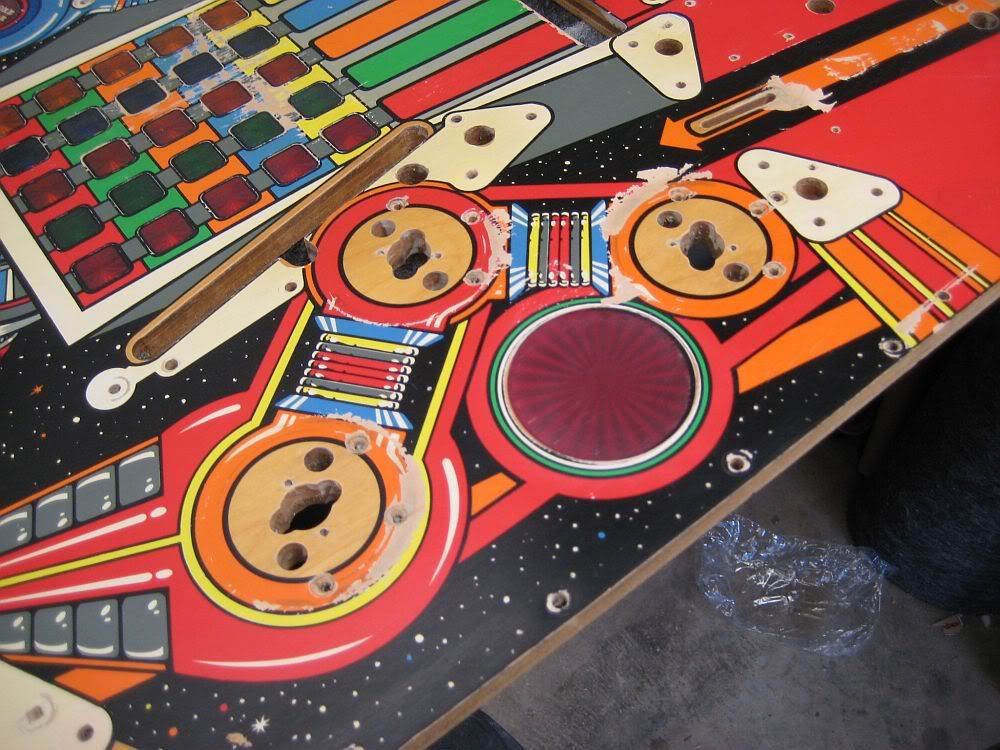
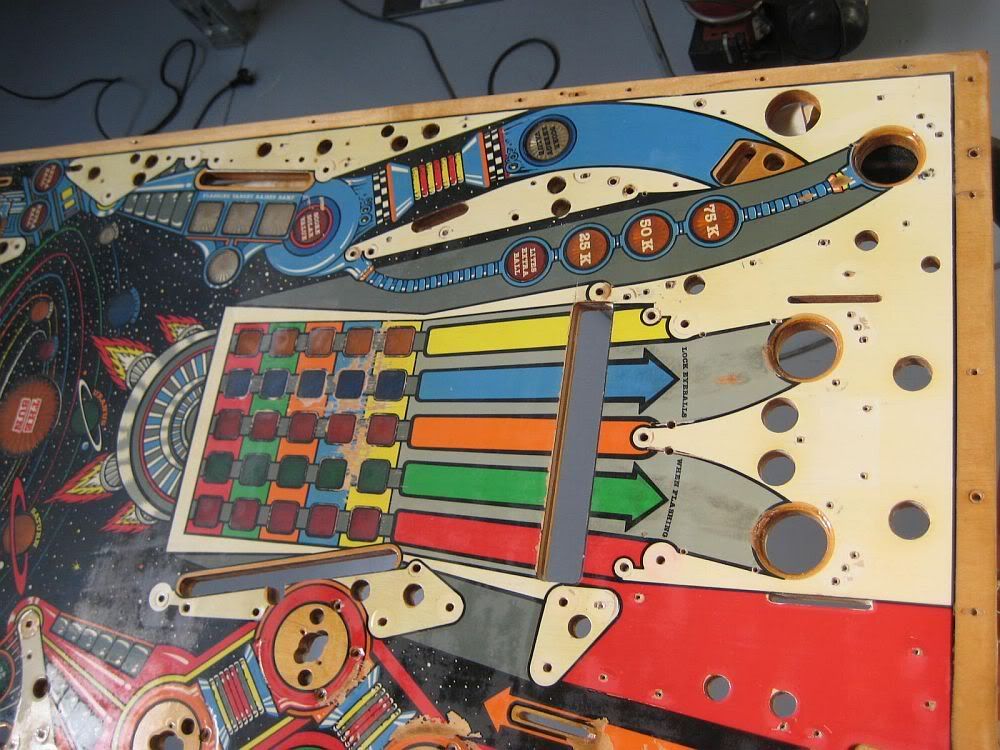
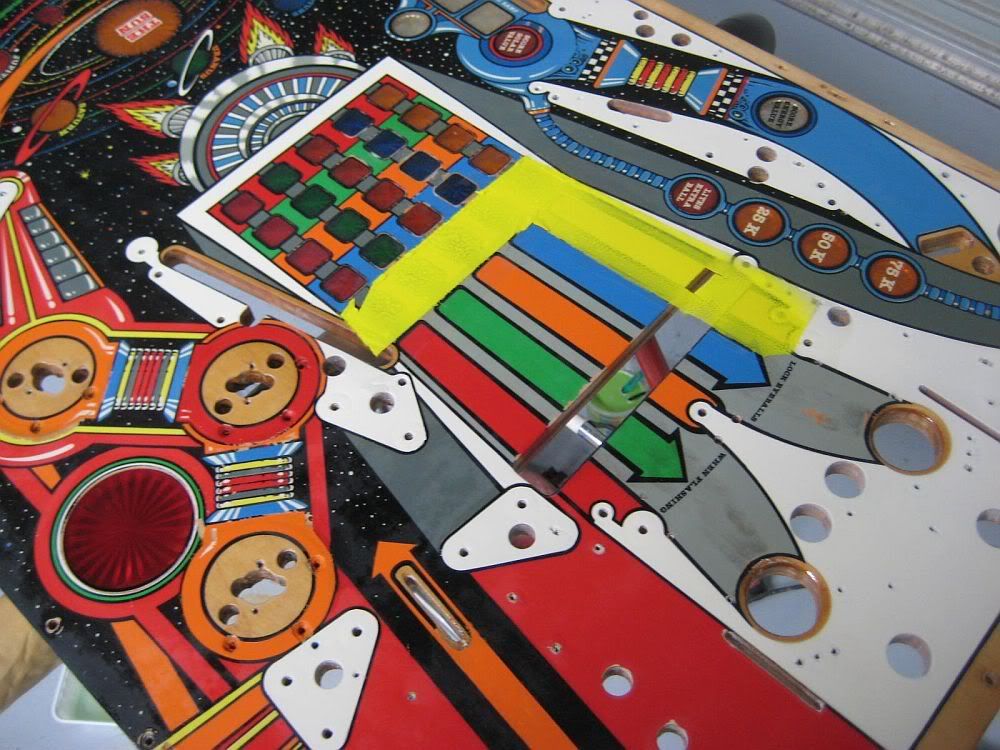
Overview of what i have to repair...
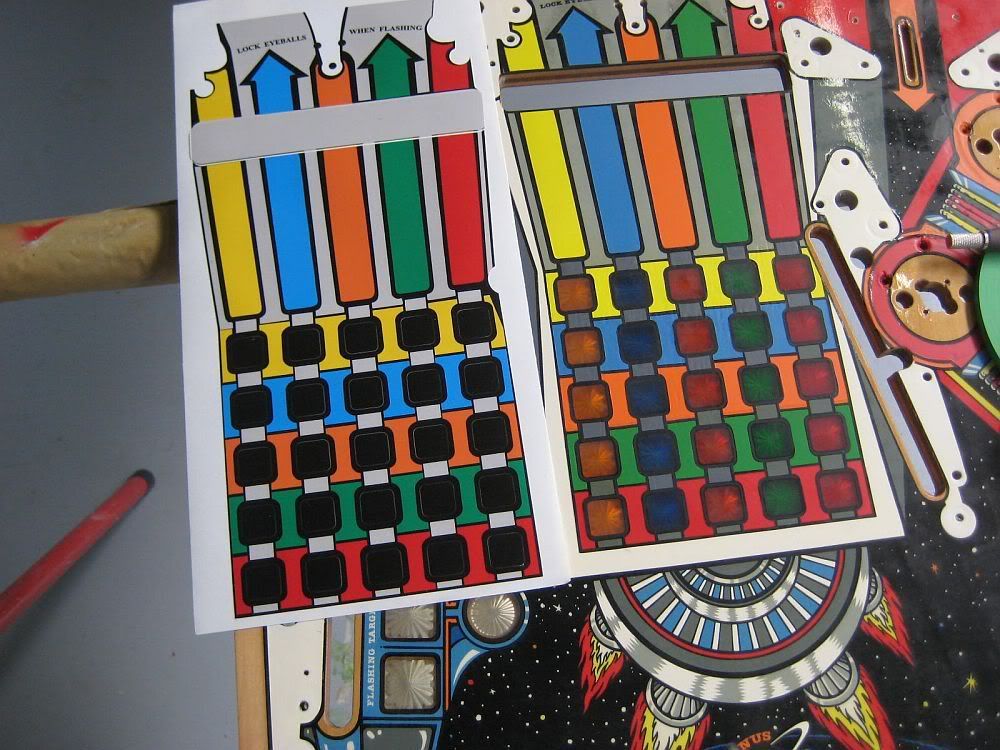
The lamp grid/matrix is probably the most significant area...
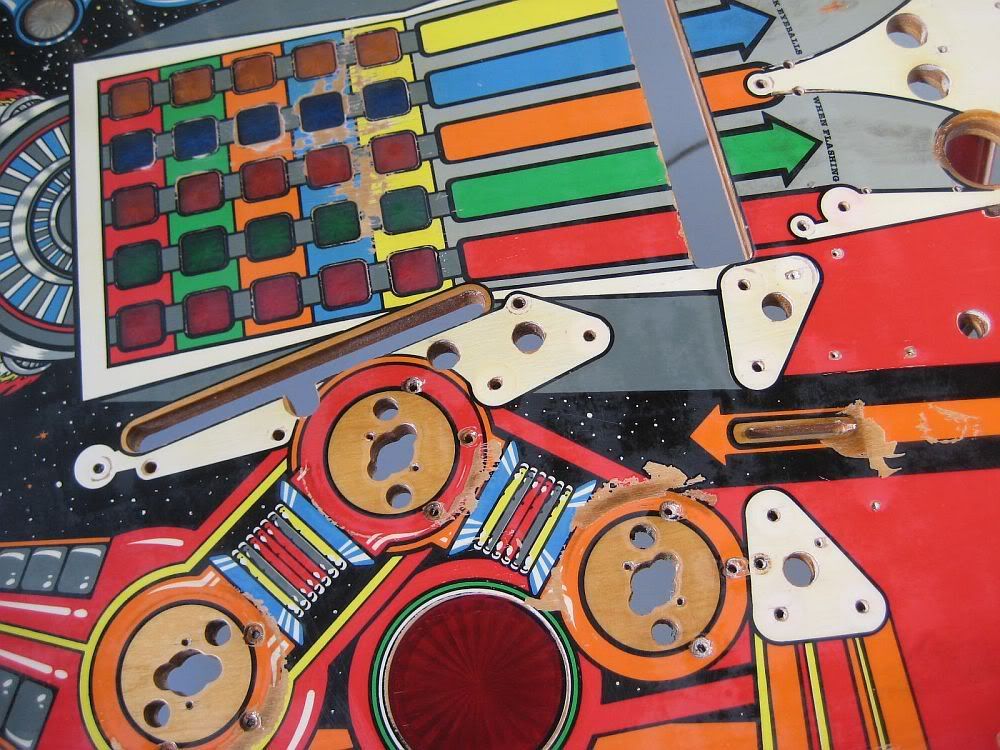
And the white really needs to be refinished...
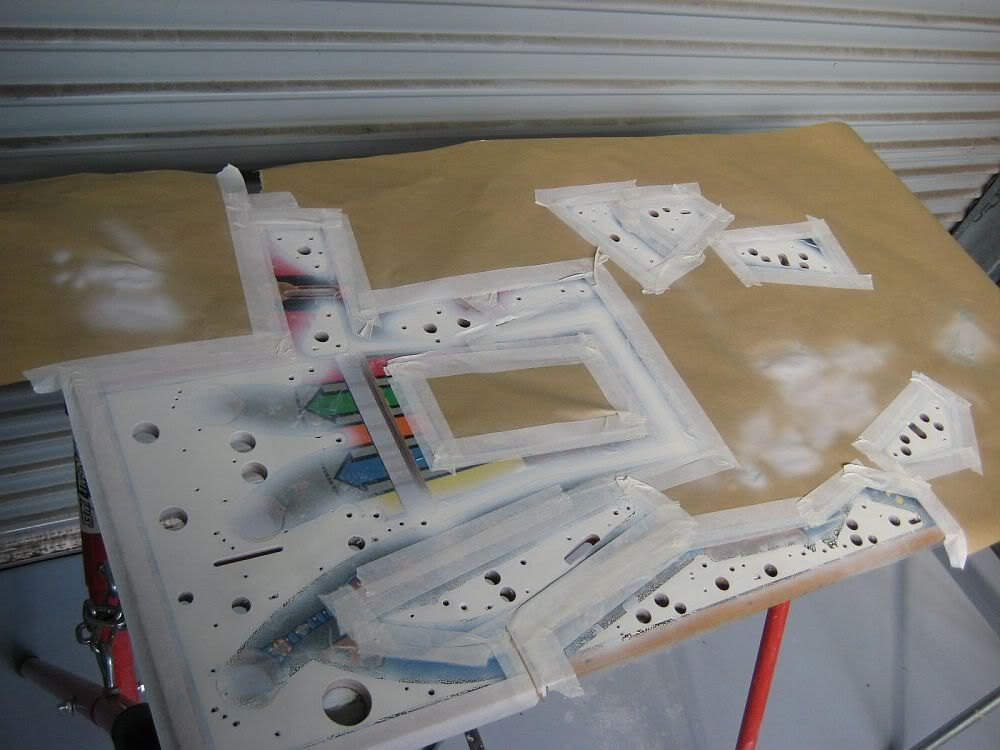
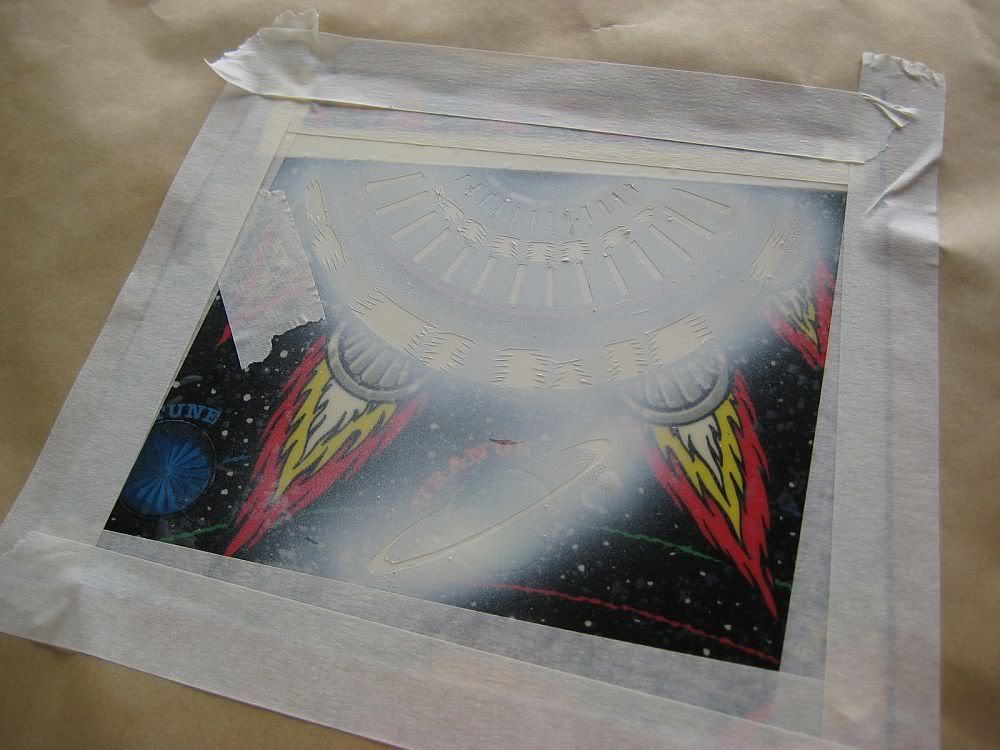
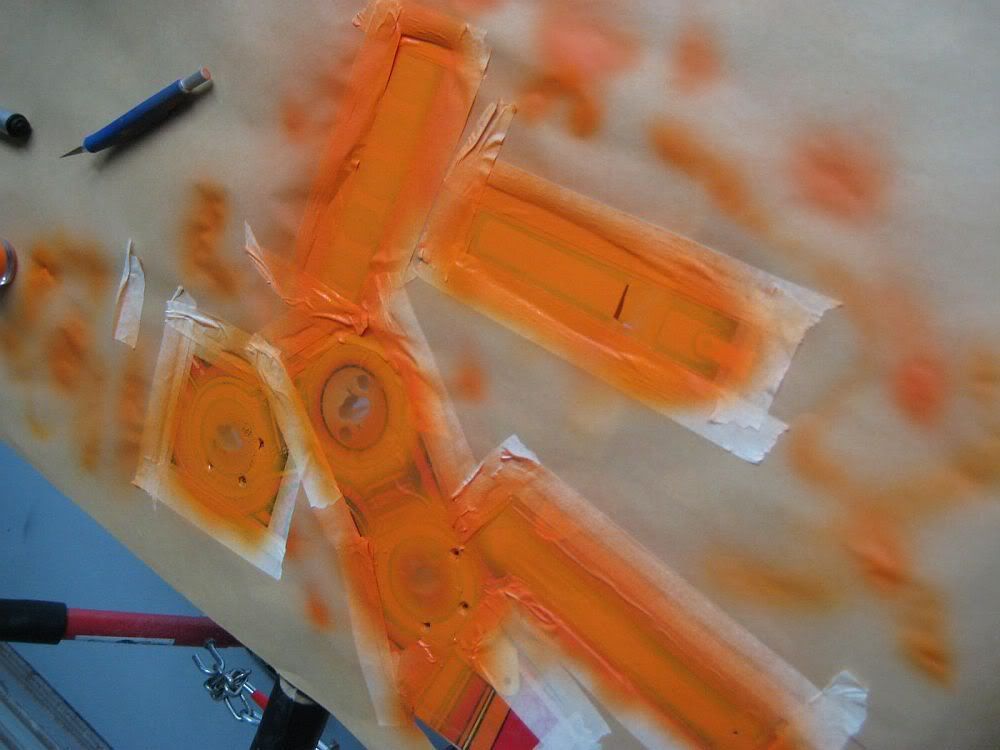
Masking begins, long road ahead...
One colour at a time...
Cabinet stencils were incorrect in some areas so i addressed them as i went along...
Whites...
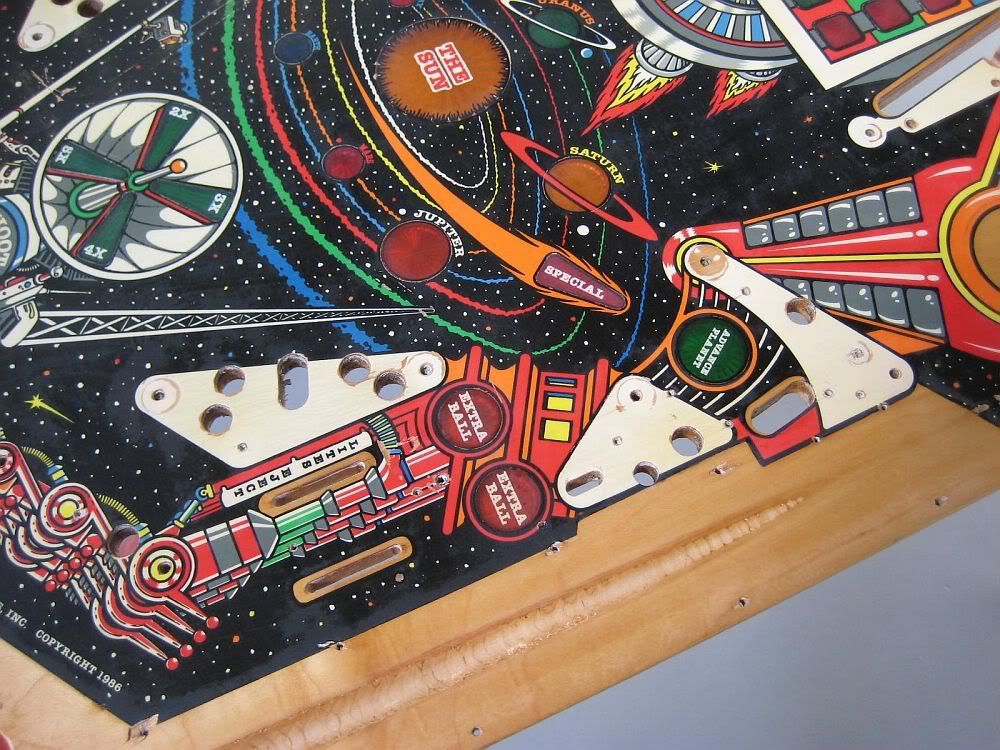
Looks much nicer with the white refinished...
Some parts need to be put back in by brush...
Repaired...
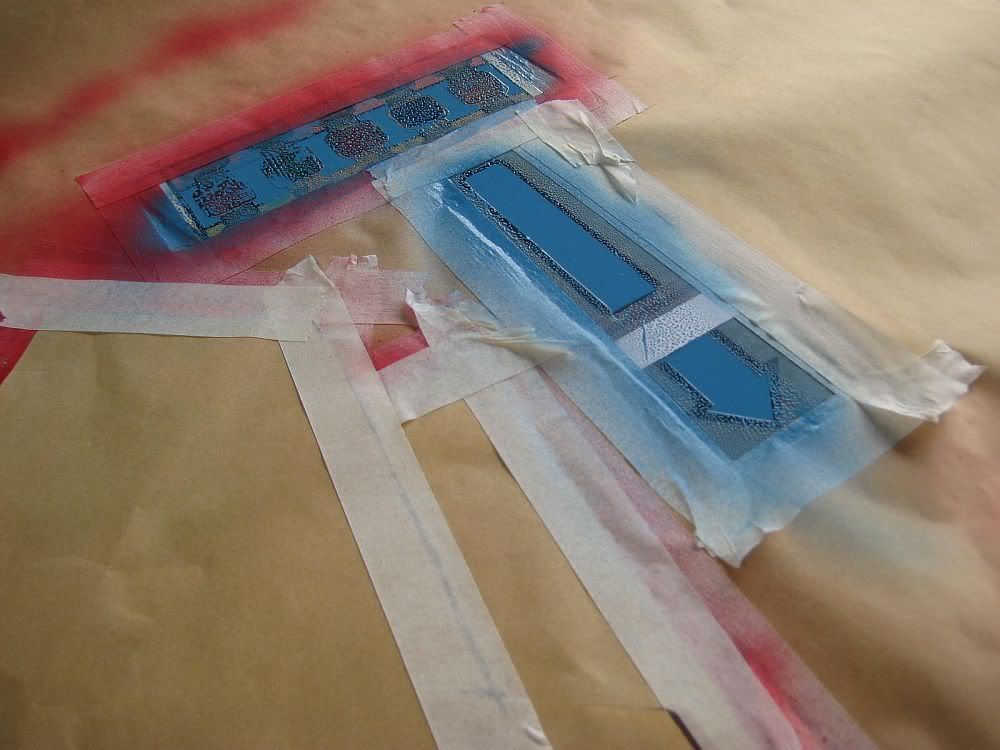
More colour work...

Orange...
Blue...
Yellow...
This is much nicer than using one of these...
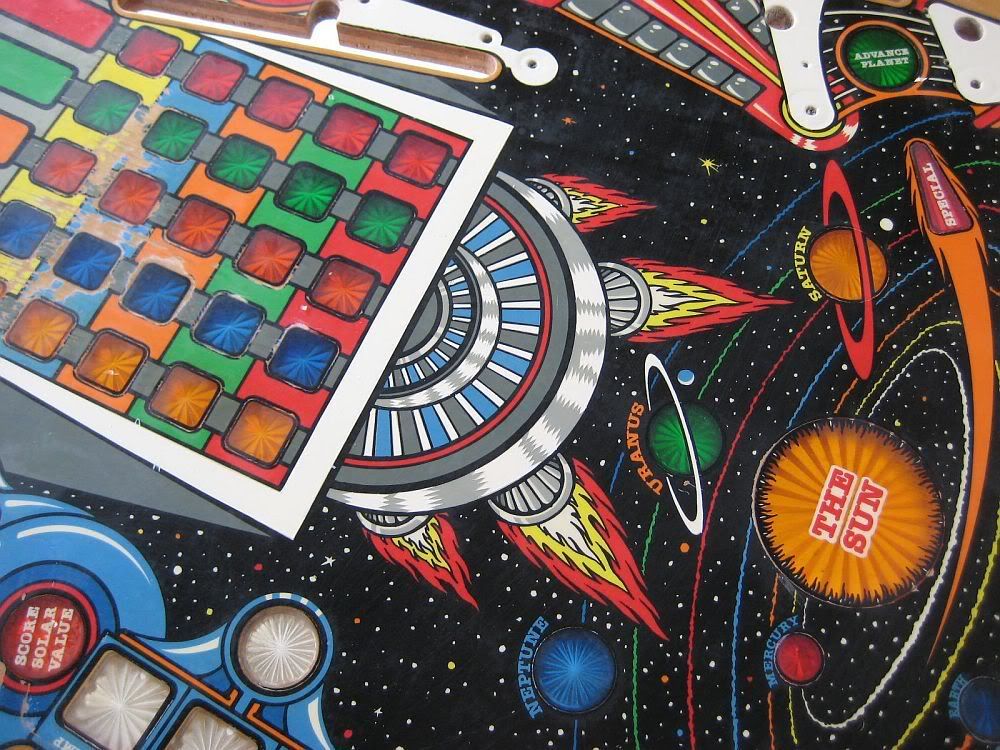
Looking much fresher now...
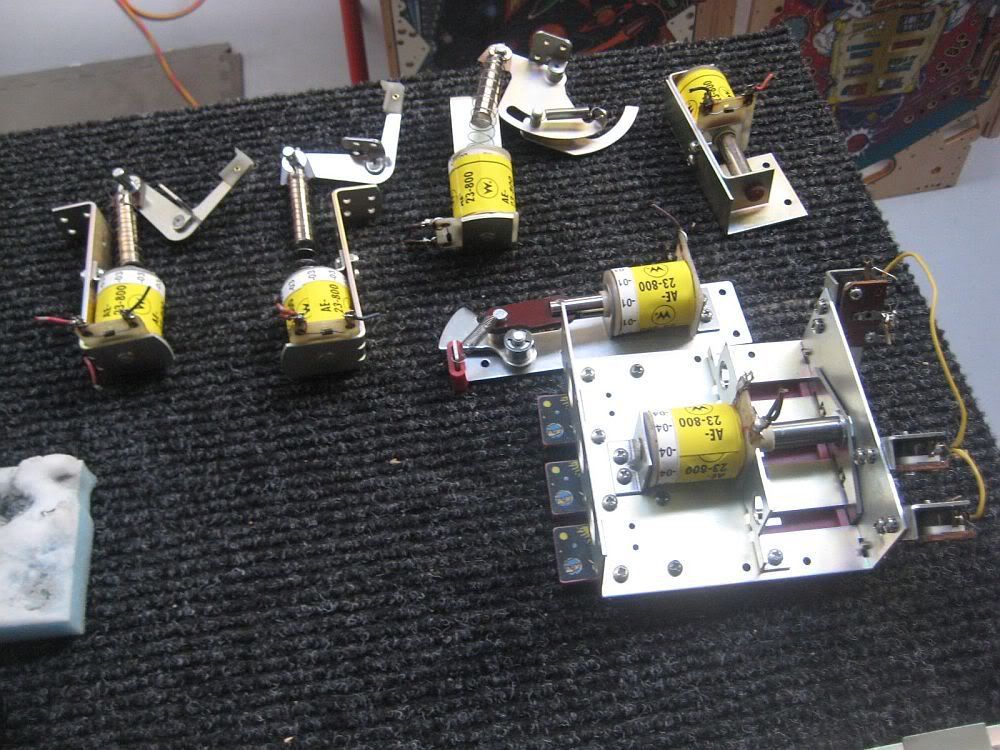
Coils cleaned and wrapped...
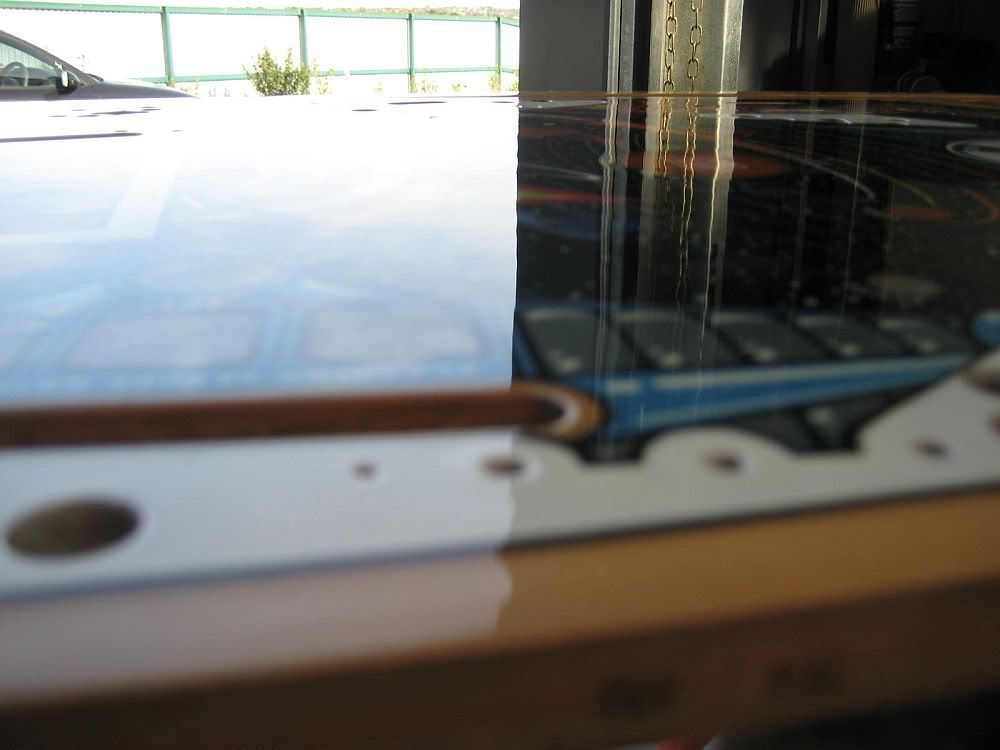
Playfield cleared, and is at a point where i can polish it out...
Finally finished...
Rebuilding assemblies and mechs...
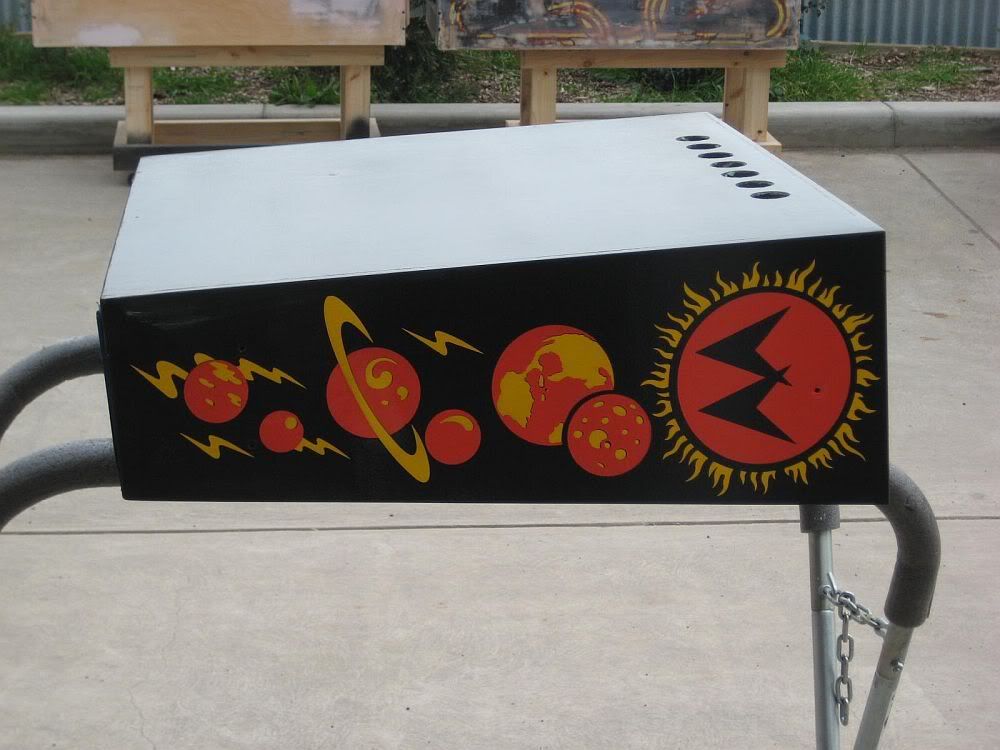
Cabinet is compelte, gloss will die down...
Correct gloss is achieved...
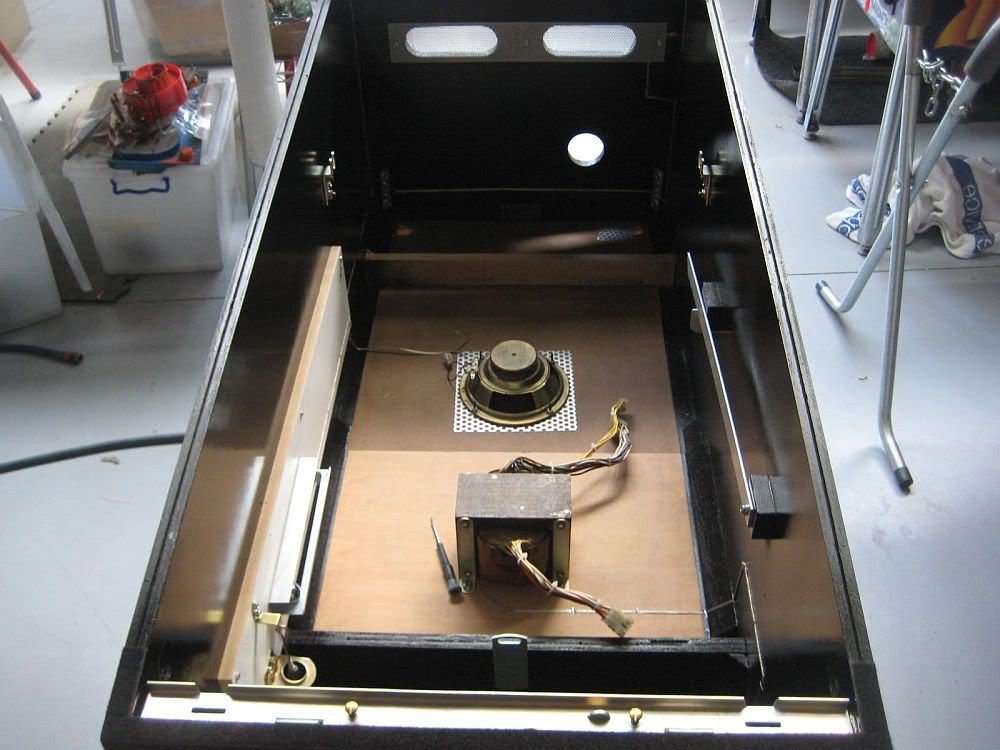
Fitting out the cabinet...
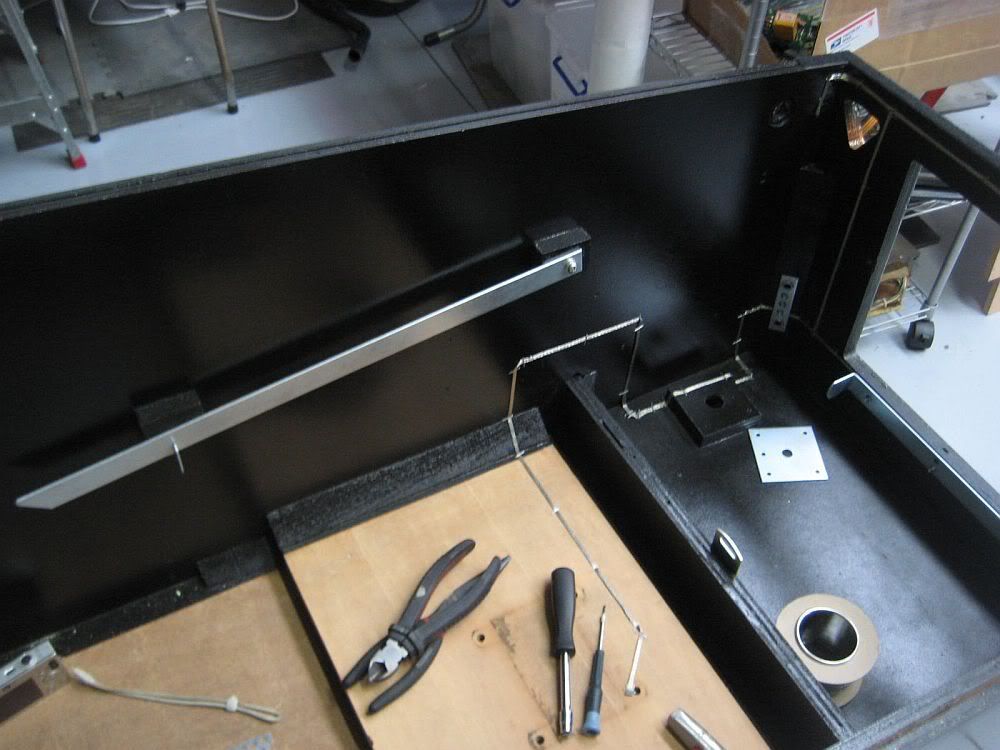
Again...
Head and body are paired...
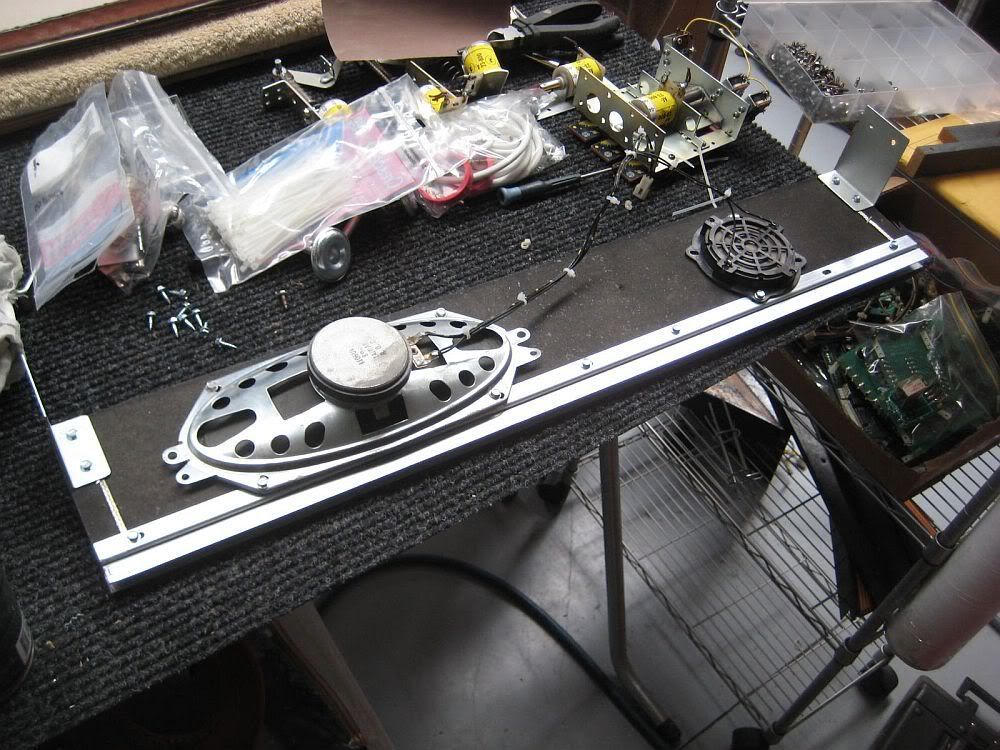
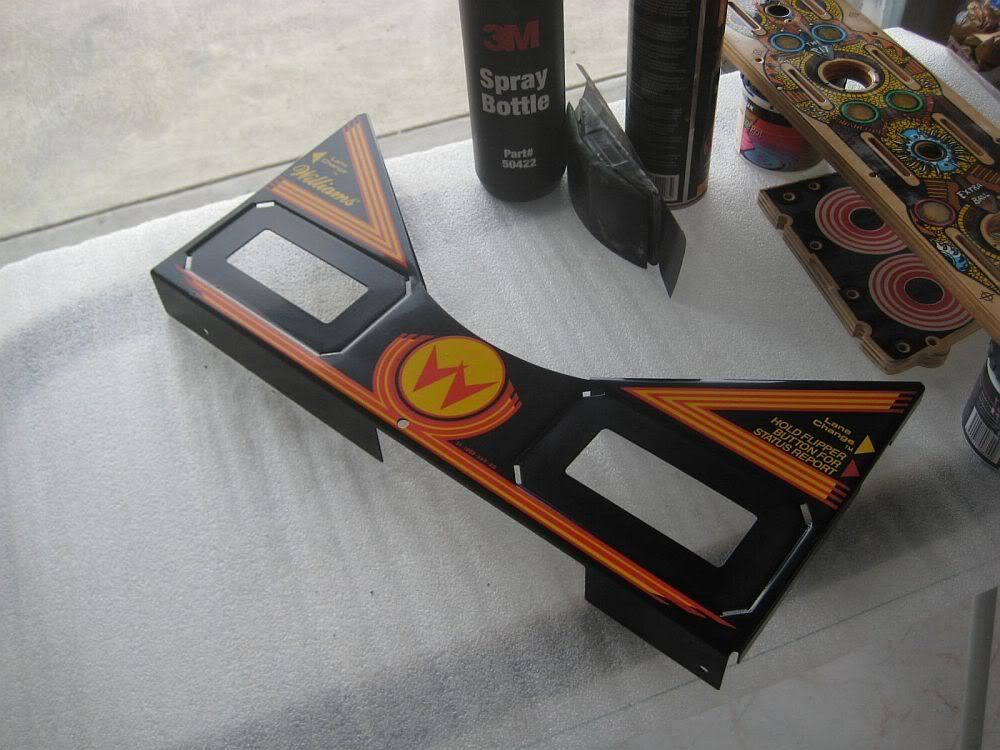
Speaker panel rebuilt with new cloth...
Coin door stripped for restoration...
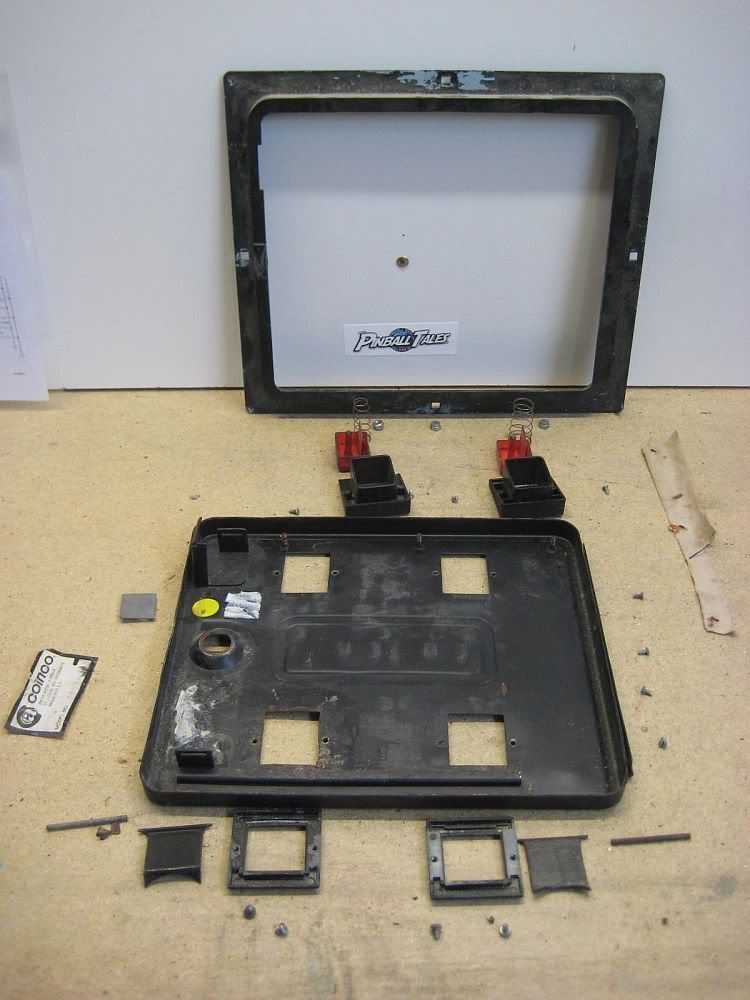
Apron restored...
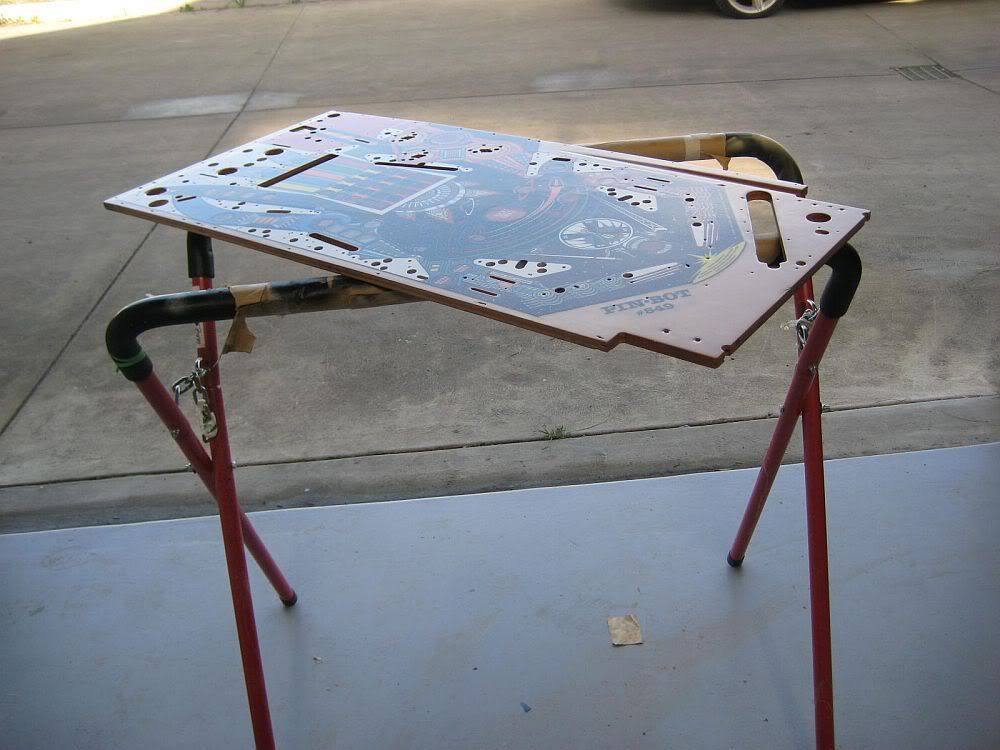
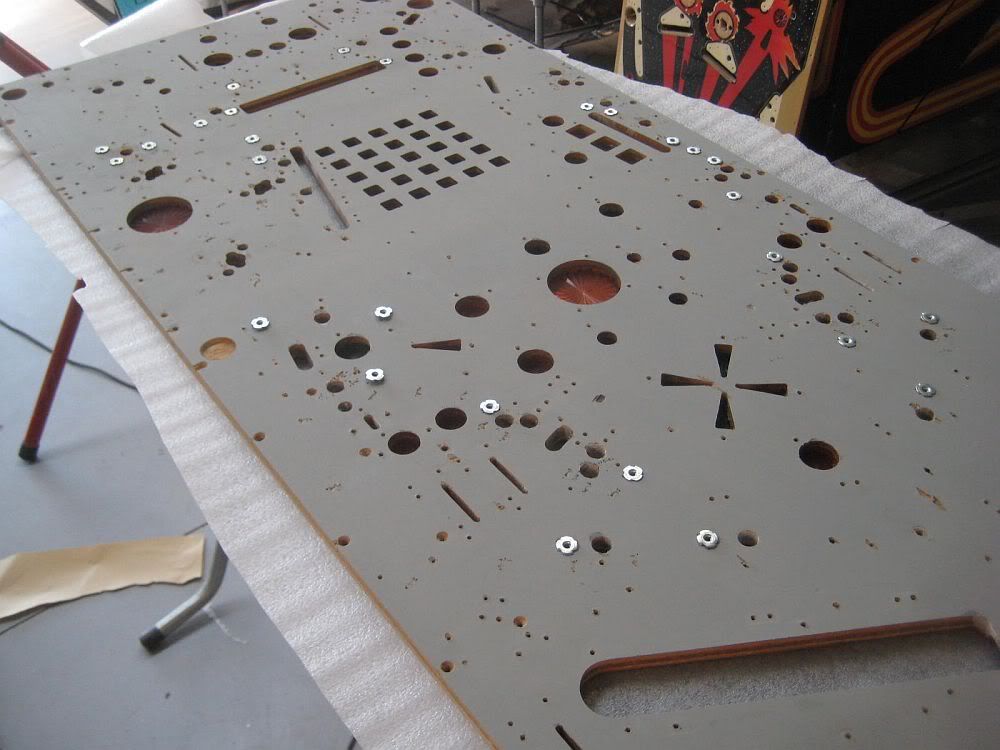
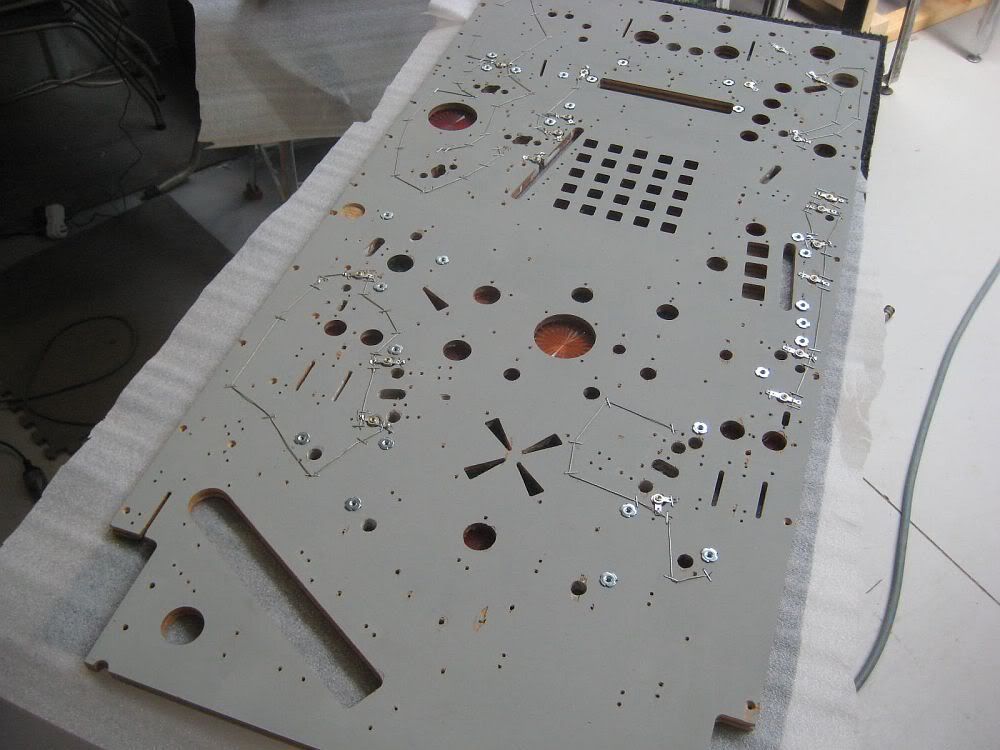
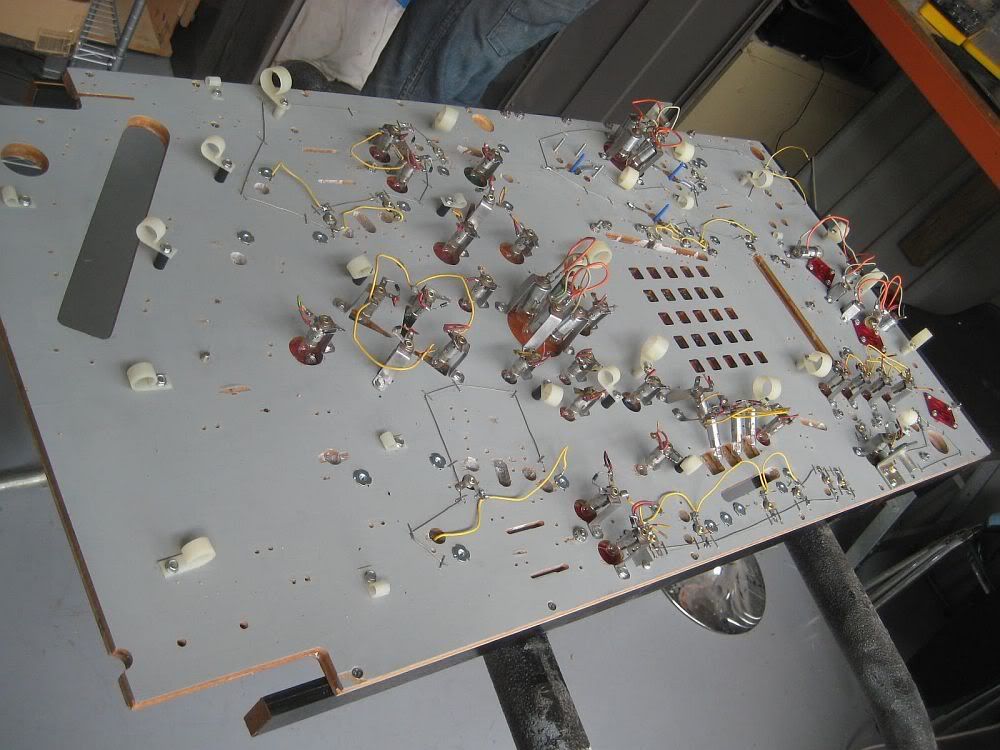
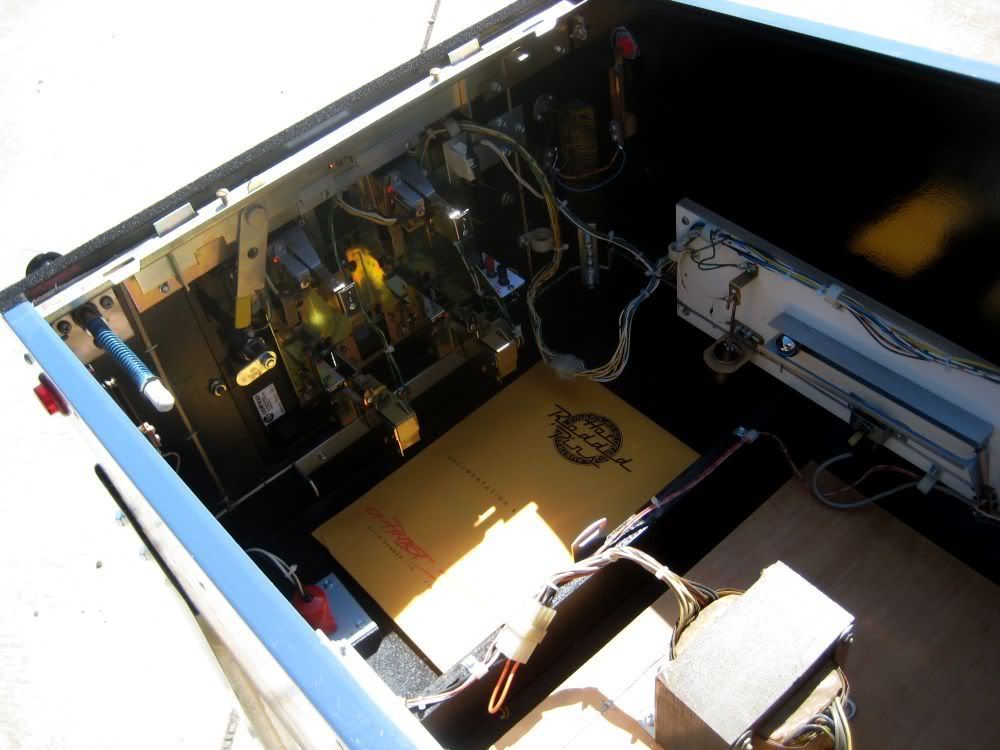
Underside of the playfield is refinished grey and has been t-nutted...
Stapling down the GI strings...
Nearly there...
Cabinet is nearly trimmed out...
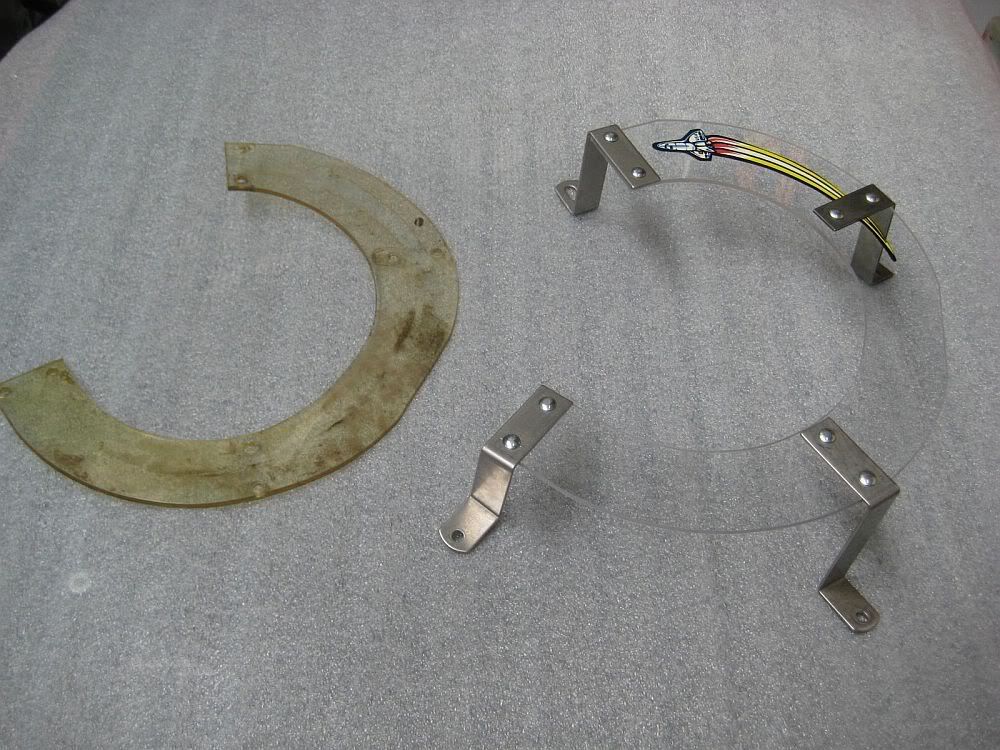
Anthony made a heap of clears for this game as the yellowed ones would only suit the old playfield tones. They just stood out too much against the white on the playfield...
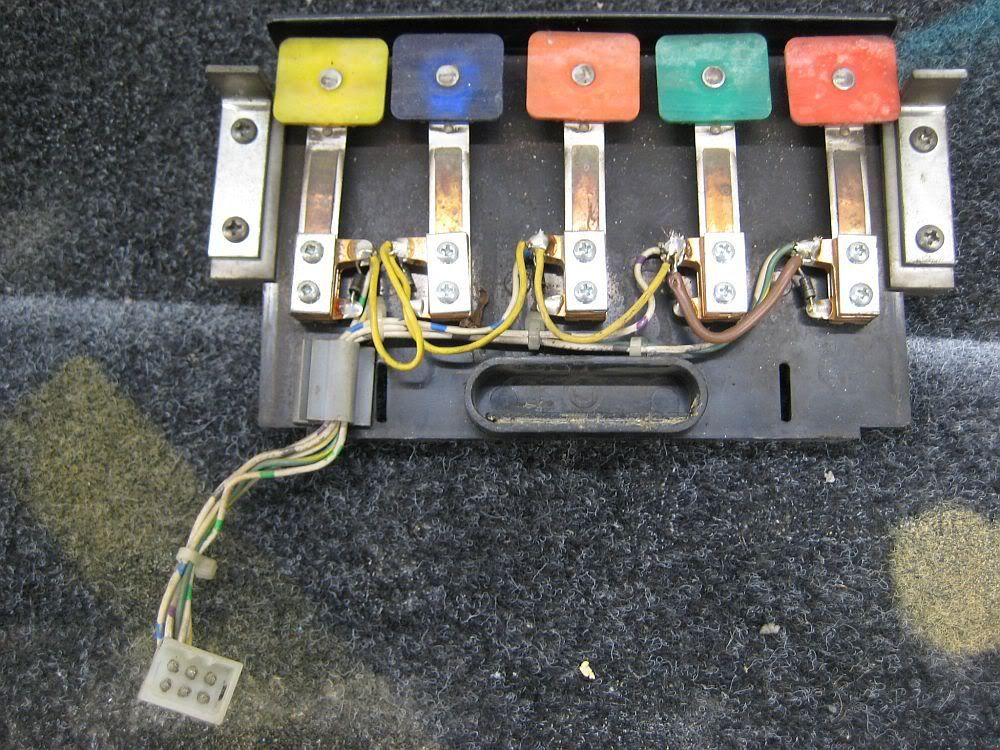
Light panel was rebuilt with new light sockets etc...
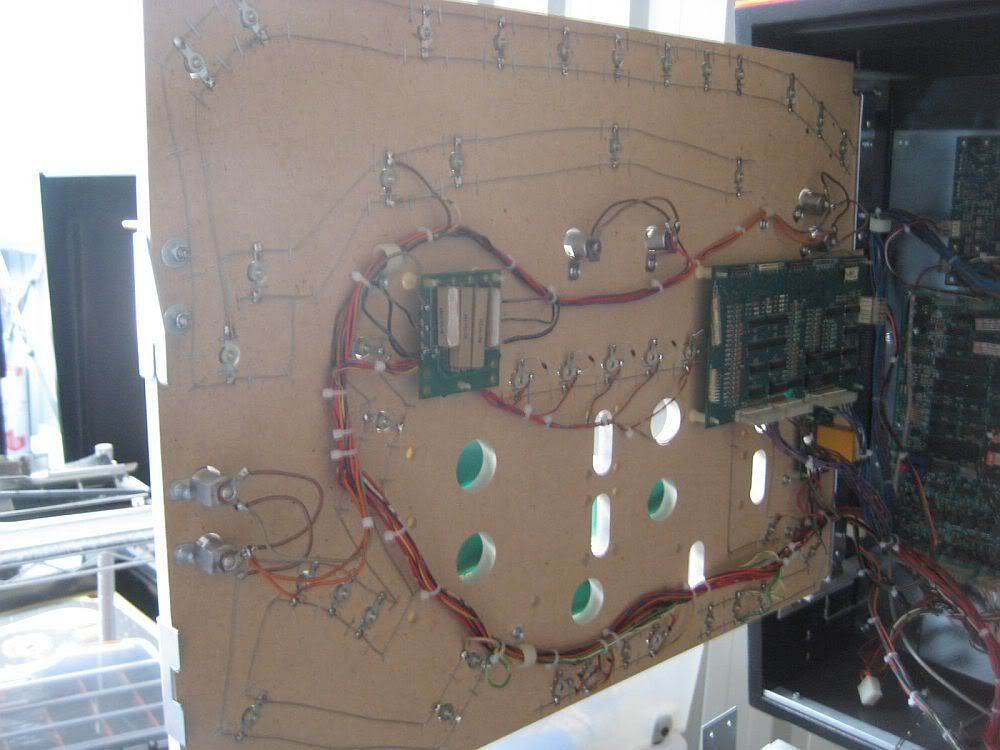
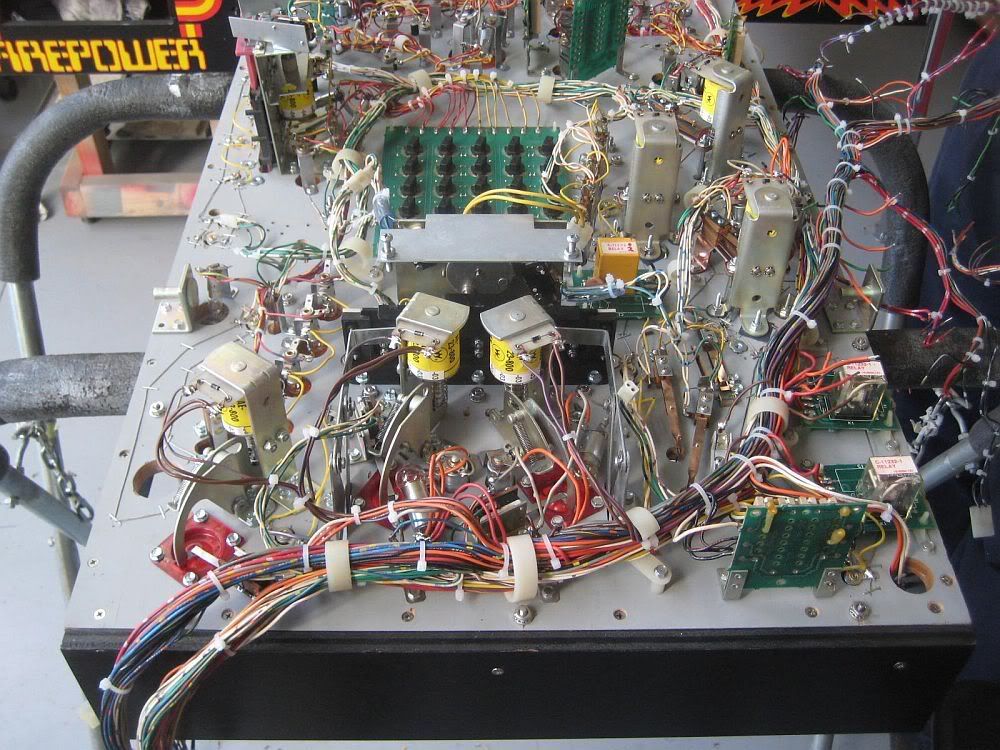
Rebuilding the playfield, this game was incredibly busy bottomside...
Fastforward another handful of hours...
I will build the rest of the game in its cabinet...
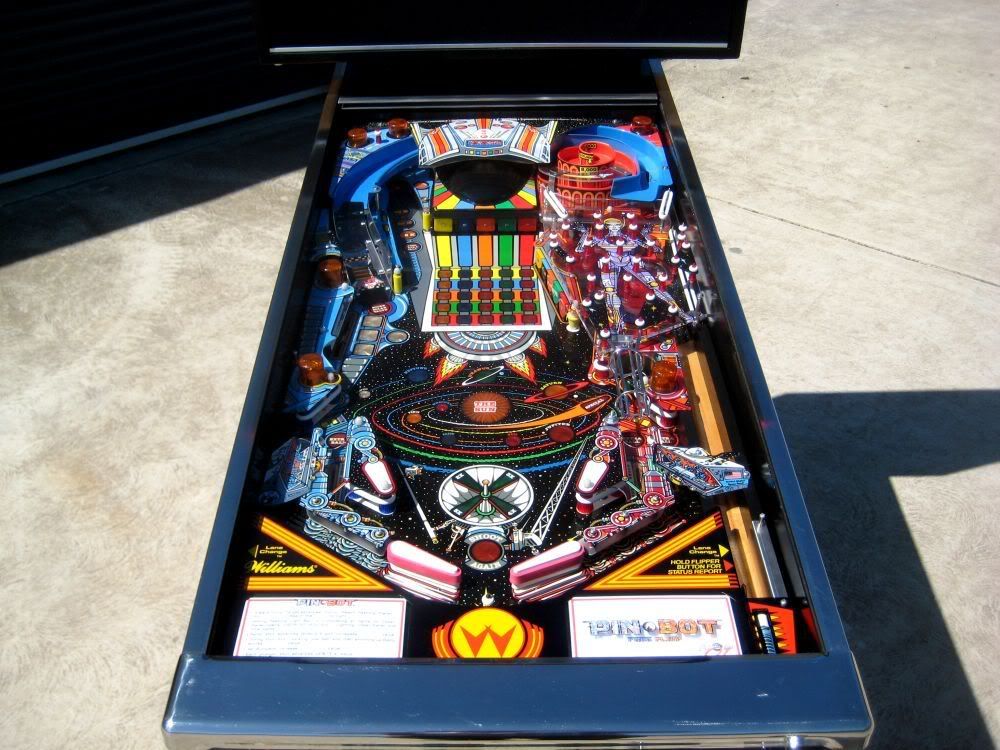
Looks much nicer compared to the early photos...
Test fitting ramps etc...
Anothy putting some final details on the game...
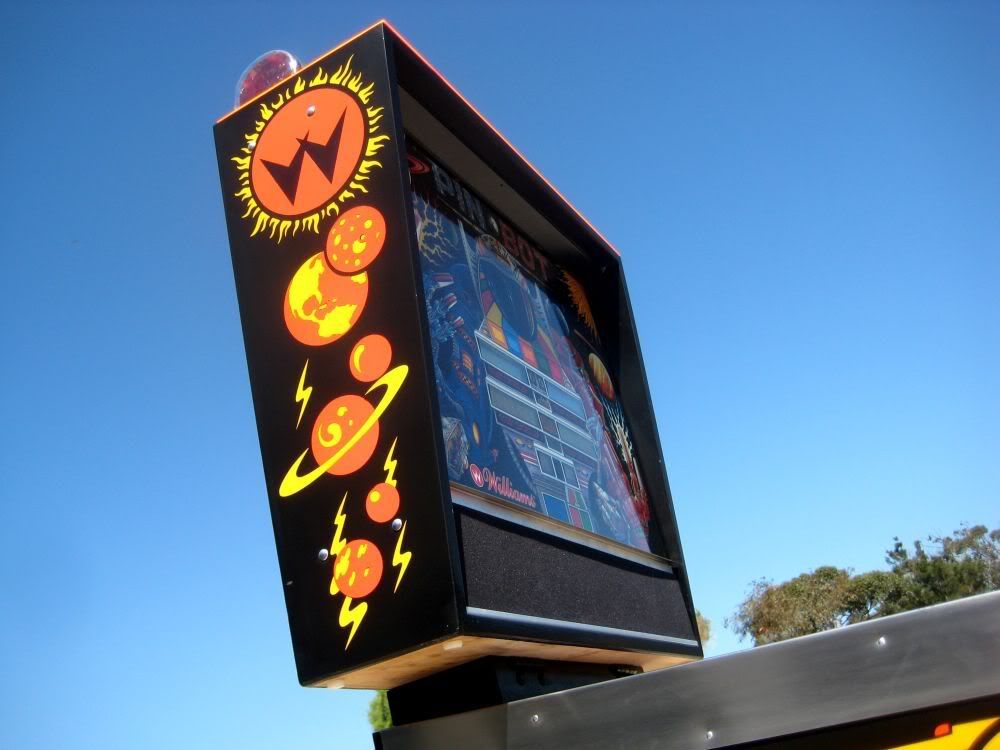
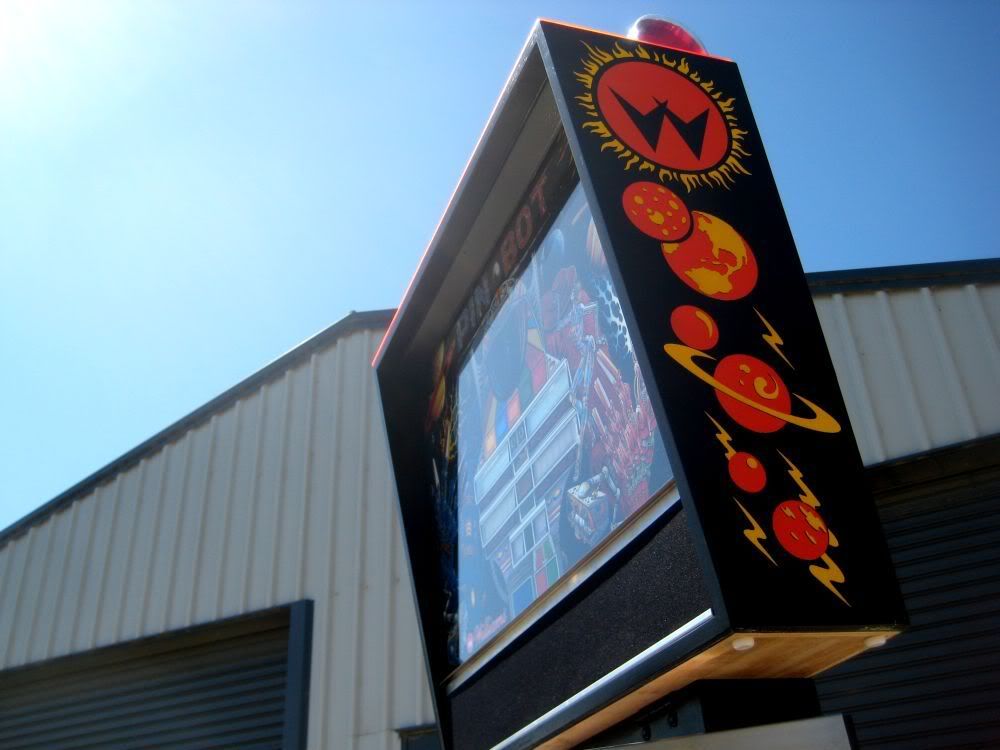
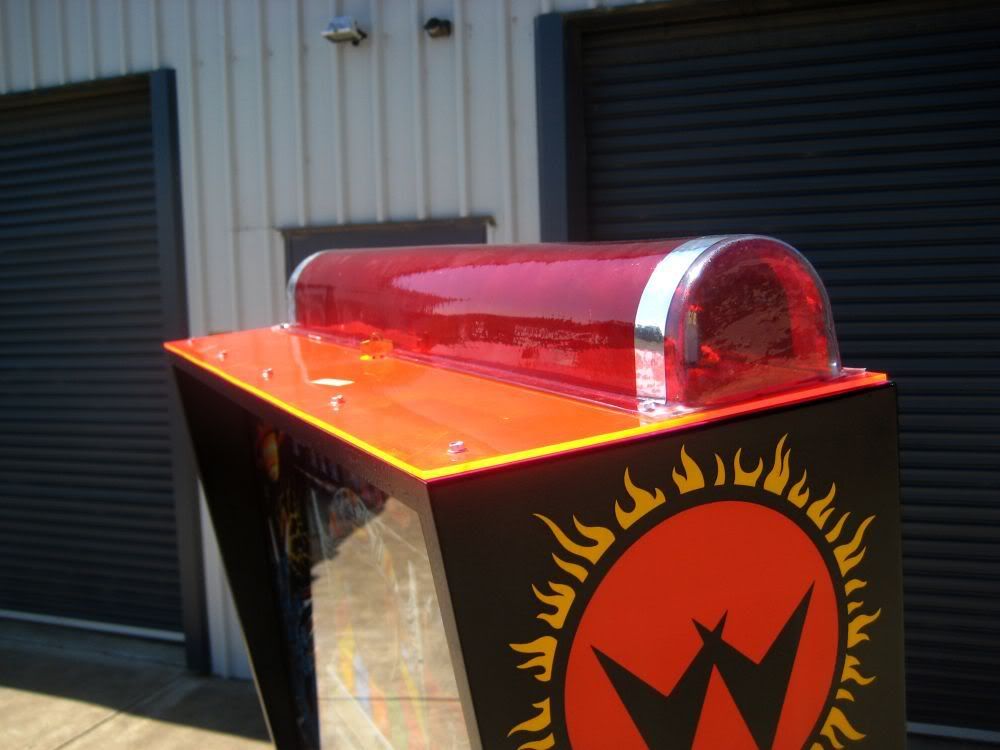
Anthony also produced this topper; the one with the machine was cracked out everywhere and he managed to make a mold and form a new one. I hope he posts on this topic as i was blown away with the result...
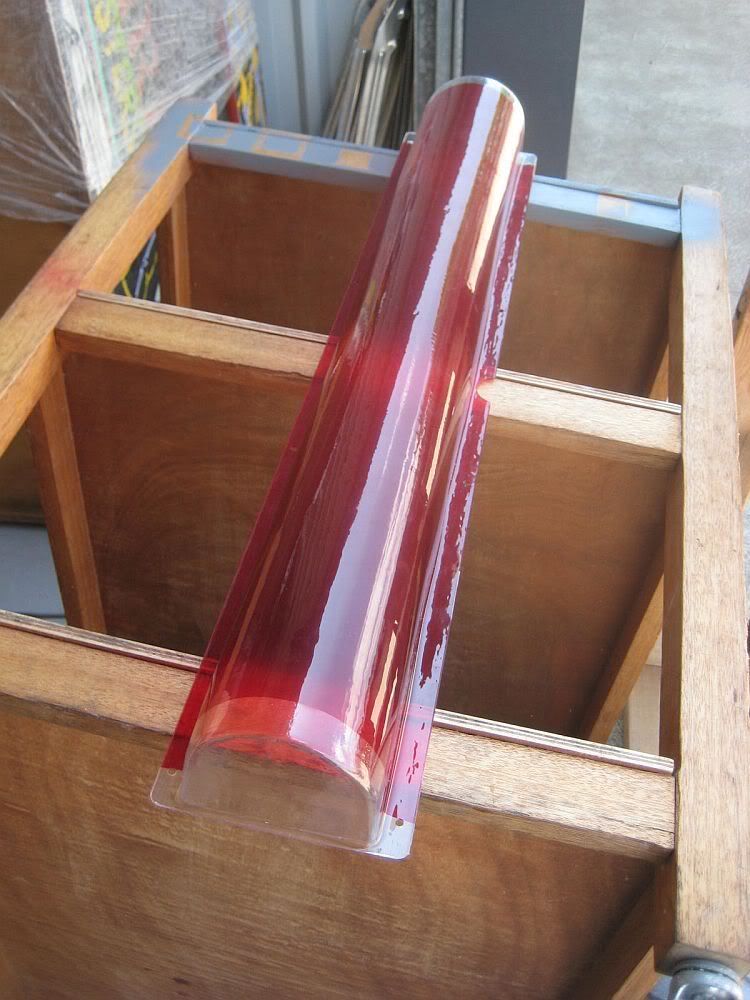
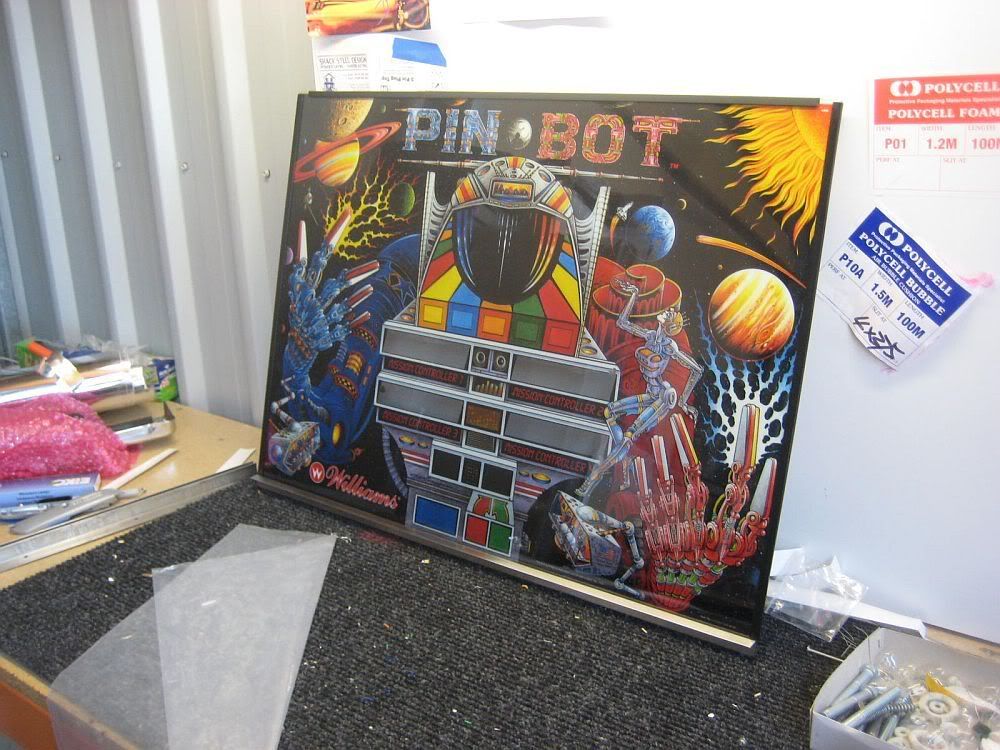
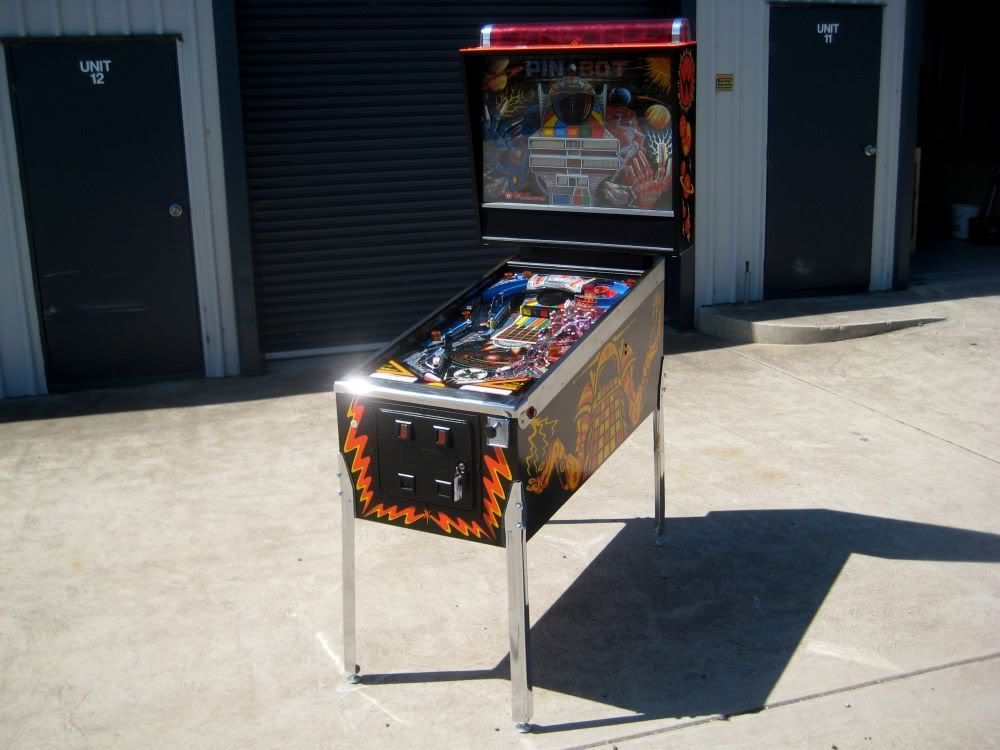
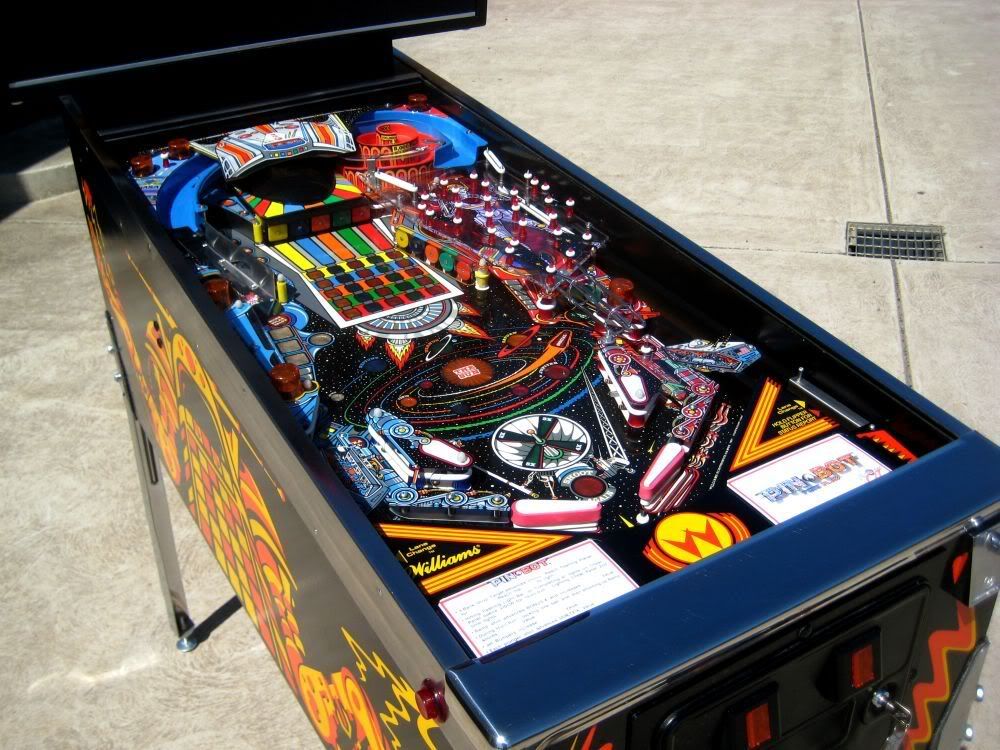
Translite refinished and new trim installed. Stainless bottom channel as per flyer...
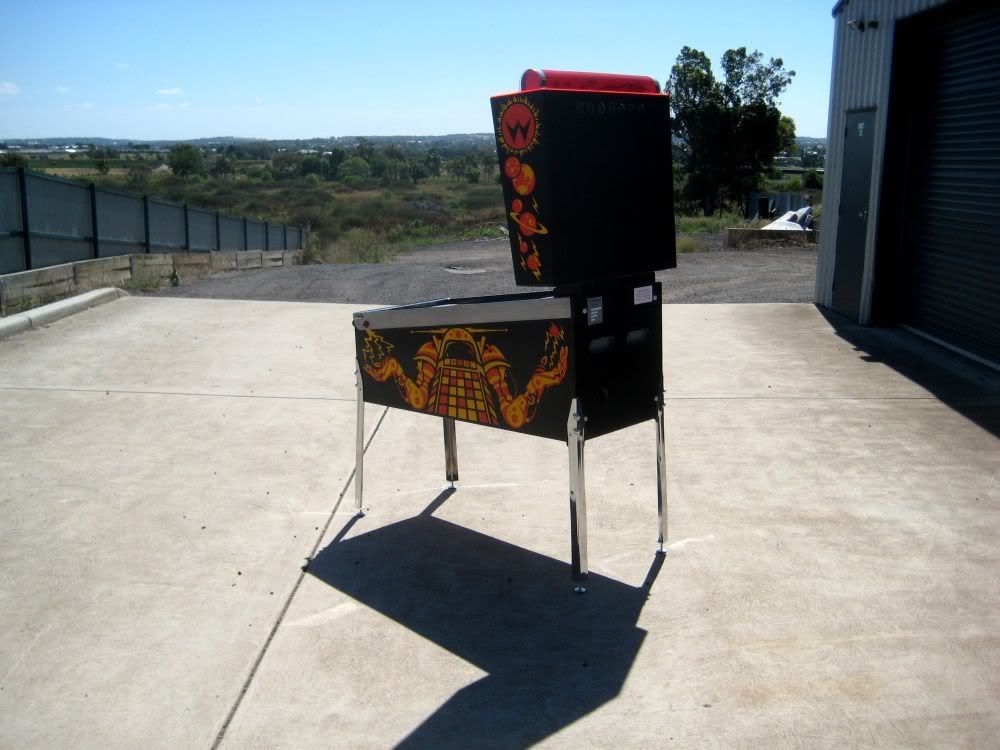
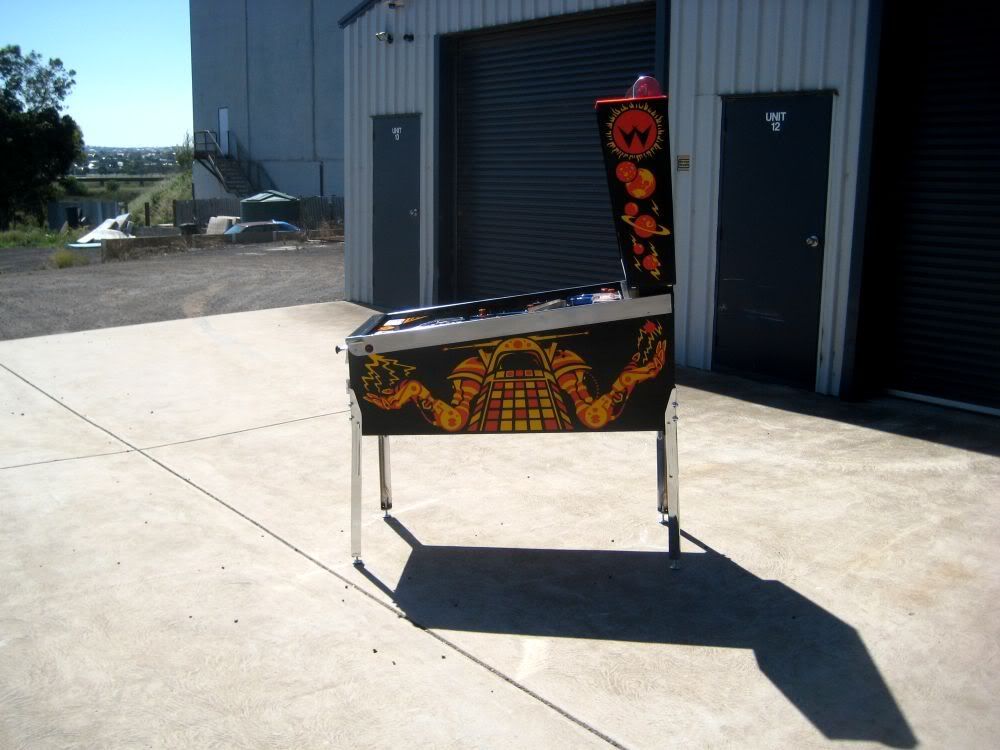
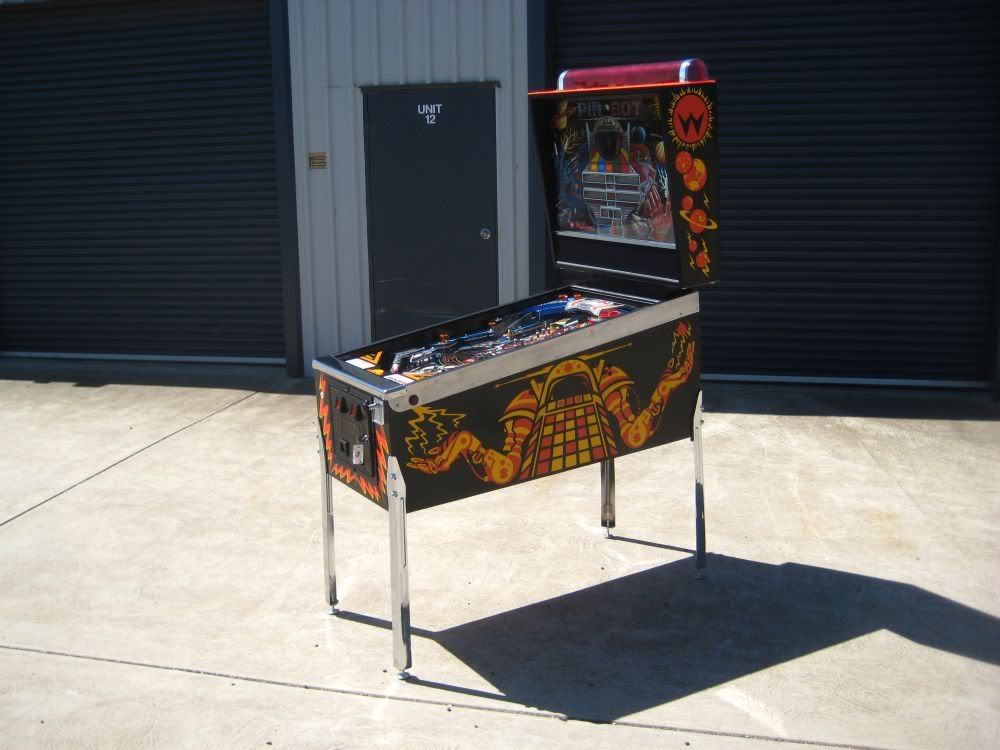
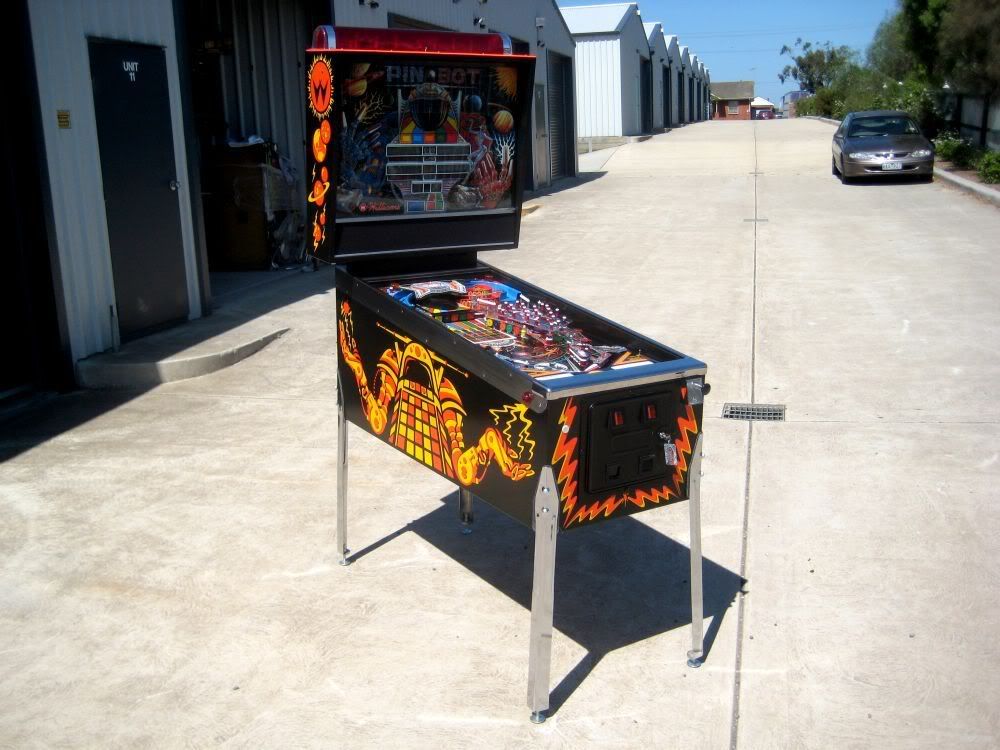
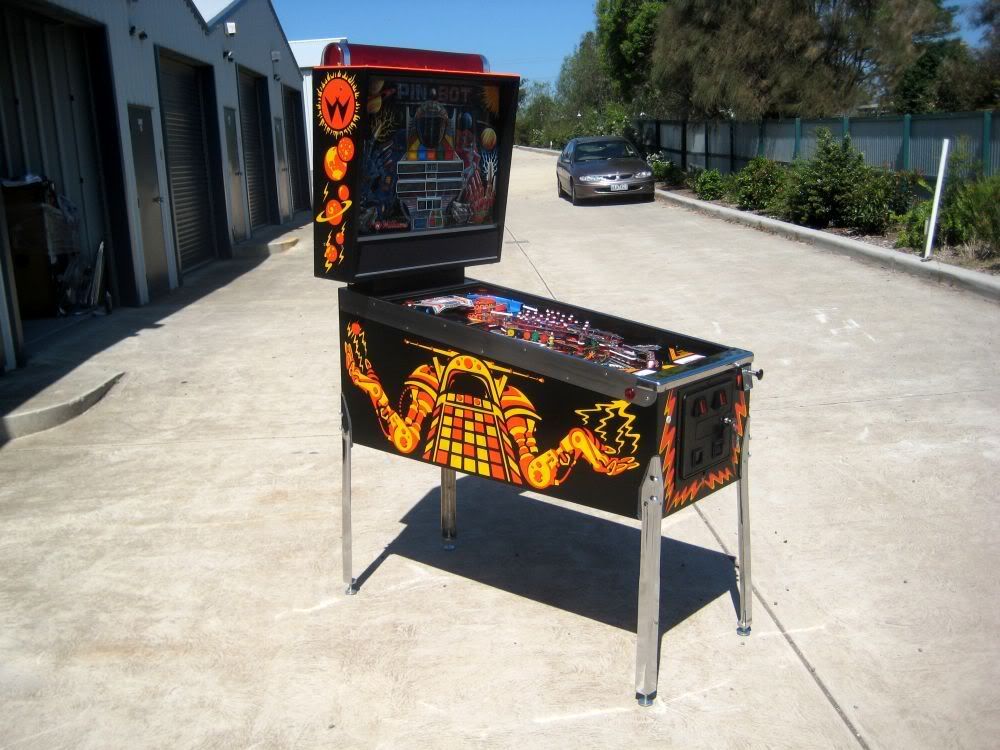
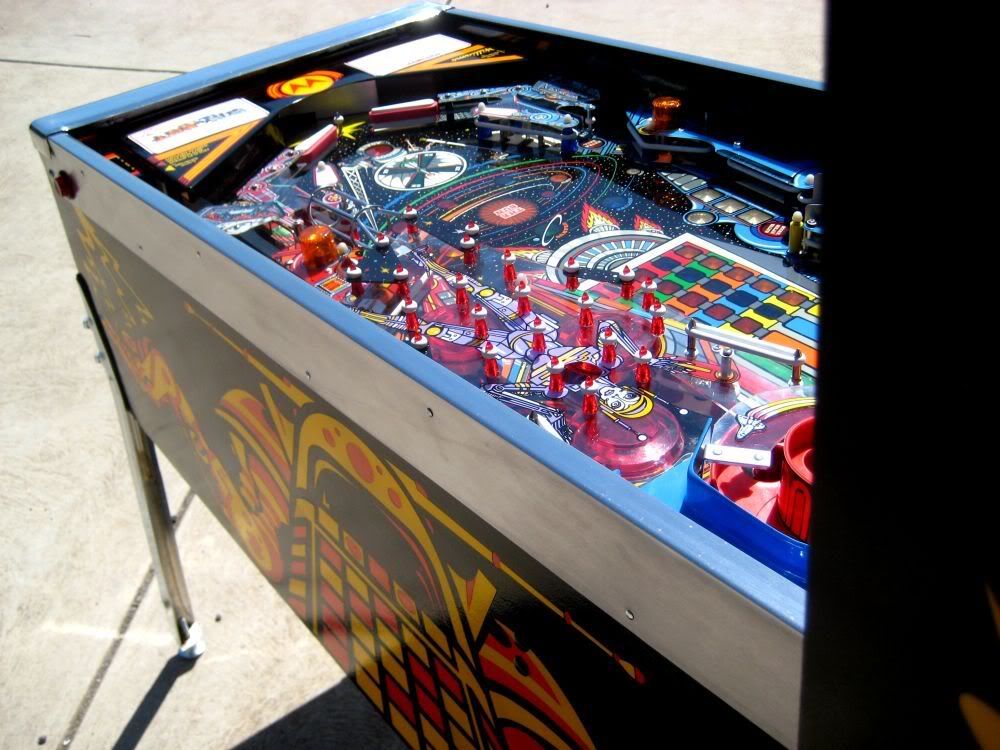
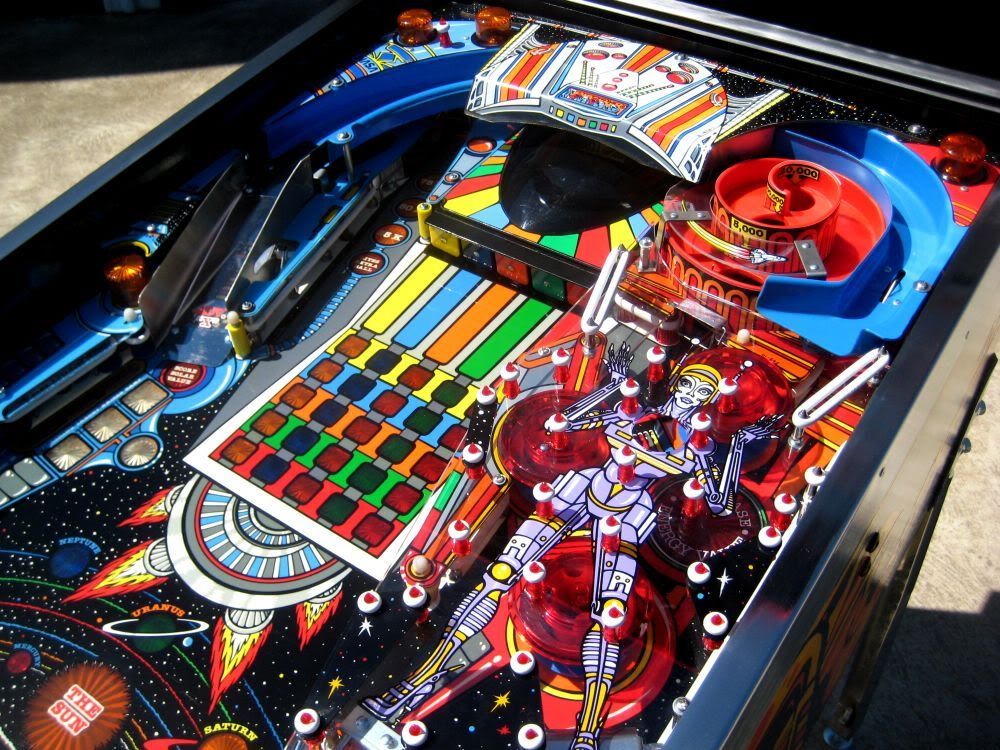
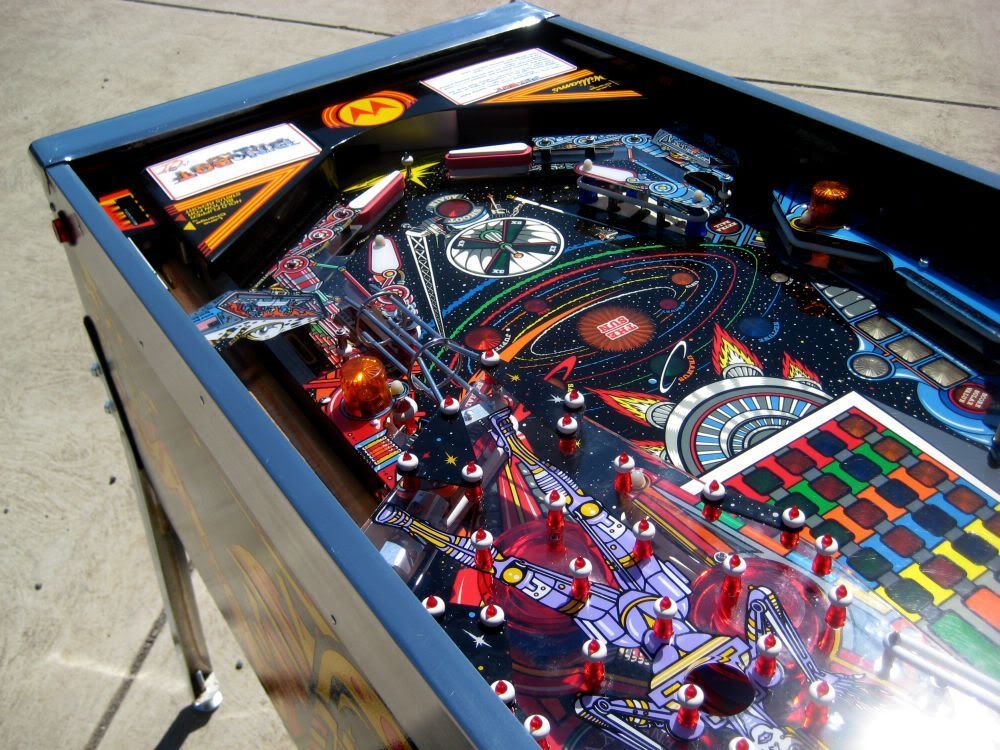
The photos from here are nothing more than my standard final glamour shots. Perfect day to get the game outside though!!
here we go...
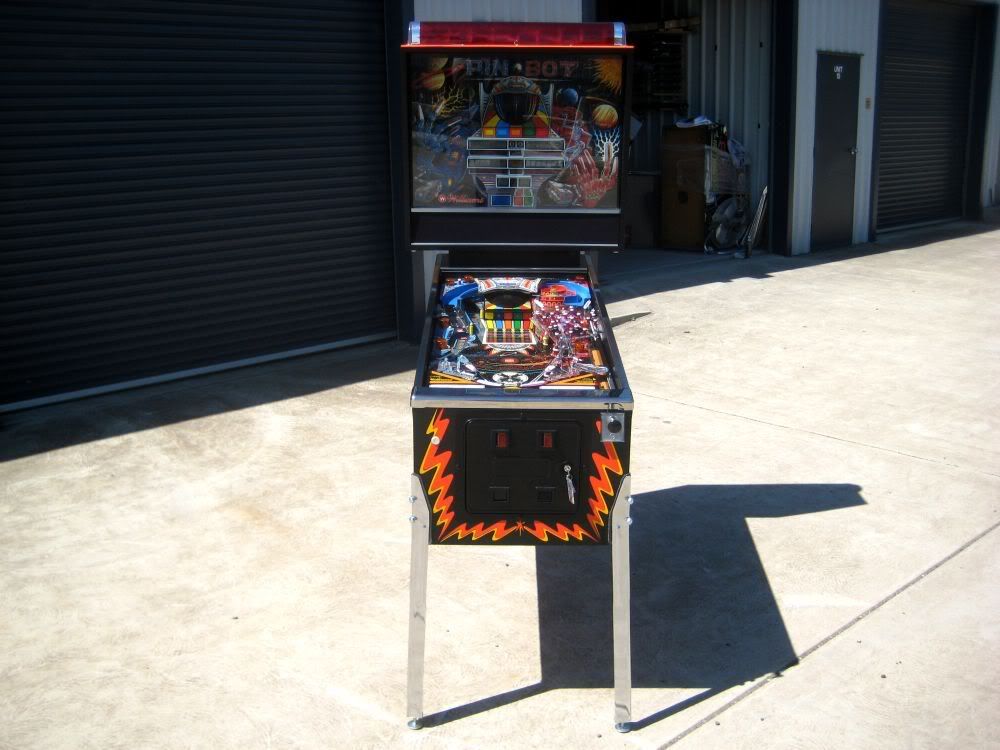
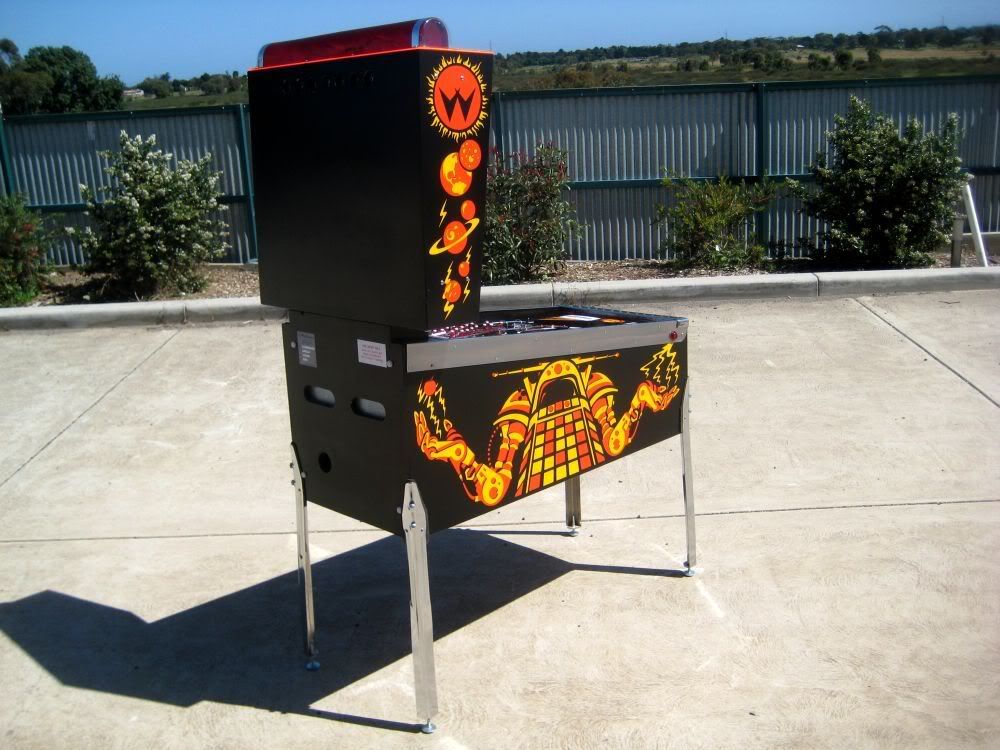


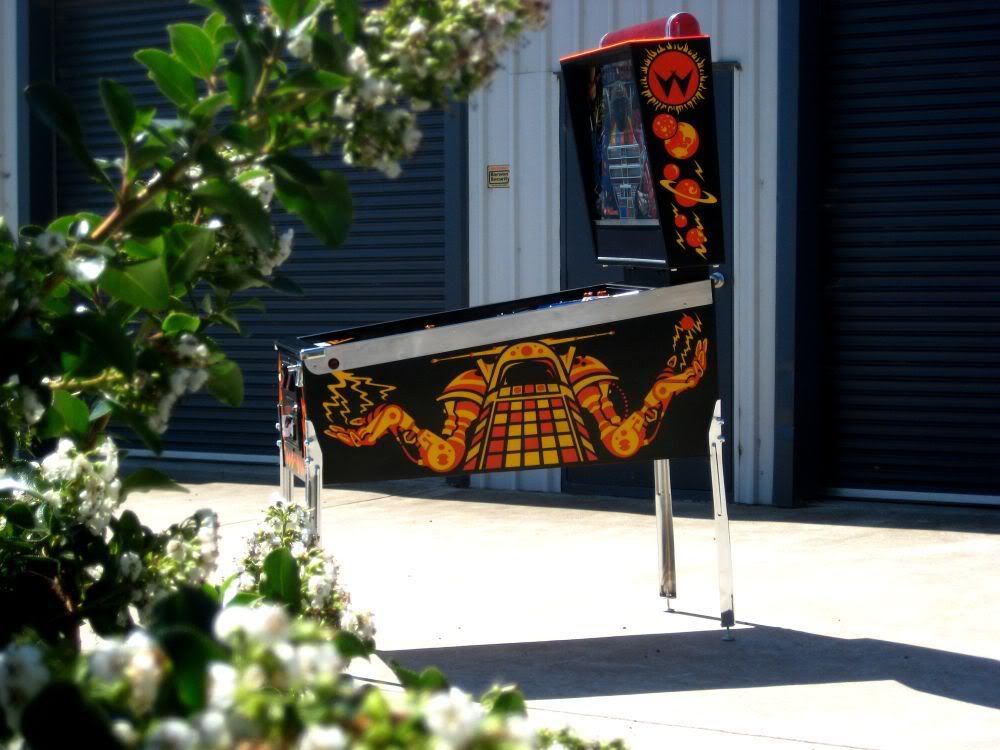
Thanks for reading guys, and hope i didnt kill your monthly internet data usage. I tried to make the photos as small as possible without losing too much detail.
Timbo


