Author Topic: Bally 1965 Aces High Restoration  (Read 13057 times)

0 Members and 2 Guests are viewing this topic.

Offline ktm450

  • Trade Count: (+1)
  • ******
  • High Score Initials:
  • Forum Posts:
  • Geelong, Victoria
Re: Bally 1965 Aces High Restoration
« Reply #120 on: May 08, 2011, 12:04:00 PM »
Looks like a good match to me. Nice work mate  ^^^
« Last Edit: May 08, 2011, 04:37:34 PM by ktm450 »

Offline millsy

  • Trade Count: (+2)
  • ******
  • Forum Posts:
  • Illawarra
  • pinballaustralia.com
    • Pinball Australia
Re: Bally 1965 Aces High Restoration
« Reply #121 on: May 08, 2011, 03:10:06 PM »
Excellent work  @@* @@* - Love to have PF painting skills you have.
Like the Bally 60,s emsm
pinballaustralia.com

Offline MartyJ

  • Trade Count: (+4)
  • ******
  • High Score Initials:
  • Forum Posts:
  • Melbourne
Re: Bally 1965 Aces High Restoration
« Reply #122 on: May 08, 2011, 07:57:55 PM »
Great work Nino, the touchups look great.

Offline swinks

  • Trade Count: (+18)
  • ******
  • High Score Initials:
  • Forum Posts:
  • Lake Macquarie, NSW
Re: Bally 1965 Aces High Restoration
« Reply #123 on: May 08, 2011, 08:27:02 PM »
Inspiring Nino, looking awesome....
https://swinks.com.au

for pinball parts (reproduction & mods)
for pinball t-shirts

Offline Strangeways

  • Pinball Restoration is my passion
  • Administrator
  • Trade Count: (+9)
  • *****
  • High Score Initials:
  • Forum Posts:
  • Melbourne
  • ABN 68 283 634 461
    • Ride The Boney Beast
Re: Bally 1965 Aces High Restoration
« Reply #124 on: May 08, 2011, 09:40:23 PM »
Excellent work  @@* @@* - Love to have PF painting skills you have.
Like the Bally 60,s emsm

Millsy - I had no skills whatsoever until I started experimenting. Thanks to the help from Gav and Tim, I've made a start and seriously, it is not hard at all. I have ZERO artistic skills. Color matching is difficult, but airbrushing is surprisingly simple - even clearcoating with an airbrush is simple.

All I can say is that this is my first effort, and if I can do it - anyone can. Cost me around $150 to get started (but I already have a 2HP compressor), and I look forward to learning more skills.

Thanks for the kind words from everyone  ^^^
Aussie Pinball - Proud to be Australia's Premier Pinball Forum

http://www.australianpinballrestorations.com.au/

http://www.rtbb.com.au/catalog/

We carry the largest range of NEW Ramps in Australia

Offline millsy

  • Trade Count: (+2)
  • ******
  • Forum Posts:
  • Illawarra
  • pinballaustralia.com
    • Pinball Australia
Re: Bally 1965 Aces High Restoration
« Reply #125 on: May 08, 2011, 11:20:52 PM »
Unfortunately I am slightly colour blind, would be great if there was a portable color matching scanner (Like the one at Bunnings) available. I rely on the normal flatbed scanner but the colours come out different on photoshop.
pinballaustralia.com

Offline Mr Pinbologist

  • Trade Count: (+5)
  • ******
  • High Score Initials:
  • Forum Posts:
  • Wauchope NSW
Re: Bally 1965 Aces High Restoration
« Reply #126 on: May 08, 2011, 11:32:50 PM »
Looks pretty sweet so far to me Nino  #*# it'll look even better still once you've done the black lines, and as you said when the hardware is back on will look even better again!!

Im really enjoying following the results of your airbrushing efforts so far  ^^^ ^^^ ^^^

Offline Strangeways

  • Pinball Restoration is my passion
  • Administrator
  • Trade Count: (+9)
  • *****
  • High Score Initials:
  • Forum Posts:
  • Melbourne
  • ABN 68 283 634 461
    • Ride The Boney Beast
Re: Bally 1965 Aces High Restoration
« Reply #127 on: June 13, 2011, 11:46:21 PM »

A package arrived in the mail from Gavin with my Stencils to complete this section (thanks Gav). It is only a circle, but I wanted the finished job to look perfect. Just a recap - I ended up painting the ENTIRE section - all colors and all lines. The lines took HOURS to finish and I had to redo sections. I'm glad I did this, as the results speak for themselves.

Here's the section prior to the repaint ;


Here's the section after I completed the repaint. I have not cleared it yet - I only finished this off yesterday ;


That's a MASSIVE improvement and I had a massive sensee of achievement and satisfaction. Very happy  ^^^


Gavin once told me that "once you finish one area, you find the next area to improve" - well how right is that. I'm going to tackle the areas in front of the slings. I can't get away with a touch up - so I'm going to repaint the entire light blue section. I have to do this as areas are lighter than others - the color is not uniform. I have the confidence and skills to at least attempt it.

Here's my final repaint areas ;


I'm looking forward to the challenge !

Aussie Pinball - Proud to be Australia's Premier Pinball Forum

http://www.australianpinballrestorations.com.au/

http://www.rtbb.com.au/catalog/

We carry the largest range of NEW Ramps in Australia

Offline Steve2010

  • Trade Count: (+11)
  • *****
  • Forum Posts:
  • Sydney
Re: Bally 1965 Aces High Restoration
« Reply #128 on: June 14, 2011, 08:54:04 PM »
Excellent result, and stunning to say the least!

I would hazard to guess you have spent a serious amount of time on this restore - perhaps more than any other you have done, or at least up there?

Offline Strangeways

  • Pinball Restoration is my passion
  • Administrator
  • Trade Count: (+9)
  • *****
  • High Score Initials:
  • Forum Posts:
  • Melbourne
  • ABN 68 283 634 461
    • Ride The Boney Beast
Re: Bally 1965 Aces High Restoration
« Reply #129 on: June 14, 2011, 10:20:46 PM »
Excellent result, and stunning to say the least!

I would hazard to guess you have spent a serious amount of time on this restore - perhaps more than any other you have done, or at least up there?

Without doubt, this is the most exhaustive restore I've even done. 1960's Ballys (especially 4 Player games) have a lot of work that needs to be done - more than GTB and Williams of the same era. This game is the oldest I own, and was selected as it was the "worst" of the first container - so it was a good measuring stick to what lies ahead (over 45 EMs). Hving said that, there's two challenges I've answered - Nickel / Zinc plating and playfield touch-up and clearcoating. This opens up many opportunites to attempt machines in far worse condition, and I look forward to clearcoating many playfields "old school".

I'd say I'm approaching 200 hours.
Aussie Pinball - Proud to be Australia's Premier Pinball Forum

http://www.australianpinballrestorations.com.au/

http://www.rtbb.com.au/catalog/

We carry the largest range of NEW Ramps in Australia

Offline Strangeways

  • Pinball Restoration is my passion
  • Administrator
  • Trade Count: (+9)
  • *****
  • High Score Initials:
  • Forum Posts:
  • Melbourne
  • ABN 68 283 634 461
    • Ride The Boney Beast
Re: Bally 1965 Aces High Restoration
« Reply #130 on: July 12, 2011, 12:00:58 AM »

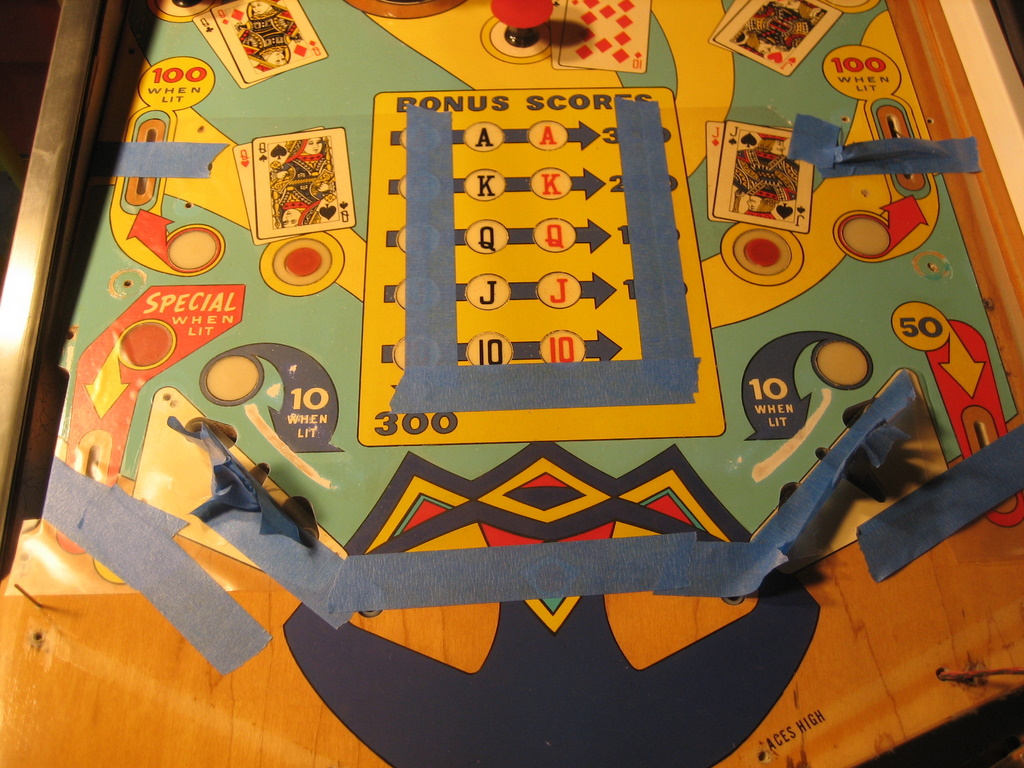
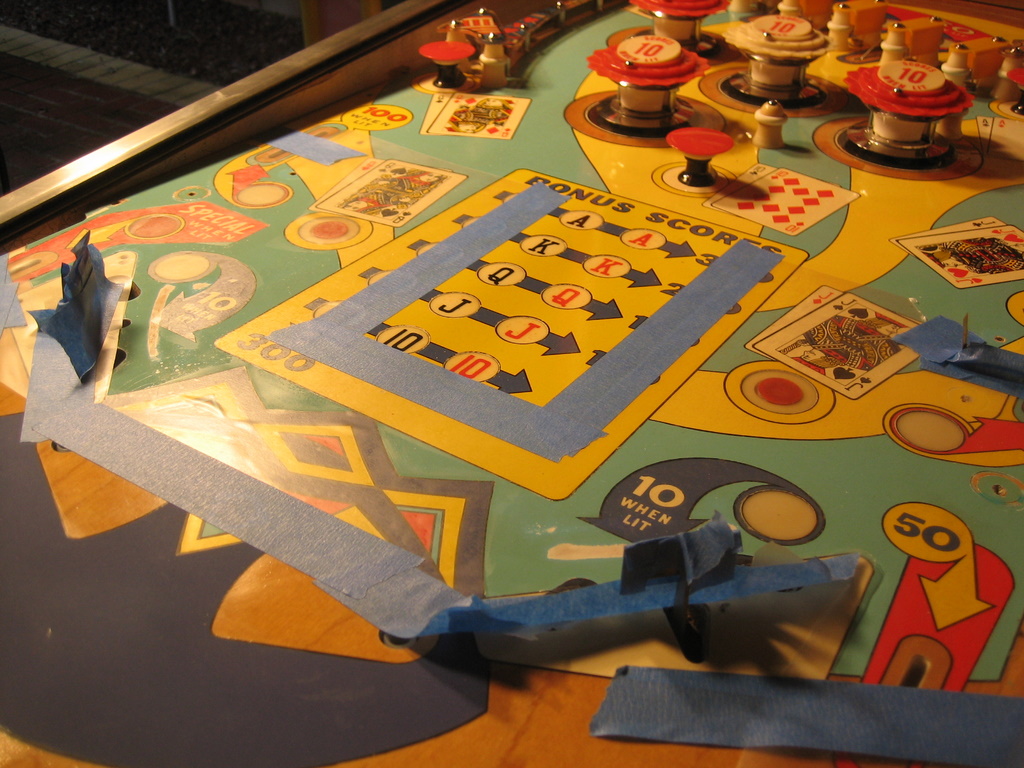
Back onto the playfield restoration, more specifically, the blue/green areas in front of the slingshots. I tried several times to hand paint the area, but it was never a perfect match and it was too obvious. I decided to repaint the entire area, which required the use of the frisket, a scalpul and a steady hand.

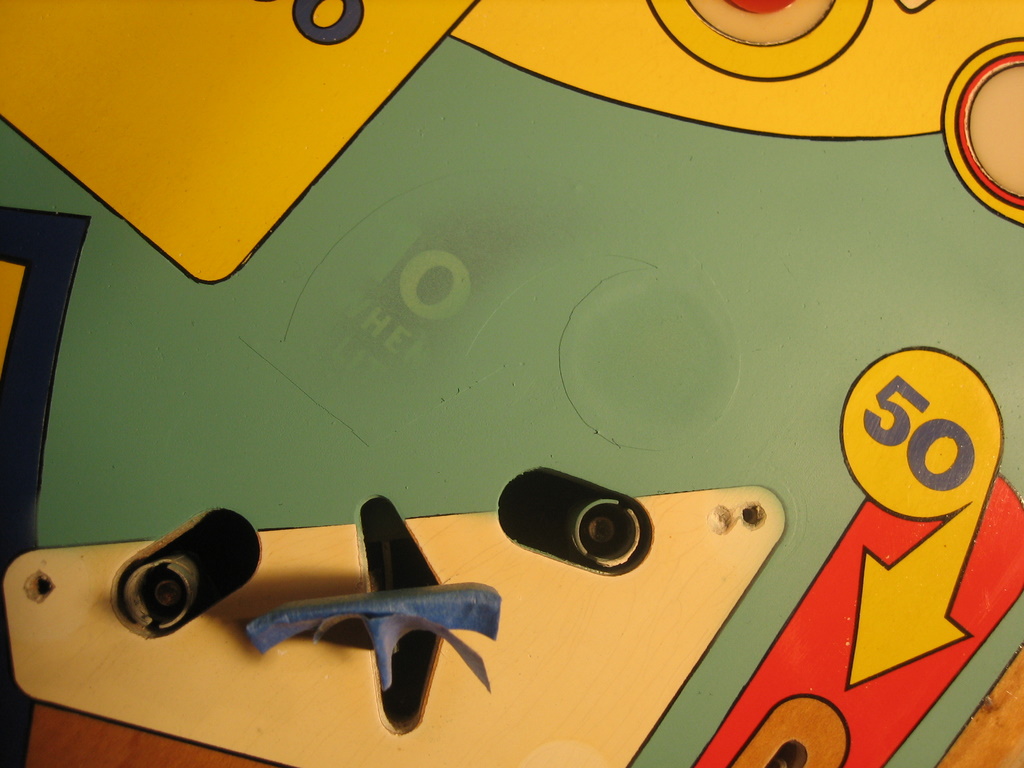
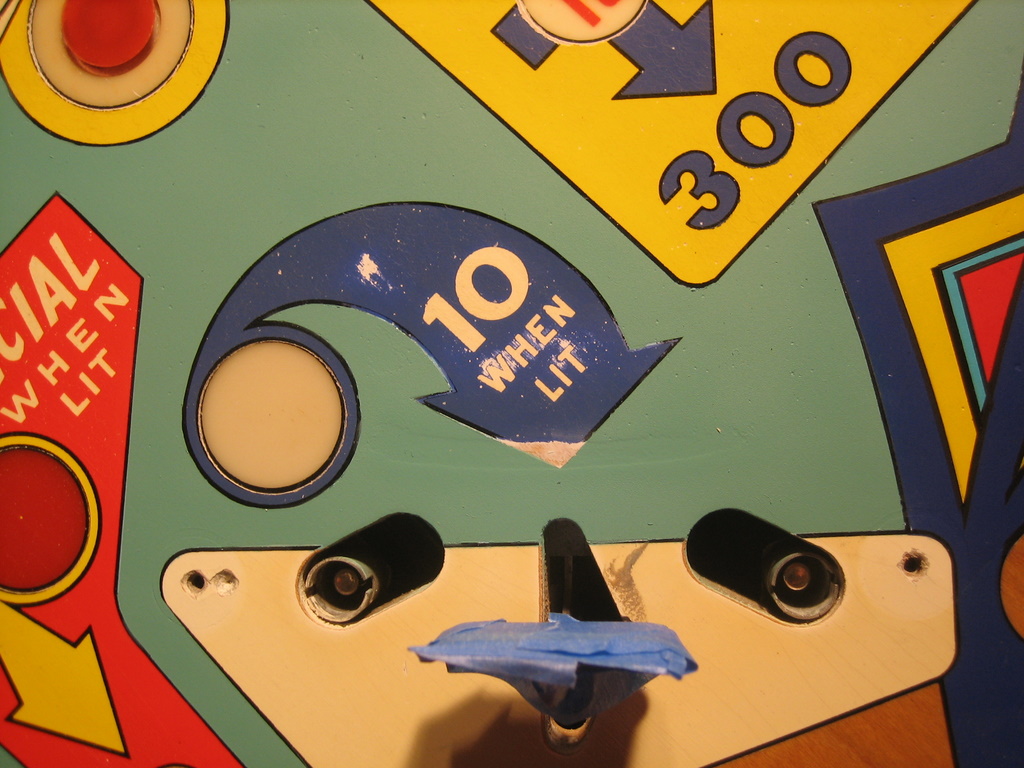
Initially, I rubbed back the existing varnish with a green scotchbrite and then applied penetrol with a rag and let it dry for a week (only needs to dry overnight, but I was busy on other games). I cut a sheet out of frisket and set it in place. I then had to use the scalpul and cut out the area where I wanted to paint. Here's a couple of pictures before I painted ;


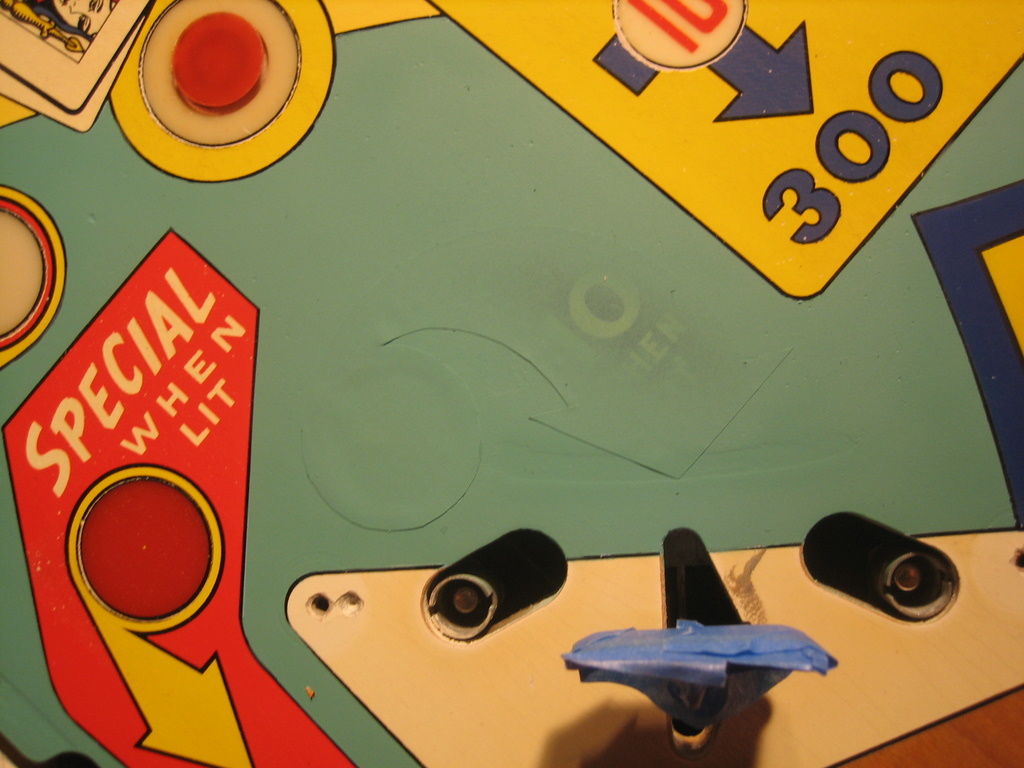
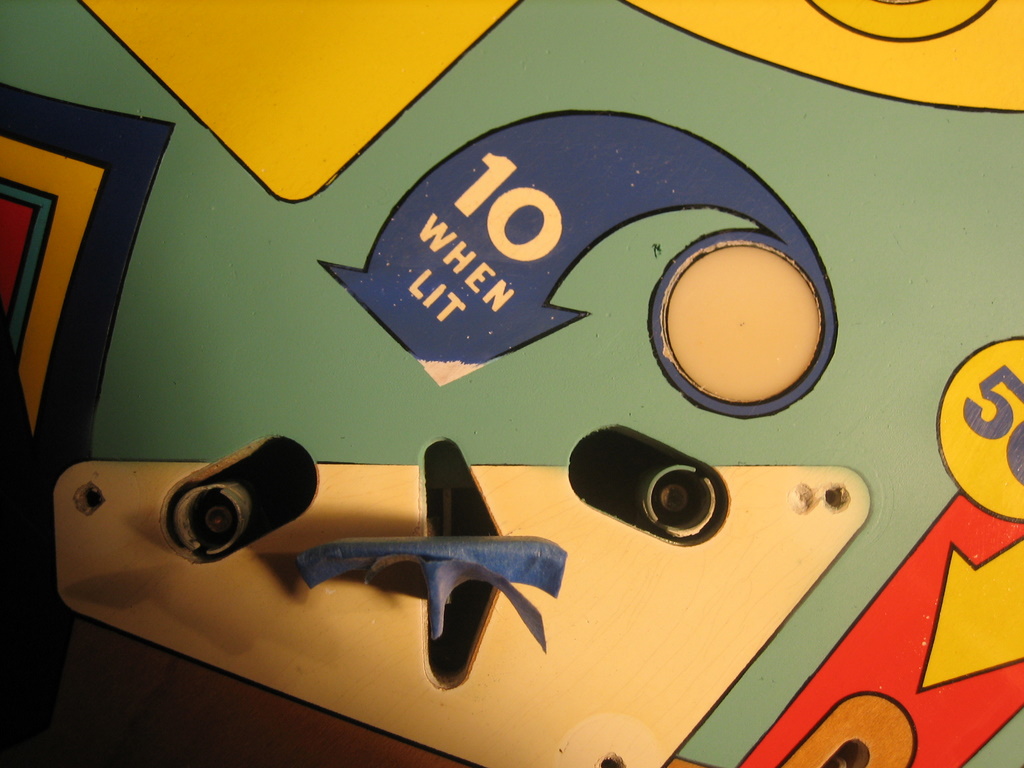
You can see the hazy areas where the frisket is cut out (a better angle).


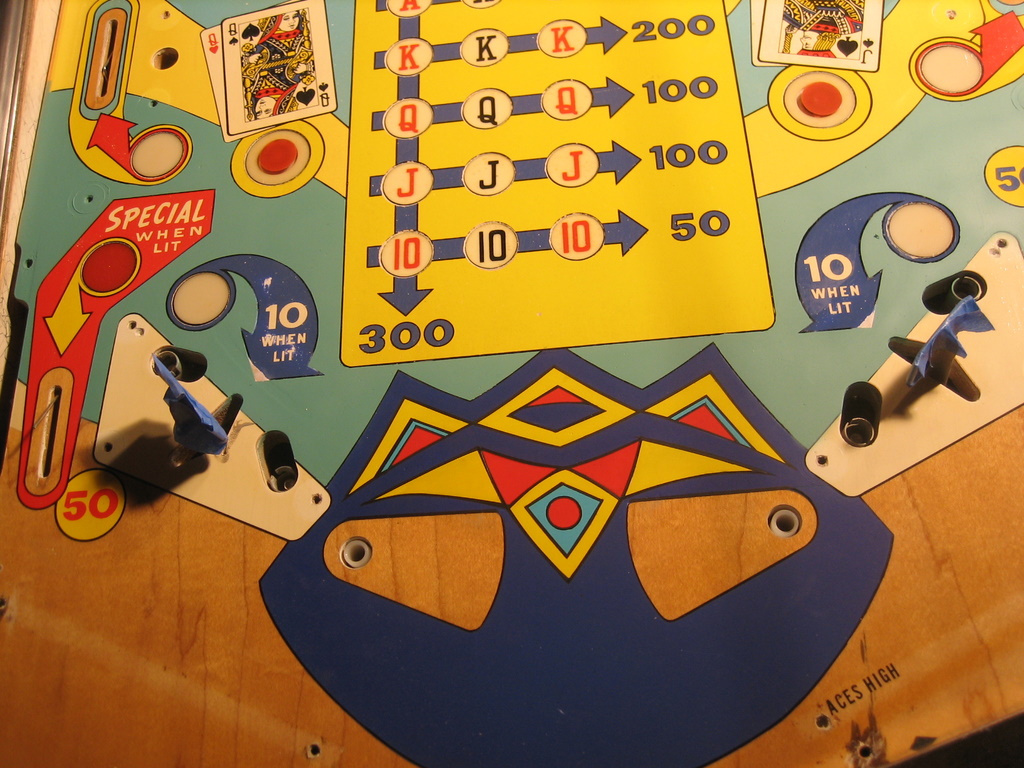
I mixed the paint and thinned it to flow through the airbrush. I was a little thinner than usual, I was only interested in getting the paint to flow with more control and it worked a treat. Here's a picture of the areas AFTER two or three thin coats. Note I've left the mast for the dark blue area intact, but the frisket from other areas is removed and NO overspray ;


Here's a picture of the area I just repainted. Dried slightly darker / greener but I noticed that the original paint had faded. It will look great under a clearcoat.


The finished sections in front of the slings. MUCH better result. The effort was well worth it - I really didn't like the areas worn to wood. I still have a bit of an issue with the left hand side sling area, as the paint was worn to wood AND there was a divot of wood removed. The clear will level that off.


Now I have to work out a plan for the dark blue and white writing. Not sure how to tackle this yet !

Aussie Pinball - Proud to be Australia's Premier Pinball Forum

http://www.australianpinballrestorations.com.au/

http://www.rtbb.com.au/catalog/

We carry the largest range of NEW Ramps in Australia

Offline goodolddays

  • Trade Count: (0)
  • ******
  • Forum Posts:
  • Riverstone NSW
Re: Bally 1965 Aces High Restoration
« Reply #131 on: July 12, 2011, 11:18:13 AM »
Another big improvement there Nino  ^^^ .. think I would fail before I even started tho as you said one of the required tools is a steady hand  %.%
I need more room ! and more $$$

Offline Steve2010

  • Trade Count: (+11)
  • *****
  • Forum Posts:
  • Sydney
Re: Bally 1965 Aces High Restoration
« Reply #132 on: July 13, 2011, 10:22:19 AM »
Looking sweet, Nino.  The "serious" hours continue .... you must be getting close to this one being finished.

Offline Strangeways

  • Pinball Restoration is my passion
  • Administrator
  • Trade Count: (+9)
  • *****
  • High Score Initials:
  • Forum Posts:
  • Melbourne
  • ABN 68 283 634 461
    • Ride The Boney Beast
Re: Bally 1965 Aces High Restoration
« Reply #133 on: July 13, 2011, 10:34:07 AM »
Another big improvement there Nino  ^^^ .. think I would fail before I even started tho as you said one of the required tools is a steady hand  %.%

Absolutely - it is still a big learning curve for me. I dreaded attempting this section as I had not airbrushed an area this large, and I had struggled to match the color previously. Luckily, my wife is good at color matching, so it came fairly close. Close enough for me to be very happy.


Looking sweet, Nino.  The "serious" hours continue .... you must be getting close to this one being finished.


Only the Blue area and the white lettering to go, then a clearcout for the lower section. In hindsight, I should have clearcoated the entire playfield, but that's ok - I'm happy to have learnt what I have - so far ! I'm really keen on playing a game when it is finished, but to be honest, the artwork and the condition of the playfield is something to just "look at". There's something about 60's Ballys that intrigues me.

Thanks for the comments guys - this restore has dragged on a bit !
Aussie Pinball - Proud to be Australia's Premier Pinball Forum

http://www.australianpinballrestorations.com.au/

http://www.rtbb.com.au/catalog/

We carry the largest range of NEW Ramps in Australia

Offline goodolddays

  • Trade Count: (0)
  • ******
  • Forum Posts:
  • Riverstone NSW
Re: Bally 1965 Aces High Restoration
« Reply #134 on: July 13, 2011, 11:29:54 AM »

 In hindsight, I should have clearcoated the entire playfield, but that's ok - I'm happy to have learnt what I have - so far ! I'm really keen on playing a game when it is finished, but to be honest, the artwork and the condition of the playfield is something to just "look at". There's something about 60's Ballys that intrigues me.

Thanks for the comments guys - this restore has dragged on a bit !


I'm surprised you would be thinking of clearcoating a 60's EM ..
I need more room ! and more $$$