Its been a long while since we have posted any playfield only work - so i figure doing 4 x Bally Embryon playfields at the same time could be a good way to get the ball rolling again

As a primer to the following documentation, we (HRP) have been contracted to restore the set of playfields by Nino (APR). I believe at least two of the playfields documented here and being used in APR games. I am not sure who is carrying out the rebuild on the other two. Nino may be able to chime in here and elaborate.
Pictured here are the playfields as received. Each vary in condition - from very good...to very ROUGH (Nino's personal game

)...
Overview...
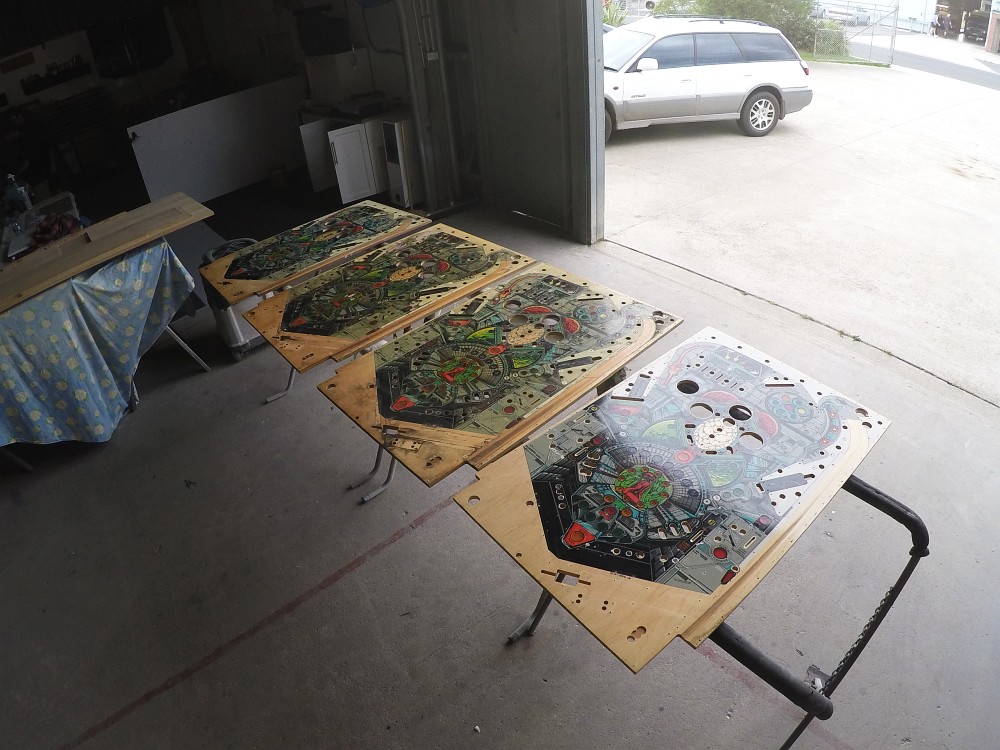
Overview of each playfield as received...
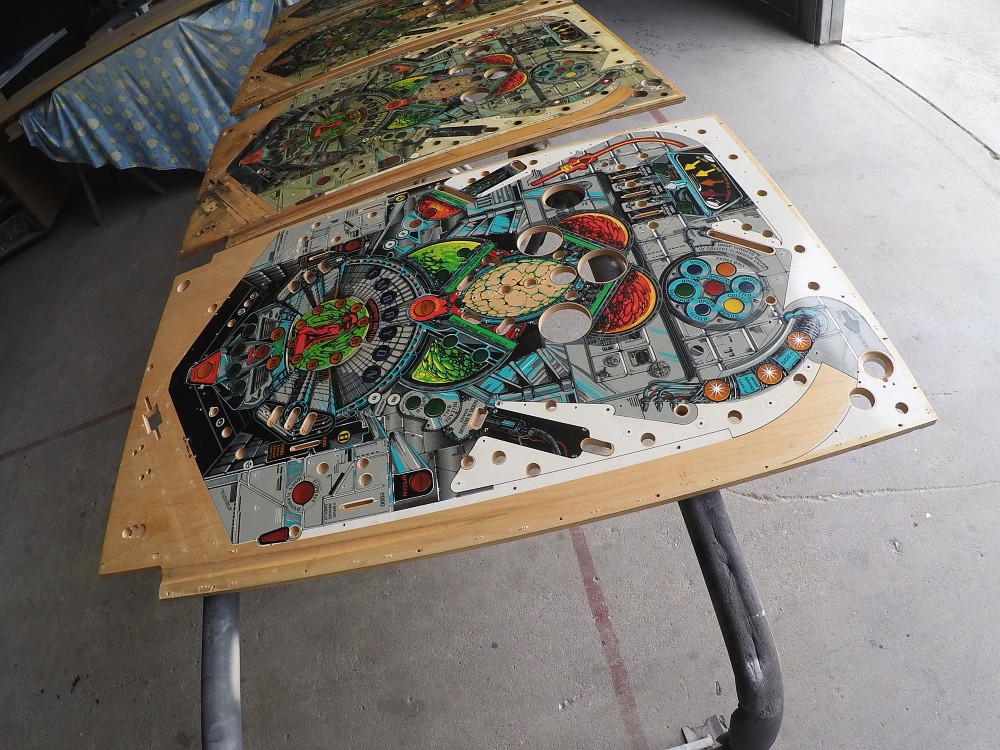
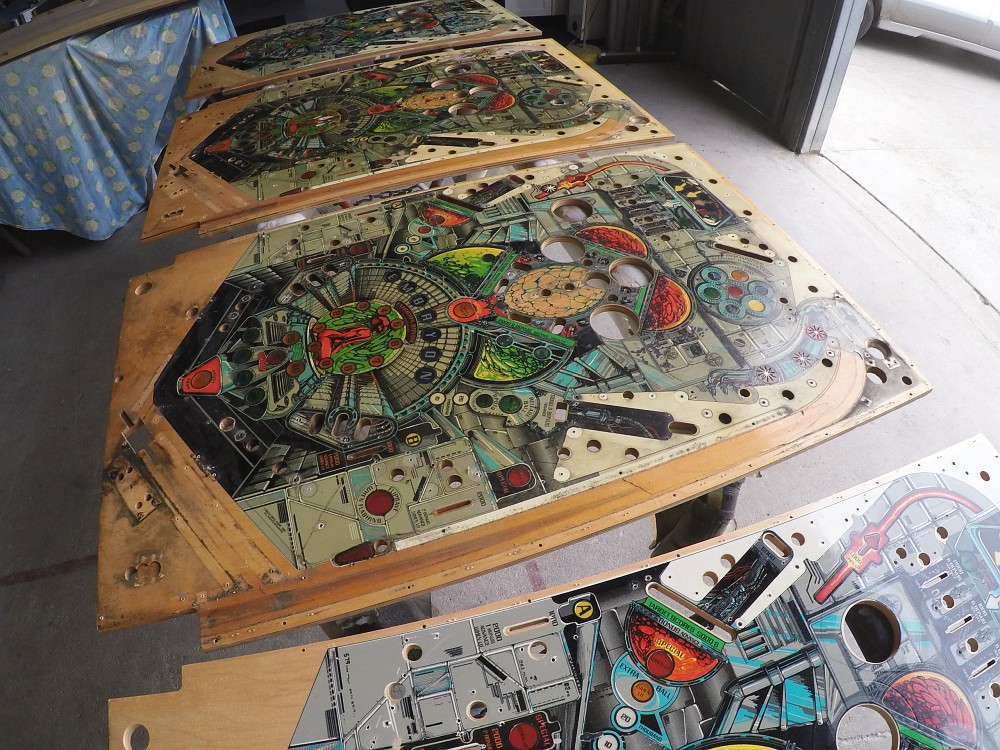
Ninos...

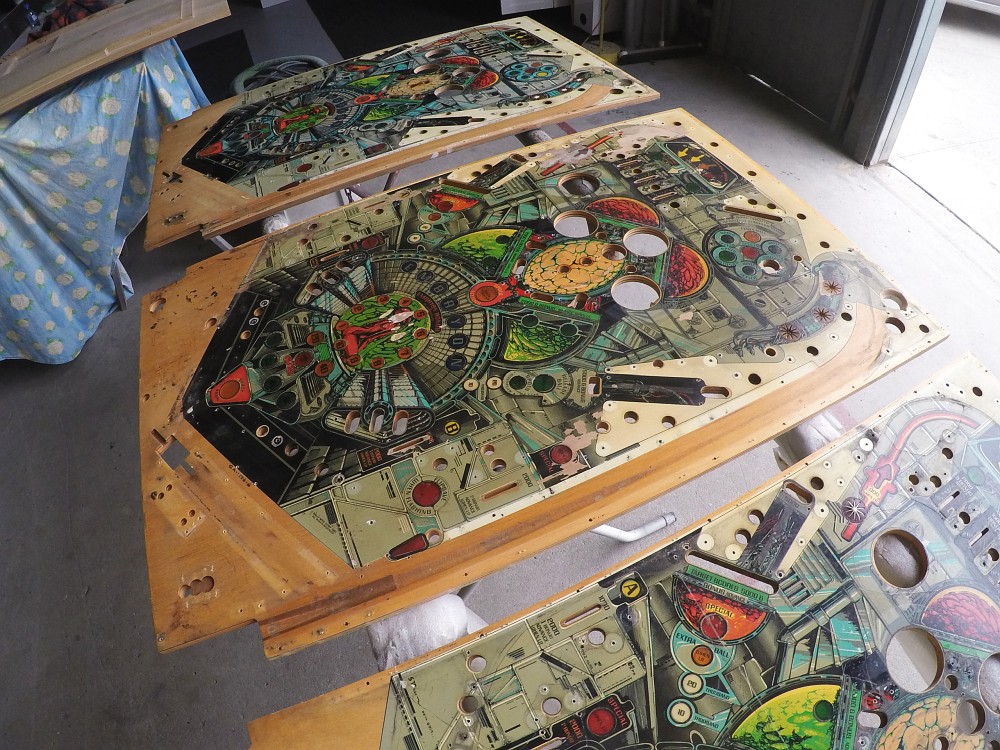
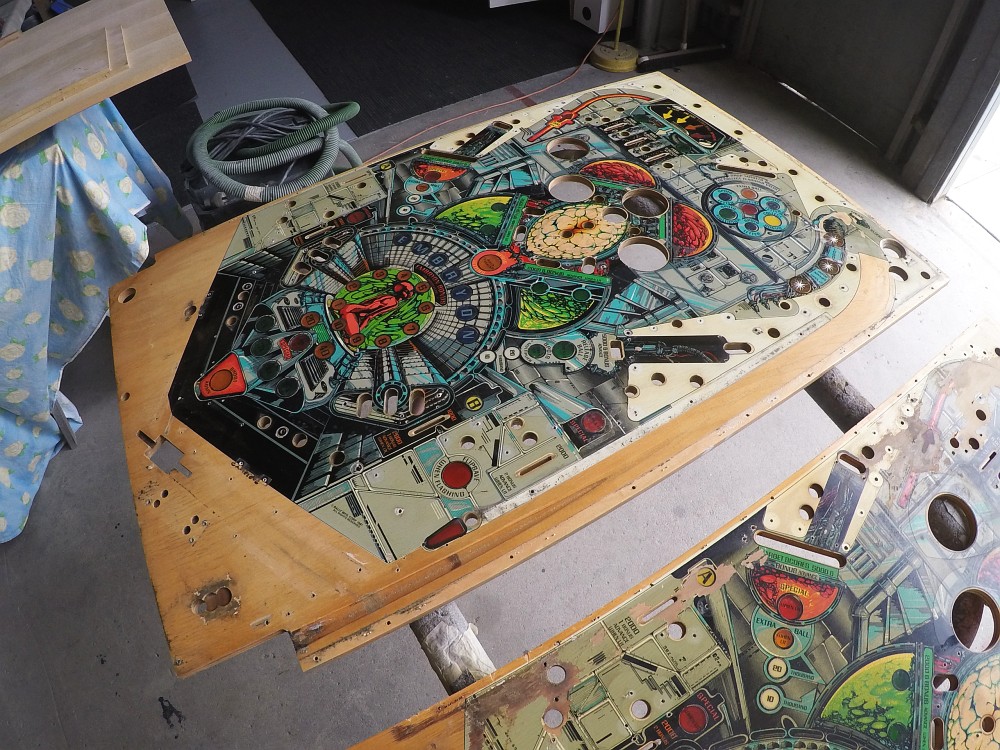
Step one is to evaluate the true condition of each playfield, so the added mylar, glue, contact, grime, wax, texta, pencil, crayon etc etc must be removed...
This example had a HEAP of added overlays of various material...
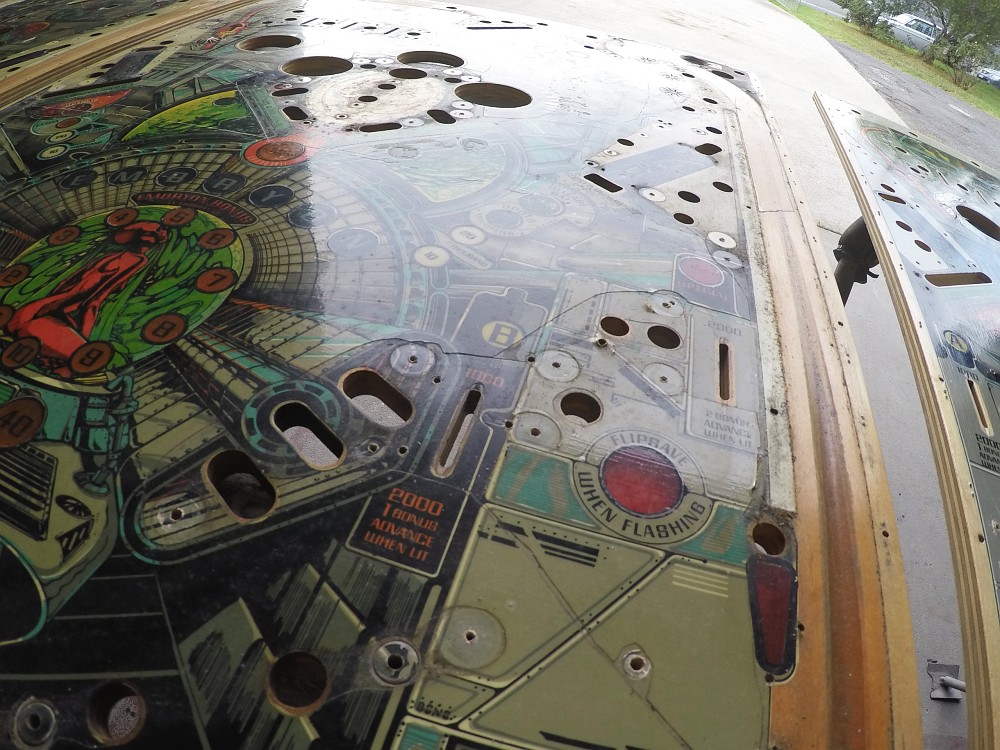
Mylar and all extras are carefully removed from each playfield...
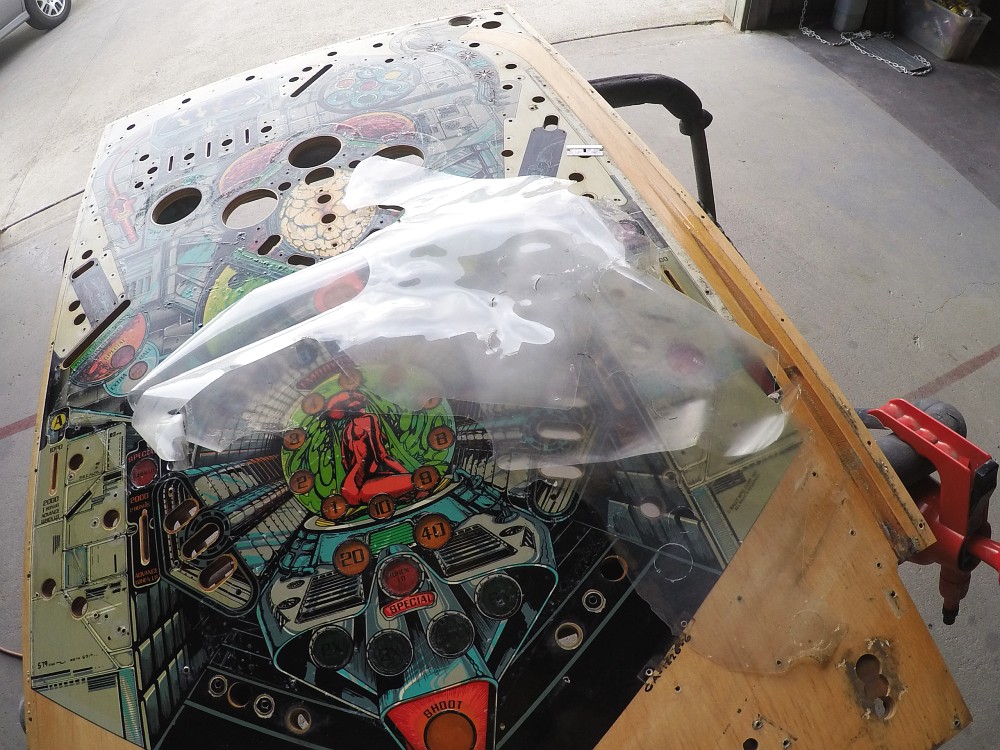
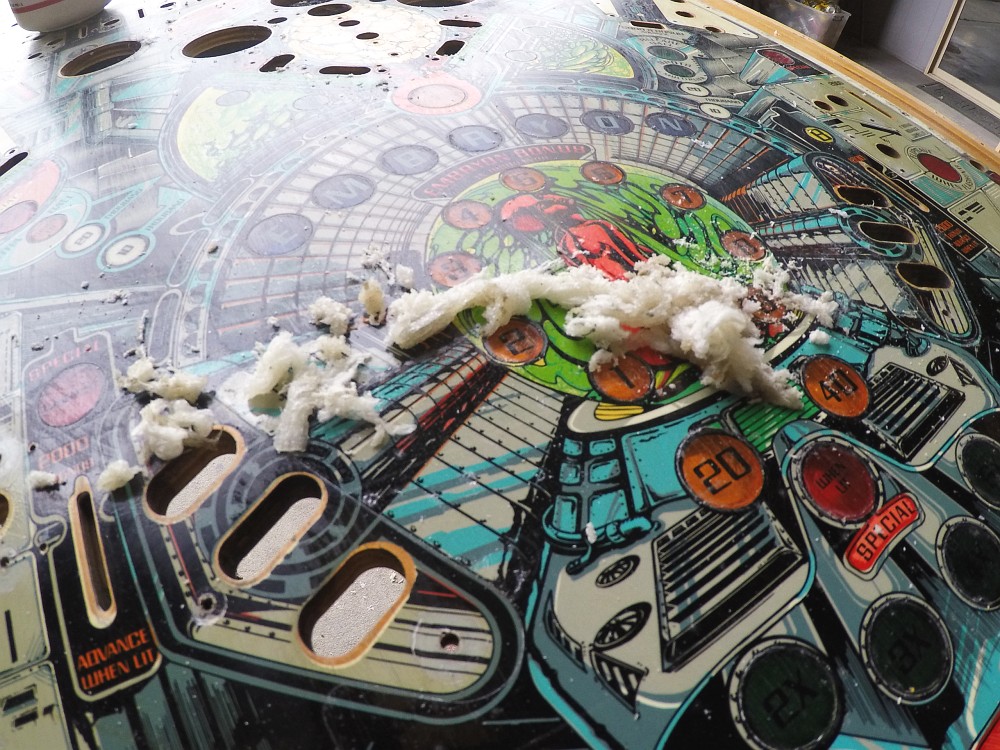
Once the material is removed, there is a considerable amount of glue that stays in the timber grain. This has to be thoroughly cleaned out to ensure our paint work correctly adheres to the surface
Chemical is applied to the surface to help soften the glue...
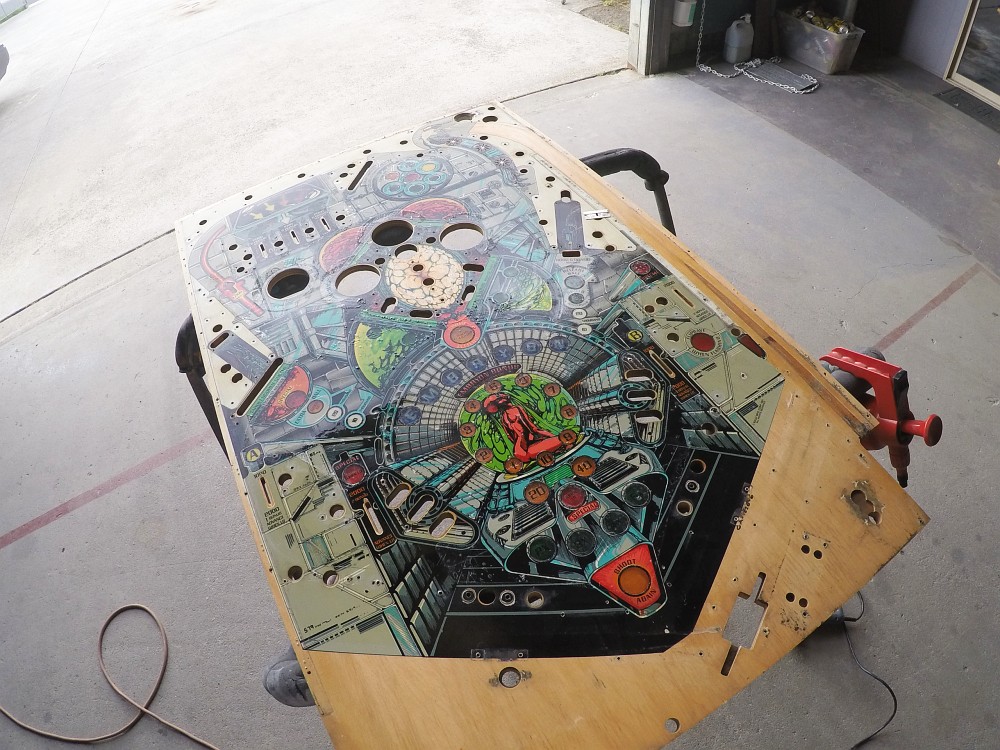
This is just from the area between the flippers and slings, to help highlight the importance of this step...
This is carried out on all playfields, and they are all sanded as clean as possible...
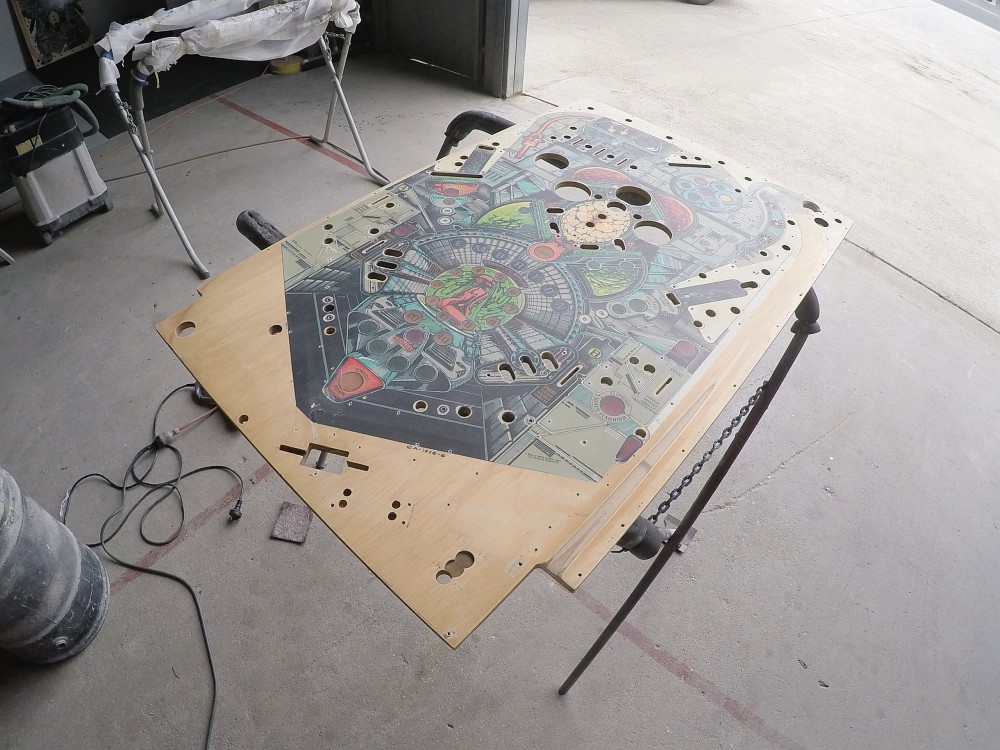
Shooter lanes are all smoothed up at this point as well - someone asked about how to refresh these so i may try to do a separate write-up on our method down the track.
At this point the playfields start to reflect the starting point for our work requirement...
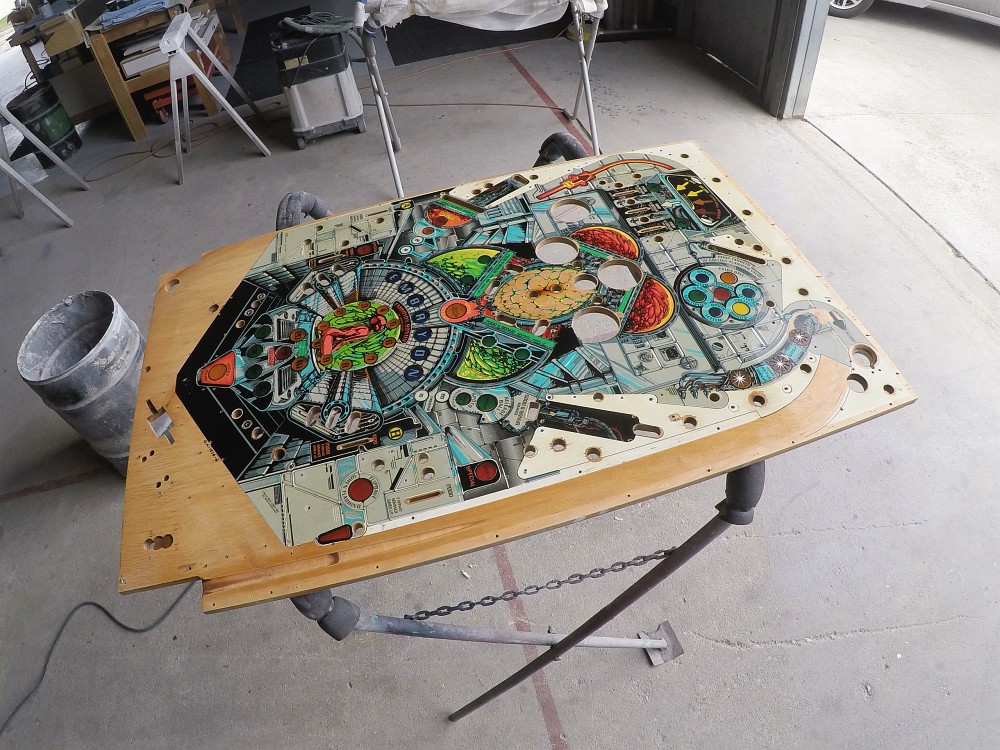
All inserts get a light pressure from the back to test their adhesive at this point. All inserts were re-glued on all playfields in focus...
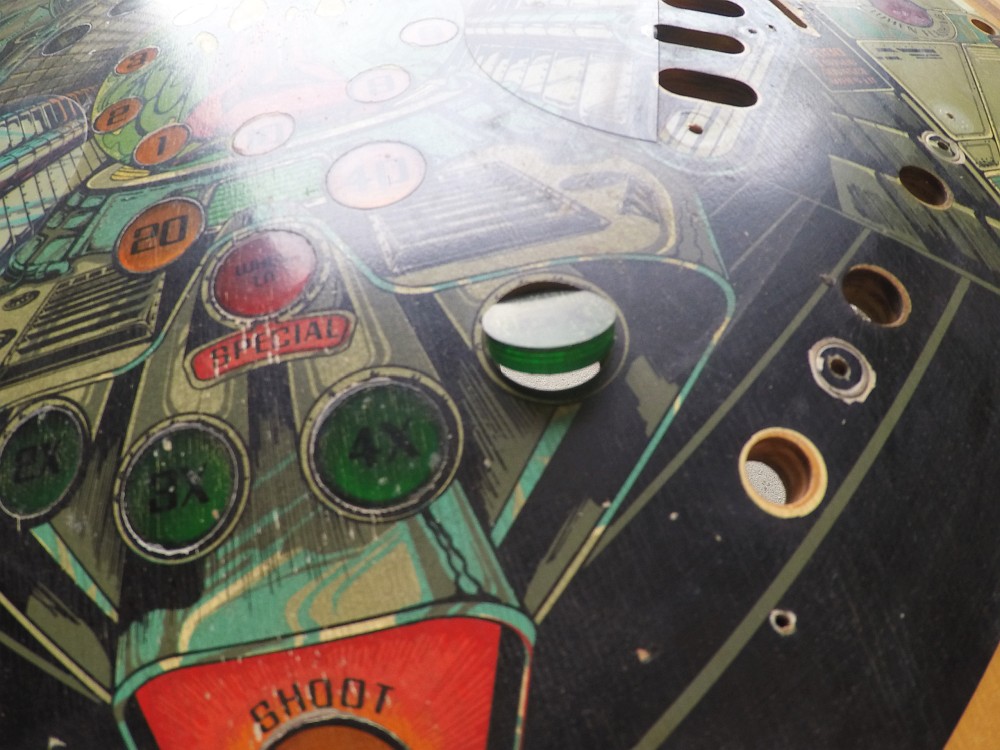
Things like incorrect colour rollovers are noted and removed at this point. Of the 4 playfields only 1 playfield had quality rollovers that didnt need to be removed.
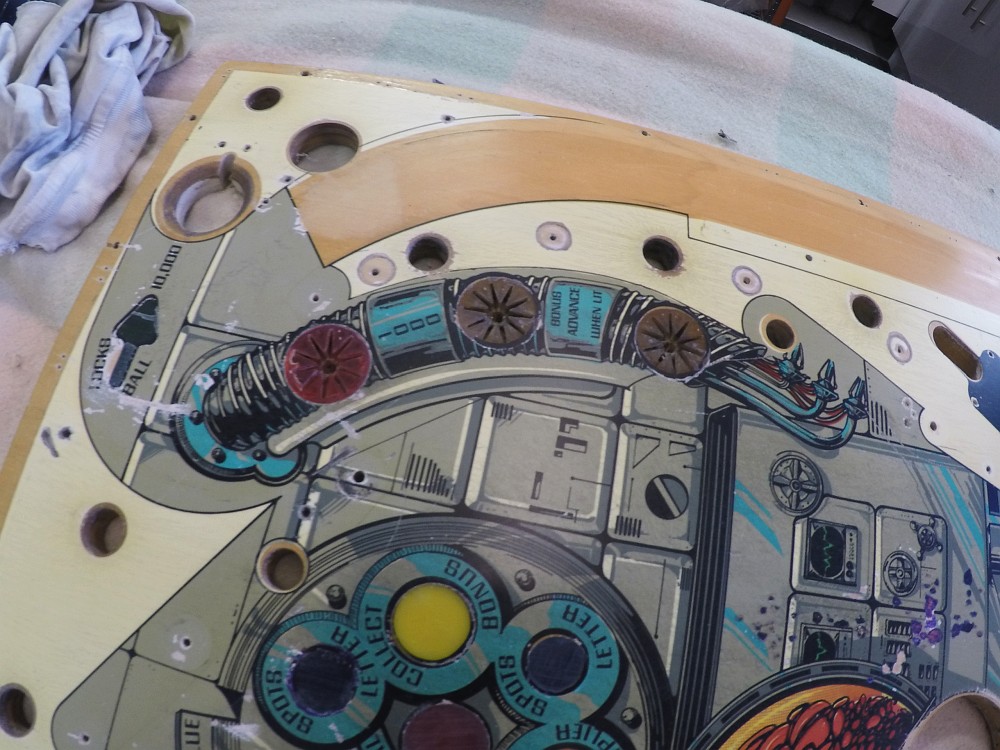
This particular playfield had an added rollover. Between conversations with the game owner, Nino, Daniel and Co - and considering the poor quality install job - it needed to go and wasn't part of Ballys prototyping history...
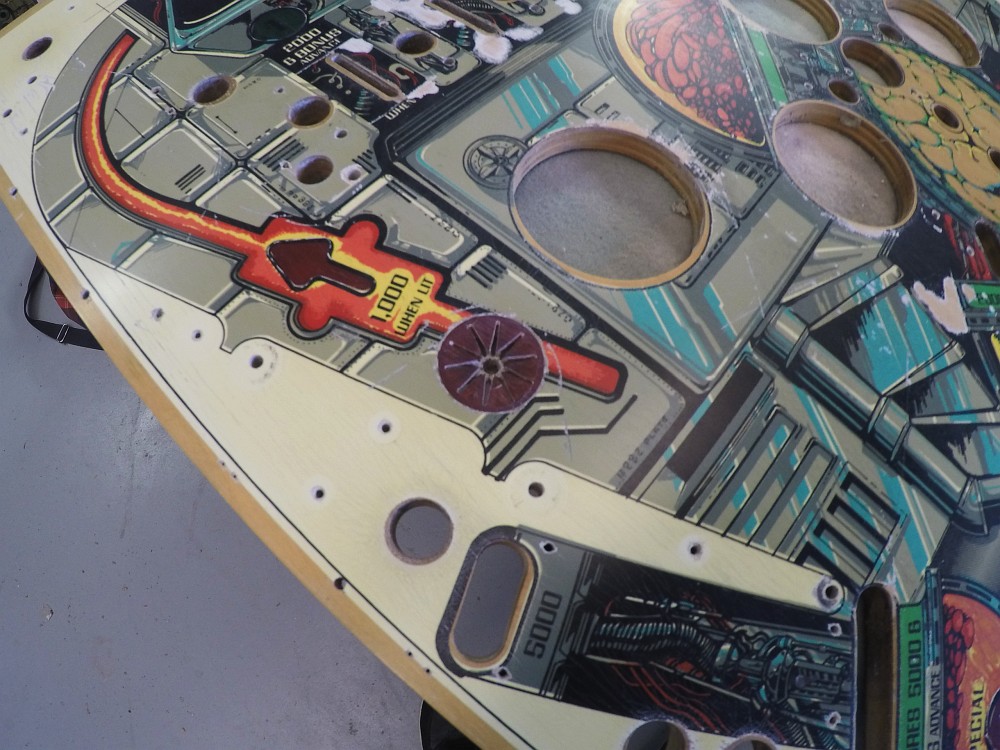
Basically - the first step in our process is to remove whatever has been added to the playfield over its lifetime; get it in its original form and get it VERY clean.
The playfields are then sealed/cleared in their original state, damage included. Not only does this provide a more level surface for repair work, it also ensures that our repairs are going over the top of a new, thoroughly cleaned surface. There is very little 'bling' at this stage - the clear will be mostly sanded away when we begin the colour work...
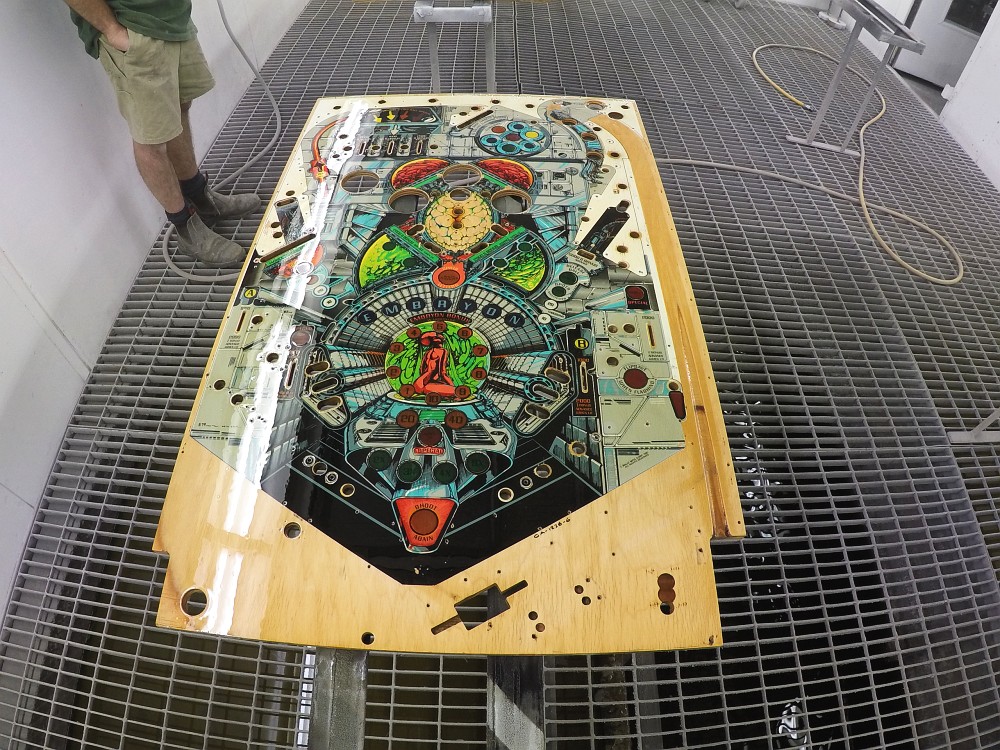
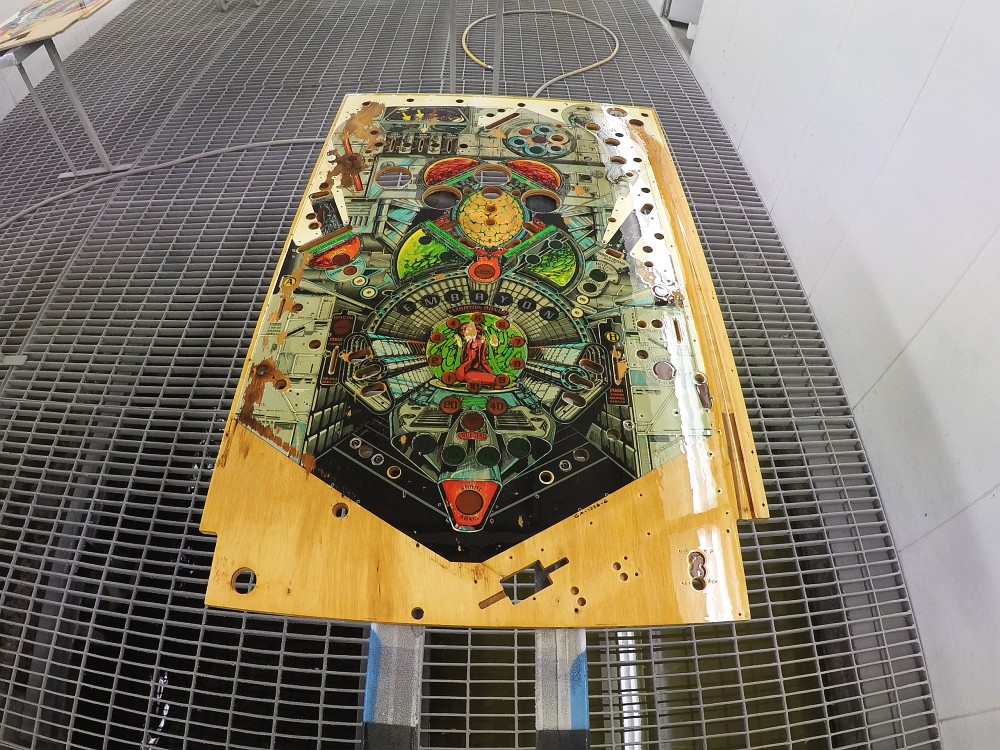
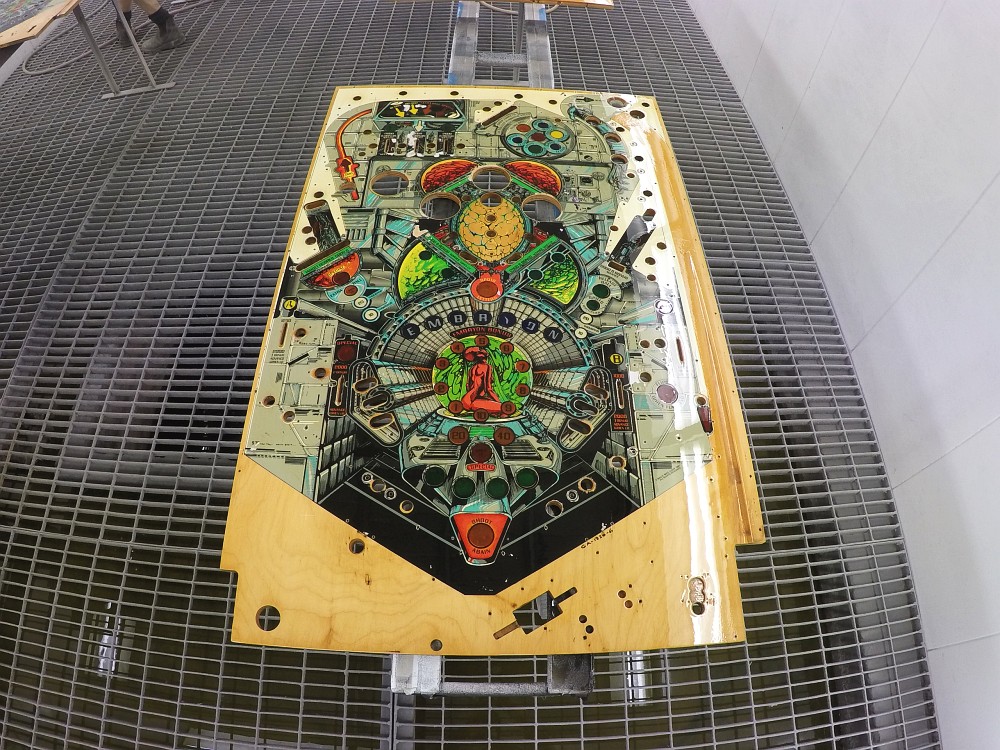
Here are the playfields in the booth and ready to roll. An adhesion promoter is used at this point...
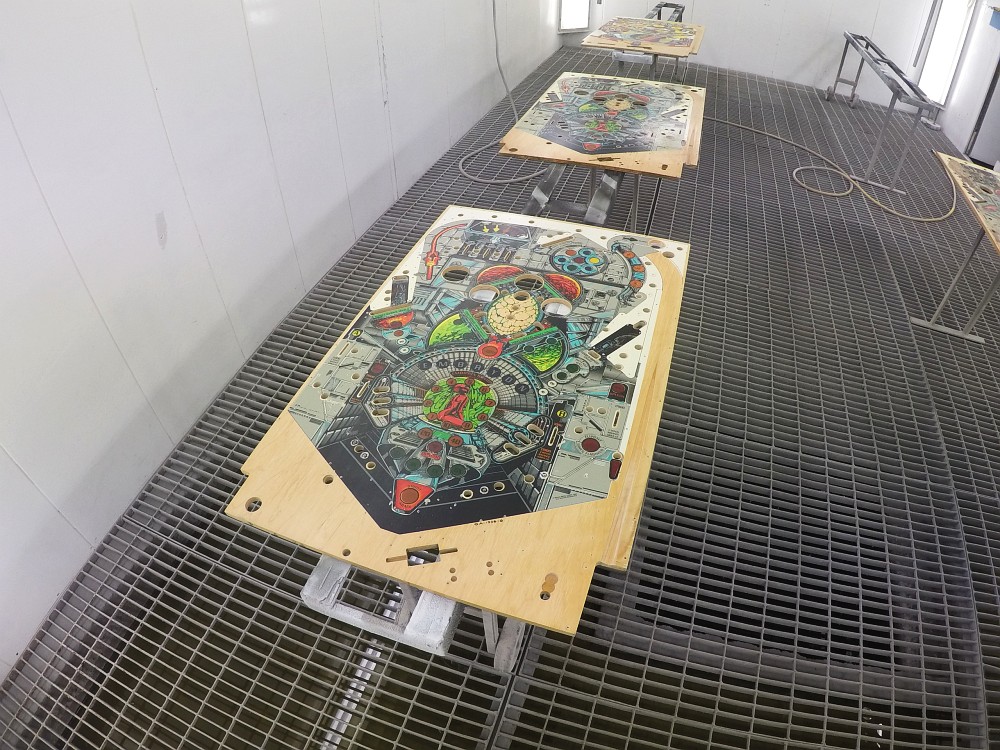
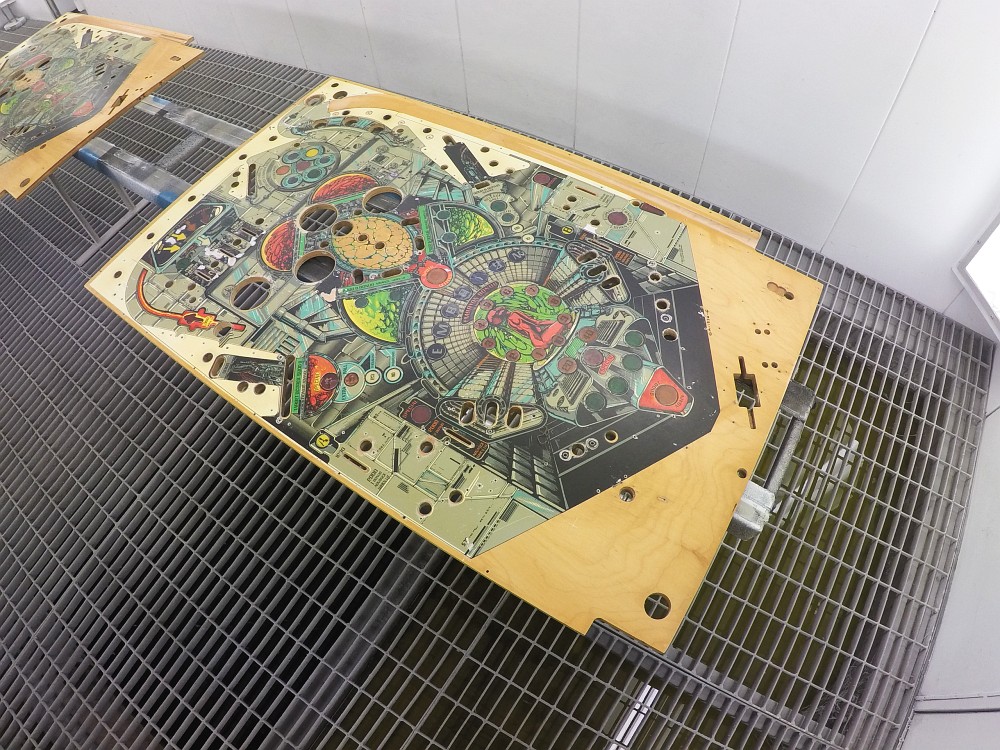
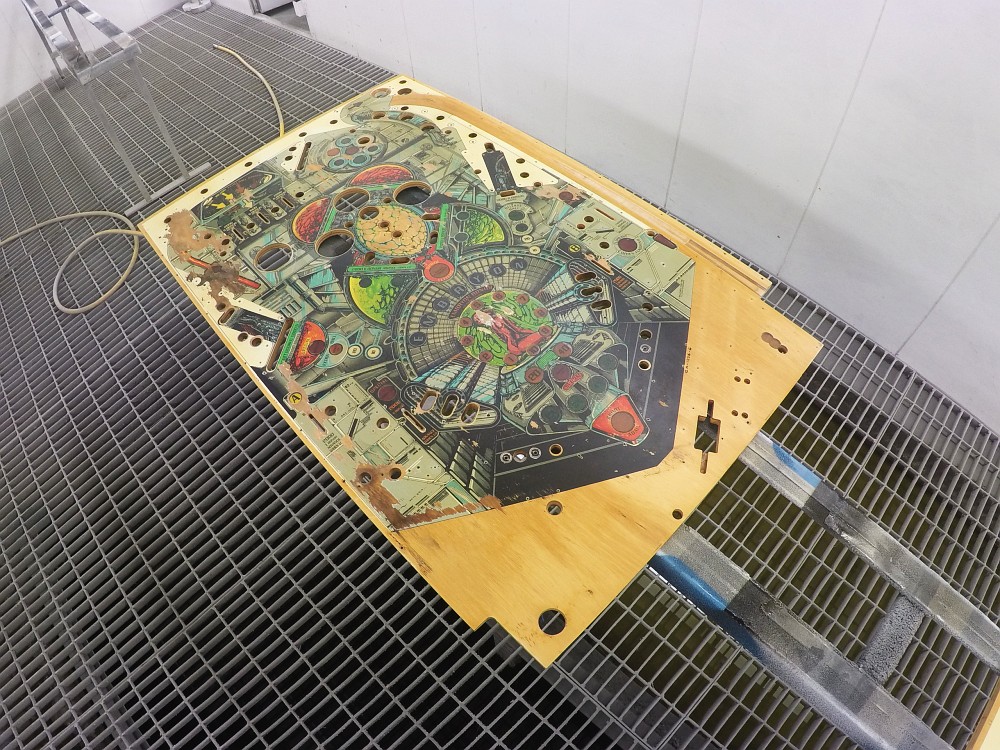
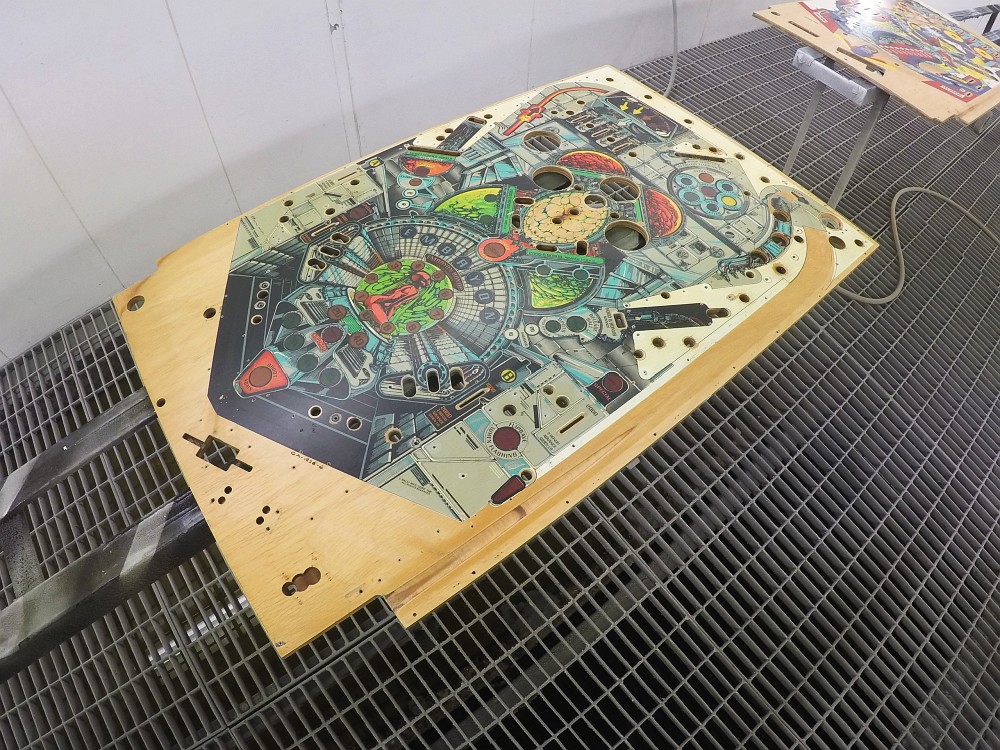
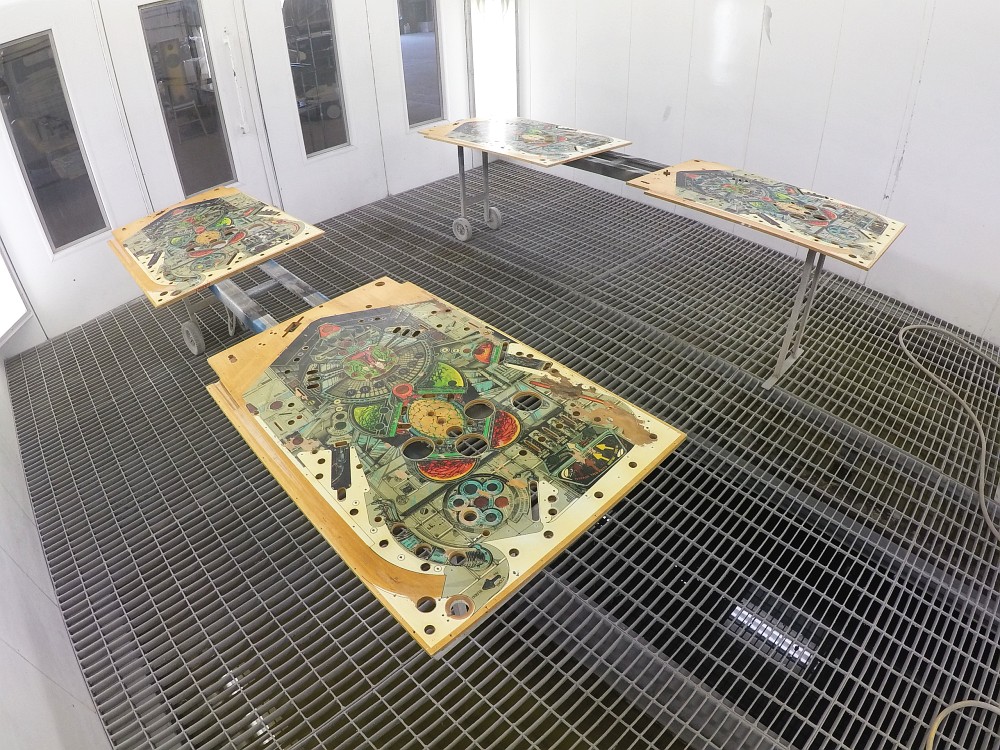
The following images are of the fresh, cleared playfields. They will look very textured, but this will settle as the clear cures...
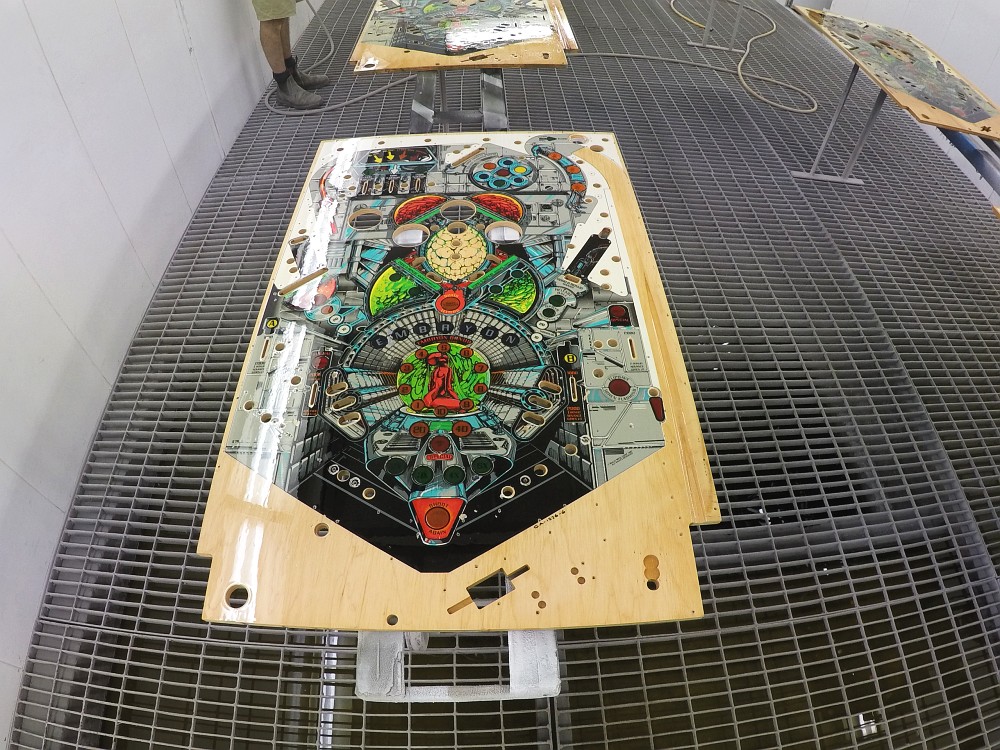
Ill leave the post here for now. Stage 1 is now complete and i will update this thread once we get into the repaints and other processes used in stage 2.
Ill do my best to answer questions people have about the process as we go along as well so feel free to post in here.
Big thanks to APR for lining this project up. Its a great opportunity for the owners of these games and further demonstrates the services on offer between the HRP/APR partnership.